When you click on links to various merchants on this site and make a purchase, this can result in this site earning a commission. Affiliate programs and affiliations include, but are not limited to, the eBay Partner Network.
So after posting this thread https://www.rx7club.com/2nd-generati...ng-me-1141127/ I started down the path of putting an Rx8 rear end in my '89 GTUs. Mistakes were made along the way that I'll detail when I get to them. Right now I am probably 60% to 75% done but I'm feeling good about it. I think I may pull this off. With that let's get started.
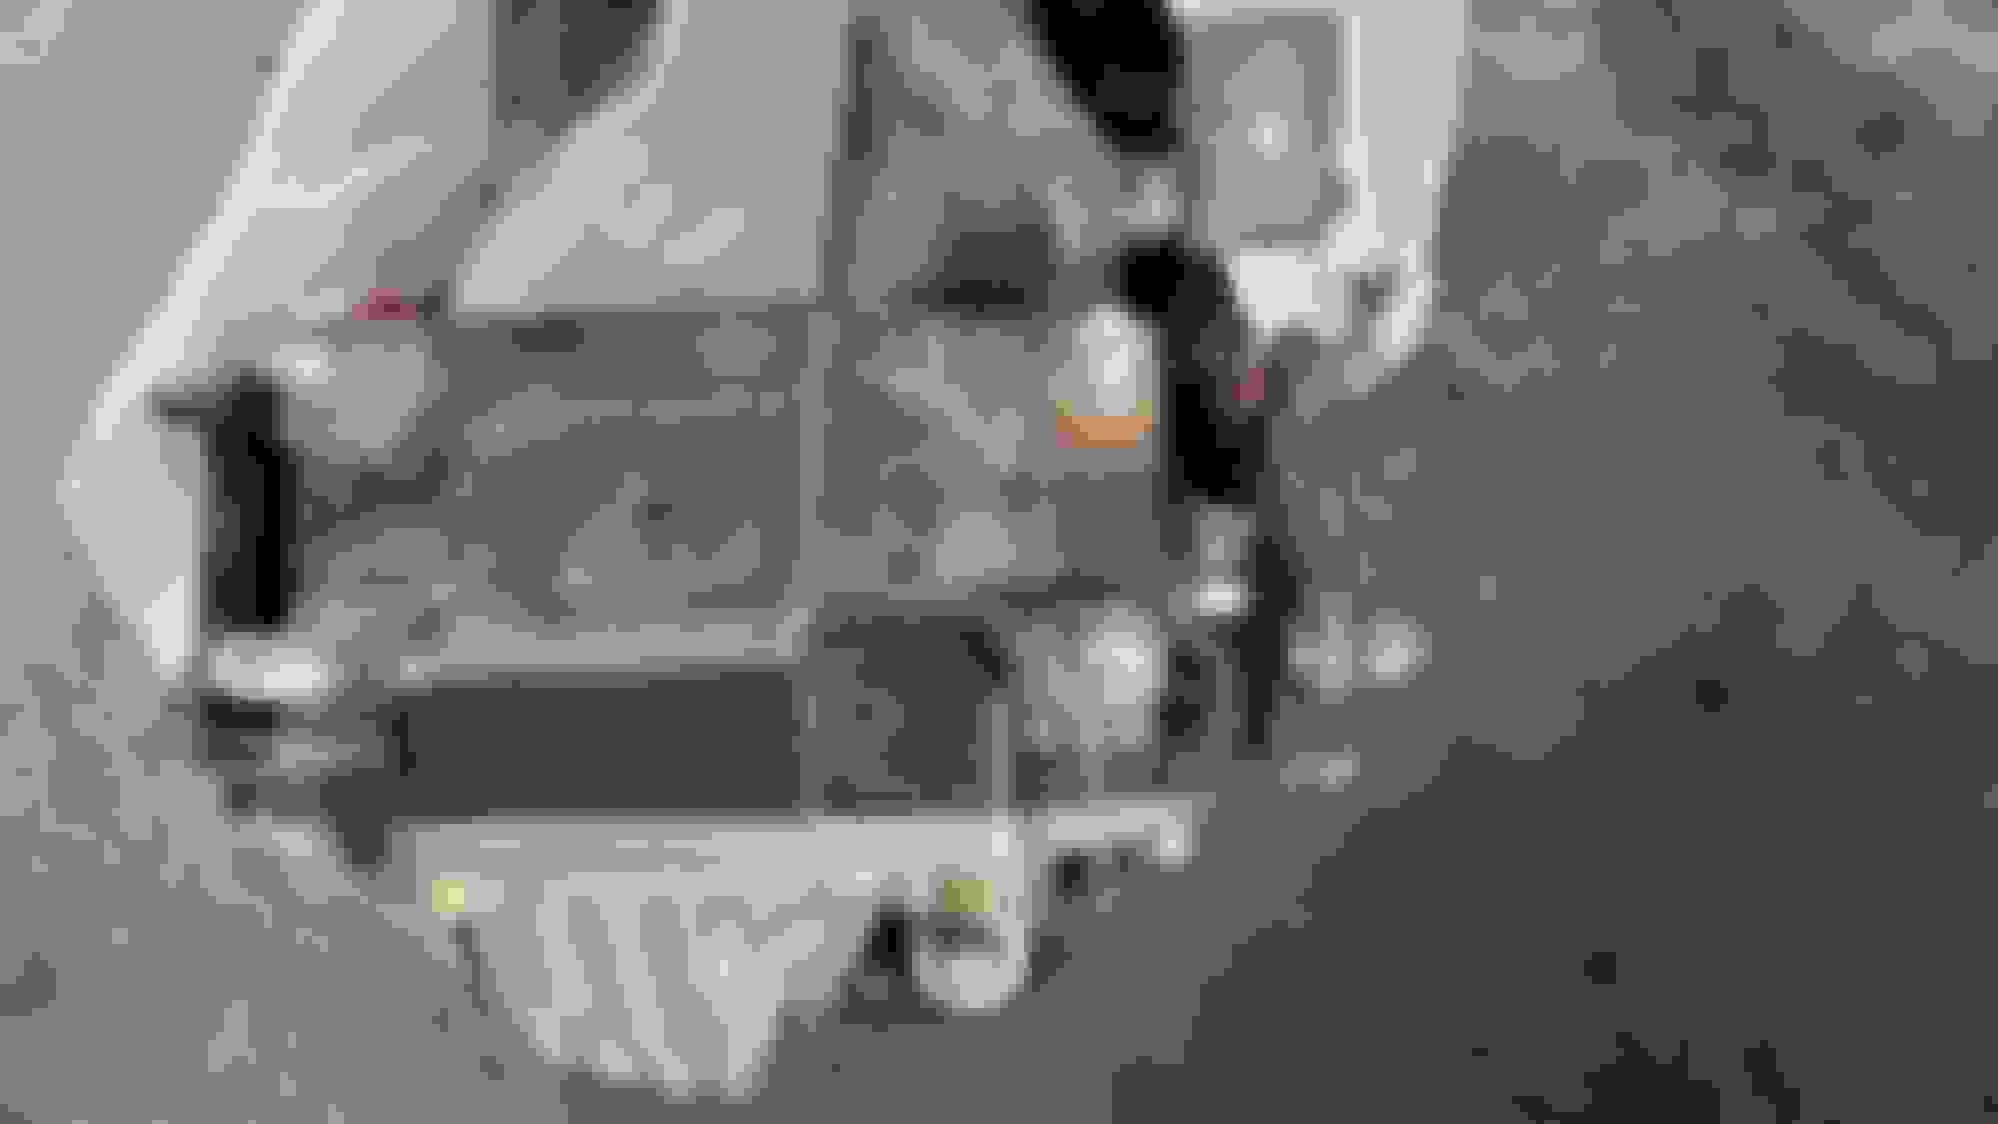
First off I got an Rx8 rear end and mount off Ebay. Though through the course of all this I never took a picture of the mount.
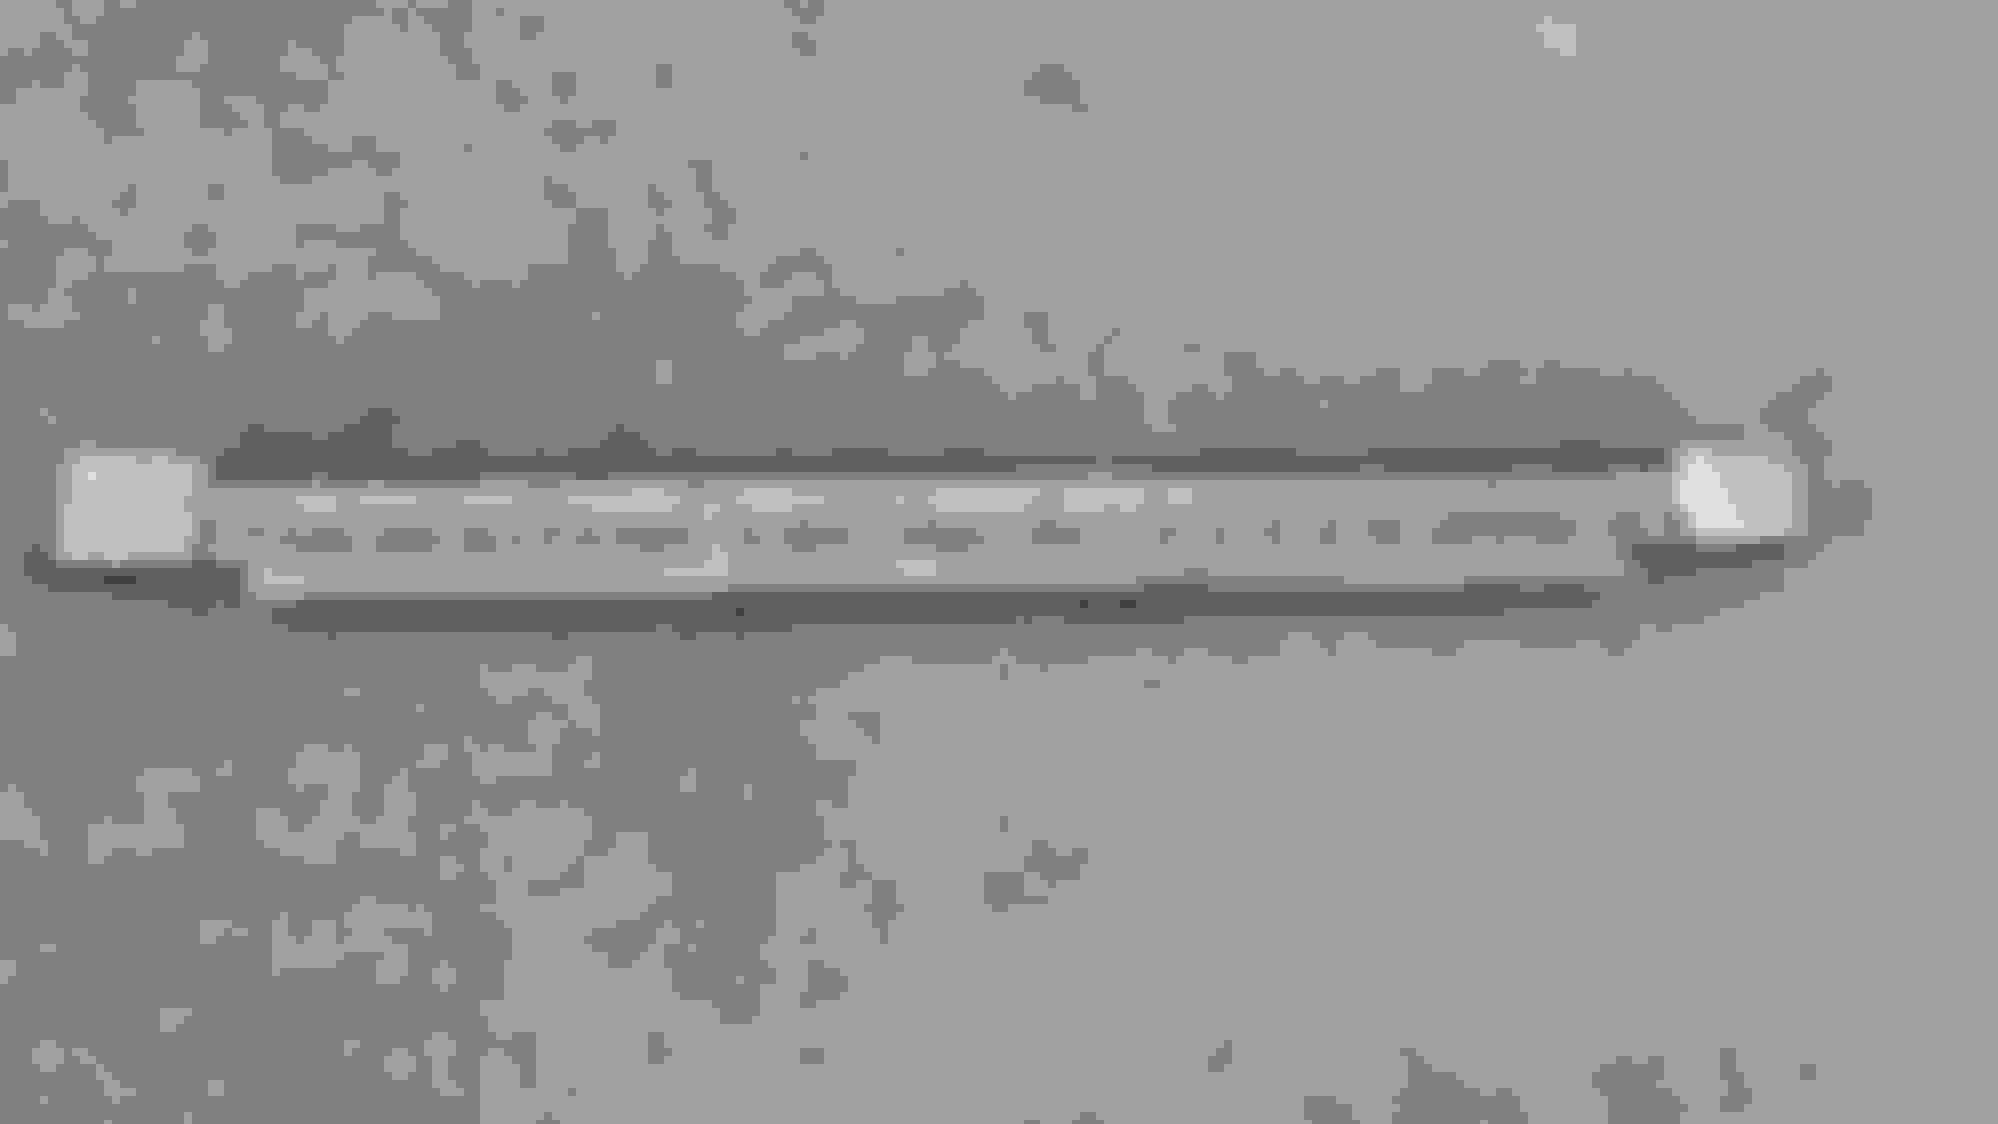
As you can see from the pictures I also ordered some TII half shafts as well. They stick out due to the RX8 rear being narrower than the TII rear. I have a plan on how to deal with it. Pretty much what Higgi did on his car. I'll have to make or get made something to relocate the oil seals.
I at one time thought I could fab up something that used the factory Rx8 mount.
I quickly decided against it, but decided to use the center as the start of my template, and came up with this.
I tried to make it so that the centerline between the upper diff mounts line up the centers of the output shafts with were the FC shafts were. Hence the reason for the offset.
That's all for now I'll try to post the rest of my progress over the next couple days.
So at this point I really just a vision in my head. A basic idea of what I am trying to build. I have bought the metal I think I need. The key piece being the cylinders that the diff mounts go in. I found a cylinder with the I.D. I needed and got a section of it. Here is what I ended up with to get started.
Next I decided to cut out the center to go around the top and drill the first two mounting holes.
I was proud of my work so far but this step was my first mistake. More on why later. Remember I was designing as I went along, but that wasn't the culprit as much as my inexperience as a welder.
Next up I added the piece to mount to the other two studs( though technically I'm using bolts) And also the pieces I made for the lower half of the mounts to sit against.
I had also cut spacers out for where the bolts go through. All tacked up and feeling good.
Next up I welded everything up so far. This is when I found my mistake.
If you look close at the right side of the lower view you may be able to tell it's not level anymore. The heat from where I welded the two pieces together caused it to bow. Too far in to stop now so I kept on going hoping it wouldn't cause a problem but being irked by it at the same time.
So next I boxed the front in to strengthen it up and added some metal back where I removed more than I needed Also discovered I miscalculated the height of the part the mounts pressed into so I added some metal in there. Apparently I didn't take a picture at this point showing how bad it warped but it wouldn't slide up on the mounting studs due to the angle it put that diff mount in. I need to get this done and haven't the time to start over so I cut on three sides and removed some metal and bet it to where I thought it should be and tacked it for a test fit of the mount only. Slide right up the studs as it should. I plated over my cuts on the sides. for added strength. You can really tell how bad it was by the angle coming from the boxing of the center. Mechanically I think it's fine. Cosmetically it doesn't look so good.
I may have bent it too much but it mounts into the car just as it should. This is my prototype I guess. It really bothers me but I need to get the car back together. I seriously consider driving it for awhile and building another improved version based on what I learned on this one. Then again it will be out of sight out of mind once installed. Other than I've put it here for all the world to see. If I do it over I think I will wait until I have learned to TIG and then I can make it pretty.
Here it is in the car and also the interference of the PPF mounting studs and the subframe.
Well that's my progress so far. On to the Oil seal spacers, front diff mount and custom driveshaft.
Nice work on the mount, definately easier approach than mine. Rigidity is questionable on both of our designs, lets see whose will break sooner
As shown in my build, piece with upper mounting studs to be removed, or you will have to do more work on the subframe. Since i find rx8 diffs cheaper/easier, i decided to chop off the diff.
Part of my build was dictated by already existing custom driveshaft, you are more flexible in that part.
Good luck!
Thanks. It seems right where you need to retain some rigidity is where you have to cut out material to mount it to the case. I guess I could make some bracing that bolts to the rear cover like the Ronin Speedworks 8.8 kit. I'm going to use as is and see how it holds up. will try to figure out how to improve on ver.2.0 if this one breaks. Since I'll be n/a for awhile yet I feel good for the moment.
I was actually going to message you and ask what mount it was you used for the front mount.
For front mount i had some old bushings laying around (might be stock rear control arm bushings which i pressed out to replace them with energy suspension ones)
I will be testing my design soon with GT35R + semi pport, so it might break sooner
For front mount i had some old bushings laying around (might be stock rear control arm bushings which i pressed out to replace them with energy suspension ones)
I will be testing my design soon with GT35R + semi pport, so it might break sooner
Thanks. Still sorting out what I'm doing for the front mount. Thinking about using the Ford front diff mount from the 2000-2005 Explorer and using that front bolt location that is currently in the way. If I could knock it out in order to use a longer bolt.
Dak, can i ask why you are putting a rx8 diff in your rx7?. is it for the ratio, or for the LSD?
Both. I explained it in the other thread but here's why. My cay is the GTUs which had a Viscous LSD and a 4.3 gear in the rear end. All other USDM cars except the automatic had a 4.1 rear gear. Spider gears in my LSD went bad I believe. Was going to put a Torsen from a Miata in it but they have went up in price to between $400 & $500 after shipping. Since I plan to go turbo one day and make more power than the 7" ring gear may survive I thought of getting a TII rear end( it has an 8" ring gear) but I didn't want to switch to the 4.1 gearing. Mazdatrix sells a 4.3 gearset but it's $826 on top of what a TII rear end would cost. That is the only source because the FC uses a long pinion gear unlike the FD and Rx8 which use the same style short pinion and I discovered Rx8 rear end could be had for a bump over $300 after shipping and the 6speed was a LSD but. So I decided to try to put one in my car. Gear ration is 4.44 though, but if I don't like it auto Rx8 rears with a 4.3 can be had for under $300 shipped. They aren't LSD. Not sure of the final cost but it will be more than the Miata Torsen but should be less than the gearset alone for the TII rear. I've currently hit a snag as the quote I got back for my oil seal spacers was twice what I had hoped. I am going to quote them somewhere else next week. It has been a little bit more of a project than I initially thought but for me I think it will be worth it in the end.
Last edited by Dak; Apr 25, 2020 at 04:52 PM.
Reason: Removed Torsen from Rx8 LSD description.
Have you opened your rx8 diff ? If u can, please do it and take pics of internals. I have opened bunch of rx8 diffs and none of them was Torsen, they were all SuperLSD.
Have you opened your rx8 diff ? If u can, please do it and take pics of internals. I have opened bunch of rx8 diffs and none of them was Torsen, they were all SuperLSD.
I have not but I think it is a SuperLSD. If you look through it with the axles out it has a metal bar in the middle like the SuperLSD.
It's been awhile. Put my garden out and the MX track finally opened due to some Covid-19 restrictions easing up so it's hindered my progress. I knew if I didn't get it done before gardening season I'd get delayed. Anyway here are some updates.
I re-quoted the oil seal spacer from a company called Xometry and they came in priced more to my liking so I ordered them. Haven't installed them yet as I'm waiting till I open the diff up to check to see that nothing's broken inside.
I decided to use the Ford Explorer mount. Mounting it vertically didn't pan out so I did it similar to hiGGi.
Here' the mount
I was going to give a better update but have discovered I haven't gotten all the pictures I need off my phone so I'll try to get them off in the next day or so.
Here is one of the mount on the diff.
Mock up of the subframe brackets
And the final tacked on to the subframe. I still have to weld it and add some support pieces.
Here's one of my mocked up driveshaft for length measurements. Drive shaft is on order and axles are here so I should be in the home stretch. Just a little more welding and getting everything painted.
Have you opened your rx8 diff ? If u can, please do it and take pics of internals. I have opened bunch of rx8 diffs and none of them was Torsen, they were all SuperLSD.
Originally Posted by hIGGI
I believe Torsen in RX8 is fairytale.
Btw...all SuperLSDs in RX8 i have opened had crack in th friction gear.....still working
Hey I finally opened the diff up. From my image search it looks like a SuperLSD. No metal pieces in the bottom of the case. It looked good when I had it open but I didn't know exactly what to look for. When I have the cover back off to put the sealant on it I'll look again. Is it real noticeable if it's broken?
Here is a picture.
Here's the diff ready to go in. Turns out I got a couple measurements wrong on my oil seal spacers. First I wanted a press fit into the diff. They were loose. If you look close you might see the JB weld. Second they were too wide and the stub shafts wouldn't snap in. I took them to work and used the lathe to move the faces I needed moved. They probably could have stood to be moved another .050" more so the cone shaped part of the oil seal wouldn't fully compress but they snap in so I moved forward and installed them.