Another t2 build whooooo
#26
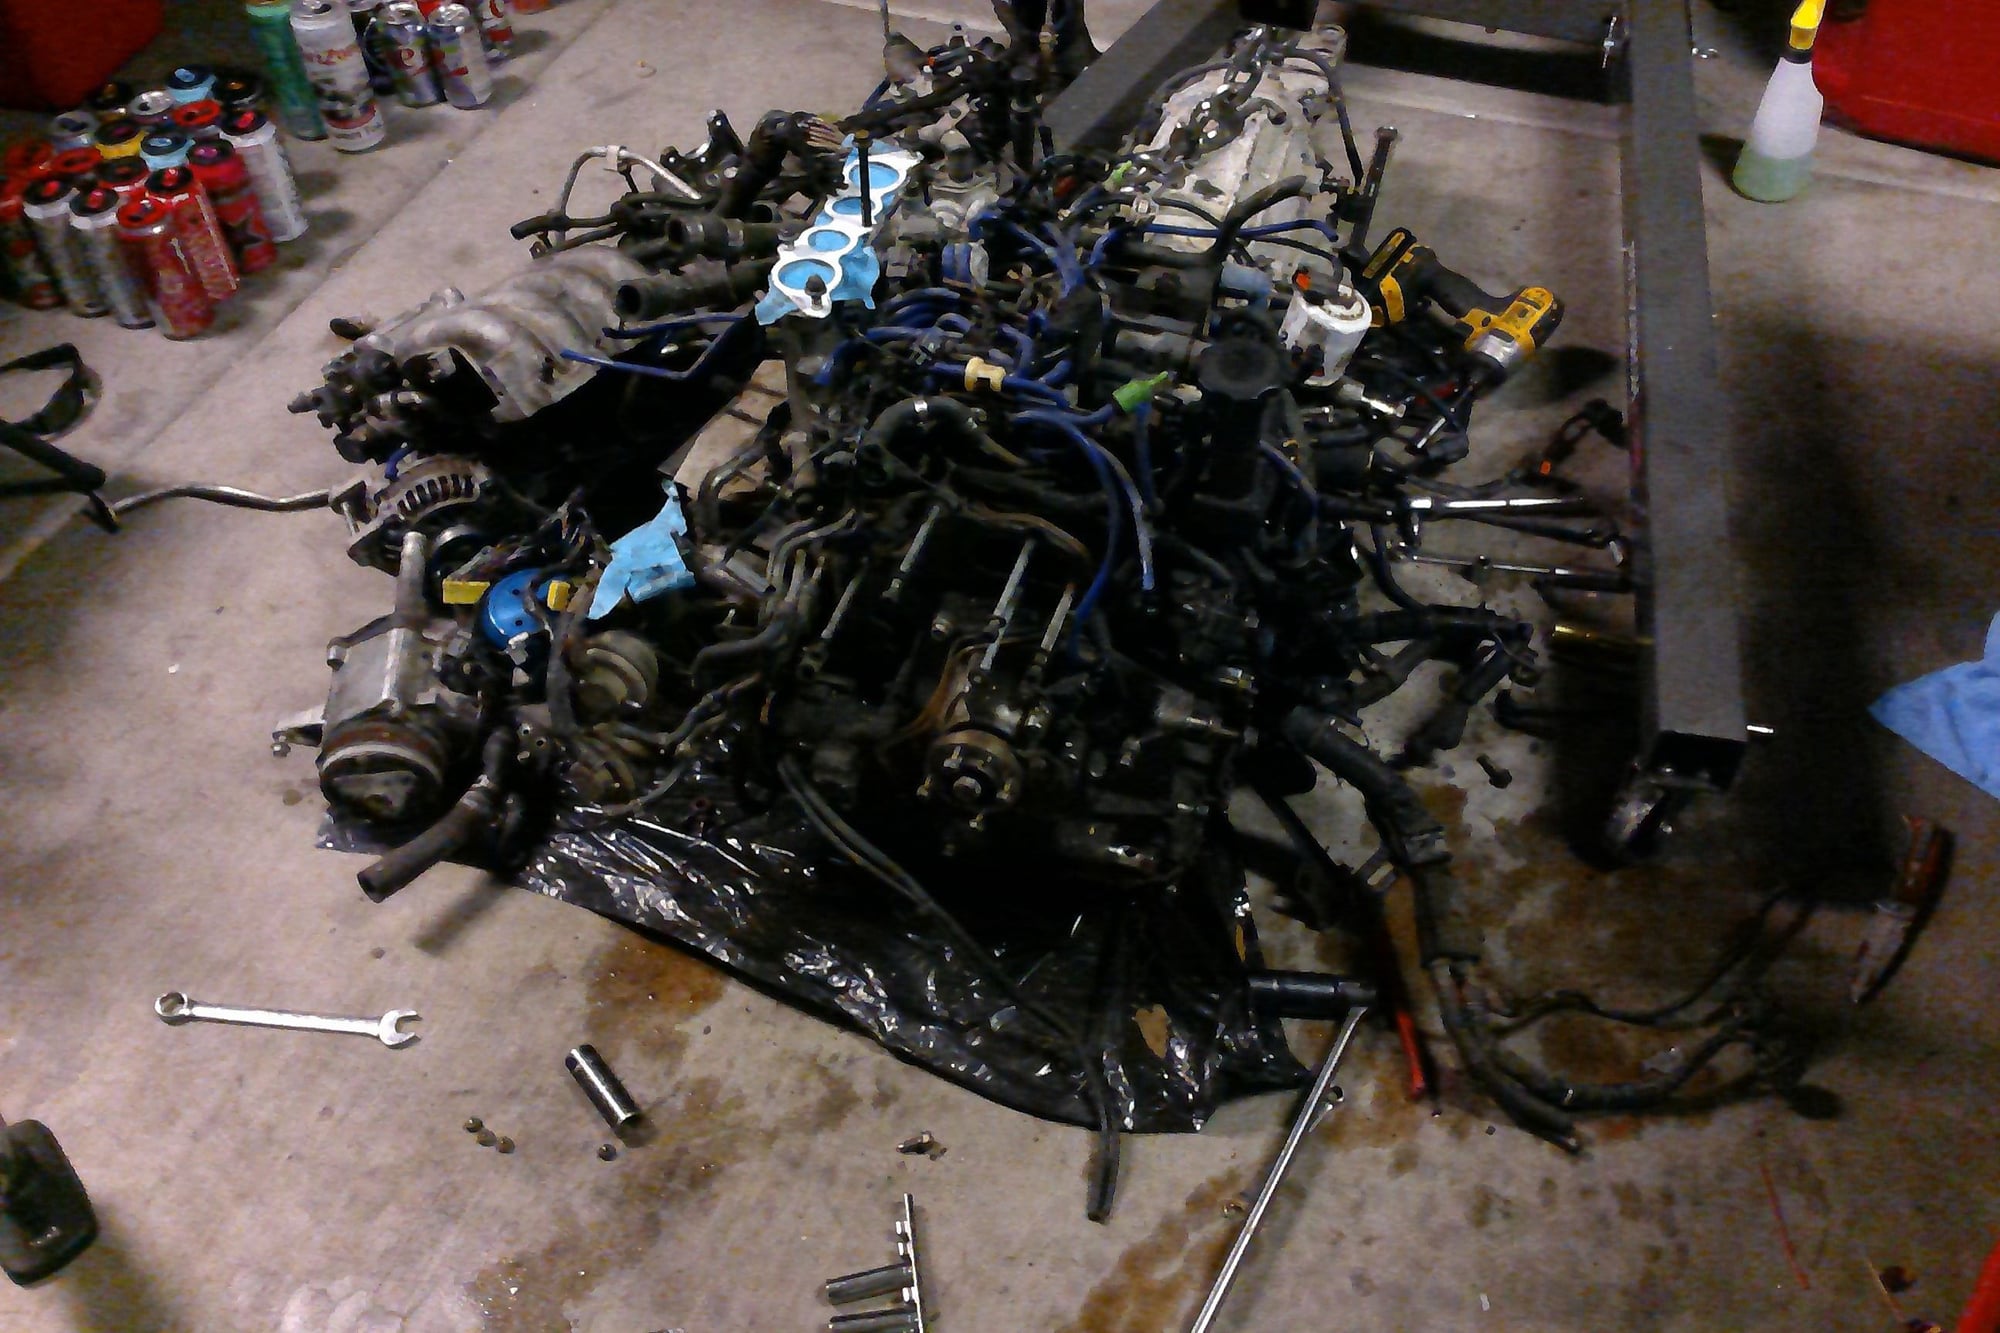
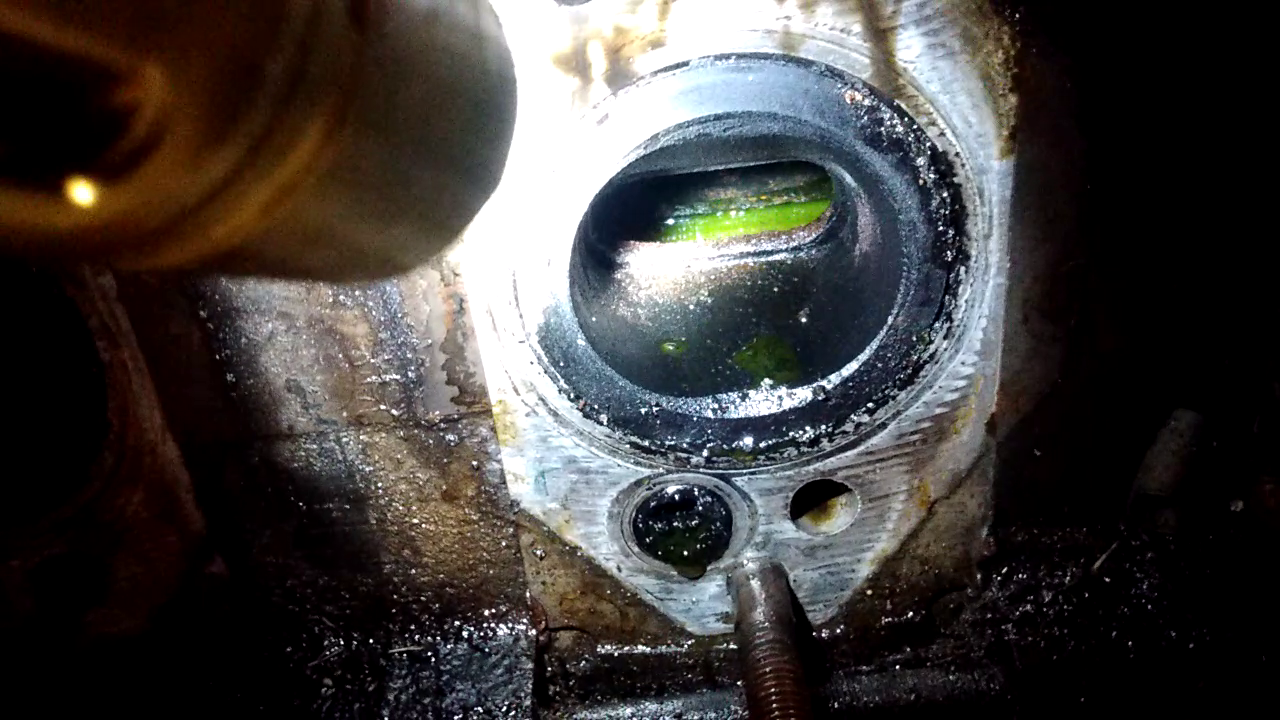
Eventually I managed to talk myself into going for the whole enchilada and REW swapping this car. A moment of insanity spurred me into driving all the way across the country to swoop on an REW from a ’95 auto FD for a steal (gasoline costs were almost as much as the engine). A following moment of sanity then led me to rip it open, and I found that I had a broken coolant jacket on the front iron, and a missing bellhousing ear for the rear iron. Being an auto rear iron and missing one of the few ears that would actually mate to the FC transmission meant it’d have about 150 degrees of engine to transmission contact with no bellhousing bolts to hold it together. Nahhhhh…..
I then bought a set of manual irons from a forum member here that were supposed to be all mildly street ported and in resurfaceable condition. When I actually received them, it turned out that the rear iron wasn’t ported at all, the front iron’s surface felt like sandpaper and had a tiny porting job, and the middle iron was also like sandpaper, but had a medium sized port on one side, and no porting but was marked to be ported on the other side. There’s your cautionary tale on buying parts off the internet side unseen, kiddos. (These are in deep storage in the garage so please don't make me go back there and take pictures for it)
Now, the fun part. I needed to figure out how the hell this REW was going into the FC nicely. Wiring was going to be a mess, turbo situation was going to be a mess, and mounting was also going to be a mess.
Everyone I asked said the stock sequentials of the REW were never going to fit the FC, so I was going to try a T62-1 with an ebay manifold I originally purchased for the FC engine. Garbage manifold wouldn’t fit the exhaust studs and the flange was warped. The turbo compressor housing had no markings so even that was questionable. But that was miles easier than dealing with the sequential control system, so I'm going single turbo and just forgetting that nonsense. Details I’ll leave for later.
Wiring was going to be a million times easier if I went single turbo and ran a standalone. I didn’t have the patience to sit down and scrutinize the FC and FD wiring diagrams long enough to make any sense of them, let alone marry them into a usable mess tying an auto FD ECU to a half manual FC half auto FD wiring harness to a mostly FD engine with a bit of FC in an FC chassis and no vehicle speed sensor. So I was going to just use a Megasquirt or something and wire it up myself, no big deal.
Mounting was going to be the most straightforward of the 3. REWs mount at the back of the engine instead of the middle, so I had 2 options: weld the subframe to accept the REW, or buy brackets to adapt the REW to the FC mounts. In the back of my head, the brackets sketched me out, so I didn’t want to go that route.
A friend of mine was prodigious at making Facebook weld **** pictures, so I asked him to concoct something for me. I ran the FC engine on solid mounts for a little while, so I was convinced solid mounting the REW wouldn’t be the end of the world. In the end, he came over and got busy:
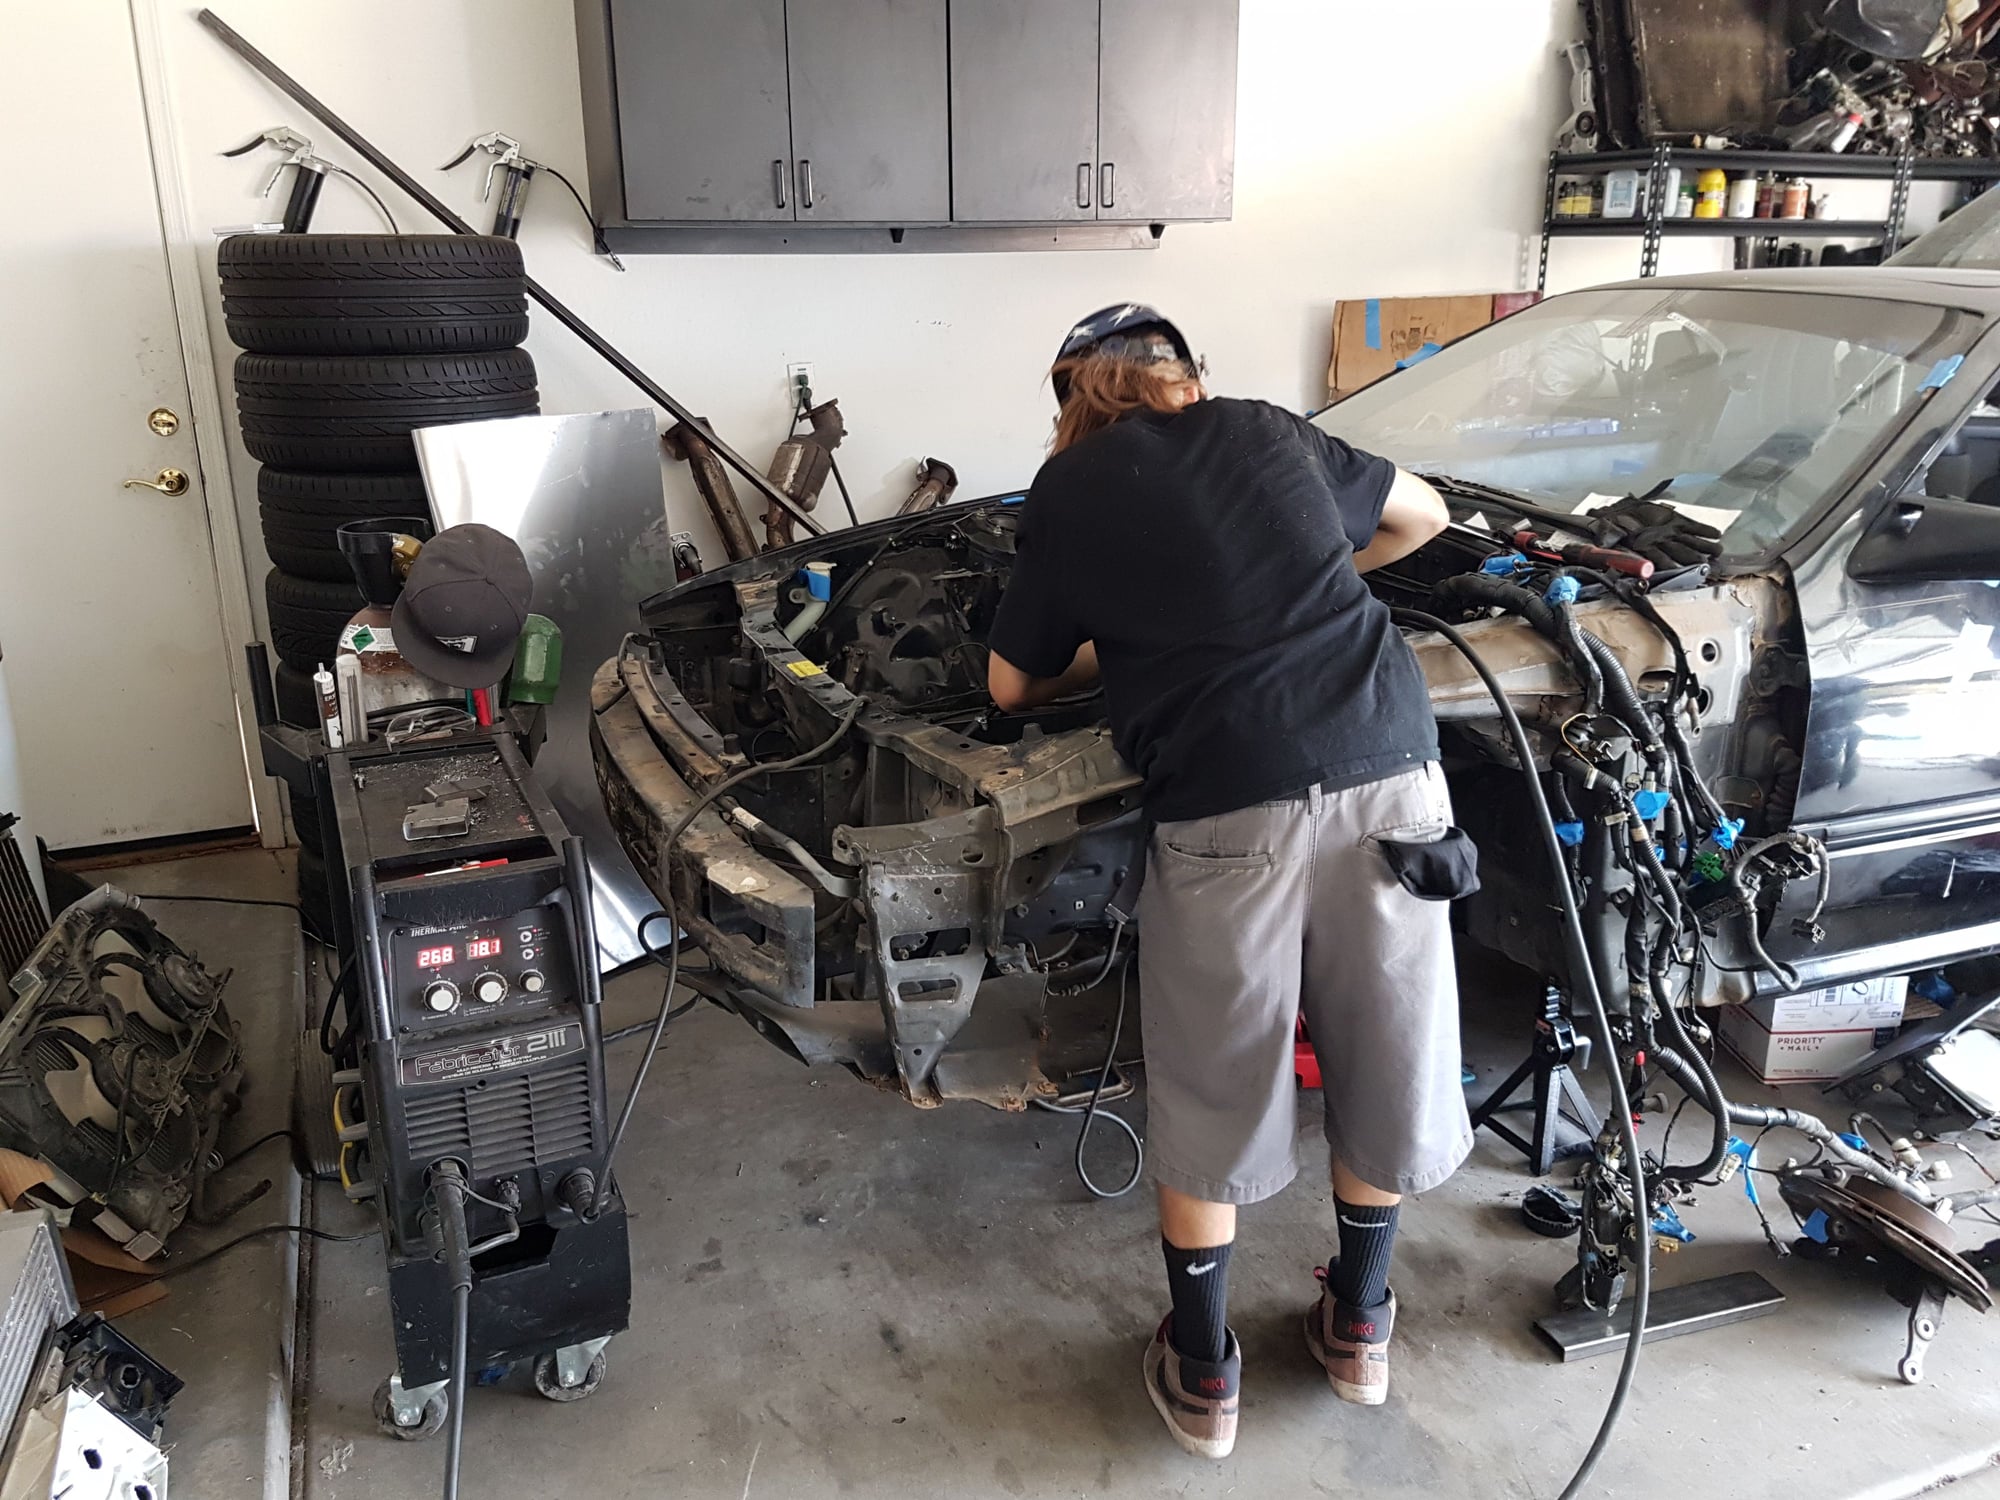
This is what we came up with.
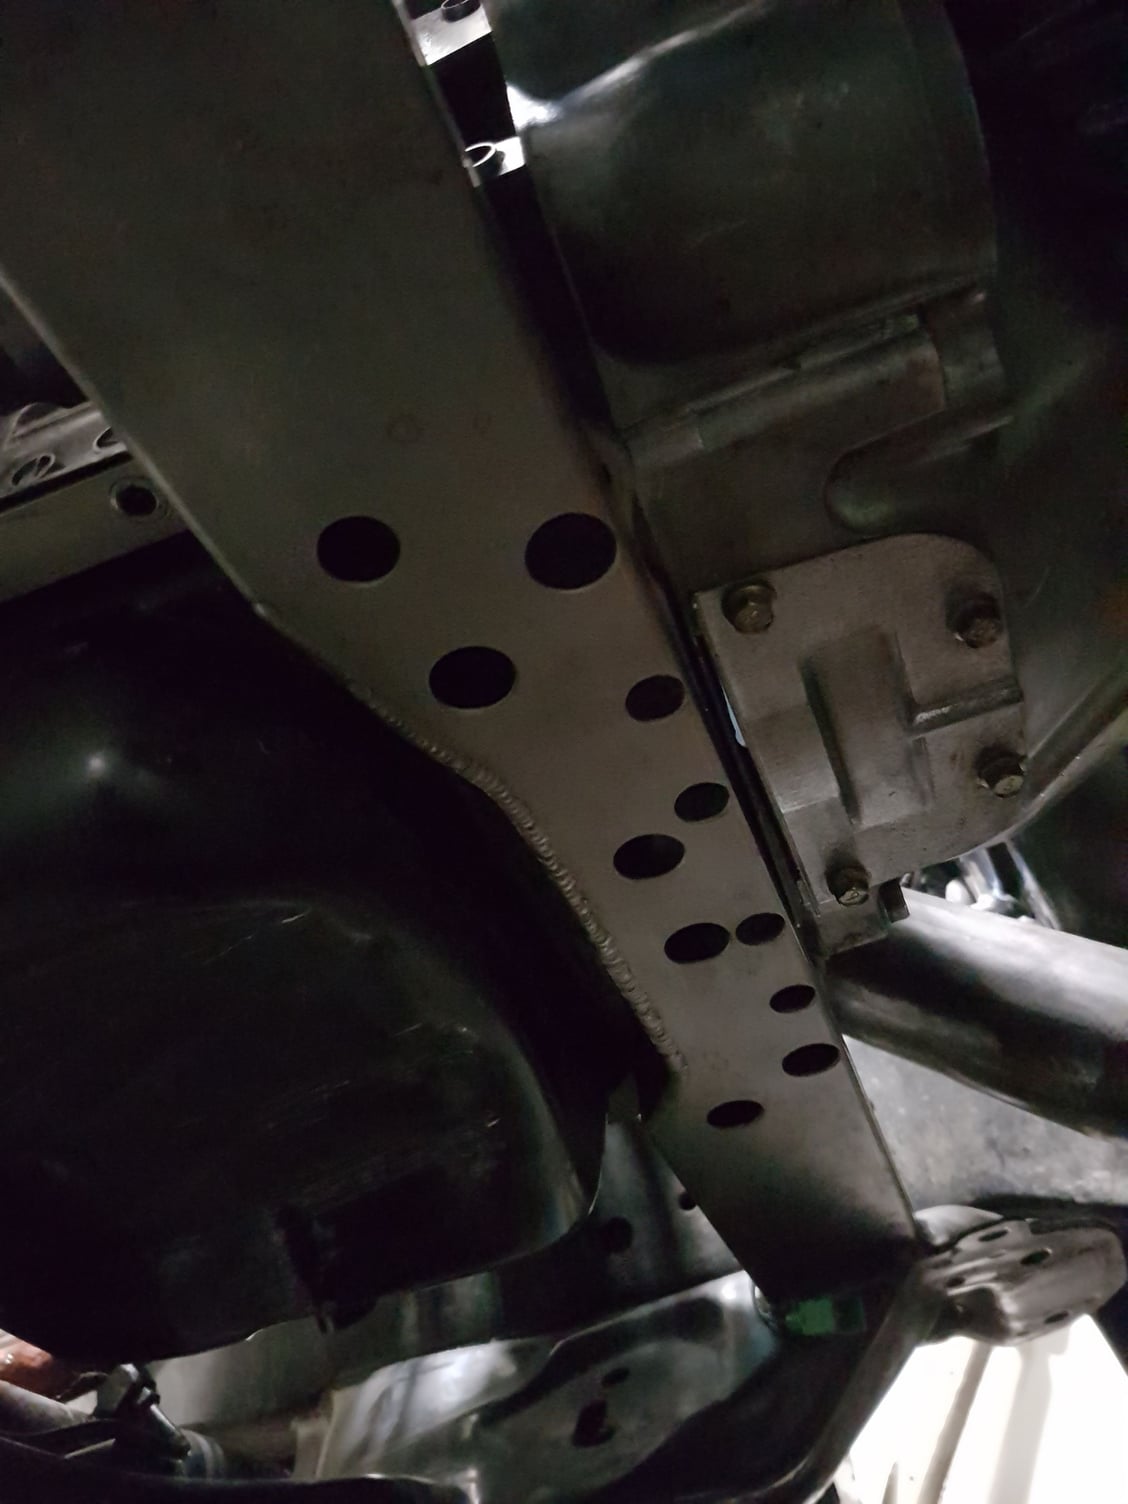
Not bad, eh? I balked immediately afterwards because, not even kidding, the next day, I went to school for thermofluids and the professor’s first example on conduction was about a car, and how you use rubber engine mounts to reduce NVH and prevent the engine from cooking the frame.
Whoops.
It was then that I began to get distracted.

Like, REALLY distracted.
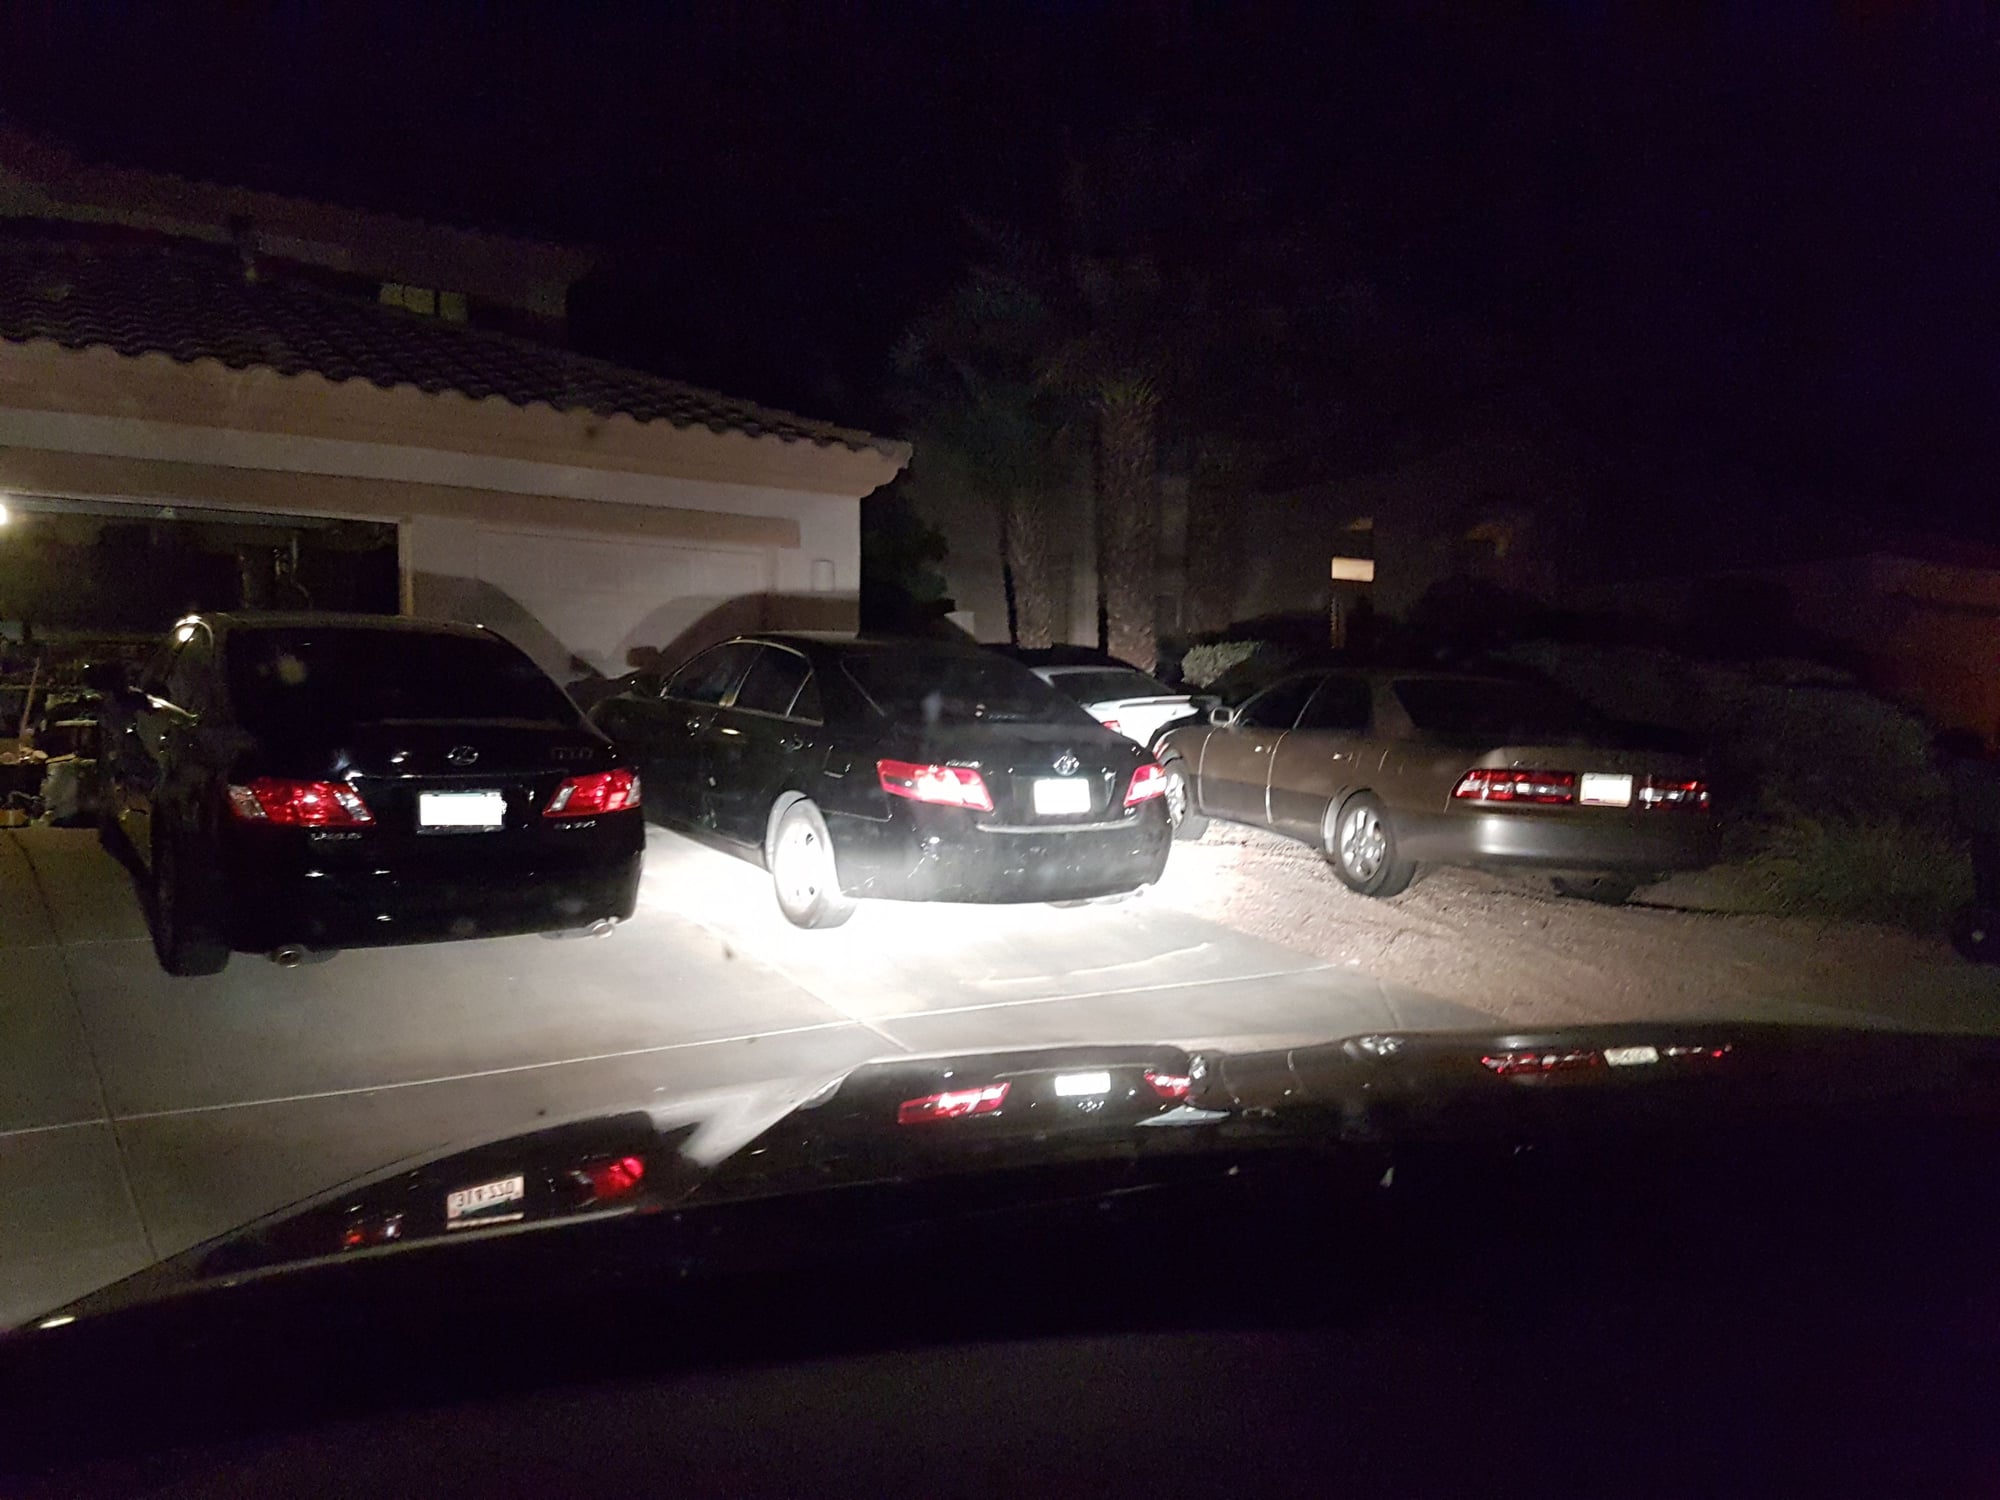
People have gotten it into their heads that I'm an actual mechanic and come to me for repairs, when the most formal training I've had was high school shop class and blowing up my own cars. Whatever. More money to channel into the RX7.
Well anyways, going back to school, that semester was particularly eye opening for me (both during class and when I got graded tests back, but for different reasons). There was more application in those classes and it reminded me that this RX7 was originally going to be an engineering project I could test new ideas on after I got it running. It’s just that the running part took (err, still going I guess) so long I forgot about everything else. That was when I decided I wanted this rendition of the RX7 project to be an engineering challenge. As much of that engine bay was going to be what I designed as possible. And because pride wouldn’t let me settle for anything less than the best this pain-in-the-rear could offer, I was going for as fast a car as possible.
This was right when the EFRs were taking the RX7 community by storm. They were (rather, still are) some of the most advanced, fastest spooling, well-engineered, technically impressive, and well-rounded turbochargers on the market. Of the bunch, the 8374 IWG model looked like the best compromise. It was an all inclusive package that wasn’t outrageously powerful and large like the 9180 and didn’t choke a rotary like the 7670. So, Turblown 8374 kit, let’s go. It was time to start saving up.
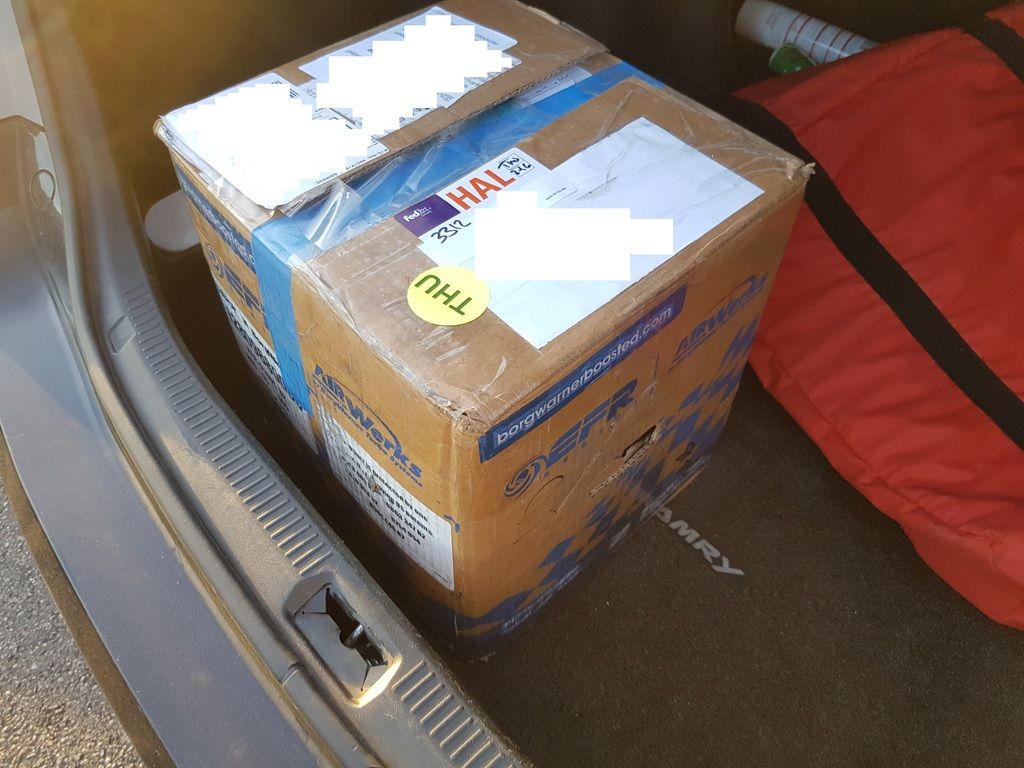
Midway, I happened upon a fellow forum member’s for sale post of a 9180 kit with Turblown’s manifold. At first, I thought it wasn’t for me, but eventually I talked myself into thinking “what the hell, who am I to say no to saving $1200 and having an extra 100WHP? IWANTIT”
(Fear my shitty paint skills)
So there we are. I now have an EFR 9180 IWG. After it shipped, the ramifications of what I had just done began to settle in.
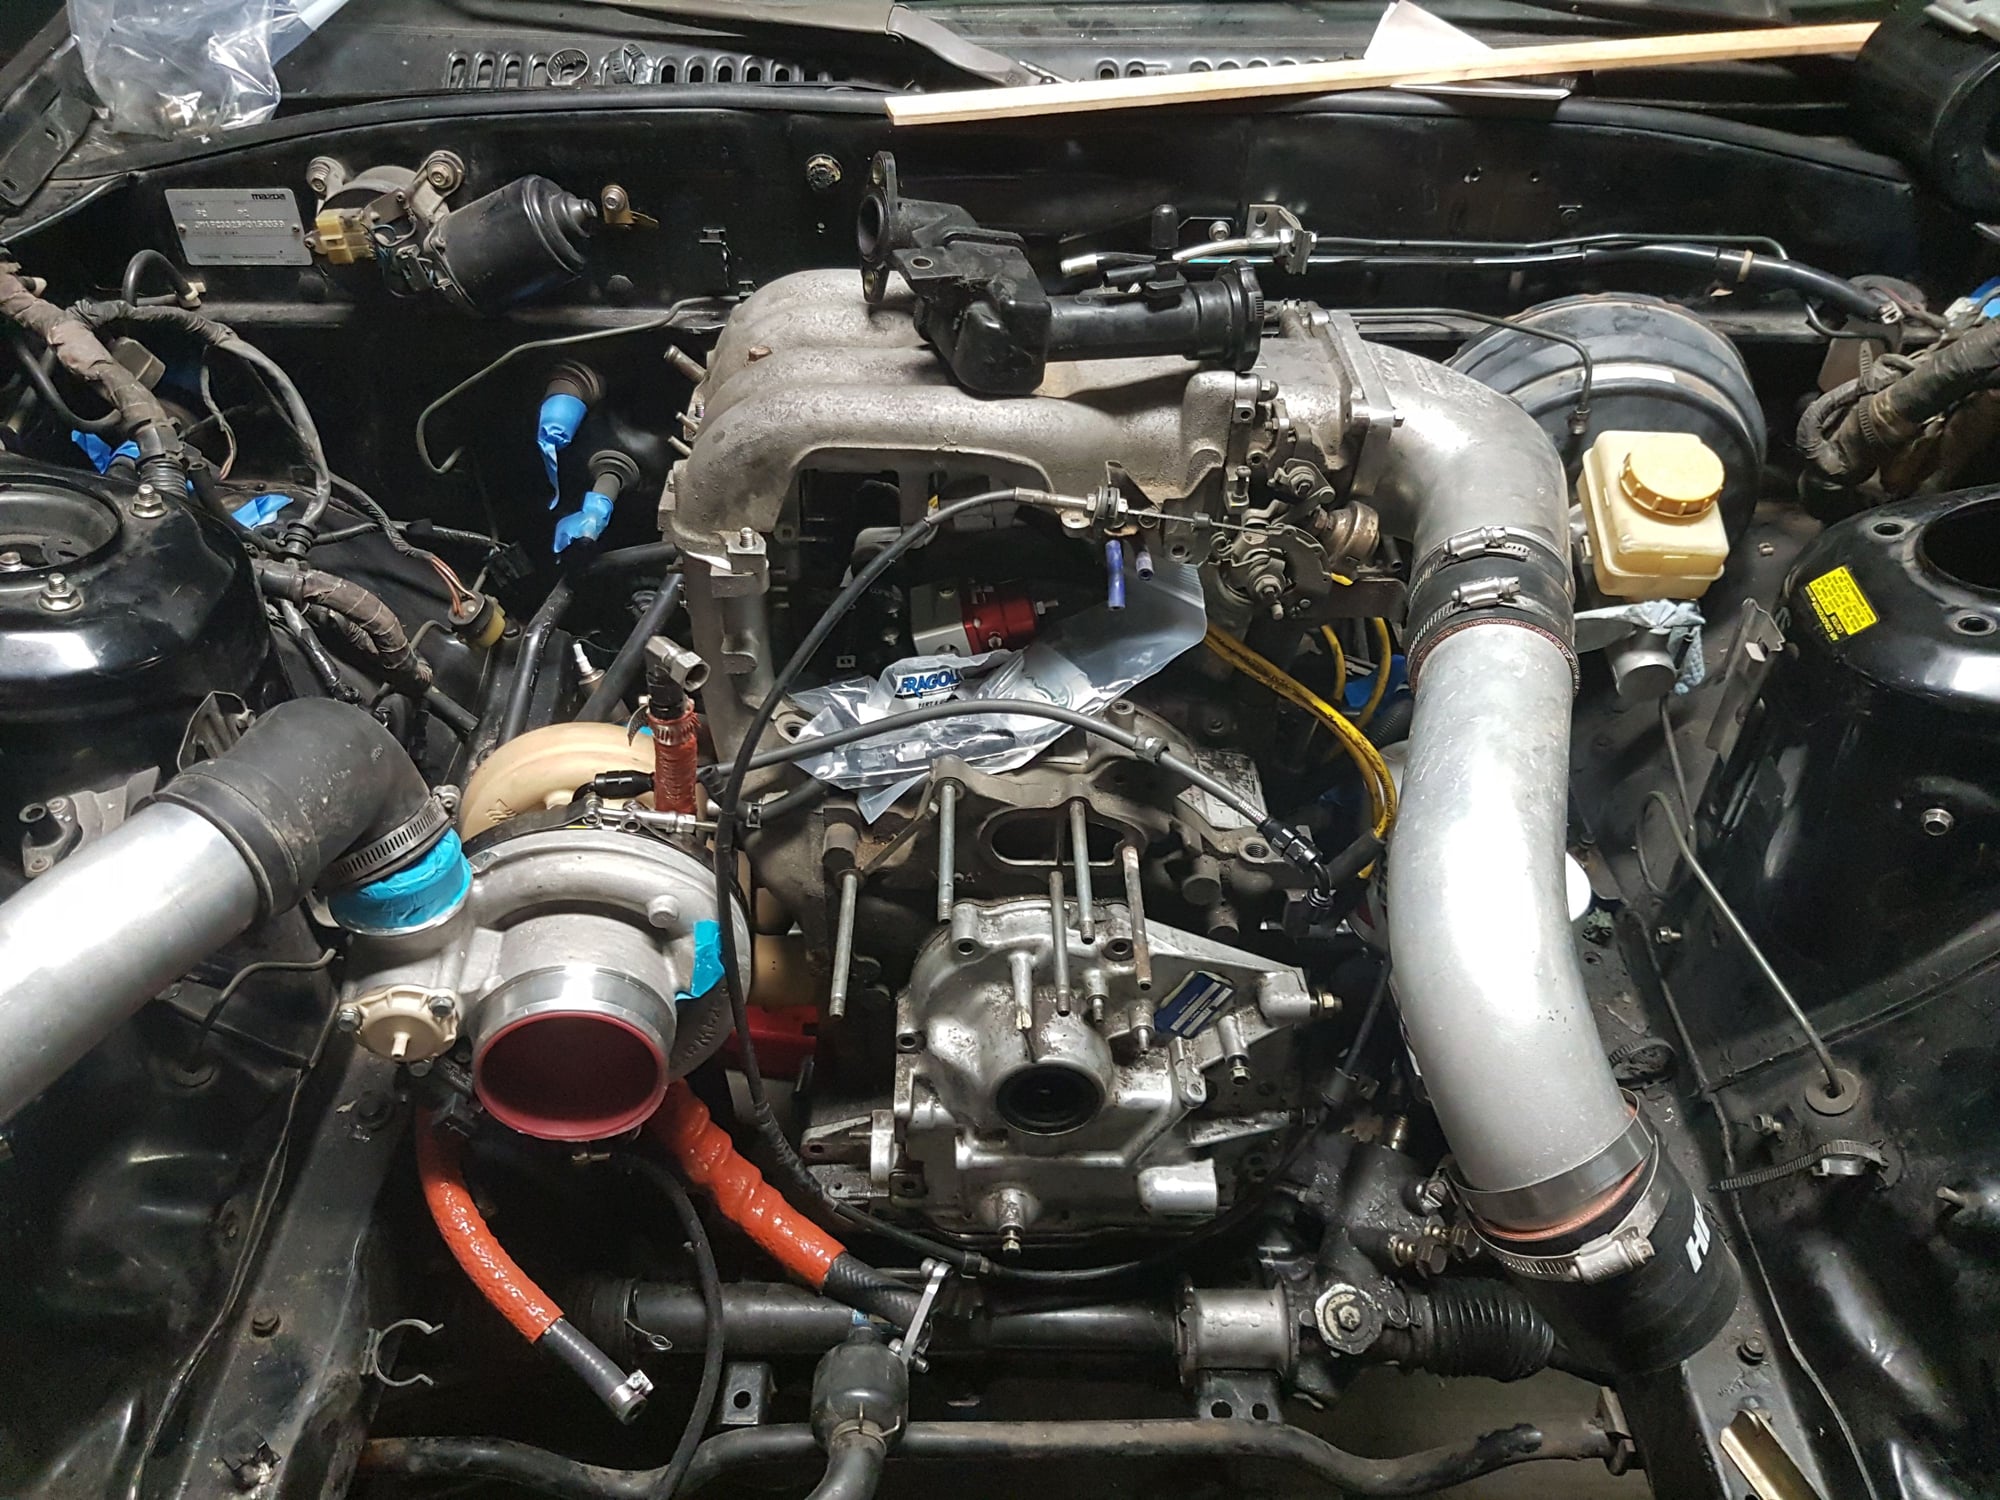
EVERYTHING was going to have to get jostled or upgraded to match this turbo. There was no way I was getting out of this without putting a hell of a lot more work into this car than I originally thought. But at the same time, the 3 year anniversary to when I first bought this car is coming up, and I want it running before then for sentimental value.
Thus, everyone, I am proud to introduce to you all:
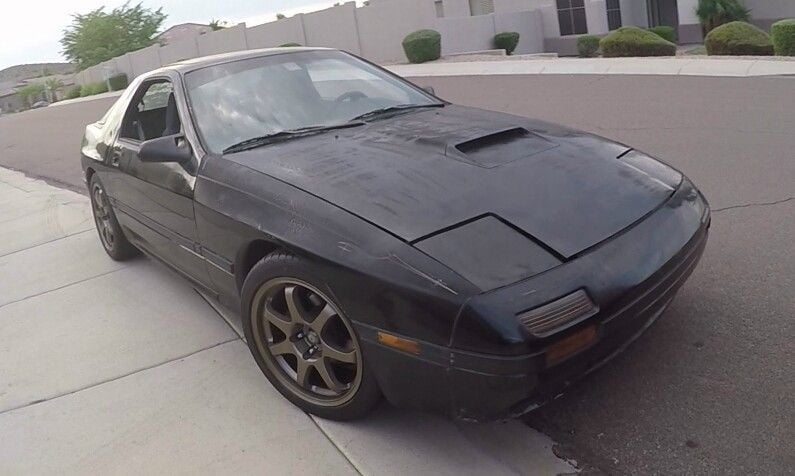
Project Rena Ver.3
Last edited by pzr2; 03-02-17 at 02:49 AM. Reason: To paint
#28
Thanks Hernan! Perseverance is key with these builds...
Anyhow, reminiscing time is over. Let’s get all engineer-sy on this bouch:
Platform: Rena – 1987 Mazda RX-7 Turbo-II FC3S, focus on the engine (all else can be addressed later)
Defining Criteria and Objectives:
1. Squeeze 550WHP or so out of a 2 rotor and embarrass the rich foreign exchange students at ASU constantly revving their endless number of Mustangs, GT-Rs, and Mercedes C-Classes.
2. It’s going to stay as a reasonably usable street car that won’t be impossible to drive across the country and pass emissions
3. But it should be robust enough to be thrown into a road race, driven at max attack, and survive hours of beating without doing anything excessive beyond fluid and filter changes
4. The powerplant should also be capable of driving 10 years or 100,000 miles under mild street conditions without needing a refresh. Factoring in race usage could bring that down to 75,000-50,000 miles.
5. Since I already have them, I’ll be using a 13B-REW with an EFR9180 0.92A/R IWG as the basis of this
6. Parts should be an exercise in engineering design. As much of it should be designed and built by myself as possible. Though, within reason. It shouldn’t affect performance, be wildly out of my fabrication skills or those I ask to help, or be excessively expensive comparatively than buying off the shelf for the sake of this criteria
7. And lastly, where it doesn’t interfere with the above goals, the engine bay should look as close to something Mazda or a manufacturer or a professional race shop would actually make. Someone who has no idea what an FC’s engine bay looks like should be able to peer in and not think there’s anything particularly suspicious going on (besides the turbo being big). So flashy parts should be kept to a minimum or hidden, and redneck hackery is resoundingly banned
Let’s go through this 1 by 1:
1: 550WHP and supercar embarrassing performance
• 550WHP should be easy. The forum member that previously owned the exact turbo I’m using put down 530+WHP out of an FC engine. The FD engine with its massive ports should be more conducive to this goal
• If not using water/methanol injection, alcohol or race fuel should be used to mitigate knock that is typically onset from using pump gas without AI at roughly 350-450WHP. Because of the emissions requirement part, all fuels that will destroy the catalytic converter are being tossed, and it should be reasonably available, so a flex tune on E85 will be used
• At stock weight with 550WHP, it should be able to keep pace with mostly everything you can buy from a dealership
• To give myself actual quantitative goals, I’m going to use stock GT-R metrics as my baseline: 2.7 seconds from 0 to 60 MPH, a standing quarter of 11.8 seconds at 120MPH, and a top speed of 195MPH (I’ve no idea how to test this, so I’ll probably revise this to matching its mile trap). Using the same tires as the GT-R
• The other nebulous reference goal will be coming within a second in the quarter mile of whatever my friend’s LQ4 turbo swapped G-body does (again, with appropriate tires). His current estimate is 10.5 seconds, so this will be a cake walk (the size of his turbo he picked indicates he’s lying though)
2: Street car usability and emissions
• The low RPM behavior of the engine should be smooth and refined. It shouldn’t sound like it’s half way dead just trying to idle, and starting from a dead stop shouldn’t be excessively difficult without stalling the engine. Excessive porting should be avoided or mitigated by tune
• The EMS should be smart enough to handle cold start well enough to allow someone to “hop in and drive”
• Side track: I’m a sucker for switches on the dash (look at me and my road-going wannabe airplane), so if I want to waste time and flip switches, I can, but I should also be able to leave everything in an “auto” mode that takes care of everything for me
• To handle both the power and not be a bear to get going from a stop, a twin disk with a sprung hub will be used for street-usable power delivery
• Because this is Arizona, I’m going to want A/C so I can take it to work without being drenched in sweat. Heat going into the cockpit from the engine should not be pervasive. Oh, and a heater: you’ll think “Arizona? Ditch the heater”, but the summers strip you of any cold weather resistance so you’re shivering at 50*F
• I don’t necessarily need power steering. I’ve driven many cars without it without incident, so this is optional based on engine packaging. But it would be a nice benefit for the road-race-for-several-hours criteria
• And it being a car to use on the street, I’d rather there be a complete interior that isn’t stressful to be in
• Emissions is going to be a bit of a fun problem. Arizona is quite relaxed about emissions requirements, and it’s basically a test for: evap canister? Cap test? Sniffer? OK, you’re good. The evap canister is staying in the engine bay and the cap is a cap, whoppity-doo. The sniffer will be the interesting part. I should have a smart enough EMS to run the car on a tune capable of passing emissions, paired with a catalytic converter, an electric air pump, and pump gas
• With an EFR, boost develops so quickly you do have to worry that the load test for the sniffer might trigger the boost and unleash its wild side, so if possible, there should be a boost setting as close to 0 psi as possible. If not, there should be a way to pin the wastegate flapper open at all times for when you go to the emissions facility.
3: Road race ready
• I’m going to make it easier on myself and say the redline is going to be kept at 8000RPM, soft cut at 9000 RPM, and hard cut at 9500RPM
• But as a metric, it should last 4 hours of continuous WOT usage
• Heat exchangers are going to take up a lot of real estate, with flow for the coolant, oil, intercooler, air intake, and A/C condenser to worry about. Being run on E85 should alleviate this though
• It should work flawlessly under hard cornering. So, a surge tank and a good catch can/ventilation system are necessary
• The extra strain on the engine means there should be a safety margin on the power output the block should be able to handle. I’m going off of some very crappy and incomplete empirical data that says: 600-650WHP is the limit for a stock REW block, 850-900WHP for a REW block with 10mm studs, no idea beyond that with 12.7mm studs or doweling
• Every component on the engine should hold up to this extra strain. So going the extra mile to do modifications like the external oil loop, using heat shields, using PTFE hose on pressure tested crimped assemblies, buying quality fuel pumps, being mindful of heat strain and soak in all parts, safety wiring critical fasteners, using rubber isolator mounts on heat exchangers, and creating failsafes to prevent catastrophic engine failure if something DOES go wrong (i.e. solenoids that fail in a way that limit boost) will help
4: 10 years/100,000 miles on the street
• For the 10 year requirement, I really just need to make sure the car won’t rust or corrode itself to death if it has to sit for a couple years. Having to take precautionary steps within reason (i.e., flushing the system of E85 and parking it with stabilized pump gas) is acceptable
• Wiring and fuel hoses are going to be the most susceptible for this requirement, so quality hose and extra attention paid to harness assembly is necessary
• For 100,000 miles of street use, I should be able to achieve this by refreshing the engine to brand new condition and using OEM quality or better parts. All internal engine seals are going to stay OEM Mazda and the housings are getting lapped, nitrided, and reconditioned as appropriate
• The car should be designed to alleviate cold start wear, stay sufficiently lubricated, and stay thermally stable while cruising at a temperature that minimizes wear
• Examples for the above point include using both the MOP (kept for cooling apex seals) fed from an external reservoir filled with 2 stroke oil and premixing (to reduce housing wear), enhancing coolant flow around the spark plug bosses, accelerating warm up without increasing wear, and minimizing drag on the engine
5: REW/EFR and recycling parts
• Again, just reusing what I already have. To sum, I have:
• 13B-REW from a 1995 Mazda RX-7, with unknown year REW manual irons
• Borg Warner EFR9180 0.92 A/R IWG Divided T4 turbocharger
• Turblown T4 IWG cast manifold
• Full Function Engineering primary fuel rail for 60mm injectors (it included a secondary rail that I’m not going to use anymore for a reason I’ll explain later)
• 60mm Injector Dynamics injectors: 2 x ID725s, 2 x ID2000s
• Aeromotive A1000-6 FPR (though I might ditch it because it’s bright farking red and for another reason I’ll explain later)
• GReddy throttle body elbow
• 4 x IGN1A ignition coils
• 2 FC oil coolers and some fittings for it
• A Fluidyne S4 FC aluminum radiator I may hack up for the core
• A GReddy 4” intercooler that I’ll probably hack up for the core
• Miscellaneous fittings, go fast bits, and crap accumulated from Summit Racing
• Miscellaneous stock FD engine parts
• Miscellaneous stock FC engine parts
• Lots of other stuff I’m forgetting
6: Engineering/fabrication showcase:
• This should explain itself. I’m just going to give examples:
• The brackets and such are going to be built and designed by myself. Most of them are going to start as 3D printed test pieces before transferring the design to the final material
• None of the hose assemblies are going to be off the shelf. Mostly because of engineering hubris since I always think I can do it better (but really, it’s just because I have to include something else, like a second oil cooler or a flex fuel sensor)
• Simpler fittings I’ll make myself, like the turbo oil drain flanges I can have done by waterjetting the shape and holes, then tapping in NPT threads
7: Professionally-built/OEM appearance:
• Again, this should explain itself. I’m just going to give examples:
• Flared tubing instead of hoses in the engine bay, where I can
• As few brass fittings as I can manage. Sensors get lenience
• No flashy anodization or powdercoating. Unless black, or silver
• Professionally wrapped and protected wiring. Good electrical connectors: because of my own biases, as few Weatherpack connectors as I can manage, none of those generic red/yellow/blue crimp connectors, or Molex connectors, ring terminals, or that sort of hackery. Especially stressing that last point for the battery terminals…
• Heat shields instead of thermal wrap (or at least, thermal wrap hidden under a heat shield, lol)
• Stainless steel socket heads and such are OK, but hardware store bright zinc plated fasteners are an eyesore I can’t accept
Phew, that was a mouthful. Now that the criteria are set, here’s a skeleton view of the main tenants of this build (I’ll explain later):
• REW engine, mildly ported, external oil loop, water jackets ribbed and flow matched, external supplemental coolant feed to rear spark plug bosses, reconditioned housings, lapped and nitrided plates, Turblown 10mm studs, Pineapple Racing solid one-piece dowel pins, rebuilt with OEM Mazda seals, and solid mounted to a custom welded subframe
• REW rotating assembly with RX8 eccentric shaft and stationary gears, rotors face and side clearanced, and balanced with the flywheel, clutch, front stack, etc. (Clutch and flywheel from an Exedy Hyper Multi cerametallic twin plate kit – ZM-012SD) Considering ceramic coating the rotor faces?
• EFR9180 0.92A/R IWG Divided T4, Turblown cast manifold, ported wastegate, Turbosmart IWG-75 dual port actuator, MAC 4 port solenoid, 3 inch downpipe
• Elite Rotary intake manifolds modified with vacuum nipples and for an ISC valve, garolite gasket/phenolic spacers, ceramic coating and heat shielding, to a ported and polished throttle body and GReddy elbow with a GM IAT sensor
• FFE primary and -8AN 4 port secondary fuel rails for 60mm injectors, 2 x ID725s, 4 x ID2000s, Radium inline FPD, Aeromotive A1000-6 FPR (?), flex/temperature sensor, fuel pressure sensor, stainless steel tubing at the engine and Earl’s UltraPro hose to the firewall, custom surge tank, S5 fuel tank and straps, and potentially 4 Walbro E85 460LPH pumps (fuel pumps up for debate, as is fuel routing as discussed later)
• IGN-1A ignition coils with built in ignitors in CNP configuration to MSD 8.5mm custom ignition wires to Denso IRL-0131 spark plugs
• Oil is external loop as mentioned, front pressure regulator is retained, dual FC oil coolers with thermostats included, returns to dual oil filter pedestal for HP1 filters which has an oil temperature sensor, splits to front iron and old oil pedestal location which still has access to rear oil pressure regulator. Pick up is flared, pump housing ported, fill neck is a custom baffled piece, and system is ventilated at both the fill neck and the rear turbo drain to a Radium air-oil separator that has an outlet to the intake and a drain to the front cover. Using OEM REW sump with Banzai brace, SBG studs and nuts, and Hondabond HT RTV. MOP retained, externally fed, using stainless tubing
• Coolant will use a custom water pump housing adapter to -16AN fittings to the cabin heater, AOS heater and aluminum radiator in a v-mount, then to a Davies Craig EWP-150 where it splits/merges to return to the block, cools the turbo, and returns for the AOS
• GReddy 4” intercooler core (again in a v-mount) with custom endtanks welded on, to custom 2.5” intercooler piping
• AC compressor and bracket retained, with custom AC lines and factory location condenser and filter/dryer. Power steering pump dependent on space (EWP might be mounted there)
• Haltech Elite 2500, custom wiring harness made by yours truly, mostly GM sensors, IRP rebuilt alternator on a custom bracket, battery relocation to the passenger rear bin
• Almost forgot: pulleys are from the GReddy air pump delete kit or stock units (if I can manage to work in the power steering, I’ll get an underdrive pulley because that’s just how I roll). Belts are whatever I can scrounge from the parts store that will fit before I try and find something that won’t snap with abuse
Other stuff I already have and will install. These aren’t as relevant since this build is mostly focusing on the engine for now:
• Eibach lowering springs
• Racing Beat DTSS inserts
• Energy Suspension polyurethane bushing set
• Steering rack either depowered or refreshed based on if pump can fit
• New axle boot and nut because it needs them
• Subaru Legacy master cylinder and booster (needs paint, a new reservoir, and lines to adapt)
• MX5 proportioning valve (OK, admittedly I don’t have these yet)
• Russell braided hoses and speedbleeders
• Sparco R353 (I think, I got it used) with generic hub adapter
• A Sparco 5 point harness I no longer want to install due to hassle (I don’t have a harness bar or a rear strut brace or even the fifth strap since that was lost in transit)
• S5 rear tail lights
• S4 convertible Sport spoiler
• Some black interior pieces and carpet
• Miscellaneous gauge cluster ricing pieces from a brief moment of idiocy I had from not wanting to work on my friend’s FB or my own FC
Alrighty then, good enough. I’m done typing up blocks of text, so in a few days, I’lll go back to stream-of-conscience posts and build updates, so the organization in these last posts is going straight out the window.
#29
That's a tedious build man, you're right in regards to perseverance! On top of an engineering course load to boot. I just picked up the same car, color interior etc. Good luck!
#30
I feel your pain I bought a j-spec S5 T2 engine (thin-cast) engine from japan and found out all 3 irons are shot. Had to drop over $1400 on 3 brand new irons.
If you're looking for rear iron only, Atkins sells brand new Thick cast irons for under $500. Which is a little more than someone would want for a good condition used one.
http://www.atkinsrotary.com/store/Ro...st-Iron-Plates
If you're looking for rear iron only, Atkins sells brand new Thick cast irons for under $500. Which is a little more than someone would want for a good condition used one.
http://www.atkinsrotary.com/store/Ro...st-Iron-Plates
Thread
Thread Starter
Forum
Replies
Last Post


