When you click on links to various merchants on this site and make a purchase, this can result in this site earning a commission. Affiliate programs and affiliations include, but are not limited to, the eBay Partner Network.
There are a few issues althogh minor, hopefully. The hub is frozen to the rotor due to galvanic corrosion, that should be fun. Getting the slpash guard in the wheel well and on the underside resulted in some of my first broken screws. The sub zero starting system needs a refurbish and a good cleaning. I pulled off the heat sheild for the exhaust manifold and there aren't any solutions for another.
The other side of the underbody is being prepped to spray over. The trans mounts are ready to be installed when ordered. I removed some bushings and I also did some not so great polishing.
The front brake is off and the brake line is good and not rotten. I will need to get my spare set of four piston calipers prepped and painted soon. The picture of the front strut is off and partially rebuilt. The front sway bar is off and being prepped. This will start to slow down some do to money supply. There might be some detours on the way, I suppose we'll see. I will order more parts tomorrow, I wish that I could order the remaining front end parts but that isn't going to happen.
I painted the passenger caliper. I wish that I could get this cleaner, I will try and see what happens. I do have an extra set if needed, more pics to come.
I finished one of the front calipers. I do believe that I an missing one part still besides the bleeder. The part is usually stainless and is on the inside section of the caliper. I did not split the caliper,time will tell if this was a mistake. This brake is from the spares that I had. The two off the car have issues. The one has a stuck piston. and the other one has all the parts attached still. They seem very stuck on there.
I really had no plans to take off the bumper. I found crash damage that can not be ignored. I took apart the front bumper. I also took off the driver fender to be dent repaired and home painted. If you take off the bumper under the cover, be extremely care not to break off any bolts. I broke two off on the bottom side and the fiberglass bumper is stuck until I drill out the broke screws. I am really such a huge novice when it comes to autobody work. I do have some metal fab experience from my old work so, we'll see. I need to drill and grind some welds to replace two peices that were bent up pretty badly.
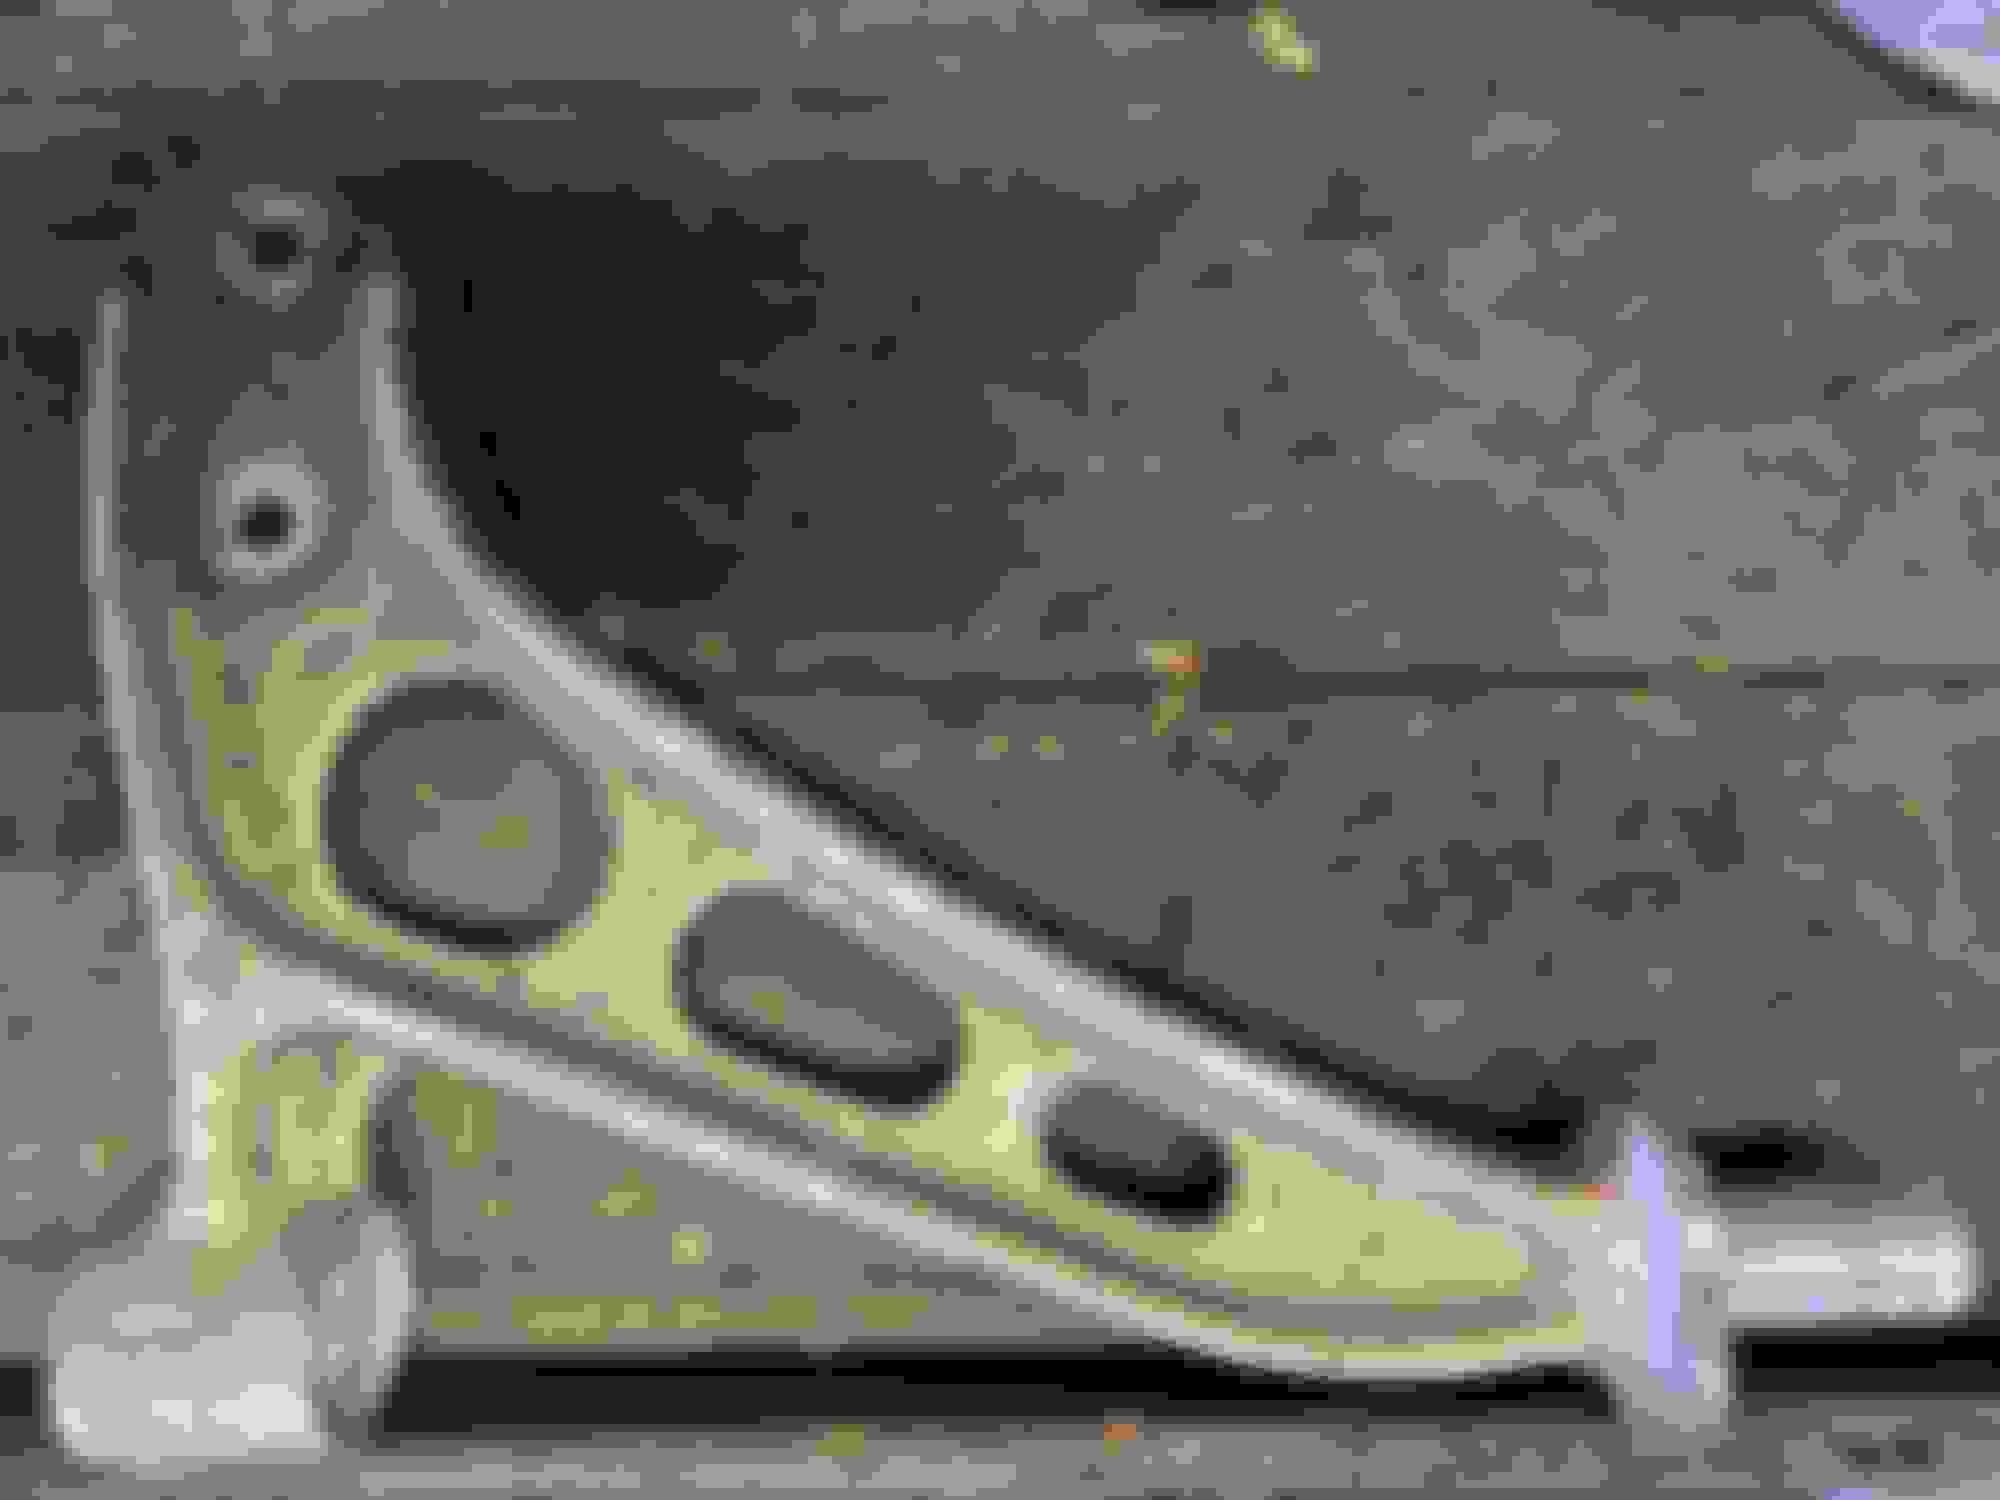
As and aside to the front end. If you are having trouble taking off the inner tie rods. use a pipe wrench, it worked like a charm.
Now for the part I mistakenly expected to be able to do with the transmission in the car. Someone please correct me if I am wrong. The mount was not designed to be removed and installed with the transmission in the car. I do not recommend doing it this way. I did manage to get the bushing in despite having issues initially.
Clean out the inside of the mount.
Put in some anti-seize. It lubes the surface and make removal easier when needed.
Line up the bushing and the device used to squeeze them together.
Add the bushing to the inside section.
I assembled the whole part loosely except for the above. I then screwed it loosely to the uni-body. The mounting bolts for the transmission to the first bracket needed to be fished in and carefully finger tightened. Finish tightening the remaining nuts then the four bolts on the uni-body. Holy smokes are my hands sore now.
I added the exhaust bracket too.
Edit: I put the washer on the mount in upside down.
This project is slowing down some due to the front end work. I will drop sub-frame in the front. It seems that some here think it can be done with some engine support from below. I will replace the motor mounts, some hoses and similar, take off the exheast manifold and have someone fabricate a heat sheild, paint and rust treat the sub-frame and replace the steering rack bushings. I still have more electrolysis to and more painting, plus painting the unerside and the wheel wells....... there is a lot of work yet. I might not drive this car this year. It's not what I had planned but, it's ok.
This project is slowing down some due to the front end work. I will drop sub-frame in the front. It seems that some here think it can be done with some engine support from below. I will replace the motor mounts, some hoses and similar, take off the exheast manifold and have someone fabricate a heat sheild, paint and rust treat the sub-frame and replace the steering rack bushings. I still have more electrolysis to and more painting, plus painting the unerside and the wheel wells....... there is a lot of work yet. I might not drive this car this year. It's not what I had planned but, it's ok.
when i did mine, i put a floor jack basically in the flat spot right behind the oil pan. it works fine, engine is pretty light
there are also those FWD things that sit on the fender lip and support the engine from the top.
if you were quick you could use an engine hoist, although those like to sag overnight, sometimes
On this episode of "I think I am doing to many things at once", I am nearly in over my head now. I am still fighting though, one hour 5 days a week and more than 5 or 7 hours, one day a week.
The front bumper is off now too as is the front driver fender. I took out the radiator, oils cooler and lines, cooling fan, water pump, front sub frame, brake and clutch master cylinder, clutch slave, brake booster and others including some cleaning. I started replacing the lower stay on the driver side and it is not going so well.....This is going very slow now due to the cleaning too. I really have trouble leaning over a car for to long. My back gets stuck and it is very hard to straighten back out again. I need to take a lot more breaks. Otherwise, I look young for 47, I just have a back of a 75 year old.
It had been dirty for so long that I forgot the the spark plug holes are labeled. I will try to post the pictures that I have a little each day as I am really far behind now.
I am keeping the AC, OMP and power steering I assume. There is some method to my madness. If anyone sees something worthy of criticism or there is a 'please stop now, for you know not what you do" moment, please tell me what's up. I am certainly not a professional, especially with body work.
I took out the brake master cylinder and booster to have space to work in that part of the engine bay. After redoing so much of the brakes, replacing the master seemed like the right thing to do. I gave this booster some paint, once again.. not perfect. It's just better than it was. The first picture is after cleaning with a wire wheel. The next two are after soaking with Rust Kutter. This stuff works really well on some things, like this and ok on others. The last are after the paint.
I finished another spring. These will be the first thing to be replaced after this gets officially inspected and on the road. The fist two are after a light sanding. The third is after electrolysis and the fourth is after primer and paint.
And some more random things get the evap o rust treatment, Rust Kutter and paint. I made the decision to not have any engine compartment part done in silver. This will all be done in Graphite wheel paint. The are a couple things that should have been black, like the hood latch.... I might paint it again. Eventually all parts will bet the factory treatment when the engine gets replaced with my spare. I would like to do a very modern 13b build... we'll see....
Not this
This
I hit some speed bumps along the way and will explain some of this stuff later.


 I do not recommend doing it this way. I did manage to get the bushing in despite having issues initially.


 If anyone sees something worthy of criticism or there is a 'please stop now, for you know not what you do" moment, please tell me what's up. I am certainly not a professional, especially with body work.


