
6 Port Turbo

Thread Starter
Full Member
Joined: Mar 2012
Posts: 130
Likes: 0
From: Lynnwood Wa
6 Port Turbo
Ok, I have asked lots of questions about my "6 port turbo plan" And i have been told lots of different things and have had lots of different opinions. So let me just say, I don't know exactly what I'm doing. But i will be doing everything i can to make my build as reliable and not stupid as i possibly can. I will most likely not be using this Build thread for asking questions, they will be asked else where.
So let me introduce myself, My name is Sean. I live in Mount Vernon, Washington and i am currently attending " Skagit Valley Community College" For my ata degree in diesel Mechanics. I'm in it for the money, i personally prefer gasoline engines.
My plans, are to successfully take a s4 n/a 6 port engine and port match my TII lim, and swap all necessary parts from the blown rotary to the n/a. I plan to run the engine on 8psi using ALL STOCK PARTS including my rebuilt s5 turbo.
My plans after that, is to purchase a megasquirt ecu and harness, and 720cc primary and 1000cc secondary injectors, along with an upgraded bnr stage 3-4 turbo on 14psi of boost or more, with a FMIC and water injection along with a walbro 255 fuel pump and of course an afr an egt gauge.
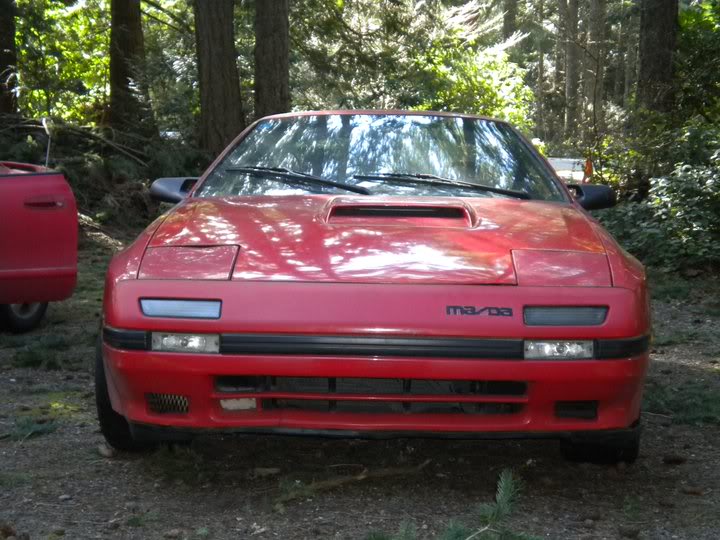
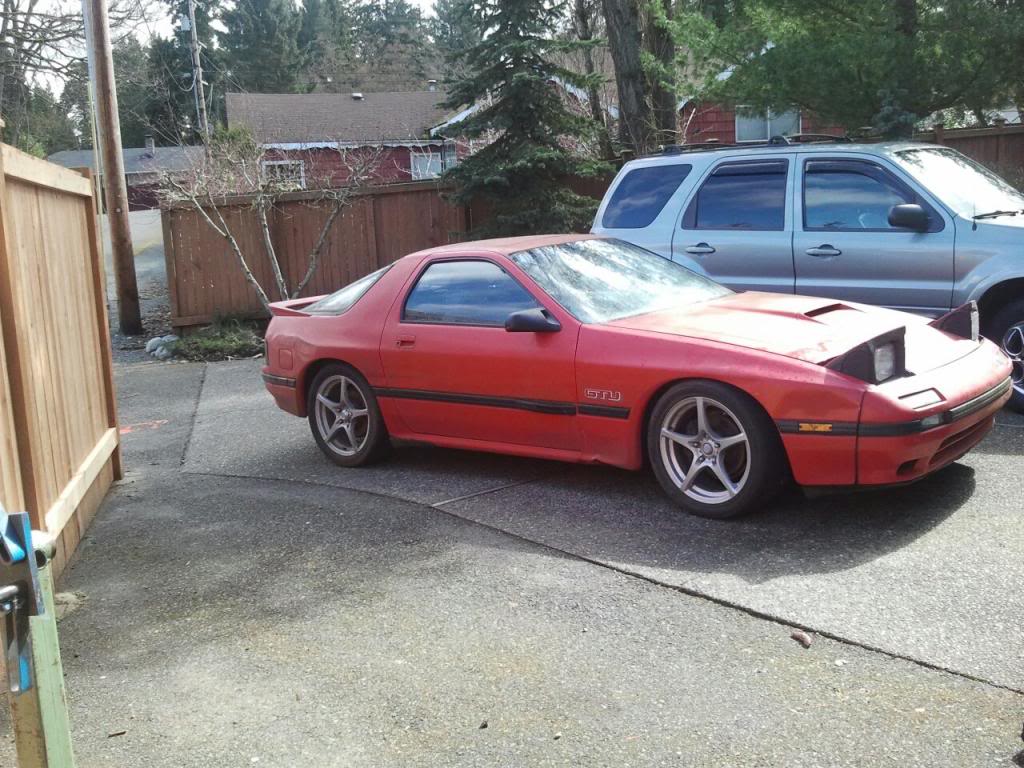
I purchased my 1988 rx7 GTU in April 3rd 2012.
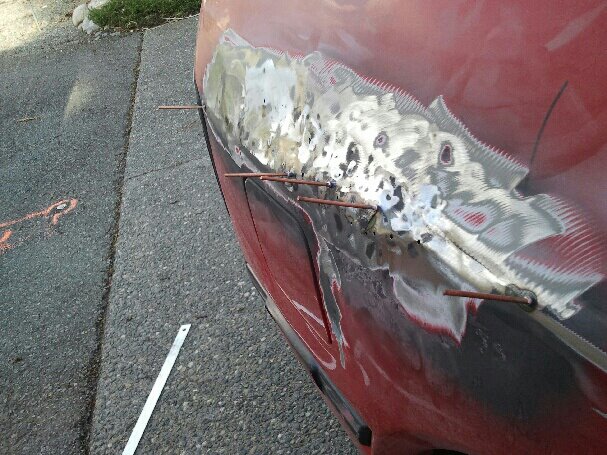
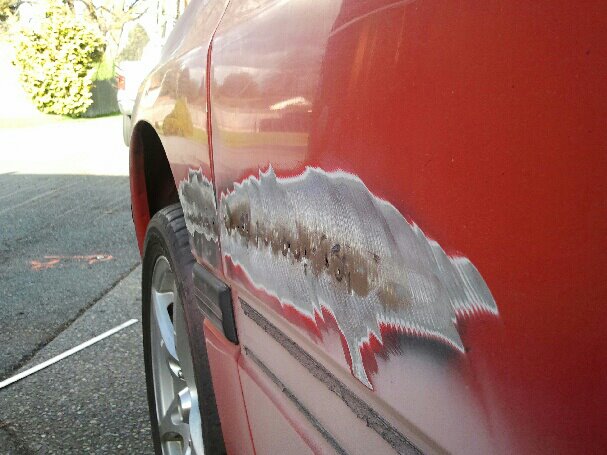
The cars condition was not great, but i saw it as a project car so it did not matter much to me. The passenger quarter panel had some previous drifting damage, looks like someone slammed into a pull. The passenger door looked like someone fell asleep at the wheel and ran into a guard rail, the fender also looked like that was a result of that as well The front bumper has a huge crack/ break, the rear bumper is warped from the exhaust. The paint is also faded, quite a few dents and dings.. So the exterior is not great at all, i wouldn't even call it good.
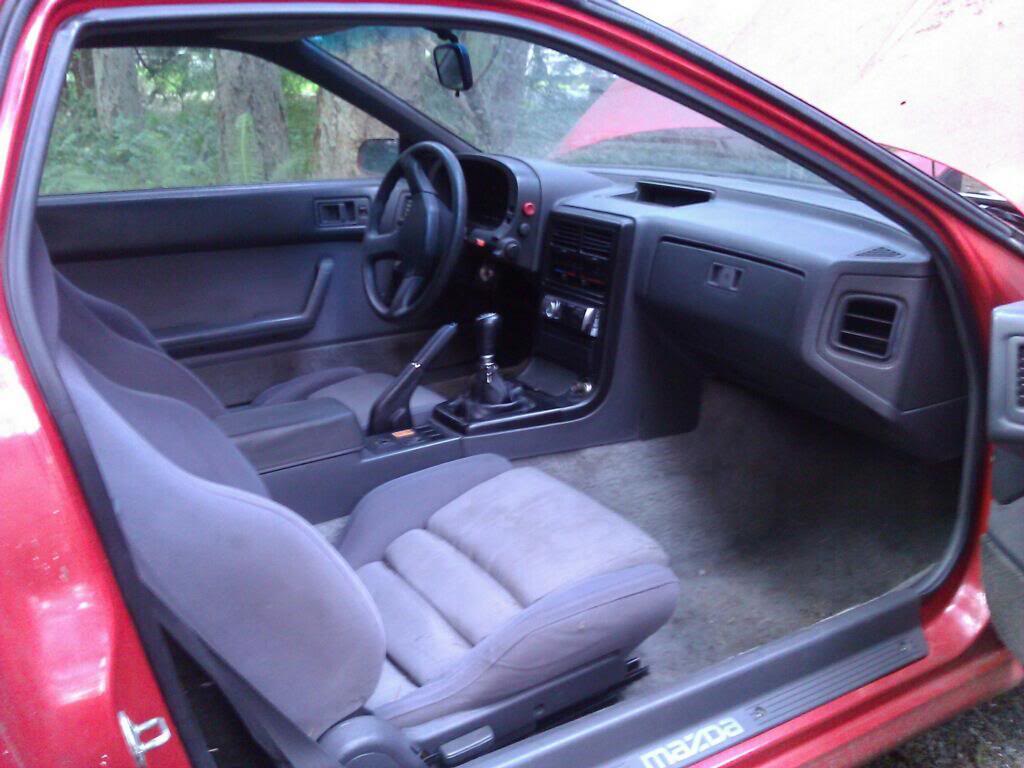
The interior though, was pretty damn good for a 1988, light wear on the drivers seat, and some slight stains on the carpet. ONE OF THE MAIN REASONS I BOUGHT THE CAR, was because of the interiors condition, and absolutely all of the electrical inside the car worked perfectly.
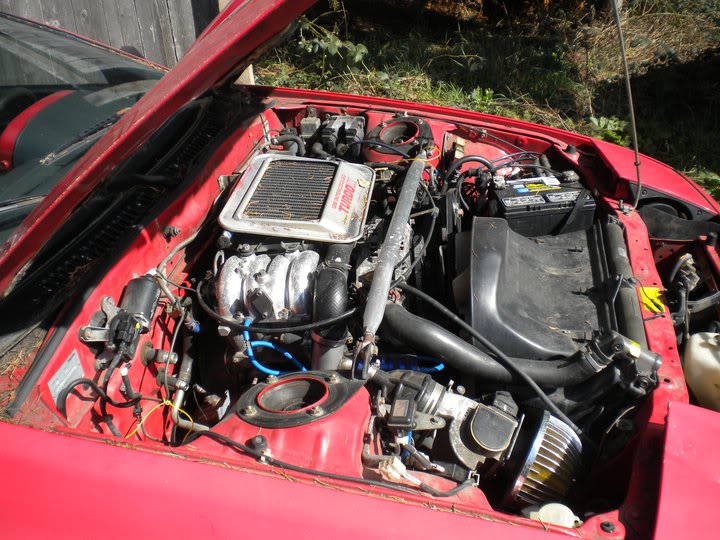
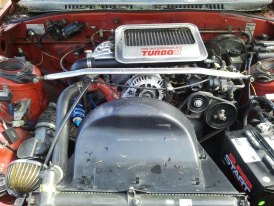
So under the hood of this wonderful rx7 i purchased , was a nice old 13b s4 turbo rotary engine, I later found out that it was an s4 turbo motor and i also found out it had the s5 turbo setup. Im still not sure what ecm was running the motor, im assuming its a stock s5 ecm. All emissions were removed, there was a aftermarket bov on the piping to the top mount intercooler. It looked as if it was the original N/a harness used. So this was defiantly a 13bt swap at one point. upon disassembly i found that the flywheel on the engine was a s4 na flywheel, so pretty sure the stock gtu transmission and lsd differential is still there.
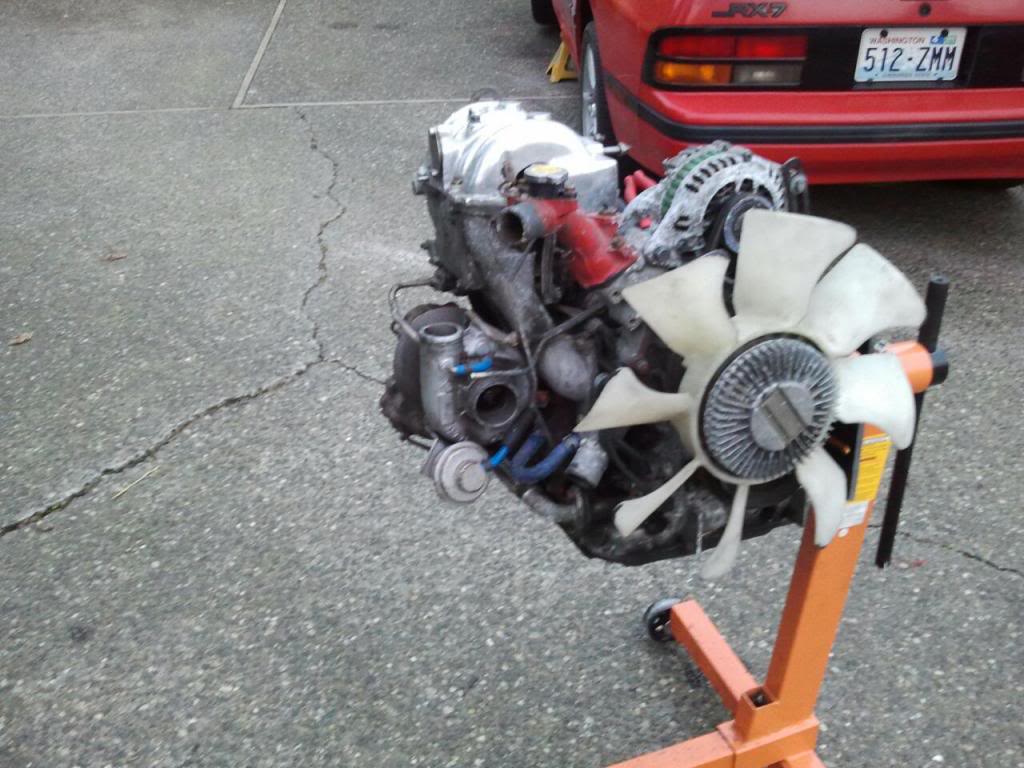
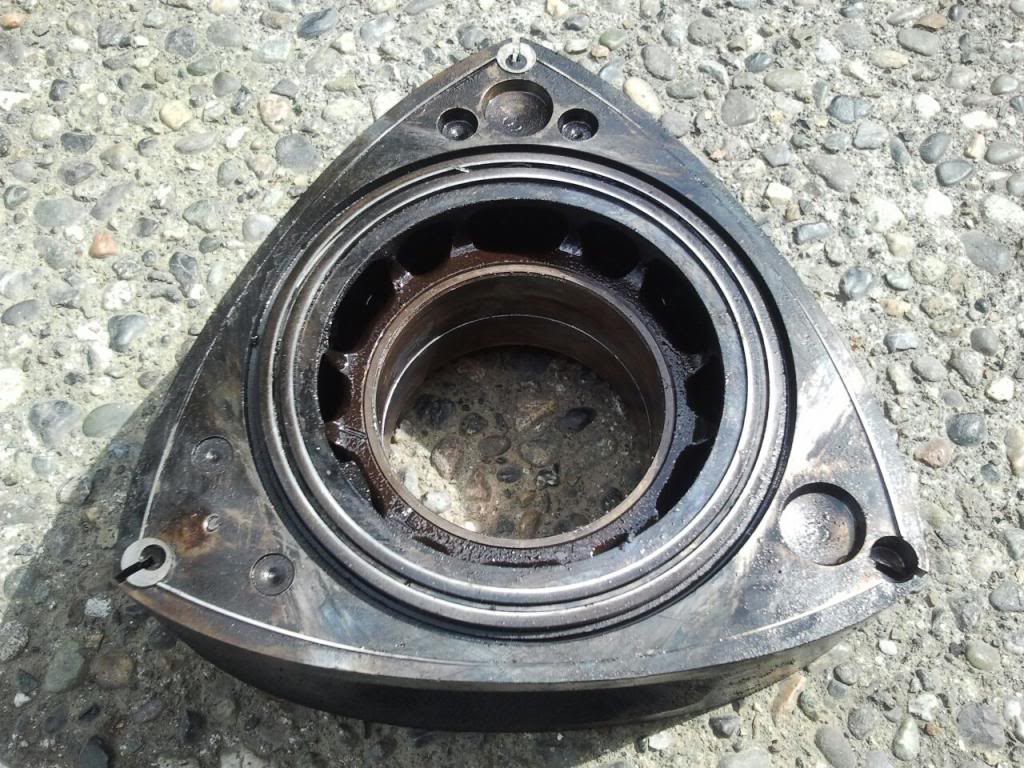
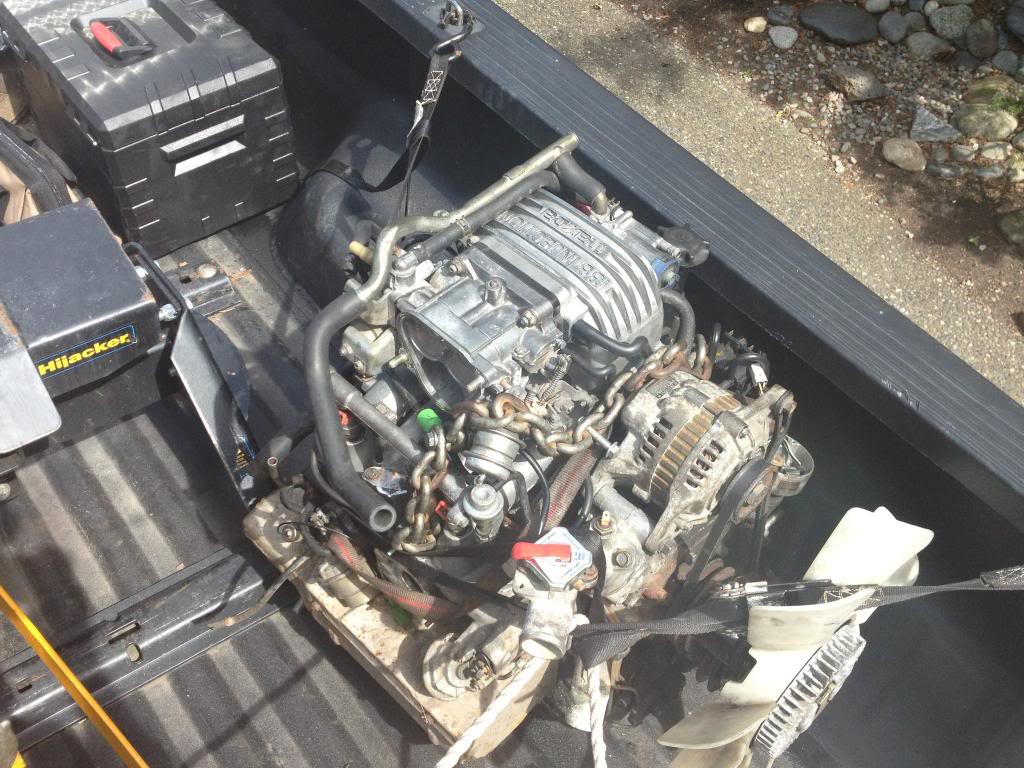
What i found out about the engine, I did all the compression test first thing and found the front rotor to be dead. I will let the pictures do the talking.
This build thread will be very stretched in time, as im currently in college and don't have much time or money. But my projects keep me going, thats why im not waiting.
Now for the pictures.
Here are the pics before i bought it sent from the seller.
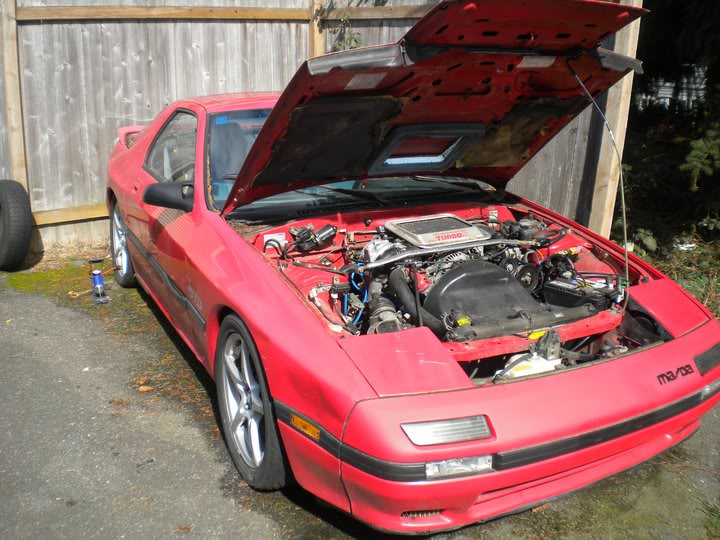

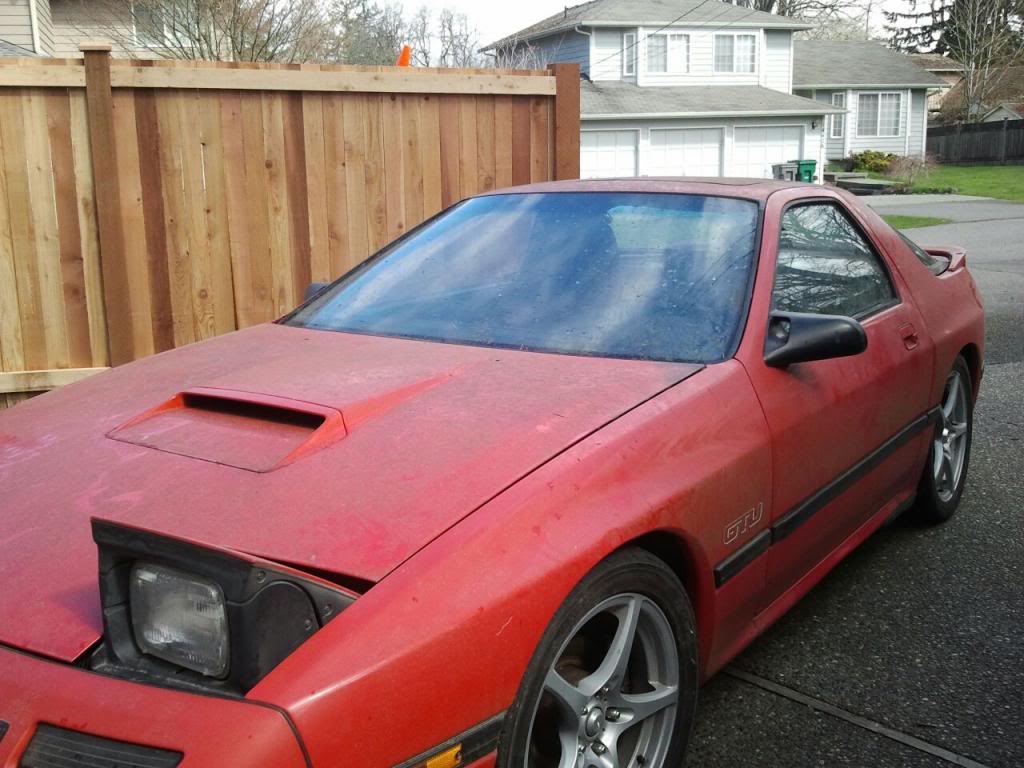
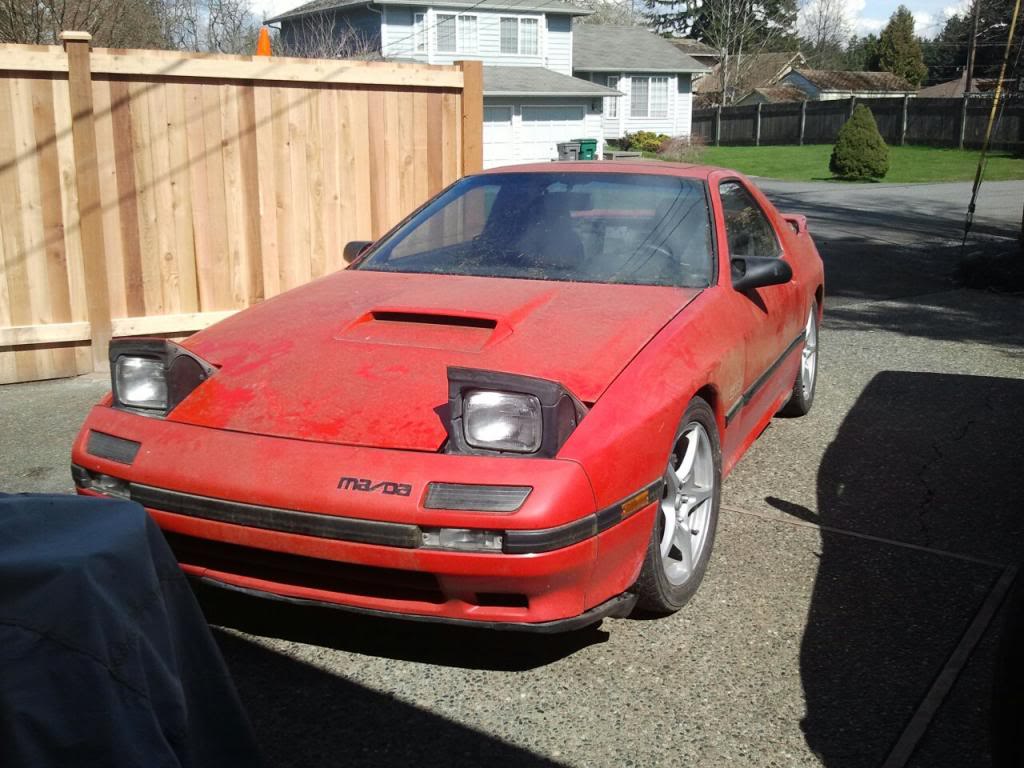
Here are some pictures from after i bought it and before i touched it.
After i cleaned it up a little and started a little body work, I FORGOT TO MENTION. I will be installing a GP Sports body kit on this car and most likely be painting the car this summer, opinions on color MUCH APPRECIATED.
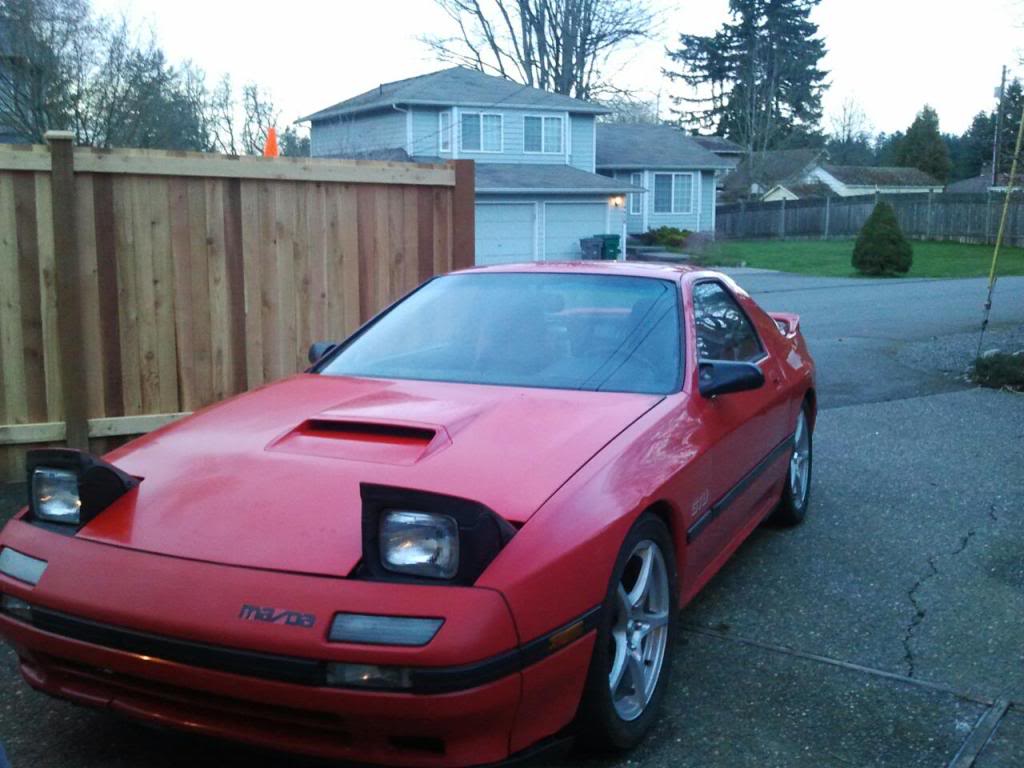
I will take some pictures when i have time of the finished work of this, it looks like it was never in an accident
So let me introduce myself, My name is Sean. I live in Mount Vernon, Washington and i am currently attending " Skagit Valley Community College" For my ata degree in diesel Mechanics. I'm in it for the money, i personally prefer gasoline engines.
My plans, are to successfully take a s4 n/a 6 port engine and port match my TII lim, and swap all necessary parts from the blown rotary to the n/a. I plan to run the engine on 8psi using ALL STOCK PARTS including my rebuilt s5 turbo.
My plans after that, is to purchase a megasquirt ecu and harness, and 720cc primary and 1000cc secondary injectors, along with an upgraded bnr stage 3-4 turbo on 14psi of boost or more, with a FMIC and water injection along with a walbro 255 fuel pump and of course an afr an egt gauge.
I purchased my 1988 rx7 GTU in April 3rd 2012.
The cars condition was not great, but i saw it as a project car so it did not matter much to me. The passenger quarter panel had some previous drifting damage, looks like someone slammed into a pull. The passenger door looked like someone fell asleep at the wheel and ran into a guard rail, the fender also looked like that was a result of that as well The front bumper has a huge crack/ break, the rear bumper is warped from the exhaust. The paint is also faded, quite a few dents and dings.. So the exterior is not great at all, i wouldn't even call it good.
The interior though, was pretty damn good for a 1988, light wear on the drivers seat, and some slight stains on the carpet. ONE OF THE MAIN REASONS I BOUGHT THE CAR, was because of the interiors condition, and absolutely all of the electrical inside the car worked perfectly.
So under the hood of this wonderful rx7 i purchased , was a nice old 13b s4 turbo rotary engine, I later found out that it was an s4 turbo motor and i also found out it had the s5 turbo setup. Im still not sure what ecm was running the motor, im assuming its a stock s5 ecm. All emissions were removed, there was a aftermarket bov on the piping to the top mount intercooler. It looked as if it was the original N/a harness used. So this was defiantly a 13bt swap at one point. upon disassembly i found that the flywheel on the engine was a s4 na flywheel, so pretty sure the stock gtu transmission and lsd differential is still there.
What i found out about the engine, I did all the compression test first thing and found the front rotor to be dead. I will let the pictures do the talking.
This build thread will be very stretched in time, as im currently in college and don't have much time or money. But my projects keep me going, thats why im not waiting.
Now for the pictures.
Here are the pics before i bought it sent from the seller.
Here are some pictures from after i bought it and before i touched it.
After i cleaned it up a little and started a little body work, I FORGOT TO MENTION. I will be installing a GP Sports body kit on this car and most likely be painting the car this summer, opinions on color MUCH APPRECIATED.
I will take some pictures when i have time of the finished work of this, it looks like it was never in an accident
Thread Starter
Full Member
Joined: Mar 2012
Posts: 130
Likes: 0
From: Lynnwood Wa
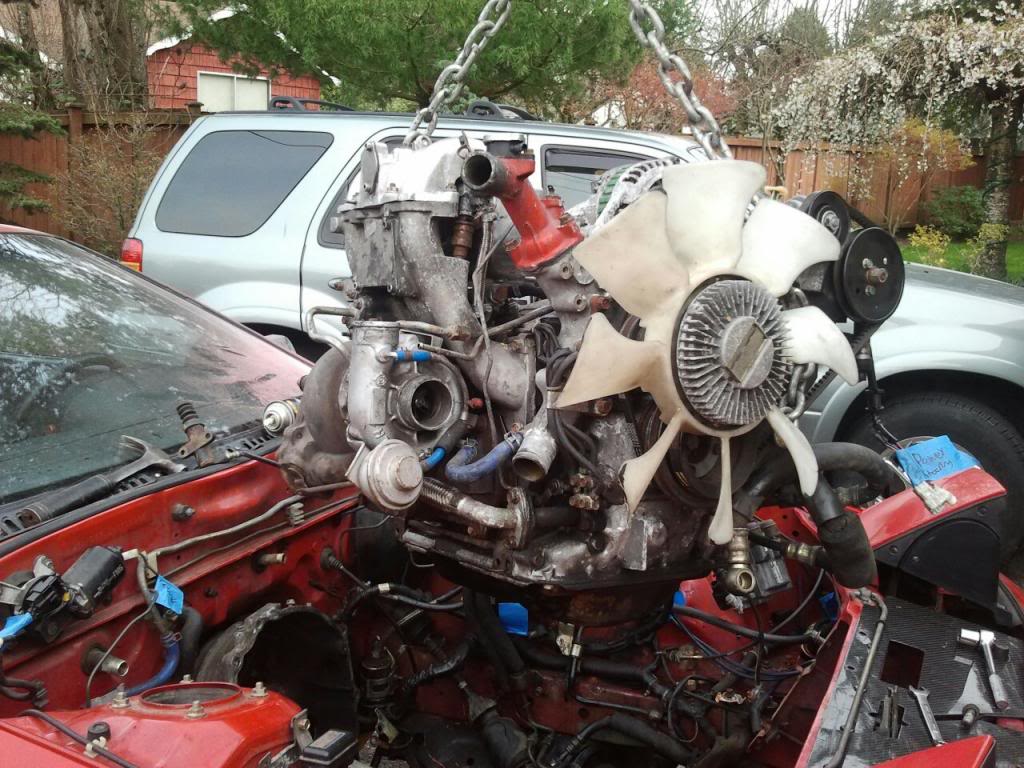
Pulling the blown engine and taking it apart.
I guess the previous owner had some work done to these irons, there is quite some wear on them tho...
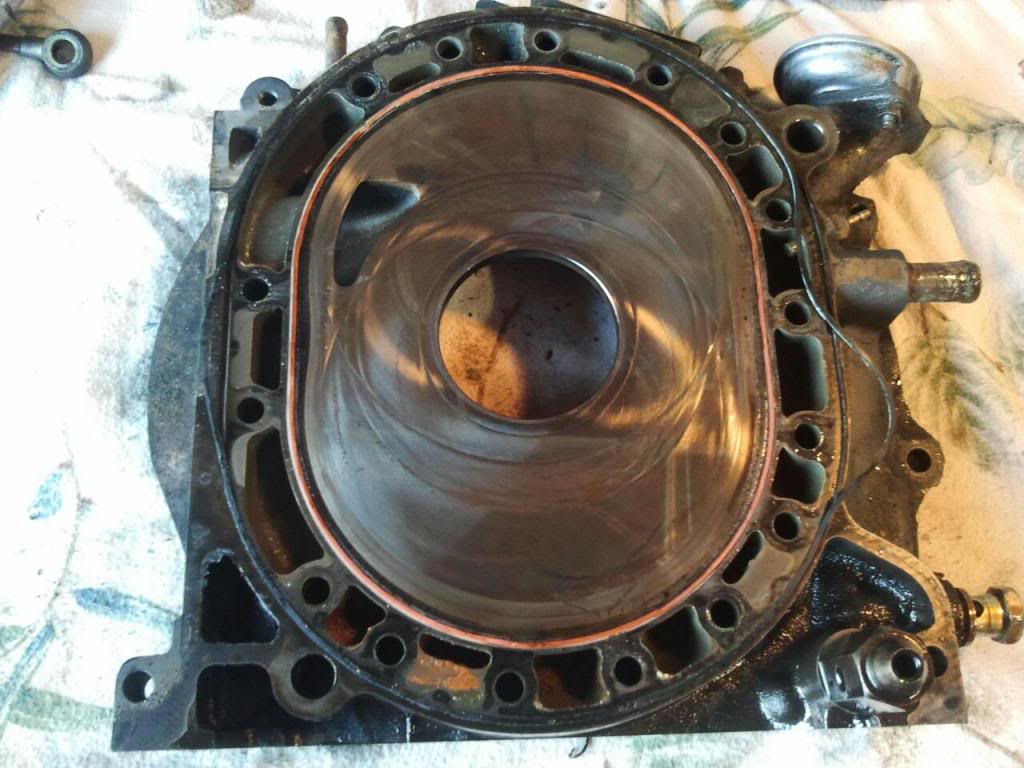
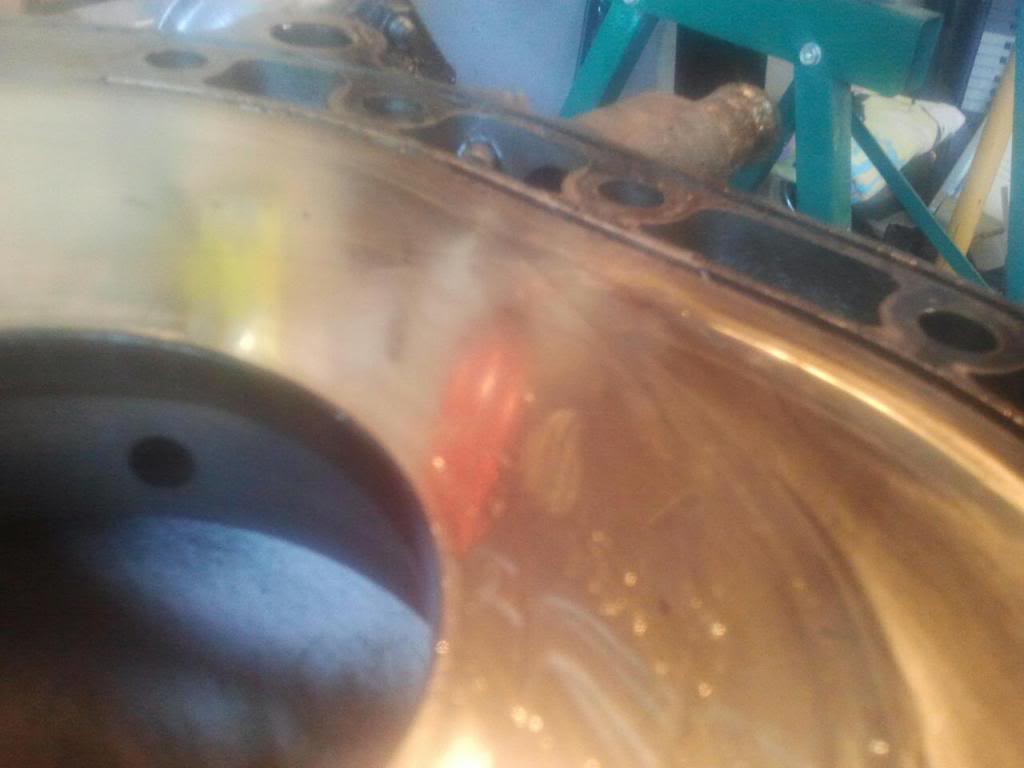
The center and the front iron had a crack from the middle down, im assuming this engine saw some very high temperatures....
YAY !!!!
Other stuff:
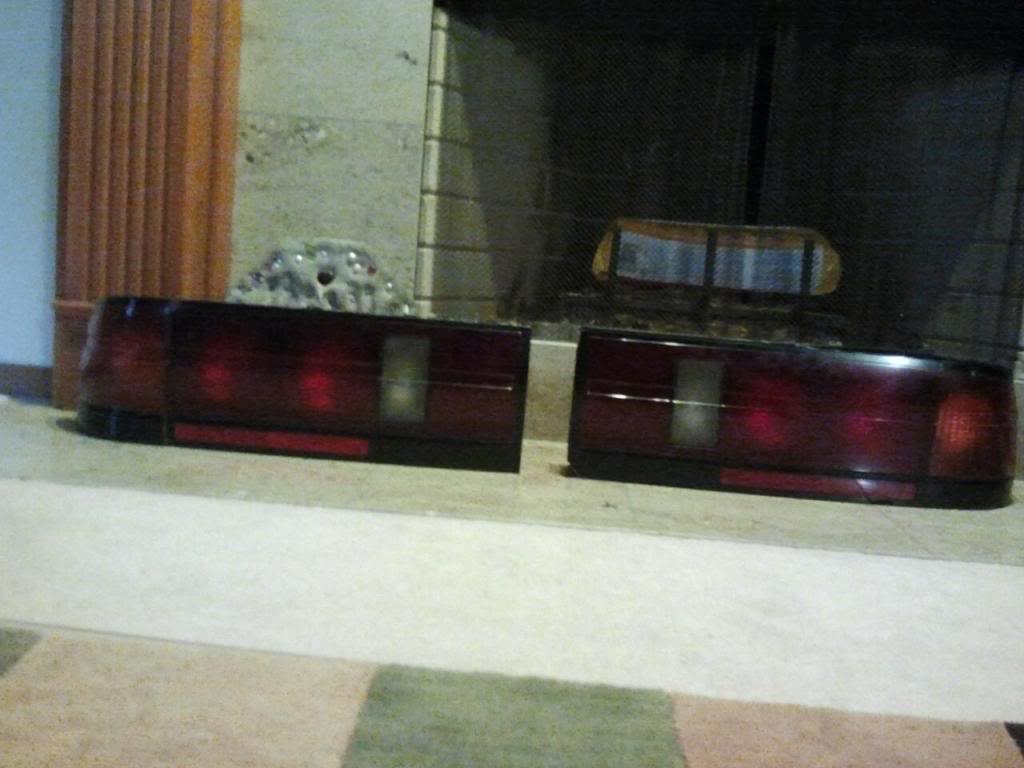
Bought s5 tails
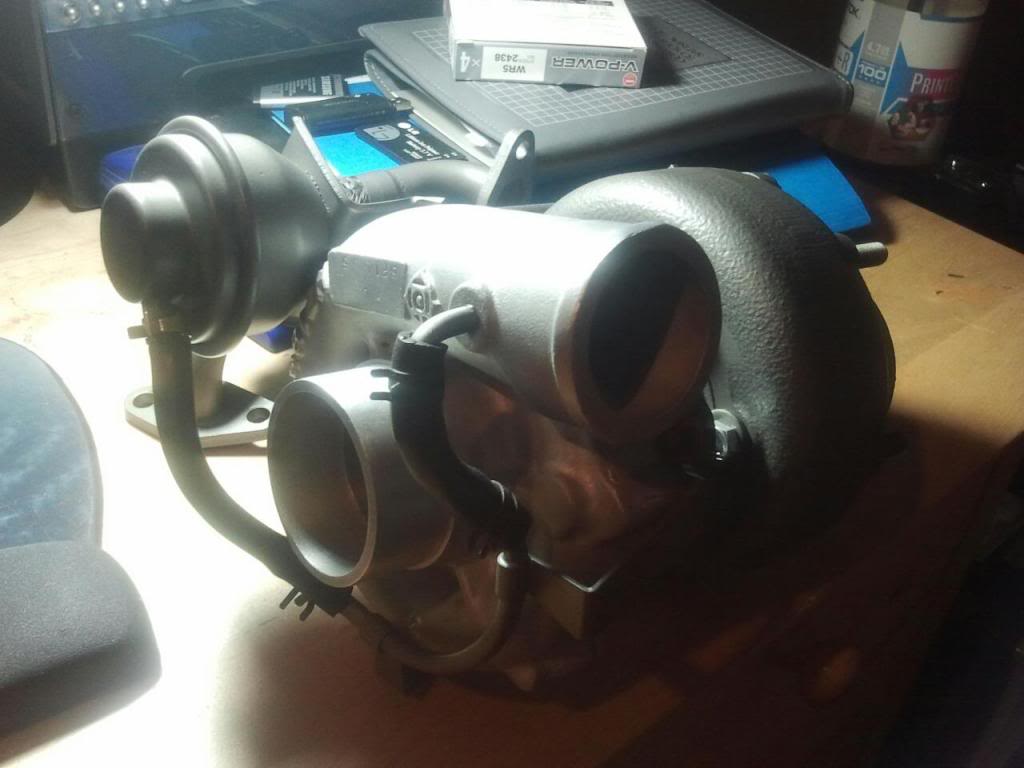
Rebuilt s4 turbo, but i swapped the exhaust housing to s5 for my setup..
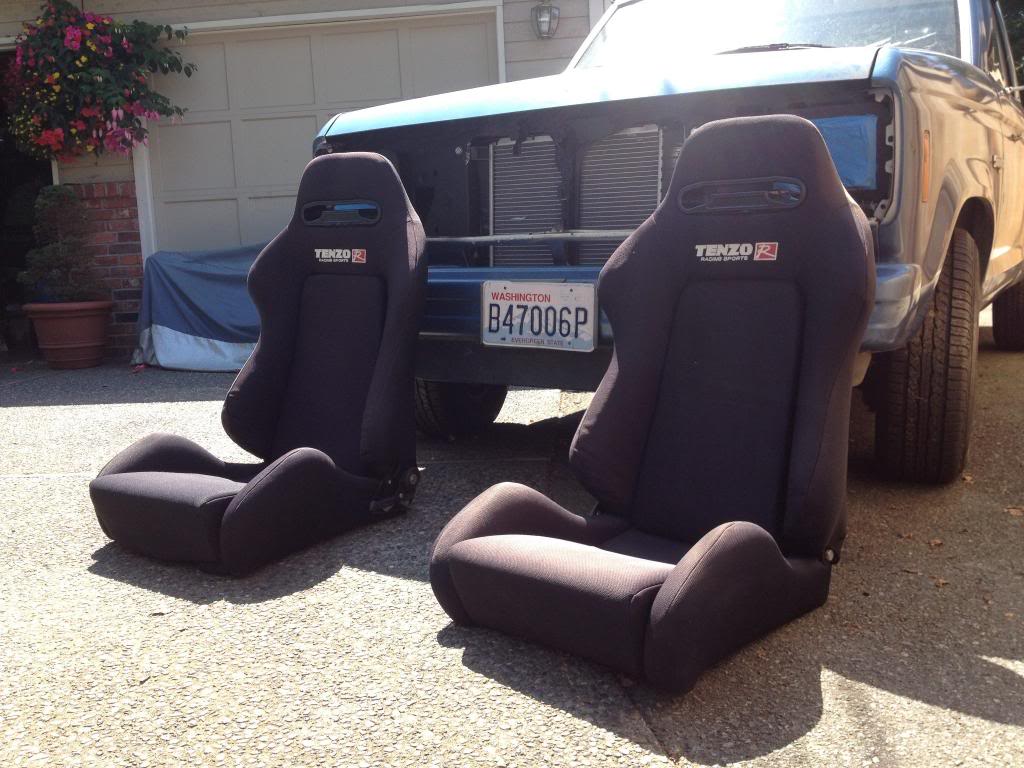
tenzo r seats i got for a steal
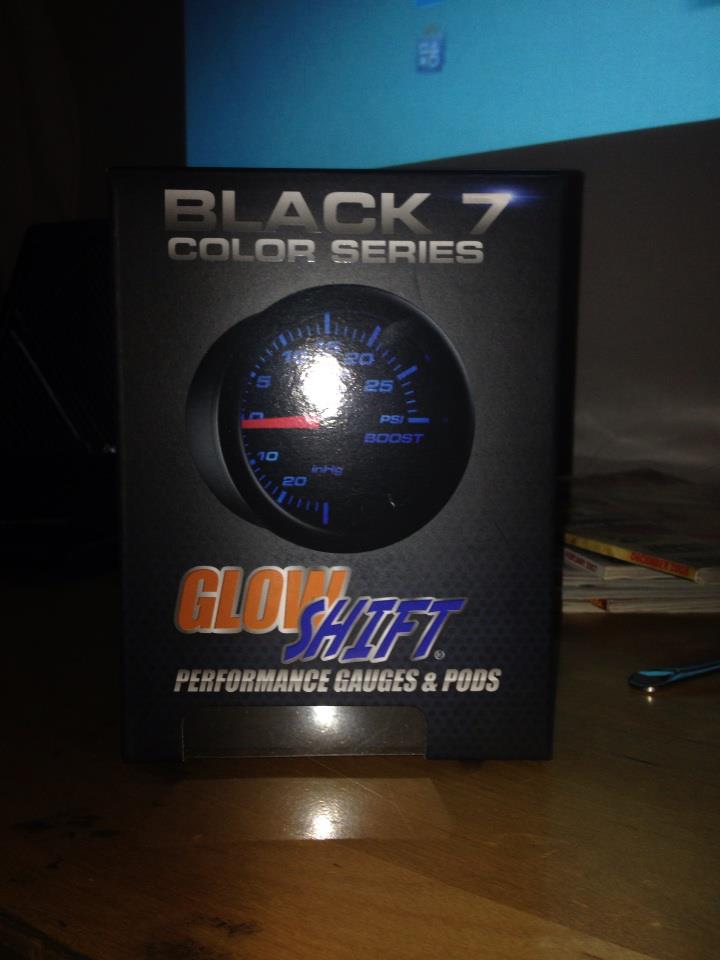
Best boost gauge in my opinion
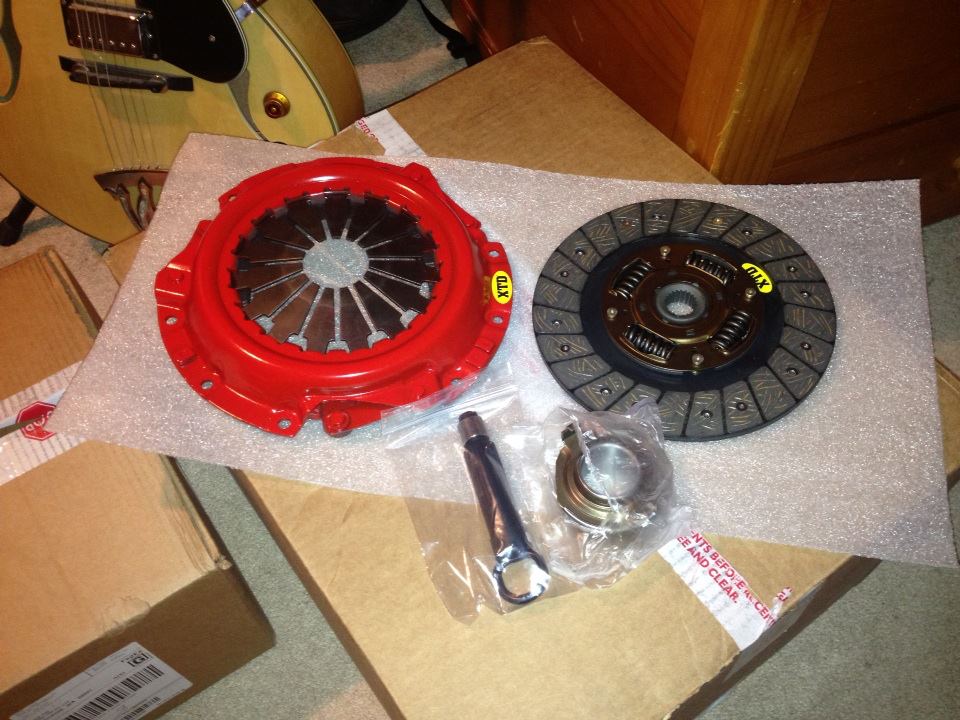
Stage 1 XTD clutch, i went cheap for now, stage 1 i think is just fine for my first setup.
I guess the previous owner had some work done to these irons, there is quite some wear on them tho...
The center and the front iron had a crack from the middle down, im assuming this engine saw some very high temperatures....
YAY !!!!
Other stuff:
Bought s5 tails
Rebuilt s4 turbo, but i swapped the exhaust housing to s5 for my setup..
tenzo r seats i got for a steal
Best boost gauge in my opinion
Stage 1 XTD clutch, i went cheap for now, stage 1 i think is just fine for my first setup.
Thread Starter
Full Member
Joined: Mar 2012
Posts: 130
Likes: 0
From: Lynnwood Wa
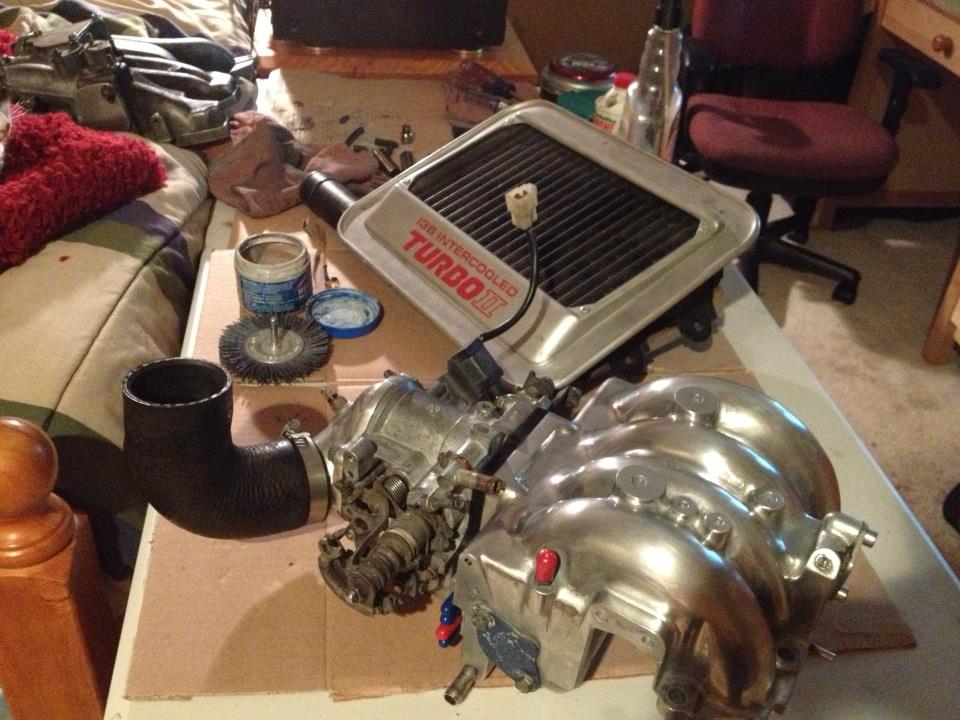
Now some Engine stuff:
yay for s4 n/a motor with good apex seals!
that lovely compression sound, sounds like there is a slight difference between rotors tho..
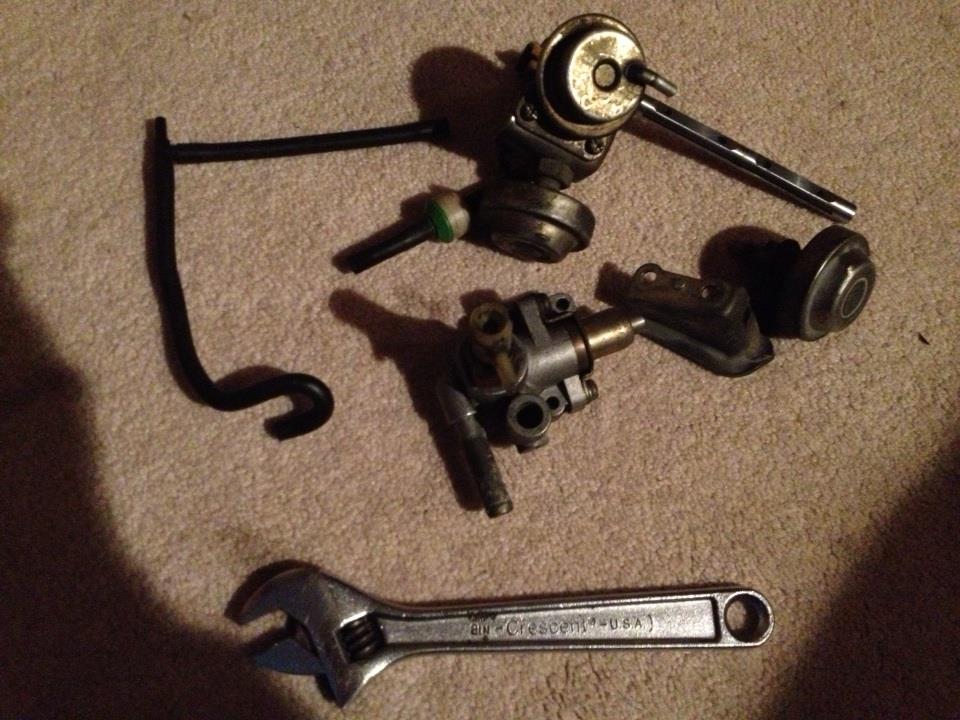
Cleaning up of some of the stock turbo parts
Useless junk removed from the throttle body, i also removed the extra set of butterflys

Well thats all i have for pictures, if you have any request or opinions feel free to blert them out.
Enjoy the Build!
yay for s4 n/a motor with good apex seals!
that lovely compression sound, sounds like there is a slight difference between rotors tho..
Useless junk removed from the throttle body, i also removed the extra set of butterflys
Well thats all i have for pictures, if you have any request or opinions feel free to blert them out.
Enjoy the Build!
Last edited by Etzim; Feb 5, 2013 at 01:22 AM.
Thread Starter
Full Member
Joined: Mar 2012
Posts: 130
Likes: 0
From: Lynnwood Wa
Small amount of progress, i had a little bit of time this weekend to work on her. Should see some more happening next week after i order some parts, my goal is to have it running by next weekend, have all the bodywork done and a coat of primer on the whole car. Thats about it for now.
Teaser
Teaser
Thread Starter
Full Member
Joined: Mar 2012
Posts: 130
Likes: 0
From: Lynnwood Wa
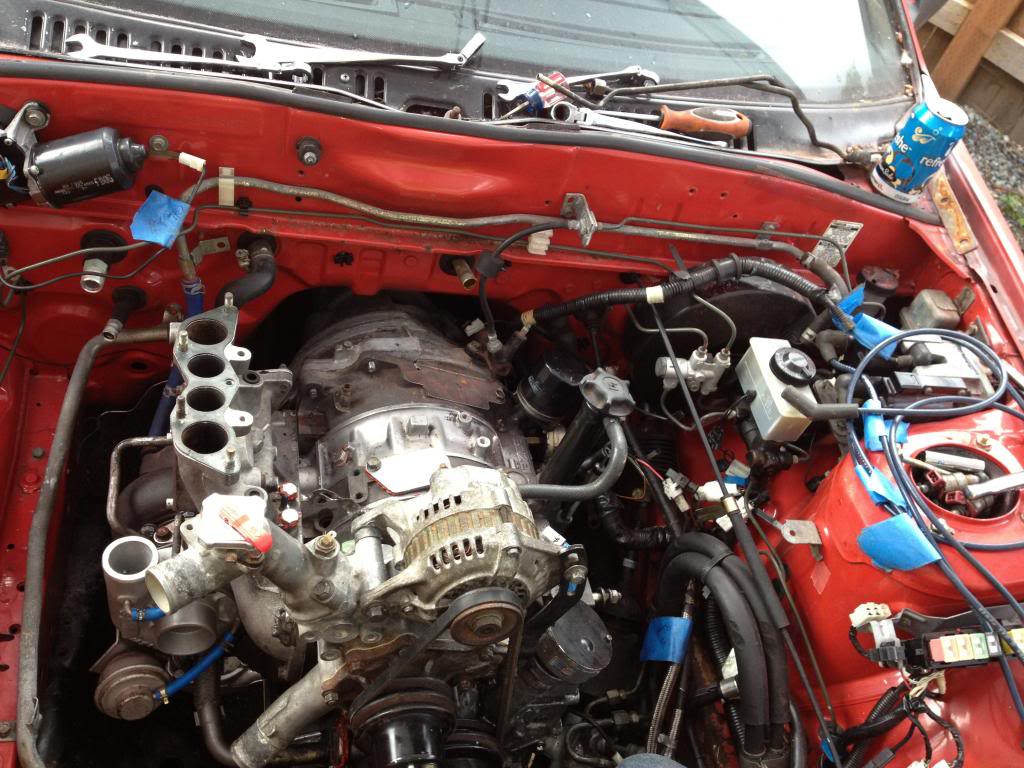
Its in, i couldnt find my starter tho might have to buy another one if i cant find it. Pulled the carpet up on the passenger side and found a n332 ecu, i guess thats a good sign since thats the stock s4 turbo ecu if im correct. 
Trending Topics
Thread Starter
Full Member
Joined: Mar 2012
Posts: 130
Likes: 0
From: Lynnwood Wa
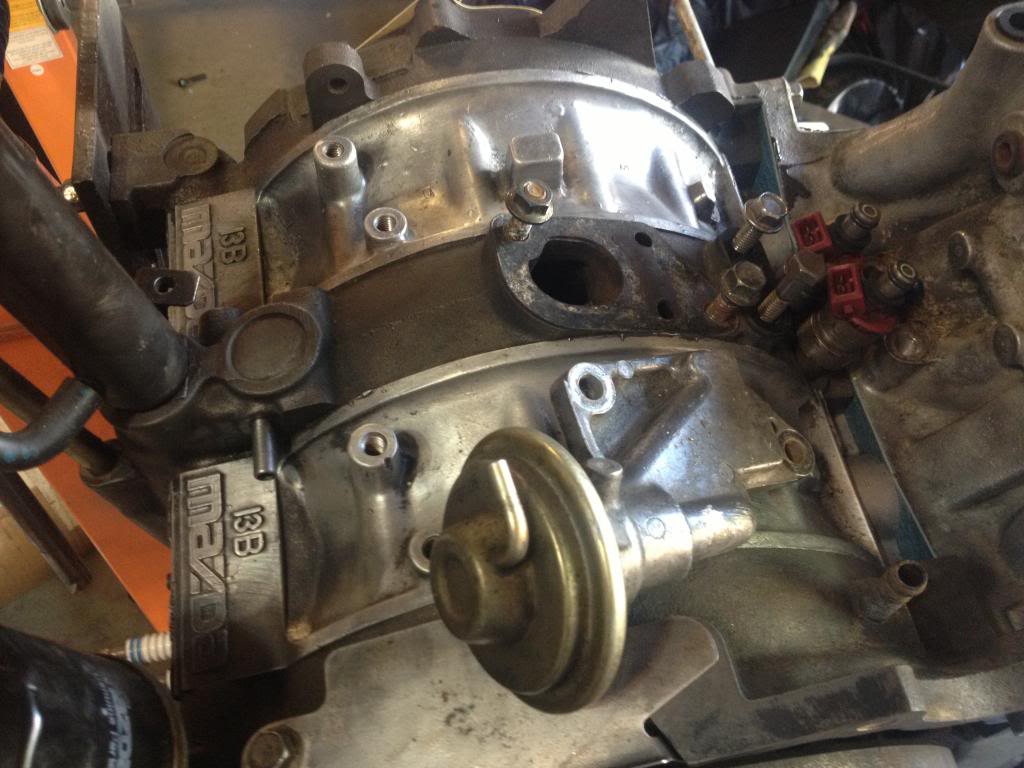
Hmm having the front cover off makes it so the thrust bearing can move huh? what should i do about it? The engine has not been ran yet because i still dont have a front cover gasket. I have plenty of space to do work with the engine in the car, what do you suggest?
Last edited by Etzim; Mar 31, 2013 at 11:02 PM.
Thread Starter
Full Member
Joined: Mar 2012
Posts: 130
Likes: 0
From: Lynnwood Wa
End-play isn't as vital as the parts being in their correct places before tightening that bolt. It's best to do that sort of thing with the engine vertical(you know...before you put it in the car) so that the bearings can't drop out of place.
Thread Starter
Full Member
Joined: Mar 2012
Posts: 130
Likes: 0
From: Lynnwood Wa
Ok well then what do you suggest i do? Im sure some petroleum jelly will hold those parts in place with the engine in the car. I have seen people change front cover gaskets with the engine in the car so how should i go about "knowing" if the parts are in the correct place when i can not see them?
Nice build man. The body of the FC really doesn't look all that bad. The paint looks like the worst part with it being so faded. Thats typical of the red paint on FC's though. For some reason red seems to fade very fast when left in the sun. The thrust bearing is very important and is often overlooked when people rebuild an engine unless they are experienced with rebuilding a rotary. If you start the engine with the bearing the way it is you will damage your engine internals and end up pulling that engine for a rebuild. Im sure you dont want to do that. Look for an online FSM to help you with the bearing. Im sure you know the only difference between the S4 and S5 turbo's are the manifold. One is single scroll(S4) the other is divided (S5). The S5 turbo manifold would be a good choice to use but it does not matter. Both do the job. Goodluck with the car, it is looking good so far!
Thread Starter
Full Member
Joined: Mar 2012
Posts: 130
Likes: 0
From: Lynnwood Wa
Nice build man. The body of the FC really doesn't look all that bad. The paint looks like the worst part with it being so faded. Thats typical of the red paint on FC's though. For some reason red seems to fade very fast when left in the sun. The thrust bearing is very important and is often overlooked when people rebuild an engine unless they are experienced with rebuilding a rotary. If you start the engine with the bearing the way it is you will damage your engine internals and end up pulling that engine for a rebuild. Im sure you dont want to do that. Look for an online FSM to help you with the bearing. Im sure you know the only difference between the S4 and S5 turbo's are the manifold. One is single scroll(S4) the other is divided (S5). The S5 turbo manifold would be a good choice to use but it does not matter. Both do the job. Goodluck with the car, it is looking good so far!
 Still have to finish the body work on this side but heres a pic
Thread Starter
Full Member
Joined: Mar 2012
Posts: 130
Likes: 0
From: Lynnwood Wa
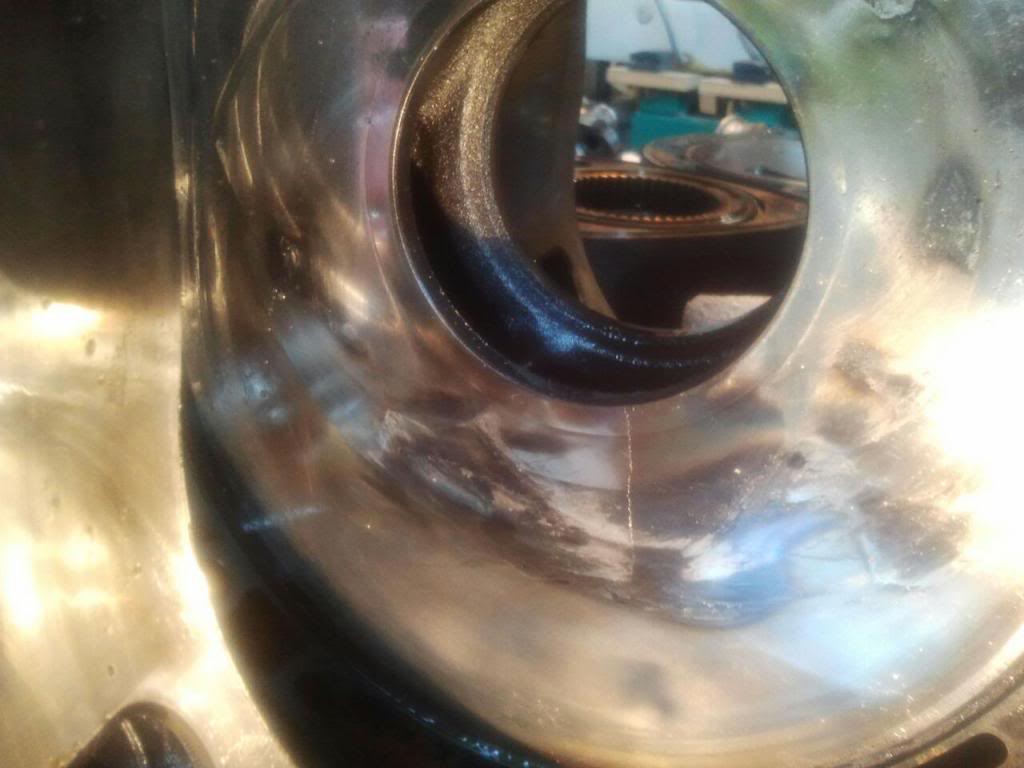
Update yaaaay 
So i pulled the engine back out to check the thrust bearing or what ever you would like to call it. As you can see it looks beautiful
Then i went online to see how much a front cover gasket was, then i saw it was like $30, so i said screw that and ran down to napa and got some felpro gasket paper and made my own for $8.

finished product,
Heres a few pics of the bodywork

Sanded her down a little


Most of the bodywork is done, and the rotary should live again soon very soon.
And ill get back to you guys with more updates later, peace.
So i pulled the engine back out to check the thrust bearing or what ever you would like to call it. As you can see it looks beautiful
Then i went online to see how much a front cover gasket was, then i saw it was like $30, so i said screw that and ran down to napa and got some felpro gasket paper and made my own for $8.
finished product,
Heres a few pics of the bodywork
Sanded her down a little
Most of the bodywork is done, and the rotary should live again soon very soon.
And ill get back to you guys with more updates later, peace.


Thread Starter
Full Member
Joined: Mar 2012
Posts: 130
Likes: 0
From: Lynnwood Wa
Thread Starter
Full Member
Joined: Mar 2012
Posts: 130
Likes: 0
From: Lynnwood Wa
nice man! hope to see your 6 port turbo running soon, im also doing a 6 port turbo, but mine will be twins. twin 15g's but first i need my na to just run, having problems with it!
good luck!
good luck!
Thread Starter
Full Member
Joined: Mar 2012
Posts: 130
Likes: 0
From: Lynnwood Wa
OK, i think its time i finally update this. I haven't really had time to do much, but i noticed i forgot some photos to upload. Its nothing spectacular because i been pretty busy dumping doe in other stuff.
Here you go driftxsequence! Just for you i managed to dig these up, the were completely hidden on my pc lol

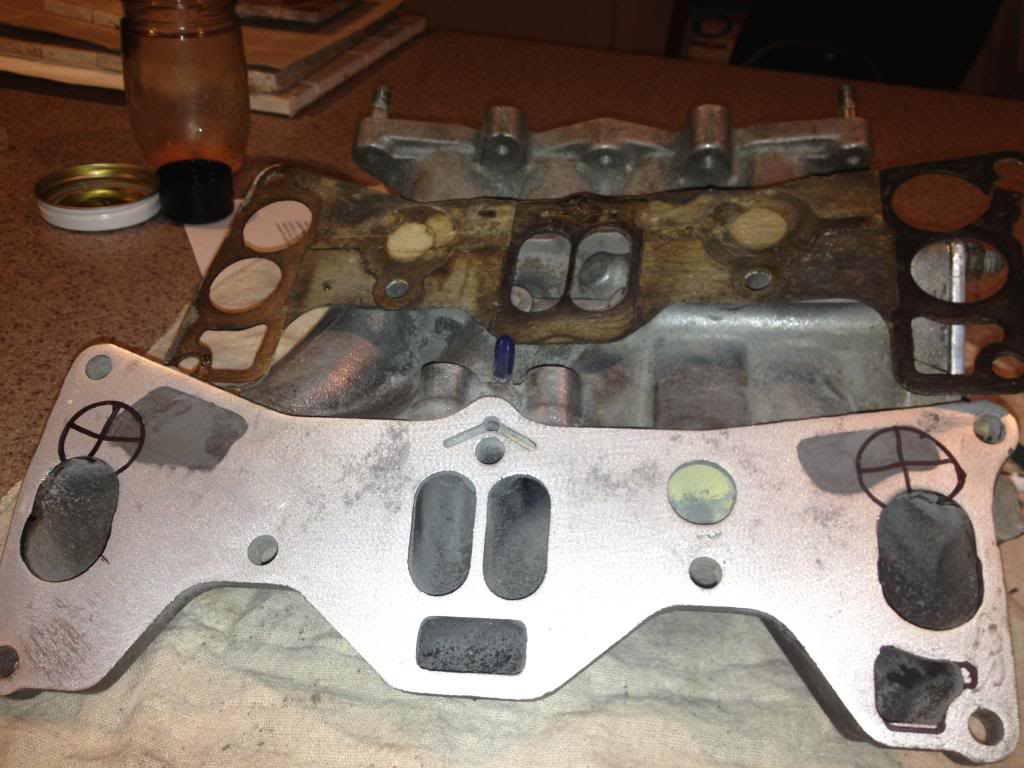
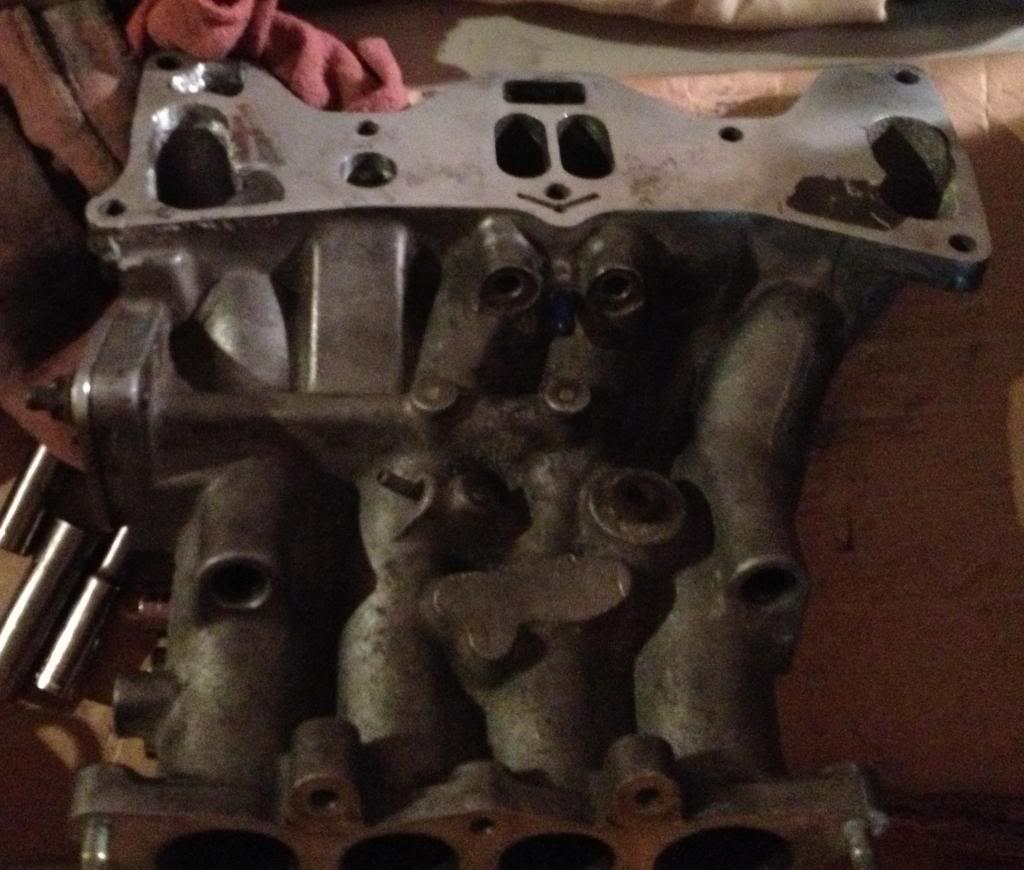
Now i didn't exactly have the greatest porting tools so its no professional job, but good enough for government work! ps. not finished product
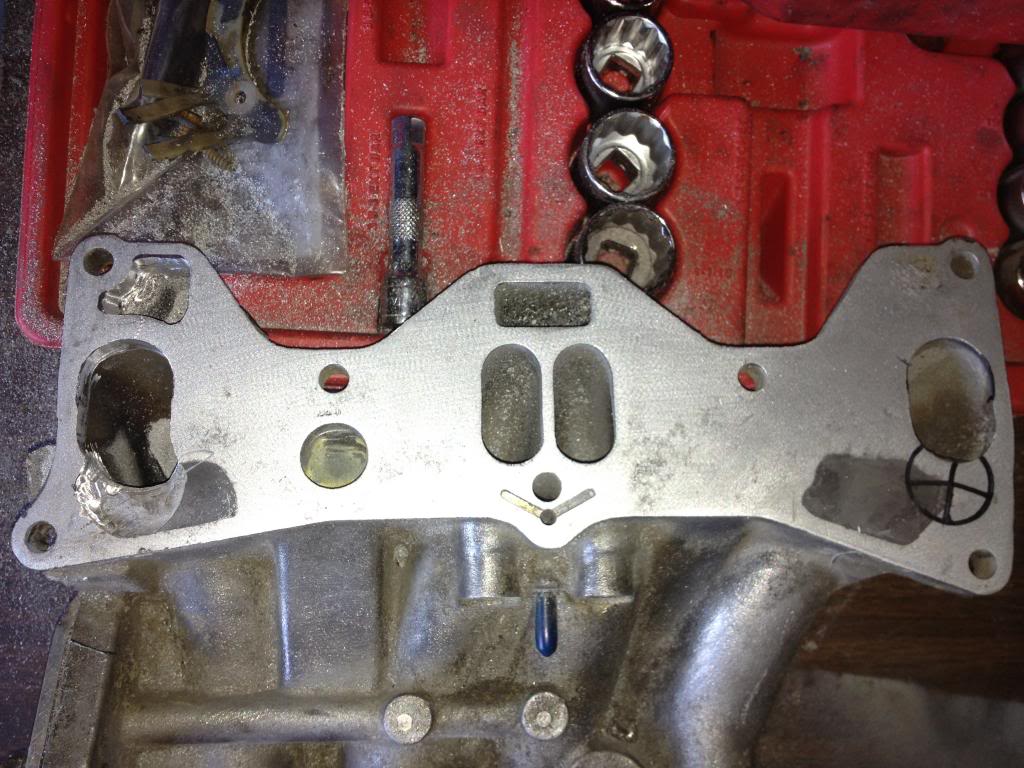
Im sorry its not the greatest picture or port job, Honestly i think i overkilled it with the porting i made the ports HUGE lol and i actually ported it soo much that i put a hole through to the other side :/ but jb weld fixed that hope it holds under boost LOL.
Here you go driftxsequence! Just for you
i managed to dig these up, the were completely hidden on my pc lol

Now i didn't exactly have the greatest porting tools so its no professional job, but good enough for government work! ps. not finished product

Im sorry its not the greatest picture or port job, Honestly i think i overkilled it with the porting i made the ports HUGE lol and i actually ported it soo much that i put a hole through to the other side :/ but jb weld fixed that
hope it holds under boost LOL.
Thread Starter
Full Member
Joined: Mar 2012
Posts: 130
Likes: 0
From: Lynnwood Wa
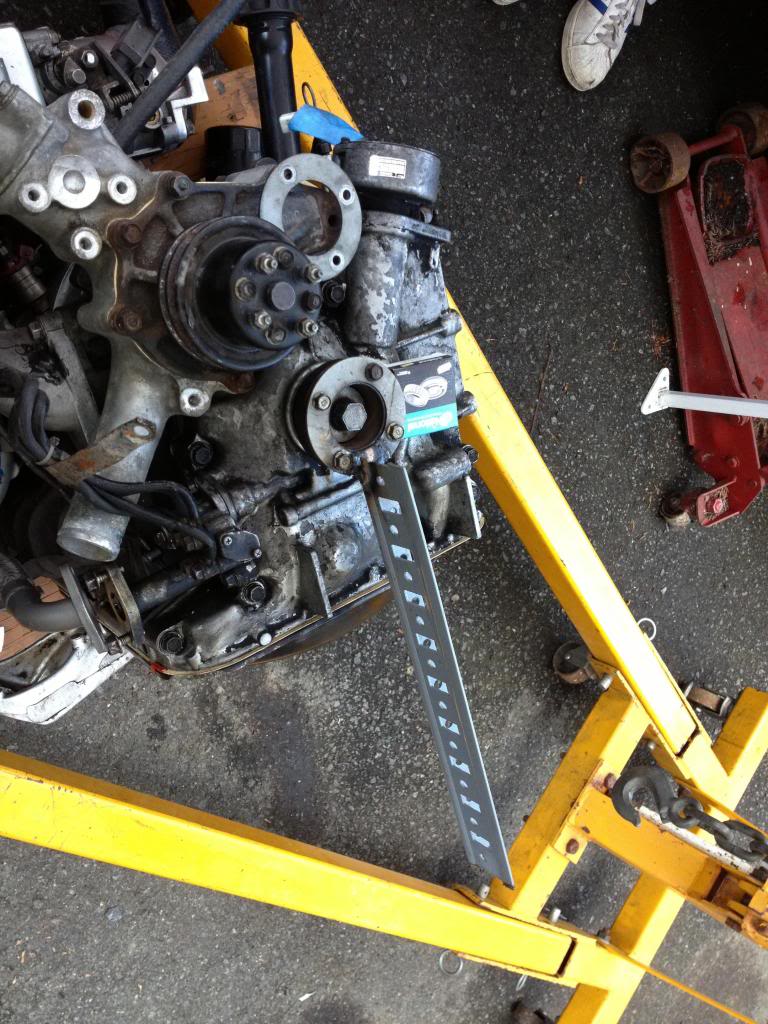
Here is how i torqued my Eccentric shaft bolt  home made haha
ewwww egr
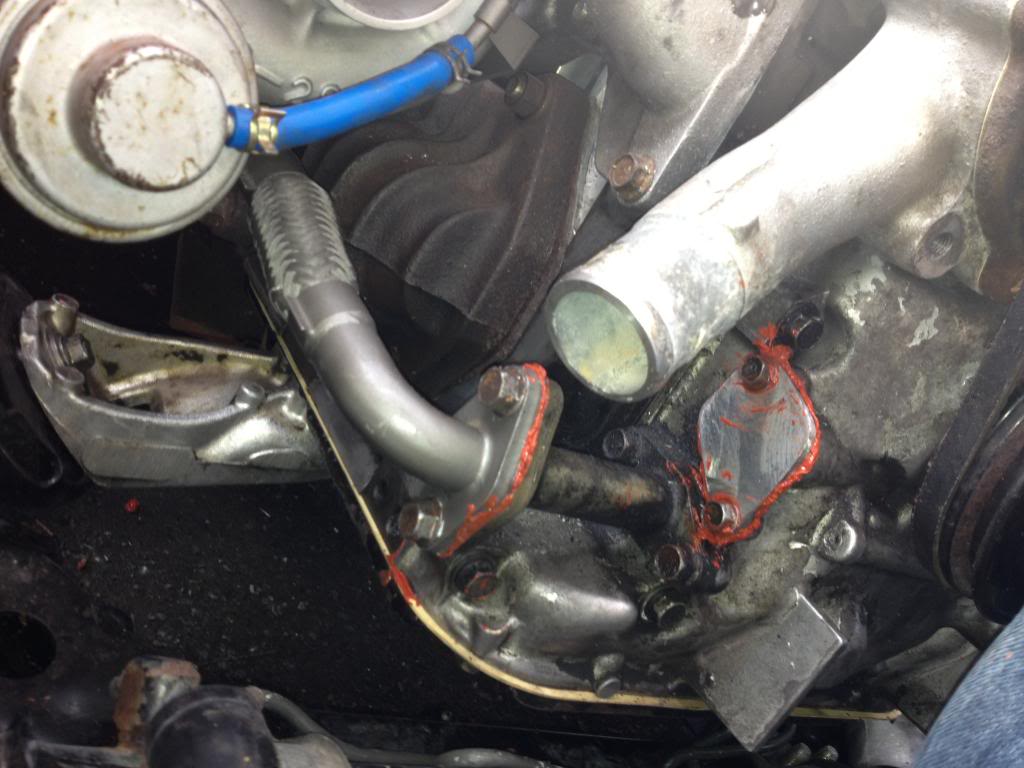
ahhh thats better, you can see what i did to block off the omp nozzles 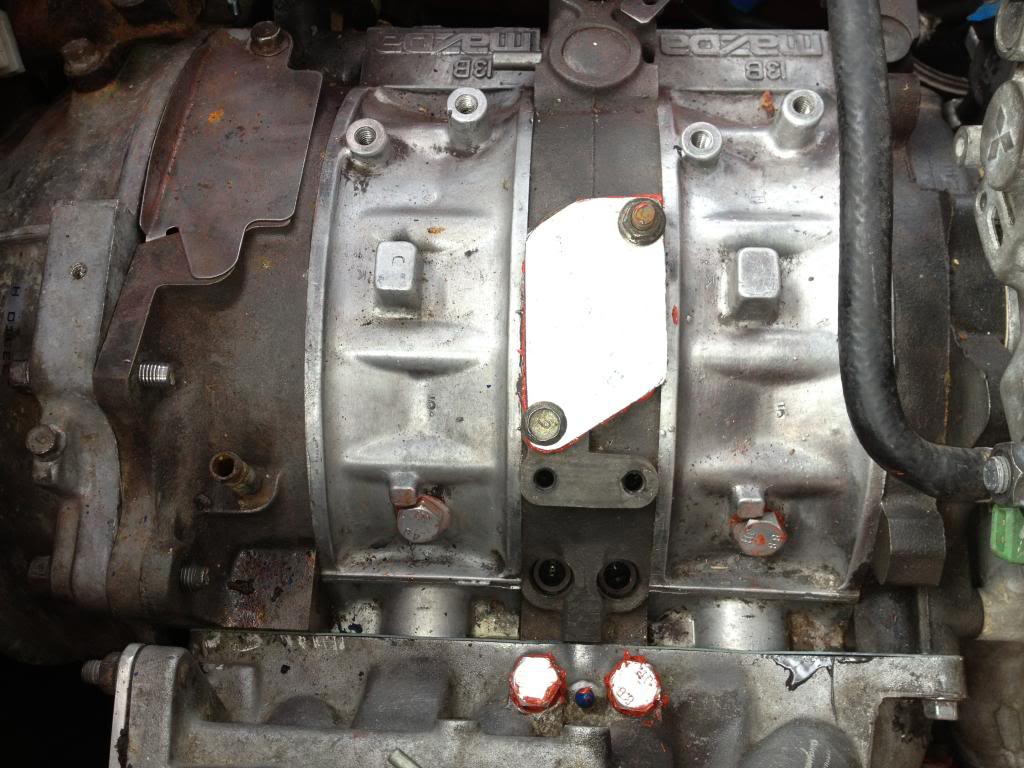
Home made omp block off with a gasket and sealer, I know i know its not pretty but believe me when i have everything all sealed off and hooked up its getting a good pressure washing and all my gasket goo flaws will be gone
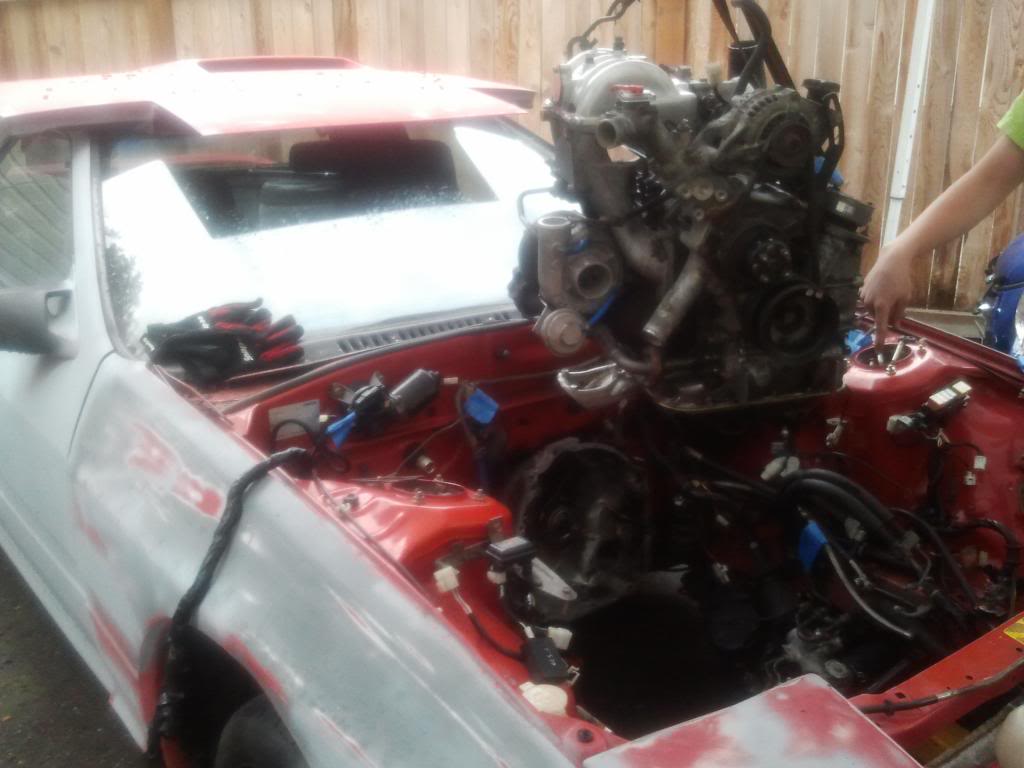
Here is the fixed teaser :d
Ok thats better, i have a lot more done that i havent even taken pics of. Ill try to get those soon when the weather stops deciding to be rainy.
home made haha
ewwww egr

ahhh thats better
, you can see what i did to block off the omp nozzles 
Home made omp block off with a gasket and sealer, I know i know its not pretty but believe me when i have everything all sealed off and hooked up its getting a good pressure washing and all my gasket goo flaws will be gone

Here is the fixed teaser :d

Ok thats better, i have a lot more done that i havent even taken pics of. Ill try to get those soon when the weather stops deciding to be rainy.

Thread Starter
Full Member
Joined: Mar 2012
Posts: 130
Likes: 0
From: Lynnwood Wa
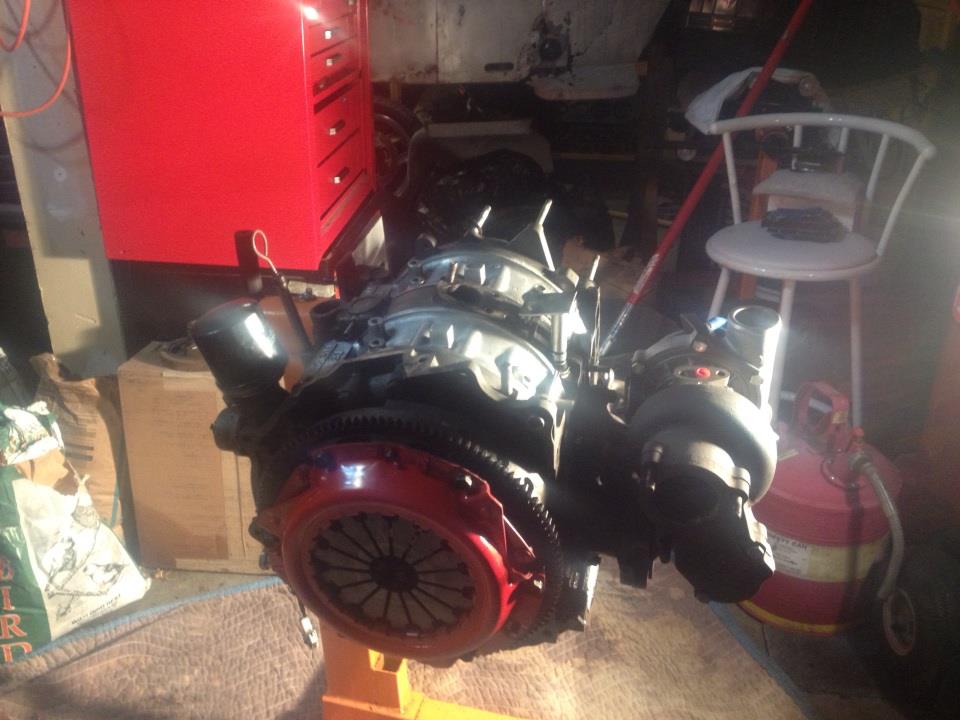
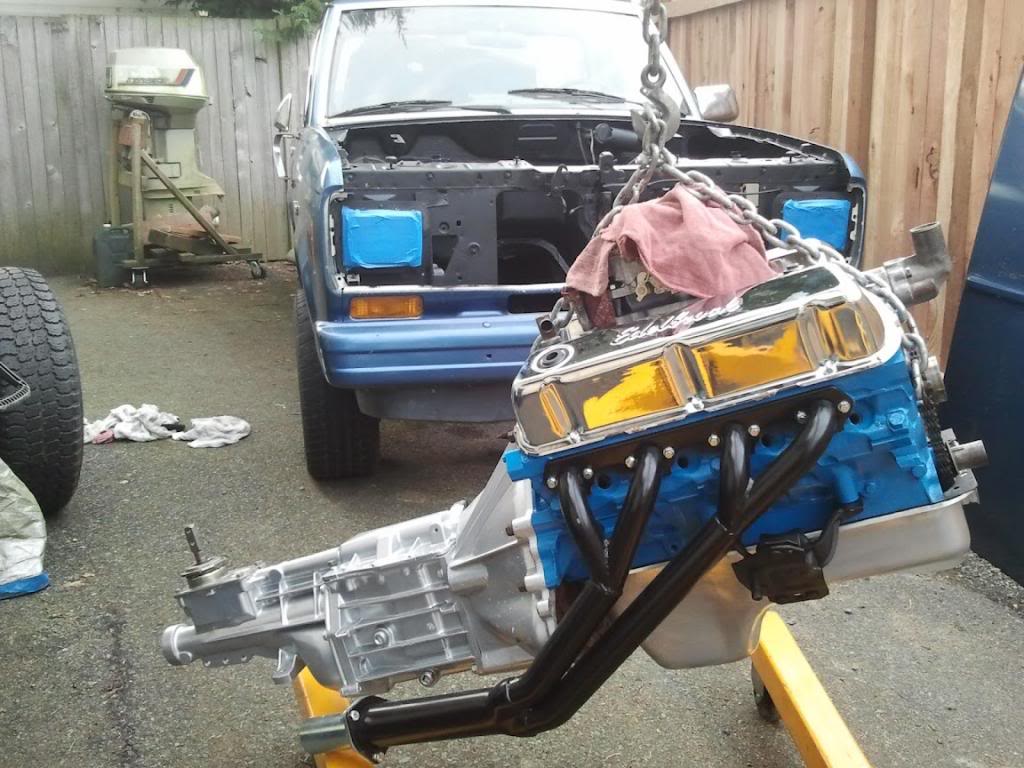
Here is why im taking so damn long to get anything done on this project.
Completed and sold, Took ALL of my time from last year that i would have spent on the fc.
This thing oh man its making me soo poor, i just need new arp head studs for it and i should be done. so that means more time and money for my fc <3
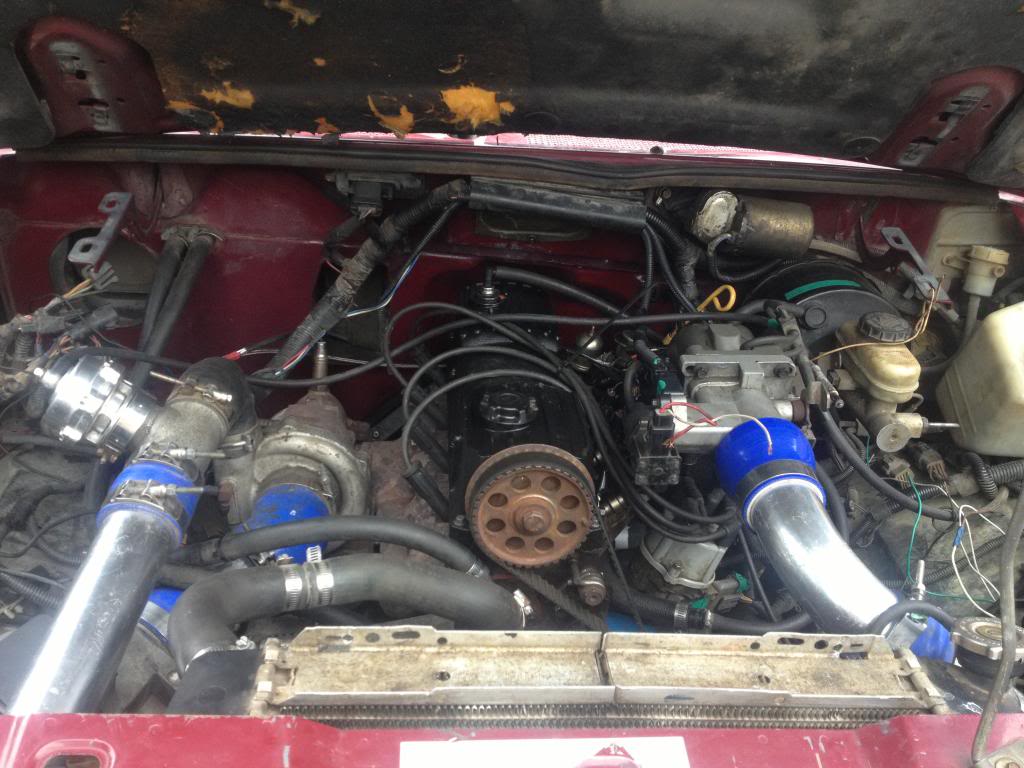
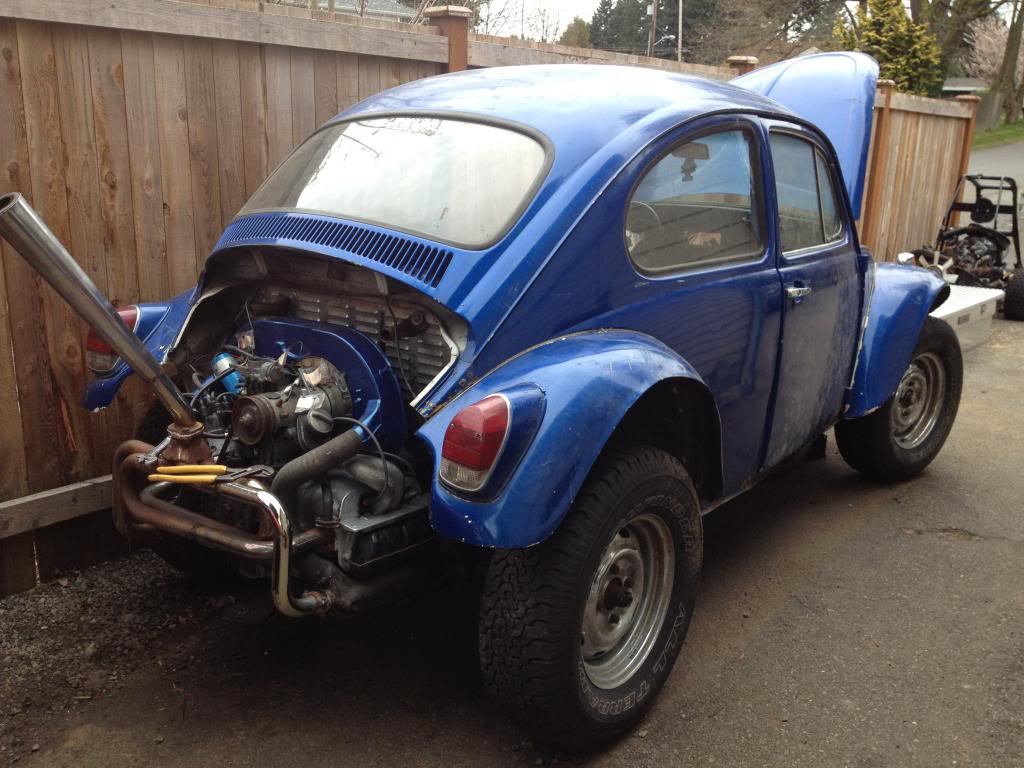
Here is my other project that was taking time and money away from the fc, right now its completely stripped and no paint on it because i was going to paint it but now its too cold... Great.
Completed and sold, Took ALL of my time from last year that i would have spent on the fc.

This thing oh man its making me soo poor, i just need new arp head studs for it and i should be done. so that means more time and money for my fc <3

Here is my other project that was taking time and money away from the fc, right now its completely stripped and no paint on it because i was going to paint it but now its too cold... Great.

Last edited by Etzim; Nov 16, 2013 at 01:48 AM.