
1989 FC Drift Build

Thread Starter
brap brap
Joined: Jul 2011
Posts: 73
Likes: 0
From: Gainesville, FL
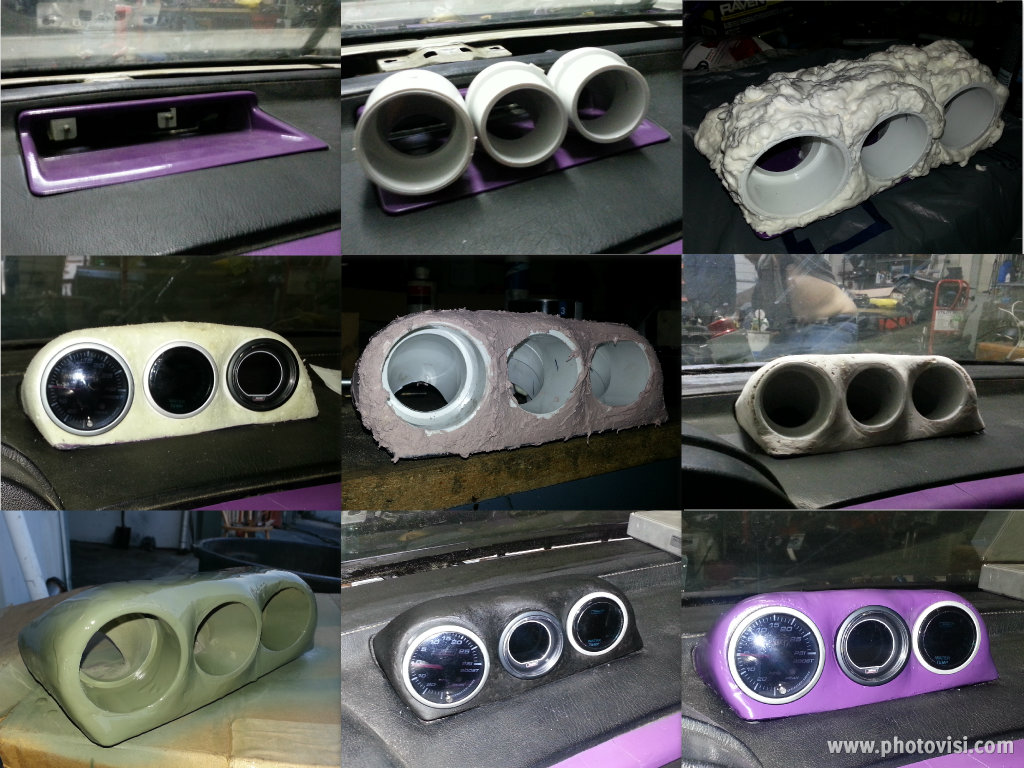
finally finished my gauge pod
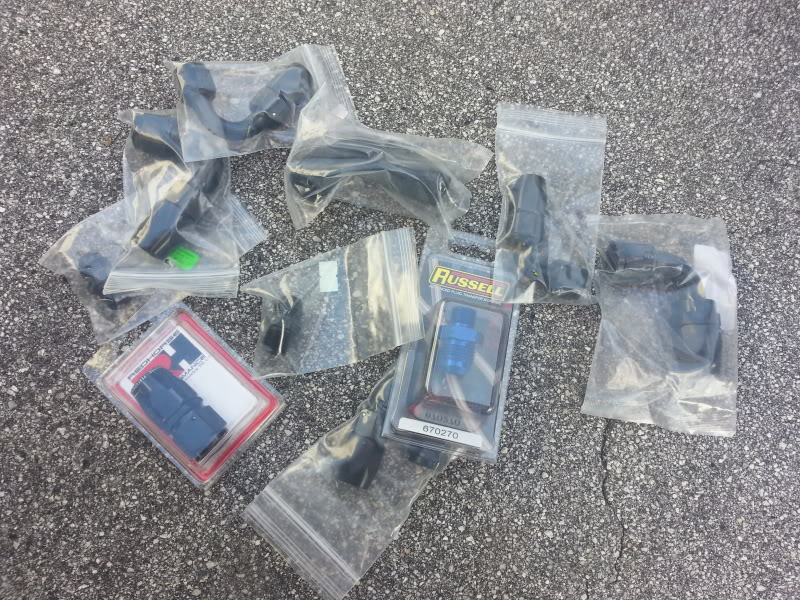
some parts are coming in
patch harness and fuel rails
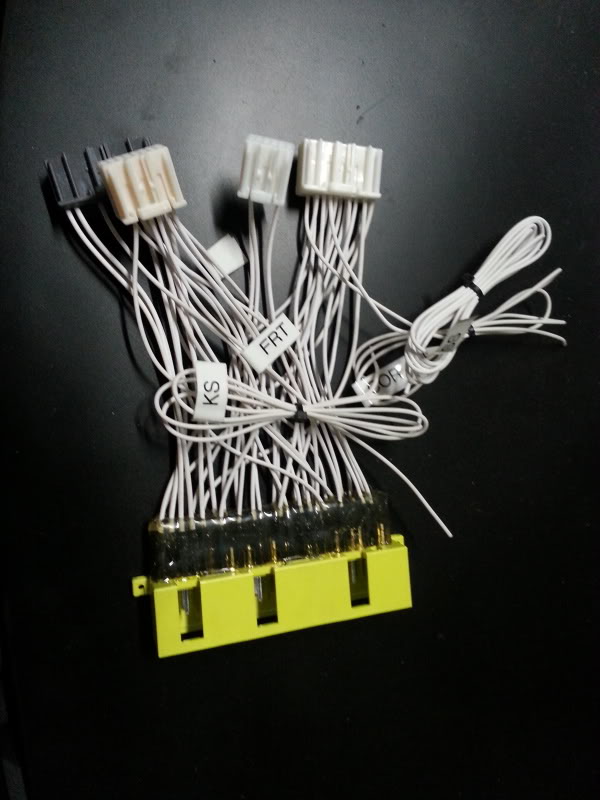
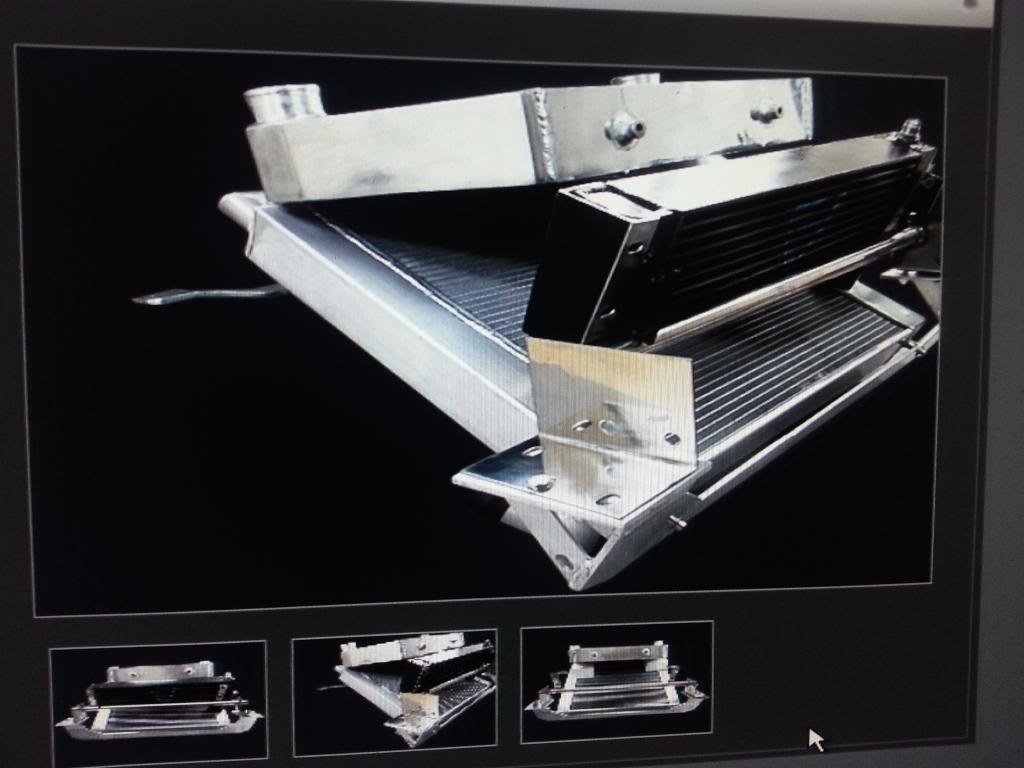
also I got the brackets to this v-mount kit
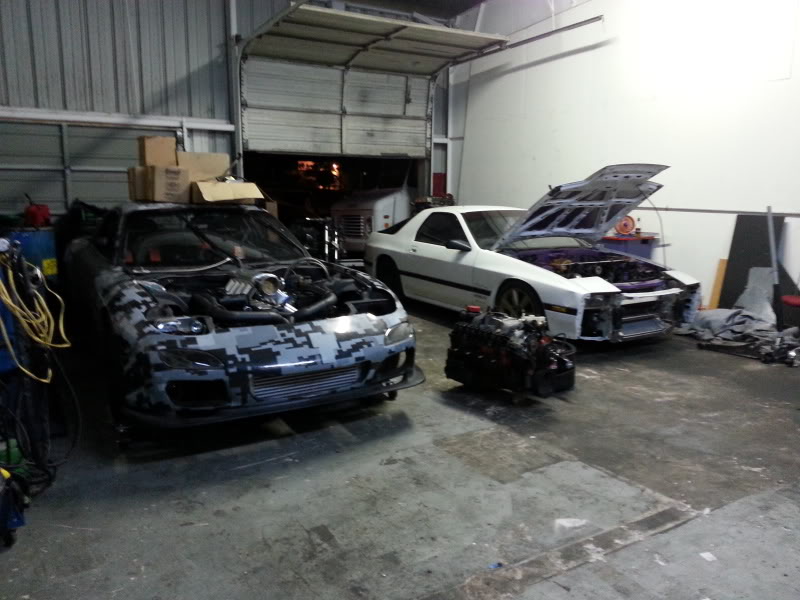
slowly but surely the car is coming together and now I'm getting even anxious to get her running and driving
some parts are coming in
patch harness and fuel rails
also I got the brackets to this v-mount kit
slowly but surely the car is coming together and now I'm getting even anxious to get her running and driving

Thread Starter
brap brap
Joined: Jul 2011
Posts: 73
Likes: 0
From: Gainesville, FL
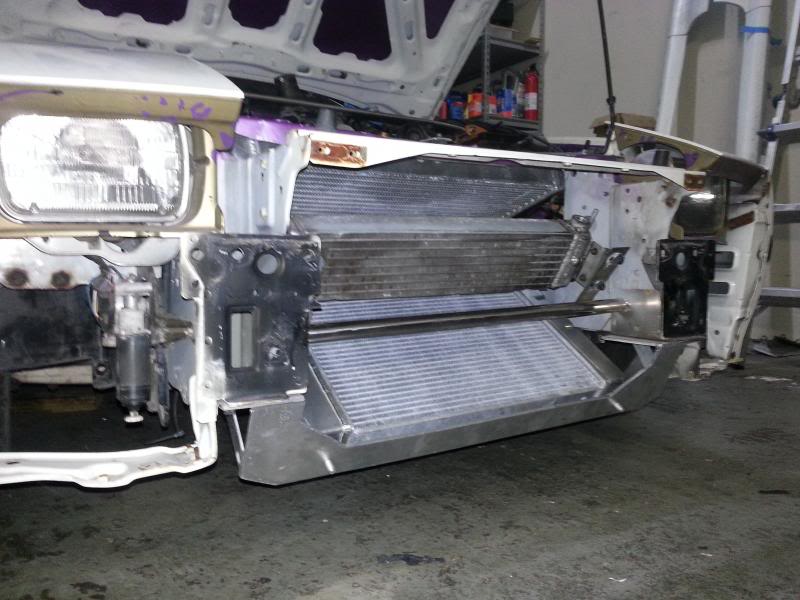
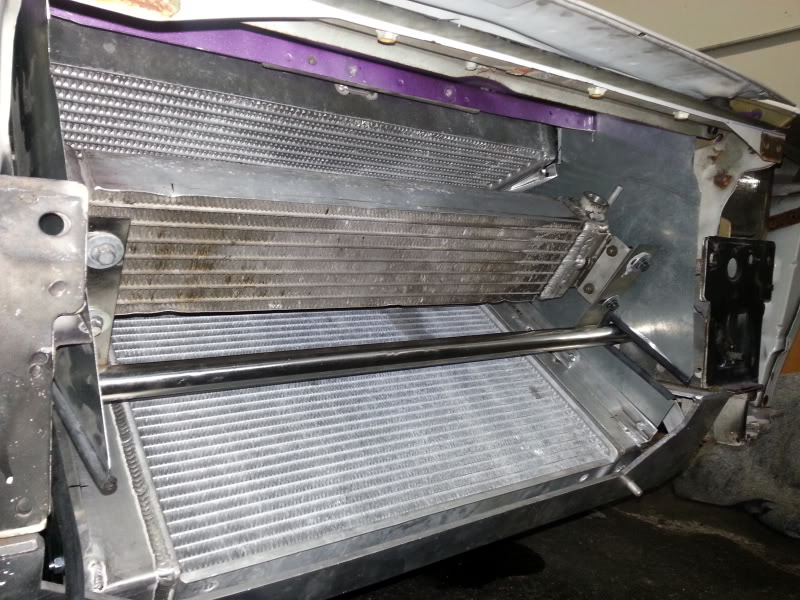
I didn't buy the kit, [for ease of explination] we just found it at the shop, for the time being and money's sake I'm going to have the oil cooler mounted per the picture but eventually want to run the side coolers, I'm mostly using the kit for the radiator brackets so if the cooling really becomes an issue I wil change it
Thread Starter
brap brap
Joined: Jul 2011
Posts: 73
Likes: 0
From: Gainesville, FL

Got the oil cooler finally mounted after a long day of modifications and just as an fyi this kit is horrible and nothing lines up, i do not recommend it to anyone >
 unless you get it for free like i did si i guess i cant complain

Thread Starter
brap brap
Joined: Jul 2011
Posts: 73
Likes: 0
From: Gainesville, FL
Thanks guys! She is offically at the fabricator getting some really good work done, no telling how long it will take but man I am anxious as ever to get her running, all down hill after that 

Thread Starter
brap brap
Joined: Jul 2011
Posts: 73
Likes: 0
From: Gainesville, FL
So after the car sitting at my fabricators for over 2 months and nothing happening (not even a quote on the work ) I decided to bring my car back to our shop and to do the work myself. The car needs the v-mount fabbed up and mounted, air ducting, oil and fuel lines, wiring, tune, and a few other things done before she'll be running again.
  !!!
!!!
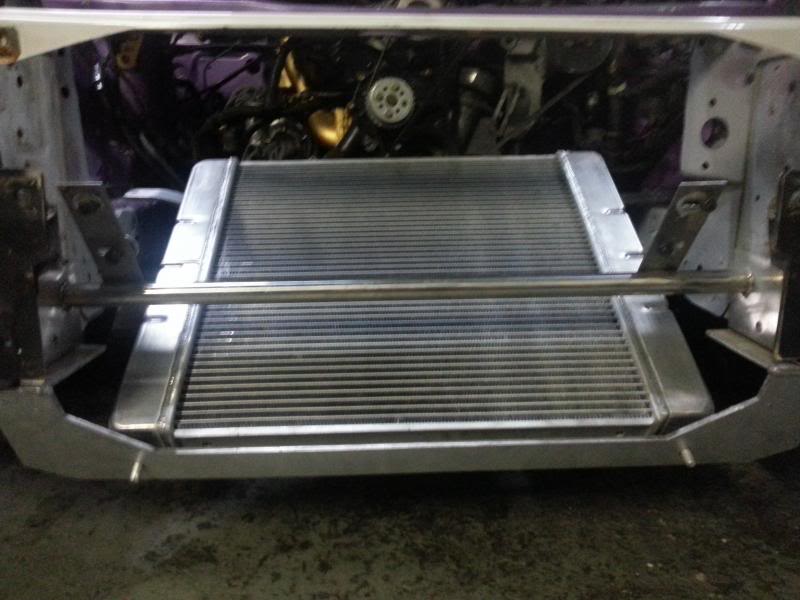
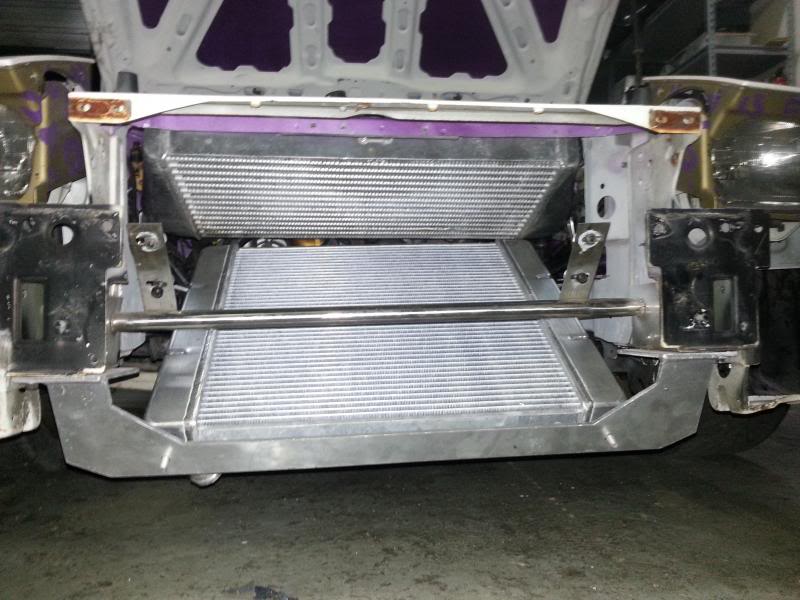
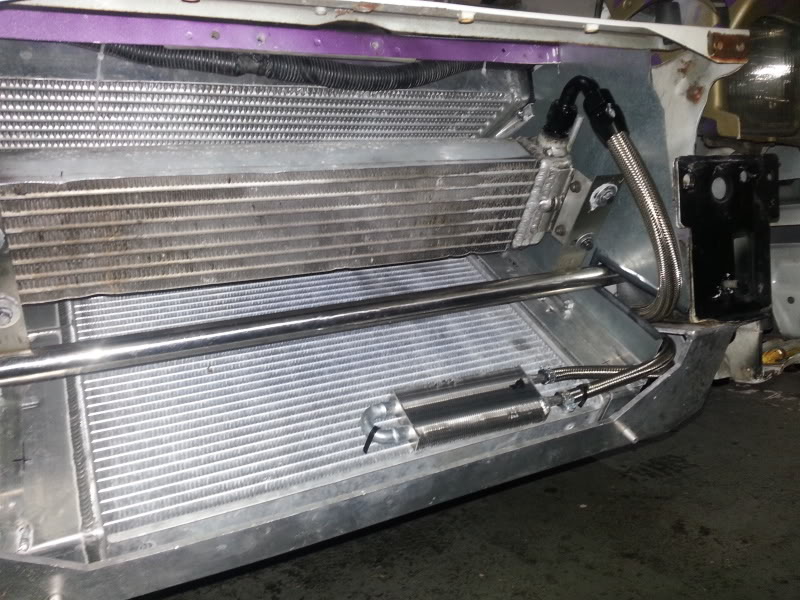
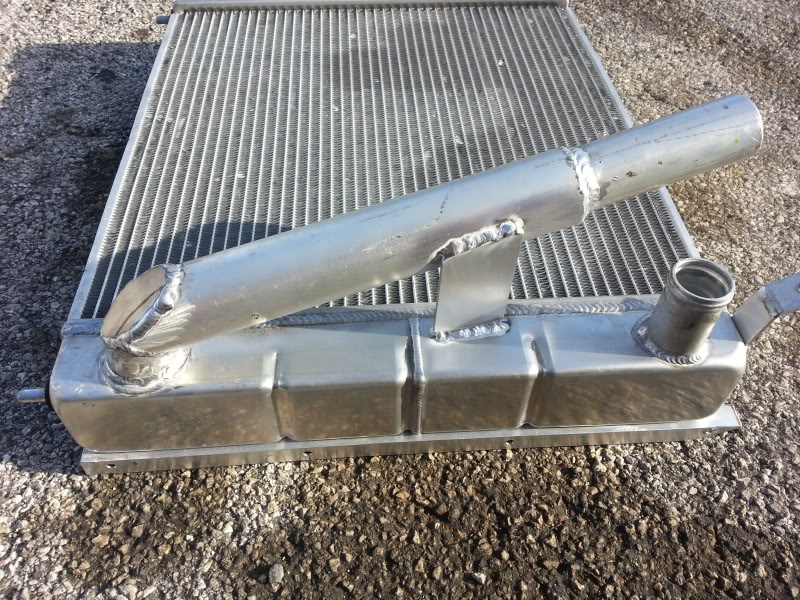
First thing I've done since I got the car back was to fab my v-mount. (Keep in mind this is my first time fabbing anything) I am using the brackets from the kit mentioned above but I had to order a new radiator (24"x19"x2" double pass) and used an intercooler that I found in the shop. Both of which needed some modification and I can proudly say that I have done all of the work myself (minus the actual welding part) which is a big accomplishment
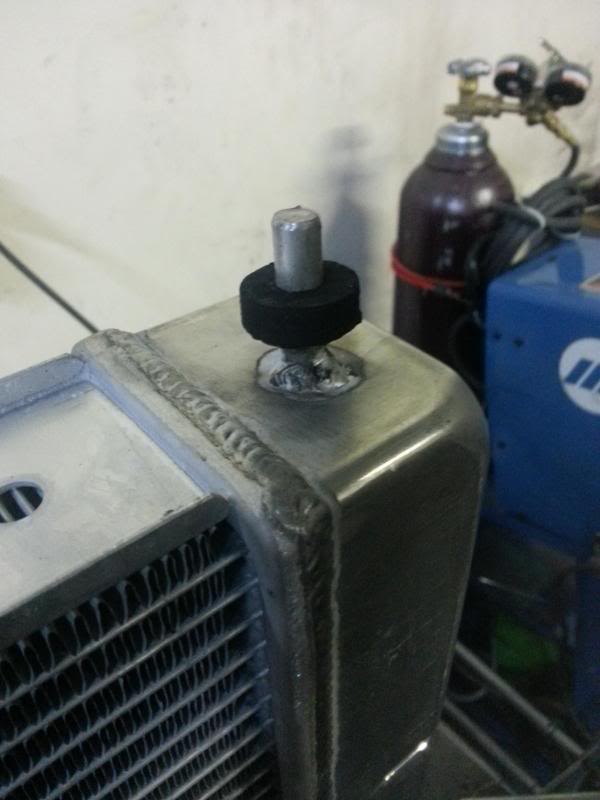
First started with patching the filler hole on the top of the radiator.

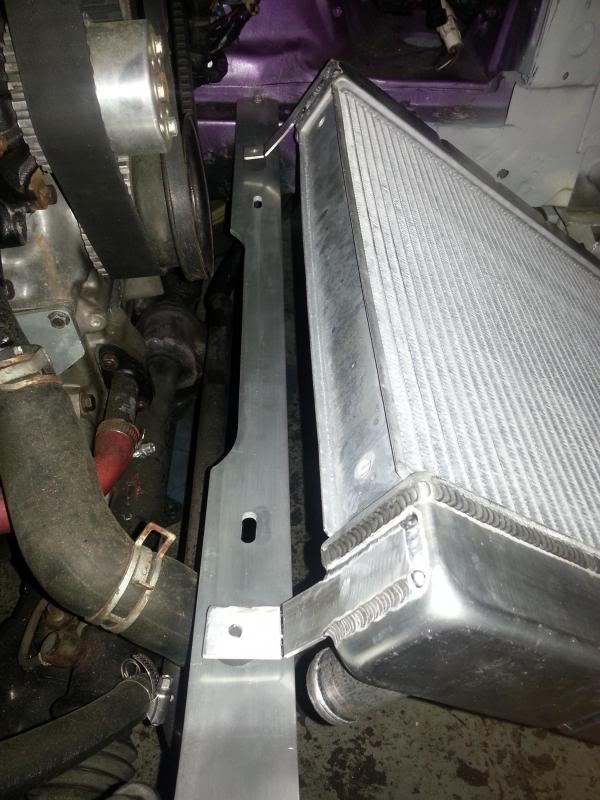
And welding on some dowels and making bushings..
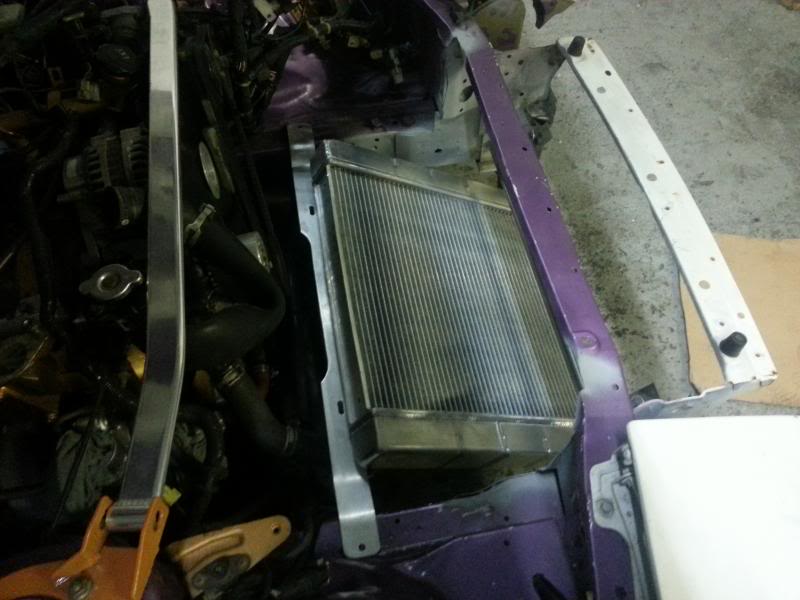
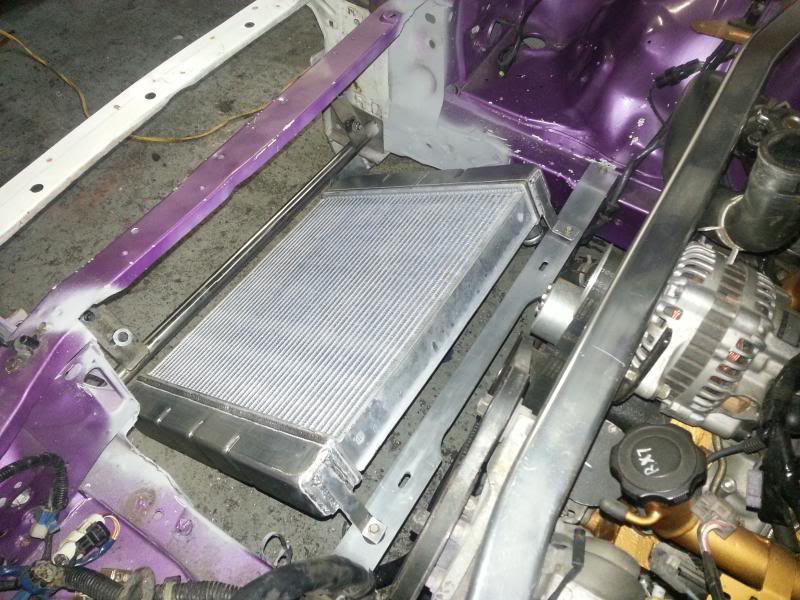
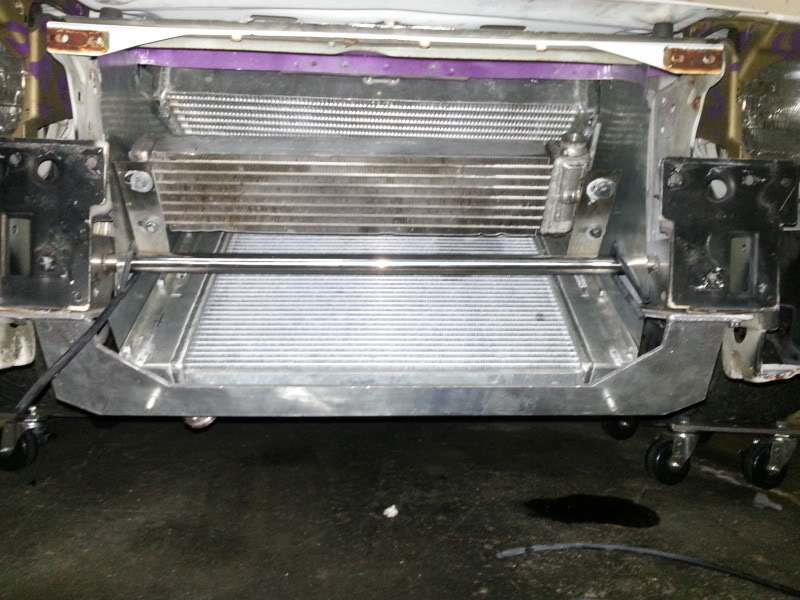
Then I had to make brackets to hold the radiator up and in place
\
!!!First thing I've done since I got the car back was to fab my v-mount. (Keep in mind this is my first time fabbing anything) I am using the brackets from the kit mentioned above but I had to order a new radiator (24"x19"x2" double pass) and used an intercooler that I found in the shop. Both of which needed some modification and I can proudly say that I have done all of the work myself (minus the actual welding part) which is a big accomplishment
First started with patching the filler hole on the top of the radiator.

And welding on some dowels and making bushings..


Then I had to make brackets to hold the radiator up and in place


\
Thread Starter
brap brap
Joined: Jul 2011
Posts: 73
Likes: 0
From: Gainesville, FL
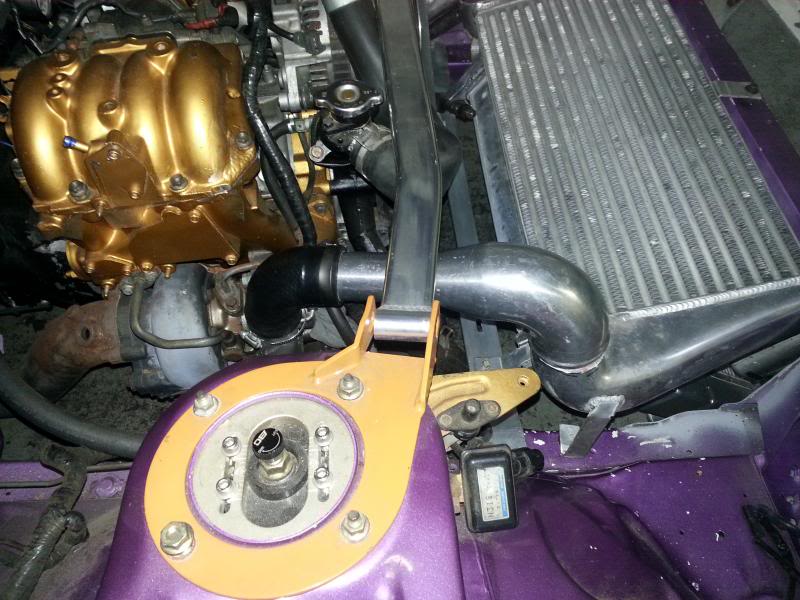
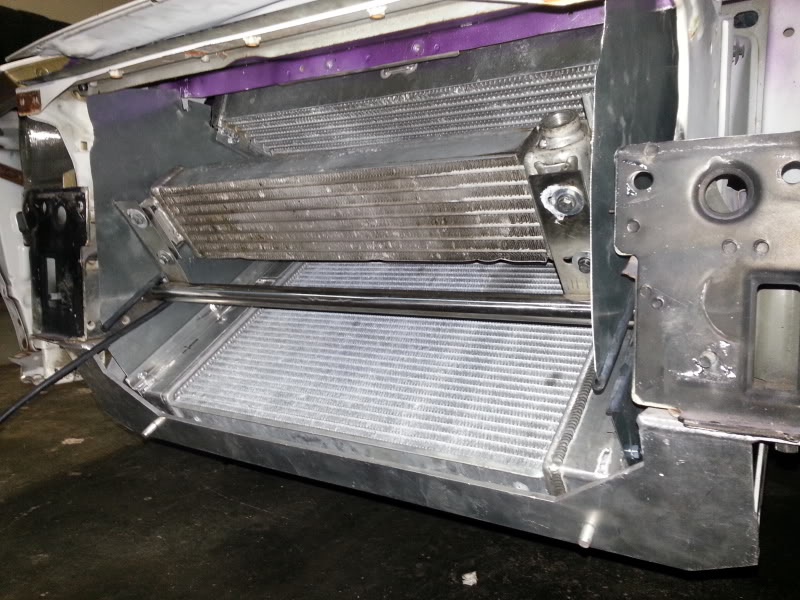
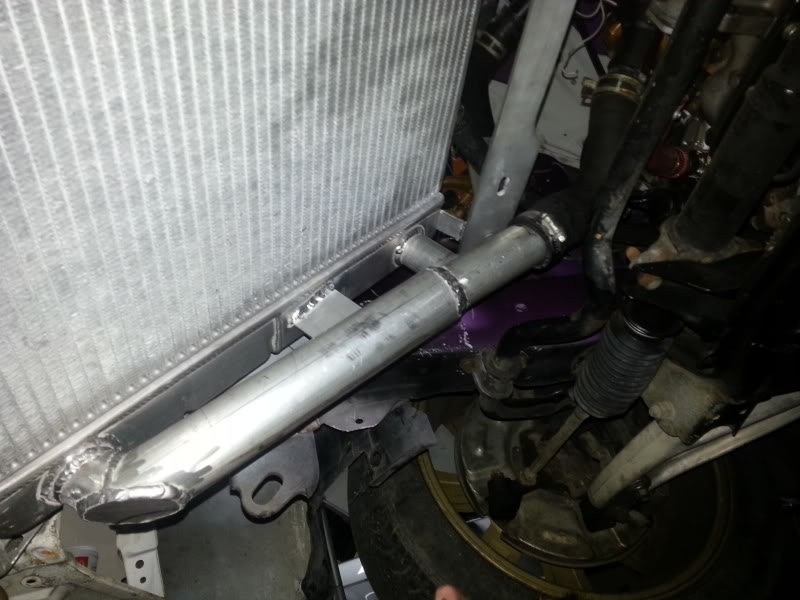
Once the radiator was mounted the next step was to get the intercooler on:
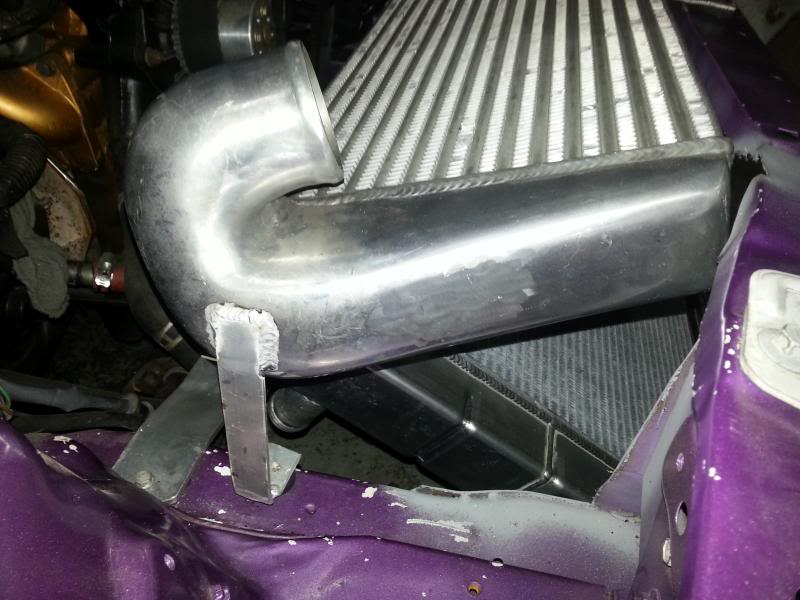

With the oil cooler on:
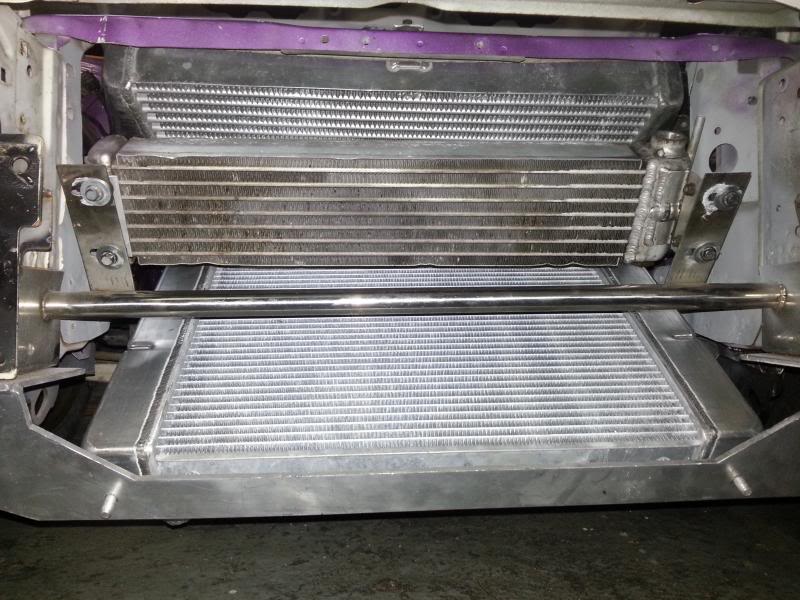
And then to design the piping:
Getting excited because although I still have A LOT to do I'm starting to get the ball rolling to hopefully finally get her running again!


With the oil cooler on:


And then to design the piping:

Getting excited because although I still have A LOT to do I'm starting to get the ball rolling to hopefully finally get her running again!


Thread Starter
brap brap
Joined: Jul 2011
Posts: 73
Likes: 0
From: Gainesville, FL
next step was to fab up the piping:
Got it all laid out how I wanted it and welded it up

(note the huge hole on the top of the cold side will be welded shut, I know it kind of makes it look like **** but I'm doing this on a budget build and am using an intercooler we already had)
After that it was time for ducting.... which let me tell you is a pain in the ***...
Not 100% final but mostly done
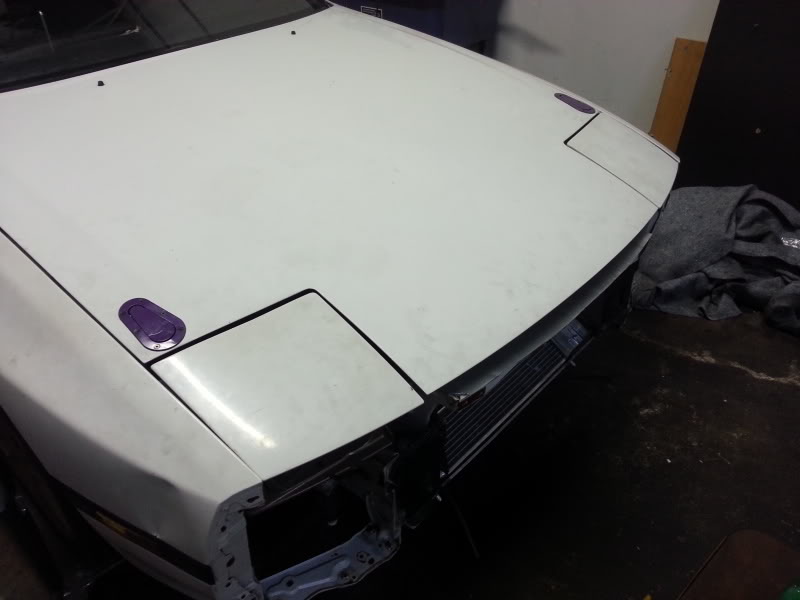
Oh and I installed some areocatch hood pins
Got it all laid out how I wanted it and welded it up


(note the huge hole on the top of the cold side will be welded shut, I know it kind of makes it look like **** but I'm doing this on a budget build and am using an intercooler we already had)
After that it was time for ducting.... which let me tell you is a pain in the ***...


Not 100% final but mostly done
Oh and I installed some areocatch hood pins


Thread Starter
brap brap
Joined: Jul 2011
Posts: 73
Likes: 0
From: Gainesville, FL
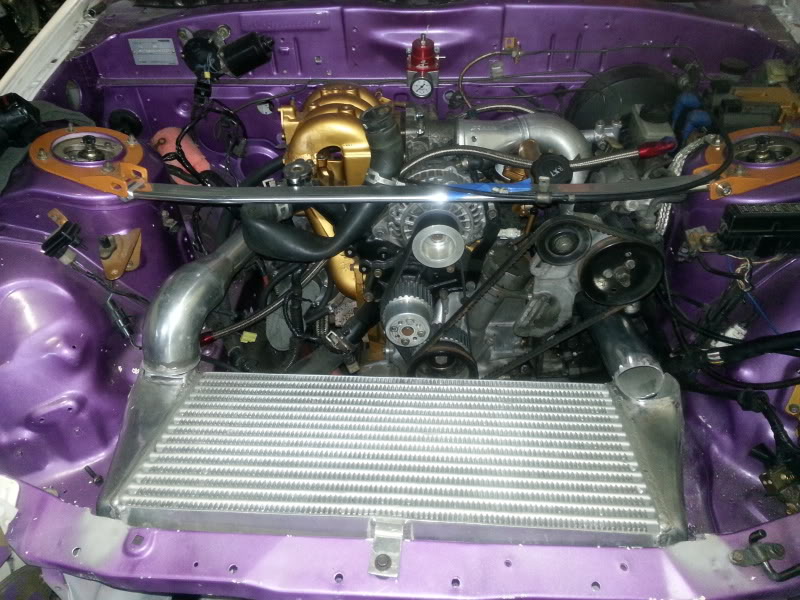
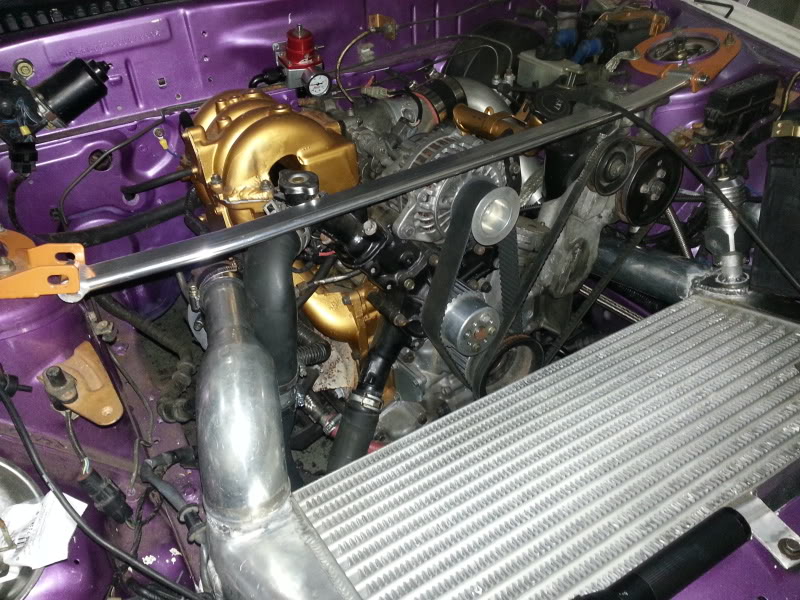
So everything is finally coming together, finally got all the needed AN fittings, finished welding up the inter cooler and radiator, and put it all together.
Spent more money on AN fittings than I thought I ever would... who ever thought these suckers would be so expensive
Fuel lines all hooked up, running 850cc and 1680cc injectors
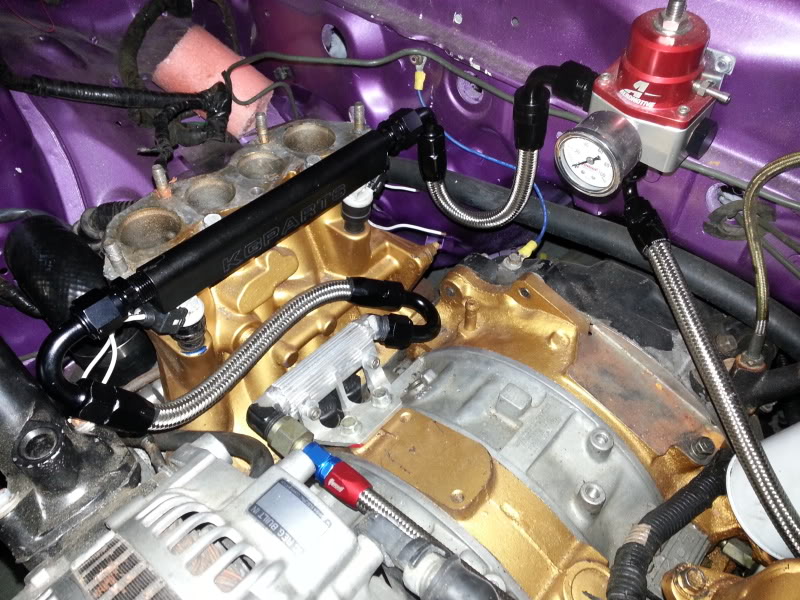
Oil cooler and power steering hooked up (don't mind the tiny power steering cooler had to use what we had since I'm about to move)
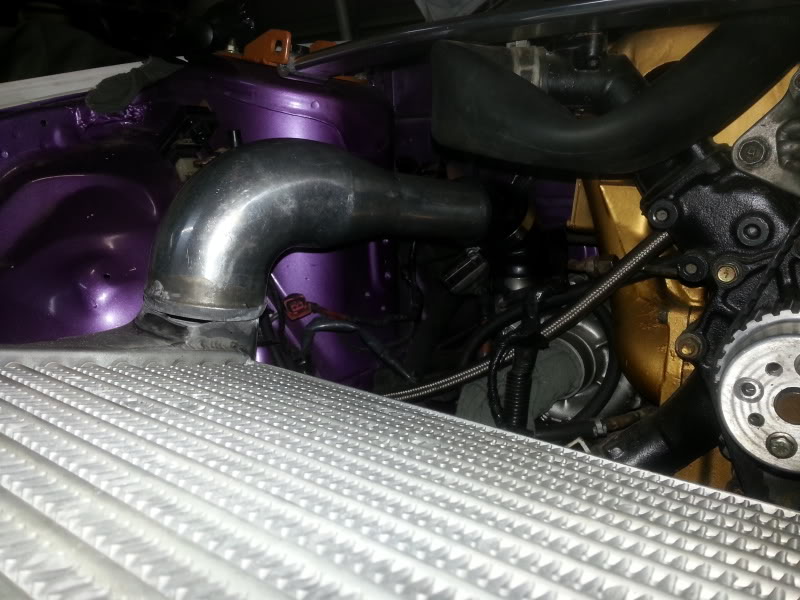
Welded up the radiator piping:
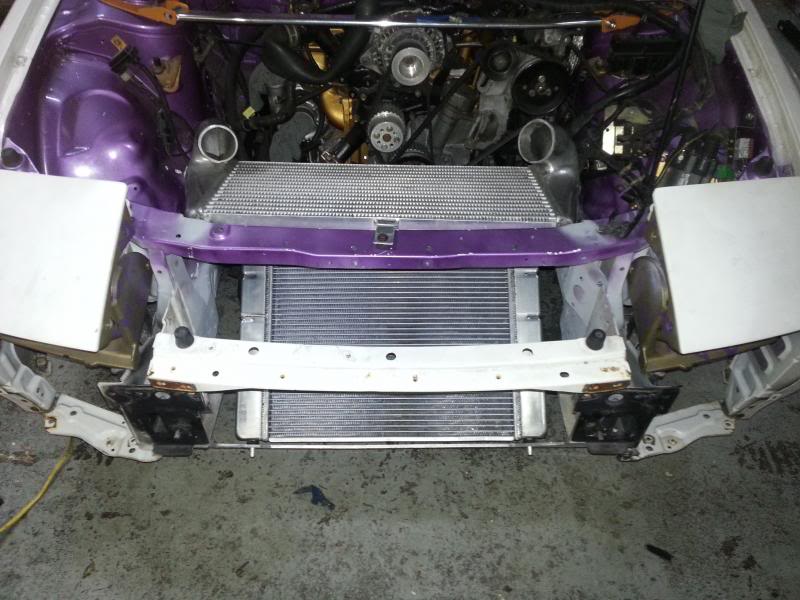
And finally put the manifold, intercooler piping, and plugged everything back in:
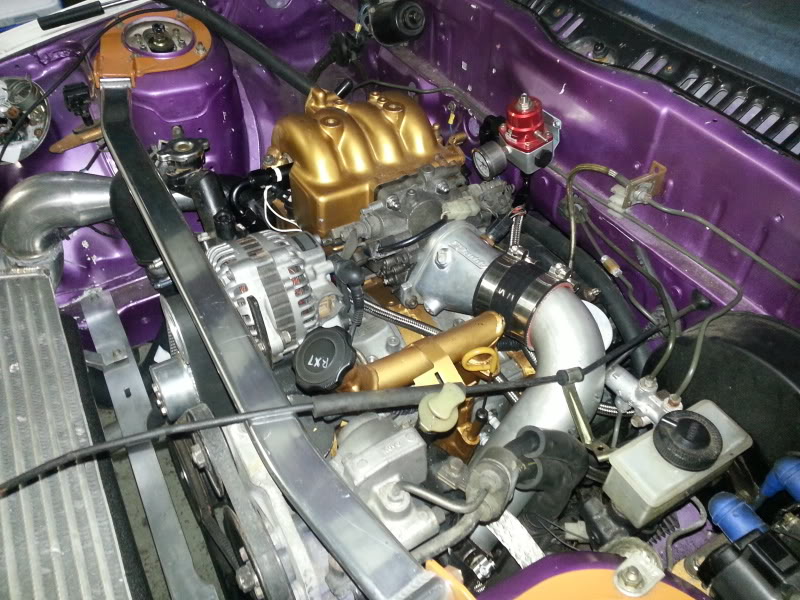
Everything was ready for first start! Or so we thought....
We're having an issue with our temp sensors, all of them reading 175 C The car will crank and crank but won't fire up. We're thinking it's a harness issue so hopefully we will resolve it and maybe I'll get to hear her purr soon.
Spent more money on AN fittings than I thought I ever would... who ever thought these suckers would be so expensive

Fuel lines all hooked up, running 850cc and 1680cc injectors

Oil cooler and power steering hooked up (don't mind the tiny power steering cooler had to use what we had since I'm about to move)

Welded up the radiator piping:


And finally put the manifold, intercooler piping, and plugged everything back in:


Everything was ready for first start! Or so we thought....
We're having an issue with our temp sensors, all of them reading 175 C
The car will crank and crank but won't fire up. We're thinking it's a harness issue so hopefully we will resolve it and maybe I'll get to hear her purr soon.
Thread Starter
brap brap
Joined: Jul 2011
Posts: 73
Likes: 0
From: Gainesville, FL
So we fixed the wiring issue by using a different harness. All the sensors were reading right where they should be but we came across another problem.... The car would start for a few seconds and wouldn't idle on it's own. Our first thought was timing and the TPS being bad. We checked the timing and it was way off as well as Ohm tested the TPS and it was all over the place so we replaced it. Cranked the car and now I could keep it running with lots of throttle modulation. Next step, compression testing.....and some bad news....
Rear rotor:
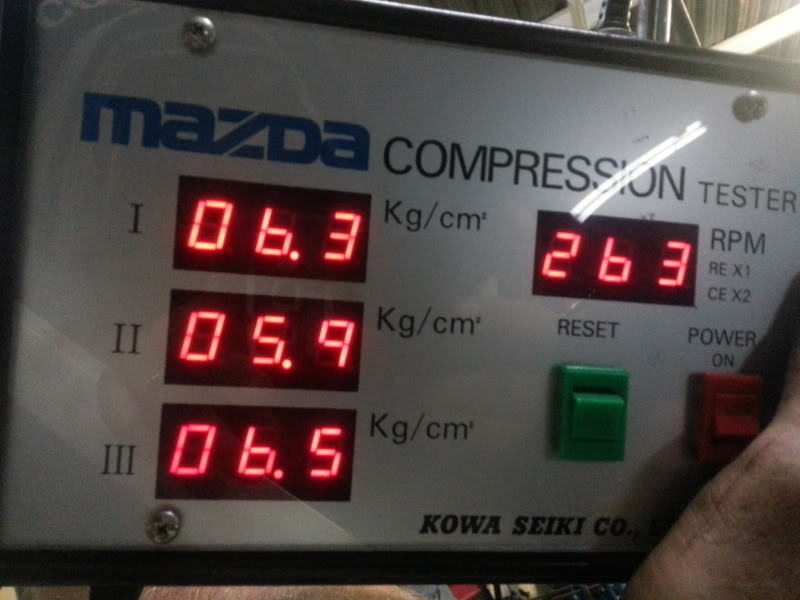
and the front rotor:
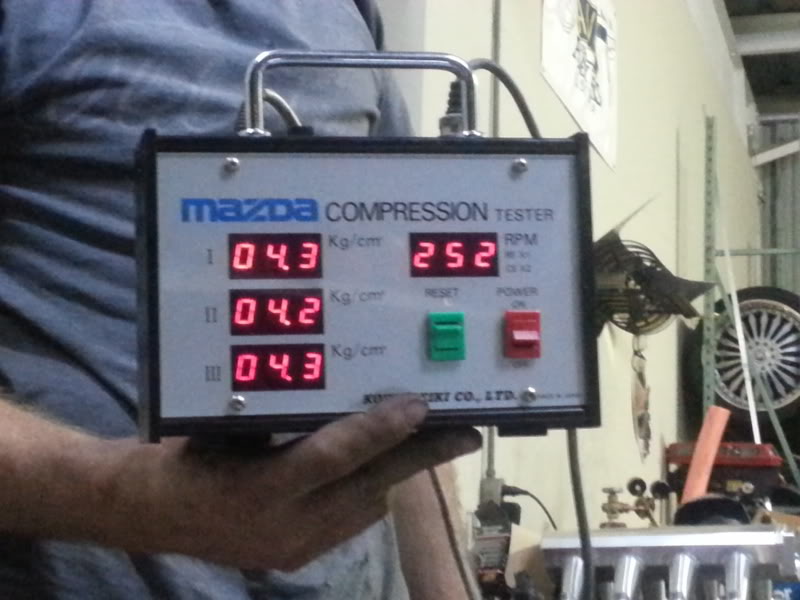
(chart on the back reads that at 250 RPM compression should read around 6.0 Kg/cm3)
What a bummer ! We're hoping that because the engine sat for a while the seals are just stuck and maybe some high RPMs and an MMO treatment they unstick themselves.
This is what I get for using a hand-me-down (and questionable) motor, oh well, keeping my fingers crossed.
Also any other ideas on what my problem is (and how to solve it) are welcomed.
Rear rotor:

and the front rotor:

(chart on the back reads that at 250 RPM compression should read around 6.0 Kg/cm3)
What a bummer
! We're hoping that because the engine sat for a while the seals are just stuck and maybe some high RPMs and an MMO treatment they unstick themselves. This is what I get for using a hand-me-down (and questionable) motor, oh well, keeping my fingers crossed.
Also any other ideas on what my problem is (and how to solve it) are welcomed.
i bought a car that was sitting for 13 years and i had similar compression before starting it again for the first time. After warming up the engine and driving it for a while i went from having 60 60 30 front and 60 40 30 rear to 90psi on all faces. Drive it around a little and test the compression when the engine is warm. All of your readings are evenly low which would be unusual if the engine was damaged no? Its pretty unlinlely tat all the seals are damaged in the exact same way yielding the same result
Thread Starter
brap brap
Joined: Jul 2011
Posts: 73
Likes: 0
From: Gainesville, FL
i bought a car that was sitting for 13 years and i had similar compression before starting it again for the first time. After warming up the engine and driving it for a while i went from having 60 60 30 front and 60 40 30 rear to 90psi on all faces. Drive it around a little and test the compression when the engine is warm. All of your readings are evenly low which would be unusual if the engine was damaged no? Its pretty unlinlely tat all the seals are damaged in the exact same way yielding the same result