
1986 Mazda RX-7 Sport


Thread Starter
LegacyCore
Joined: Dec 2014
Posts: 259
Likes: 1
From: Rogersville, MO
Yes it is, and the intake is very well made, love the seamless design as it replaces both LIM and UIM. Just so everybody knows it also deletes the 5th and 6th port actuators. Final thoughts will be had once the engine is installed, running, and tuned.
Thread Starter
LegacyCore
Joined: Dec 2014
Posts: 259
Likes: 1
From: Rogersville, MO
Tiny update:
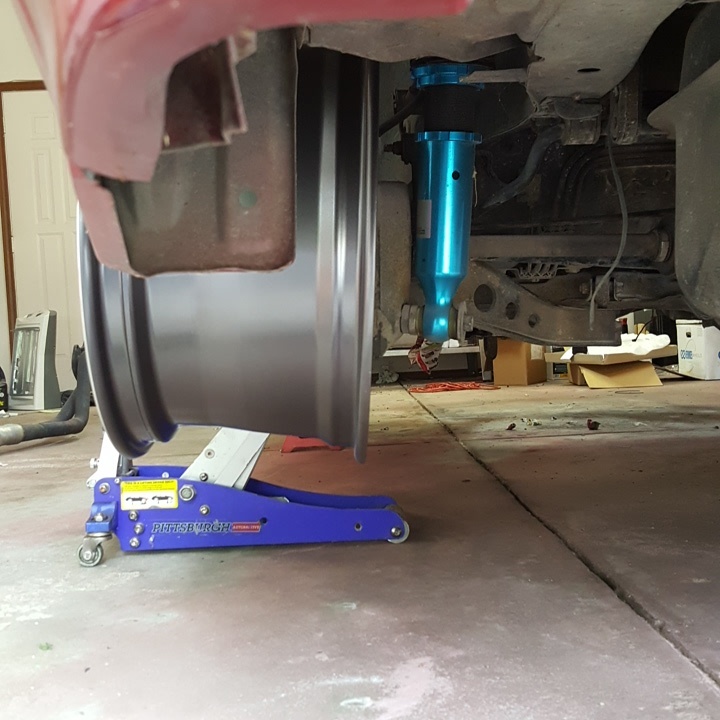
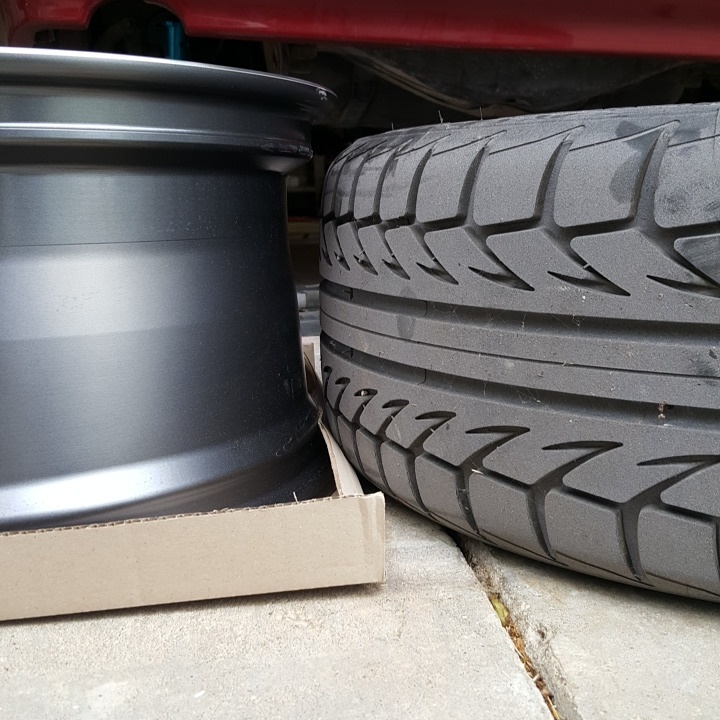
So decided I didn't like my 16x6.5 +40 knock off wheels any longer and wanted a better set of wheels. So forked out a tiny bit of money and landed a new set of Enkei Tenjin's in gunmetal. In the rear I'll be rocking a 17x9 +35 wrapped in Nitto NT05 255/40R17 and in the front a pair of 17x8 +35 wrapped in the same Nitto tires but 225/45R17's. Pics.
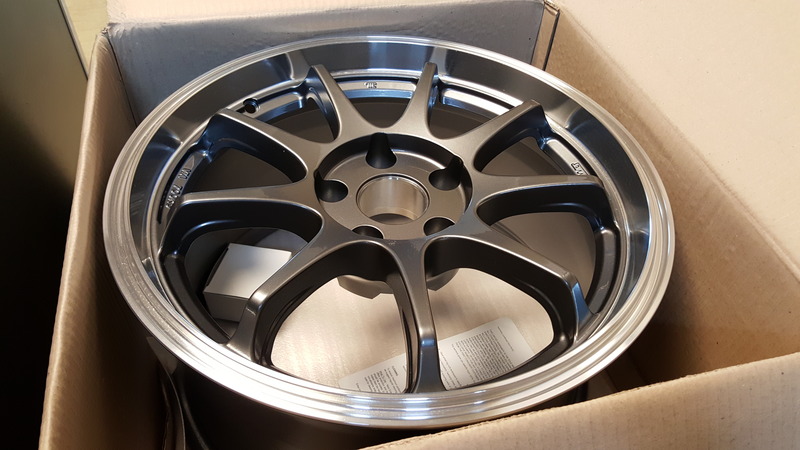
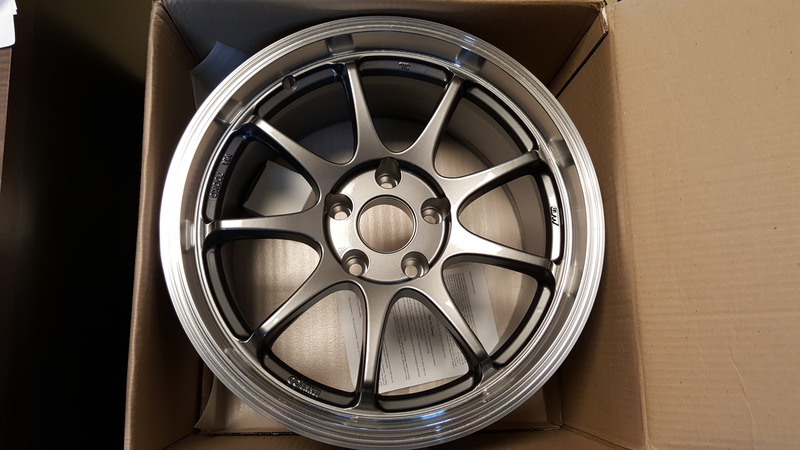
So decided I didn't like my 16x6.5 +40 knock off wheels any longer and wanted a better set of wheels. So forked out a tiny bit of money and landed a new set of Enkei Tenjin's in gunmetal. In the rear I'll be rocking a 17x9 +35 wrapped in Nitto NT05 255/40R17 and in the front a pair of 17x8 +35 wrapped in the same Nitto tires but 225/45R17's. Pics.


Thread Starter
LegacyCore
Joined: Dec 2014
Posts: 259
Likes: 1
From: Rogersville, MO
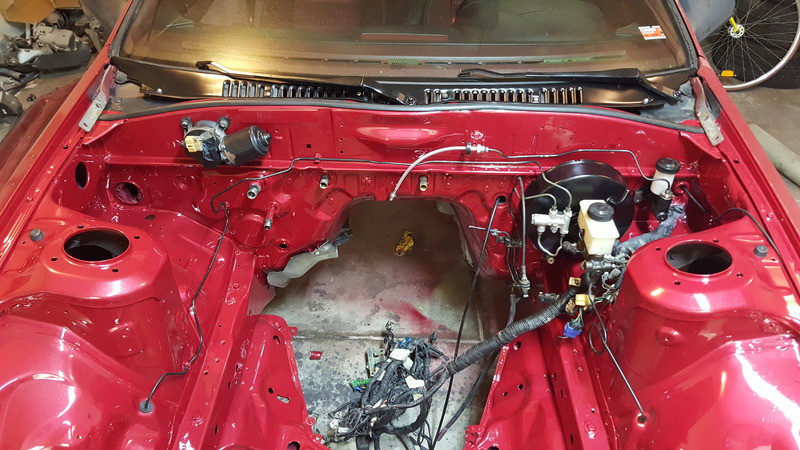
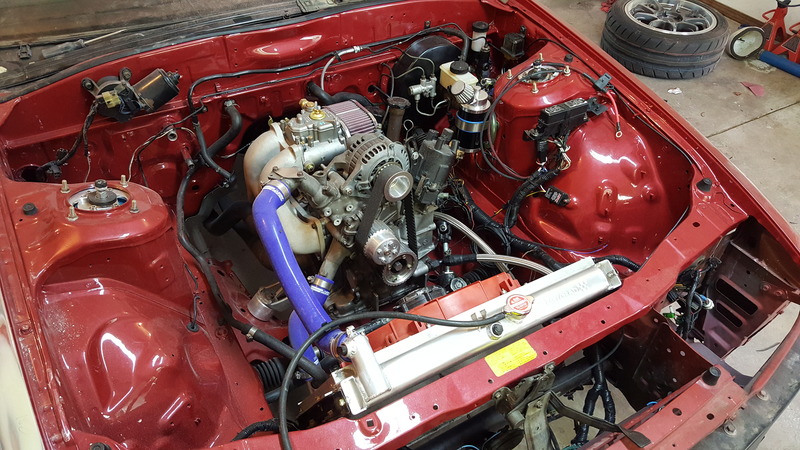
Another small update, decided it was time to clean and paint all the major components in the engine bay today. And to start installing things I could install before the engine goes back in. I like the satin black against the shiny RMM engine bay.

Thread Starter
LegacyCore
Joined: Dec 2014
Posts: 259
Likes: 1
From: Rogersville, MO
Couple small updates!
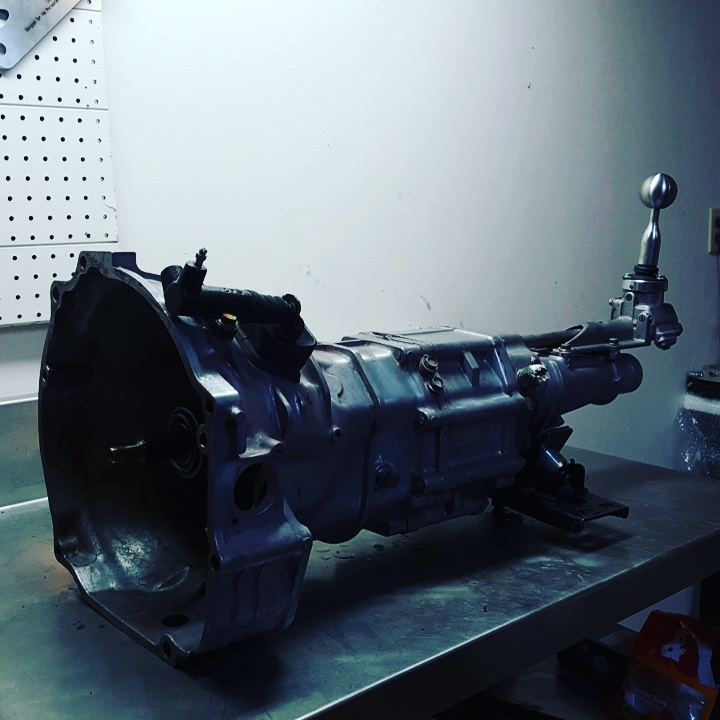
So the transmission I had before was from an 84-85 13b, but for some reason reverse was very hard to get into and out of and was destroying backup light switches left and right. So decided it was time to either rebuild, or find a new trans. Luckily for me a good friend of mine had an 89-91 NA trans sitting in his shed he had no use for since he upgraded to an FD. Told me if I got it out of his shed I could have it, so couldn't pass up that deal and snagged it. Only problem I had with the trans was somebody painted it bright red. So after a can of paint remover and some more cleaning, I got it all setup with new components and my Mazdatrix shifter. And then bolted up to my engine, if all goes well I hope to have the engine and trans in the bay this weekend if not sooner! Pics...
Wish I took a before picture:
StreetRays solid trans bushings:
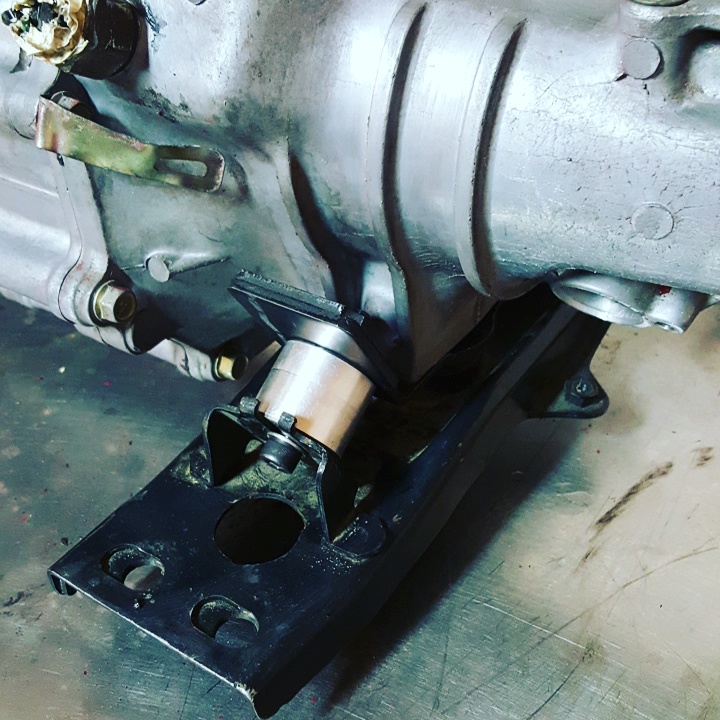
All together and ready to go home:

So the transmission I had before was from an 84-85 13b, but for some reason reverse was very hard to get into and out of and was destroying backup light switches left and right. So decided it was time to either rebuild, or find a new trans. Luckily for me a good friend of mine had an 89-91 NA trans sitting in his shed he had no use for since he upgraded to an FD. Told me if I got it out of his shed I could have it, so couldn't pass up that deal and snagged it. Only problem I had with the trans was somebody painted it bright red. So after a can of paint remover and some more cleaning, I got it all setup with new components and my Mazdatrix shifter. And then bolted up to my engine, if all goes well I hope to have the engine and trans in the bay this weekend if not sooner! Pics...
Wish I took a before picture:

StreetRays solid trans bushings:

All together and ready to go home:


Thread Starter
LegacyCore
Joined: Dec 2014
Posts: 259
Likes: 1
From: Rogersville, MO
And with the airpump bracket, that has been removed since these pics were taken good eye!!
Thread Starter
LegacyCore
Joined: Dec 2014
Posts: 259
Likes: 1
From: Rogersville, MO
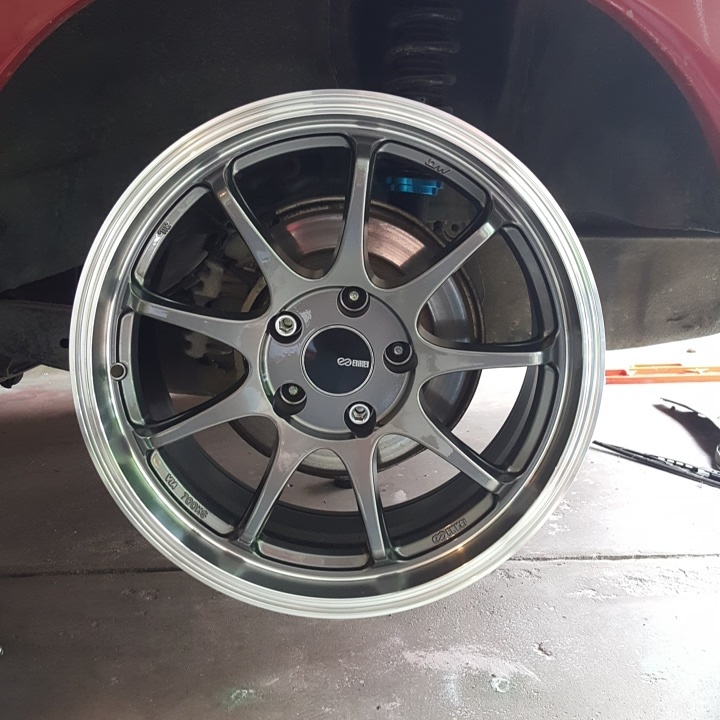
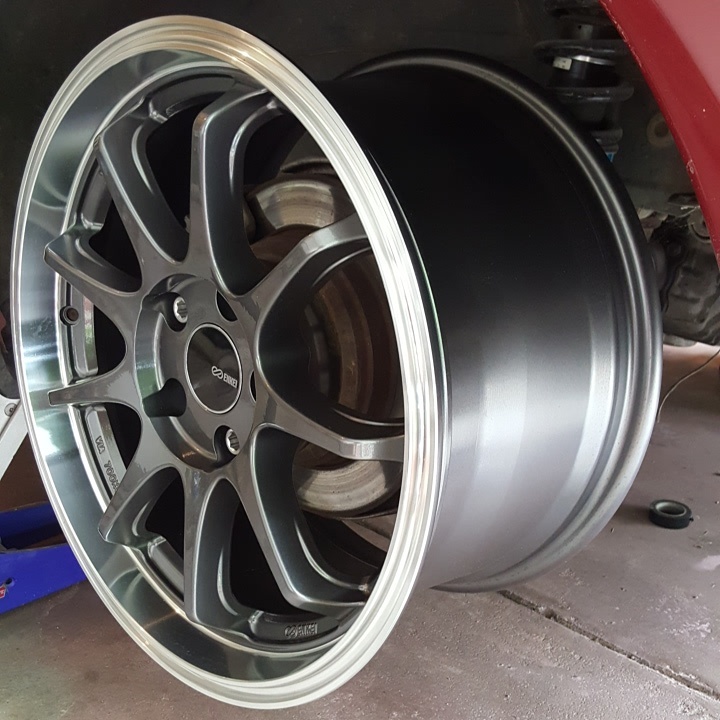
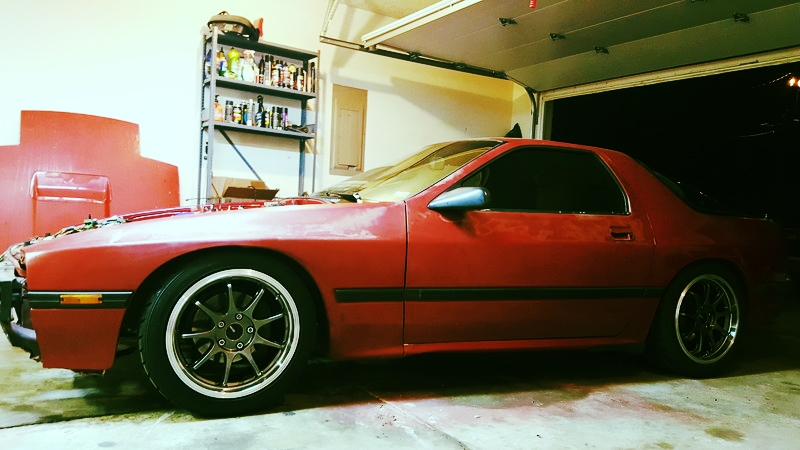
Got a little more work done today, a previous owner of the car had the whole exhaust welded up at one unit. Including the rather expensive RB header it has on it... SO today, myself and a few friends decided to cut the head off and weld on a Vibrant v-band. Just took a few minutes and now the exhaust is back on the car. I originally was going to go the true dual exhaust route, but after some reading came to the conclusion that I'd actually make more power with how my current exhaust is setup. RB head, 2.5" mandrel bent exhaust, with three 20" resonators, exiting out two Magnaflow mufflers. Don't have any pics of the exhaust as it's an exhaust and we all know what they look like. But I do have a picture of the car finally back on the ground with it's new Enkei Tenjin wheels. 17x8 +35 front and 17x9 +35 rear wrapped in Nitto NT05 tires, a 225/45 in the front and a 255/40 in the rear. They fit great, I'm still going to roll the fenders once I start the body work. But I see no real issues, the front tires are pretty close to rubbing the front coils but I don't think they will. Next set of wheels I buy if/when I do will have a deep dish lip in the rear and a 17x10 +30 I'm thinking so I can slap on some 285/40 tires in the rear. Anyways, pic of how it's sitting as of right now...

Thread Starter
LegacyCore
Joined: Dec 2014
Posts: 259
Likes: 1
From: Rogersville, MO
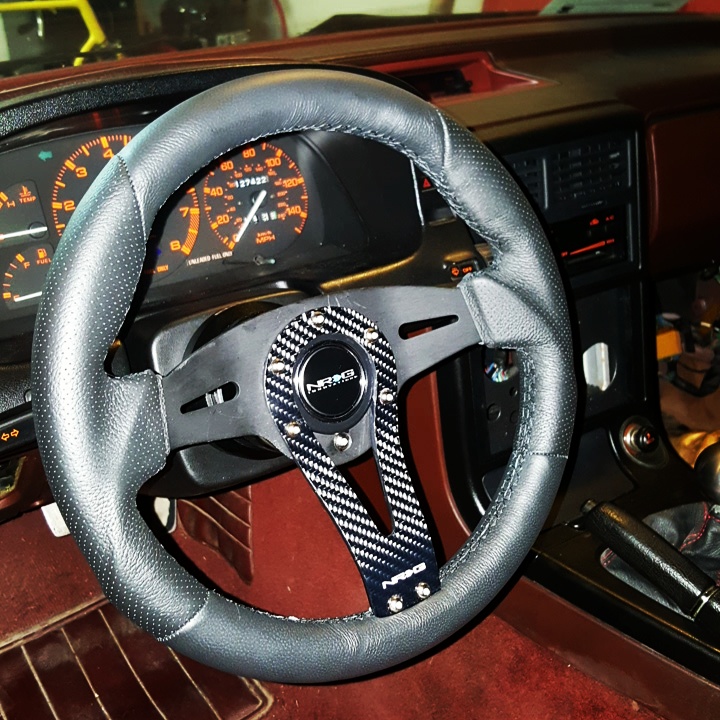
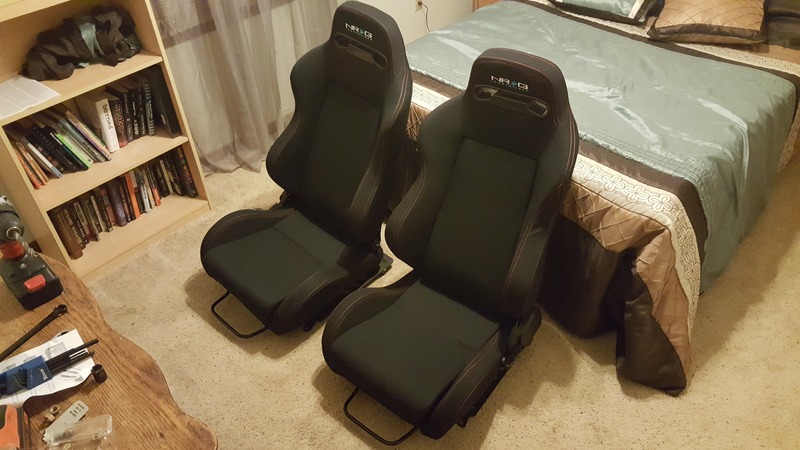
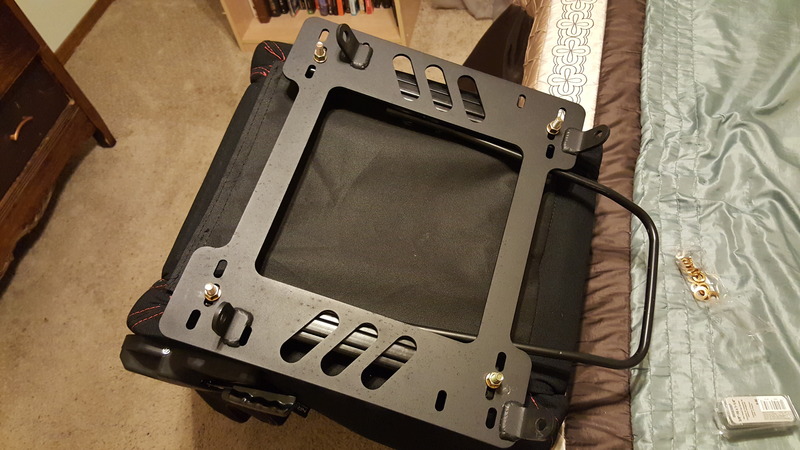
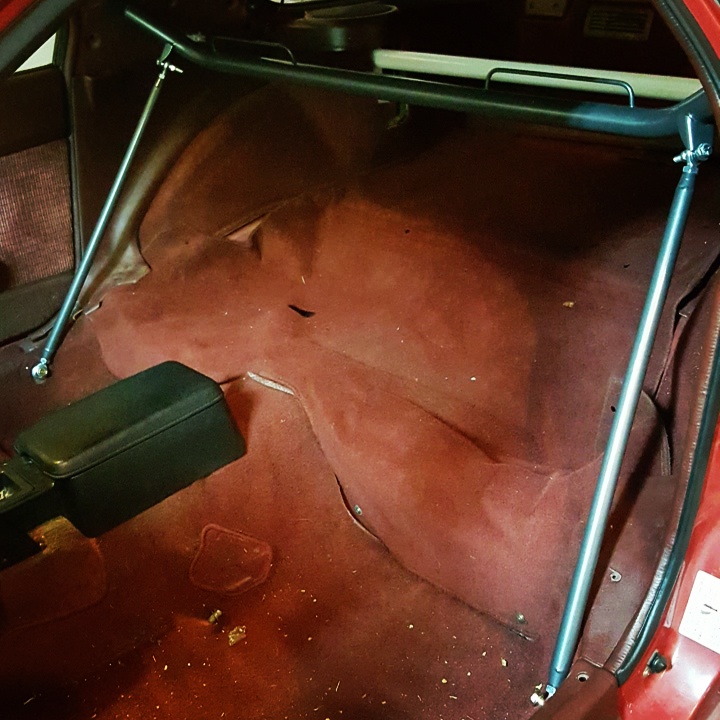
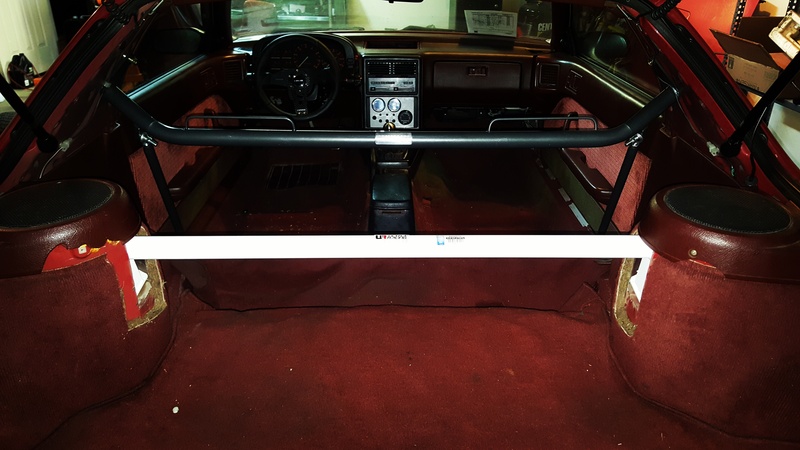
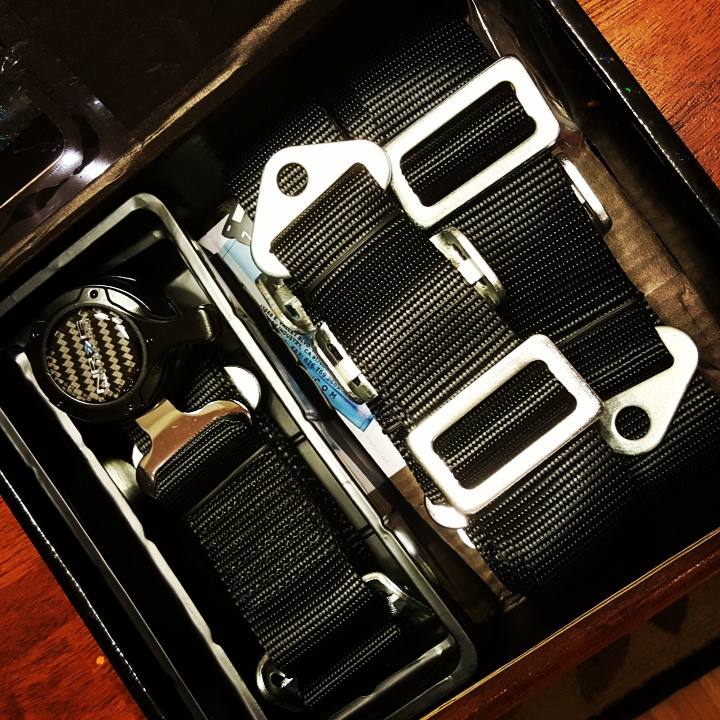
Ok, so it's been a little bit since I've done any updates and I guess you can say a lot has happened. To start with I decided to pretty much buy everything I could from the NRG catalog. It started off with a set of NRG Type R seats in black with red stitching. Then decided to get a pair of NRG 4-point harnesses in black as well, and you can't have harnesses without a harness bar, so ordered that from NRG as well. At this point I figured since I already have an NRG short hub and NRG quick release on my Nardi steering wheel, I might as well order myself an NRG steering wheel as well. So out with the old worn out Nardi and in with the new NRG Sniper 320mm steering wheel to match up with everything else NRG in my interior. The only thing I could not find from NRG is a shift **** with a m12x1.50 thread pattern and pitch. So yes, I wen NRG hog wild... I did get the harness bar and steering wheel installed, but nothing else. Oh and I also got Planted seat brackets to go with the NRG seats with sliding rails.
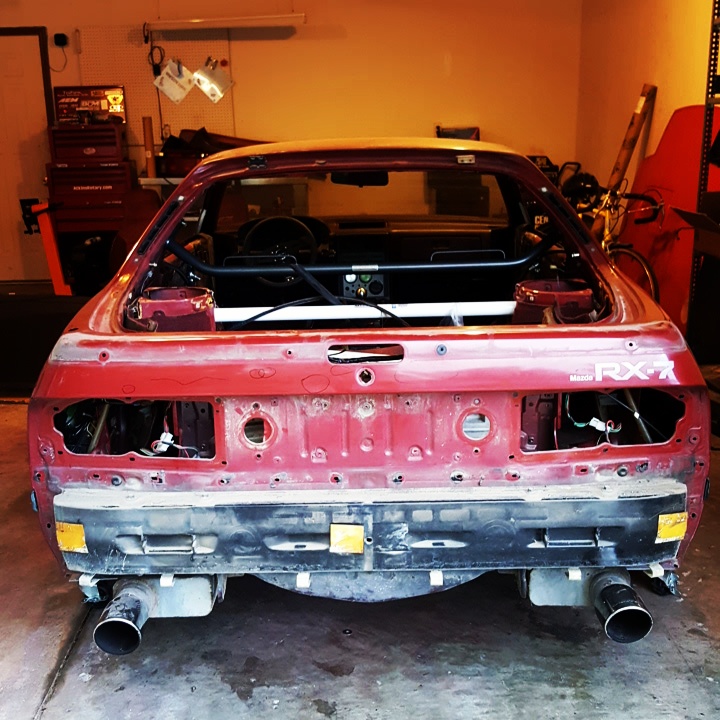
The reason nothing else has been installed yet, is well... Because I'm uninstalling things on the car haha.. This past Sunday my friend that painted the engine bay came over and we started stripping the car. Removed the hatch, taillights, door handles, bumper covers, and most the trim. And this weekend we plan on spending A LOT of time removing the rest of the trim and everything else we can and start the sanding portion for the paint job. It's going to be a long summer... So anyways, time for some pictures...
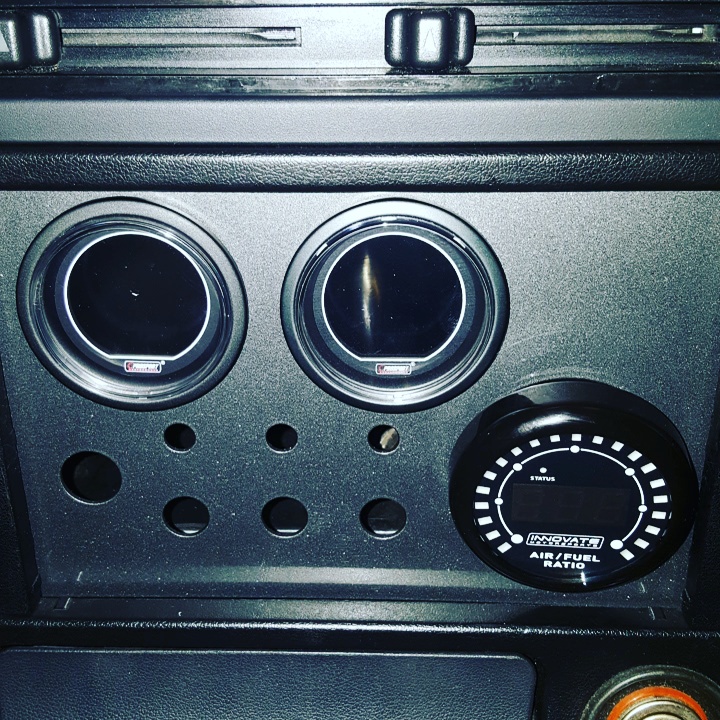
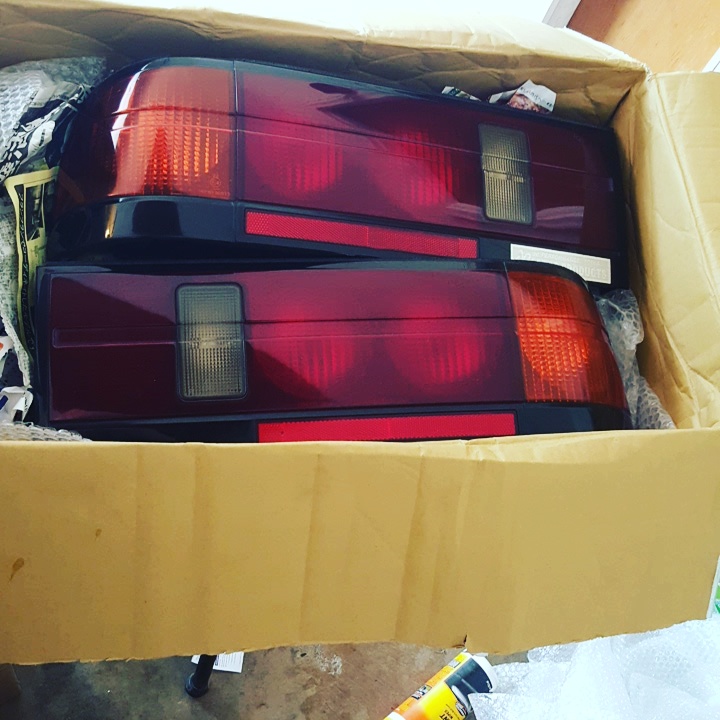
Oh and before I forget, also ordered a near mint set of S5 taillights from Japan, and mounted my Prosport Evo coolant and oil psi gauges as well as my Innovate MTX-L wideband gauge. Still need to wire it all up.
320mm NRG Sniper Steering Wheel:
Black with red stitching NRG Type-R seats:
Planted seat brackets:
Gunmetal NRG harness bar:
Black NRG 4-point harness:
Prosport EVO and Innovate MTX-L gauges:
S5 taillights:
Started the process of tearing the body apart for prep and paint:
The reason nothing else has been installed yet, is well... Because I'm uninstalling things on the car haha.. This past Sunday my friend that painted the engine bay came over and we started stripping the car. Removed the hatch, taillights, door handles, bumper covers, and most the trim. And this weekend we plan on spending A LOT of time removing the rest of the trim and everything else we can and start the sanding portion for the paint job. It's going to be a long summer... So anyways, time for some pictures...
Oh and before I forget, also ordered a near mint set of S5 taillights from Japan, and mounted my Prosport Evo coolant and oil psi gauges as well as my Innovate MTX-L wideband gauge. Still need to wire it all up.
320mm NRG Sniper Steering Wheel:

Black with red stitching NRG Type-R seats:

Planted seat brackets:

Gunmetal NRG harness bar:


Black NRG 4-point harness:

Prosport EVO and Innovate MTX-L gauges:

S5 taillights:

Started the process of tearing the body apart for prep and paint:

Last edited by 2jzfc; Jun 29, 2016 at 10:37 PM.
Thread Starter
LegacyCore
Joined: Dec 2014
Posts: 259
Likes: 1
From: Rogersville, MO
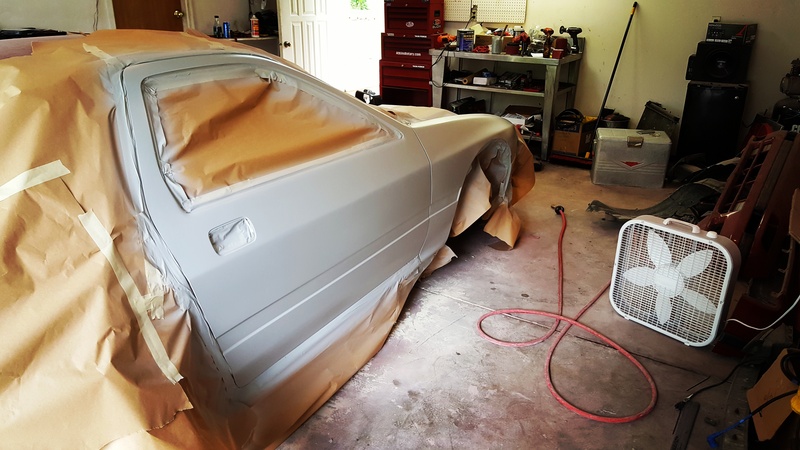
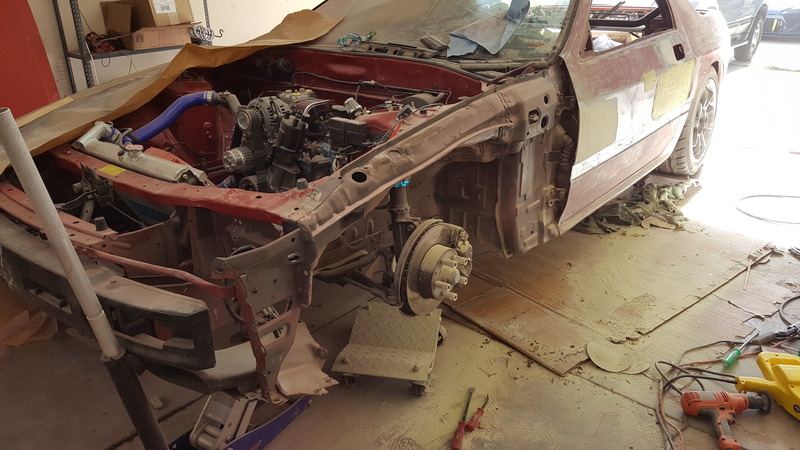
Got a tiny update, and probably won't have another one for a while. Over the Independence Day three day weekend. A friend and myself spend a decent amount of time working on a few things. Decided it was time to really get started on cleaning up wiring in the bay, and to start the body work. I still need to get my ignition coil setup figured out, and we were able to get the passenger front fender and door in primer. Next I'm going to hit the primer with cheap black paint and then more sanding and filler I'm sure. Also found out during all the initial sanding that the car has been painted before. But have yet to find any body damage, so that's good. Fingers crossed!
A little shot of the bay before I started cleaning up the wiring, such a dirty *****..

Here the headlight harness is wrapped in new split loom and taped up, looks stock pretty much now. Just MUCH cleaner loom and tape, also got the e-fan wired up with a HPC fan control kit. A little expensive, but so very worth it.
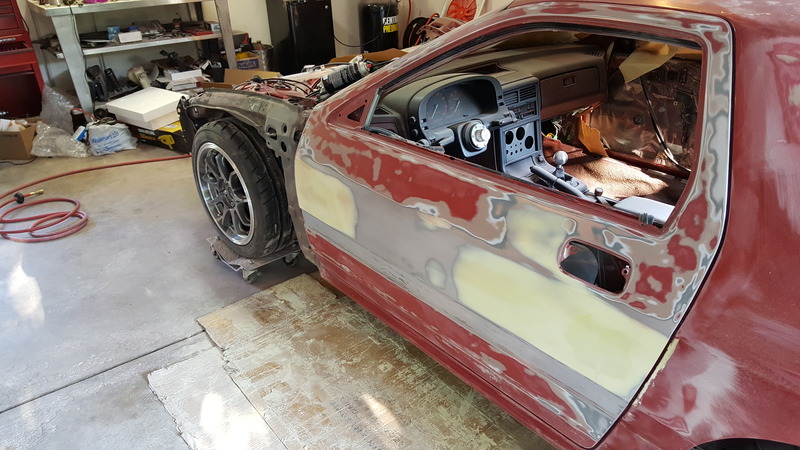
And a little money shot here, it's not the final primer just the sanding stage. Still so much to do, and it's going to take a while with the schedule my friend and myself have.
So yeah, that's going to be the last post for a few weeks or even months. I have some really nice interior goodies showing up as we speak. So I might post something on those when it all shows up, we'll see. It's pretty big and is really going to change the way the interior looks. Until next time, stay tuned
A little shot of the bay before I started cleaning up the wiring, such a dirty *****..

Here the headlight harness is wrapped in new split loom and taped up, looks stock pretty much now. Just MUCH cleaner loom and tape, also got the e-fan wired up with a HPC fan control kit. A little expensive, but so very worth it.

And a little money shot here, it's not the final primer just the sanding stage. Still so much to do, and it's going to take a while with the schedule my friend and myself have.

So yeah, that's going to be the last post for a few weeks or even months. I have some really nice interior goodies showing up as we speak. So I might post something on those when it all shows up, we'll see. It's pretty big and is really going to change the way the interior looks. Until next time, stay tuned
Thread Starter
LegacyCore
Joined: Dec 2014
Posts: 259
Likes: 1
From: Rogersville, MO
So still picking away at the body work of the car, found a decent amount of mud in the driver side door and front fender. But got that under control, still tons of sanding, body filler, and blocking to be done.
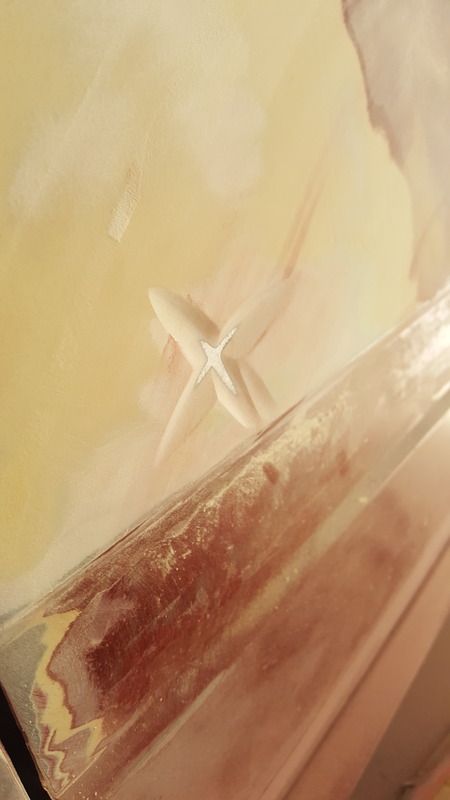
Guide coat of paint, will be sanded off:
How deep the bondo found on the driver door:
Pulling the dent out so less filler is used:
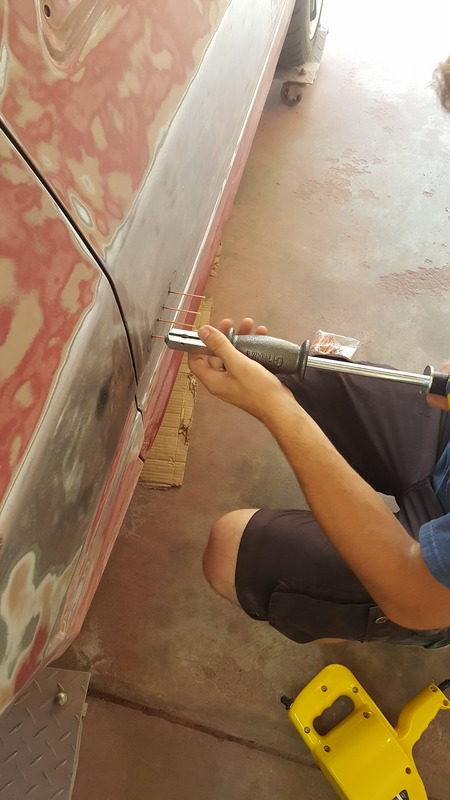
Pulled the fender to beat the damage out of it as well:
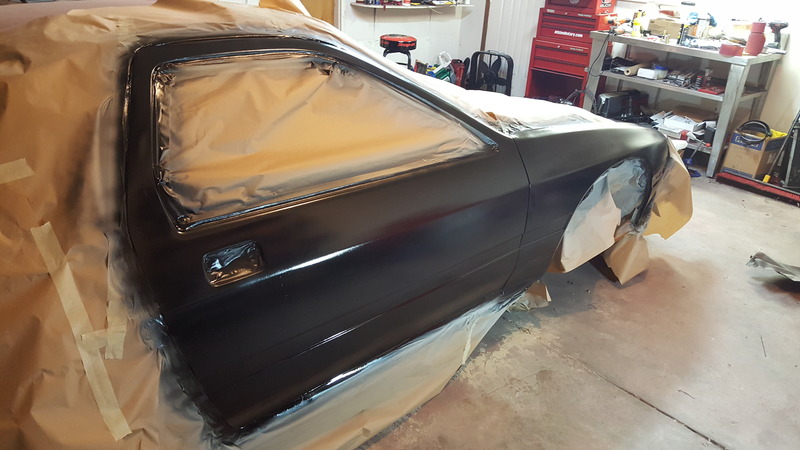
Door ready for first round of primer:
First round of primer before guide coat will be added:
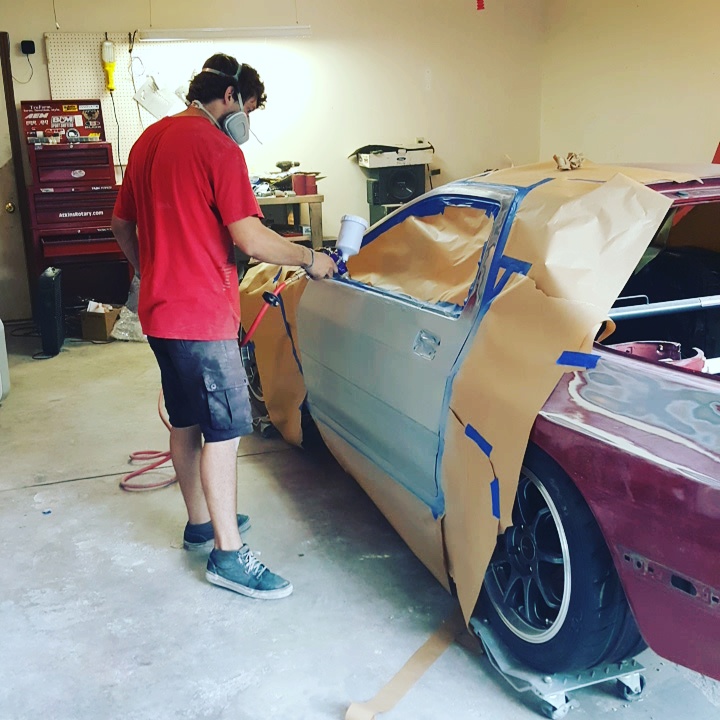
So as you can see, lots has been done and a lot more to go. I now know I don't have the patience to do body and paint for a living... Stay tuned!
Guide coat of paint, will be sanded off:

How deep the bondo found on the driver door:

Pulling the dent out so less filler is used:

Pulled the fender to beat the damage out of it as well:

Door ready for first round of primer:

First round of primer before guide coat will be added:

So as you can see, lots has been done and a lot more to go. I now know I don't have the patience to do body and paint for a living... Stay tuned!
Thread Starter
LegacyCore
Joined: Dec 2014
Posts: 259
Likes: 1
From: Rogersville, MO
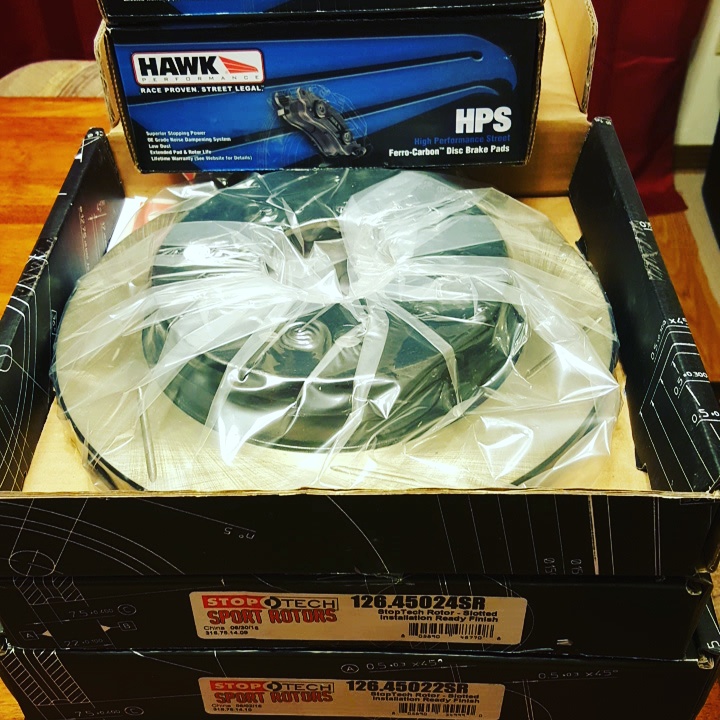
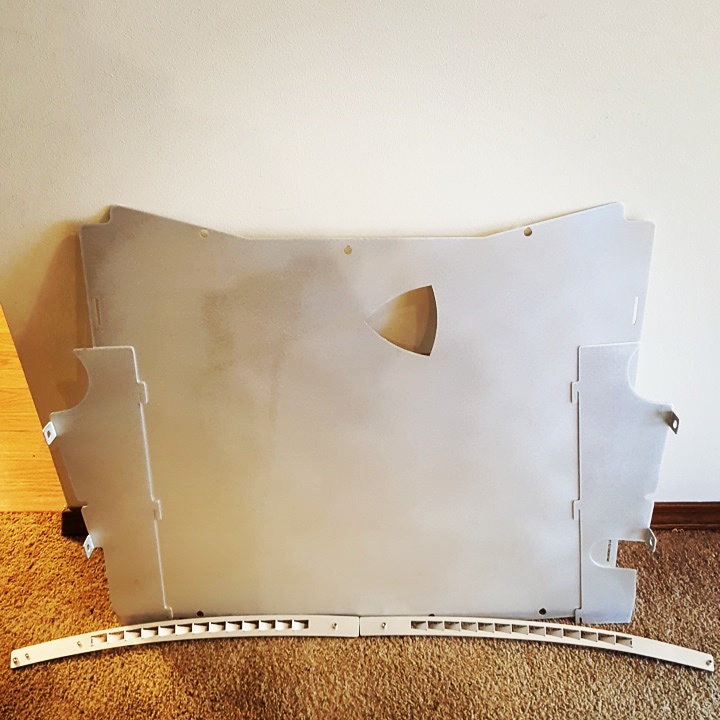
Small update today, got more parts in and I always love getting new parts!!! First up is a set of aluminum dash vents and aluminum under tray for the front end of the car, all from the same company that made my aluminum door cards LRB. And then decided I needed to upgrade the rest of my brakes on the FC, so bought a set of StopTech slotted rotors, and Hawk HPS brake pads! I need to now pull my brake calipers off and clean/paint them probably bright red. Now to the pics!
StopTech Rotors and Hawk HPS brake pads:
LRB CNC cut aluminum dash vents and front under tray kit:
Thanks for looking and stay tuned!
StopTech Rotors and Hawk HPS brake pads:

LRB CNC cut aluminum dash vents and front under tray kit:

Thanks for looking and stay tuned!


