When you click on links to various merchants on this site and make a purchase, this can result in this site earning a commission. Affiliate programs and affiliations include, but are not limited to, the eBay Partner Network.
Well damn. The other engine seems to be lacking compression on the front rotor. I have it sitting on a table and decided to give it a whirl with the ratchet. It has good compression on the rear rotor but the front one makes no sound. GRrrrrr I guess I can possibly put the two together to make one good engine. But that will have to be in the future. I cannot afford to buy that entire rebuild kit at this point in time.
Um, you don't need to buy two rebuild kits. Just buy one. Should be affordable. But the smarter thing to do is tear it down and see what it actually needs and order only the parts you need. I can assemble an engine with only the parts I need. Works fine.
Yes I was planning a single engine build I already have the newer 12a Out so I might as well tear it down. And work on that one. But if i need parts Ill have to pull the original for possible parts robbing.
Well, tore down the 12a that had good compression on the rear rotor. And as expected the front rotor had issues. Let me know if the rear housing looks usable. Damn forgot to take a picture of the rear rotor housing. Last 5 pics are the rear housing.
Last edited by bpcZoD; Jun 24, 2016 at 04:39 PM.
Reason: Rear housing pictures added.
Today I decided to remove the plugs from each rotor housing and see what the compression sounds like. Front rotor on the old engine sounds different than the rear rotor. Here are a few videos I made this morning showing the difference.
Poured Gear oil into the front rotor housing to see if it made a difference at idle. Which it did but it didn't last long. So I assume the front rotor has an apex seal stuck.
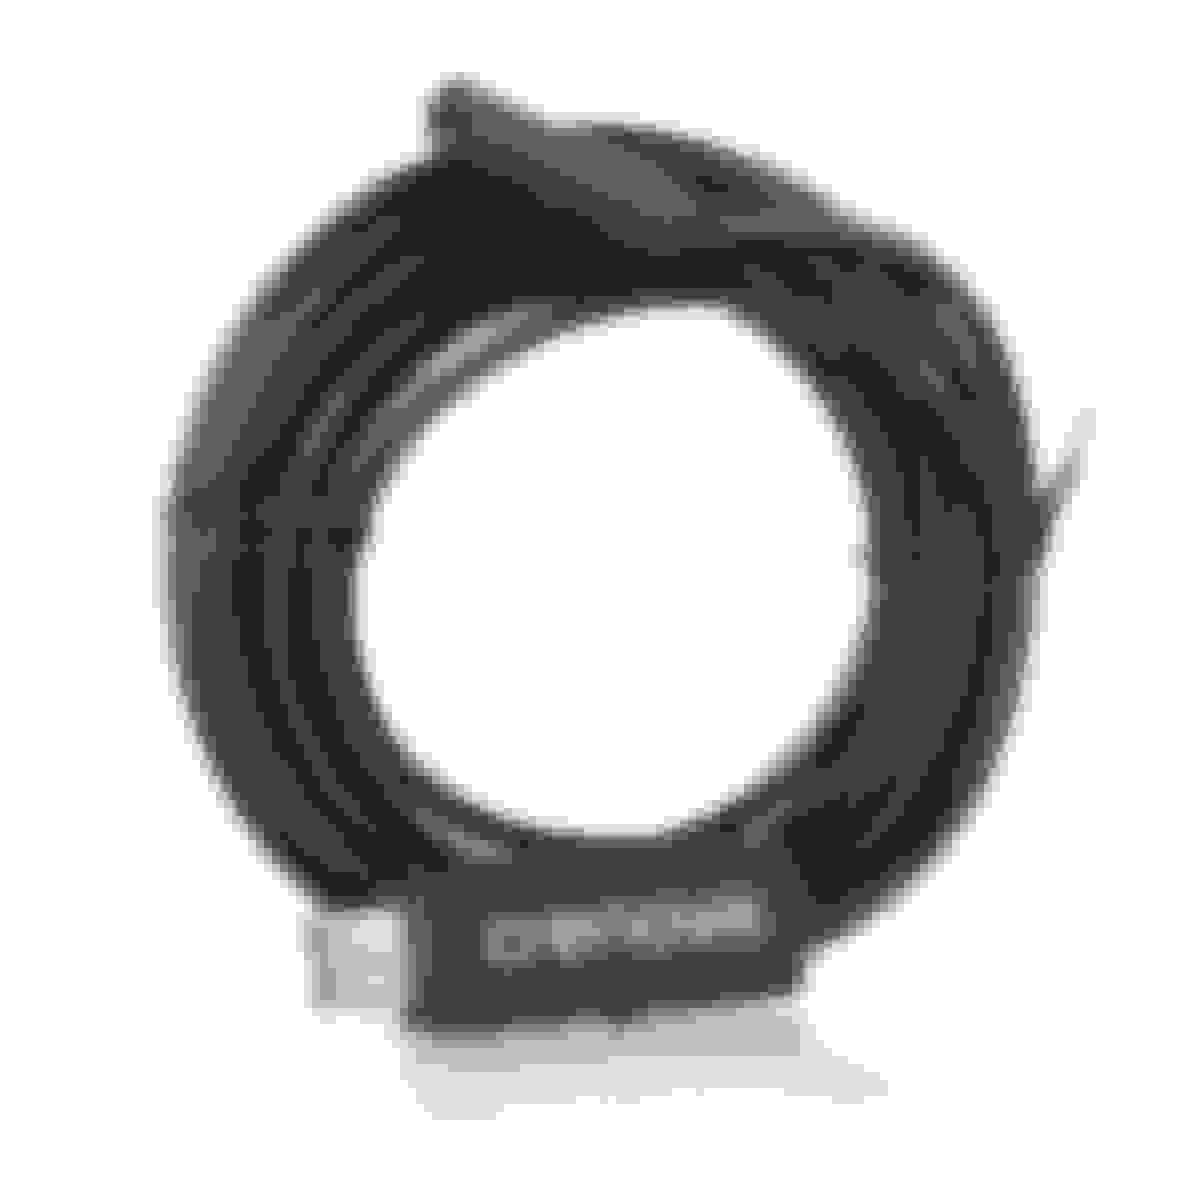
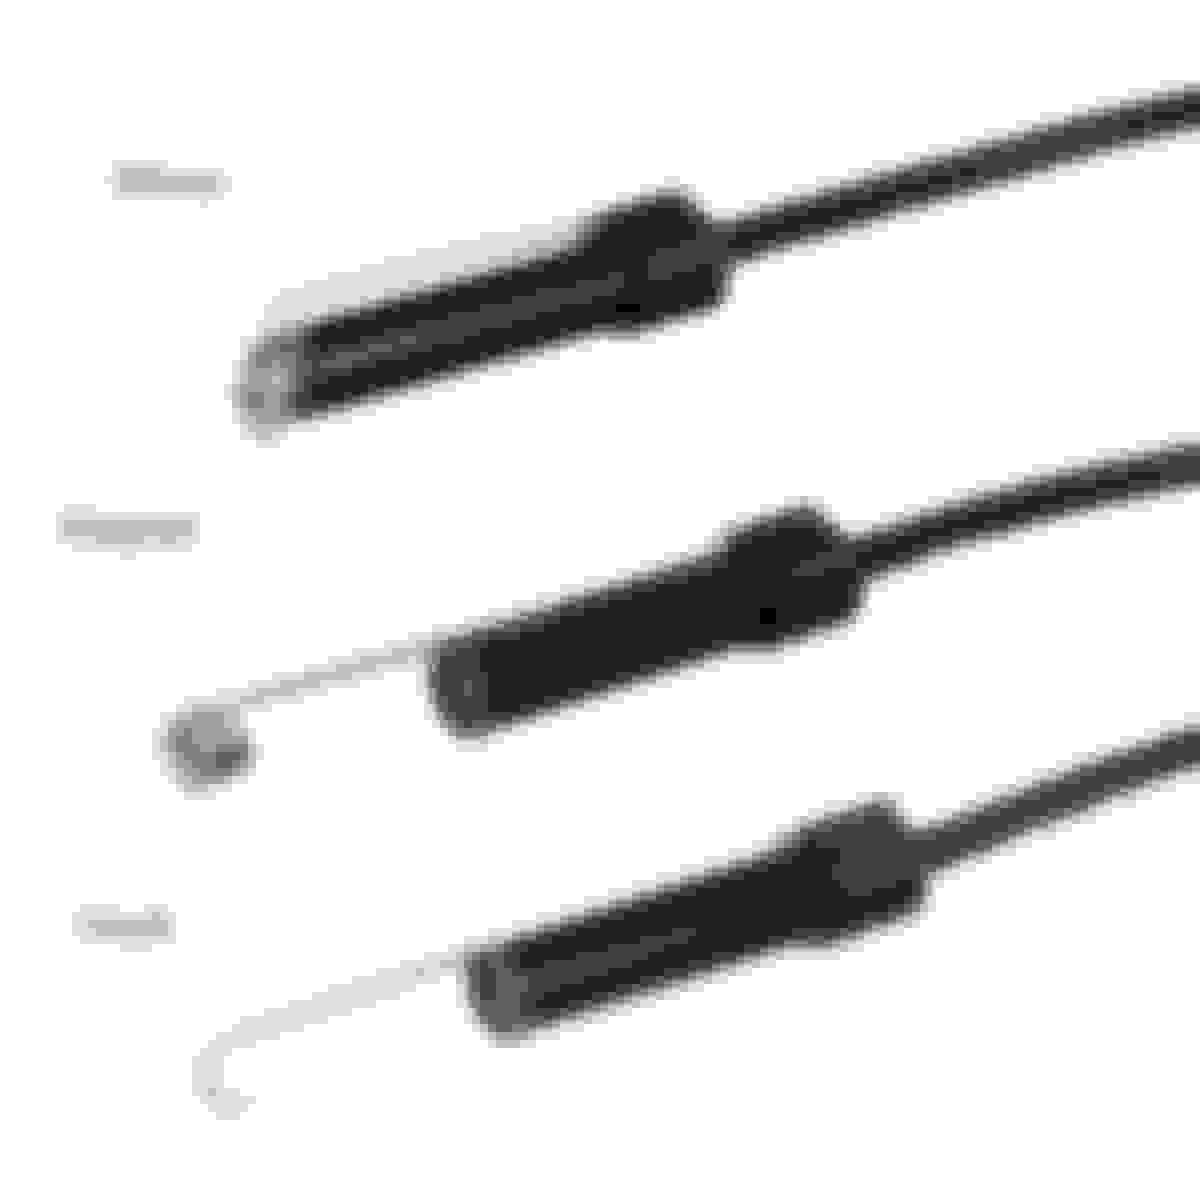
Well I have decided not to tear down the engine that is in the car right now. I am going to purchase a endoscope that hooks up to my laptop and stick it into the front rotor housing leading plug hole to see what it looks like in there. Not to mention I can start doing colonoscopies on the side. This tiny camera is pretty cool with LED lights. I just want to look in the rotor housing so I know which way to go. If that housing is trash I may just try to find a 13b and do what it takes to stick it in there. Seems 12a rotor housings are hard to find.
Here is a link to the 20 dollar camera. It will fit into the leading plug hole.
Well, tore down the 12a that had good compression on the rear rotor. And as expected the front rotor had issues. Let me know if the rear housing looks usable. Damn forgot to take a picture of the rear rotor housing. Last 5 pics are the rear housing.
That's pretty much what the engine in my car looked like when I tore it apart. One trashed housing and one good one.
If no one has mentioned it yet, you can download a free copy of the FSM and look at the tolerances on the chrome flaking and see if the rear housing is good. I used a cheap HF micrometer to check mine.
Yes I have the FSM's all downloaded. I need to purchase a micrometer. My rear housing is in good shape. I need to check the housing on the engine that is still in the car. Thats what the camera is for.. Im too lazy to yank the engine and tear it down just to be saddened. Then I have to push the 7's corpse around until I can get around to rebuilding it. It runs now, but I can still move it around under its own power.
I ordered my gasket set from Atkins today should have it in a few days. I've decided to just focus on the engine that is still in the car and use whatever parts I can from the engine I have torn down to repair or replace stuff as needed. If anyone wants the R5,R,R5 12a irons let me know. One bolt hole broke off where the transmission bolts up. I would trade the R5 stuff for 12a street porting templates. Plus whoever has to pay shipping. I can take better pictures of the R5 stuff.
I have been trying to clean up the rotors. My front rotor has pitting on the surfaces does this hurt the engine? I wouldn't think so but just want to be sure before I decide to toss it back into the engine. Looks like the surface of a micro moon.
Today I decided to remove the plugs from each rotor housing and see what the compression sounds like. Front rotor on the old engine sounds different than the rear rotor. Here are a few videos I made this morning showing the difference.
Poured Gear oil into the front rotor housing to see if it made a difference at idle. Which it did but it didn't last long. So I assume the front rotor has an apex seal stuck.
Most engines I've pulled end up with one good rotor and one poor rotor.
If you tear both engines apart you're almost assured a good final engine build.
When I build any rotary engine I buy the Fel-pro 12A gasket set and the atkins apex seals. Whole thing costs $400 (in your case it'll cost more for the thicker apex seals) but it seems to be the most cost effective way to rebuild.
That endoscope is a super cool gaget, I've got one and I love it. Other than sticking it up my nose I haven't used it too much , but its good to have it around. (ears are cool to look at too ). You should also invest in a dial indicator if you are planning on tearing into an engine; it important to measure end-shaft play.
If you do end up getting a 13B (I don't see why you would get one you have two 12As) You can still carb it with the Nikki, so that makes the swap easier.
EDIT: I wouldn't run a junkyard engine. Its a pig in the poke. Just pull both apart its not too difficult.
I recieved my atkins gasket set the other day. I'm supposed to get the endoscope today as well. Then I will see what I can see in the 7's front housing. If I can get one of the other housing that are good. I will then use it. My bigger issue was that in the junkyard engine the side seals were jammed and I broke several of them getting them out of the rotor. The rear rotor side seals and springs seemed to be in decent shape. I ended up getting my endoscope for 16.60 free shipping with amazon prime...
I have a harbor freight digital caliper. I checked all off the apex seals out of the junkyard motor and all seem to be within spec. All 6 from the engine spec out in the 7.86 mm area.. only one of them is like 7.76 there is no chipping or distortion I think they are re-usable. And they all spec out to be 2.92 highest being 2.93 thick. I will have to get the housings and seals to check the space between the seal and the housing to make sure its in spec. The pdf says to replace if less than 7.0 mm but doesnt really reference the thickness of them other than to mention clearance between the housing and the seal with a minimum of 0.15 mm I will need to check this distance to see if they are good.
Sadly I broke a corner seal when I tried to get it out with pliers like a moron. But hey I have 12 more in the other engine. Also as mentioned before I broke almost all of the side seals trying to get them out. they came out in small chunks.
What is the best way to clean out all of the rotor grooves? Side seal, apex and corner grooves. The corner seal area has a small amount of rust in the base where the wire springs go. I don't have a wire wheel small enough for that. I was thinking maybe something like this.
Roger that ... was already thinking brass would be safer. Going to pull the 7 back into the garage and use my nifty little camera to inspect the rotor housings. I'm sure it will be limited view since the rotor will more than likely be in the way but hell its worth a try.
I'm ordering all of my side seals and springs new corner seals and springs. I'm going to go with the upgraded corner springs from Atkins. I believe after the inspection of the 12 that is still in the car the apex seals are in decent shape and appear to be making contact since they are all shiny metal. Looks like the side seals may be the culprit. This is just my guess, hell the rotor housings may be shot too. So we will see, I'm pulling the engine this weekend. I'm also going to get new apex seal springs.
On a side note my center iron also has an R on it. Can I assume this is a r5,r,r5 set of irons too?
Well got home a little early today and pulled the 12 out of the 7 and fought the damn thing for like an hour.. I missed one bolt on an exhaust tube. Finally found that and it came right out. Broke the front pulley nut pretty easy. Had a bitch og a time with the back nut. Finally got it though used a piece of angle iron with 2 holes drilled the same as 2 bolt holes in the flywheel then placed a brick under that so there was no play. Heated the nut for a few minutes and presto off it came. Its a good damn thing its not a Caddy.. Pushing this car by myself is bad enough. I can only imagine if it were a bigger car. I rolled the carcase back behind the fence while I work on the engine. Lots of room without Grandpa in the garage. I'm going to clear off my table and set it up on the table to tear it down and see whats going on in there. Will post pictures of the tear down. But only if its something note worthy.
Well the Rotary GODS have blessed me with a perfect... I MEAN Perfect front housing... This is truly a low mile engine. However the rear rotor housing has some flaking and the rear plate has what looks like a burn mark. Not sure what that's all about. The front rotor did indeed have a stuck apex seal and 2 side seals.. That was the cause for the compression loss.
The rear rotor was in great shape and all apex seals in tact. So I broke one of the stuck side seals and the other is still in the rotor. I sprayed it with pb-blast hoping it will free it up so I only have to replace one side seal. I'm so glad I pulled that engine out yesterday. AWESOME NEWS>>>
On closer inspection the rotors are not in good shape. One looks pretty rough and has a chip out of it near the apex seal. I guess the other 2 rotors are in better shape.


 Should be affordable. But the smarter thing to do is tear it down and see what it actually needs and order only the parts you need. I can assemble an engine with only the parts I need. Works fine.


 , but its good to have it around. (ears are cool to look at too
  ). You should also invest in a dial indicator if you are planning on tearing into an engine; it important to measure end-shaft play.