
my 84 GSL-SE restoration

Thread Starter


Joined: Oct 2003
Posts: 22,598
Likes: 1,276
From: Ohio
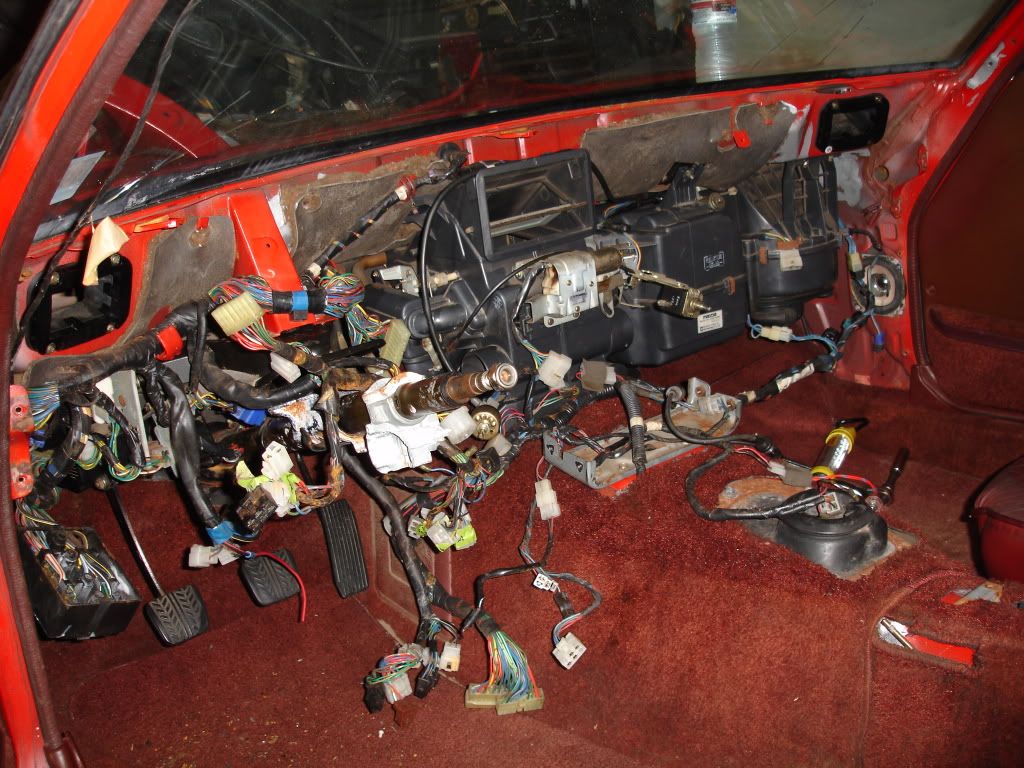
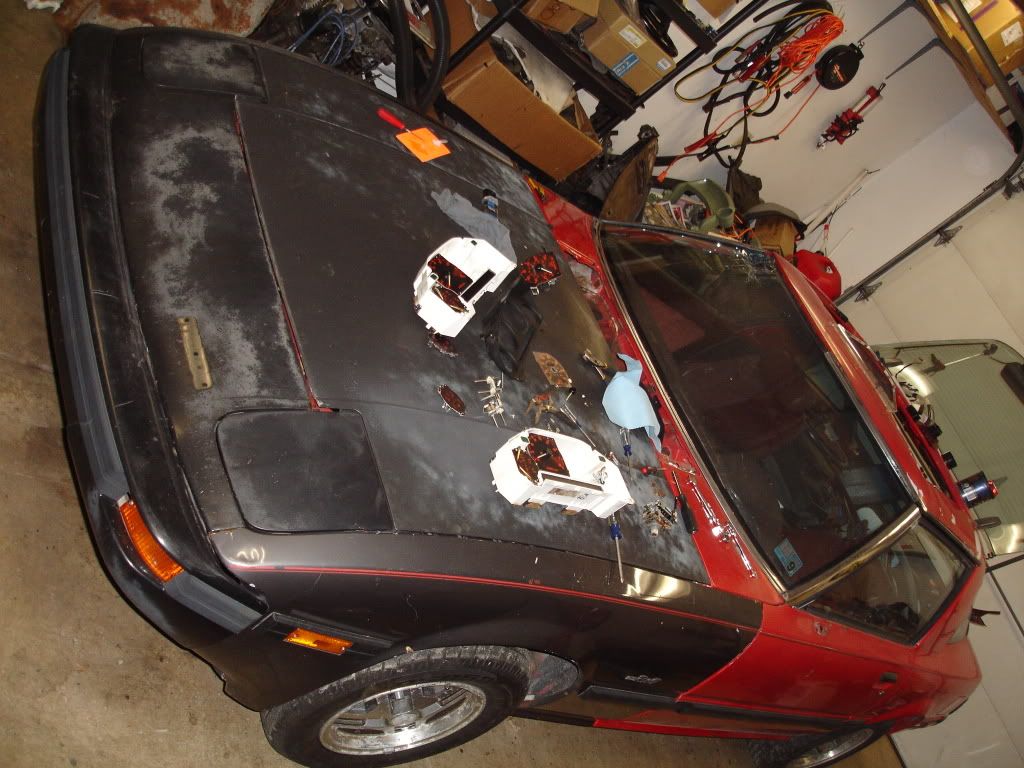
here's where i'm currently at. i started the day and finished replacing the pedal assembly, installed the heating and a/c/ system, replaced the vents on the firewall, installed pioneer speakers into the front speaker locations, installed the speaker covers, replaced the ignition switch, and got the dash installed.
when i started today:

repaired inlet duct:
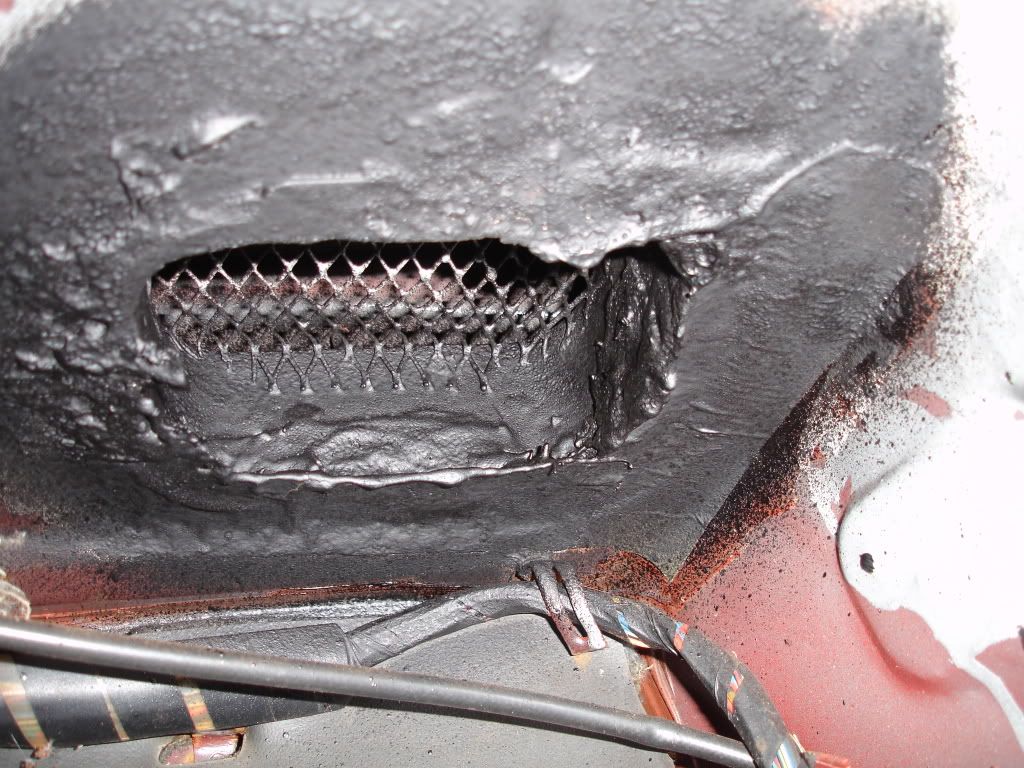
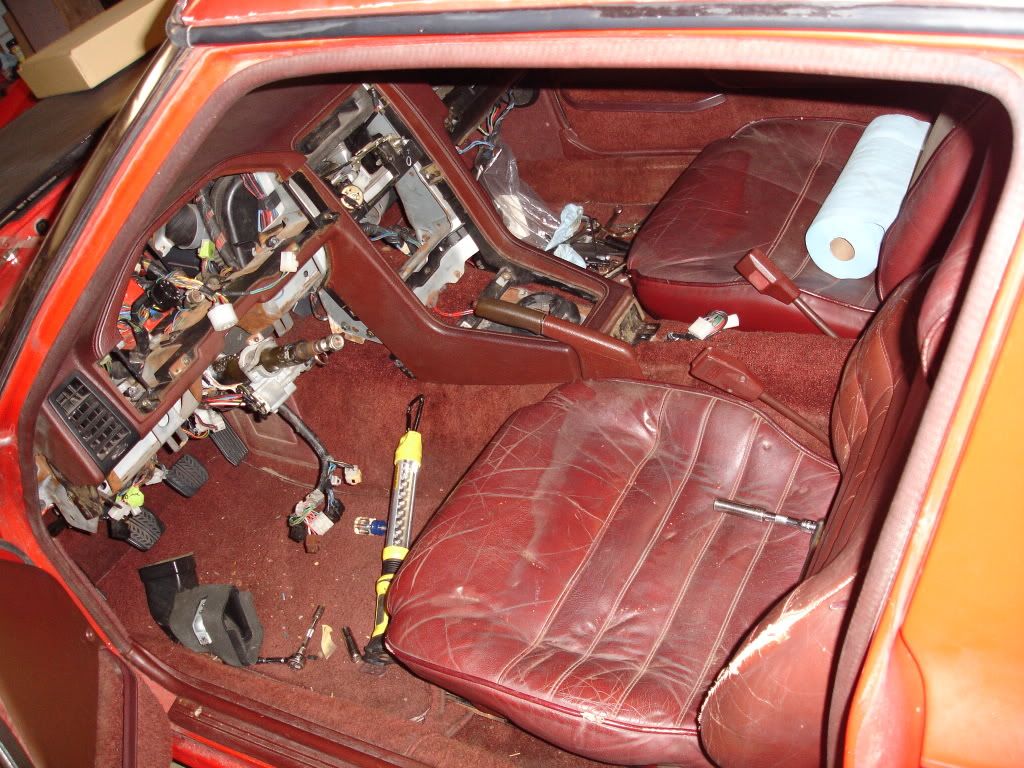
where i ended before work:
when i started today:
repaired inlet duct:
where i ended before work:
Thread Starter
Joined: Oct 2003
Posts: 22,598
Likes: 1,276
From: Ohio
thanks Mike!! i got a few more things dont but didn't take any pics. i will have plenty of pics to share this evening im sure  i'm actually considering putting a set of waffle wheels on the car.. may look kinda silly..thoughts?
i'm actually considering putting a set of waffle wheels on the car.. may look kinda silly..thoughts?
I had waffles with winter tires on my 83 S for a few months about 6 years ago and I swore never to put them back on lol.
Apologies to the SA guys but the waffles are definatly not my thing
Apologies to the SA guys but the waffles are definatly not my thing


Joined: Mar 2001
Posts: 31,857
Likes: 3,243
From: https://www2.mazda.com/en/100th/
they look ok on an FB actually, better than the + wheels
Thread Starter
Joined: Oct 2003
Posts: 22,598
Likes: 1,276
From: Ohio
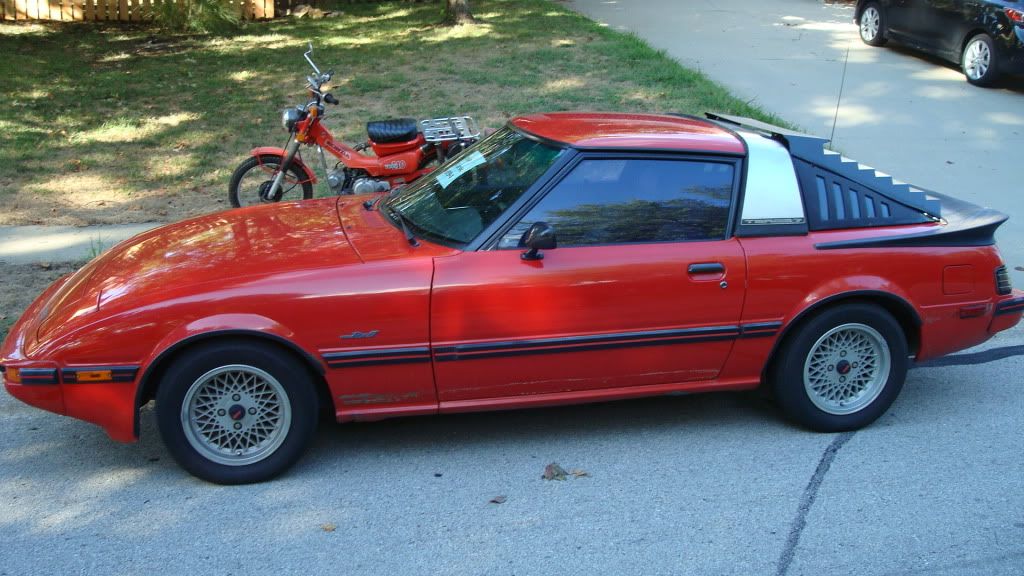
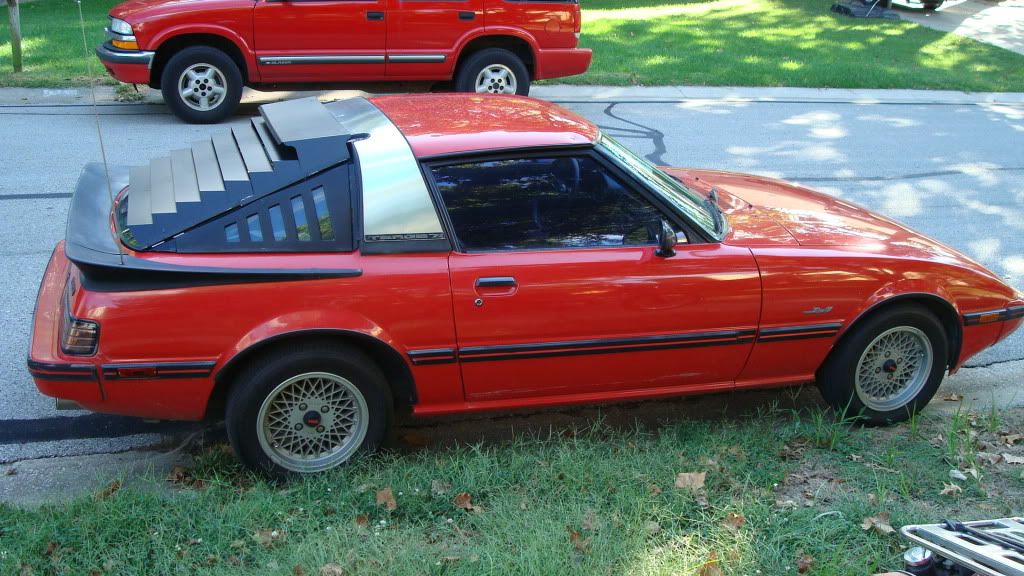
well after much thought , i think the plan will be to retain the stock sunrise red color. i will add a mazda three piece imsa spoiler and install the set of LE wheels i have in my garage. i saw this car for sale here on the forum and i really like the look of it with the imsa and the weds wheels. i thought though that the LE wheels would look nice and i would paint the imsa spoiler sunrise red to match. this is the car that inspired me to stay with sunrise red (that and changing the color will require more down time due to me not having an air compressor):
Thread Starter
Joined: Oct 2003
Posts: 22,598
Likes: 1,276
From: Ohio
sorry it took so long to get the pics up. i havent had much time to work on the car but here's where i'm at:

next rust repair that i'm going to fix:
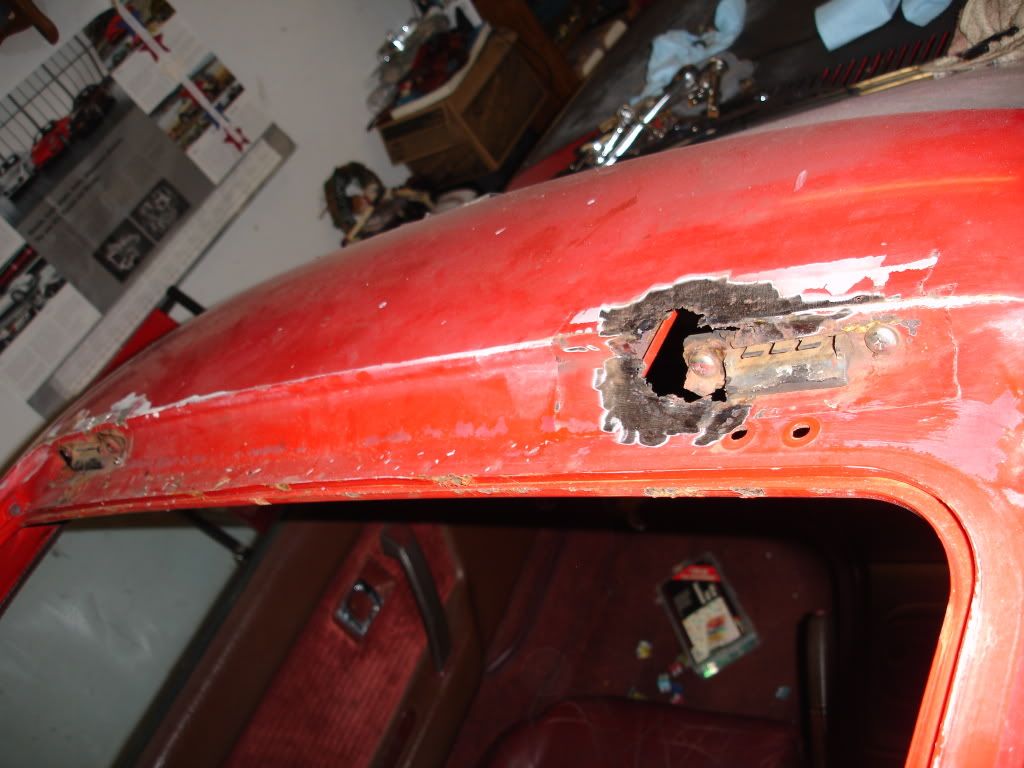
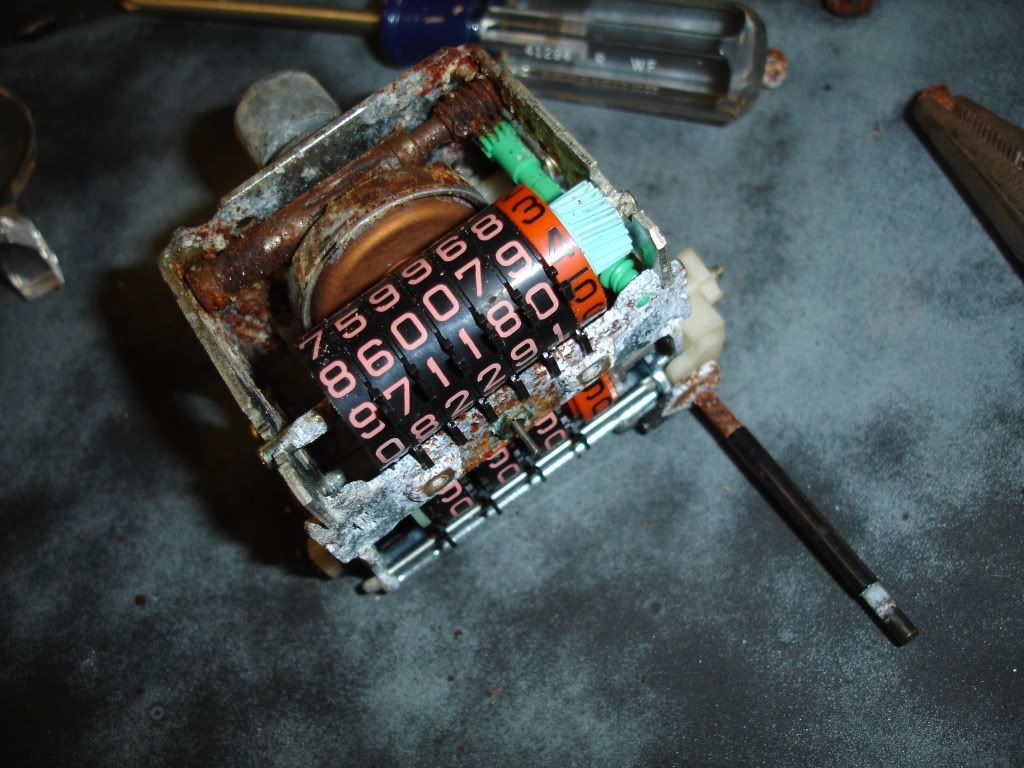
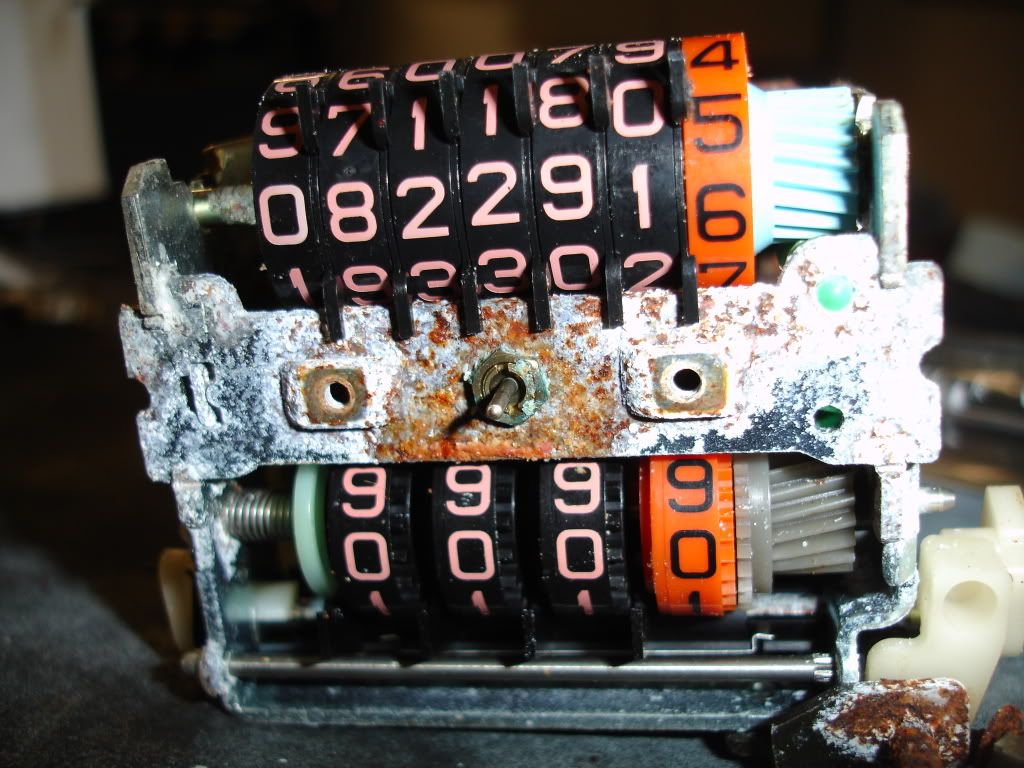
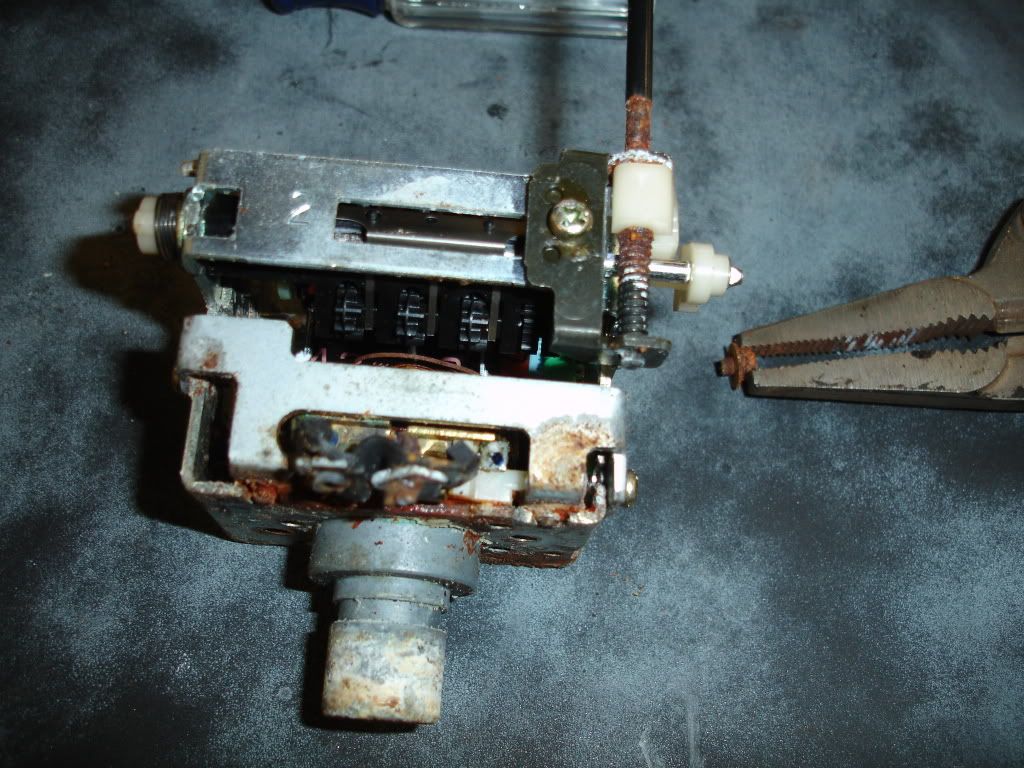
the corroded and ruined odometer:
next rust repair that i'm going to fix:
the corroded and ruined odometer:
Joined: Mar 2001
Posts: 31,857
Likes: 3,243
From: https://www2.mazda.com/en/100th/
take the little C clip off the end of the odometer shaft turn numbers to 777,777 and take the car somewhere for an oil change, or something and watch the service guys eyes bug out.
i did it with an FC i put together once, it was fun. i almost did it to peepers too, but i just set it at zero
i did it with an FC i put together once, it was fun. i almost did it to peepers too, but i just set it at zero
Thread Starter
Joined: Oct 2003
Posts: 22,598
Likes: 1,276
From: Ohio
i wouldnt mind taking apart another known good one and just putting it back at the exact mileage of the car. right nowe i have the speed/odometer from the GSL in there and it shows 193K.
Thread Starter
Joined: Oct 2003
Posts: 22,598
Likes: 1,276
From: Ohio
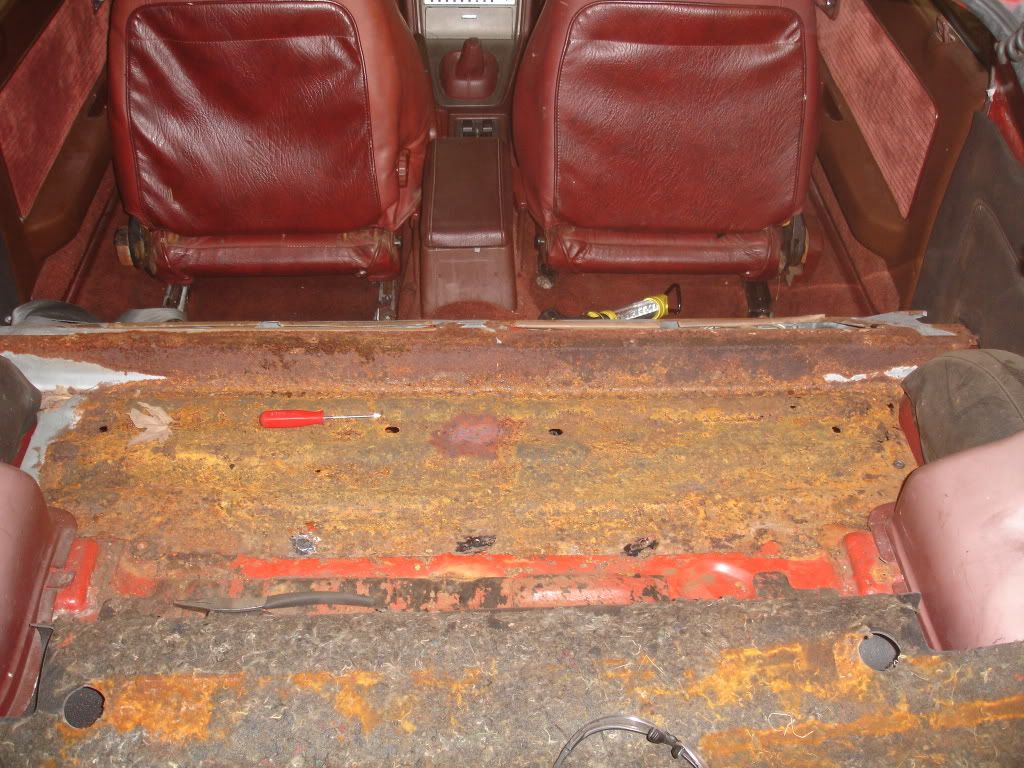
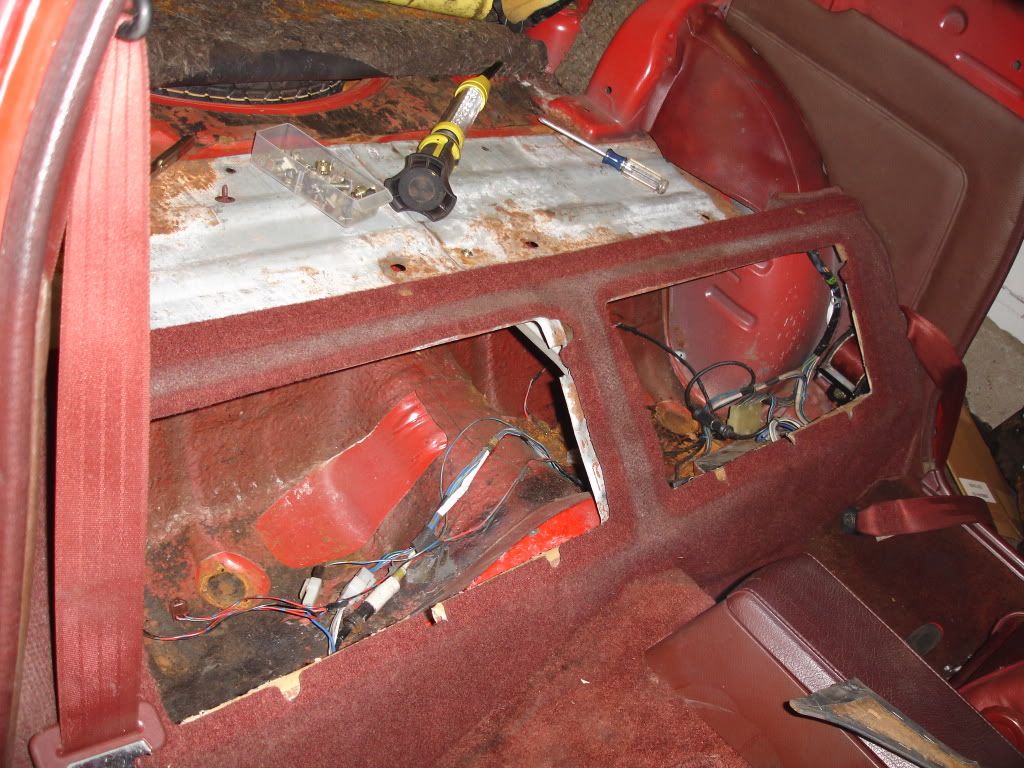
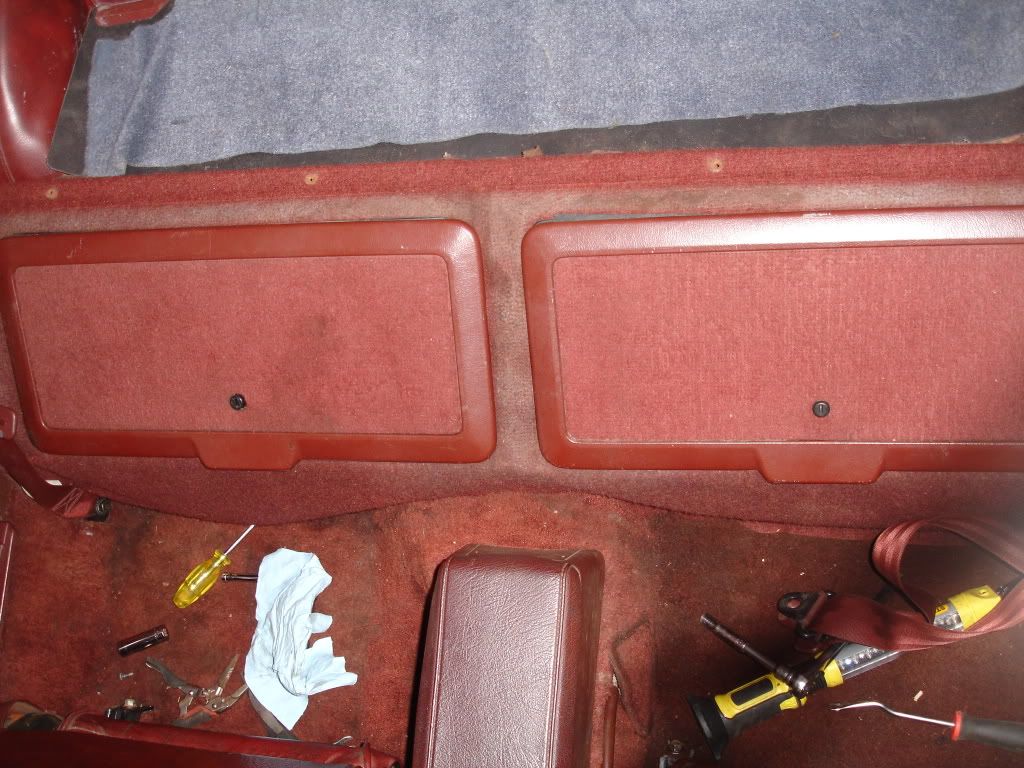
i wanted to give an update. i started working on the SE again yesterday. i pulled the nasty ol rusty bin frames out, replaced them with a good frame set, and installed more maroon trim near the bins. here are the pics:
old rusty frame:
frame out:
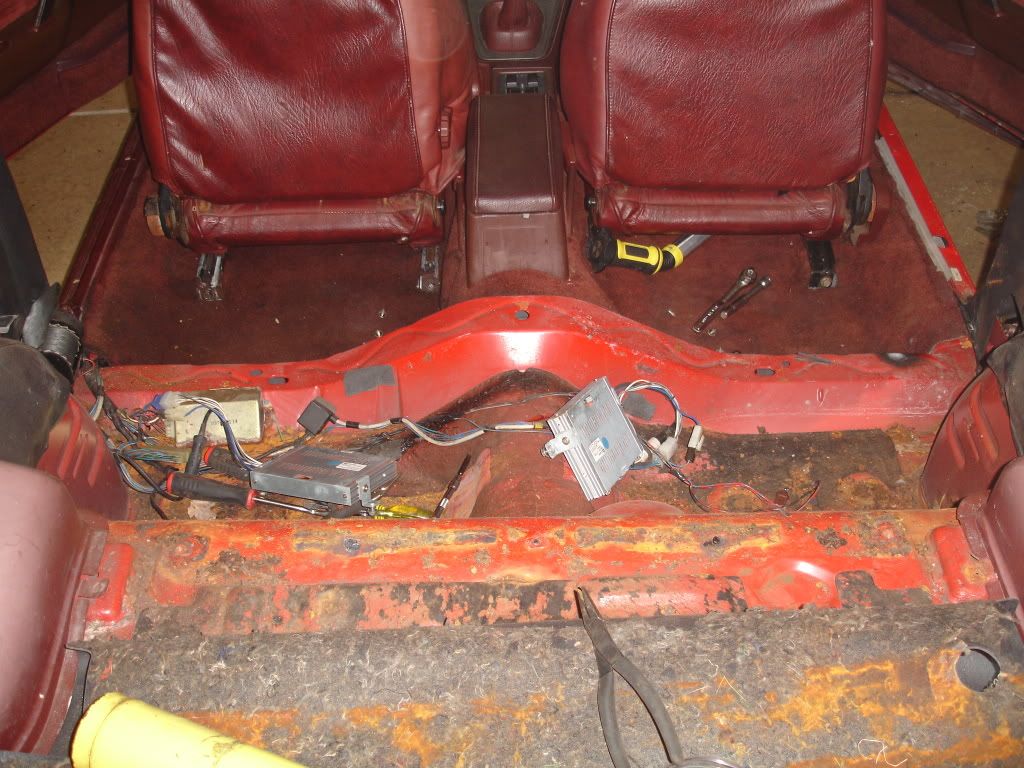
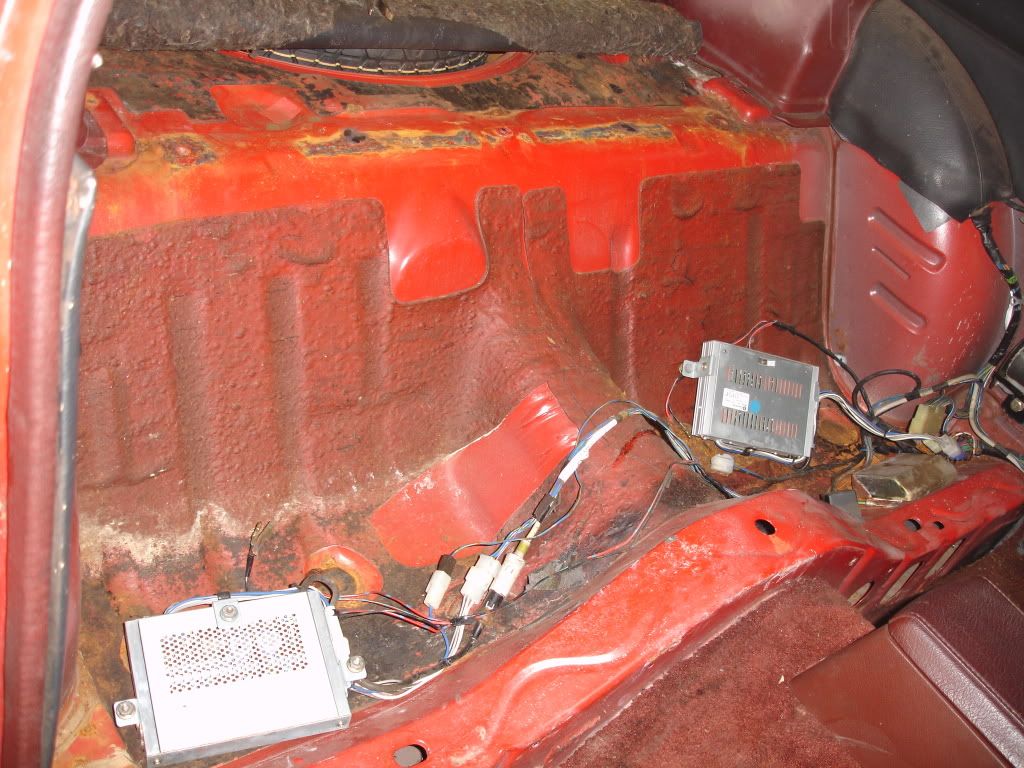
new frame installed: bins back in with maroon trim installed:
old rusty frame:
frame out:
new frame installed: bins back in with maroon trim installed:

Thread Starter
Joined: Oct 2003
Posts: 22,598
Likes: 1,276
From: Ohio
well to start i plan on using a completely stock 13B from an SE. down the road i want to rebuild and install the original S4 TII engine that originally came in my 88 10AE. it lost compression long before i bought the car and i yanked it and replaced the engine (link to my 10 AE restoration: https://www.rx7club.com/build-threads-294/my-10th-anniversary-project-not-56k-friendly-720132/). i've had the engine sitting on a shelf for years and i can't think of a beter place to put the engine.
i would also like to find a complete SE suspension and reinstall that. using the non SE suspension was my only option as i had to get the car home. i havea set of 83 LE wheels i may use in the mean time and i want to install the 3 piece imsa rear spolier that i have as well.
i would also like to find a complete SE suspension and reinstall that. using the non SE suspension was my only option as i had to get the car home. i havea set of 83 LE wheels i may use in the mean time and i want to install the 3 piece imsa rear spolier that i have as well.
Thread Starter
Joined: Oct 2003
Posts: 22,598
Likes: 1,276
From: Ohio
made a little progress today.. i started the rust repair in the hatch channel, installed the left front brakes, and am reinstalling the red hood..which has to come back off due to a bent lip on the header panel.
hatch channel with rust:
with rust sanded down and por 15'd (will get a second coat in the afternoon):
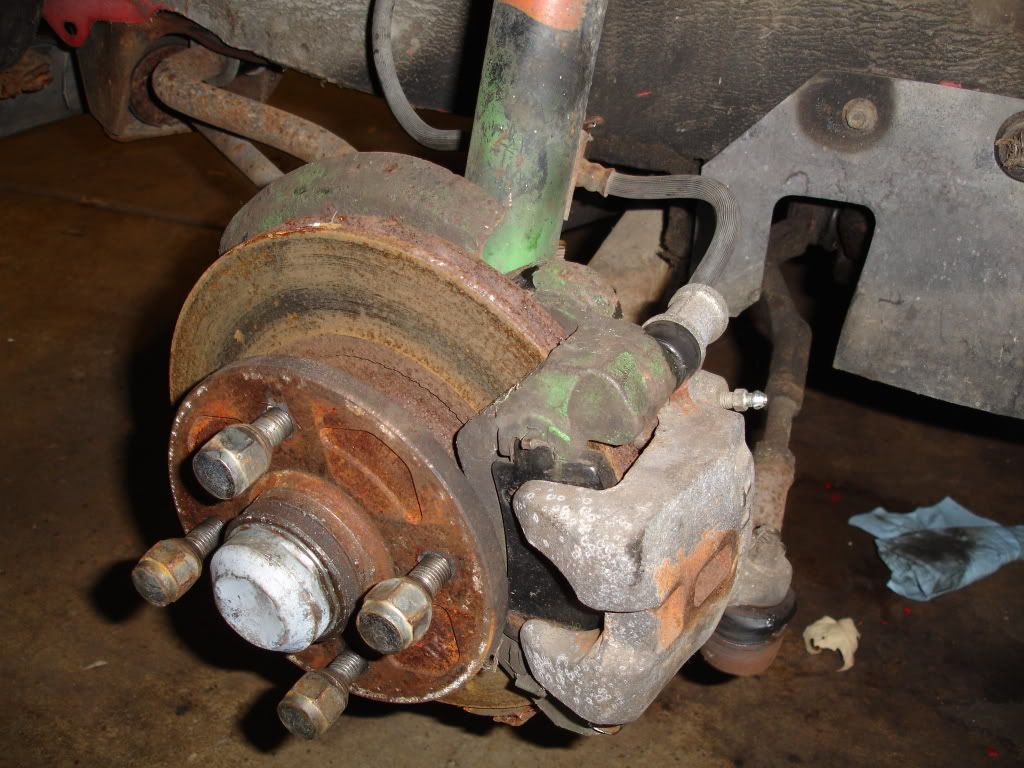
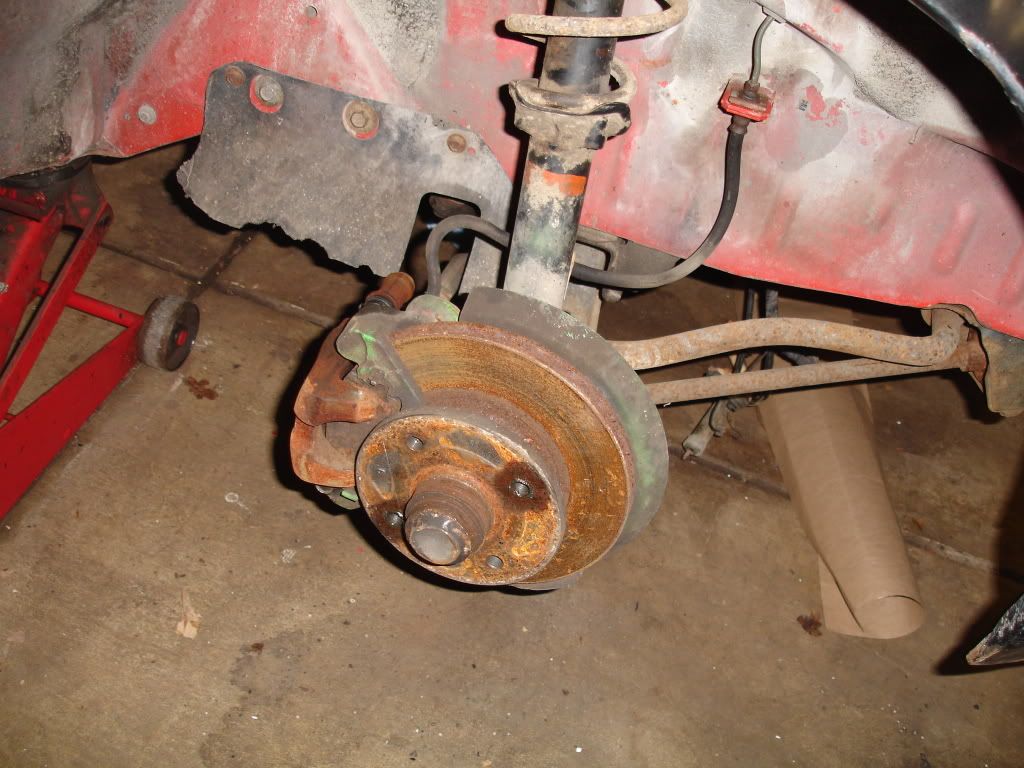
left front brakes complete with S4 4 lug caliper )will do the same on the right front as i have a pair of fresh reman S4 4 lug calipers):
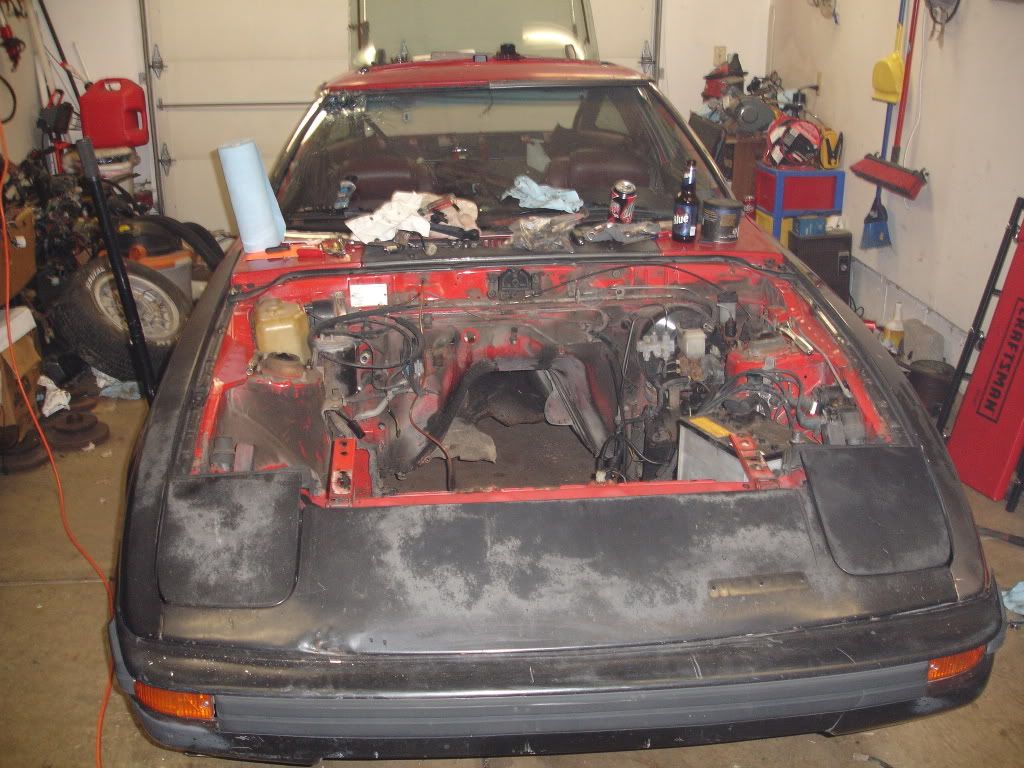
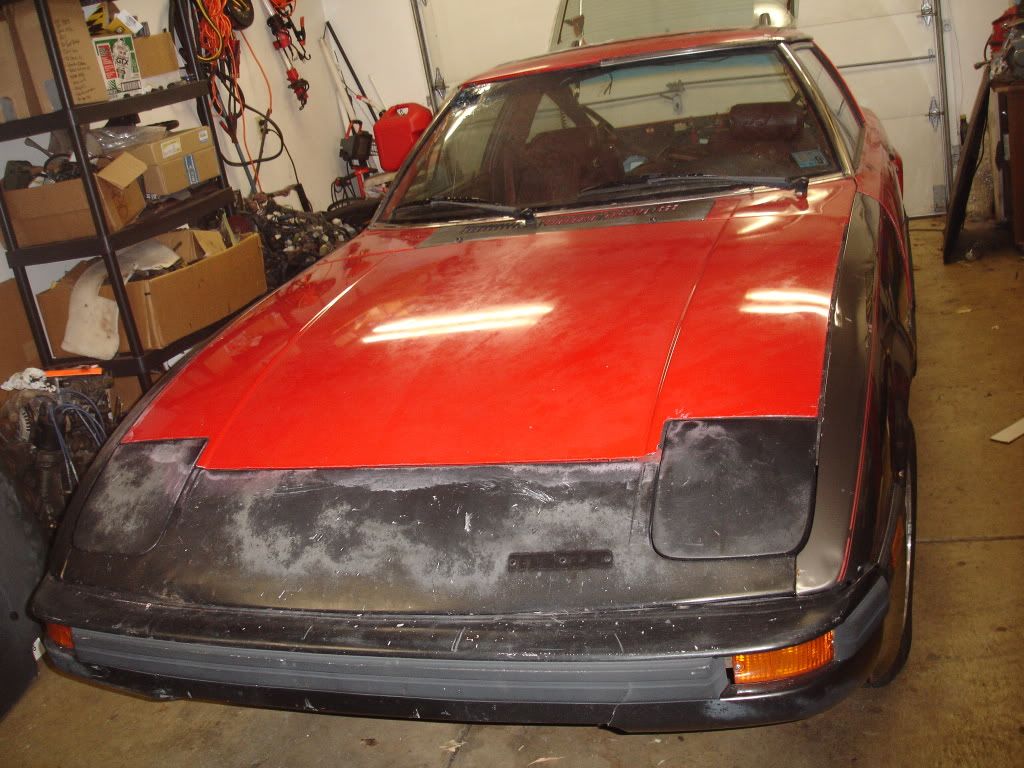
H1 hood off, awaiting the sunrise red hood..which is on there currently, but cannot be mounted properly with the bent header panel:
hatch channel with rust:
with rust sanded down and por 15'd (will get a second coat in the afternoon):
left front brakes complete with S4 4 lug caliper )will do the same on the right front as i have a pair of fresh reman S4 4 lug calipers):
H1 hood off, awaiting the sunrise red hood..which is on there currently, but cannot be mounted properly with the bent header panel:
Thread Starter
Joined: Oct 2003
Posts: 22,598
Likes: 1,276
From: Ohio
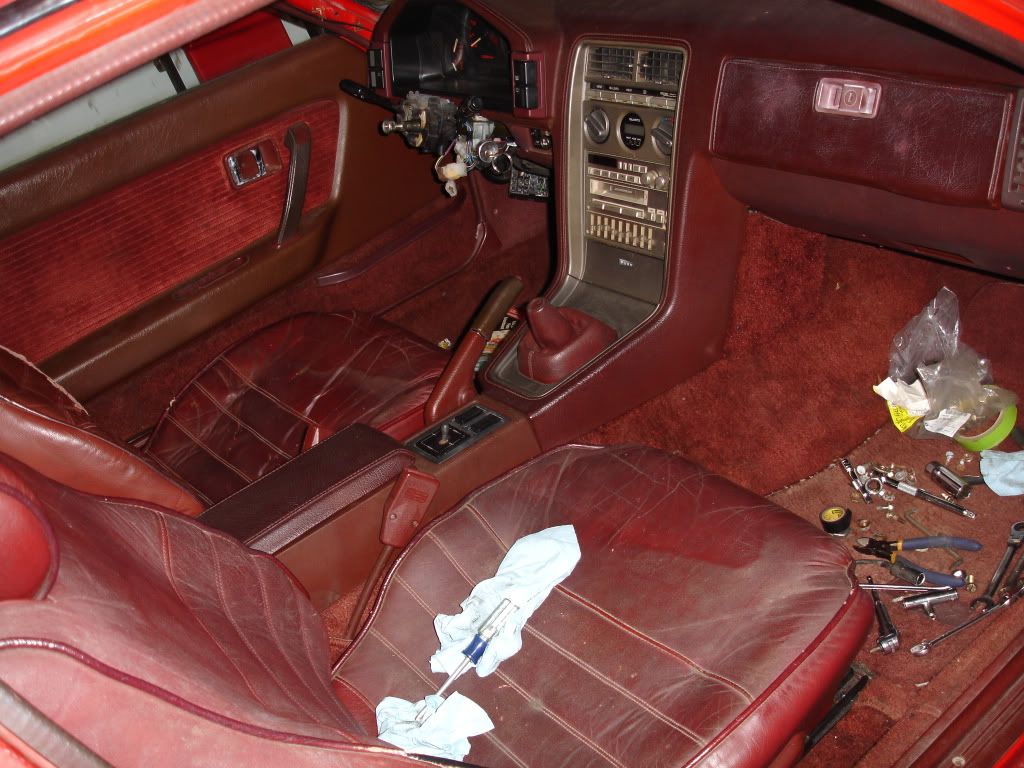
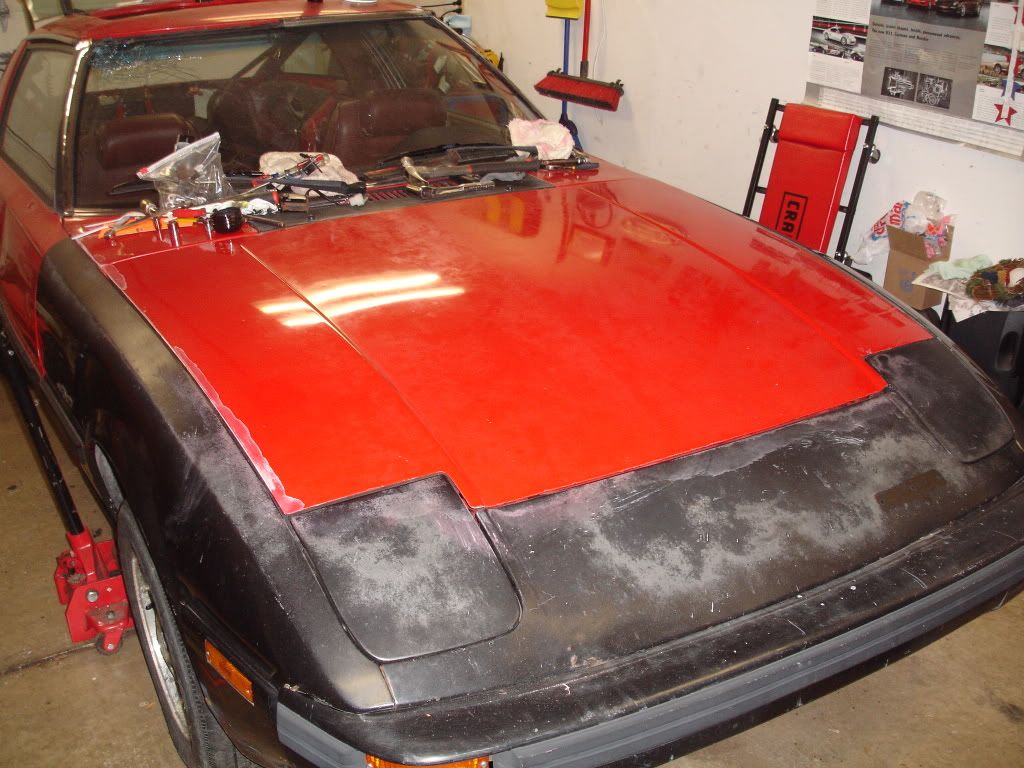
here's the weekend update. i installed the sunrise red hood that came on the car and i buffed it out. the paint really isn't all that great but i was just hoping for some protection from the elements should it have to go outside at all.
new hood on and buffed:
finished up the right front brakes (wil replace the hoses closer to when the car will be on the road):
final coat of por 15 in the hatch channel
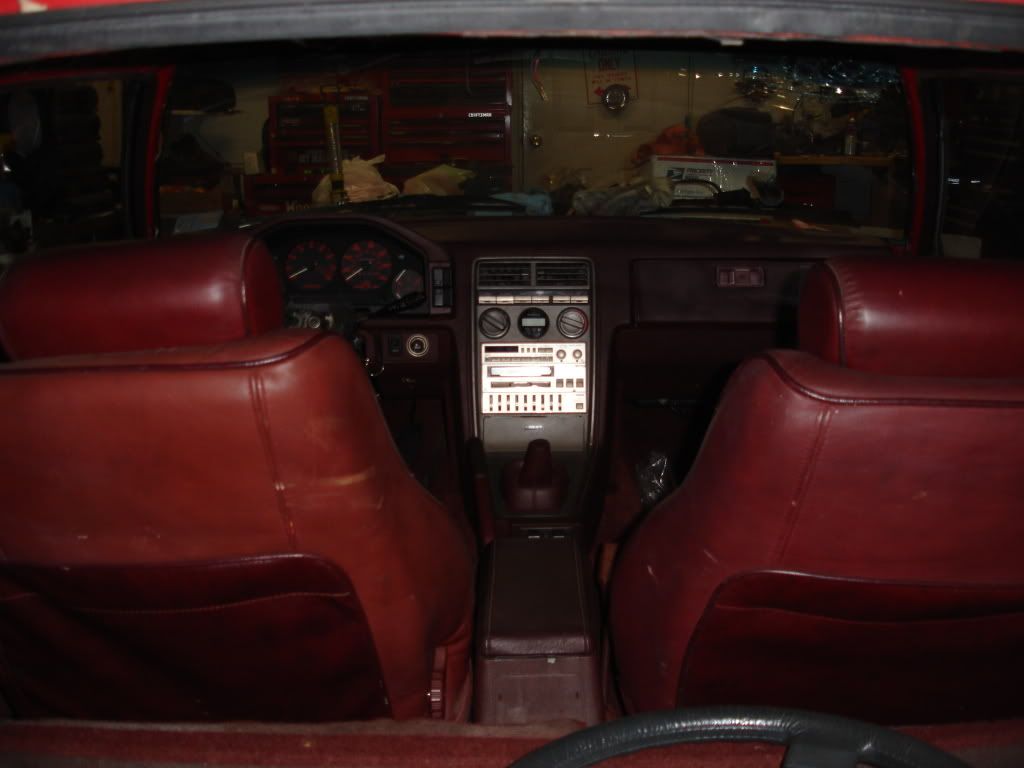
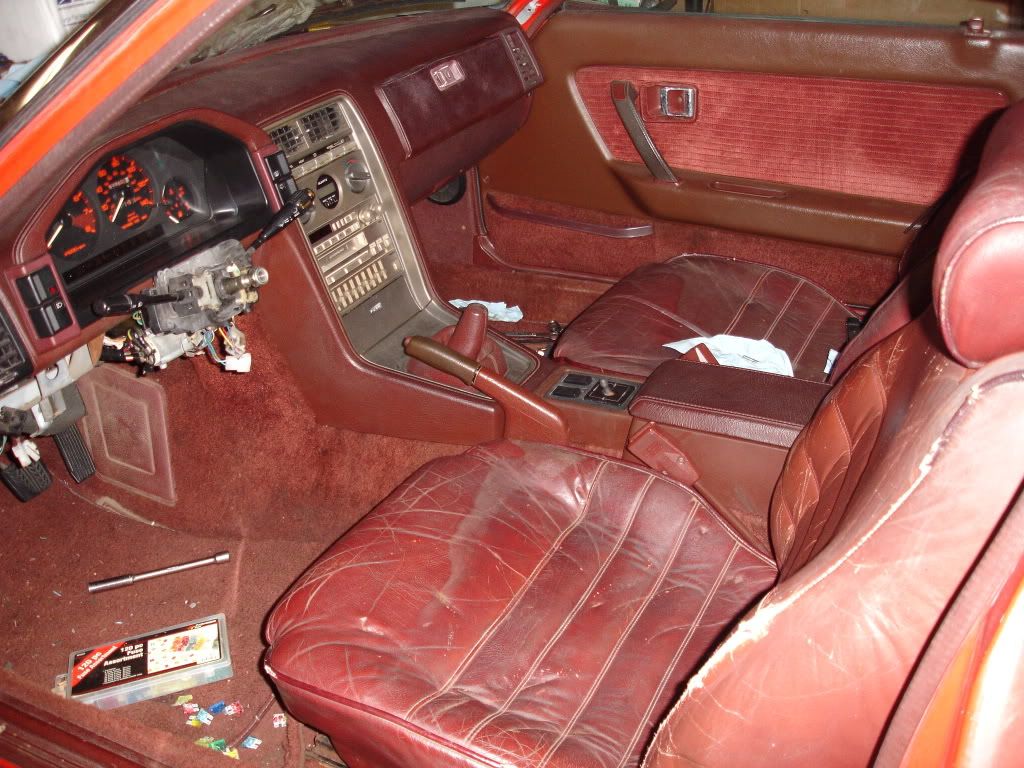
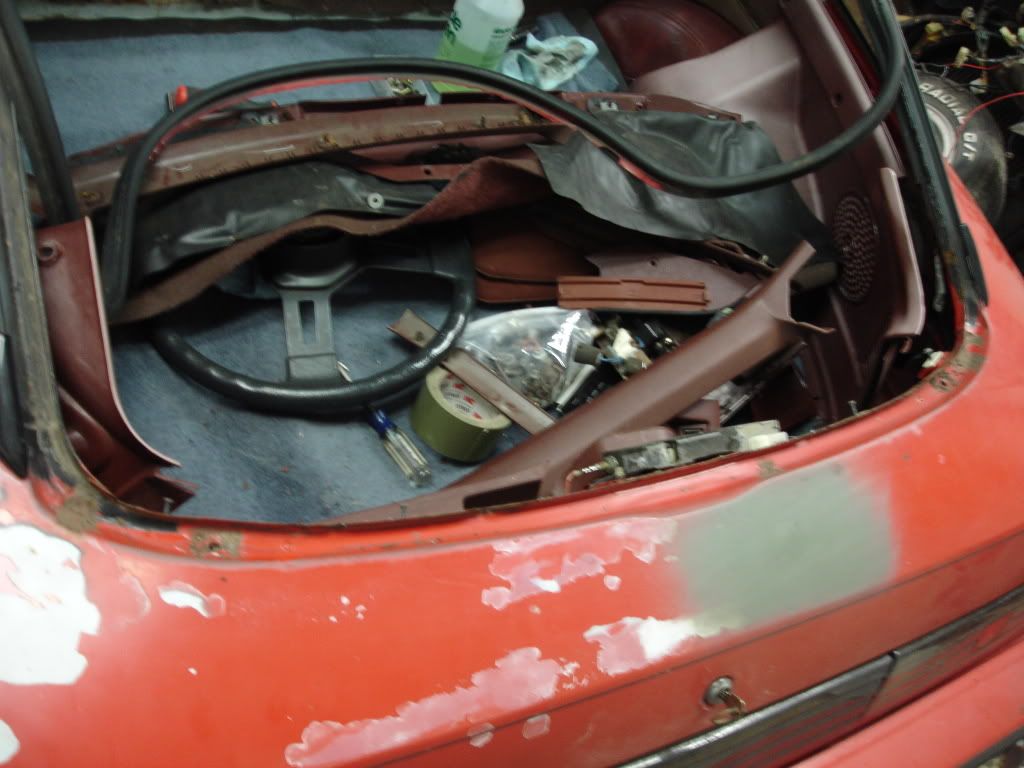
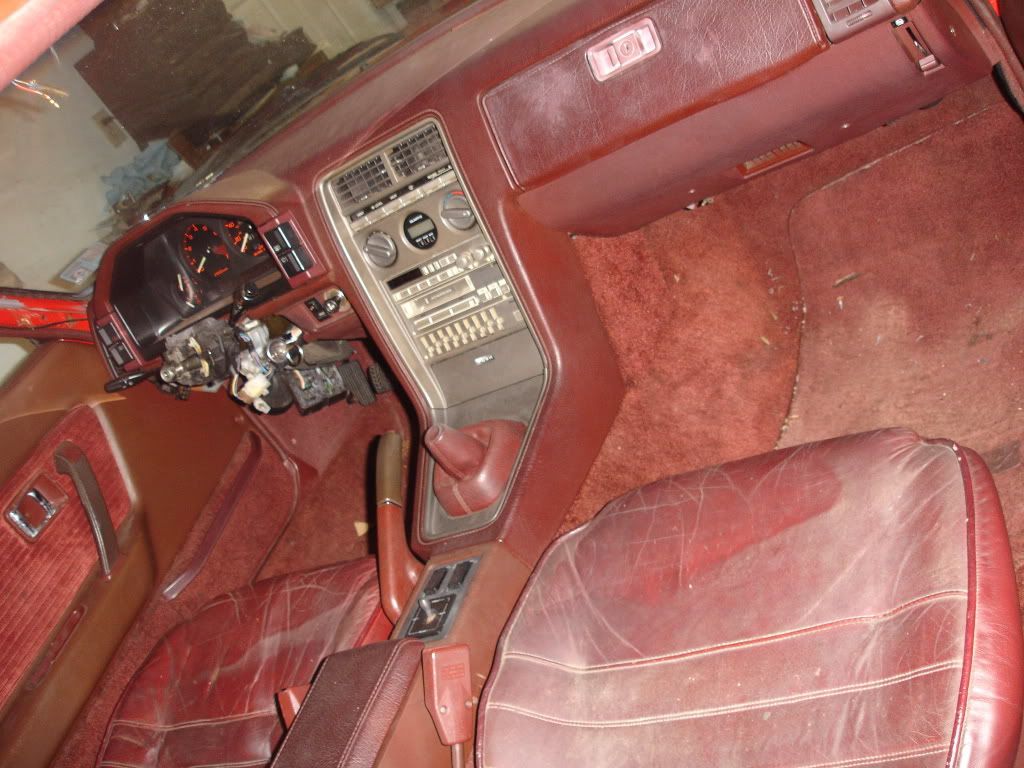
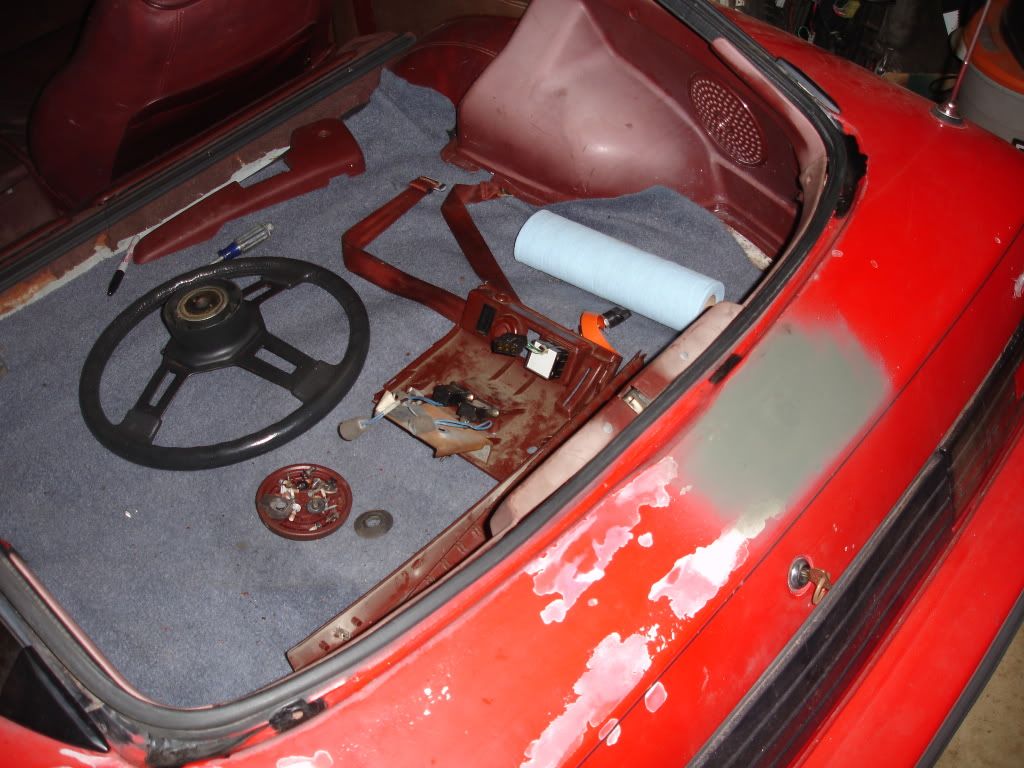
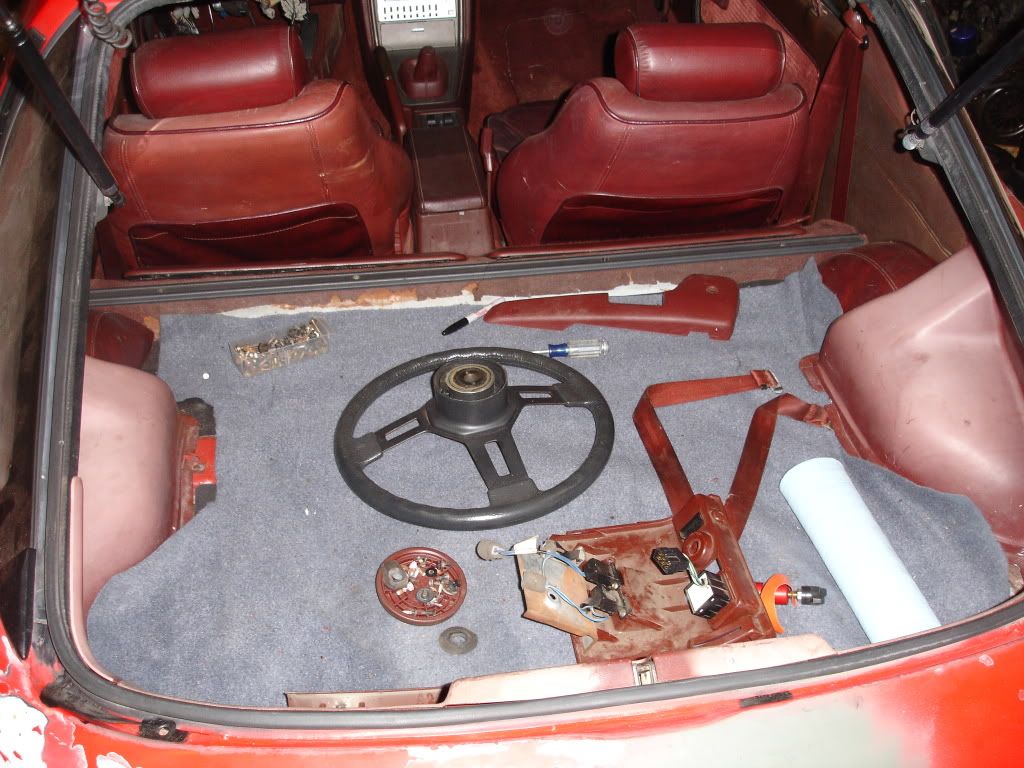
pic of the interior as it sits:
new hood on and buffed:
finished up the right front brakes (wil replace the hoses closer to when the car will be on the road):
final coat of por 15 in the hatch channel
pic of the interior as it sits:
Thread Starter
Joined: Oct 2003
Posts: 22,598
Likes: 1,276
From: Ohio
no. its just like paint that you would paint over metal except that its oil, gas, chip, weather, etc resistant. claims to instantly stop rust. before i apply it (to stop the rust and fill in pin holes) i sand the area down with a wire wheel and clean up as much rust as possible. the por 15 likes a pourus surface so that it bites in well. it is paintable and does require a special por 15 primer in order for normal paints to adhere to it.. so before i paint the car i am going to apply a final thin layer and primer over that so the ppg paint will stick to teh por 15.
Thread Starter
Joined: Oct 2003
Posts: 22,598
Likes: 1,276
From: Ohio
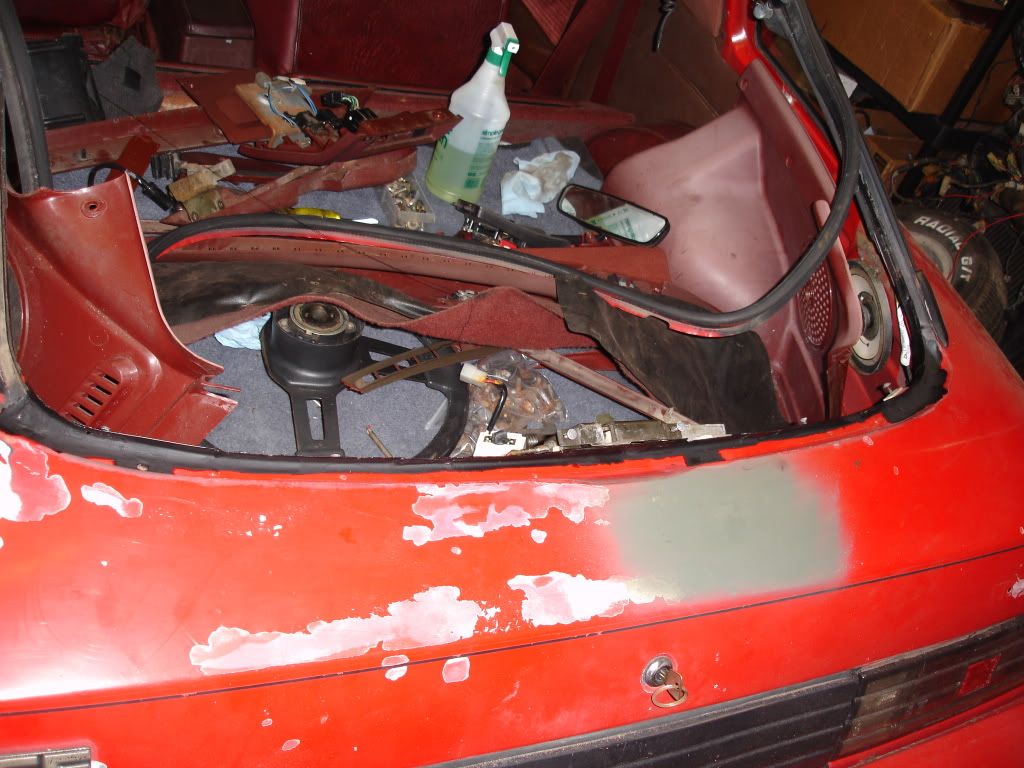
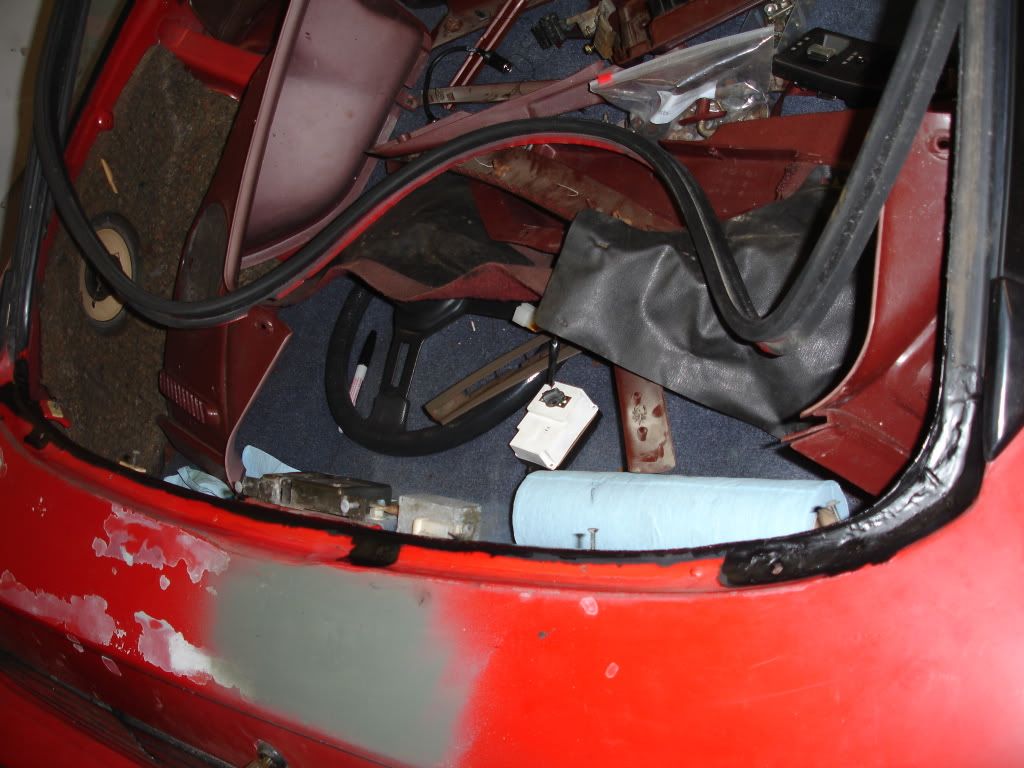
just a small update for the day, i reinstalled the hatch seal over the newly dried POR-15 and installed the rear hach trim. here are a couple pics from today:
hatch seal installed:
hatch trim installed:
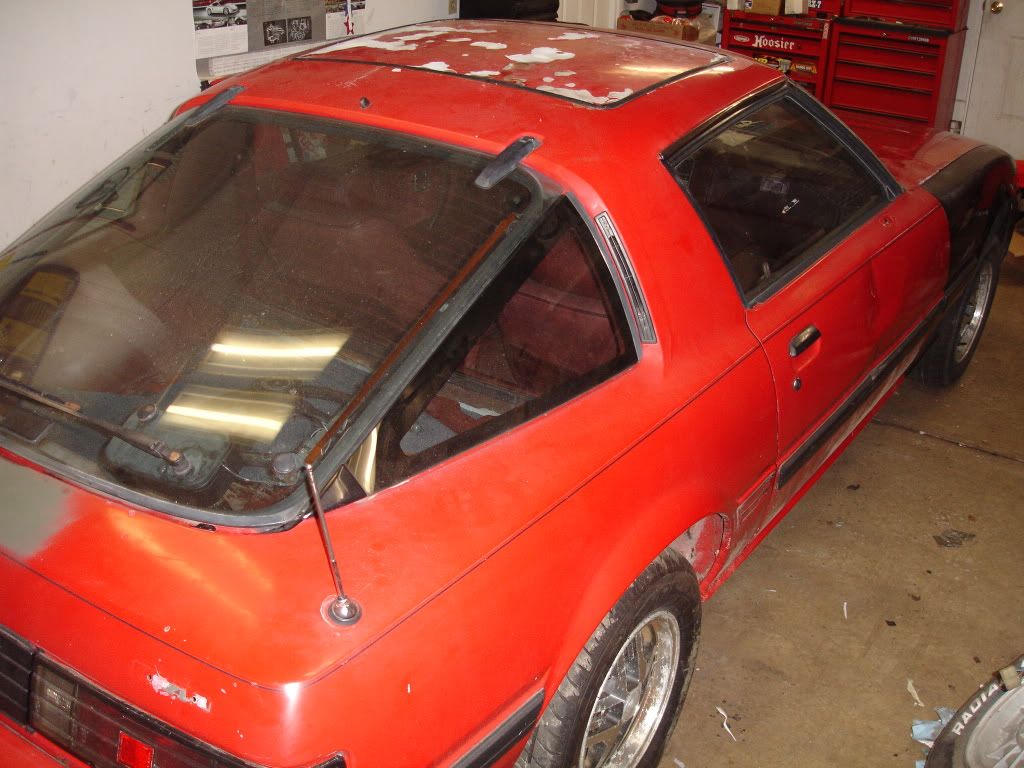
random rear pic:
hatch seal installed:
hatch trim installed:
random rear pic: