When you click on links to various merchants on this site and make a purchase, this can result in this site earning a commission. Affiliate programs and affiliations include, but are not limited to, the eBay Partner Network.
nice progress! that rat's nest looks awesome. love the generosity of this community.
I know, right?!? I've been thinking of all the help that I've gotten in one way or another on this website with my project. I think a great way to pay tribute would be to have stickers with each person's avatar and user name to put on the car, kinda like sponsors on a race car. I'd have so many ppl would think it WAS a race car!
Originally Posted by chuyler1
I'm not sure they make one for the '79 but anyone reading this with an '84-85 should look at the Koyorad radiator. All reports say is bolts right up with no modifications. I've had my eye on it, but there's nothing wrong with my current stock radiator (yet).
I looked at the link you provided but they do not have anything for a 79. The AZ option is a Spectra just like the one on RA, except cheaper.
I decided that the only way to really diagnose the issue with my non-shifting transmission was to take it out. Fortunately I haven't really connected too much to the engine so I was able to get it and the transmission out on Saturday. Had to reassemble the crane (no help from any of my teenagers.... Grrrr... ), but I was able to get the transmission separated from the engine then took the tail housing off. The shifter rod for 3rd / 4th gears was a bit stuck but I managed to get it and the other two working well. I reassembled without resealing the transmission and used the extra shifter I have laying around (the one with NO washers or nylon spacers) to verify that all five gears and reverse worked ... Then I reassembled it with new sealant and let it dry overnight. Yesterday I had the help of one of my boys and got the engine and transmission reinstalled in the car. And today, the shifter from Banzai arrived - that man is awesome! Now I'm back on track!
And today I stopped by my local Fastenal store and picked up a few new bolts to install the shifter and viola!! Installed. Easy peasy, and works great!
Thanks Banzai!
I ordered a new inner shift boot which should arrive tomorrow. I have a new shifter surround to replace this original one since it's got a big chunk missing presumably from whatever checkered past this car has. Then I can get on to completing the reinstall of the interior, which is final install all the dash parts, the shifter surround, the shifter boots, the center console, the seats. Then I can get the doors outfitted and reinstalled.
I set out today to get the dash completed and got stuck trying to figure out where in the hell the connector for the blower motor controller is... I broke out the electrical schematics (and I'm electrically illiterate) and started labeling connectors as a process of elimination, but I just could not find the connector for the blower motor speed controller... The wires going to it are very similar to the radio connector which added to my confusion. I was looking for a four-way male spade connector that has four wires: one blue/white, one blue/yellow, one blue/red, and one blue/green. I was considering taking the dash out thinking that I had somehow gotten it stuck back up above the plastic heater pipes. I even looked at all the pictures I've taken and could not find a picture of what I was looking for.
After about 4 hours or so I noticed a weird looking stump covered in some electrical tape coming from the wiring harness where the "stereo" and "radio" connectors are.It was hidden in the exact spot where the wiring harness tape ends, and was covered with electrical tape so it was REALLY hard to see. I removed the tape over the wire ends and sure enough, the four wires that were covered over with electrical tape were cut. One blue/white, one blue/yellow, one blue/red, and one blue/green. MOTHER F@!$&ER!!!!
The female half of the connection for the blower motor speed controller:
What remains of the male half of the blower motor controller connector. SO pissed!
I was PIIIIIIIIIIIIIIIIISED.... Now I have to find either somebody parting out an SA that can cut that connector for me with about 12 - 18 inches of wires, or go buy new wires, a new connector housing and the spade connectors and make a new connector.
If you don't find a connector, spade connectors will work. They won't hold as well, but will work. It looks to be a pretty common connector among first gens.
willing to bet that those 4 wires r just speaker wires.
Ohhhh, I wish! But, according to the service manual wiring diagrams those are, unfortunately, what remains of the blower motor control switch...
I have a wanted ad up in the classifieds for this particular section of wiring harness, and I know too that I could make one from new connectors. I saved a link to a website that sells them. I'll see what I can come up with but I think I'd rather have a section of harness that i can solder in if I had my druthers...
Mike, a friend of mine has an 80 parts car in his back yard. I need to run over there next week anyway for something else. Let me check to see if I can find the connector and some lead.
Mike, a friend of mine has an 80 parts car in his back yard. I need to run over there next week anyway for something else. Let me check to see if I can find the connector and some lead.
Thanks Tim! I sincerely appreciate your help.. Looks like KC beat you to the punch and has me well taken care of. I really appreciate the help though. Next time I'm in town I'll hit you up and buy you a cold one for the offer. I'd love to see the new 79 too!
Yes, I could have gone that route and built a new section of harness but I was not confident I'd order the right plastic connector so I decided to go with original and just soldered it in. It was only a little more difficult because I couldn't get the wires on a hard flat surface, but I managed to get the replacement section with the correct plug and wires soldered and then viola! Connected it to the blower motor controller. This is what I did last weekend.
After that I picked out the best leather shift boot I had, cleaned it up, and epoxied the edges to the boot base, which needed a little epoxy on the corners where the mounting screw holes are. Seems like they ALWAYS split right there. The epoxy held and it cleaned up rather nicely. I'm happy with it.
I then could get the rest of the dash board pieces installed, and get the interior buttoned up. The only thing I have left to install now are the two sun visors. I ran into some difficulty getting the seats installed because .... ahem... I uhhhh .... put a little too much heat shield and sound dampening material where the seat rails sit on the carpet. Ahem...
Anyway, not sure that the red velour is timeless - it seems to be dated but it will eventually get replaced with the RB seat covers that every one on here seems to recommend. For now I'm just happy that it's beginning to look finished.
That gear shift **** is one that I inherited from my buddy Jerry. It came off a long straight shift lever which, if memory serves me correctly, he said came from a REPU. The internal threads are stripped so it's just sitting on there. I think (emphasis on the word think) I have a correct SA shift **** squirreled away SOMEWHERE, but I have yet to find it. I have a FB **** which came with the car that I can reinstall in a pinch until I find or purchase a correct SA ****.
Today I filled the transmission with fluid, and have been painting the trim on the doors so that I can get them outfitted with the new seals I bought this past fall, install some reflectix in them and get them reinstalled this weekend. I also ordered a new clutch master cylinder because the original I reinstalled is leaking. I've painted that and have it drying so I can install it tomorrow. I also found that the new brake line for the RF wheel is leaking. I reused the fitting as I read some people do, but I'm gonna replace that line with a new one and a new fitting. I hate redoing stuff, but I'd rather have it right.
I also was curious to know if this engine pully was set at TDC, so I researched the forum and determined that it is. Someone at Atkins was nice enough to even mark TDC on main pully.
I do need a little help from the community though with this coolant hose. It's original and I don't want to reuse it, but I'm having trouble sourcing a new replacement. I think it's unique to the SA because some of the FB hoses look a little different - kinda like the FB is made of two separate hoses with a connector. Anyone know where I can get a replacement? Here's a couple pics:
It connects the heater core to the engine... I've searched and searched but came up empty on a part number or a source so any help is greatly appreciated!
Making serious progress my friend. Soon your project will be over, and depression will set in
Of COURSE!! The first place I should have looked but prolly the only place I didn't.... Thanks Tim! I hope that I can actually drive this thing and enjoy it, and if I'm not doing that I'm sure my wife will have things lined up around the house for me to do!!
Originally Posted by KansasCityREPU
Where did you get the carpet from? I'm also digging the cup holder instead of ashtray.
Thanks KC! I got the carpet from Stock Interiors. Very happy with it. Not sure which page I have those pictures on but I did take a bunch. They have two different levels, and I sprung for the more expensive / thicker style carpet with mass backing.
The cup holder is actually from a 90's Miata! Found one at PnP. It's a direct fit into the ash tray spot. Funny how some things Mazda never changed, and the size of the 70's ash tray spot is one of them.
I've been slowly chipping away at my list of things to do. I got the new seals I bought for the doors installed, the glass installed, more heat reflection (reflextix) installed, and finally installed the doors. NOW it really looks like a car! And with the damplifier pro installed with the reflectix it shuts with a commanding "thud", not a tinny or "beer-can-ny" sound.
Found some 3 mil plastic in the garage and used some contact adhesive then cut it out with a sharp razor.
I sprung for new door handles...
This is one of the original doors. You can see the bottom has rusted out. I used a pair of 84 doors for this project.
Looks like a car!!
The original door cards were still in fantastic shape.
I got my new radiator installed too....
Now I've been researching around for the carburetor and the distributor. Here's my original carb and the distributor I pillaged from an 85 a few years ago.
I've been researching on both. I picked up a stripped Nikki from FungusMungus a few years ago, but the history of what was stripped is unknown, and I want to reuse my rats nest (for now anyway), so I think I'll clean this up. Consensus on the forum seems to be the GP Sorenson rebuild kits are good. I know not to touch the needles or seats. I haven't ever worked on a carb before, so the thought of disassembling mine and rebuilding it is a bit daunting...
I've also been reading up on the iginition. I have an 83 engine and that 85 distributor. I thought I remember seeing a thread on here that outlined how to replace the 79 points distributor with the 81-85 with some rather simple rewiring needed, but I can't seen to find it. More looking is needed. I also have been learning about DLIDFIS and TFIDFIS vs. MSD and I suppose vs. simply rewiring my SA for the 85 distributor I have. I haven't made up my mind, but I'm leading towards TFIDFIS since it uses more readily available and cheaper GM HEI modules and everyone seems to like it.... I found this thread which seems rather informative (https://www.rx7club.com/1st-generati...fidfis-894669/) but this task also seems pretty daunting for me since I'm pretty much electrically illiterate. I may as well try speaking Portugese...
Any thoughts from the community on which way you would go for the ignition if this was your build, and why? I appreciate any advice!
I would use the Mazda distributor they are easy to wire and work just fine . There is only 2 wires to each module a positive and negative to each module . On the modules u can see a + and - . The + is 12 volt ignition and the - is negative on coils.
I would use the Mazda distributor they are easy to wire and work just fine . There is only 2 wires to each module a positive and negative to each module . On the modules u can see a + and - . The + is 12 volt ignition and the - is negative on coils.
Thanks WJM! That's the way I'm leaning. I printed out the distributor mod from Bobrx7 (http://www.mazspeed.com/ignitionswap.htm) and followed along with it locating all the wiring. Looks like it's pretty straight forward. I wish I had some pictures of the finished product tho - that would help out a lot. I remember reading a thread that had this swap done and in it was a reference / link to another thread where someone had done the mod so that it didn't actually look modified, but I have been unsuccessful in finding it. Should have saveed the link!
I decided to go with the 85 dizzy and J-109s for now. I should check the ignitors to make sure they're good and will do so as soon as I look up the procedure. Admittedly I do not know how to use a multi-meter yet I own two of them - go figure. I set about cleaning up the dizzy with my dremel and some attachments, then painted it to match the silver of the engine. Came out looking pretty darn good if I do say so myself. I'm getting good at cleaning stuff and repainting them. I just hope it actually WORKS...
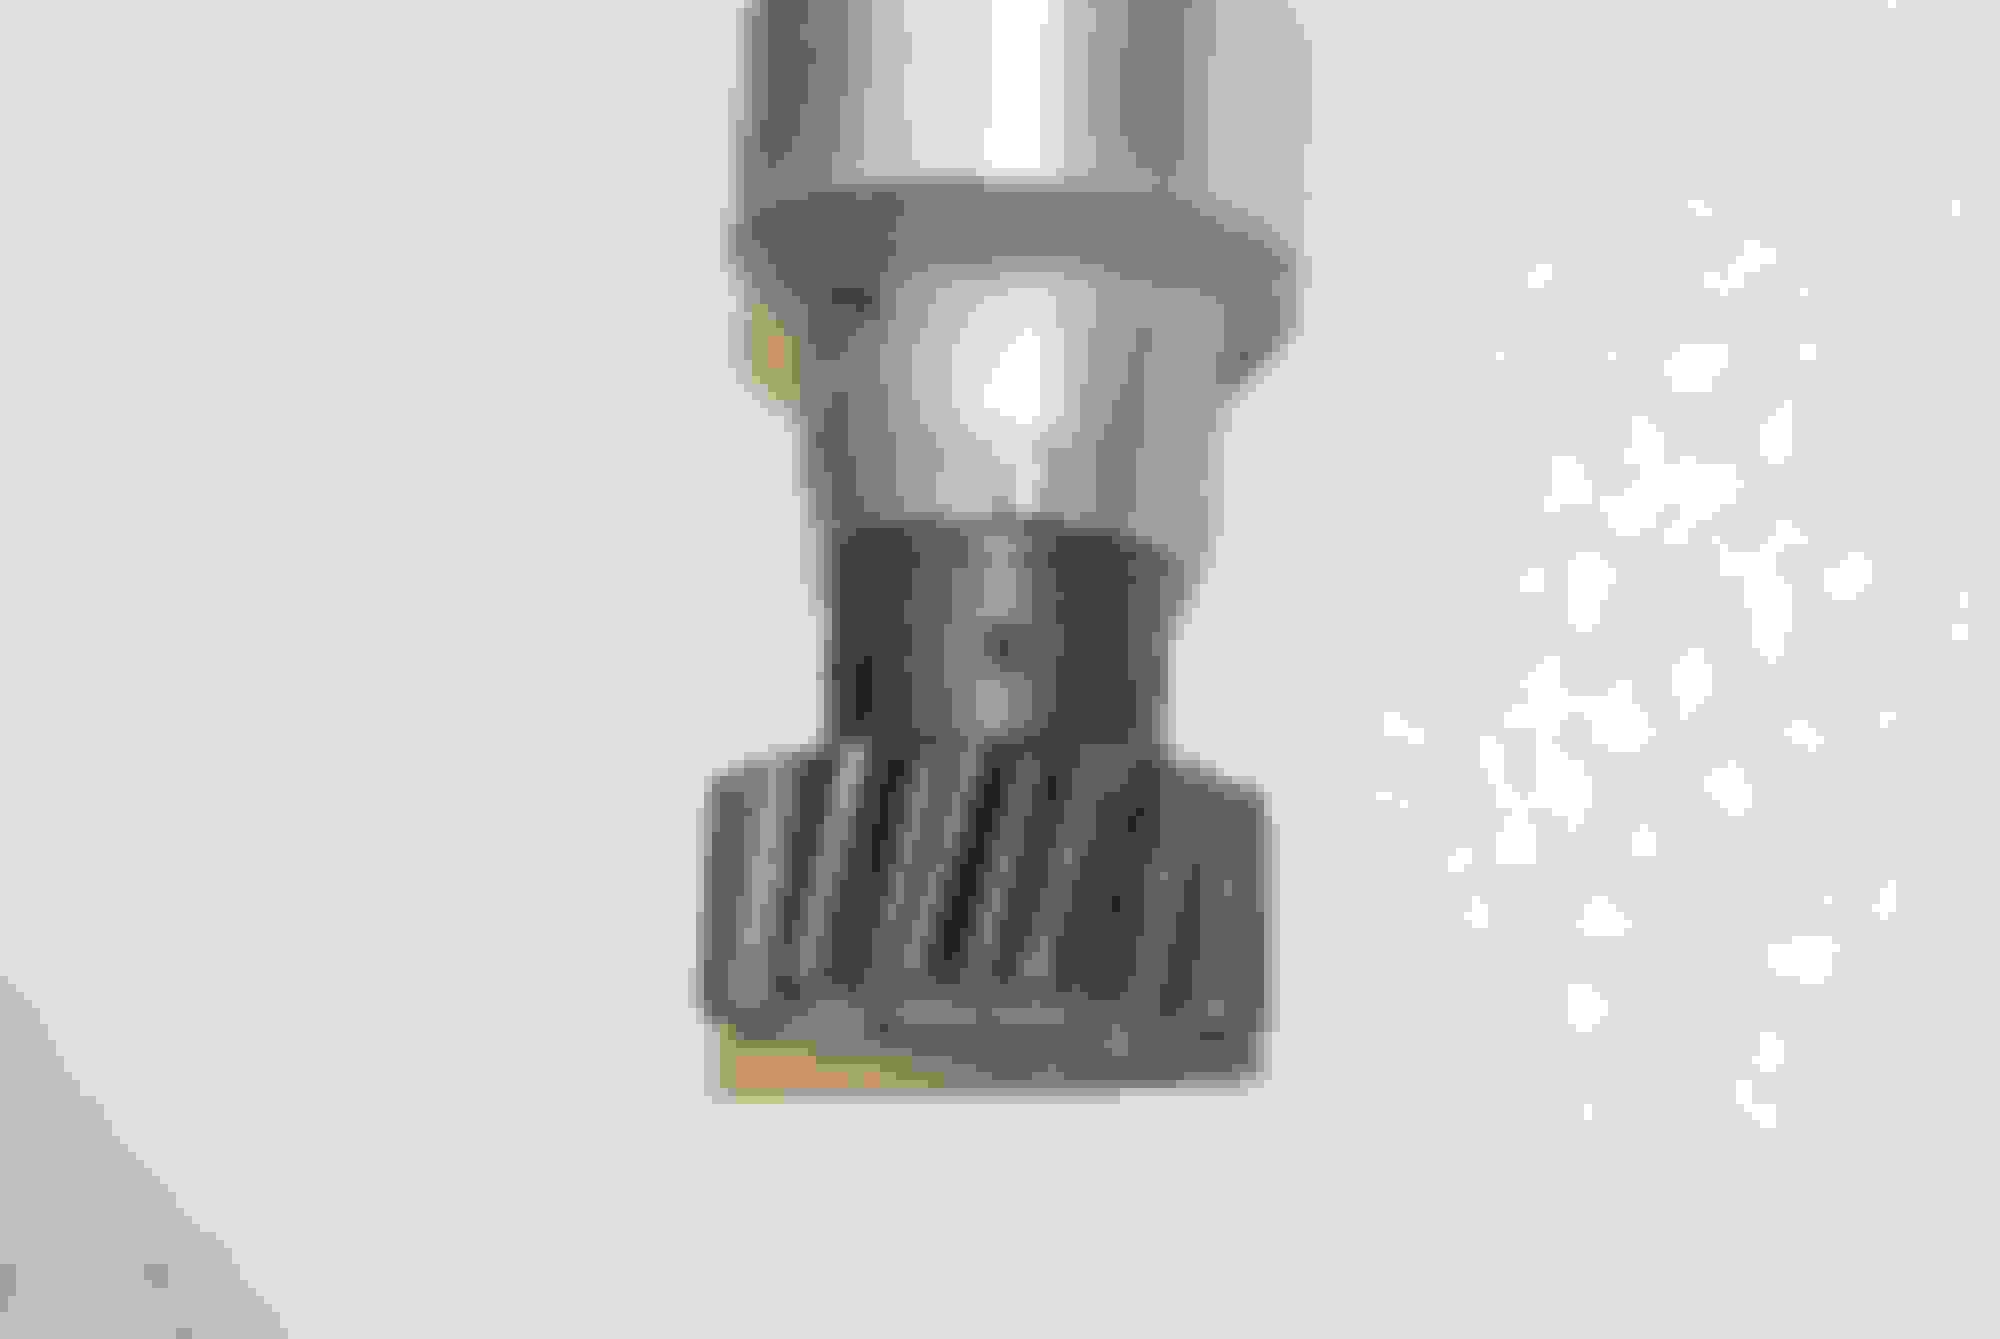
So after letting the paint dry I reassembled it and tried to stab it after setting the engine to TDC and then the distributor to TDC. First I lined up the dimpled hole on the drive gear with the mark on the distributor shaft:....
And as you can see the reluctor point is pointed directly towards the trailing ignitor pickup with the dimple and line correctly lined up...
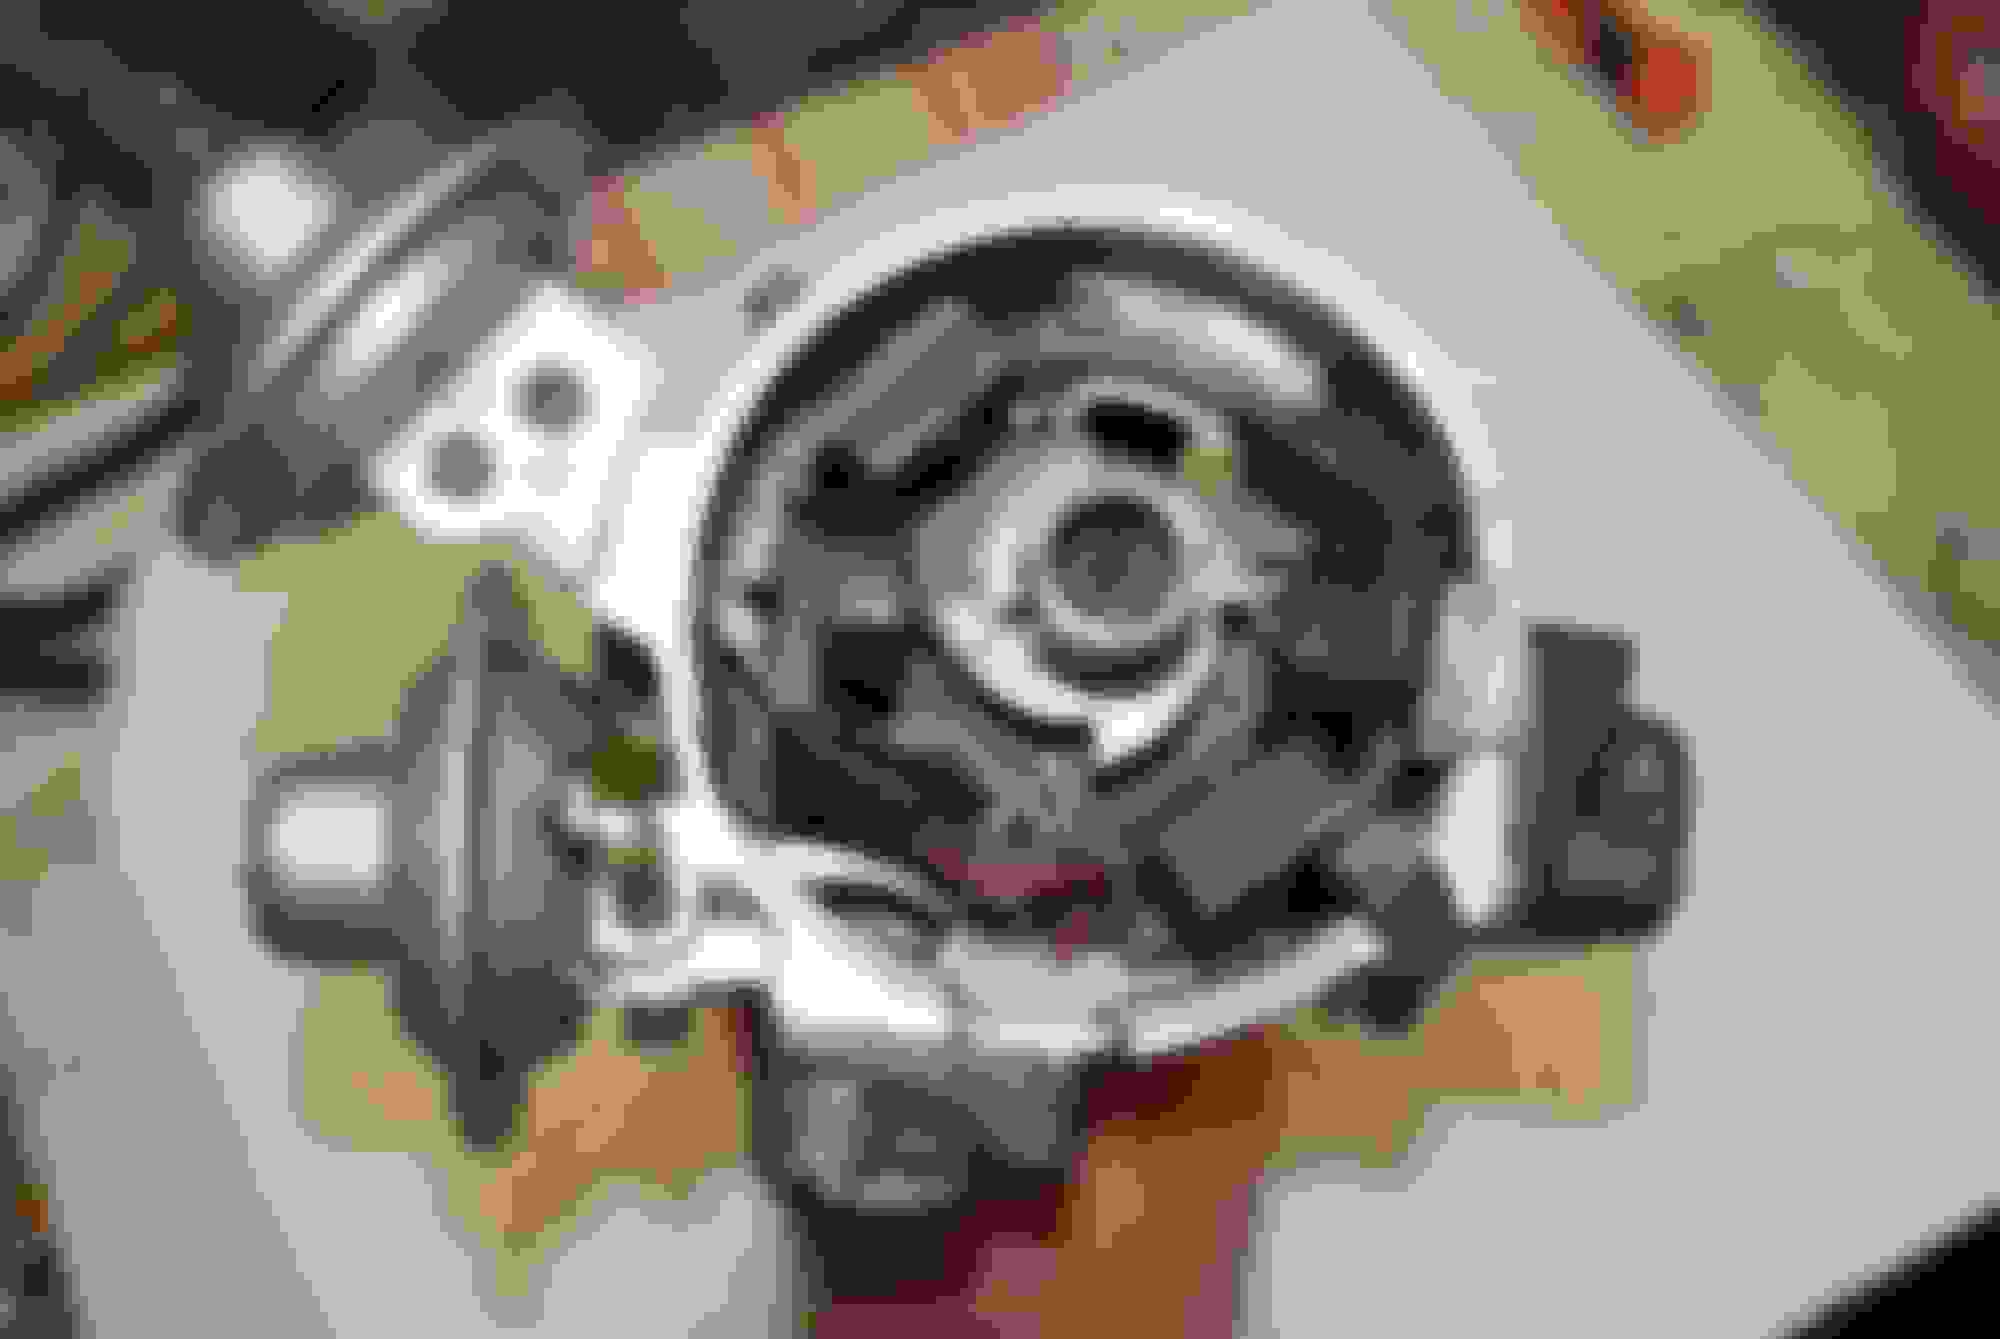
Then I made sure my engine was at TDC:....
And then carefully installed the distributor making sure the shaft didn't rotate on the way down, and since this distributor didn't come from this engine, I have no reference point for where the lock nut was on the lock nut plate, so I went for the center thinking it was probably not far off either way if I get it in the middle.
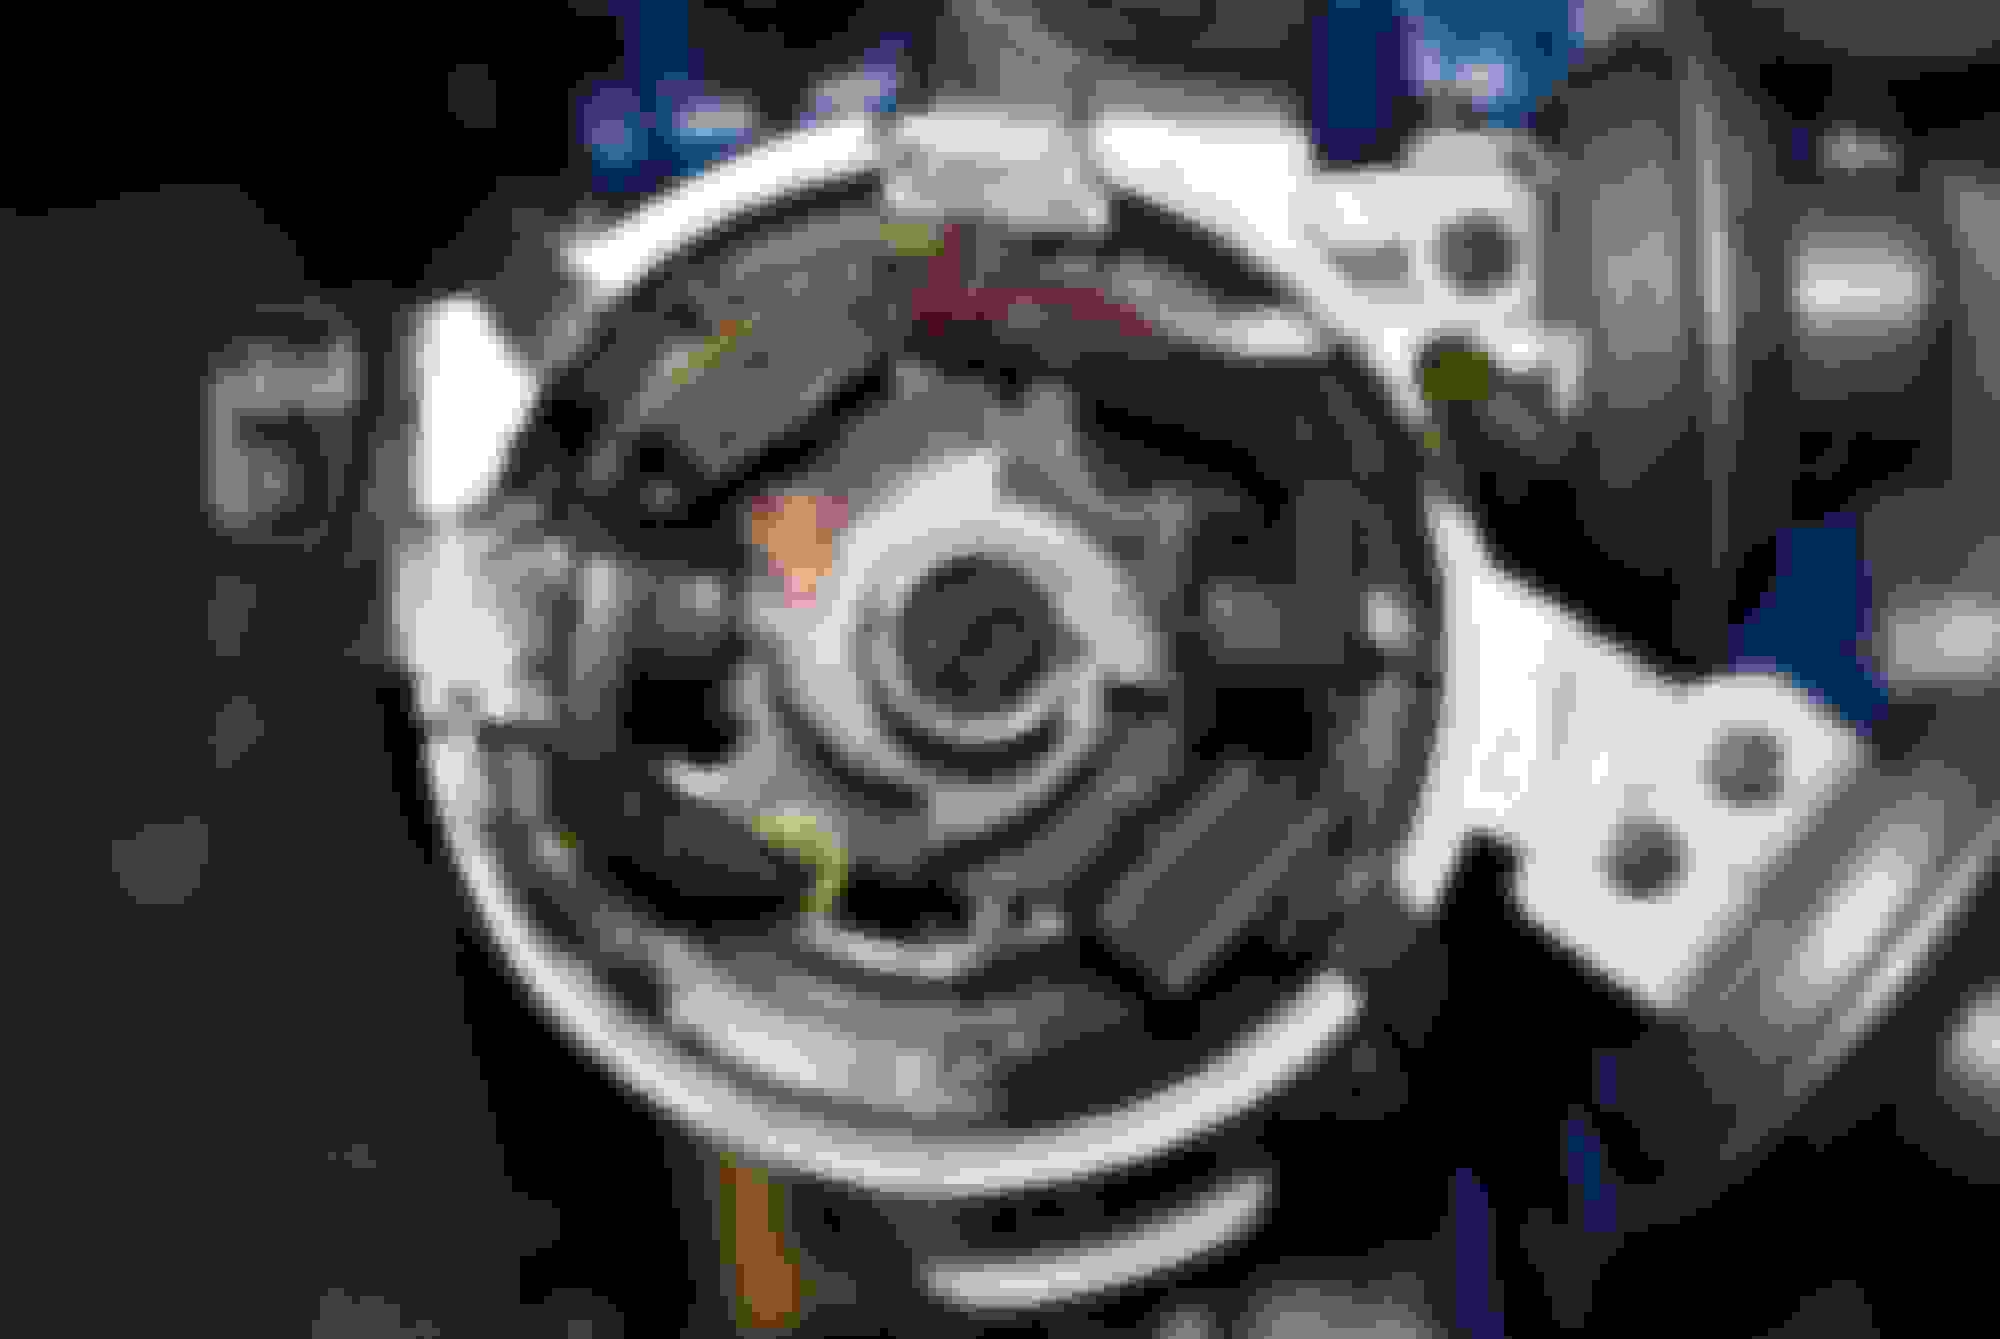
Not sure if it's a problem or not, but when I stabbed it, the shaft rotated as it engaged the drive gear inside the front cover and rotated ever so slightly, so that the reluctor point no longer is aligned with the pickup on the igniter. Is that a problem, or is it supposed to be that way? I've never done this before so I'm looking for verification that it's either correct or incorrect, and if incorrect what I need to do to get it right.
Thanks for your help guys and gals. I hope to do the wiring mod soon. Then I can hook up my radiator, finish the ignition, rebuild the carb, then hopefully get this thing started!
a distributor almost ALWAYS moves slightly when installing into a car, the gears never line up perfectly so they move slightly so they can mesh, your fine, thats why the stud for the nut is designed like that, so you can adjust your timing
put the nut on snug and the cap, you'll be adjusting the timing when you fire it up no matter what
 06-11-18, 05:00 PM