When you click on links to various merchants on this site and make a purchase, this can result in this site earning a commission. Affiliate programs and affiliations include, but are not limited to, the eBay Partner Network.
Haha yeah college is insane, that might make up your mind There's definitely a steep learning curve with paint, I dunno, I find the whole process to be relaxing for some reason. Guess cause I just get immersed in it - it's a good place to hide from the world haha. I forget, what color are you wanting to paint this?
Yes, it was outrageous when I went to college over 20 years ago!
I know what you mean about getting lost in the work - something cathartic about it...
I am planning to return it to the original K3 sunbeam silver metallic. Not sure if that can be done in a single stage or not.
Yeah, was almost 10 years ago for me and definitely wasn't cheap. Got me trapped in a shitty office job too, really worth it... NOT lol
Anyway, back on track. K3 is a great color, I love it. You can do it in single stage, it shouldn't be any more or less metallic than the Daytona Blue I did on the panda and that came out really well. Single stage is great for a DIY type like me. If I were taking it somewhere to get shot in a booth by a pro I would spend the extra $ and get base/clear though
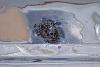
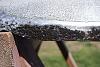
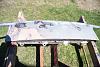
Made some progress lately sanding off the gallon of white lacquer paint that was on the car. I have stripped down the fenders, front nose valence and finished the body. There was a fair amount of heavy rust on the tabs where the nose valence bolts on. Took a wire wheel to those areas and they cleaned up ok. Pitted, but ok.
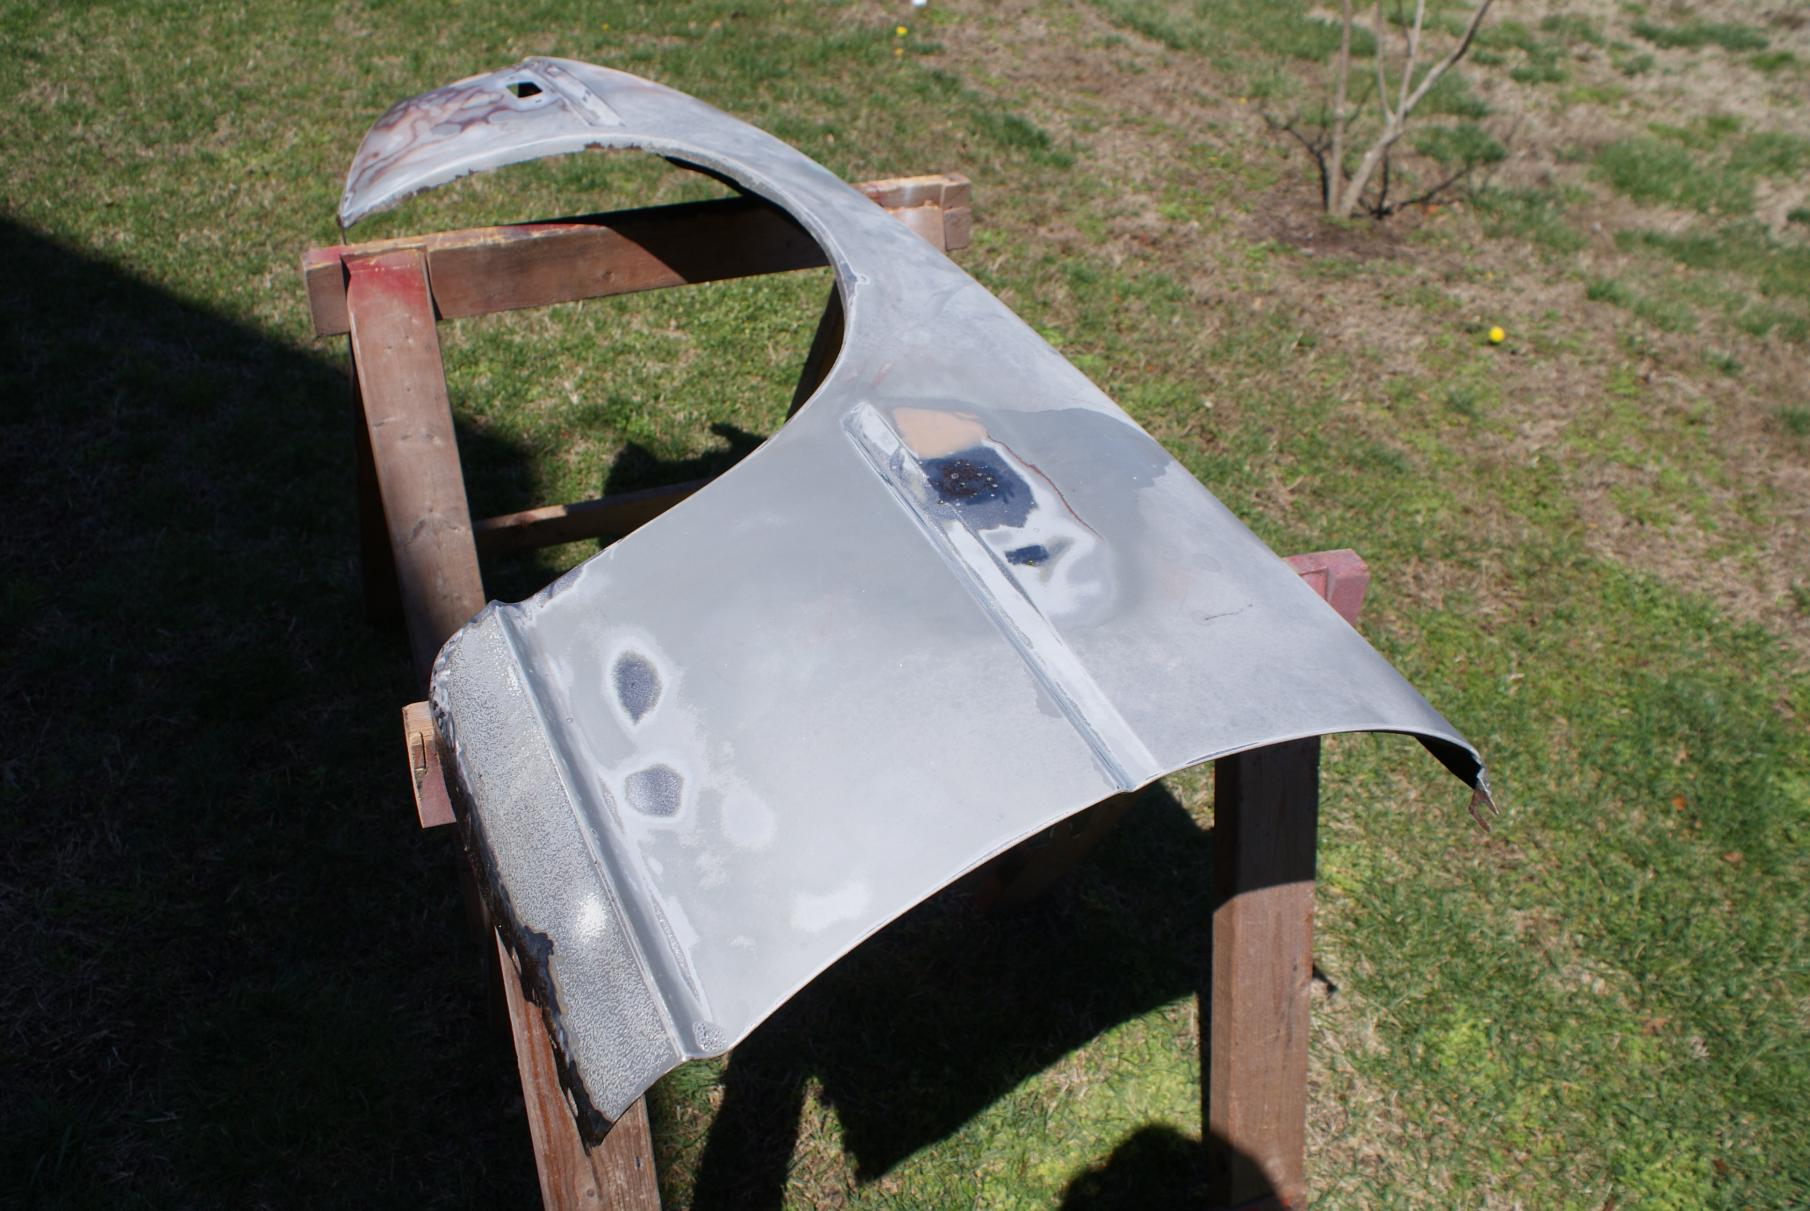
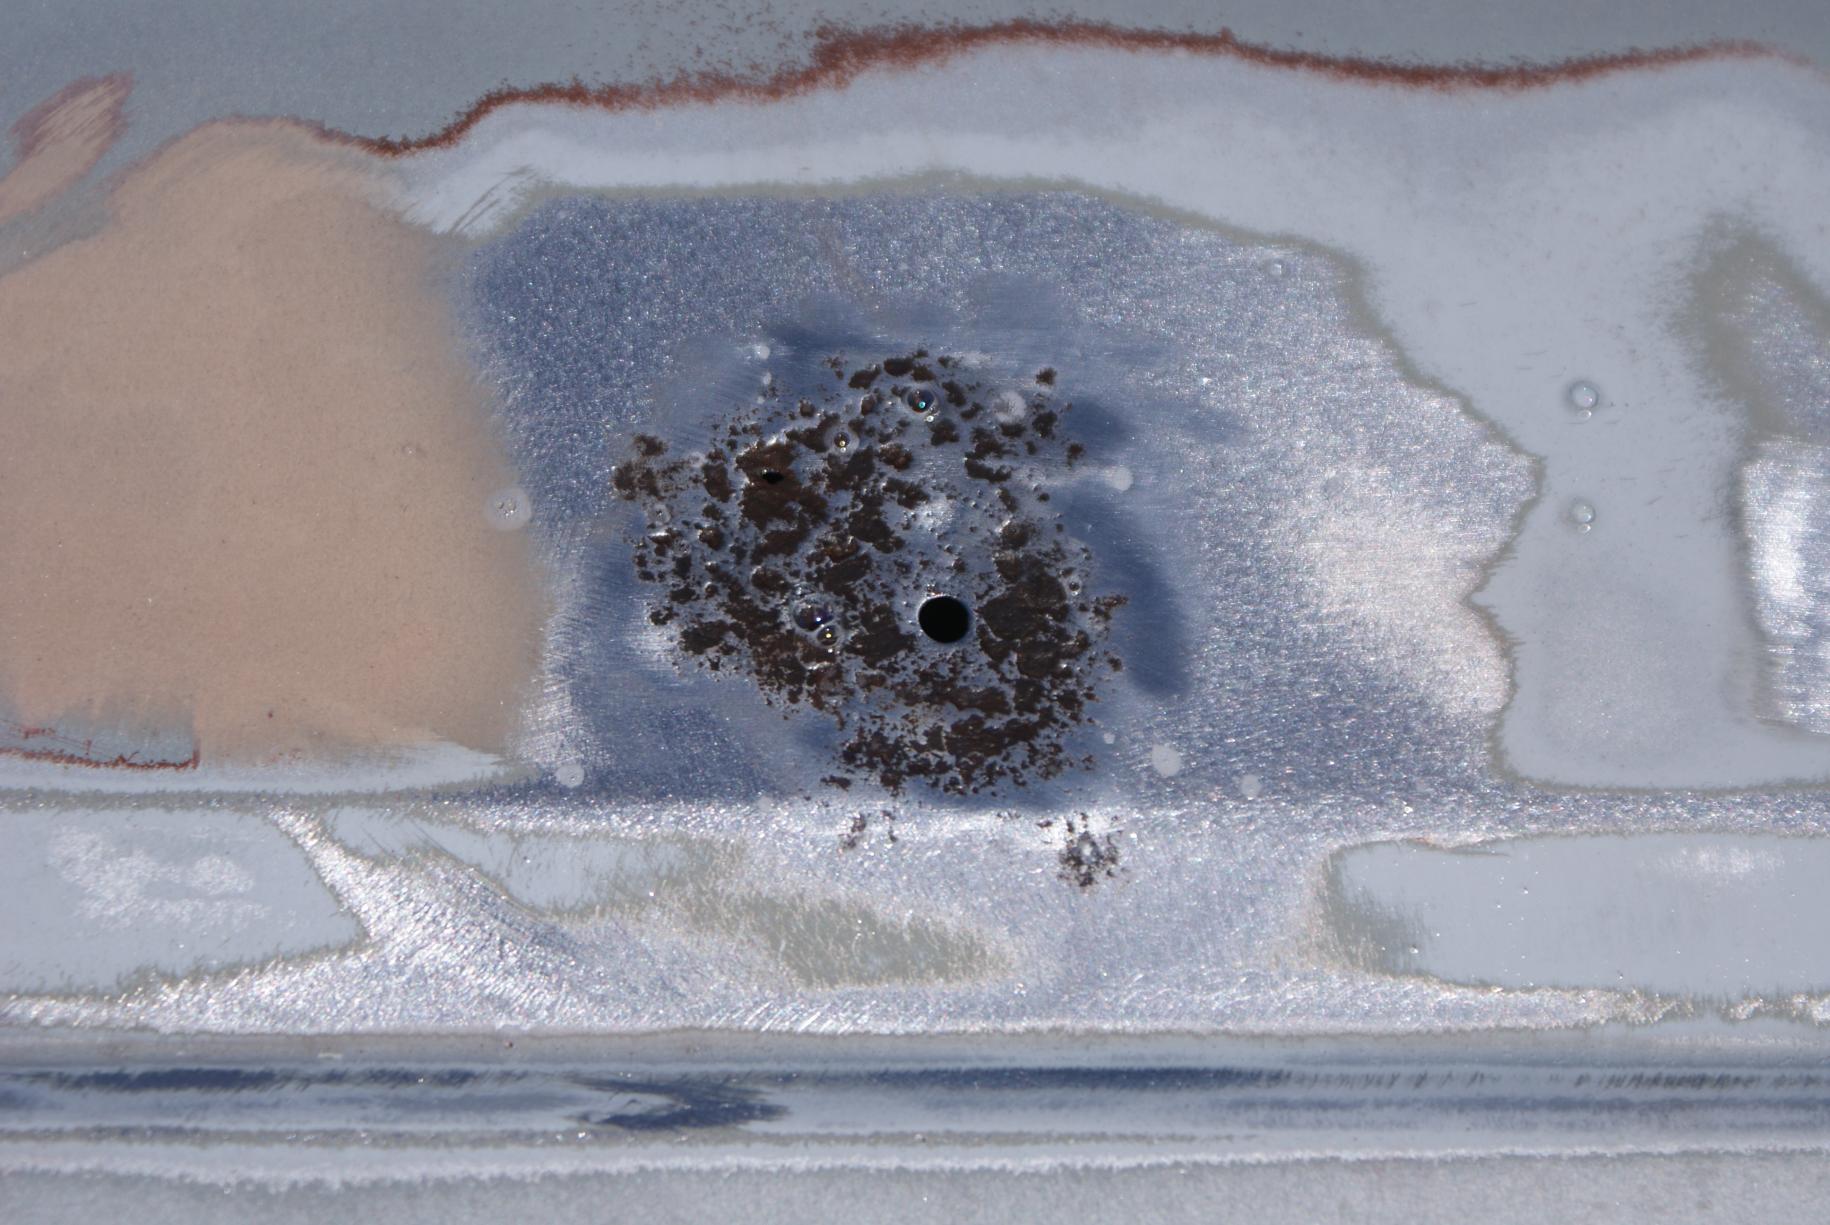
I found quite a bit of previous body work and even some corrosion (rust) under the bondo on the area of the drivers side fender where the logo goes. Sucks 'cause it's a good size area and has a large pinhole. I'll have to see if the body shop can cut out and weld in new stuff. I also found quite a bit of corrosion on the bottom of the drivers side fender. I think the entire bottom of the fender in that area will have to be fabbed up new. But, at least 99% of the white paint is off. That's progress!
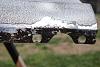
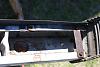
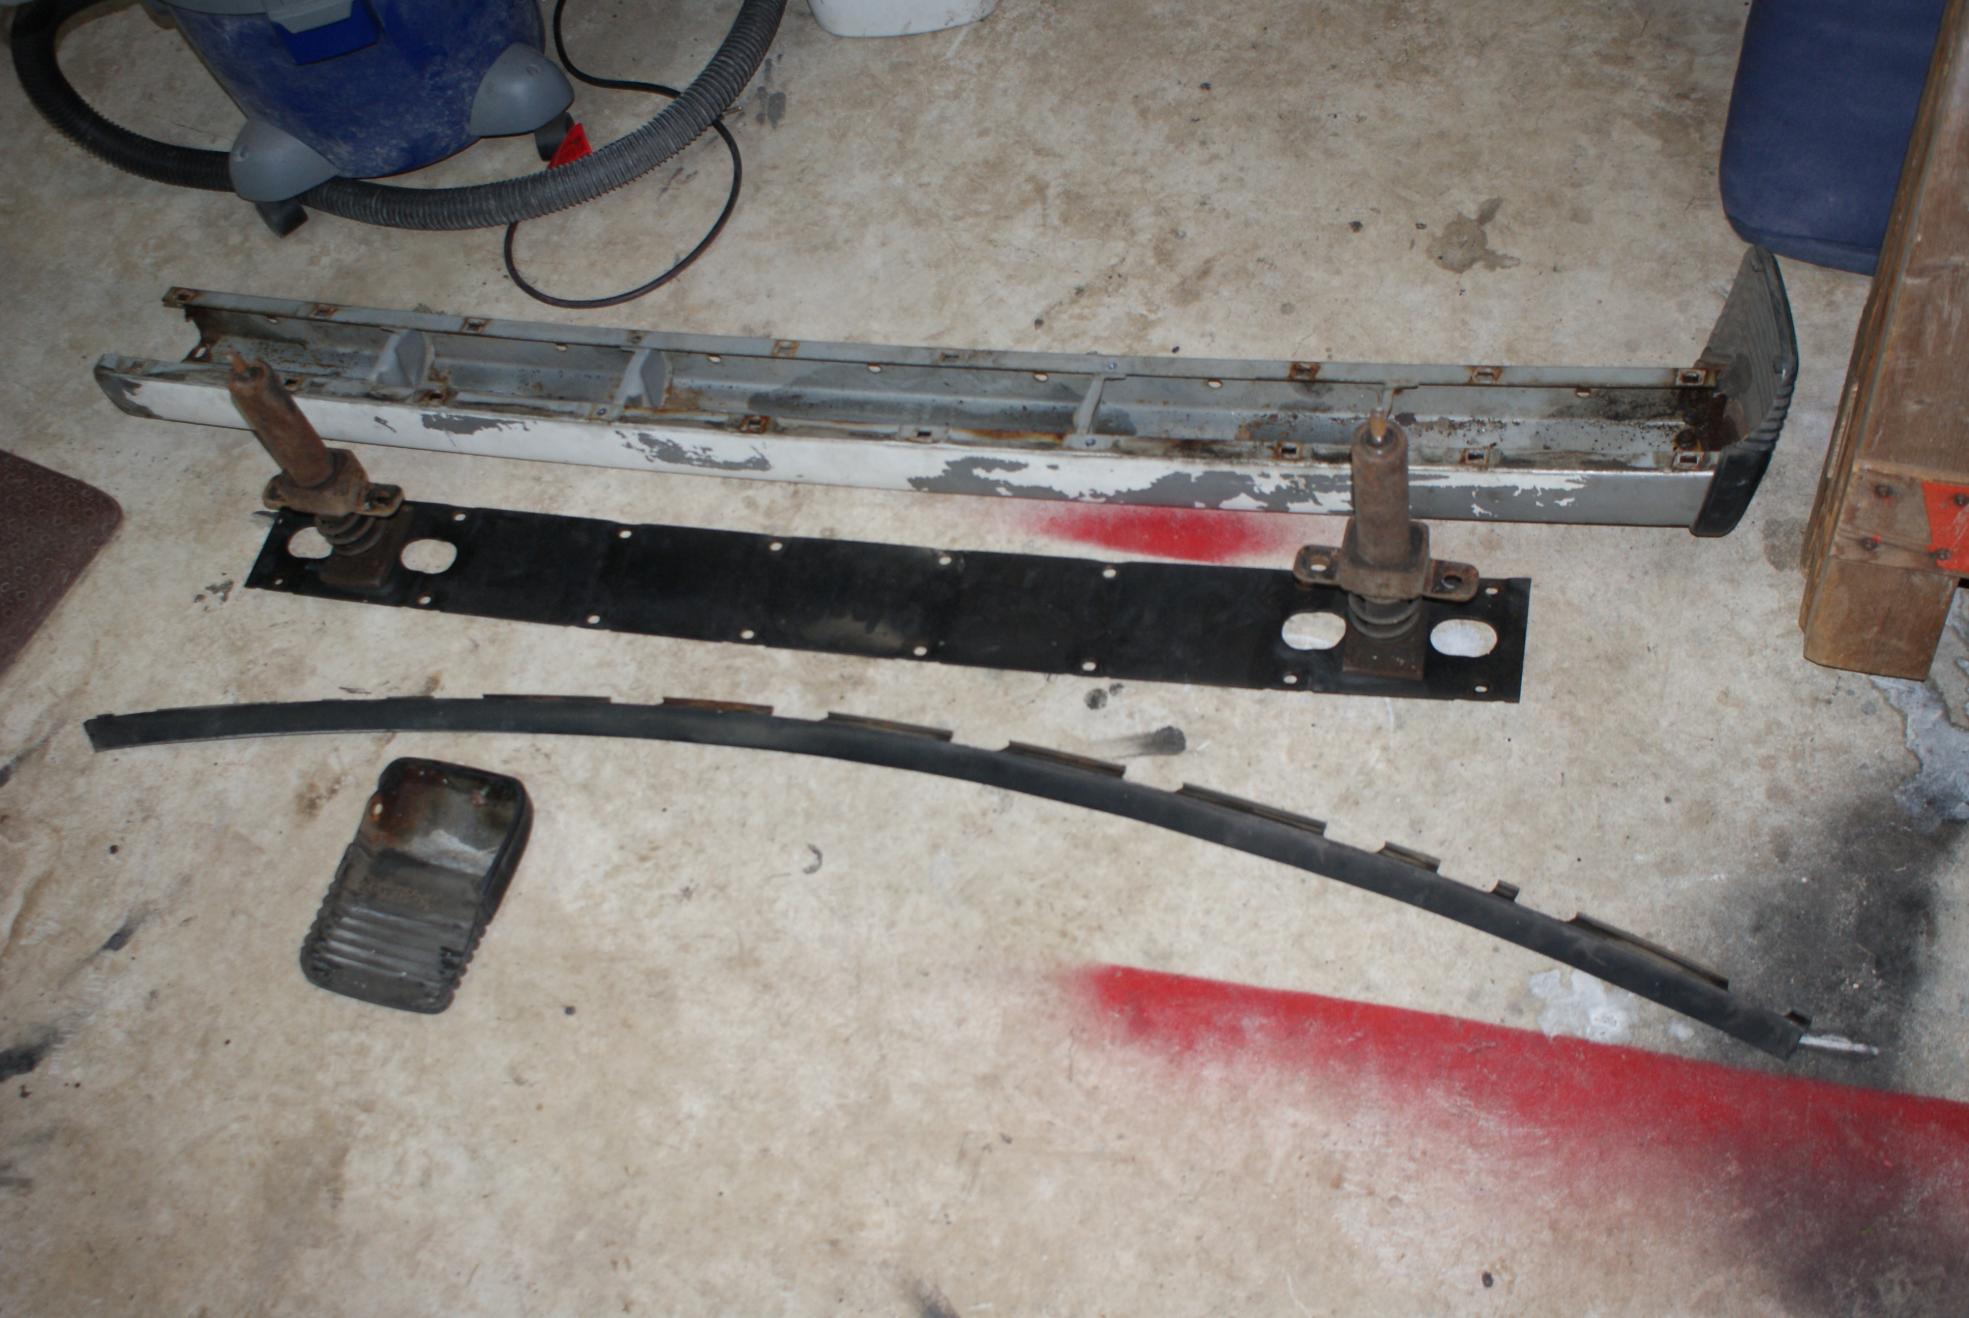
I also got most of the rear bumper disassembled. About half of the 10 mm bolts were so rusty they sheared off. Easily replaced I hope. I had a hard time getting the rubber end caps off. Those bolts were rusted almost solid. Used a bit of heat, being careful to not overhear and melt the rubber end cap, and sheared one bolt off and bent one of the other threaded posts. Dammit! I may have a spare from a junkyard, I'll have to see...
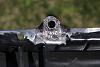
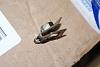
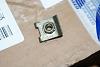
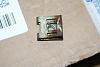
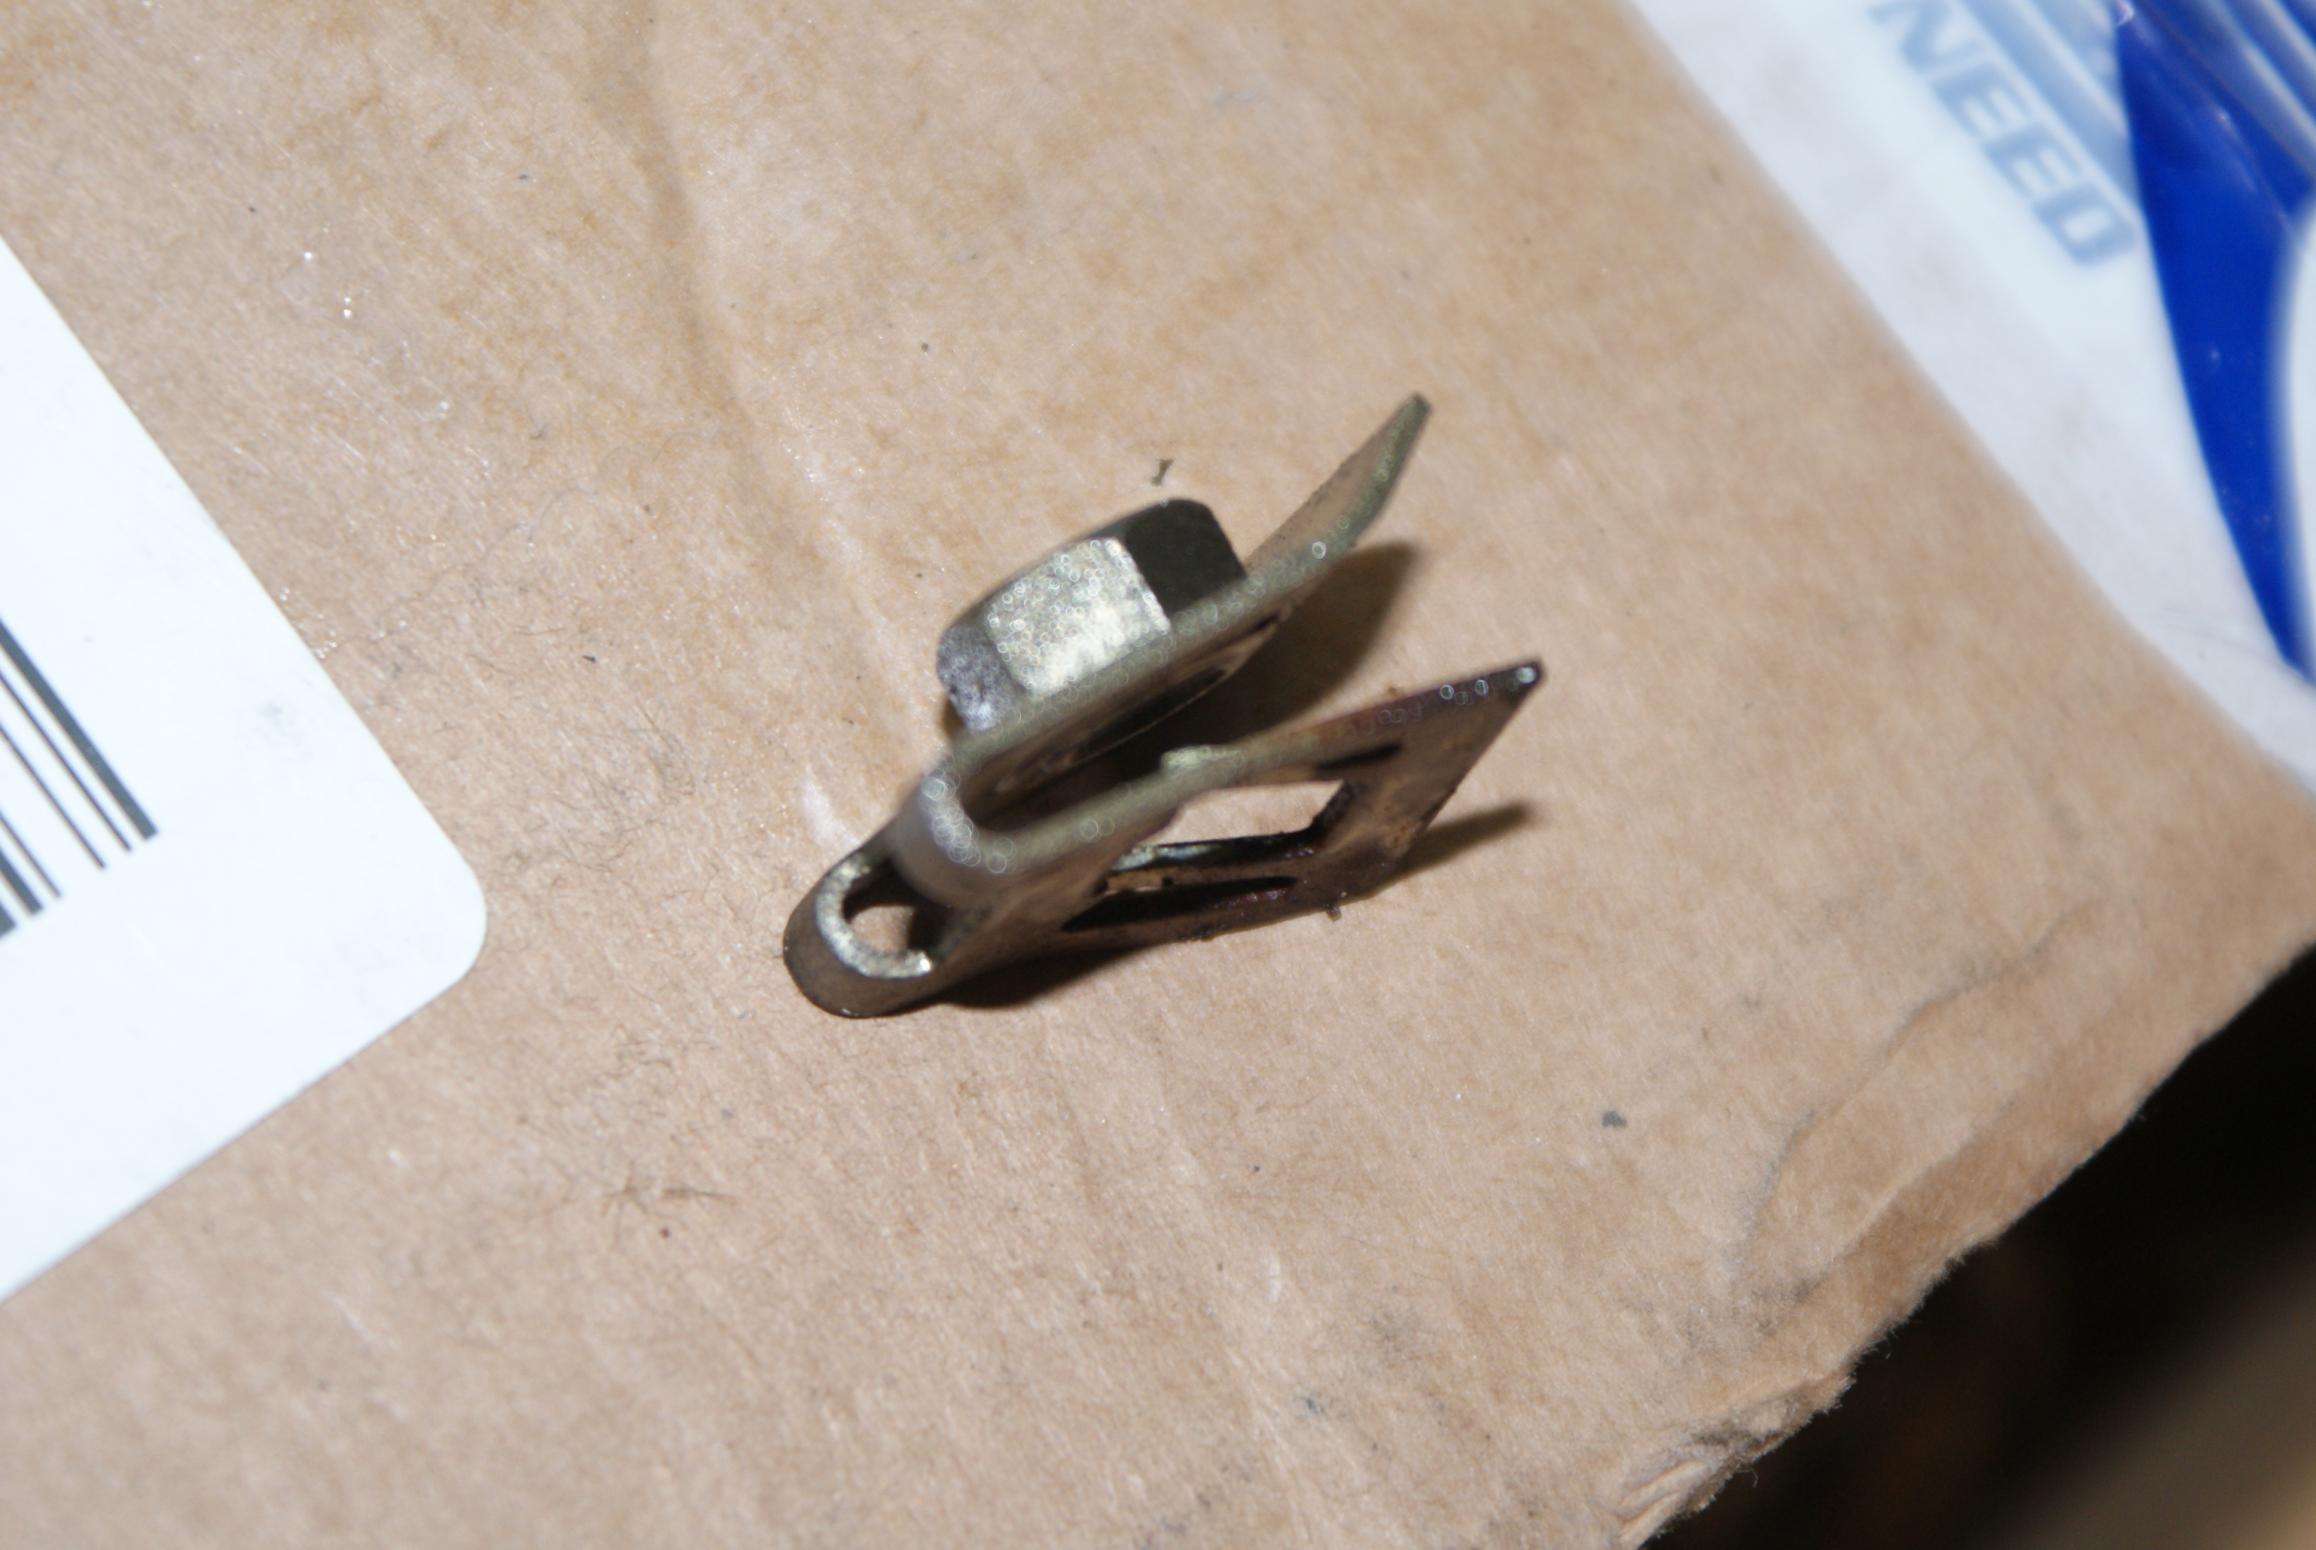
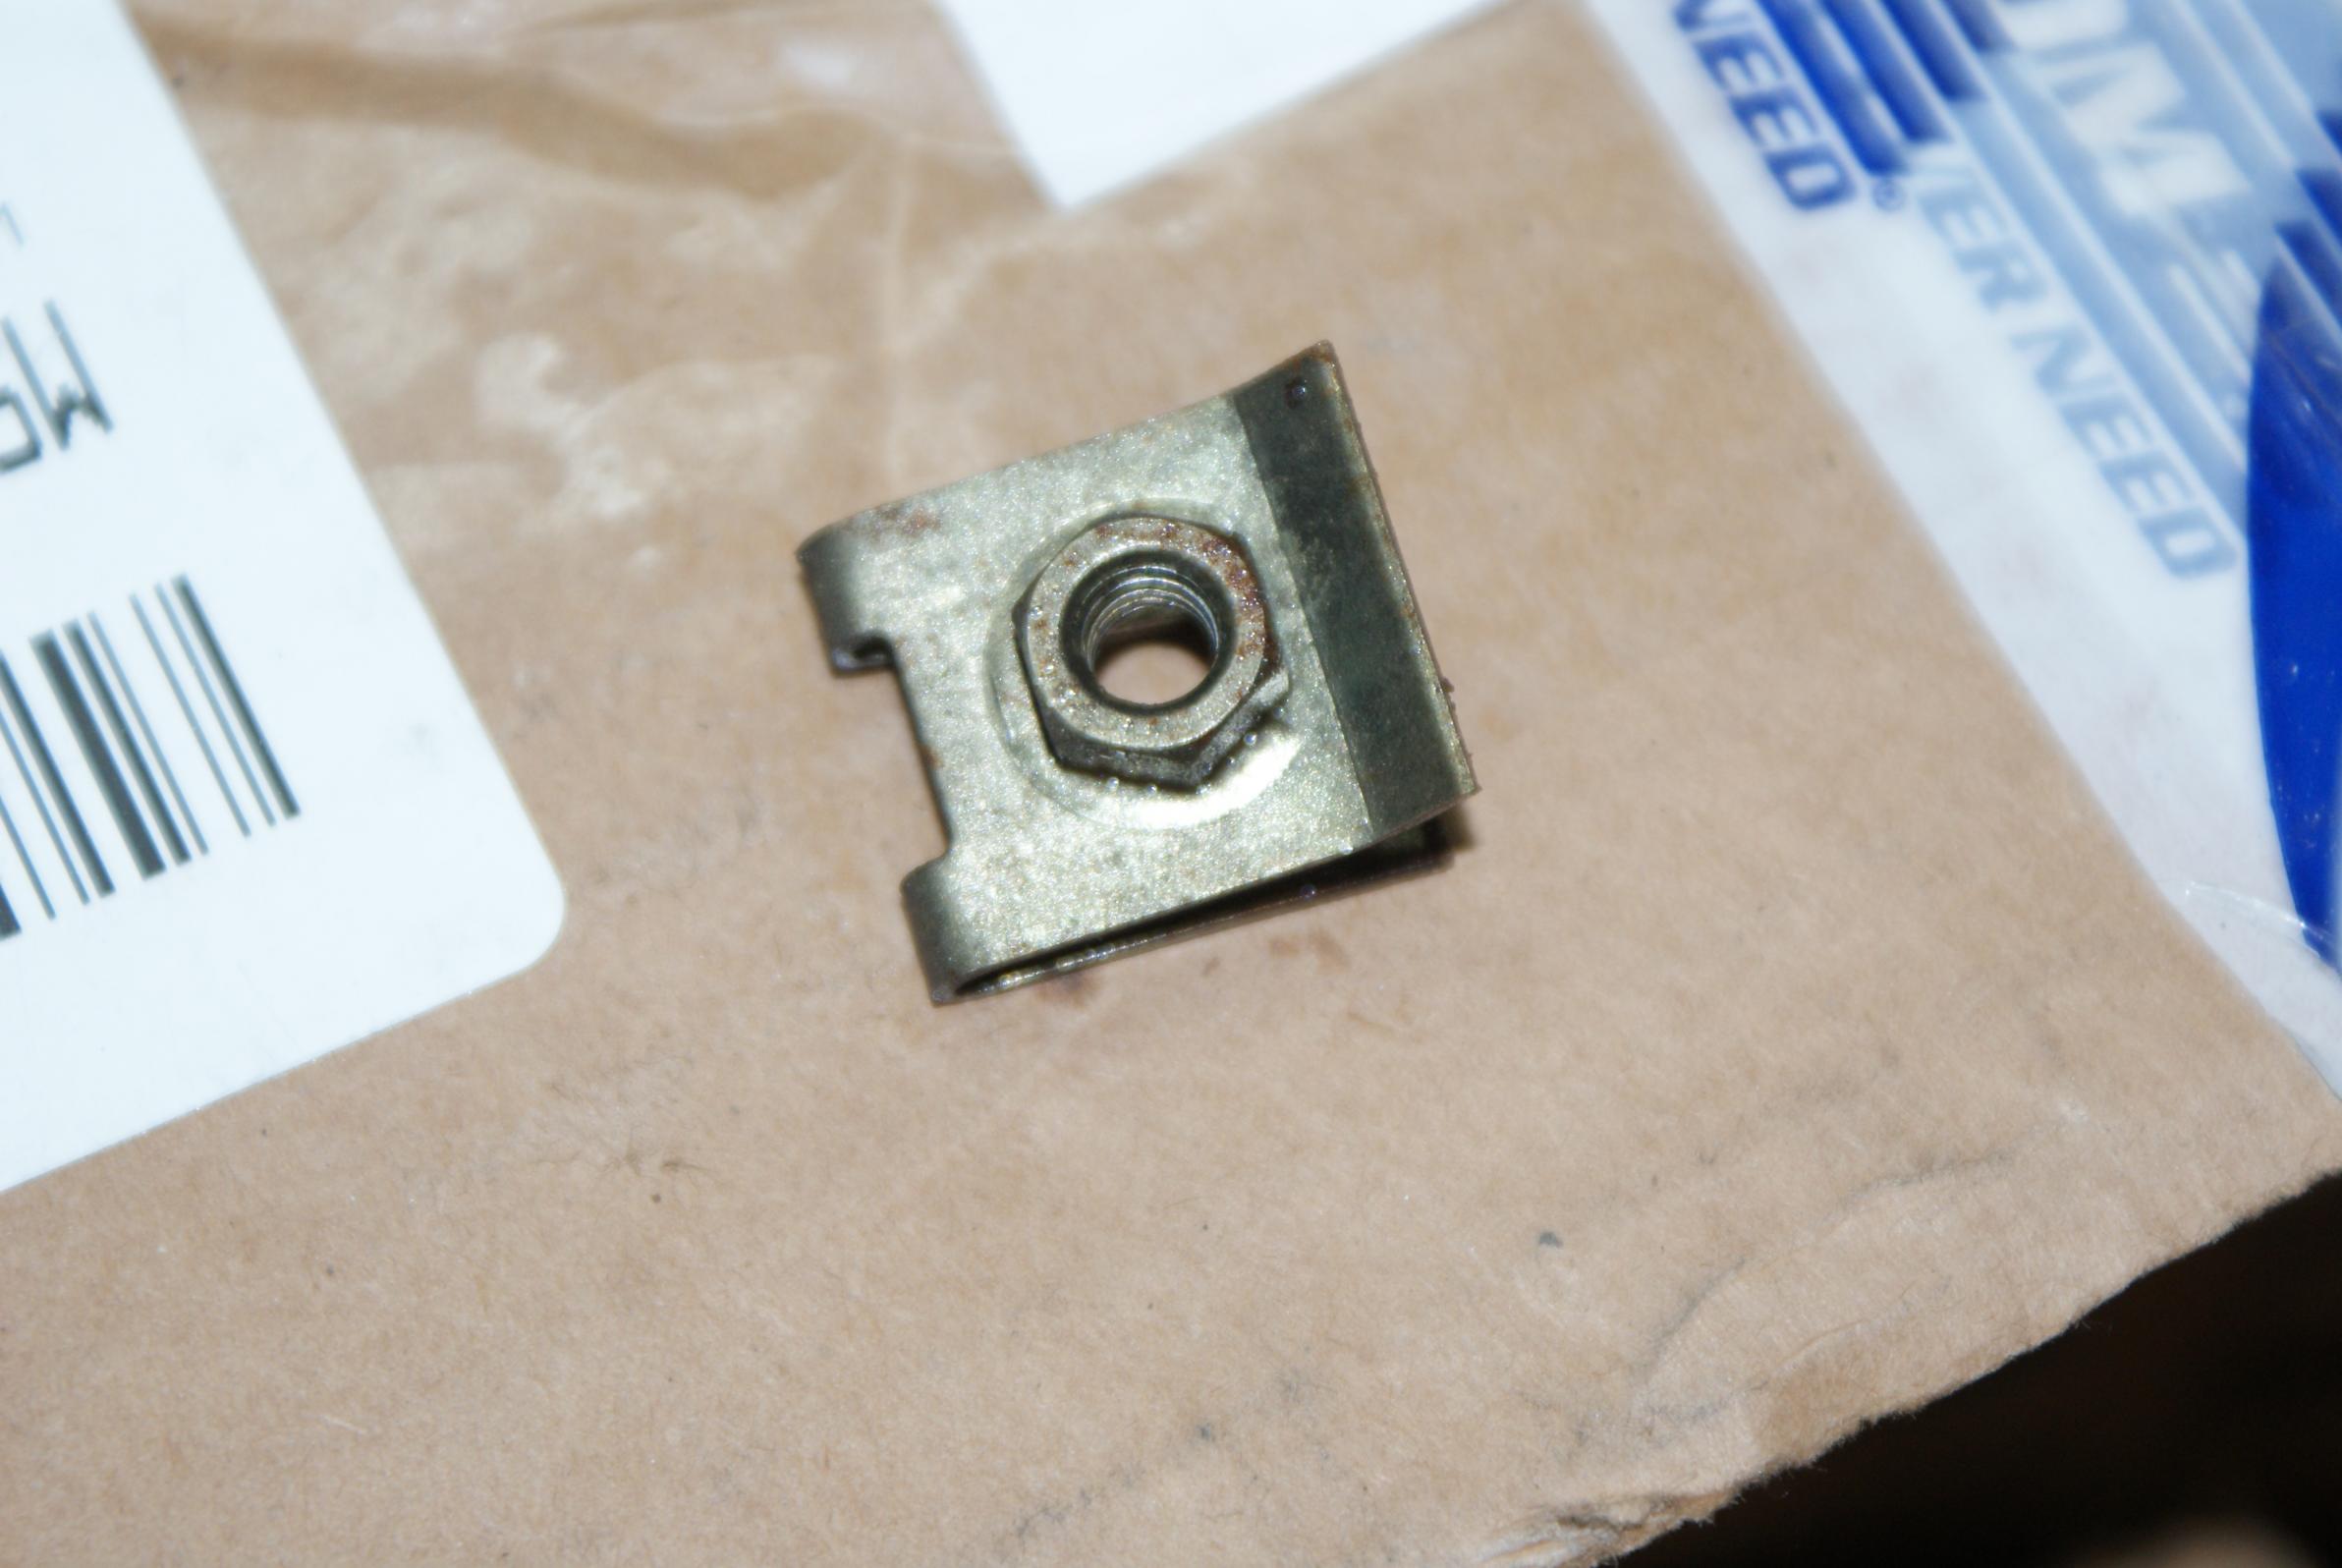
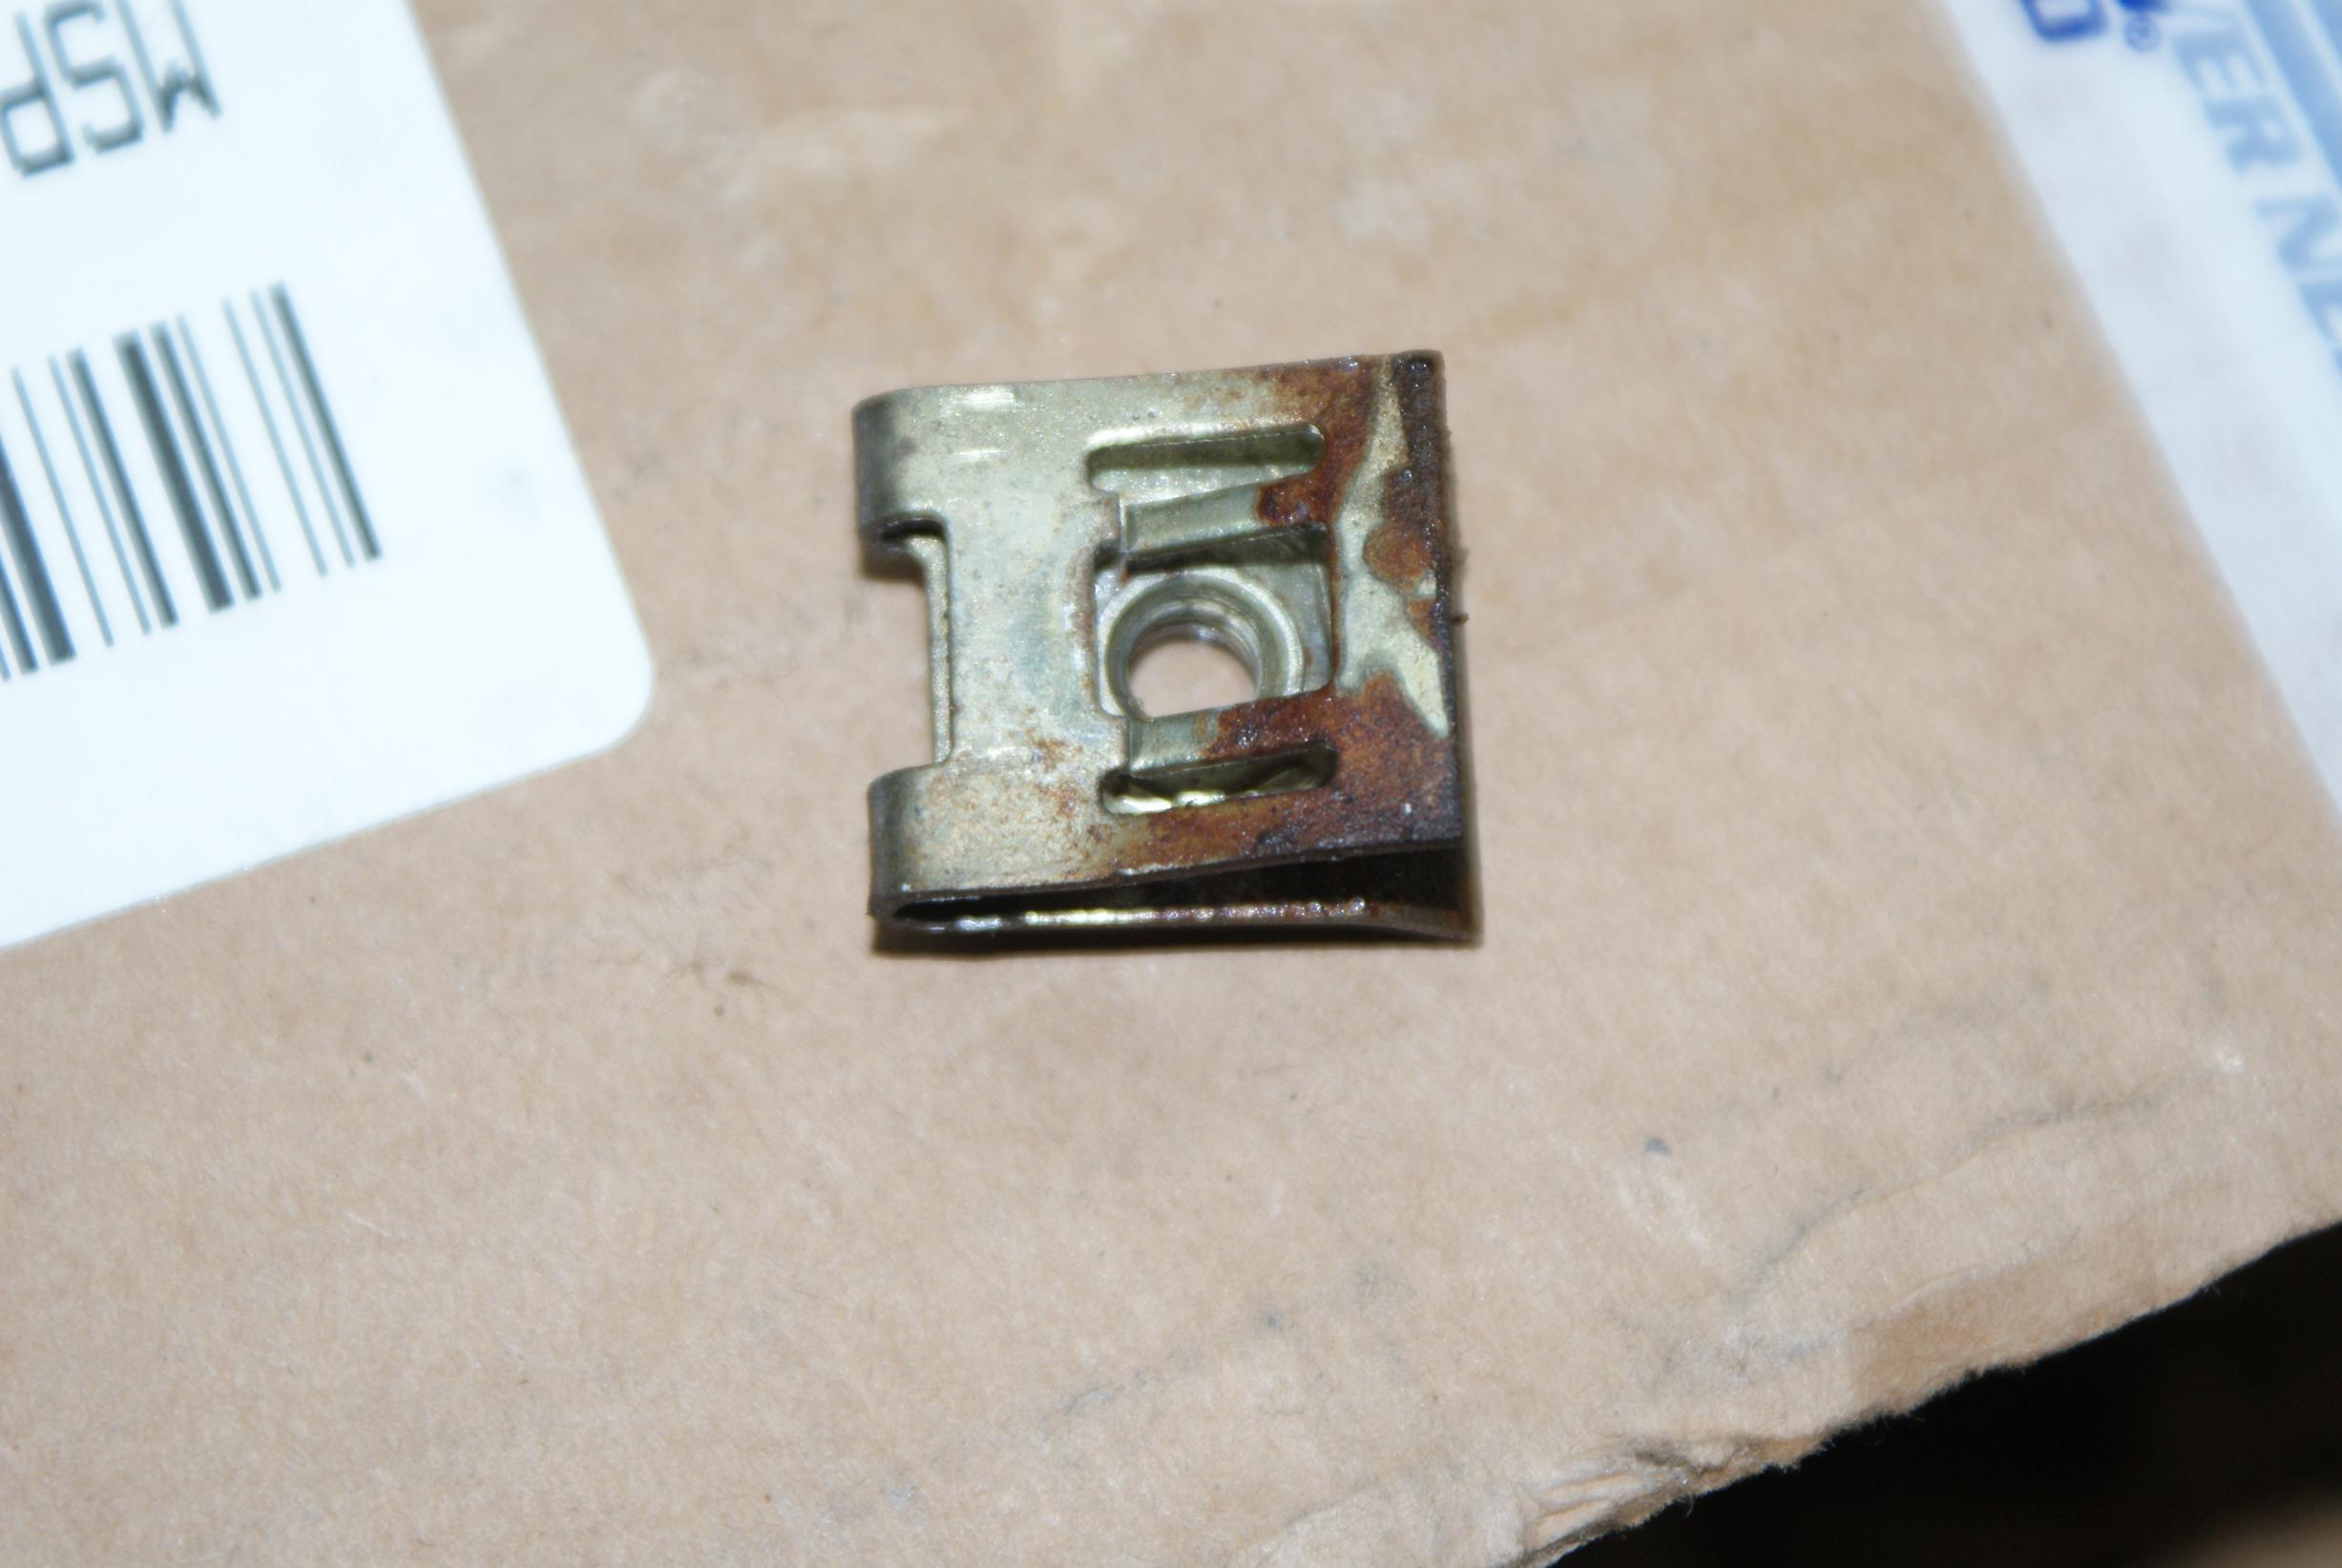
Anyway, does anyone know where I can get replacements for these clips? They have a 10 mm nut attached on the backside and they're used to secure the black metal cover (the piece that the bumper springs attach to) to the bumper. I've never seen these before, but half of them are so rusty I don't think they're useable any longer:
The molded in studs on the end caps are nortorious for snapping off. Undamaged replacements are not easy to find. You can normally still use them as long as only one stud is snapped off.
The clips are just a commom piece of hardware, you might find at a hardware store. Not sure of the proper name and you may need to search harder for a metric thread. Normally, you could just bead blast them, re tap the nut and paint or re zink them and they be like new again. Assuming you have access to a blast and such.
You're right Banzai, I was lucky that one of the studs remains. It's bent but it's intact. I think I can make it work.
Thanks too for the tip about reusing the clips. I'll stick them in the electrolysis bath and then rezinc them, unless....
Originally Posted by cfamilyfix
we call them j-clips at work. McMaster Carr should have them
... I can find them at McMaster Carr! Thanks cfamilyfix! I'll take a look online and see what I can come up with. A couple had the nut come off the back of the clip. Guess I could always tack weld them back on if I had to, but if I can buy new that might less of a PITA...
Im in the pricess of saving a verry rough one.. wouldnt even try to do it if it wasent my uncles that past away.. so im going to build it.. im having a problem with finding a right side femder you guys got any help id appreciate it.. let me know email me @ dakota.sam28@gmail.com ) thanks
For reference, my research indicates these things have a lot of aliases:
Spring nuts, speed nuts, and cage nuts are also known as: Tinnerman Nuts, flat style speed nuts, sheet metal nuts, captive nuts, clip nuts, cage style spring nuts, U style spring nuts, J style spring nuts, long U spring nuts, and regular U spring nuts.
It normally makes the most financial sense for a design engineer to use common, commercially available hardware, instead of specifing something unique or special.
Do you think it woukd be easier to just try and fix my huge dent in the right fender its from my dad backing it off a trailer a long time ago..... thanks dad -_- I havent ever tried to work on that style of fender ive been a chevy man until this baby
Anyway, does anyone know where I can get replacements for these clips? They have a 10 mm nut attached on the backside and they're used to secure the black metal cover (the piece that the bumper springs attach to) to the bumper. I've never seen these before, but half of them are so rusty I don't think they're useable any longer:
Sooooo, been really REALLY busy at work and the travel schedule has been amped up since the first of the year. That, along with three kids in spring sports makes work on ole Rusty an afterthought at best until summer. Good news tho, is that I got a promotion at work! No more travel, but prolly longer hours, so a bit of a tradeoff.
What I did manage to do recently though is go to a local Maaco and chat with them about my project and asked what it would cost for them to do a bit of light bondo work, prep and paint a "nice driver quality" paint job. They quoted me around $2k, which, I don't have. So necessity being the mother of invention and that price quote being motivation, I decided to at least TRY my puny 5 gallon air compressor with a detail sprayer, and one of the purple HF sprayers my buddy Jerry gave me. I. was. shocked. I was convinced by reading up on paint guns that there was no way my tiny little compressor would be able to keep up with a gun. I tried it out with water in both guns. The small detail gun worked great at 40 psi inlet pressure at the gun, and the compressor would kick on only periodically. The purple HF gun would spray well at 40 psi at the gun, but the compressor would run continuously and the gun pressure would fade over time. Again, I was AMAZED that it even worked at all, but I was energized and decided that I CAN paint the car myself without needing to spend $$ on a big air compressor. As an aside, I had decided that if I was going to buy one, I'd get the $800 HF double stage 60 gallon compressor. It's highly rated and probably one of he best buys in their inventory.
So, with that new found energy, I decided I'd spring for the $20 lower valence I need from Black Dragon. I was surprised it came in one piece, but it matches the original pretty well. I know there was a thread from 2005 that discussed the differences between the single piece metal installed on early production 78s (mine is 5/78), and the later ones being three piece metal, and then changed over to plastic spoiler. My car may have come from the factory with a single piece and been refitted with a three piece because it was hit in the front end at some point, so I assume it was replaced. Who knows, but the point is I have a new rust free one in much better shape than my roached out three piece!
The new one matches up pretty nicely:
Center piece is different, but the hole seems to be in the right place
$20 for the part and $20 for the shipping I decided I'd pick up a few other parts I needed to take advantage of the shipping charge: A couple of steering knuckle bolts I needed (could never remember to get them from the junkyards), some windshield molding clips, and a front and rear transmission seal.
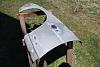
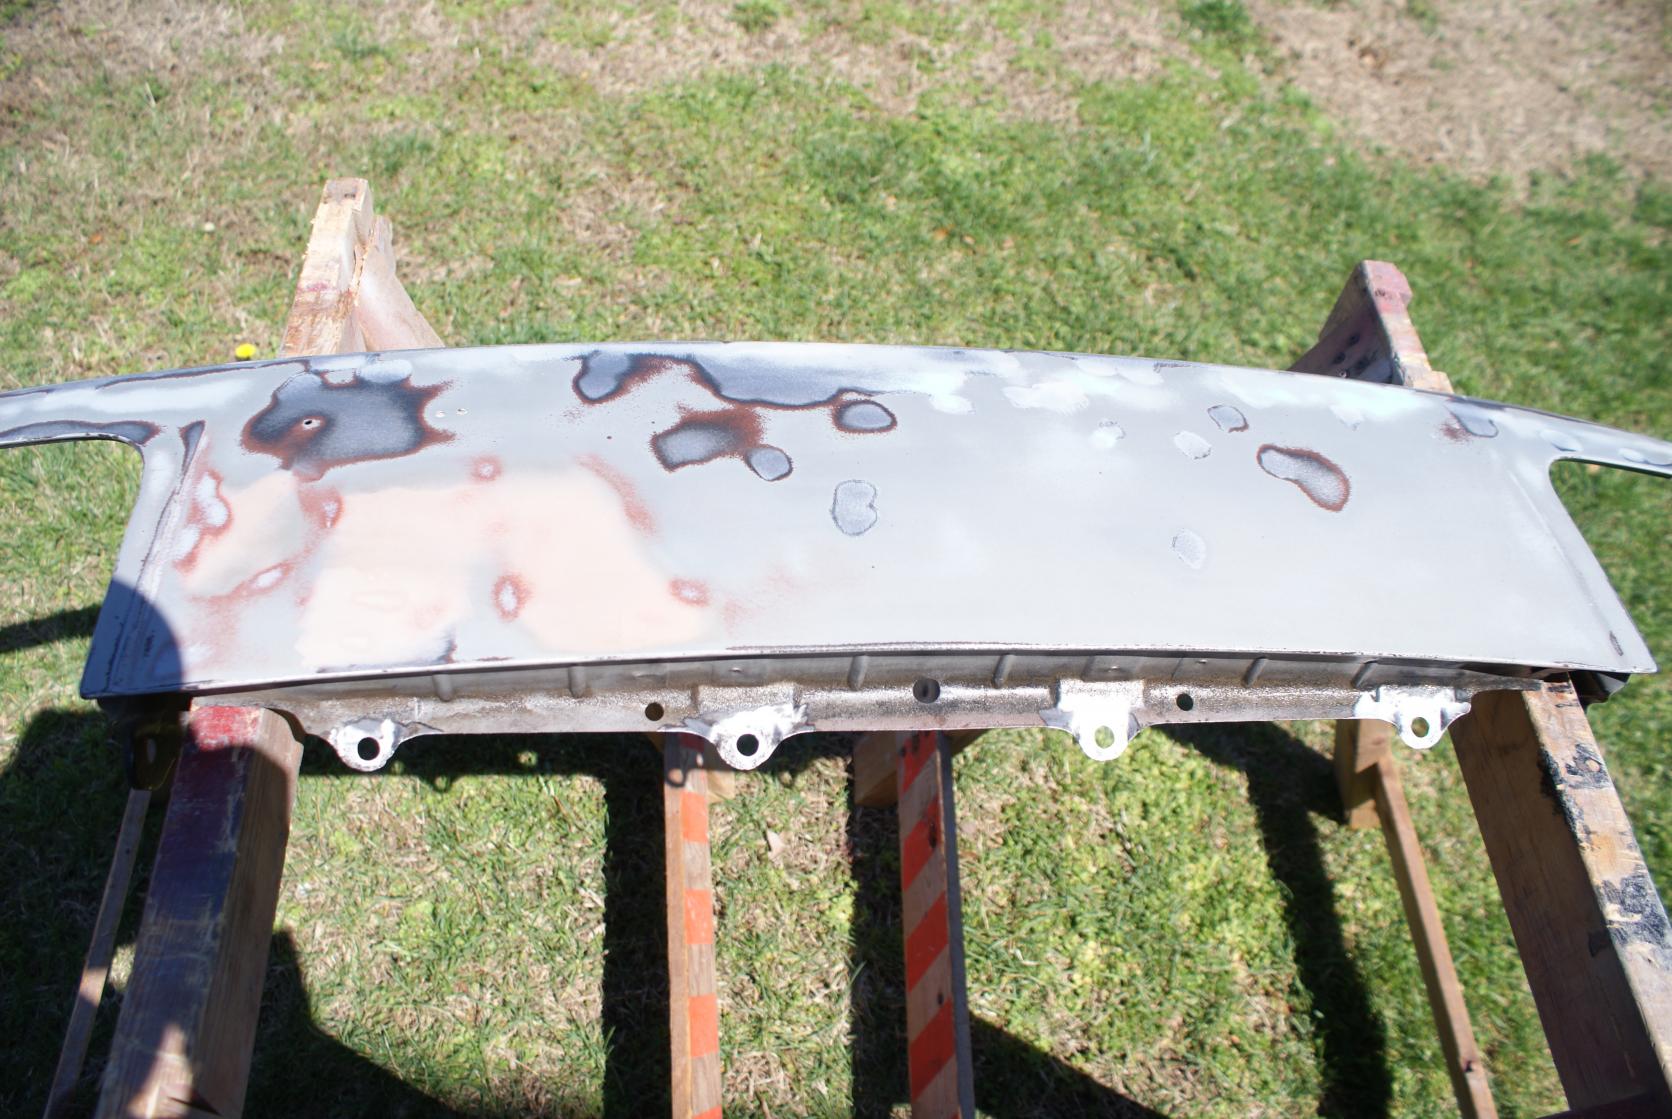
While I waited for my parts to arrive, I started sanding down the front upper nose piece (I know it isn't called that, but I don't know what it is).
Dad said they painted it because it had splotches of rust everywhere, and I think this may have been one of them. These really are everywhere, so I'm sanding them out. I'll apply an epoxy primer to seal it up.
I researched and decided to go with a PPG paint system. They're gonna be cheaper than the place I bought my rattle cans from that I used to paint the engine bay. I visited my local auto paint retailer and found out a complete two part system will cost me $500, including epoxy primer, sealer, two quarts of ready to spray color, clear and hardener. I'm gonna make it a priority to shake that out of my money tree and get it. Maybe get to paint when the weather cools off a bit later this summer. Today I picked up a quart of the epoxy primer to start with so I can practice on the nose piece with the detail gun.
wow that valence thing is available for sale. It looks dynamite.
Check out "pressure pots". Paint guns need a LOT of dryers and volume. If you have a big propane tank available you can convert it into an air tank. That will help your capacity issues.
wow that valence thing is available for sale. It looks dynamite.
Check out "pressure pots". Paint guns need a LOT of dryers and volume. If you have a big propane tank available you can convert it into an air tank. That will help your capacity issues.
As luck would have it, my neighbor is moving and asked if I knew anyone that could use her two propane tanks for her grill... Yup, in fact I do!
Making an FB passenger side door into an early 79 SA door
Originally Posted by sandy_RE
a lot of people would have given up on it by now, its going to be worth it when you finish it.
Thanks Sandy! I really can't wait to get this thing running and on the road. I'd love to have it ready by next spring, but that might be a bit aggressive.
I did manage today to finish sanding off the passenger door I picked up. I had gotten some new doors from PnP last year, but when I stripped them I discovered that they had been worked pretty good. I could have used them, but an opportunity grab some doors that were in better shape came about and I grabbed them, along with some black carpet and a bunch of interior bits. But, I digress....
So, the doors came from an FB, of what year I'm not sure, but my car is an early 79 and has no passenger side mirror. I managed to take some scrap I had in my rust pile (the scrap piece I used wasn't rusty) and welded up the holes where the mirror was on the FB passenger door. I traced out the hole, transferred it to a clean piece of metal, cut it out, ground it to fit, and welded it in with my HEFTY 90 amp flux core welder from HF (sarcasm). I used a spot weld drill bit to create two smaller circular sections I used where the screw holes were. I think it turned out very well - I was quite proud of myself. Fills the gaps nicely, didn't burn through the sheet metal and even followed the contour of the door!
test fitting my filler piece, taken from a section of metal removed from the car
Welded in with my HF 90 amp flux core welder
Ground down rather nicely (for an amateur such as myself)
I used a spot weld cutter to make the patches for the two smaller sections where the screws were
All ground down
A bit of bondo and no one will ever know those holes were there!....
So that leaves me with a set of power mirrors I don't need, and the wiring harness I removed from the passenger door. I'll list them up on the classified section. The drivers side mirror was a bit fubar when I got it, but the passenger side mirror is A OK....
Thanks Tim! I definitely feel like I'm eating an elephant here - one bite at a time...
Originally Posted by Qingdao
You crush my dreams before they happen.
HA!!! Personally, I like the look of them on the door myself, but maybe Colin Powell's 7th leadership principle would work for you - "it's better to ask forgiveness than permission"...
I started to run with the idea of hooking up multiple propane tanks converted to air tanks, but when I started adding up the cost, I decided it would be much easier to simply go to HF and get the 11 gallon air tank....
I was 5 minutes away from HF last night, searched on my phone for a 20% off coupon and decided the economics and ease of use made this a no brainer. I may convert the propane tanks some day, but I doubt it. Lots of work to remove the valve assembly, coat the inside with pain to prevent rust, etc. and reinstall. Even if I didn't do that, I'd have to buy some fittings from an RV supply store and modify. This way I have a single tank to hook up. Should be a much cleaner and easier setup.


 There's definitely a steep learning curve with paint, I dunno, I find the whole process to be relaxing for some reason. Guess cause I just get immersed in it - it's a good place to hide from the world haha. I forget, what color are you wanting to paint this?