When you click on links to various merchants on this site and make a purchase, this can result in this site earning a commission. Affiliate programs and affiliations include, but are not limited to, the eBay Partner Network.
Hi everyone and happy new year! I hope everyone's car projects and car goals are being accomplished for 2021!
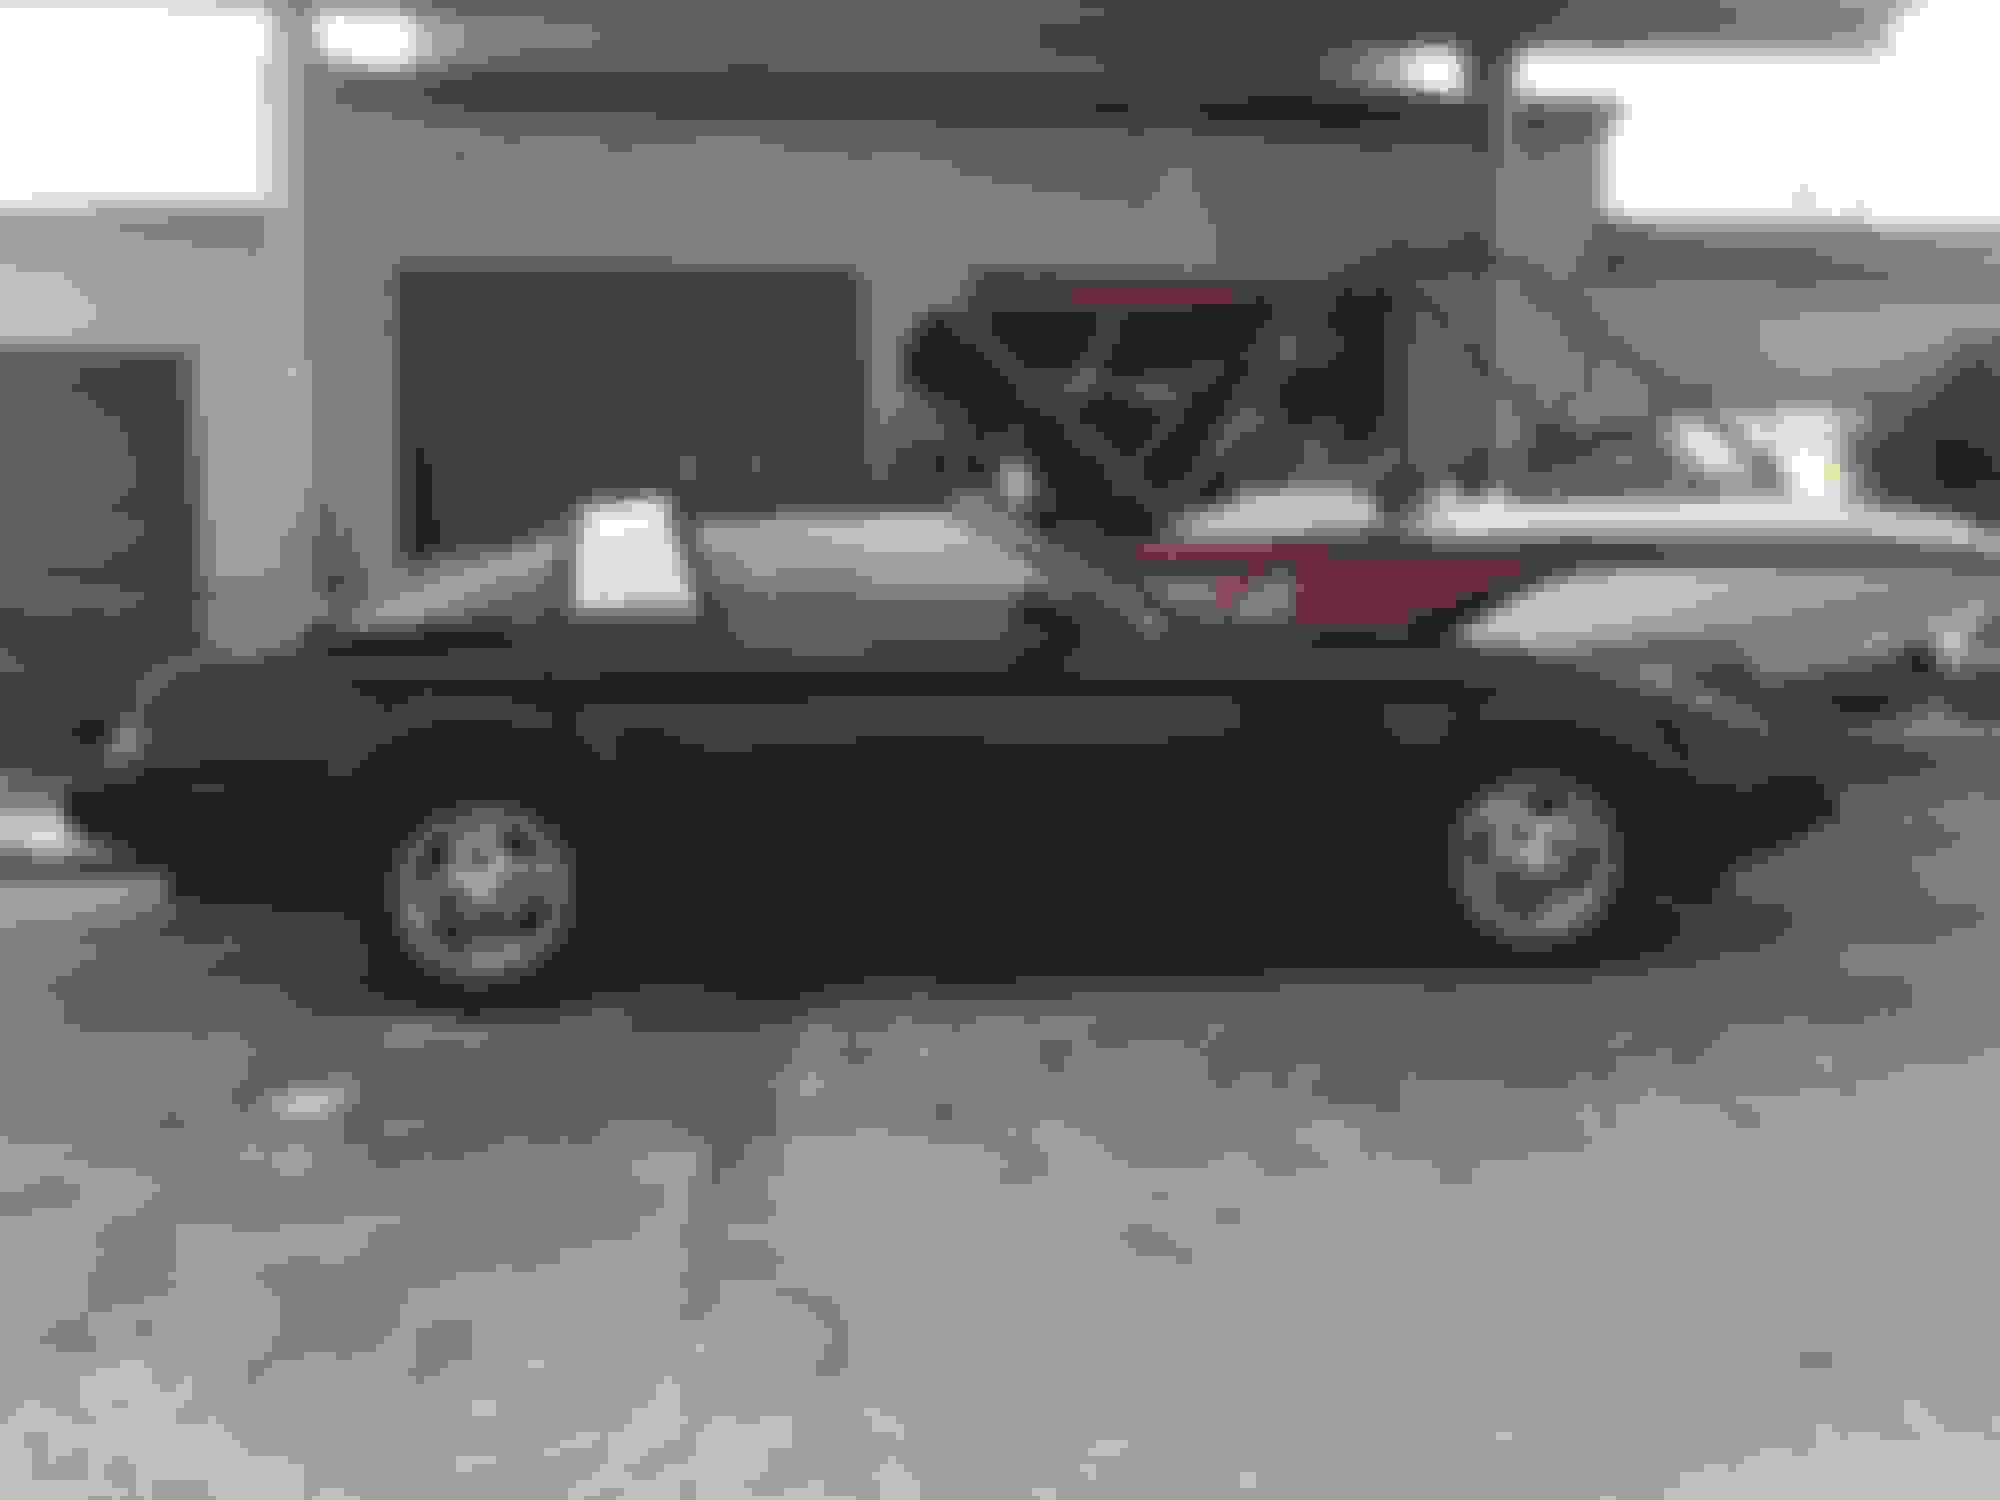
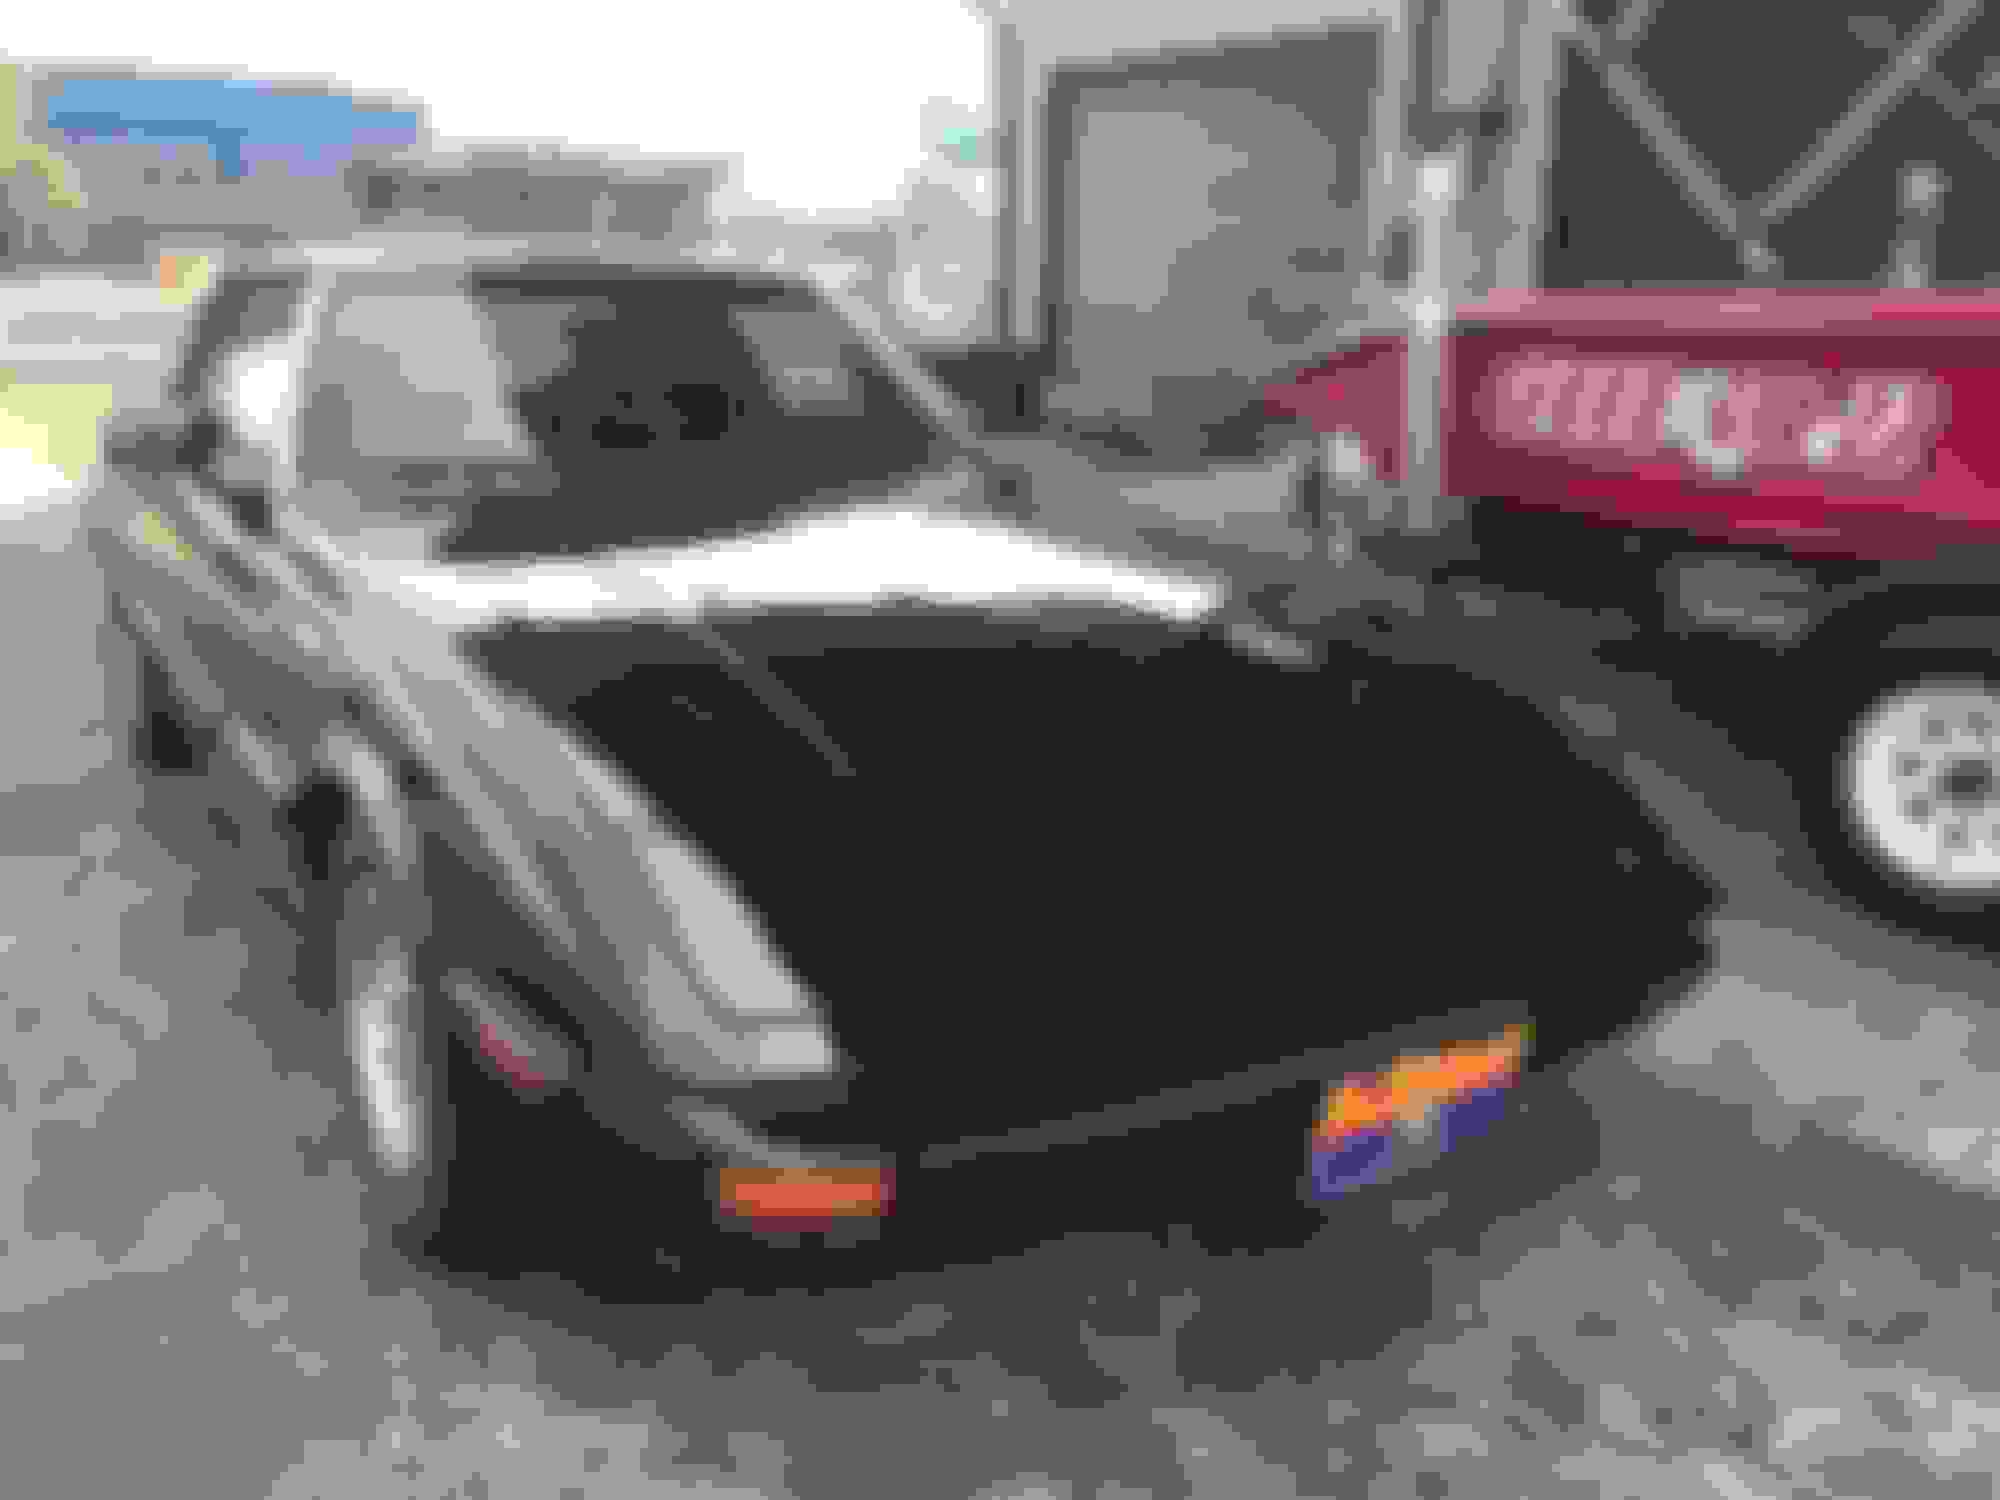
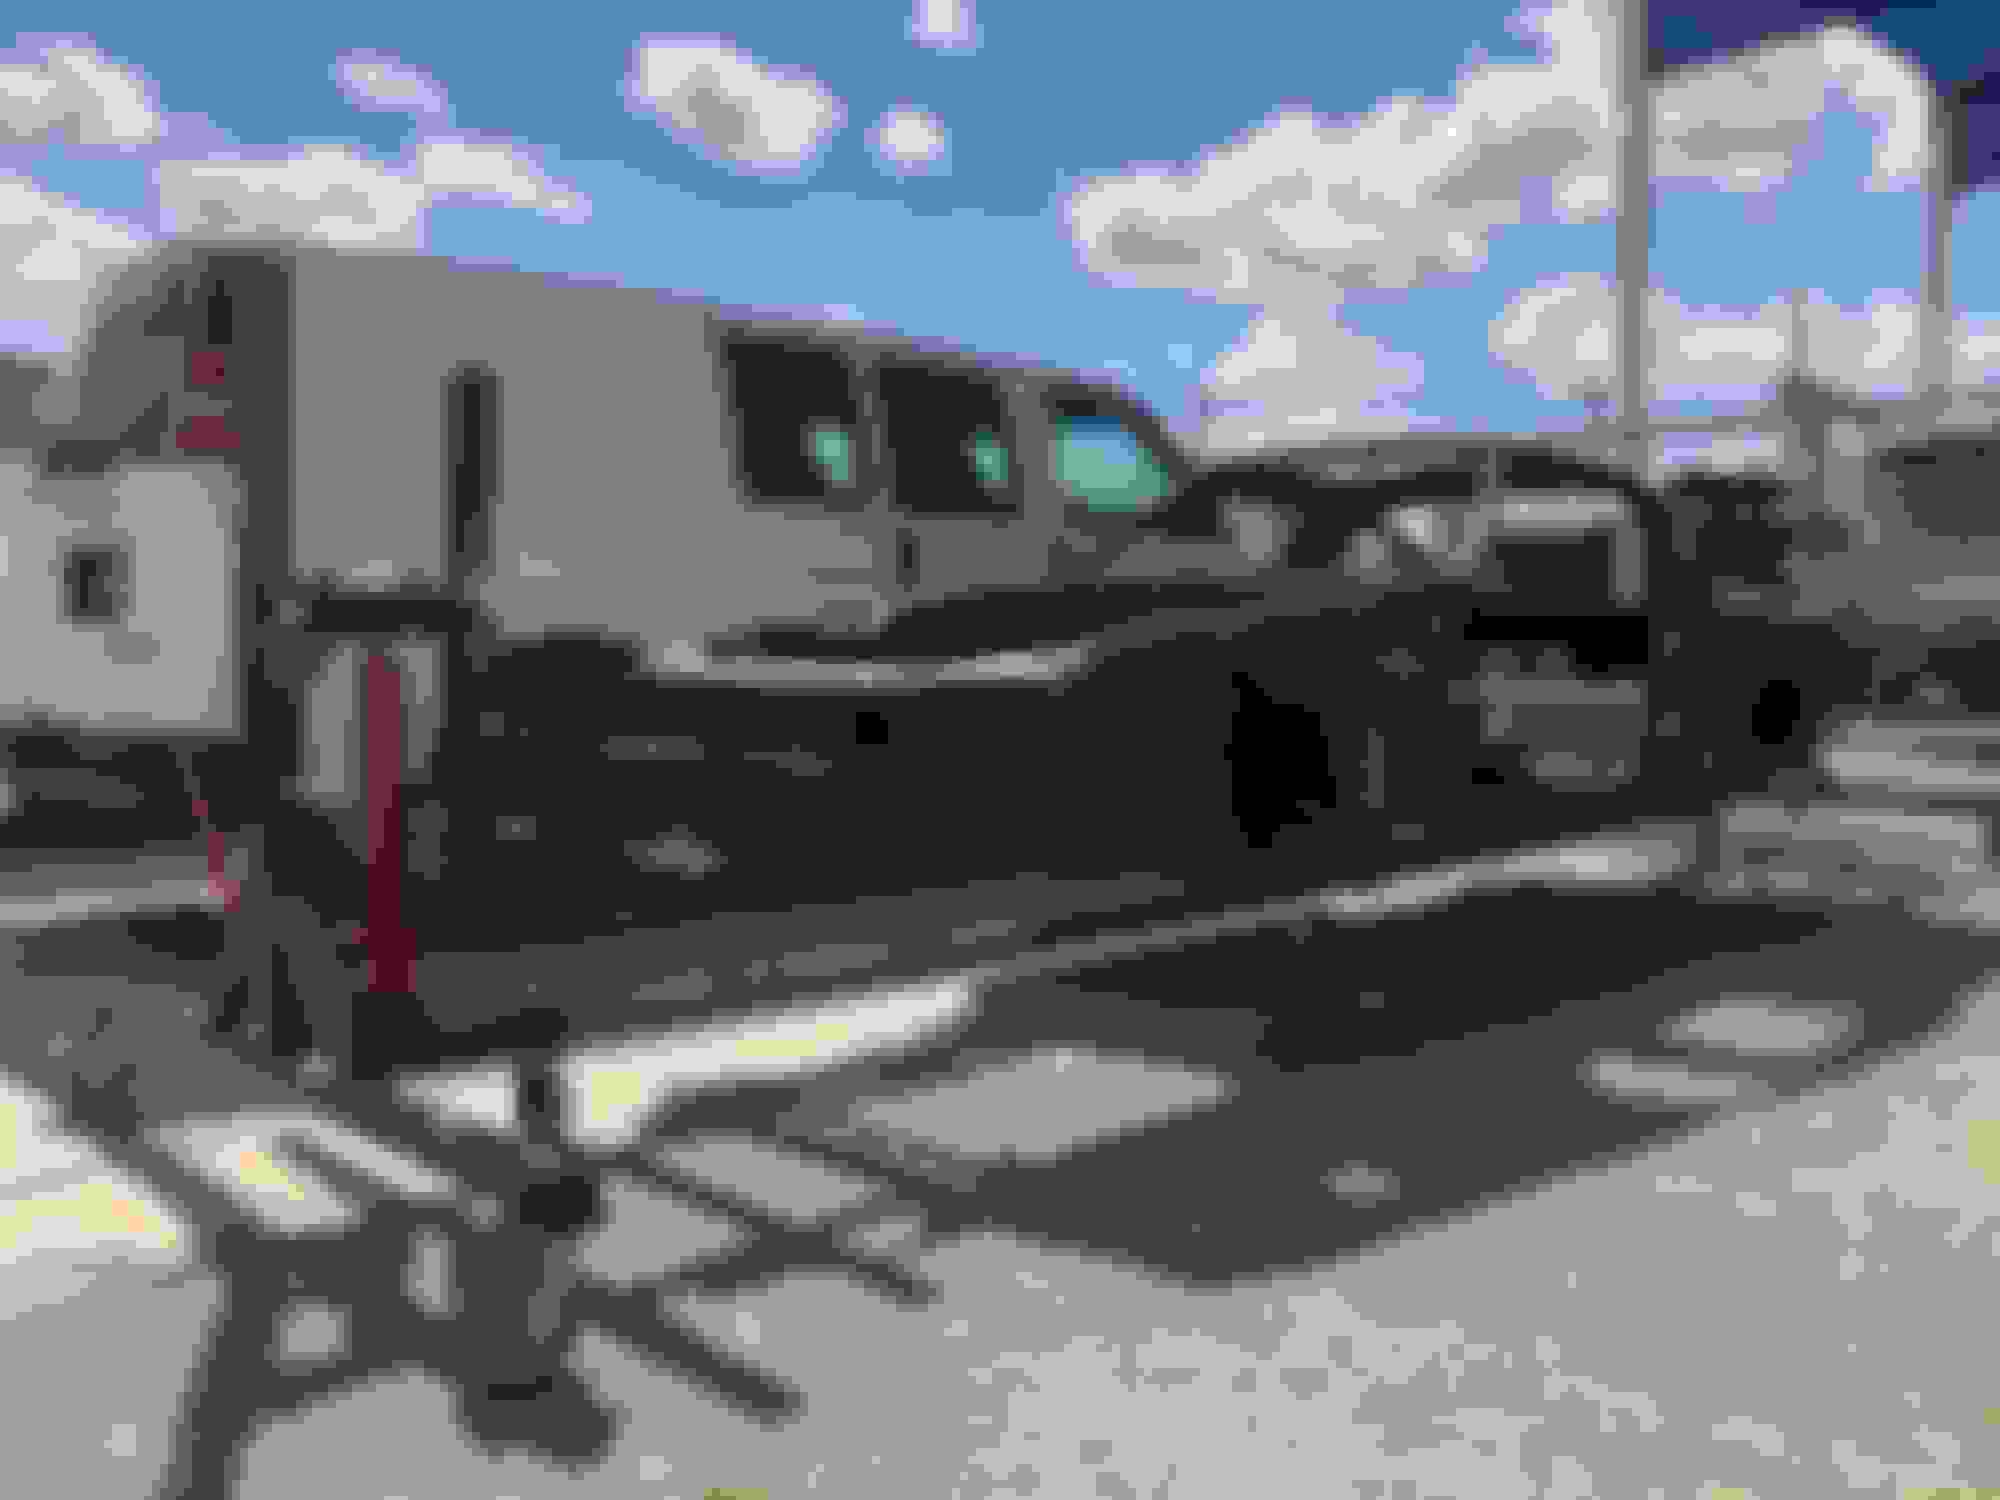
Here's my RX7! It's a 1985 GSL, original color was H1 brilliant black, with N/A 12a.
I've posted these pics before but just wanted somewhere easy to start the build at. (this was July 2020
Last edited by mazdaverx713b; Jan 12, 2021 at 05:53 AM.
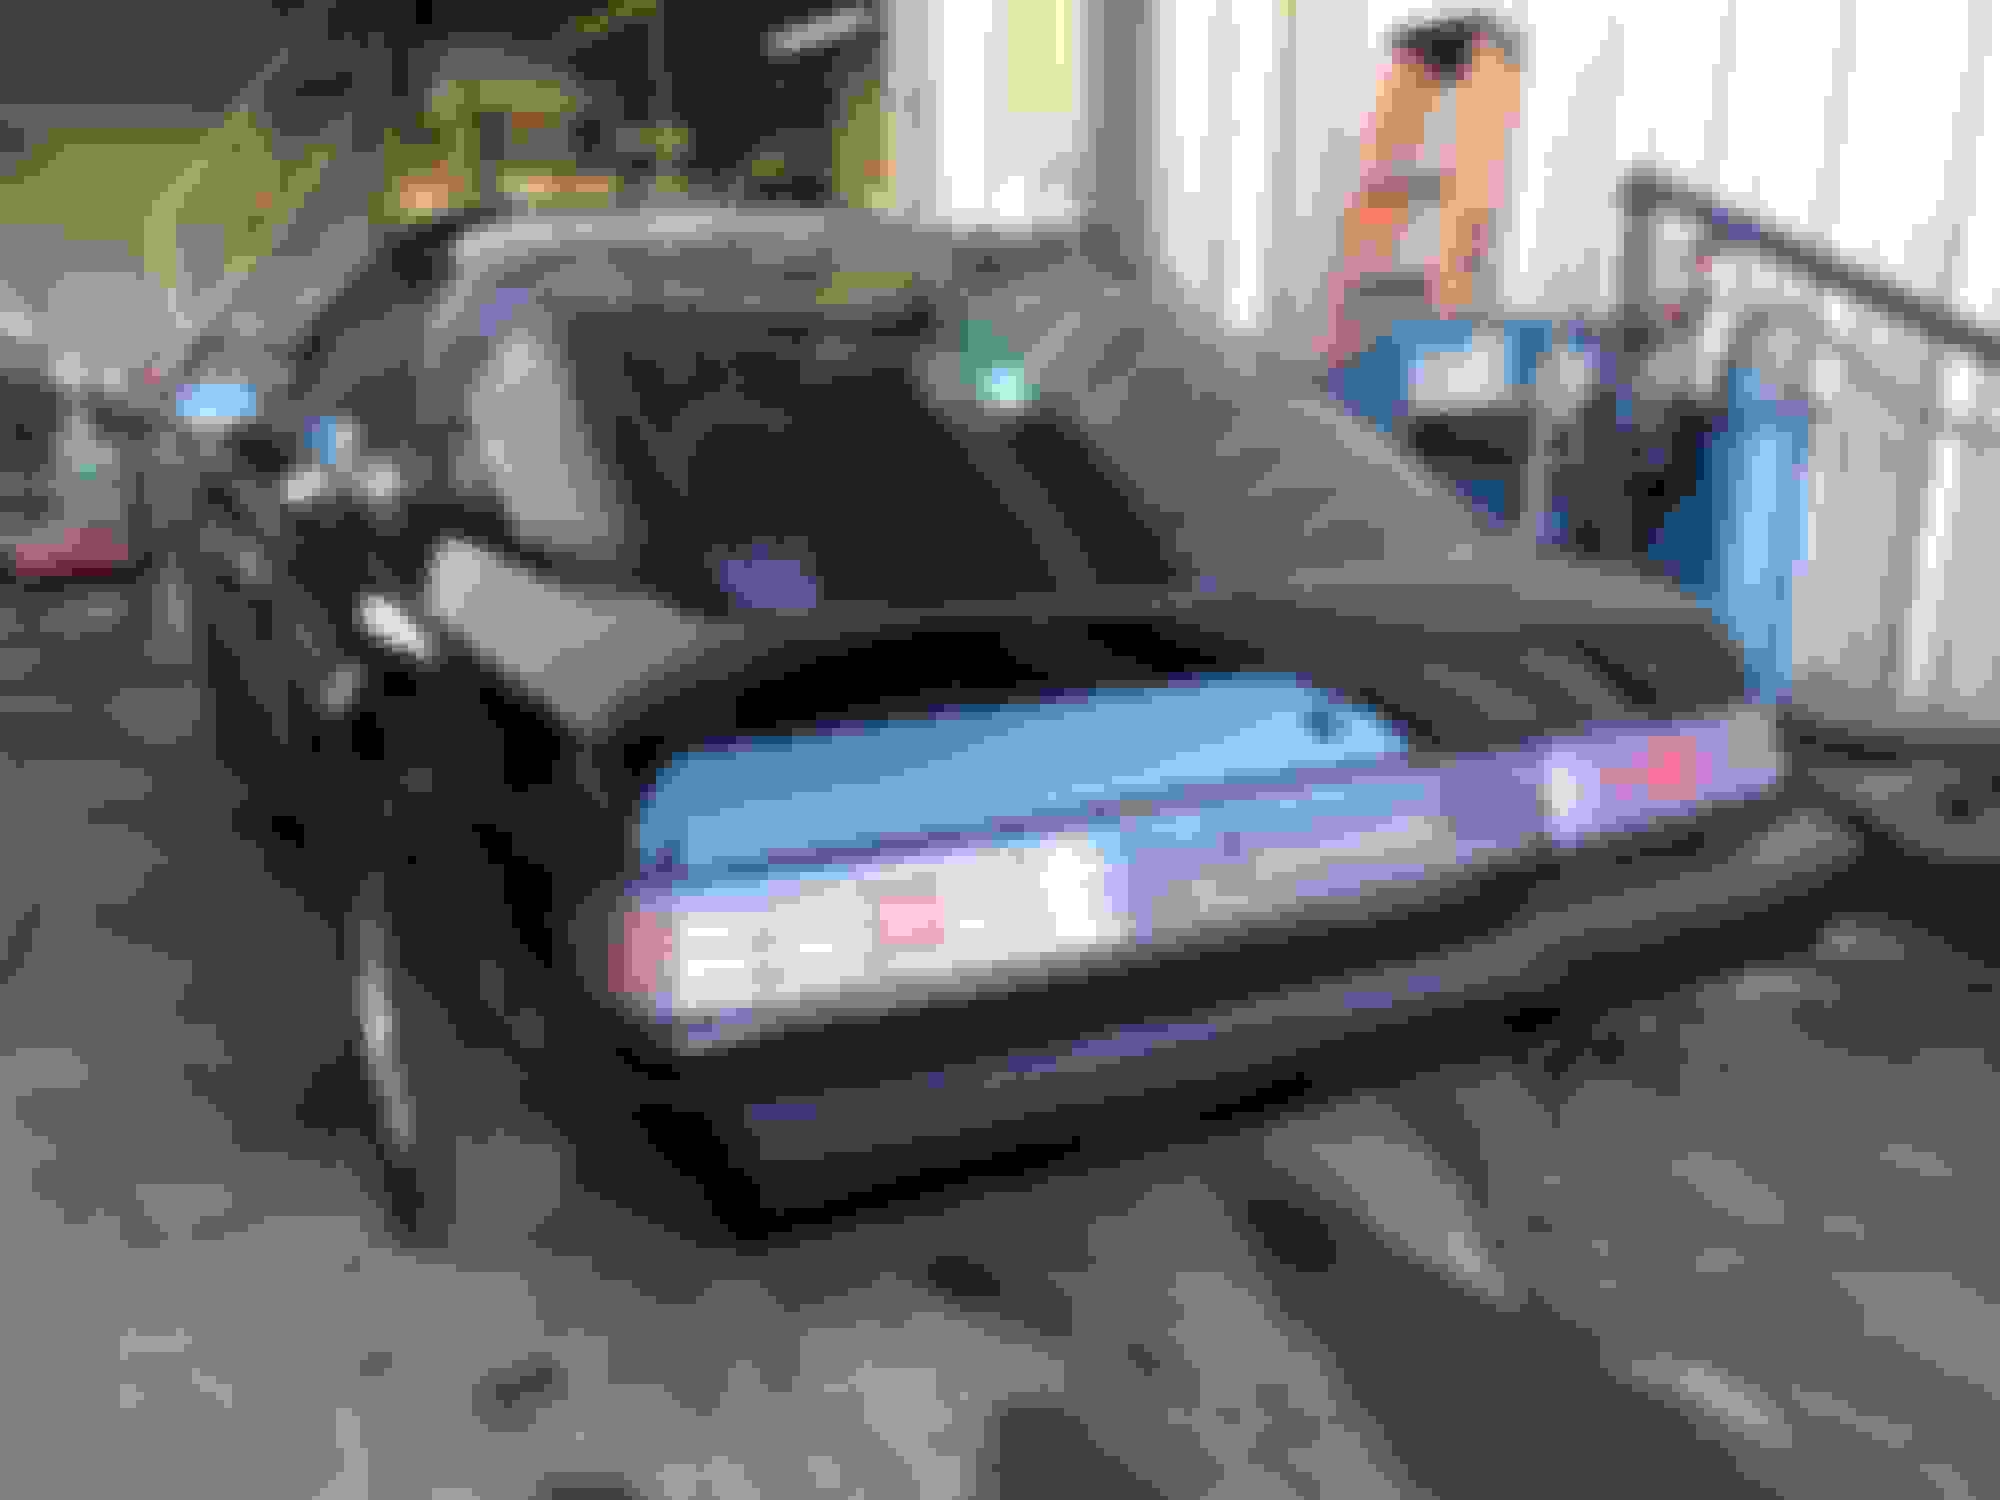
I knew this car was going to be a project the first second I saw the Craigslist ad. So I went for it.
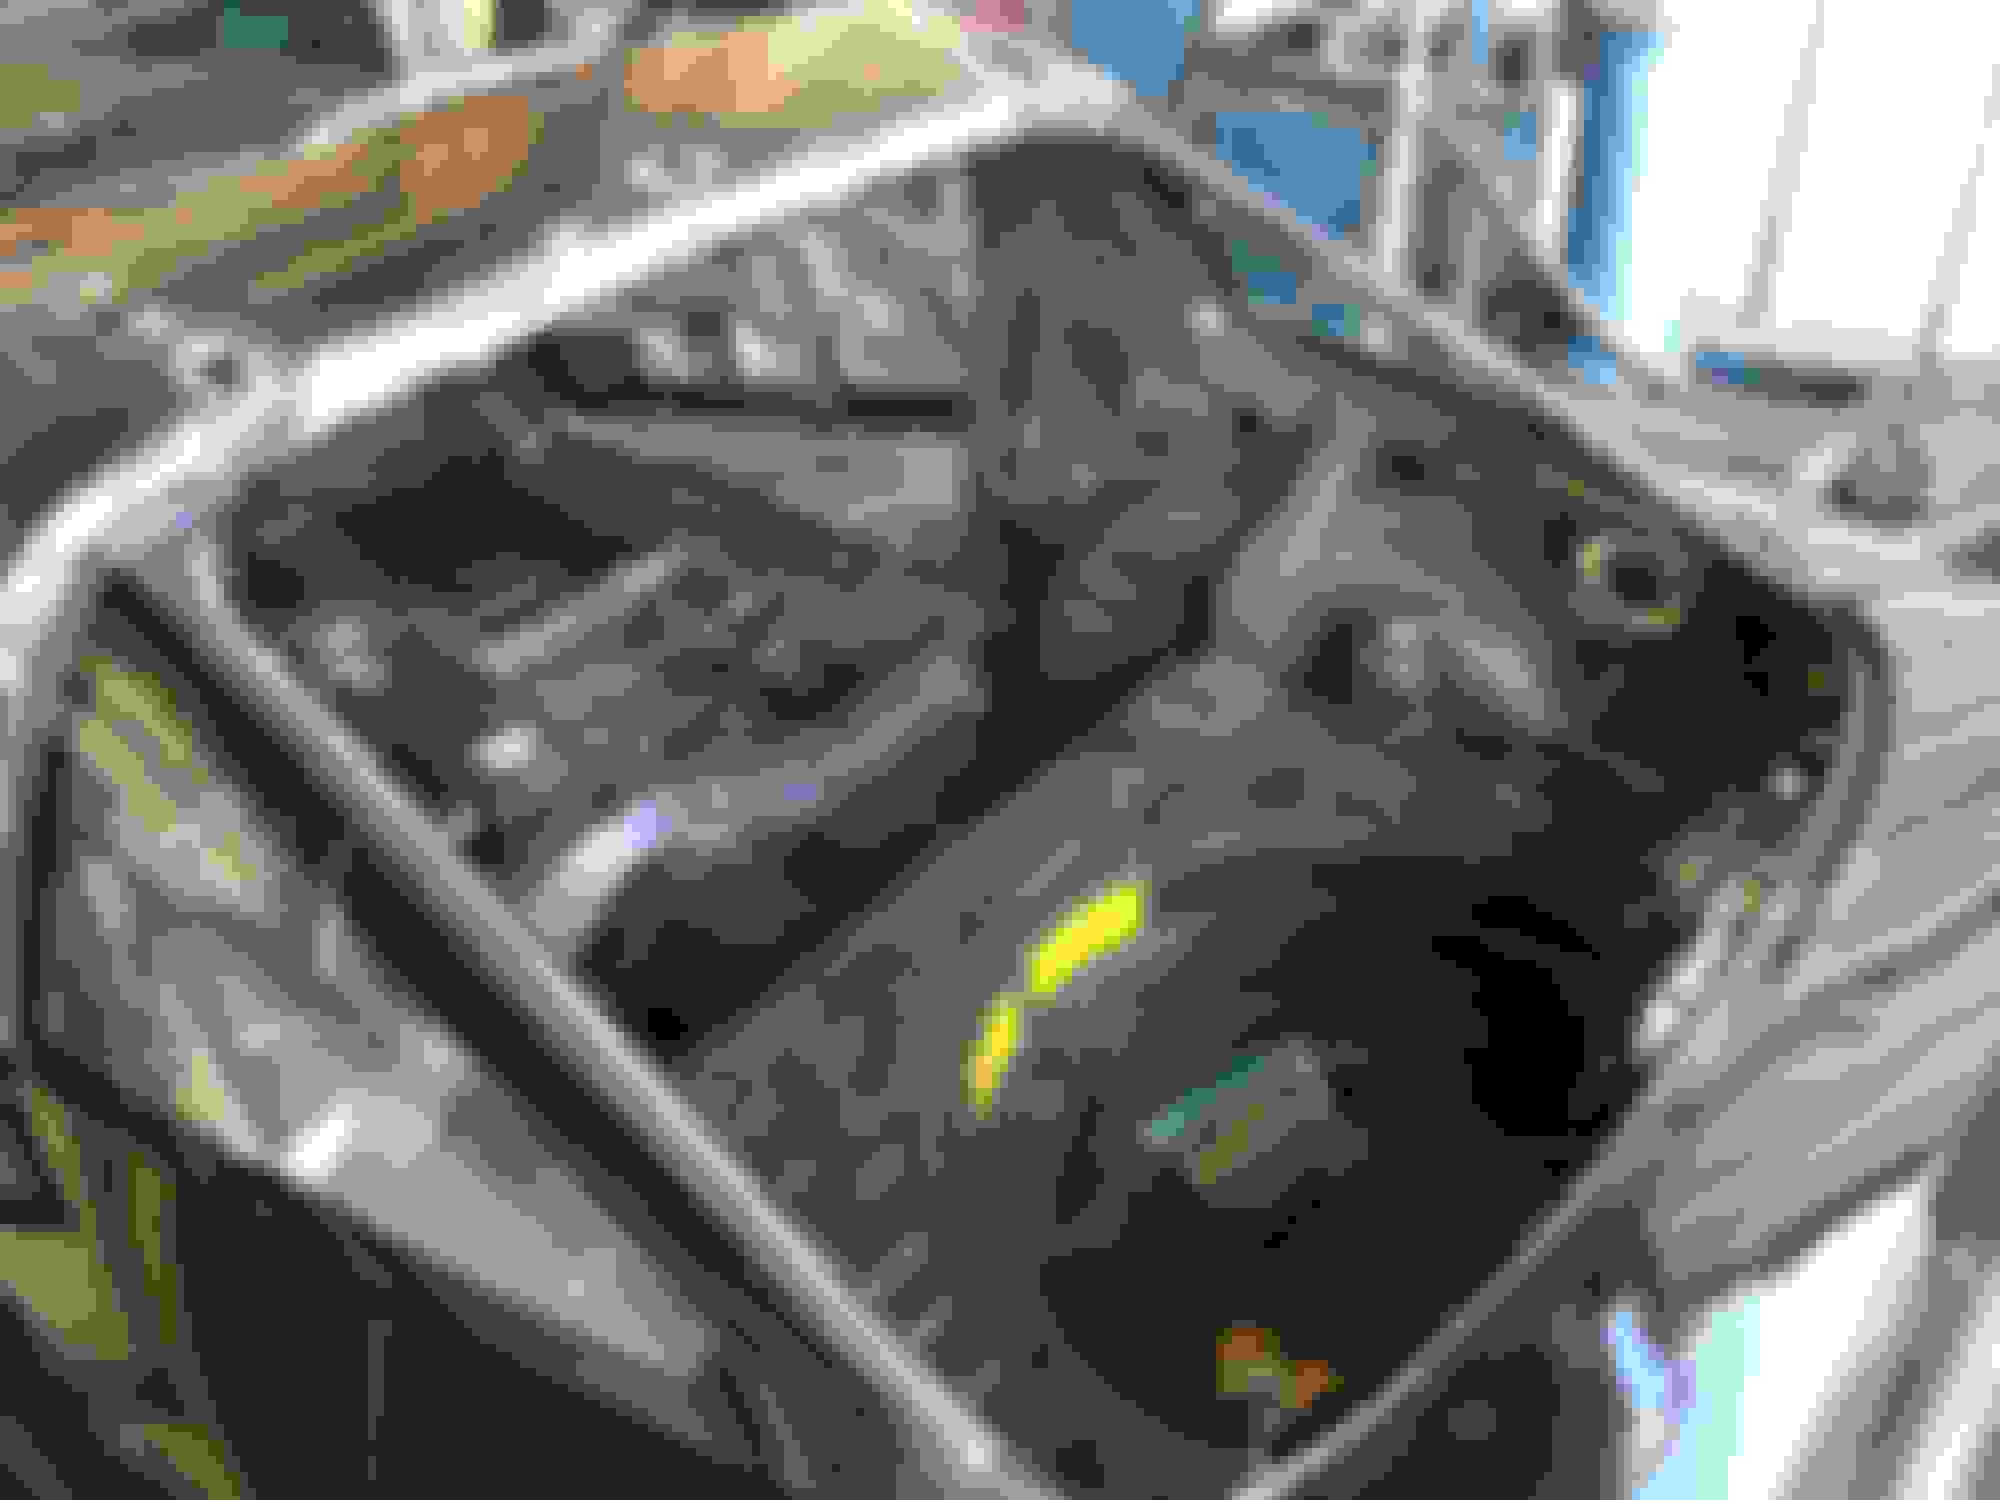
Stripped the interior first, considering the interior will probably go back in LAST
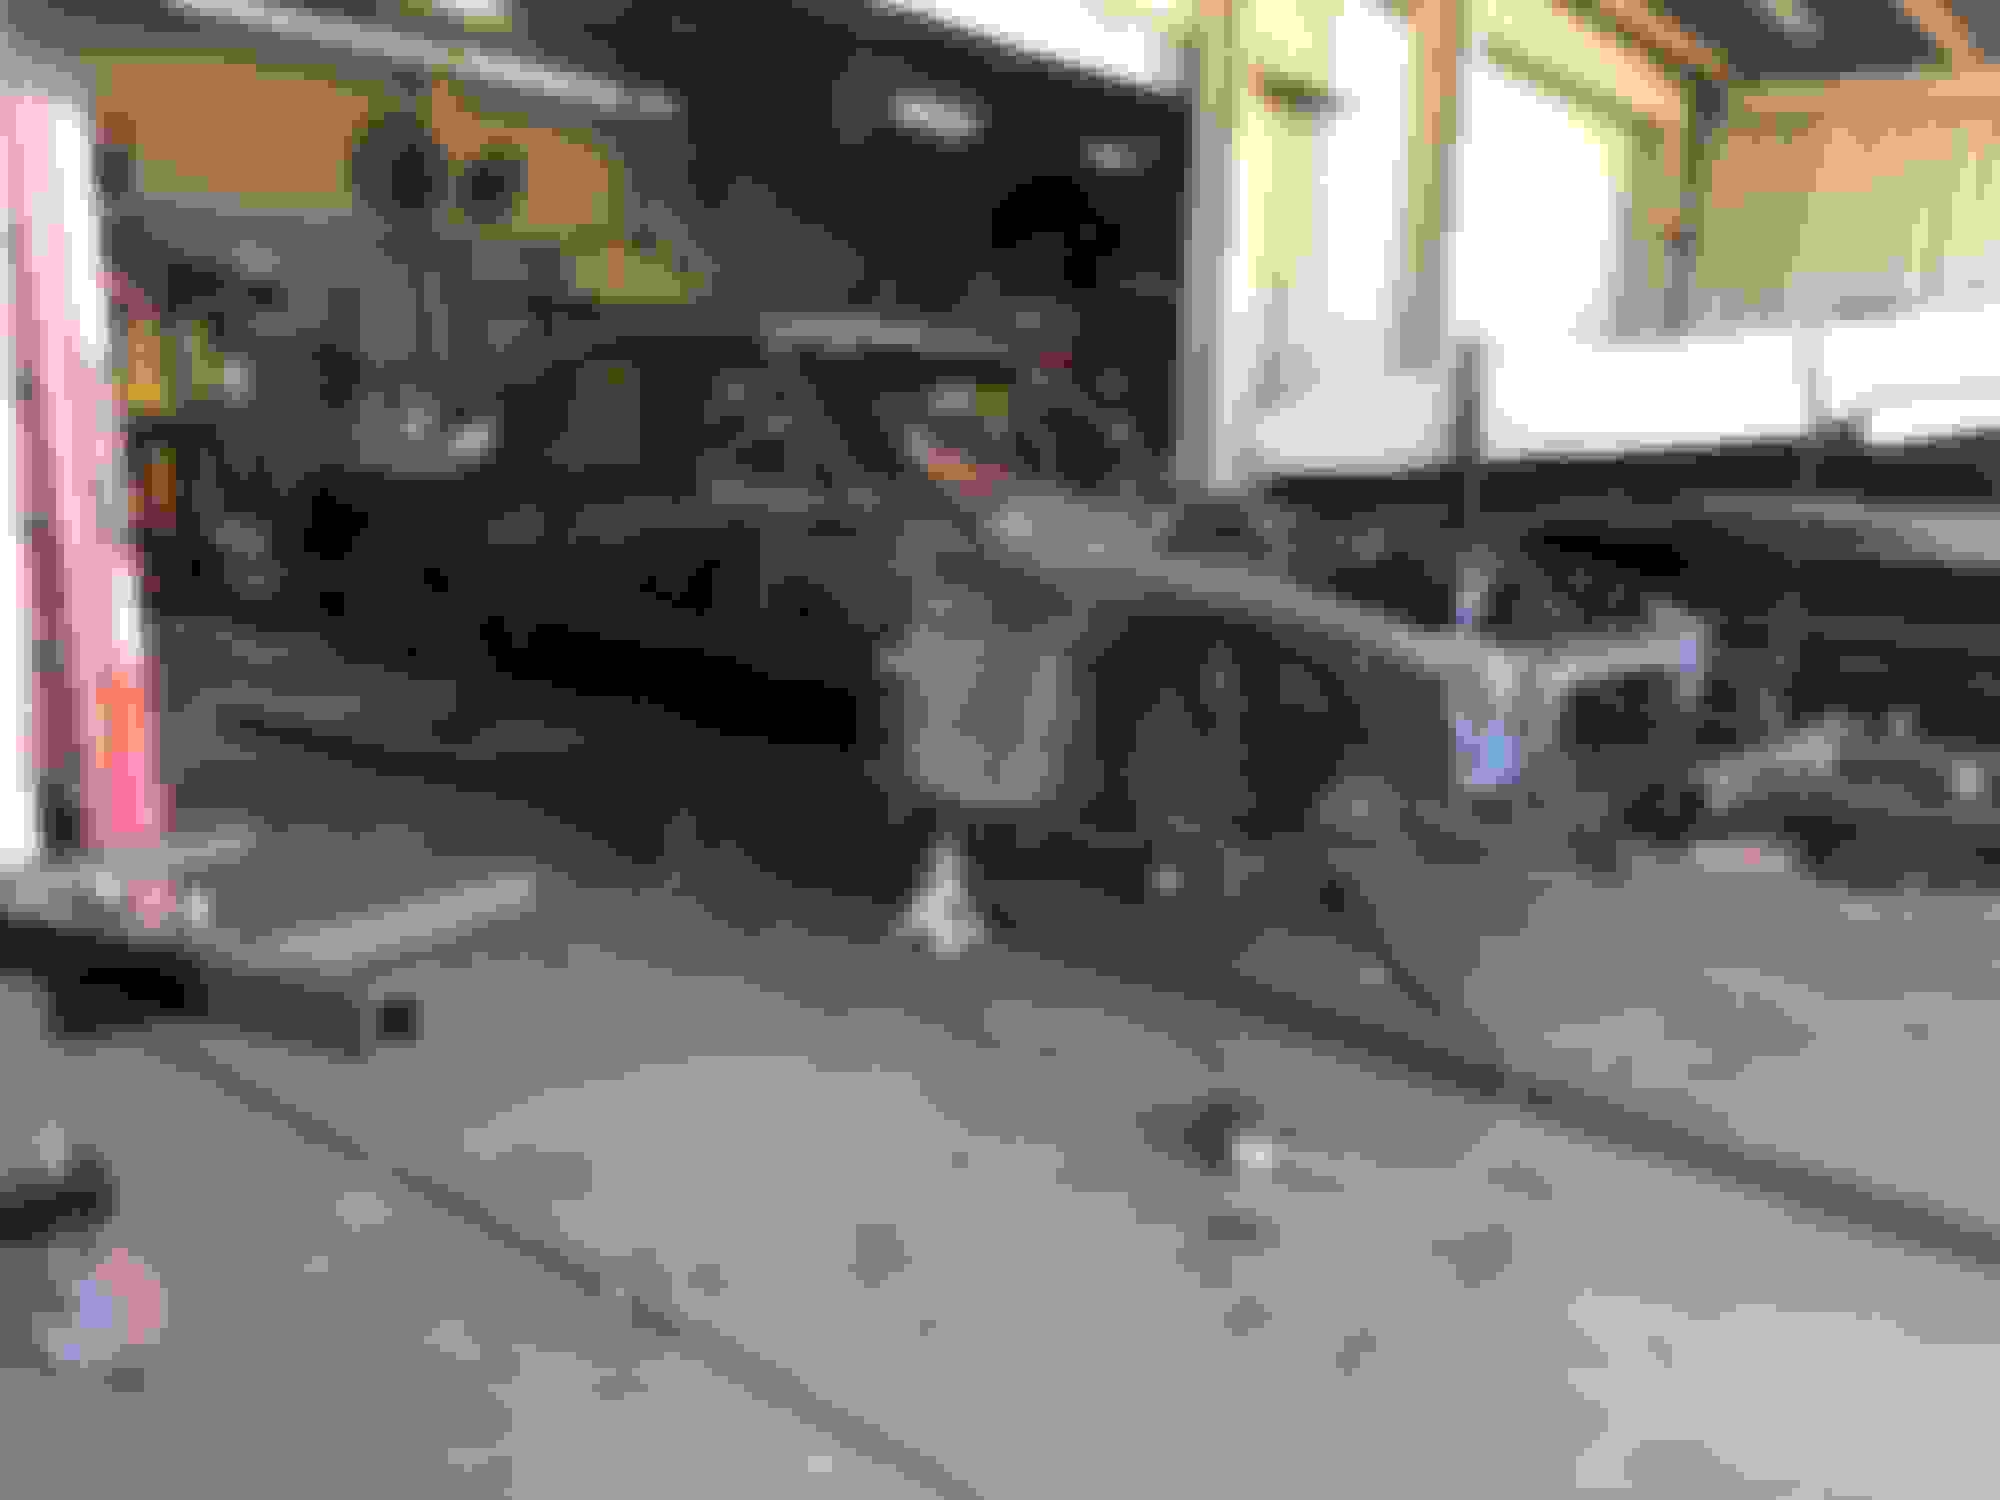
The car was then moved to my families boat dealership and service yard...
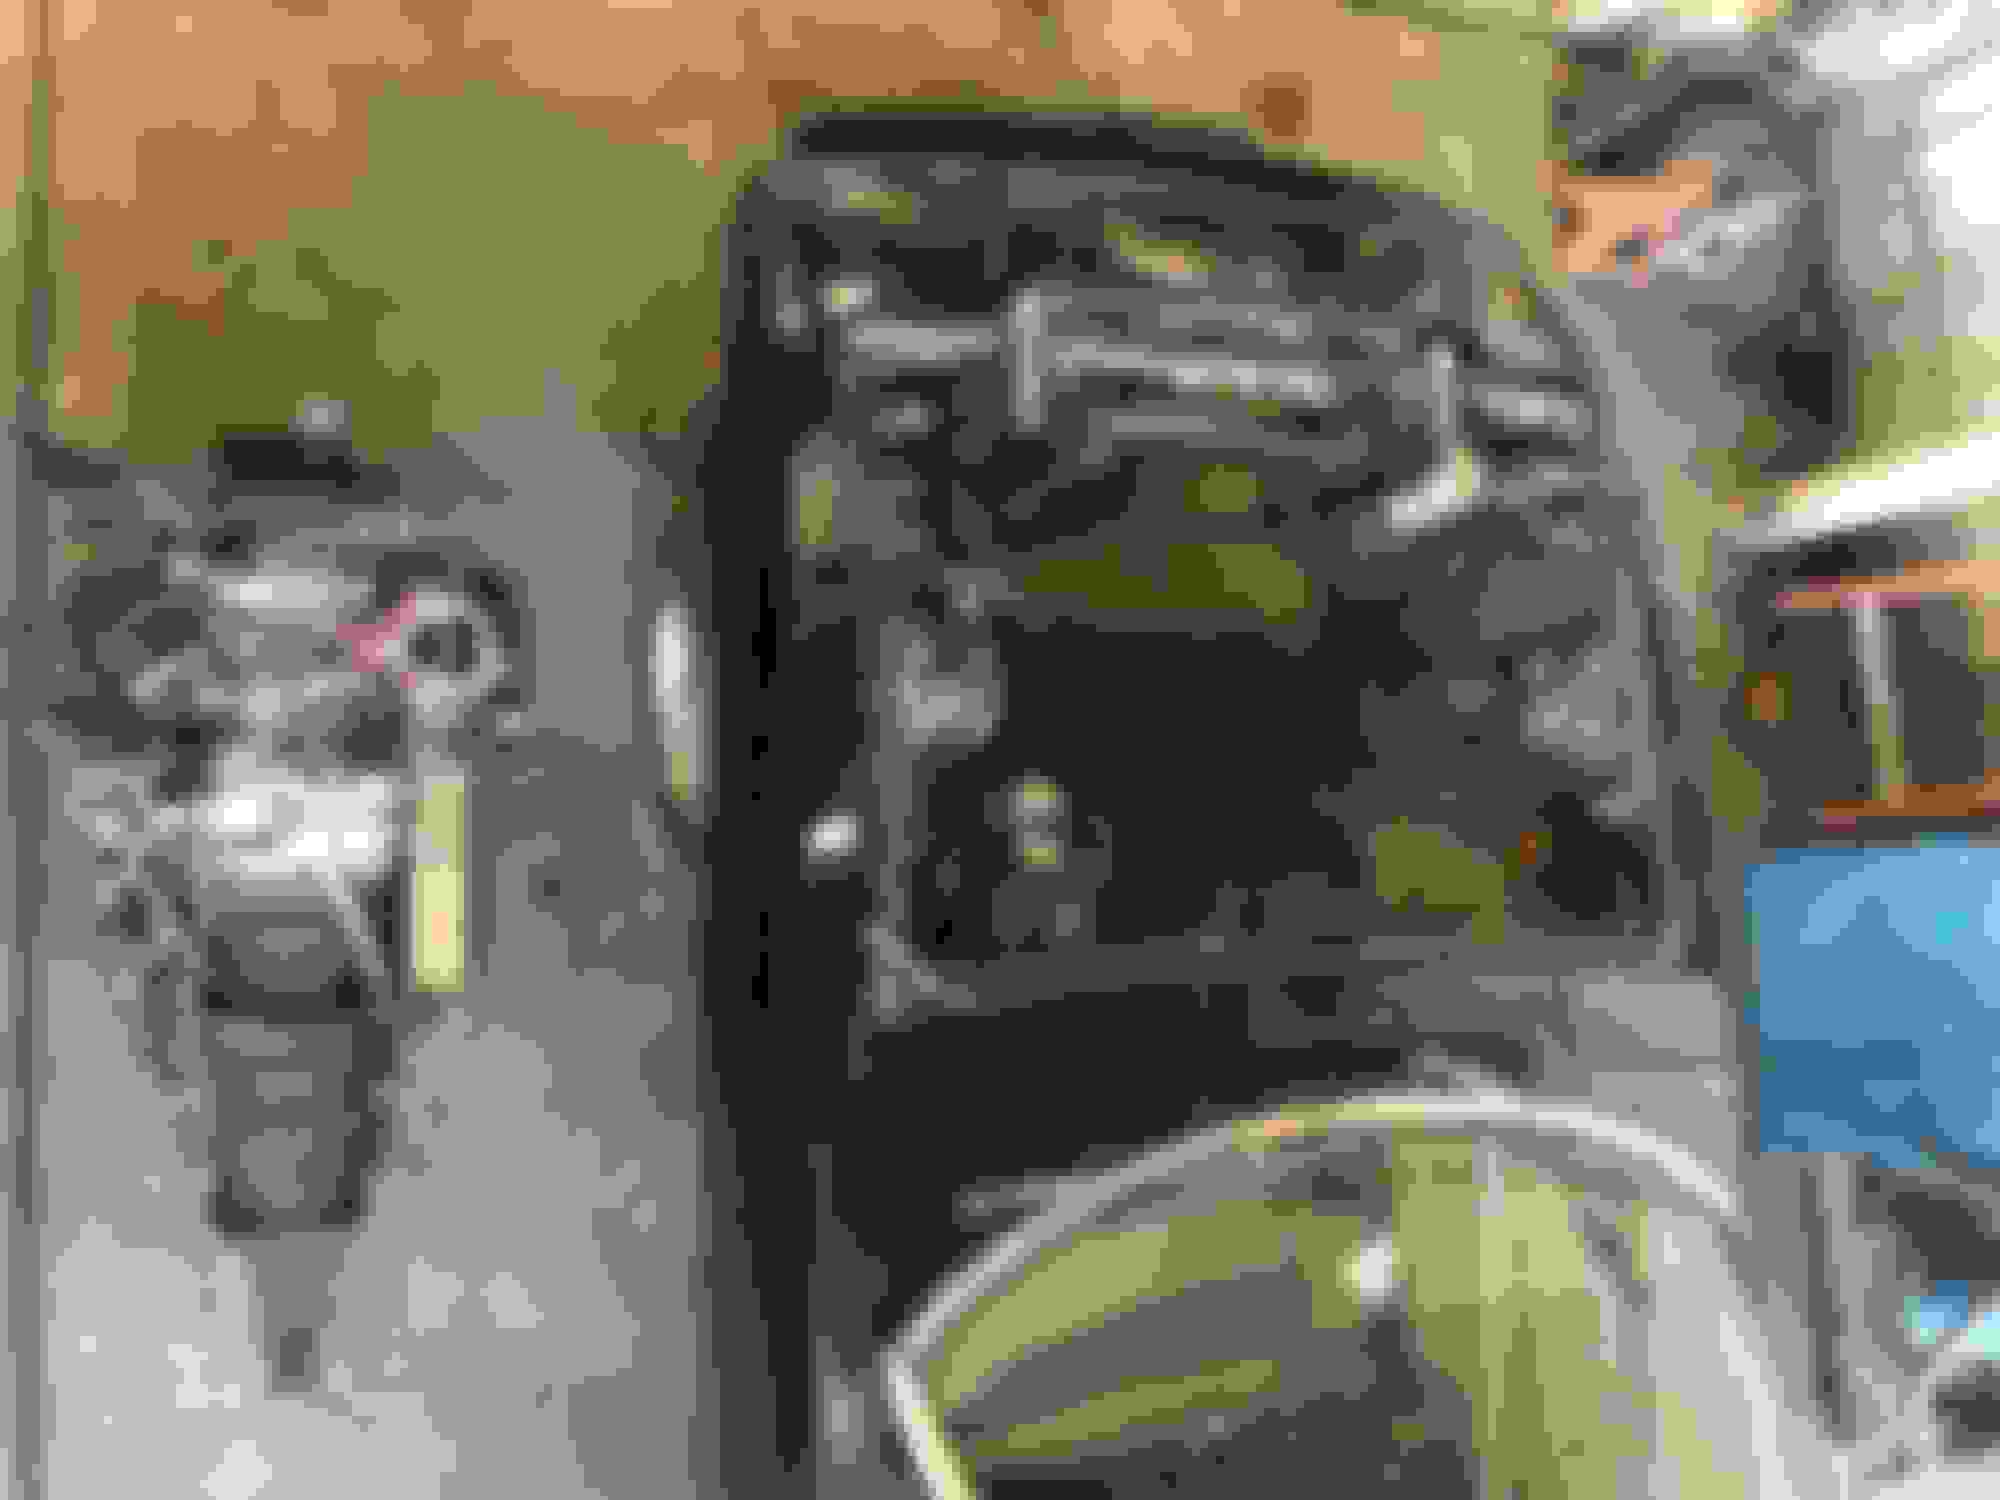
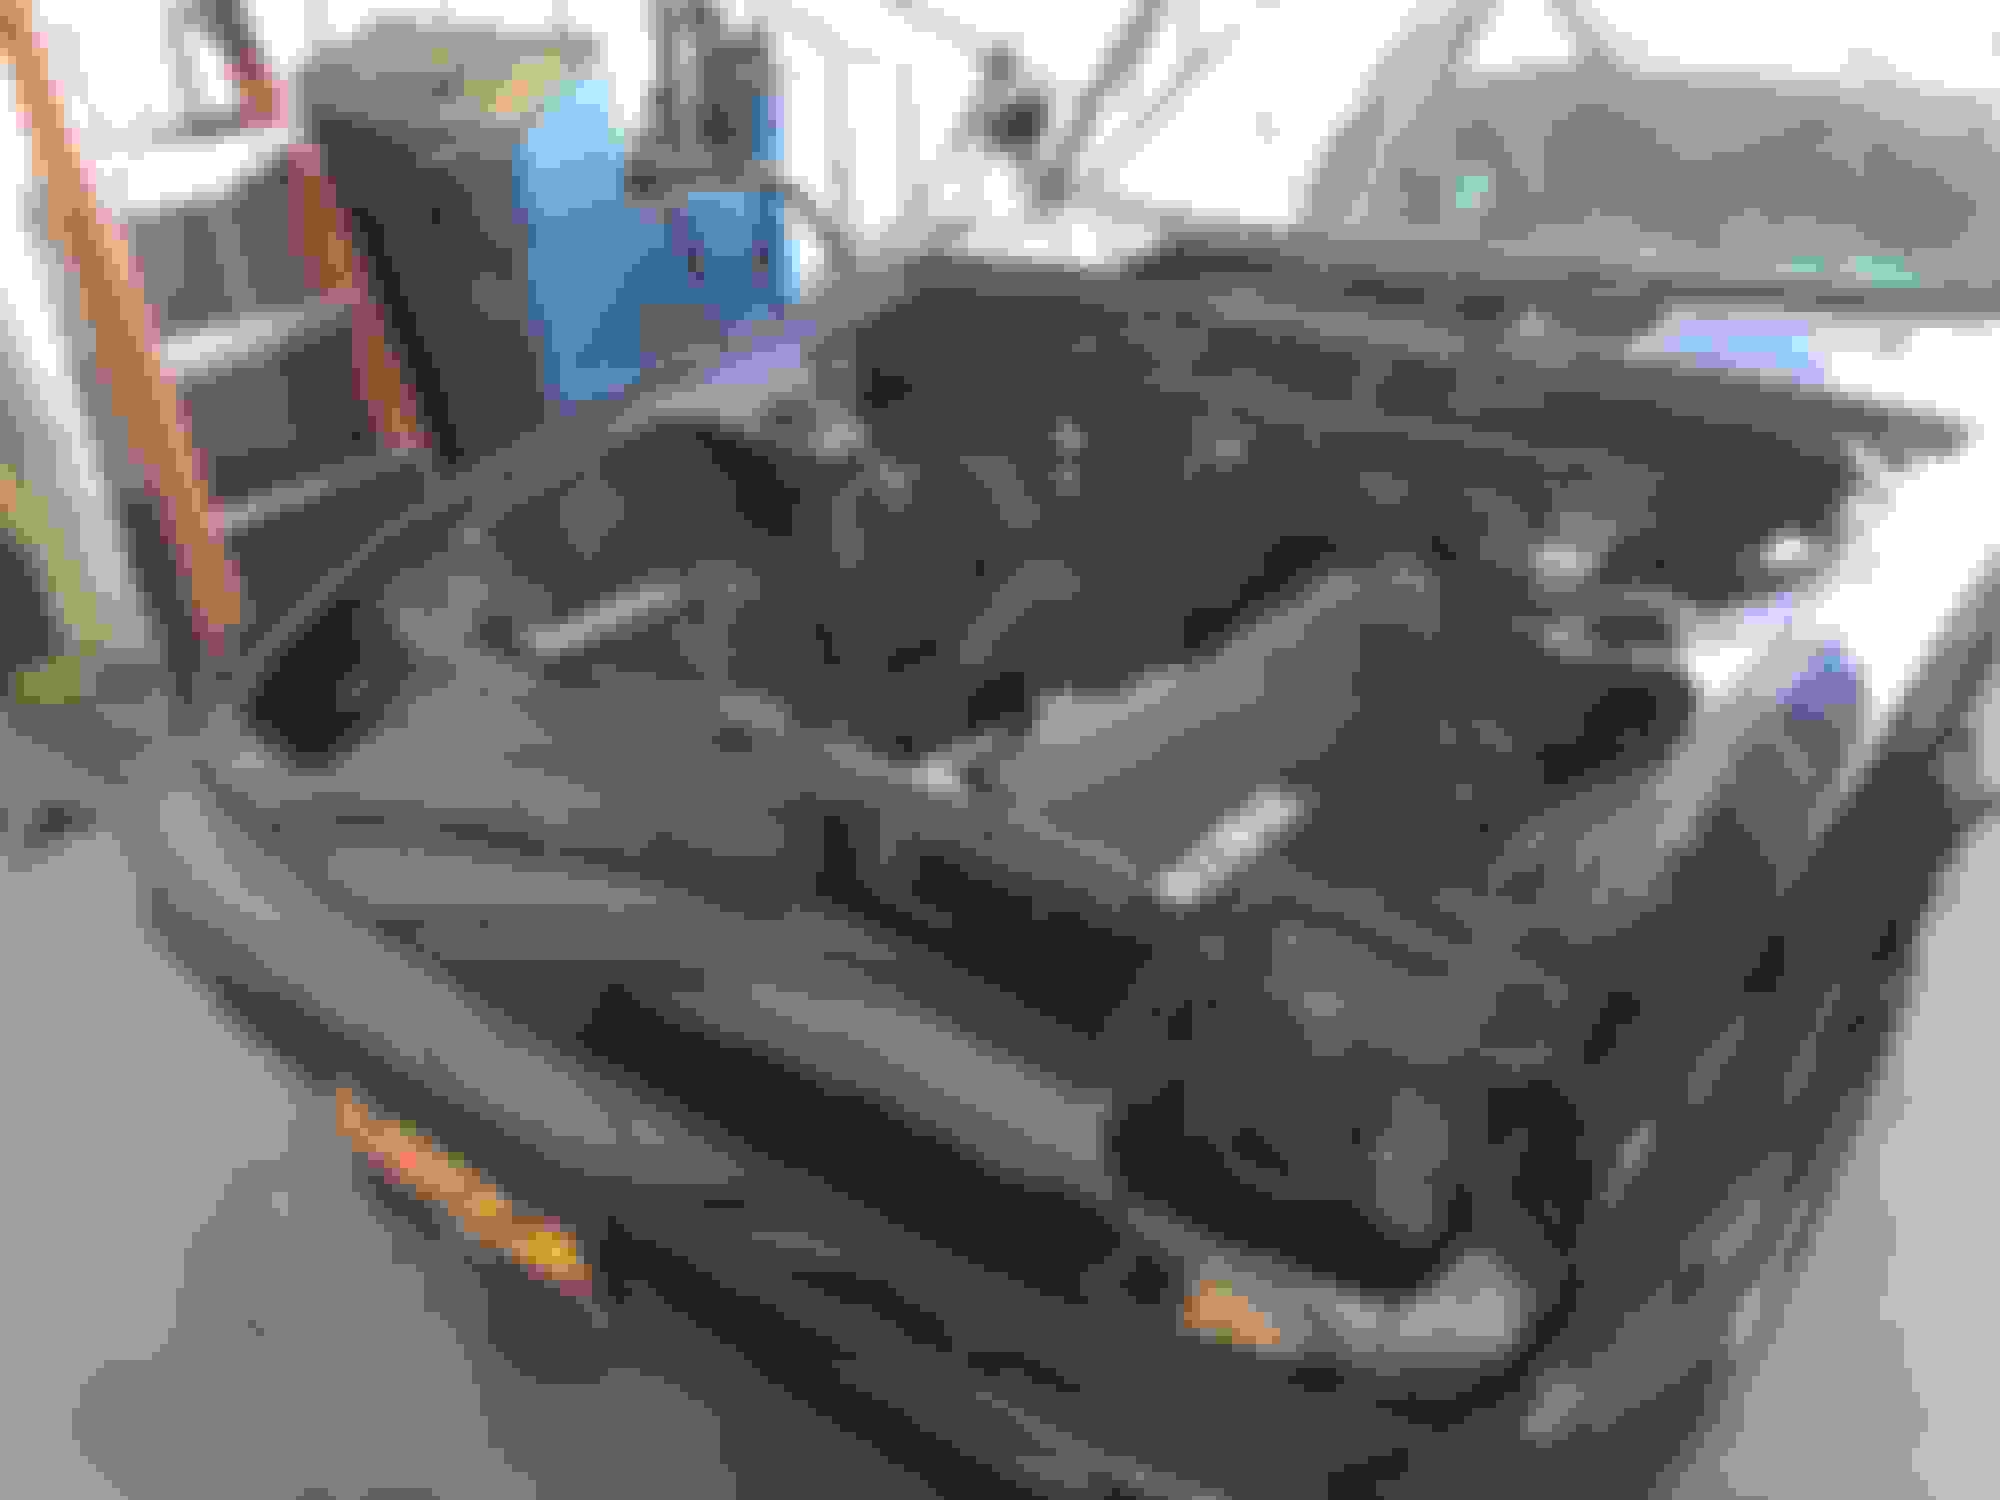
Began by removing major components and then working at getting the engine out. Which was surprisingly easy for one person....
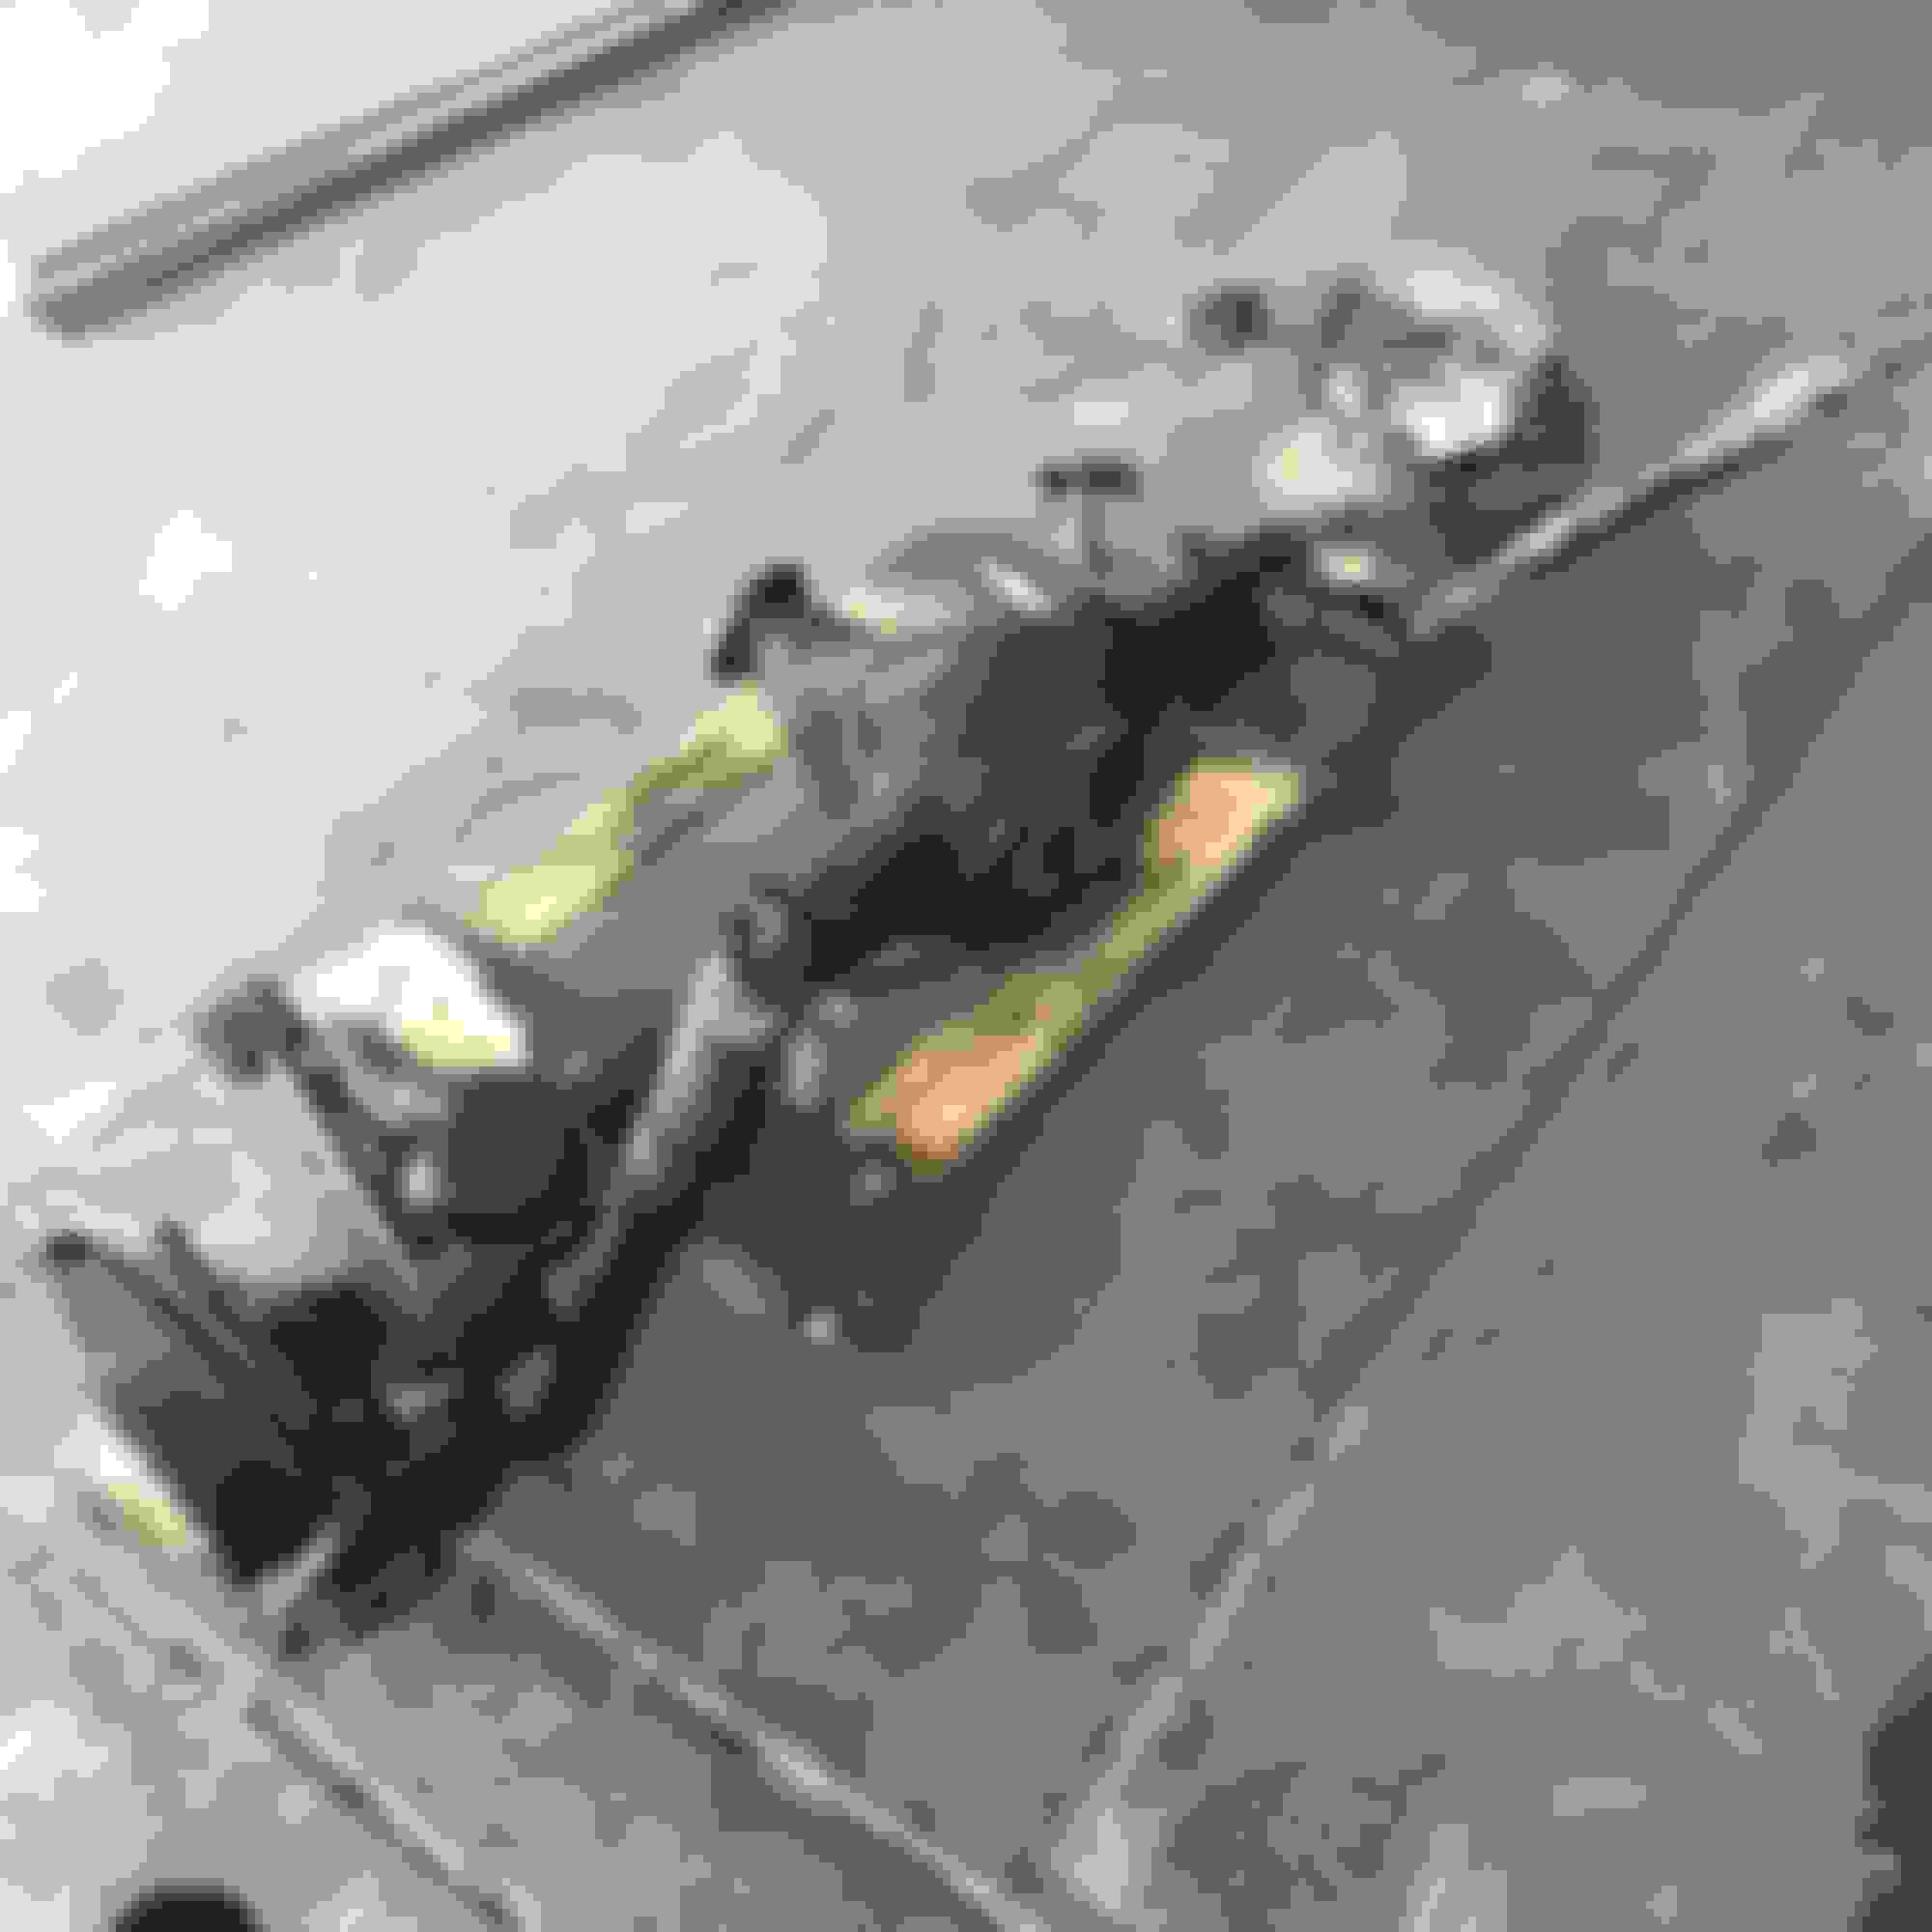
took a long lunch break this day and pulled the engine and trans out with the hoist in my shop....
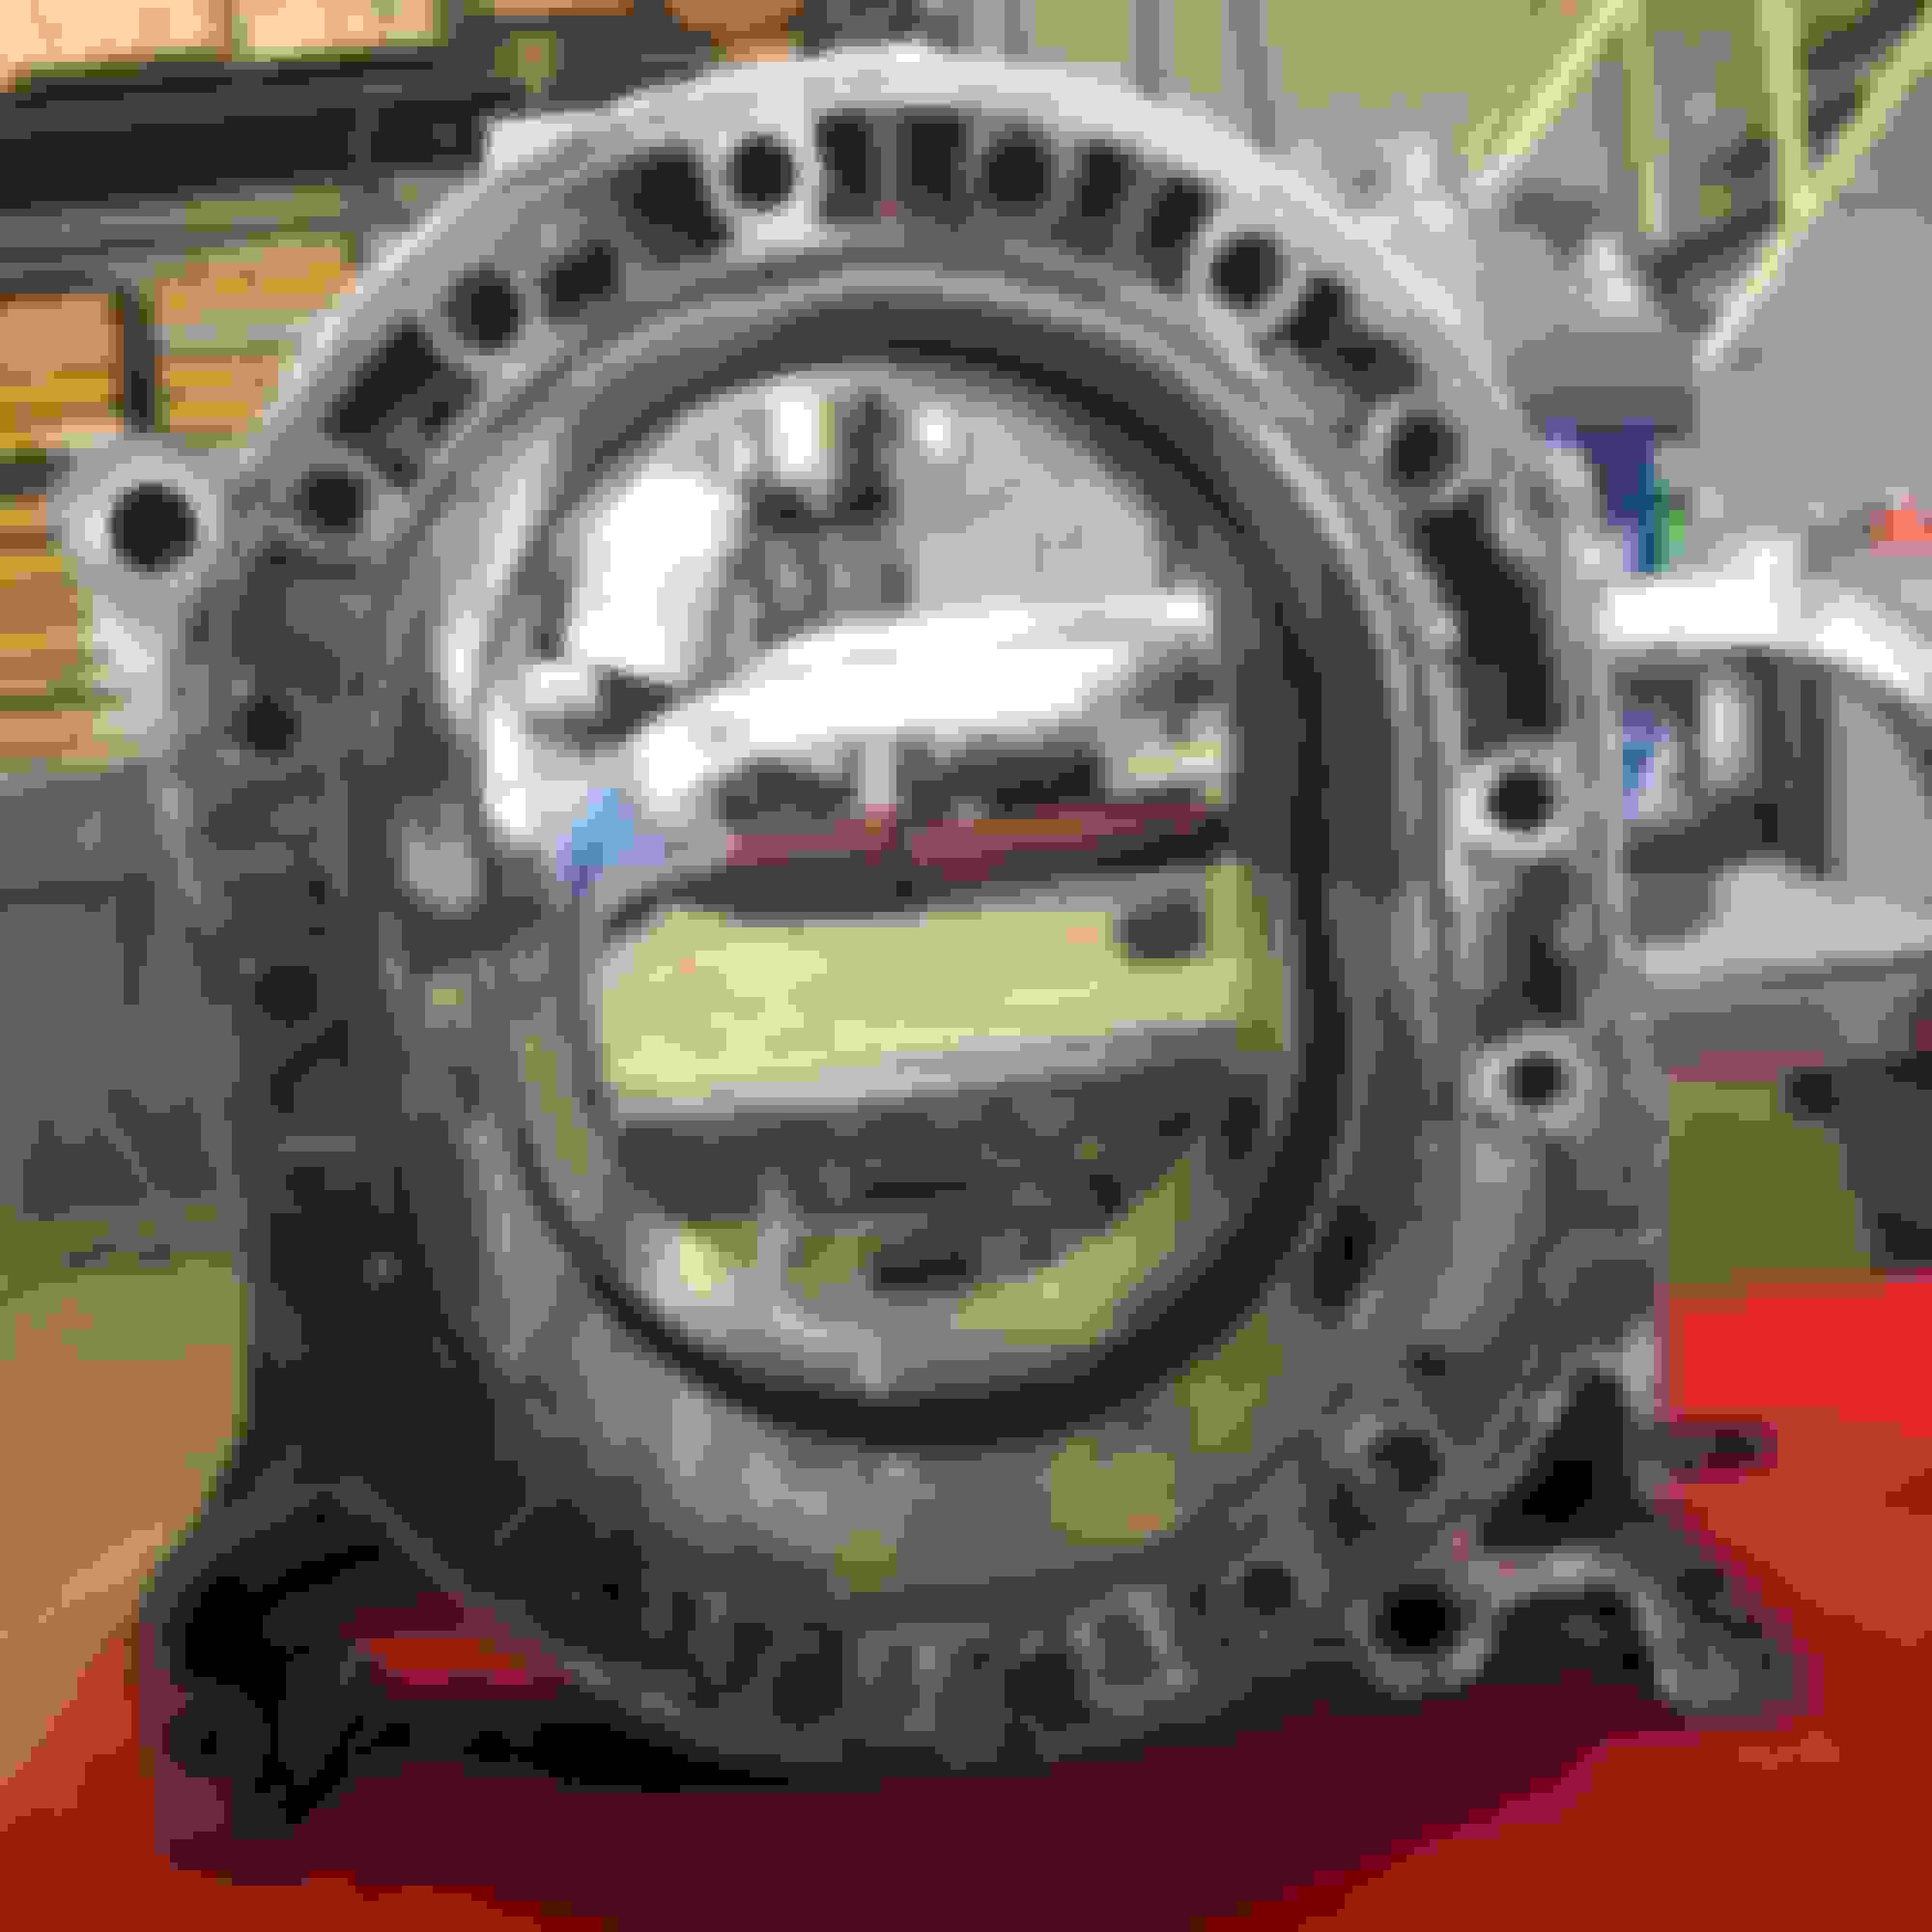
little tiny powerplant. not so big looking once it's out of the car....
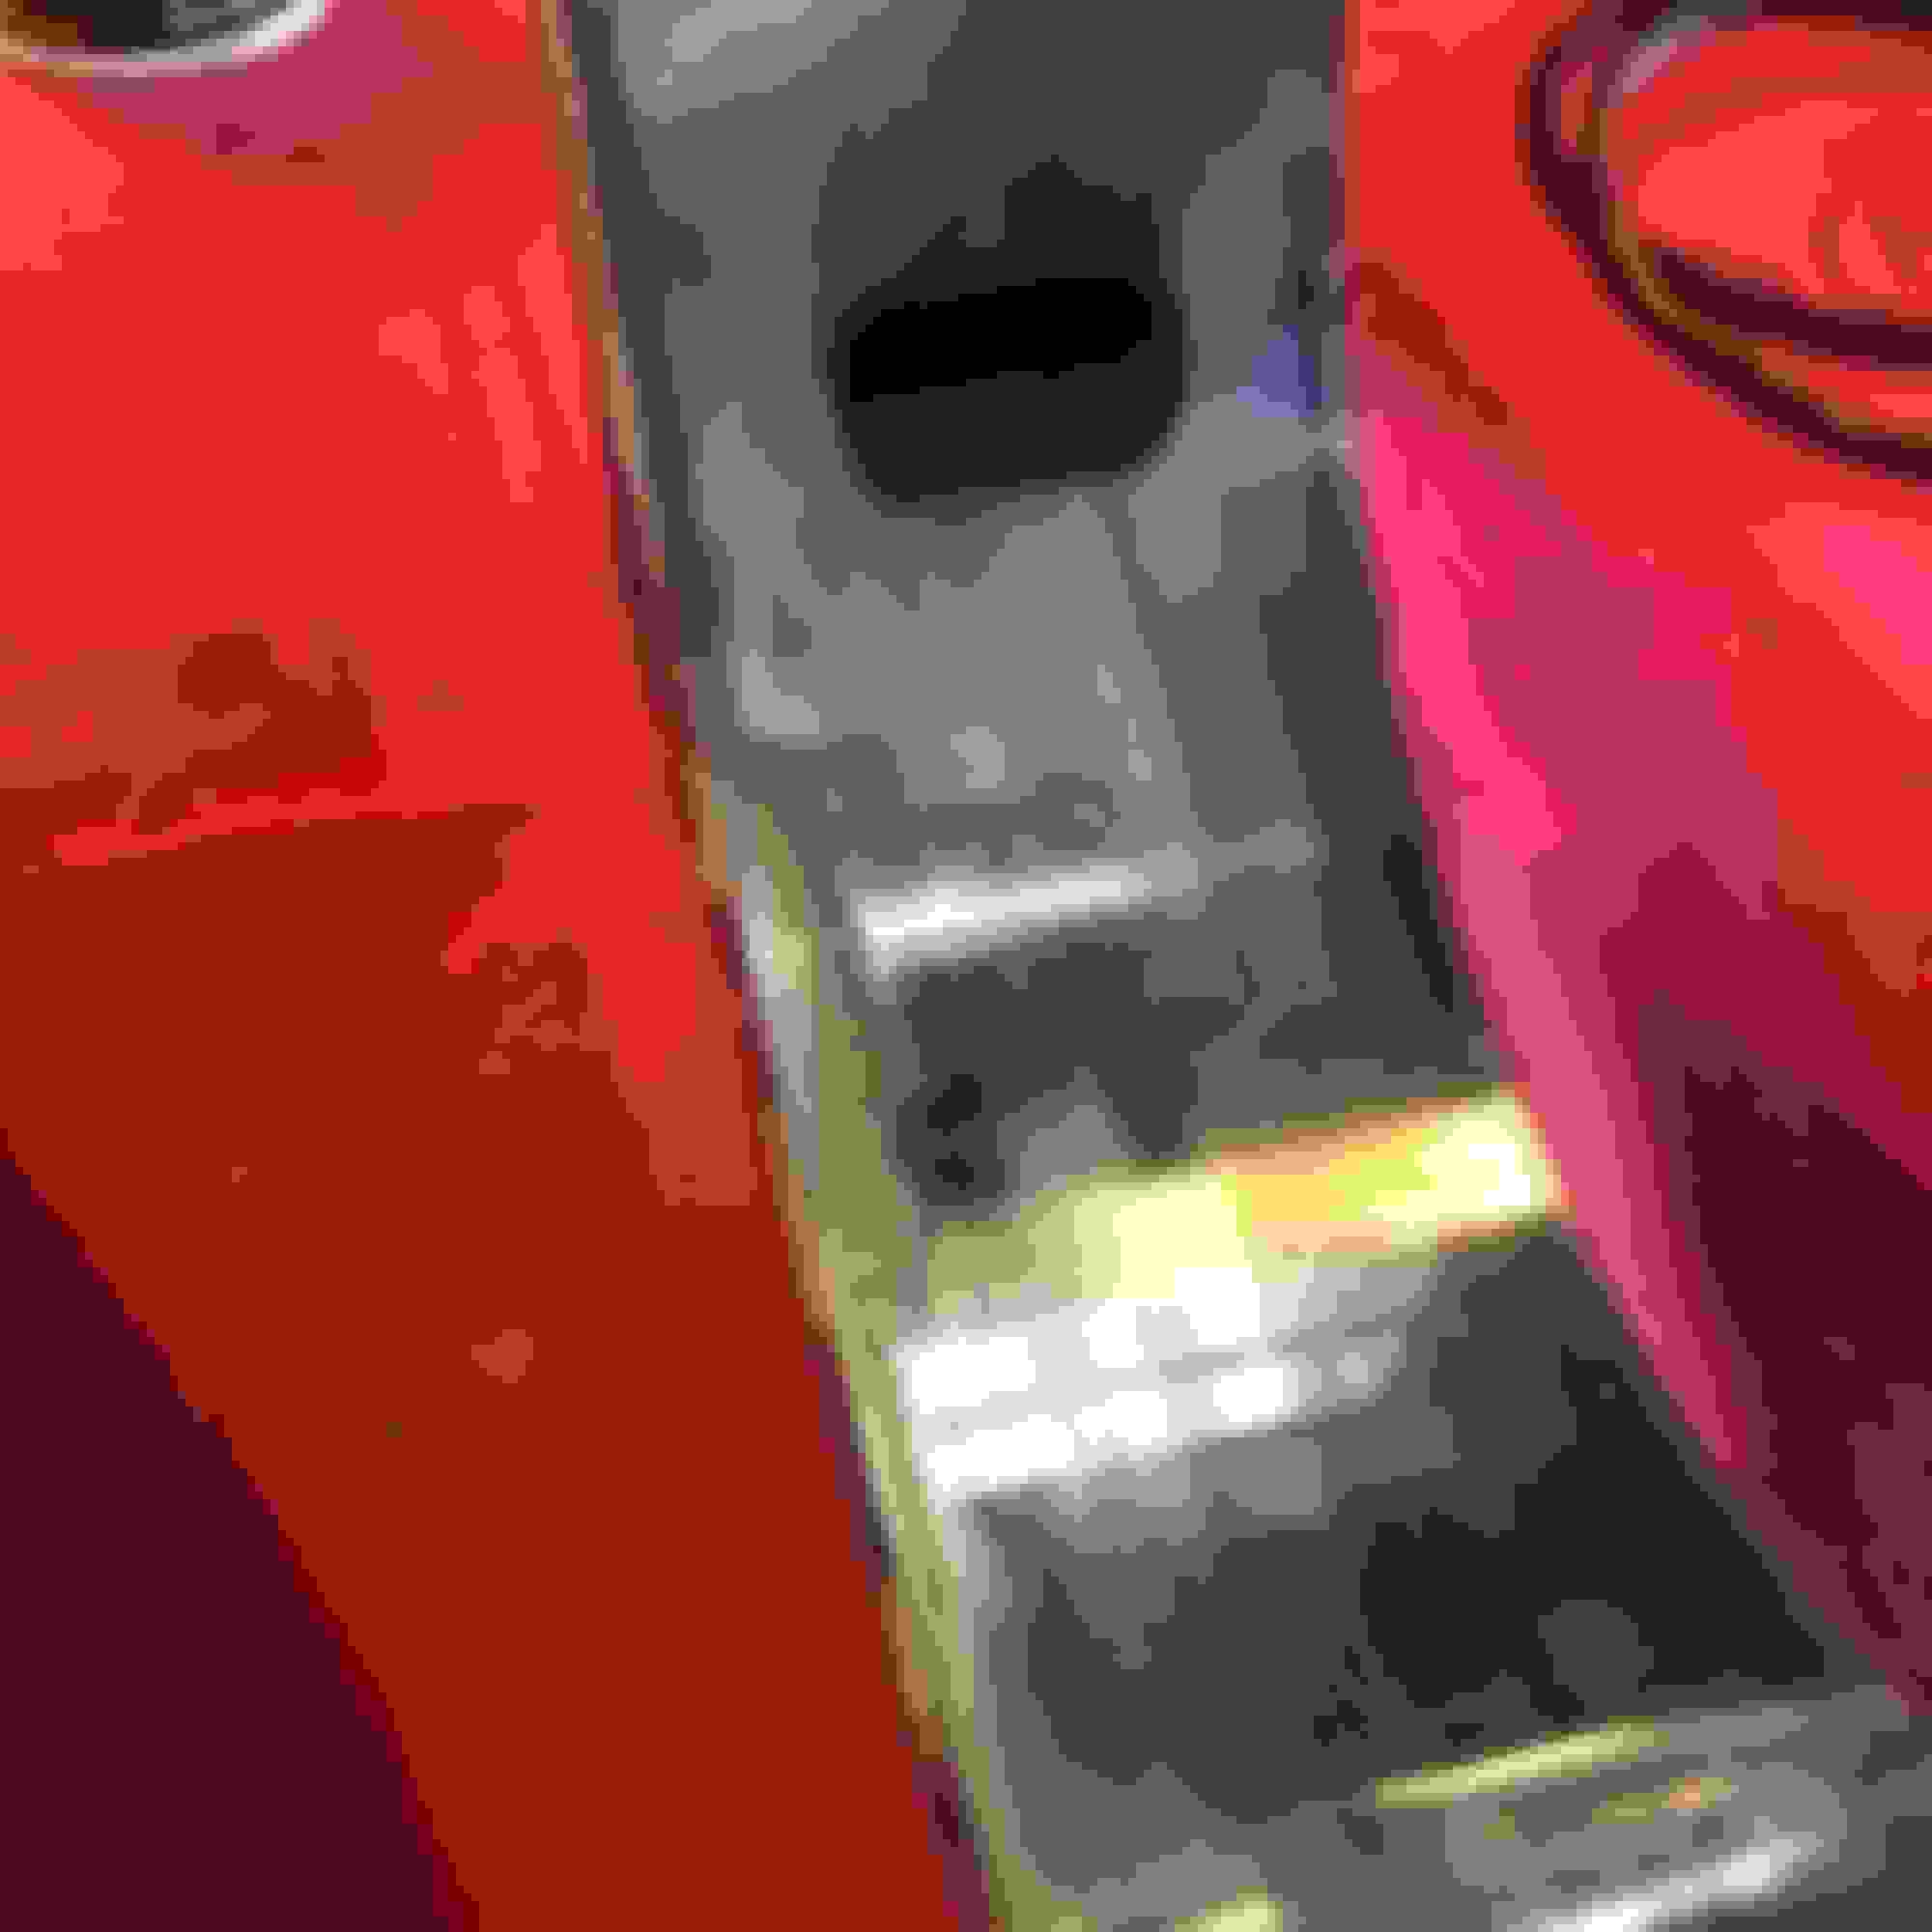
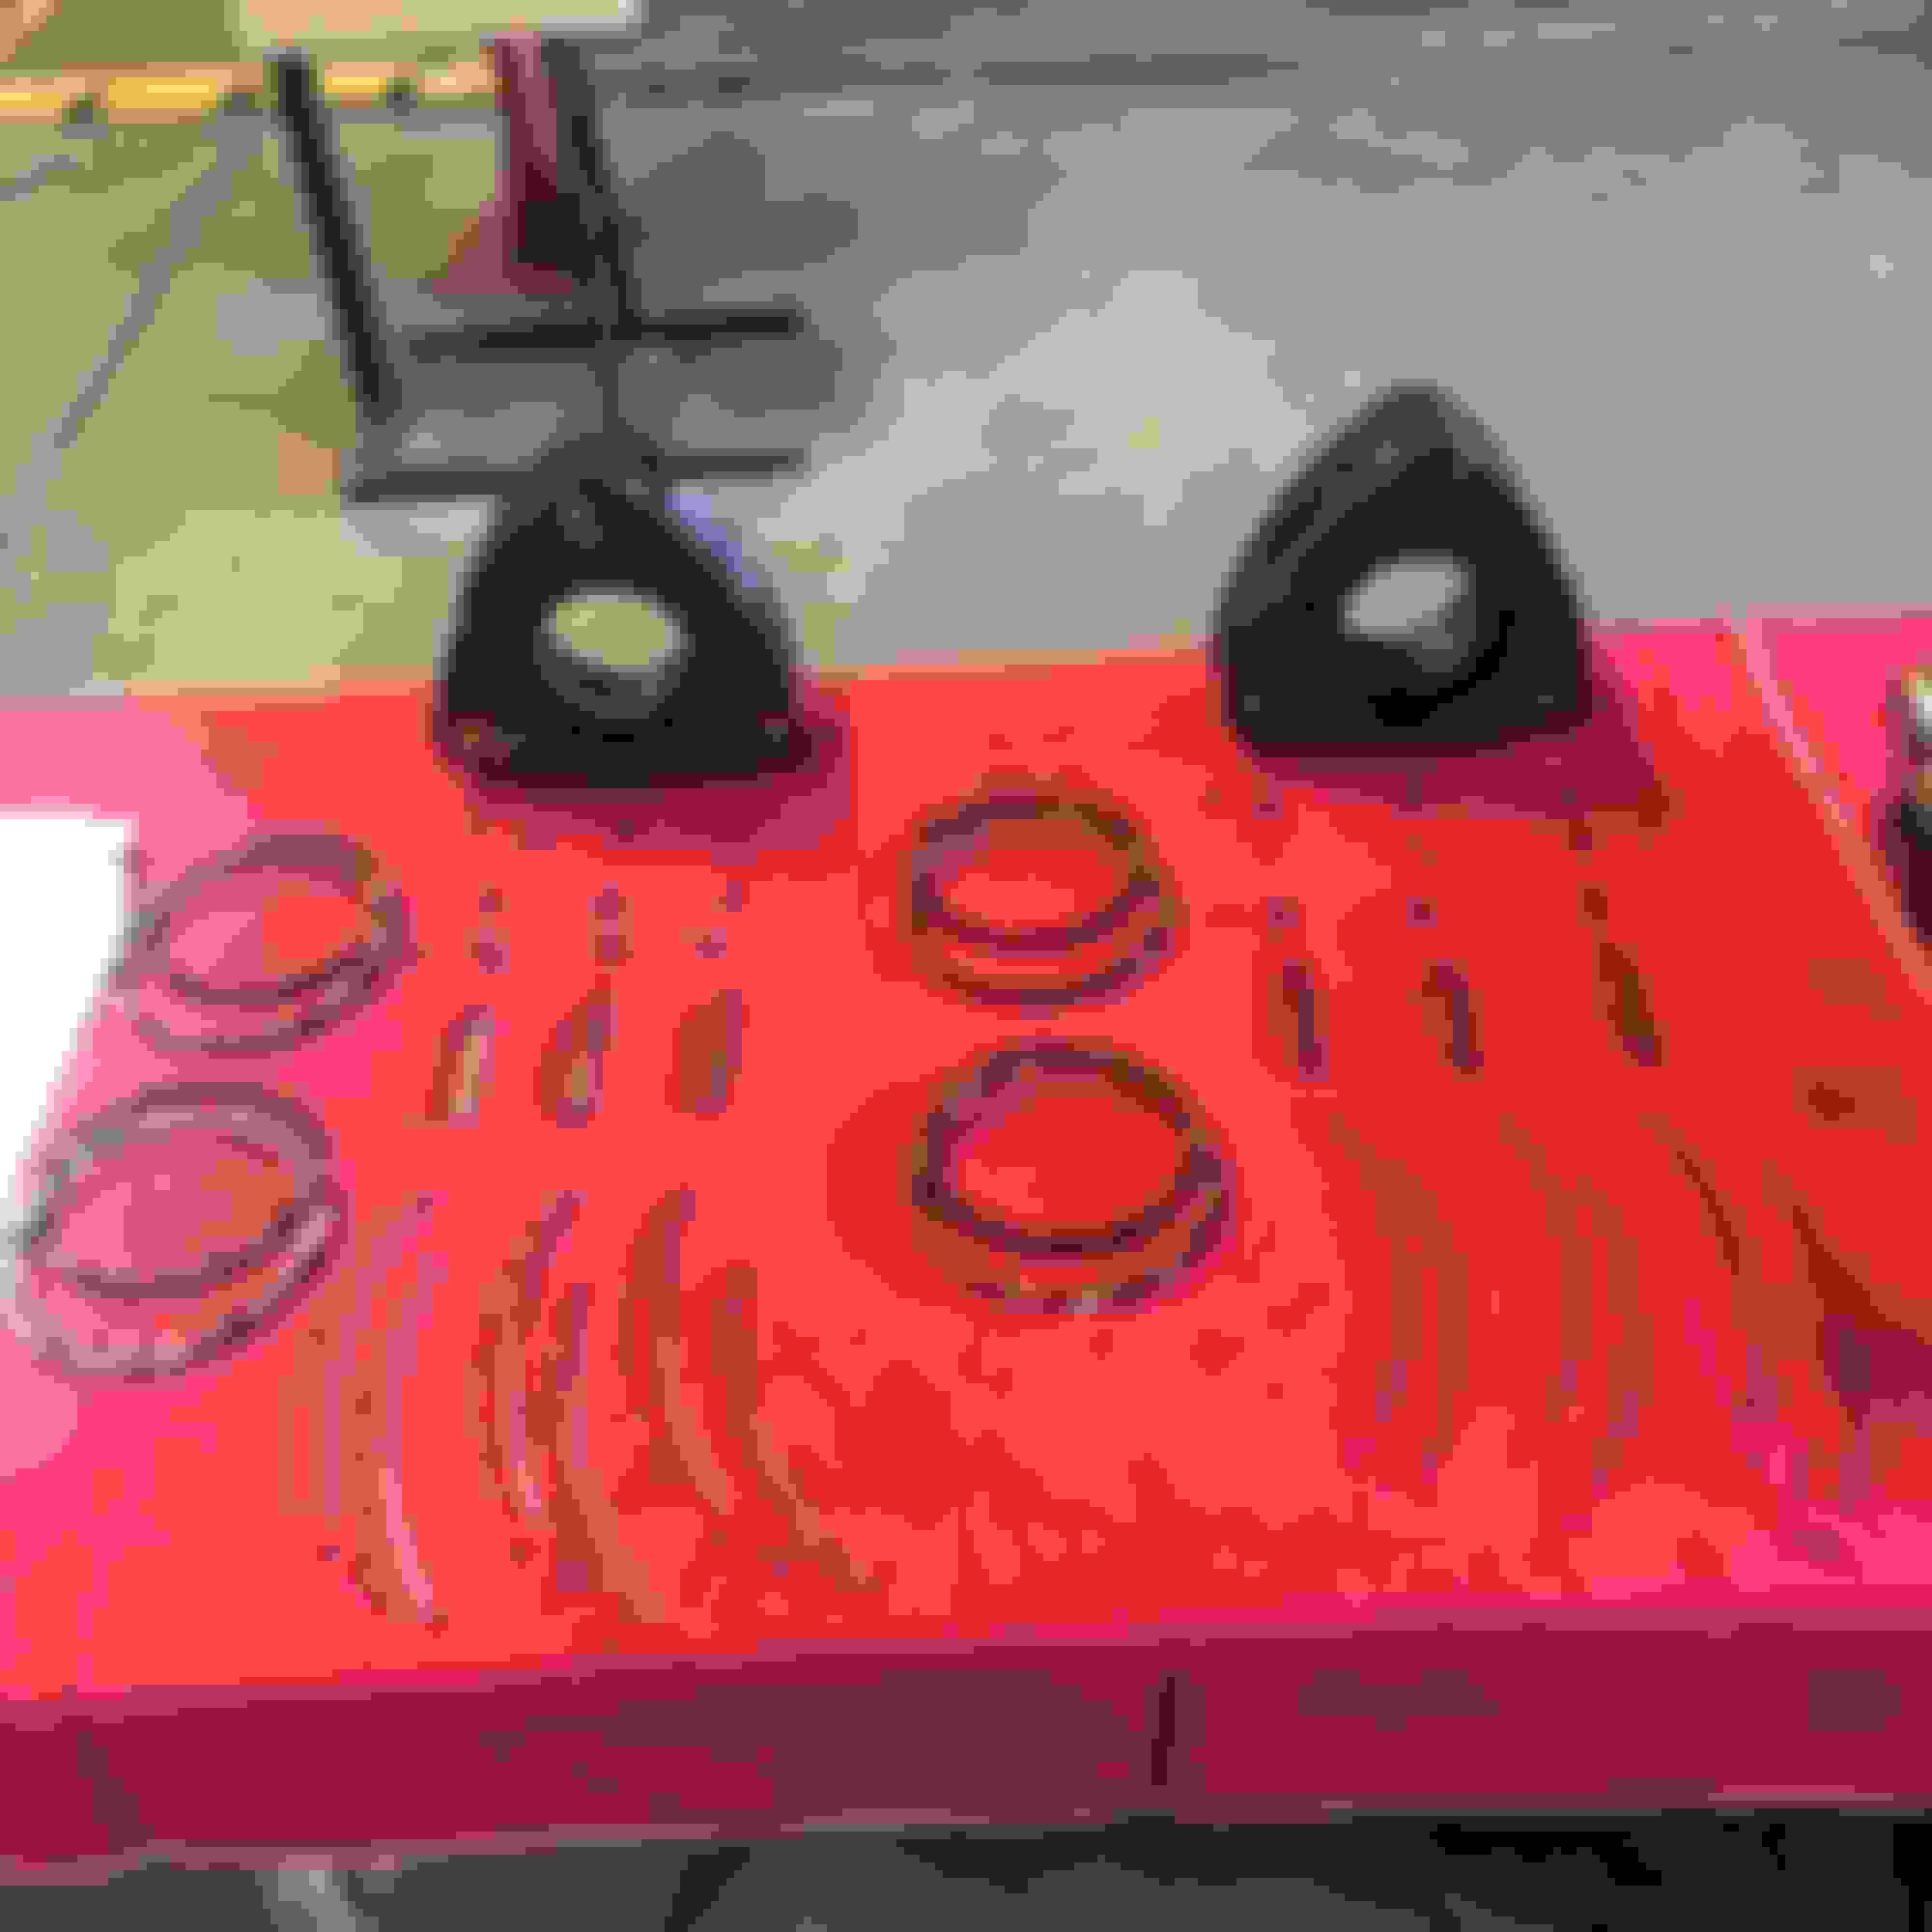
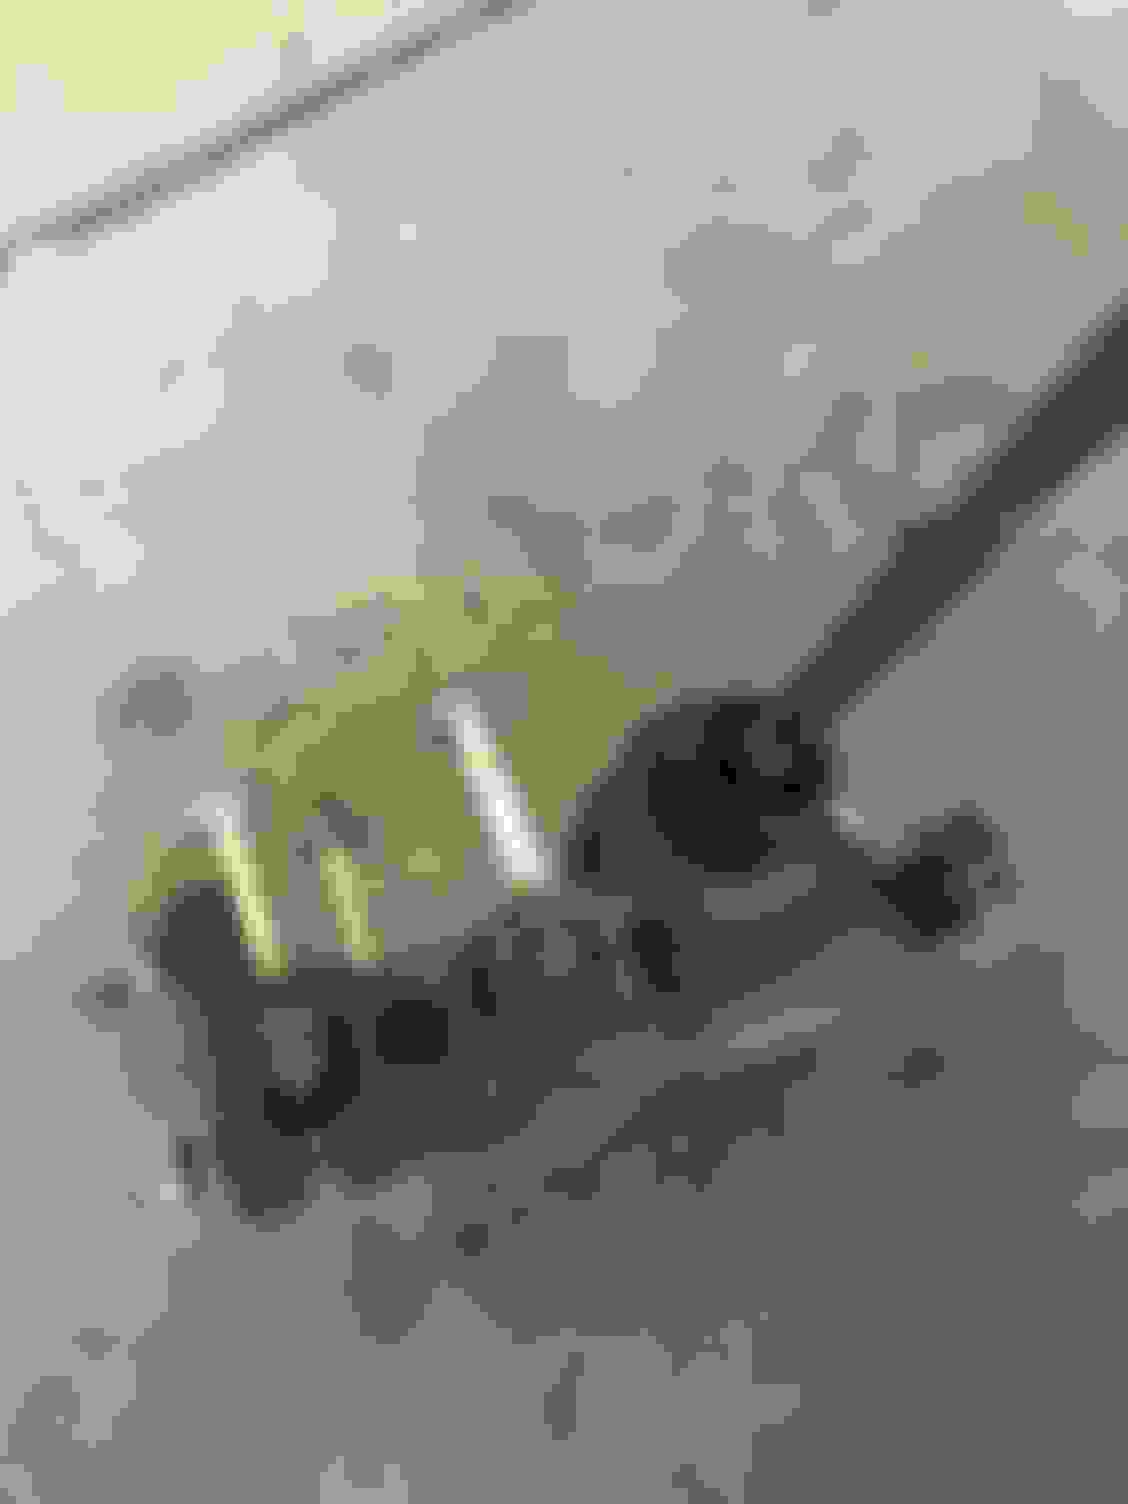
Engine was filthy on tear down, everything was stuck together because of how much burnt oil was around the dowel pins. But it came apart fairly easy, but the rotor housings are toast. The housing with the bigger section of flakey chrome is the front housing just a fyi cakey
Getting the body and exterior stripped down so body prep can begin for a nice new paint job. Also planning on filling/shaving some holes on the exterior as well as a partial shave in the engine bay.... and that's why you'll see little yellow circles all over the body and engine bay....
What are your overall plans for this build? Subbed
Originally Posted by mazdaverx713b
Looks like a very solid car to work with!! I'm also interested in what your plans are for the car. A 5sps swap in order with the rebuild?
Thanks guys, I’ve always wanted to go through a vehicle from the ground up and this is my chance. So, I’m planning on cleaning up the undercarriage, sealing it with epoxy primer and a nice base coat and clear. Same goes for the exterior, interior and engine bay.
Then onto suspension, I’m thinking of BC coilivers, All new bushings, beefy sway bars from racing beat, may need to design a different rear end link, I’ve heard the watts link causes binding issues? Please elaborate if anyone knows about the watts link problems...
As for the motor, I would ultimately like a nice bridged N/A 12a. But that subjects always up for debate lol. Ida carb, RB header and other cool points that can be added in will...
also, everything will be cleaned, polished, or powder coated before reassembly. This car will be sterile. You could perform surgery in the engine bay that’s how clean I want it...
and other than that? Just really clean and simple is my goal. I get a lot of inspiration from the lowrider community, mini truck community, Honda Civic community, American Hot Rod and Drag Racing culture as well as Japan’s custom car culture...
definitely excited to keep moving on it.
Last edited by LEGALIZECHEY; Jan 11, 2021 at 10:41 AM.
Oh and a little update for the week, this weeks focus is building a rotisserie for the RX7! Time to get those hard to reach places sealed up and shining like new...
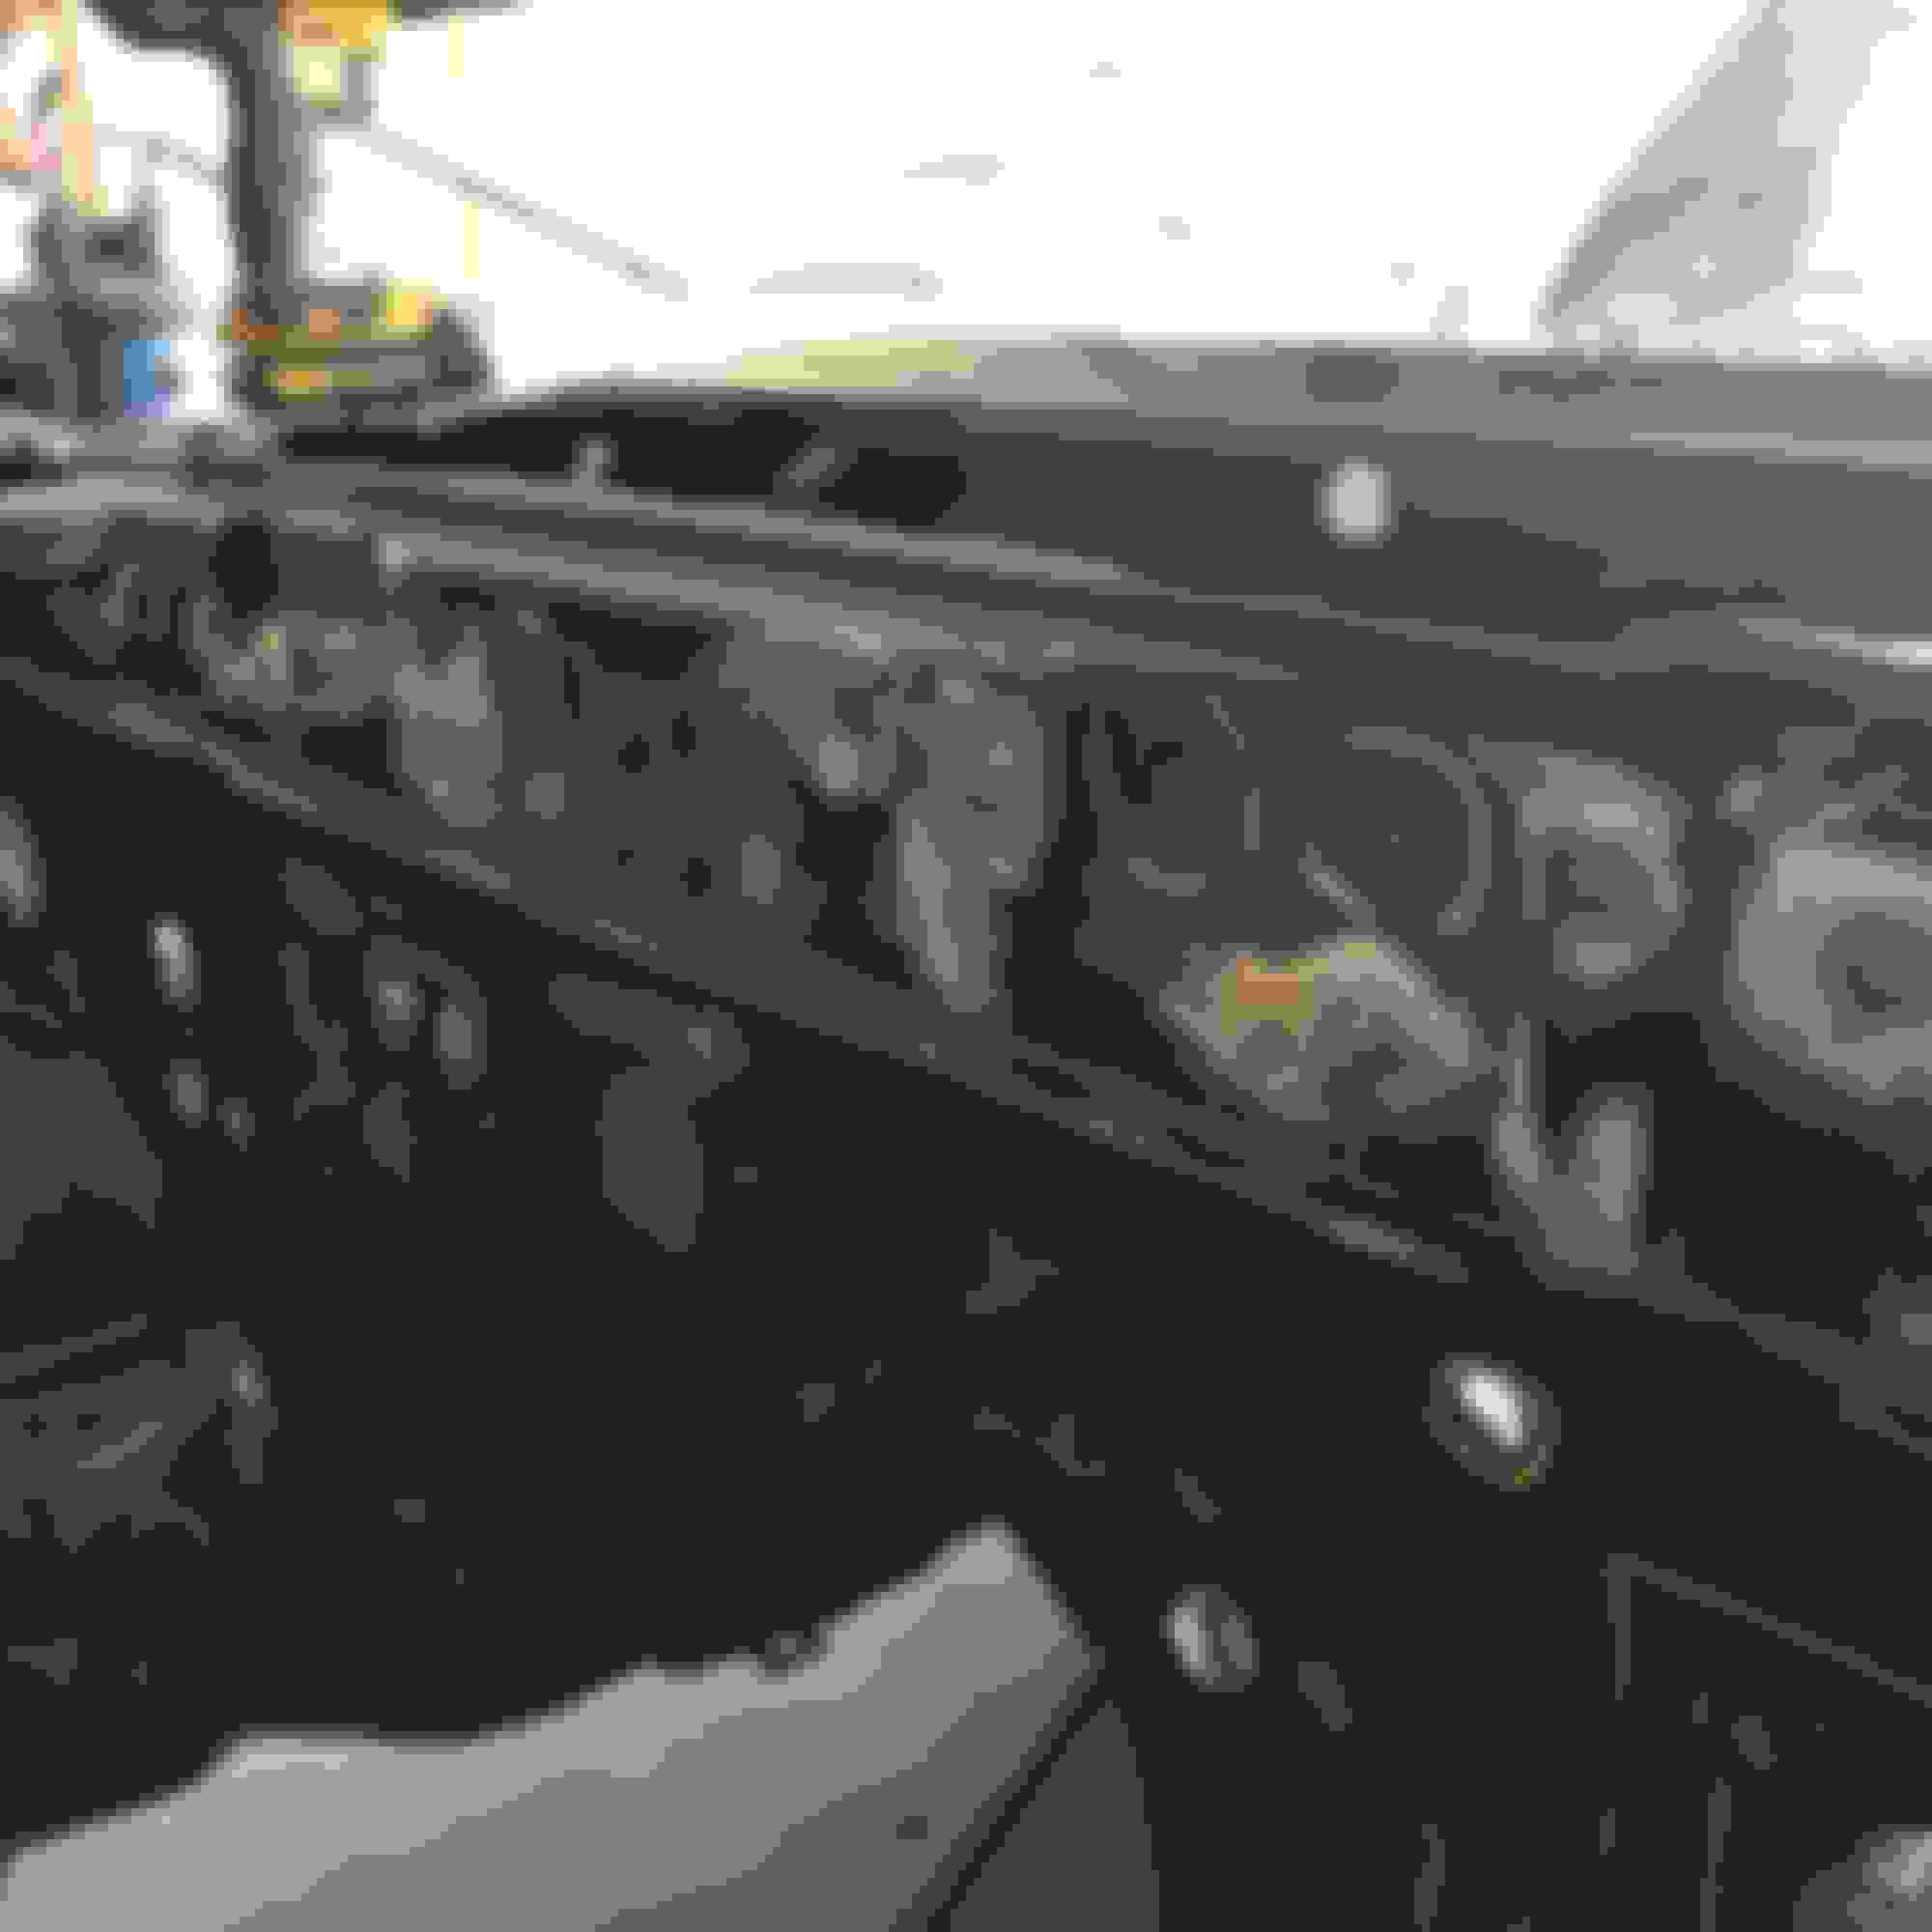
Been working on plugging the holes in the firewall. Have a lot to go still...
been working on the car after work, grind and fill and weld and grind and fill and weld haha
by the way, I�ve never welded before. This is my first project welding and fabricating. Also my first vehicle project... in over my head maybe?
Started building the rotisserie also. Found these free plans online, it�s called �red wing steel rotisserie plans� on google. The download gives you a whole shopping list, and assembly manual.... pretty neat for being free. So I got two of these �upright� portions built, still need casters and plates for the feet. I forgot to take pictures of them whole, will do on Monday...
I switched welders here also.We have a nice mig welder at my shop and have been getting used to that. Need to learn how to dial in the machine for thin steel before doing body work with it though.... any settings suggestions from anyone maybe? I would like to be able to use this for body work, it�s easier to see what your doing... It�s a Millermatic 200, not sure what size wire I�m using, will find out Monday.
Last edited by LEGALIZECHEY; Jan 23, 2021 at 08:11 PM.
You're gonna have a lot of fun. Those plans red wing plans are great. It sounds like you have a good mentor for the welding. Just to be clear, those are tack welds, not the final ones for strength correct?
You're gonna have a lot of fun. Those plans red wing plans are great. It sounds like you have a good mentor for the welding. Just to be clear, those are tack welds, not the final ones for strength correct?
yeah, just tacks. One upright is finished I�ll post a pic today or tomorrow.
and as far as the welding goes, I have 3 people that are guiding me. 2 of them guys are body guys/ painters and they have built some serious custom cars!
Here�s one of the uprights, still need to mount the plates for caster wheels. Here�s some pics of the mounts and pivot points that are going to be built... Not sure if everything will be made, probably just the pivots and the �hanger� bracket. And custom mounts to the body. Has anyone seeing this put an FB on a rotisserie themselves? Or even seen one in a rotisserie? Mounting points/suggestions are definitely welcome, because I haven�t really gotten that far yet... not sure where/ how to mount the car to the hanger
Last edited by LEGALIZECHEY; Jan 25, 2021 at 06:24 PM.
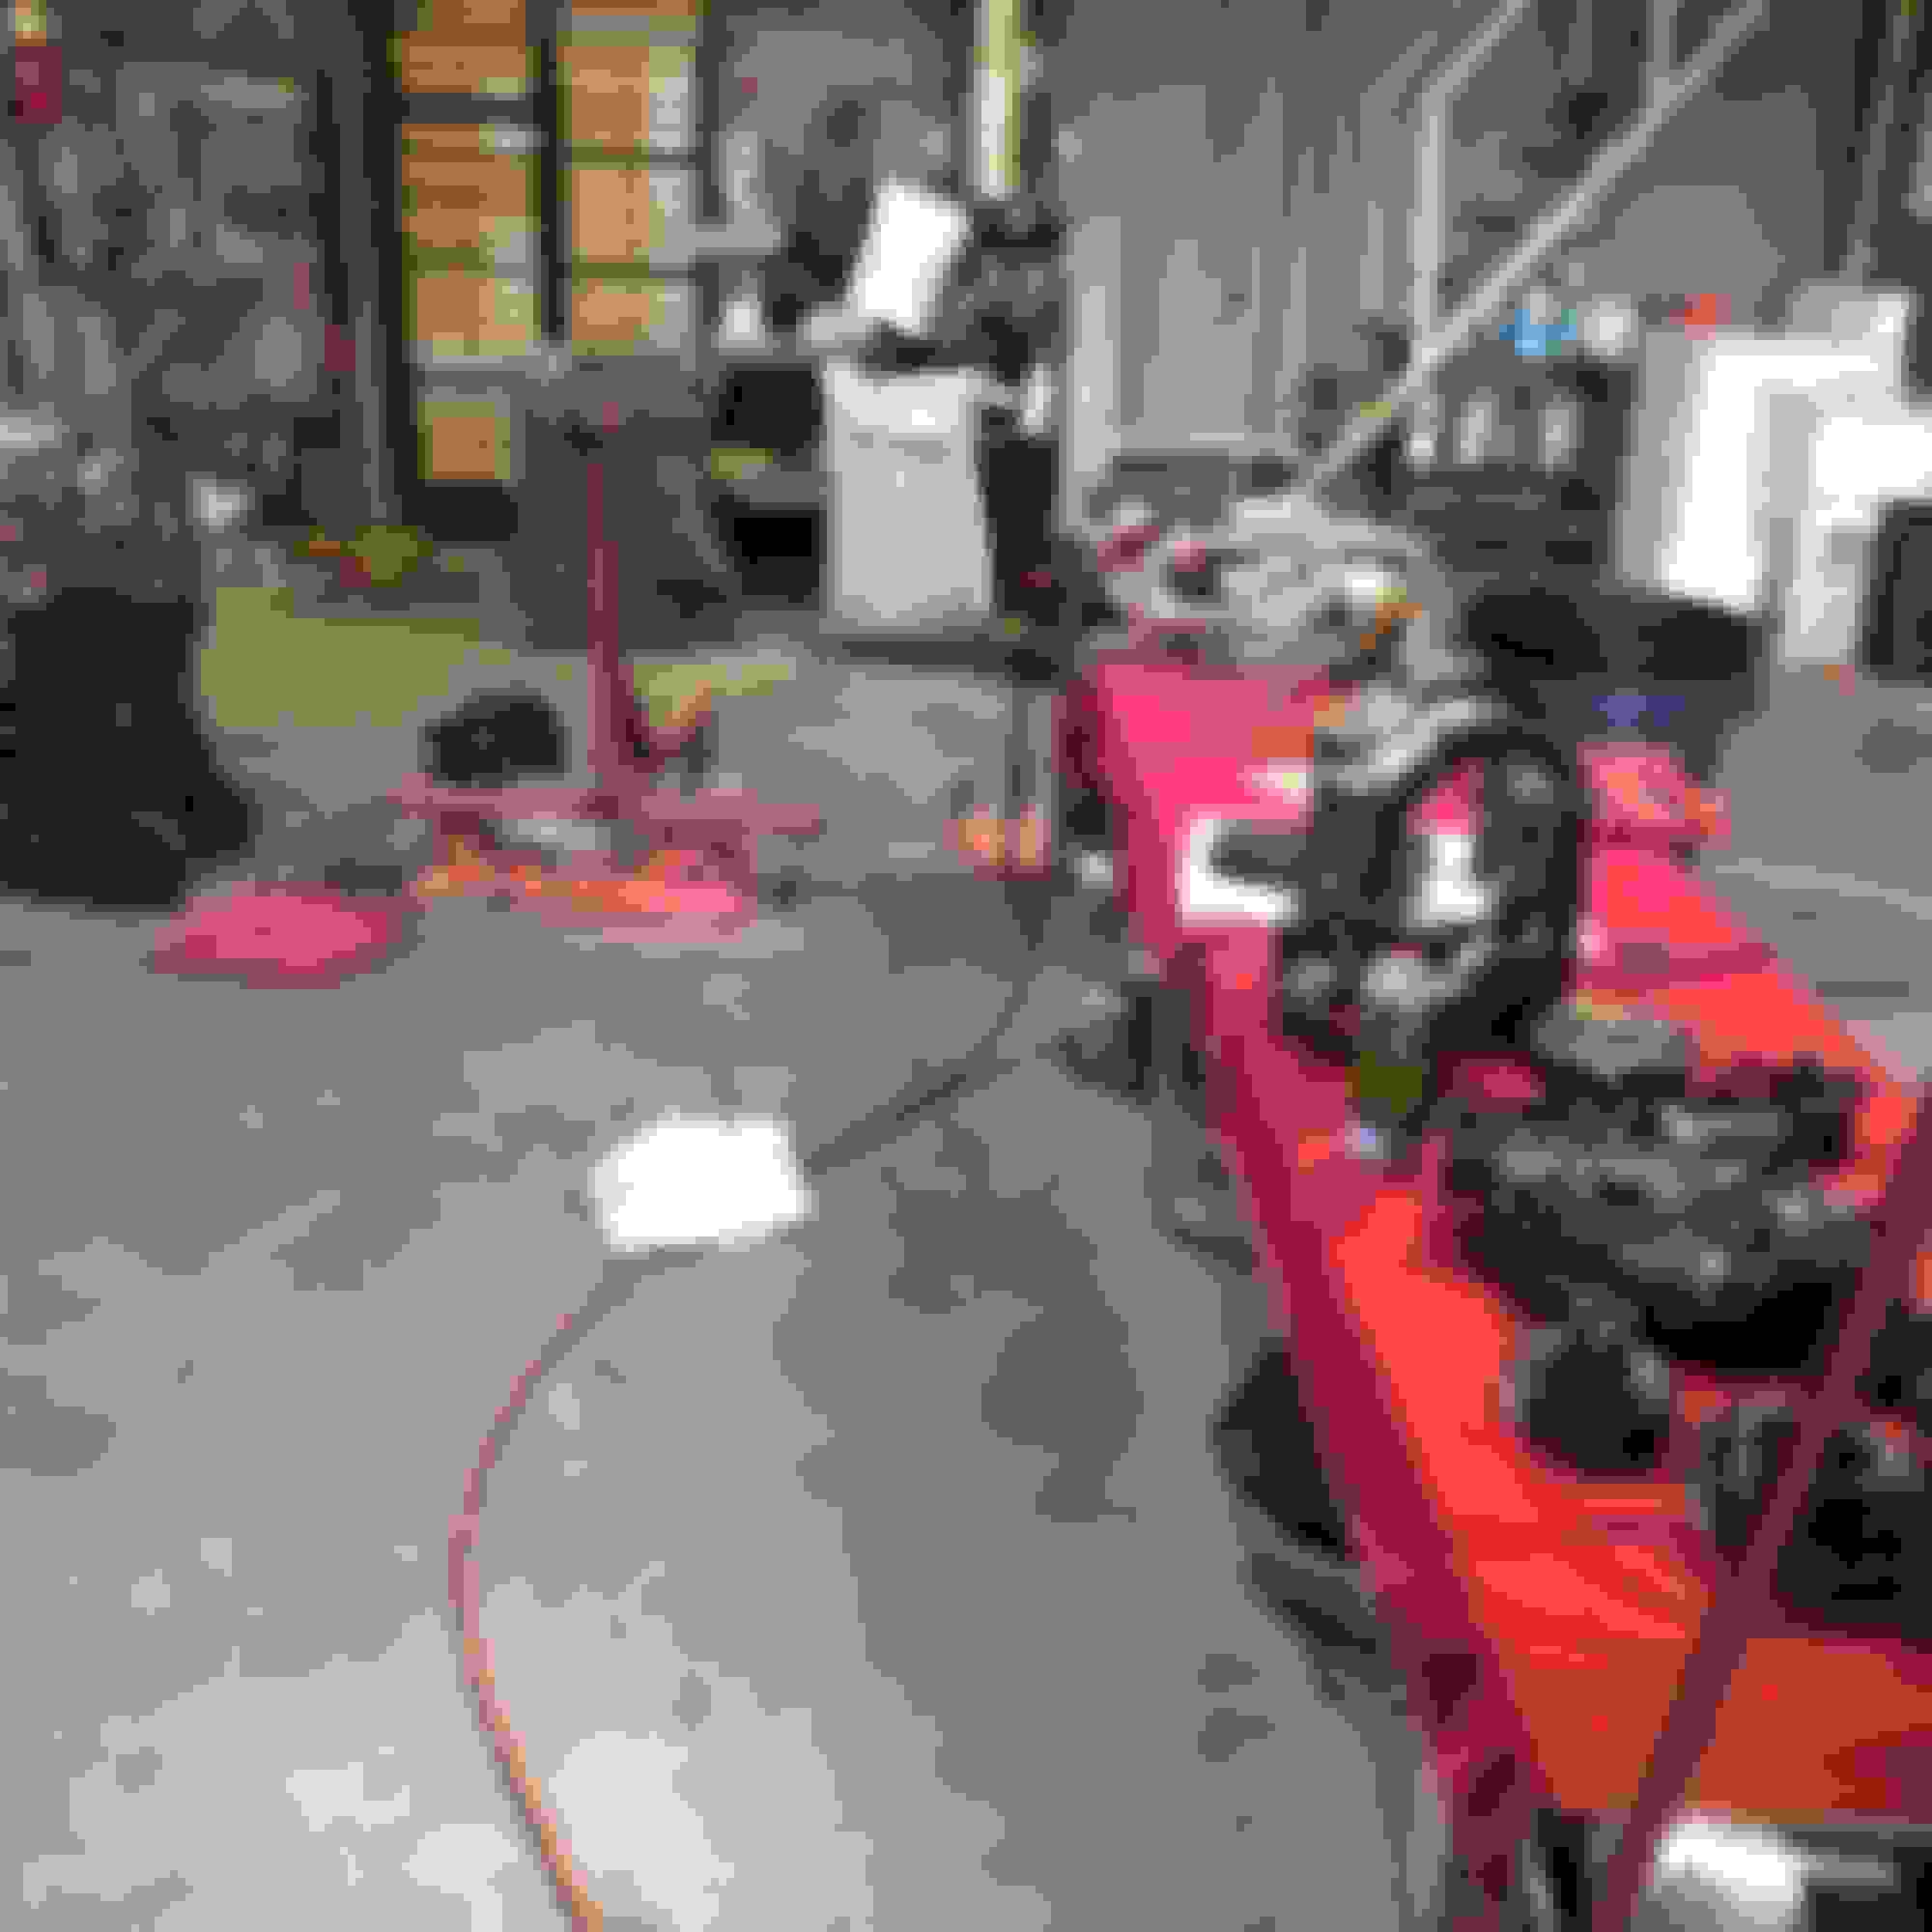
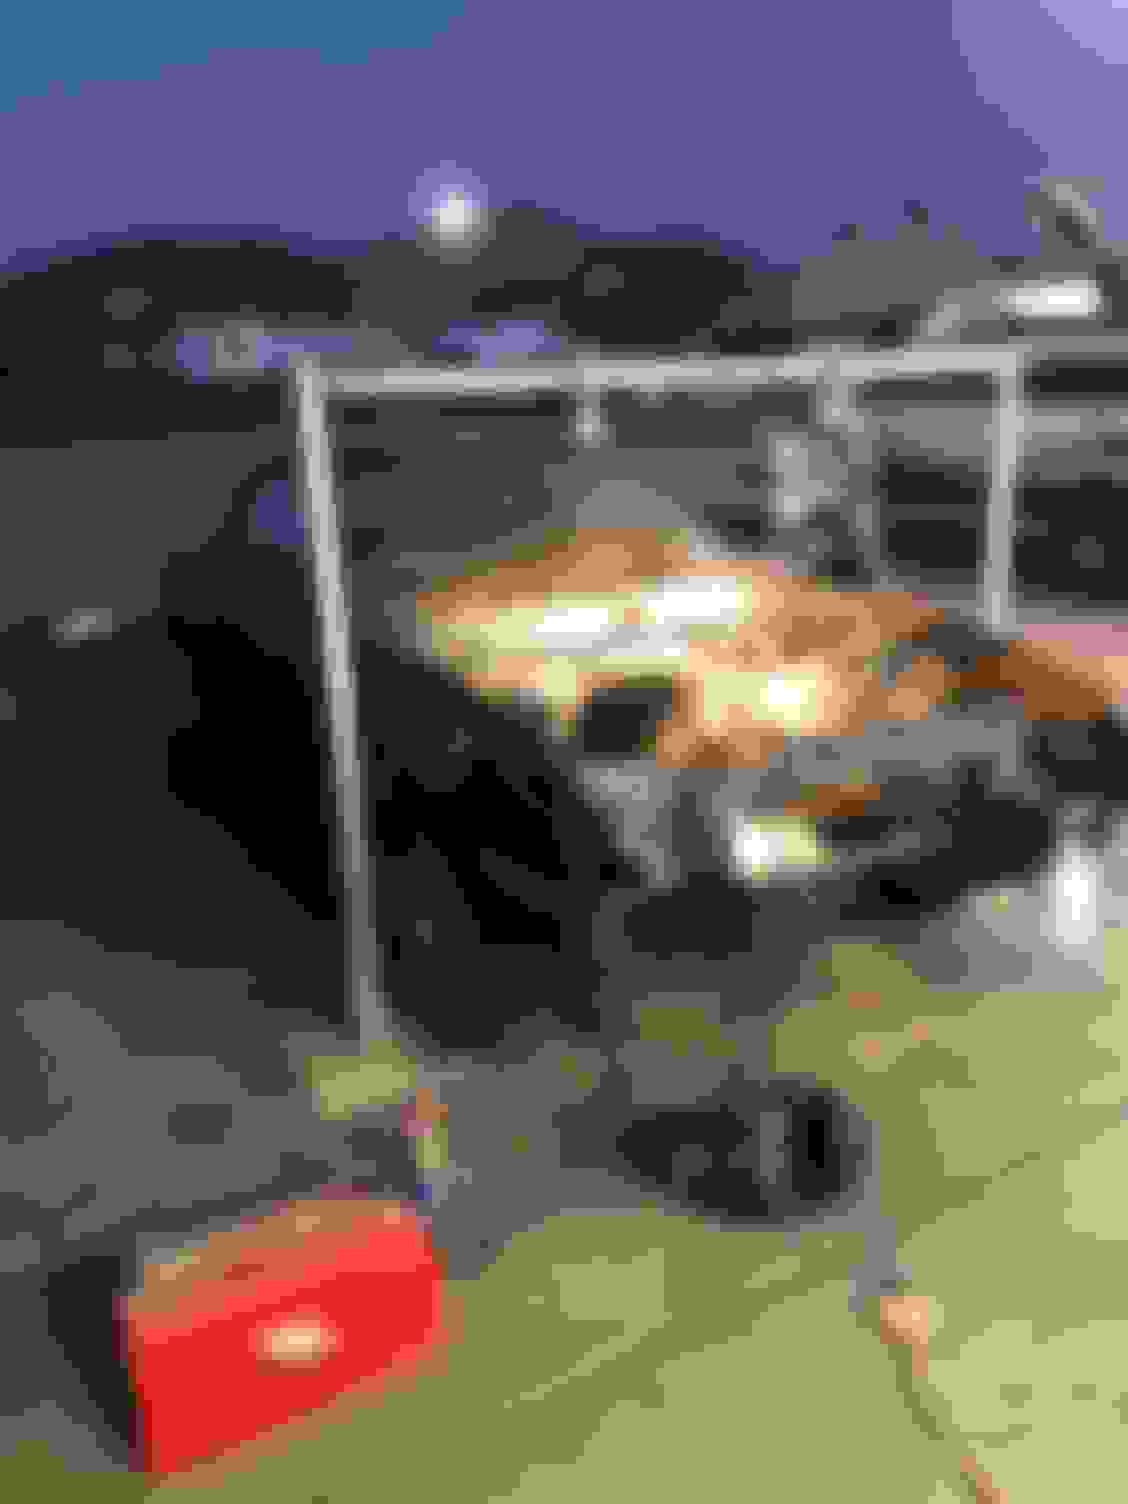
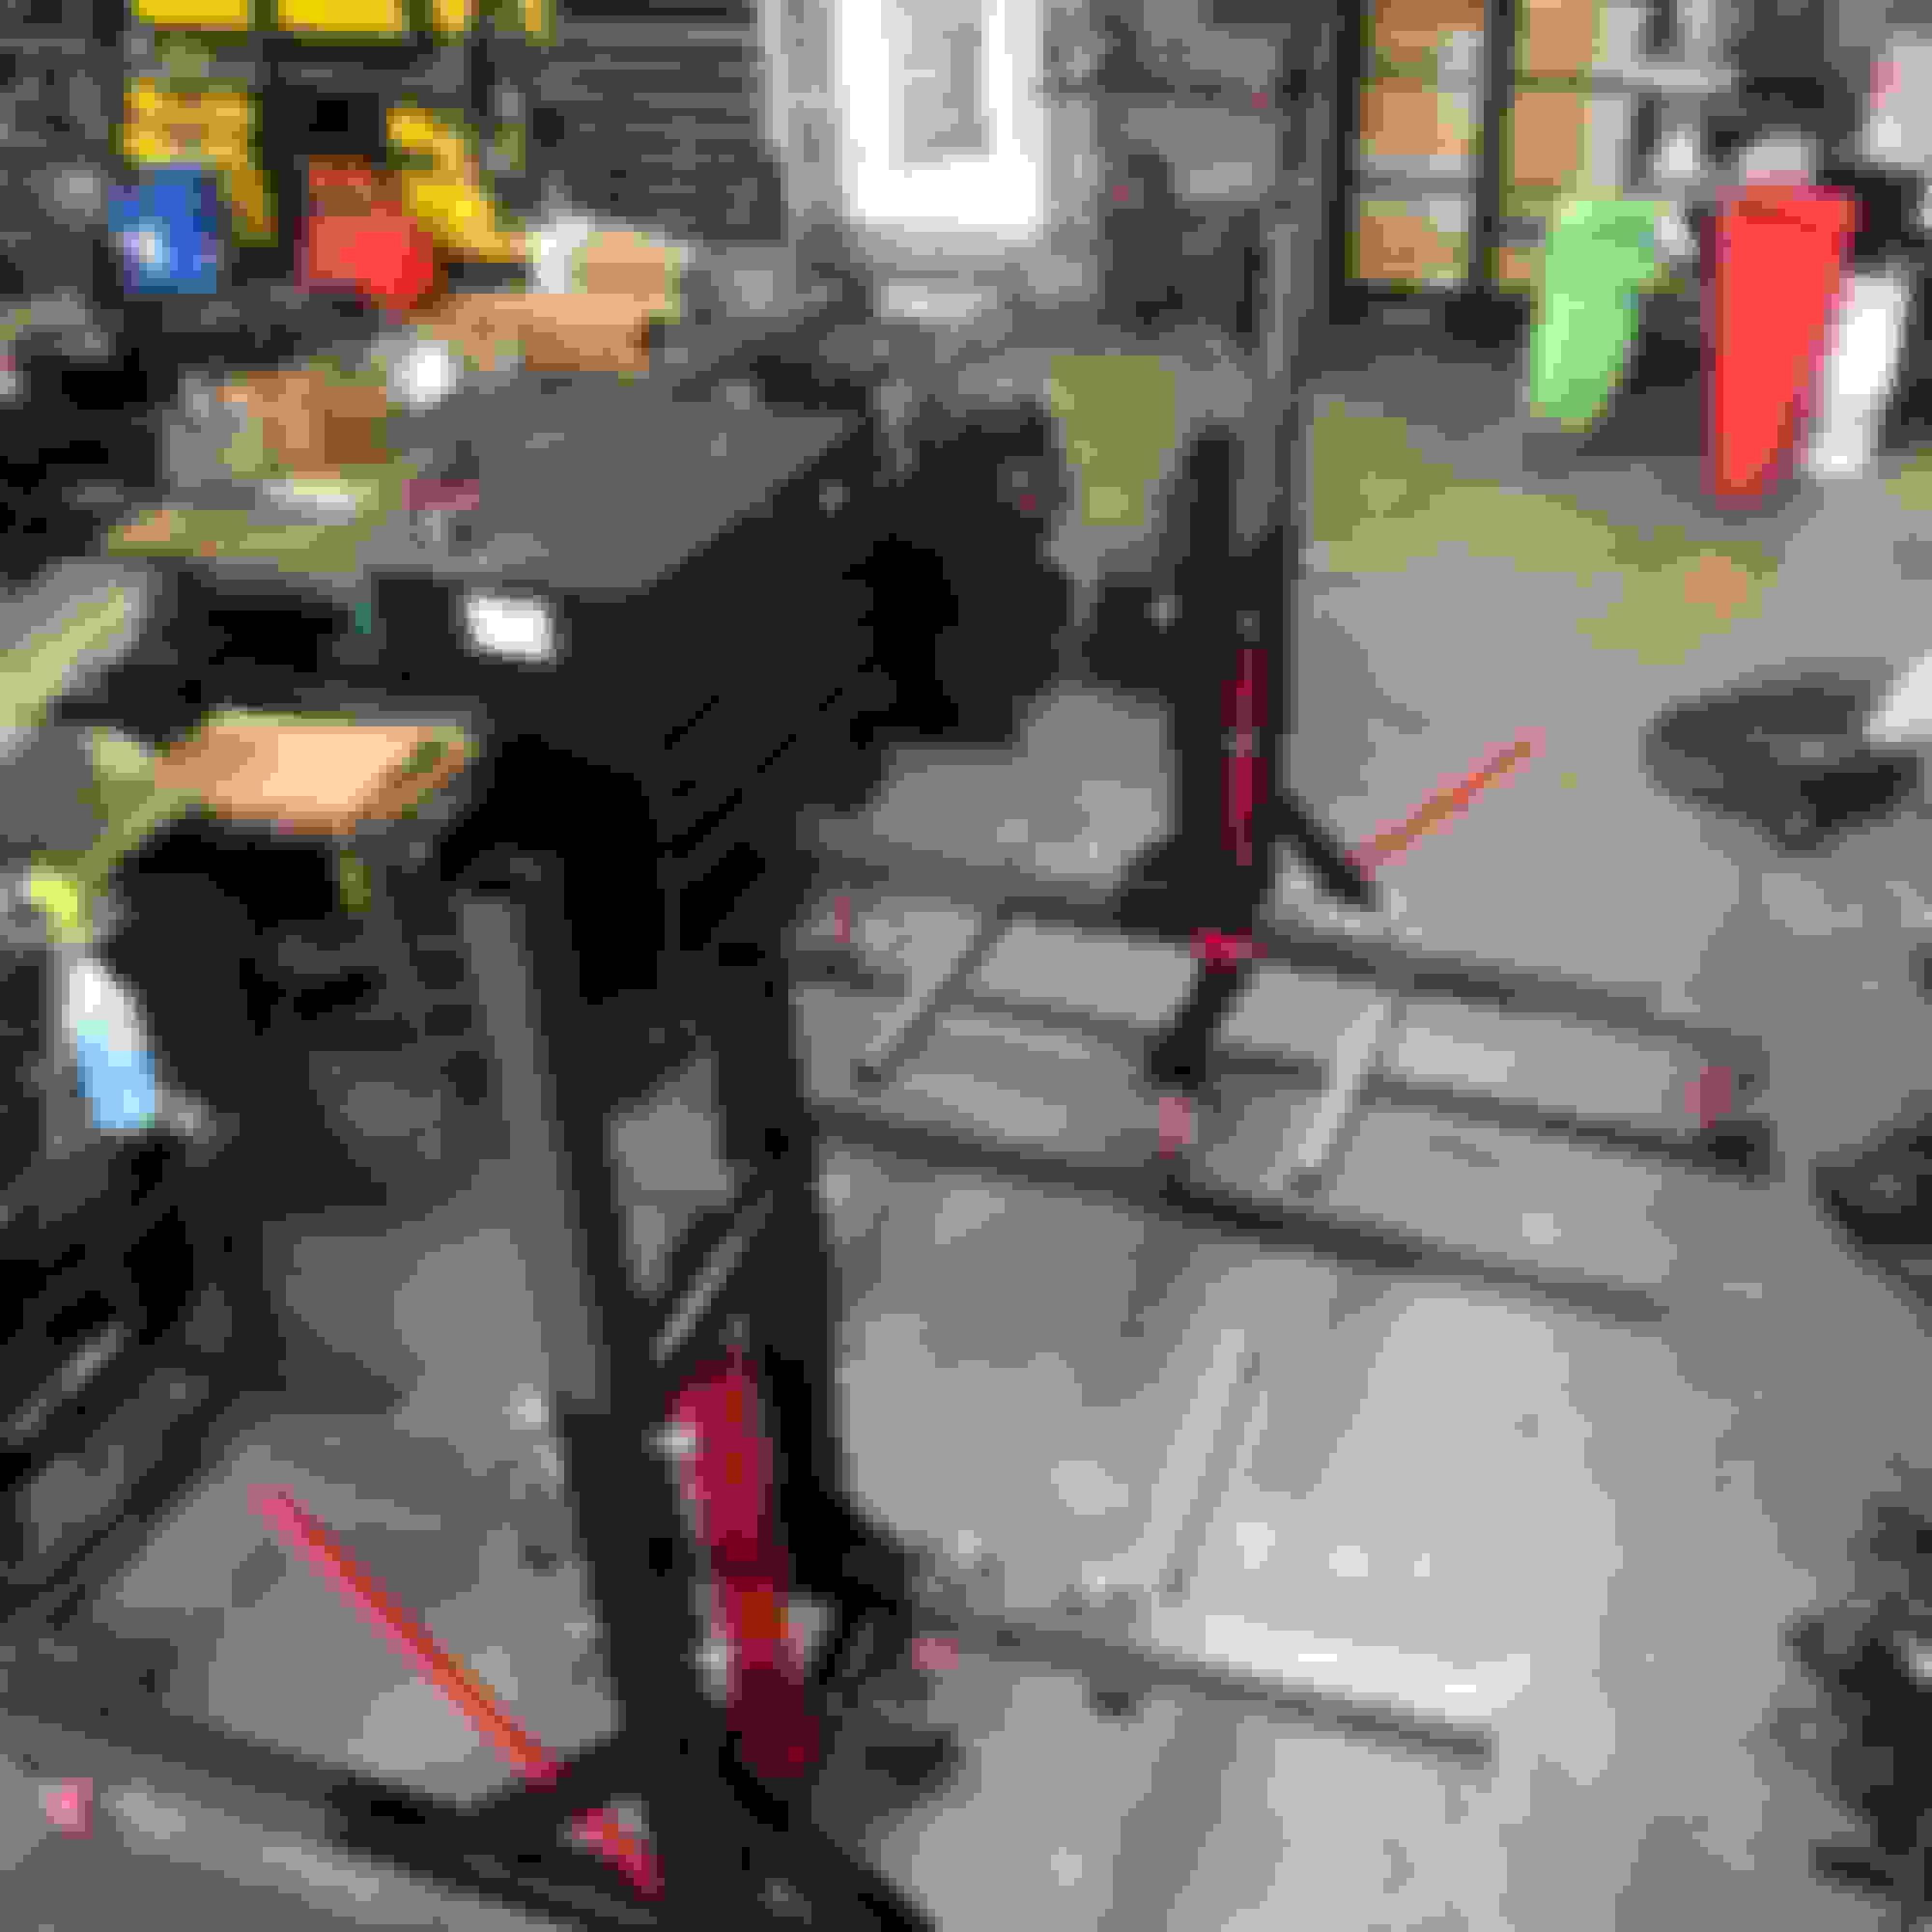
Got my rotisserie stand all built! Need to make mounts for the car and it�s ready to go...
I think they turned out perfect. The hardest part was finding affordable caster wheels. And I found these at servicecaster.com the jacks are �Torin big red jacks� in 8 ton version (only ones available nearby) and those were bought at homedepot. The frames and mounts were assembled and welded by me or friends... very excited to use these
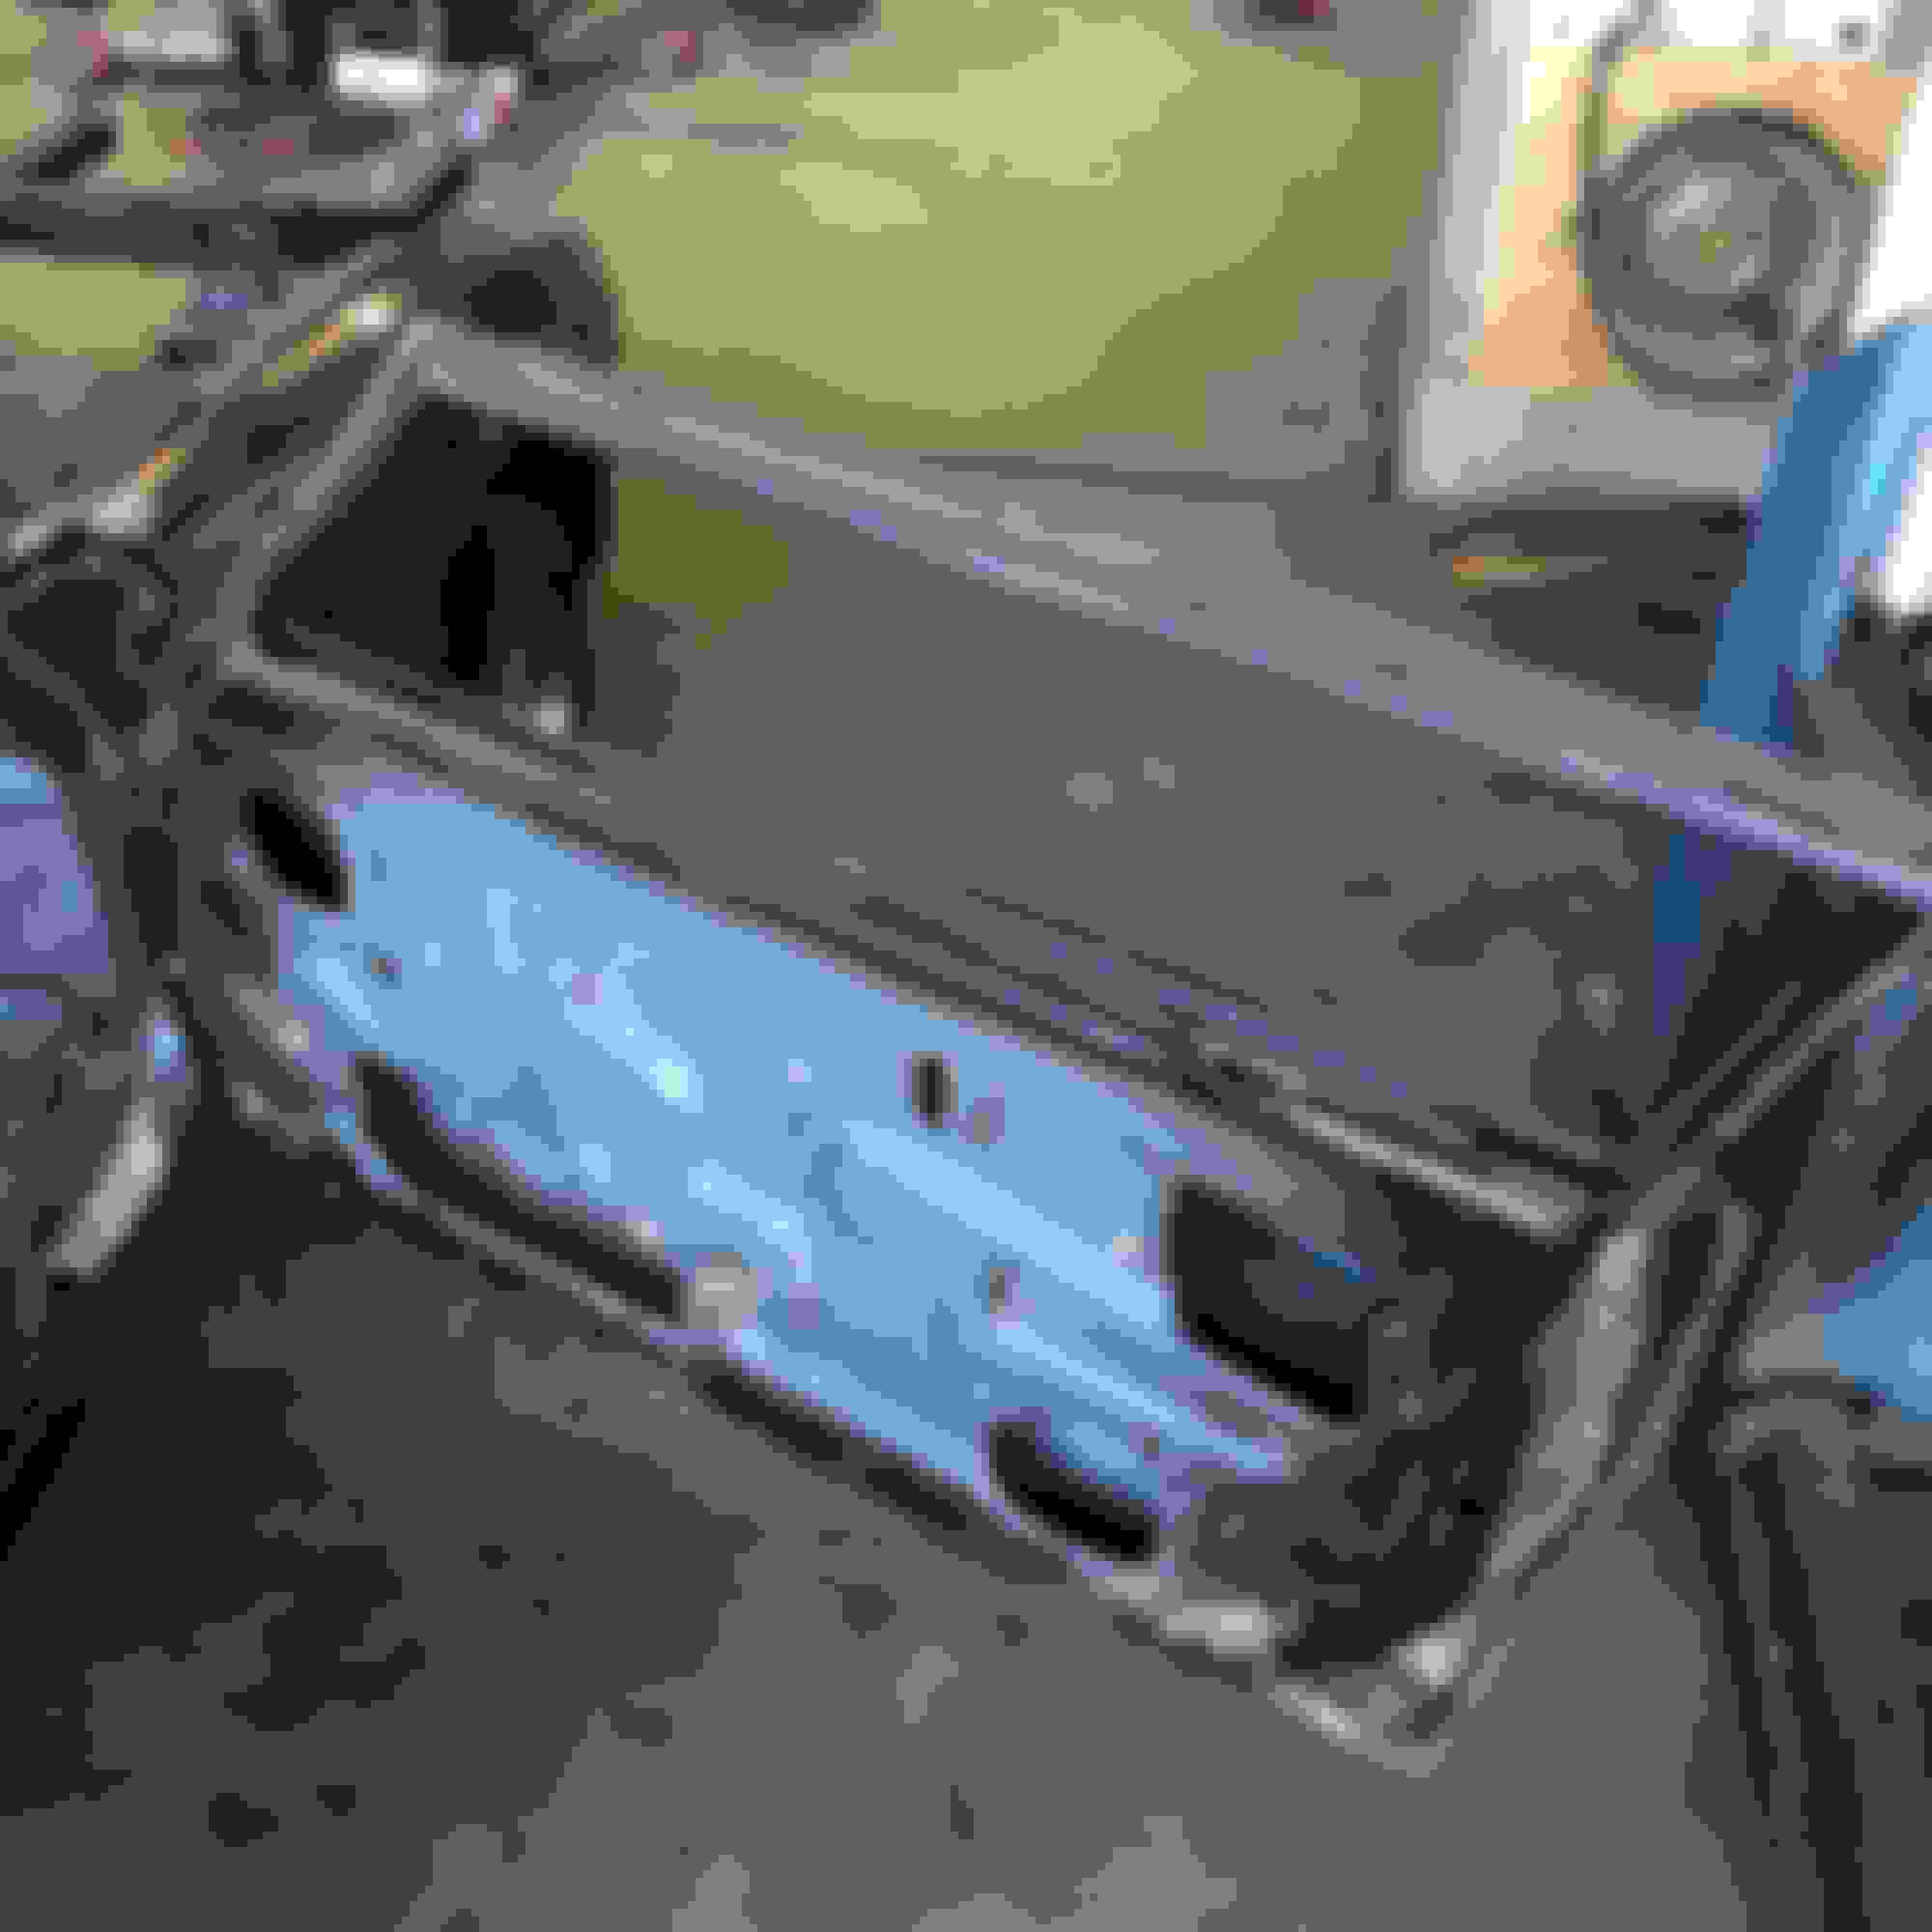
A little update, got the rear quarter glass removed. Stripped the doors out, now they are just shells. Mounted up the stands to measure out my cross-beam... I also pulled the steering column and steering box today... not much left before I can mount it and start flippin it around
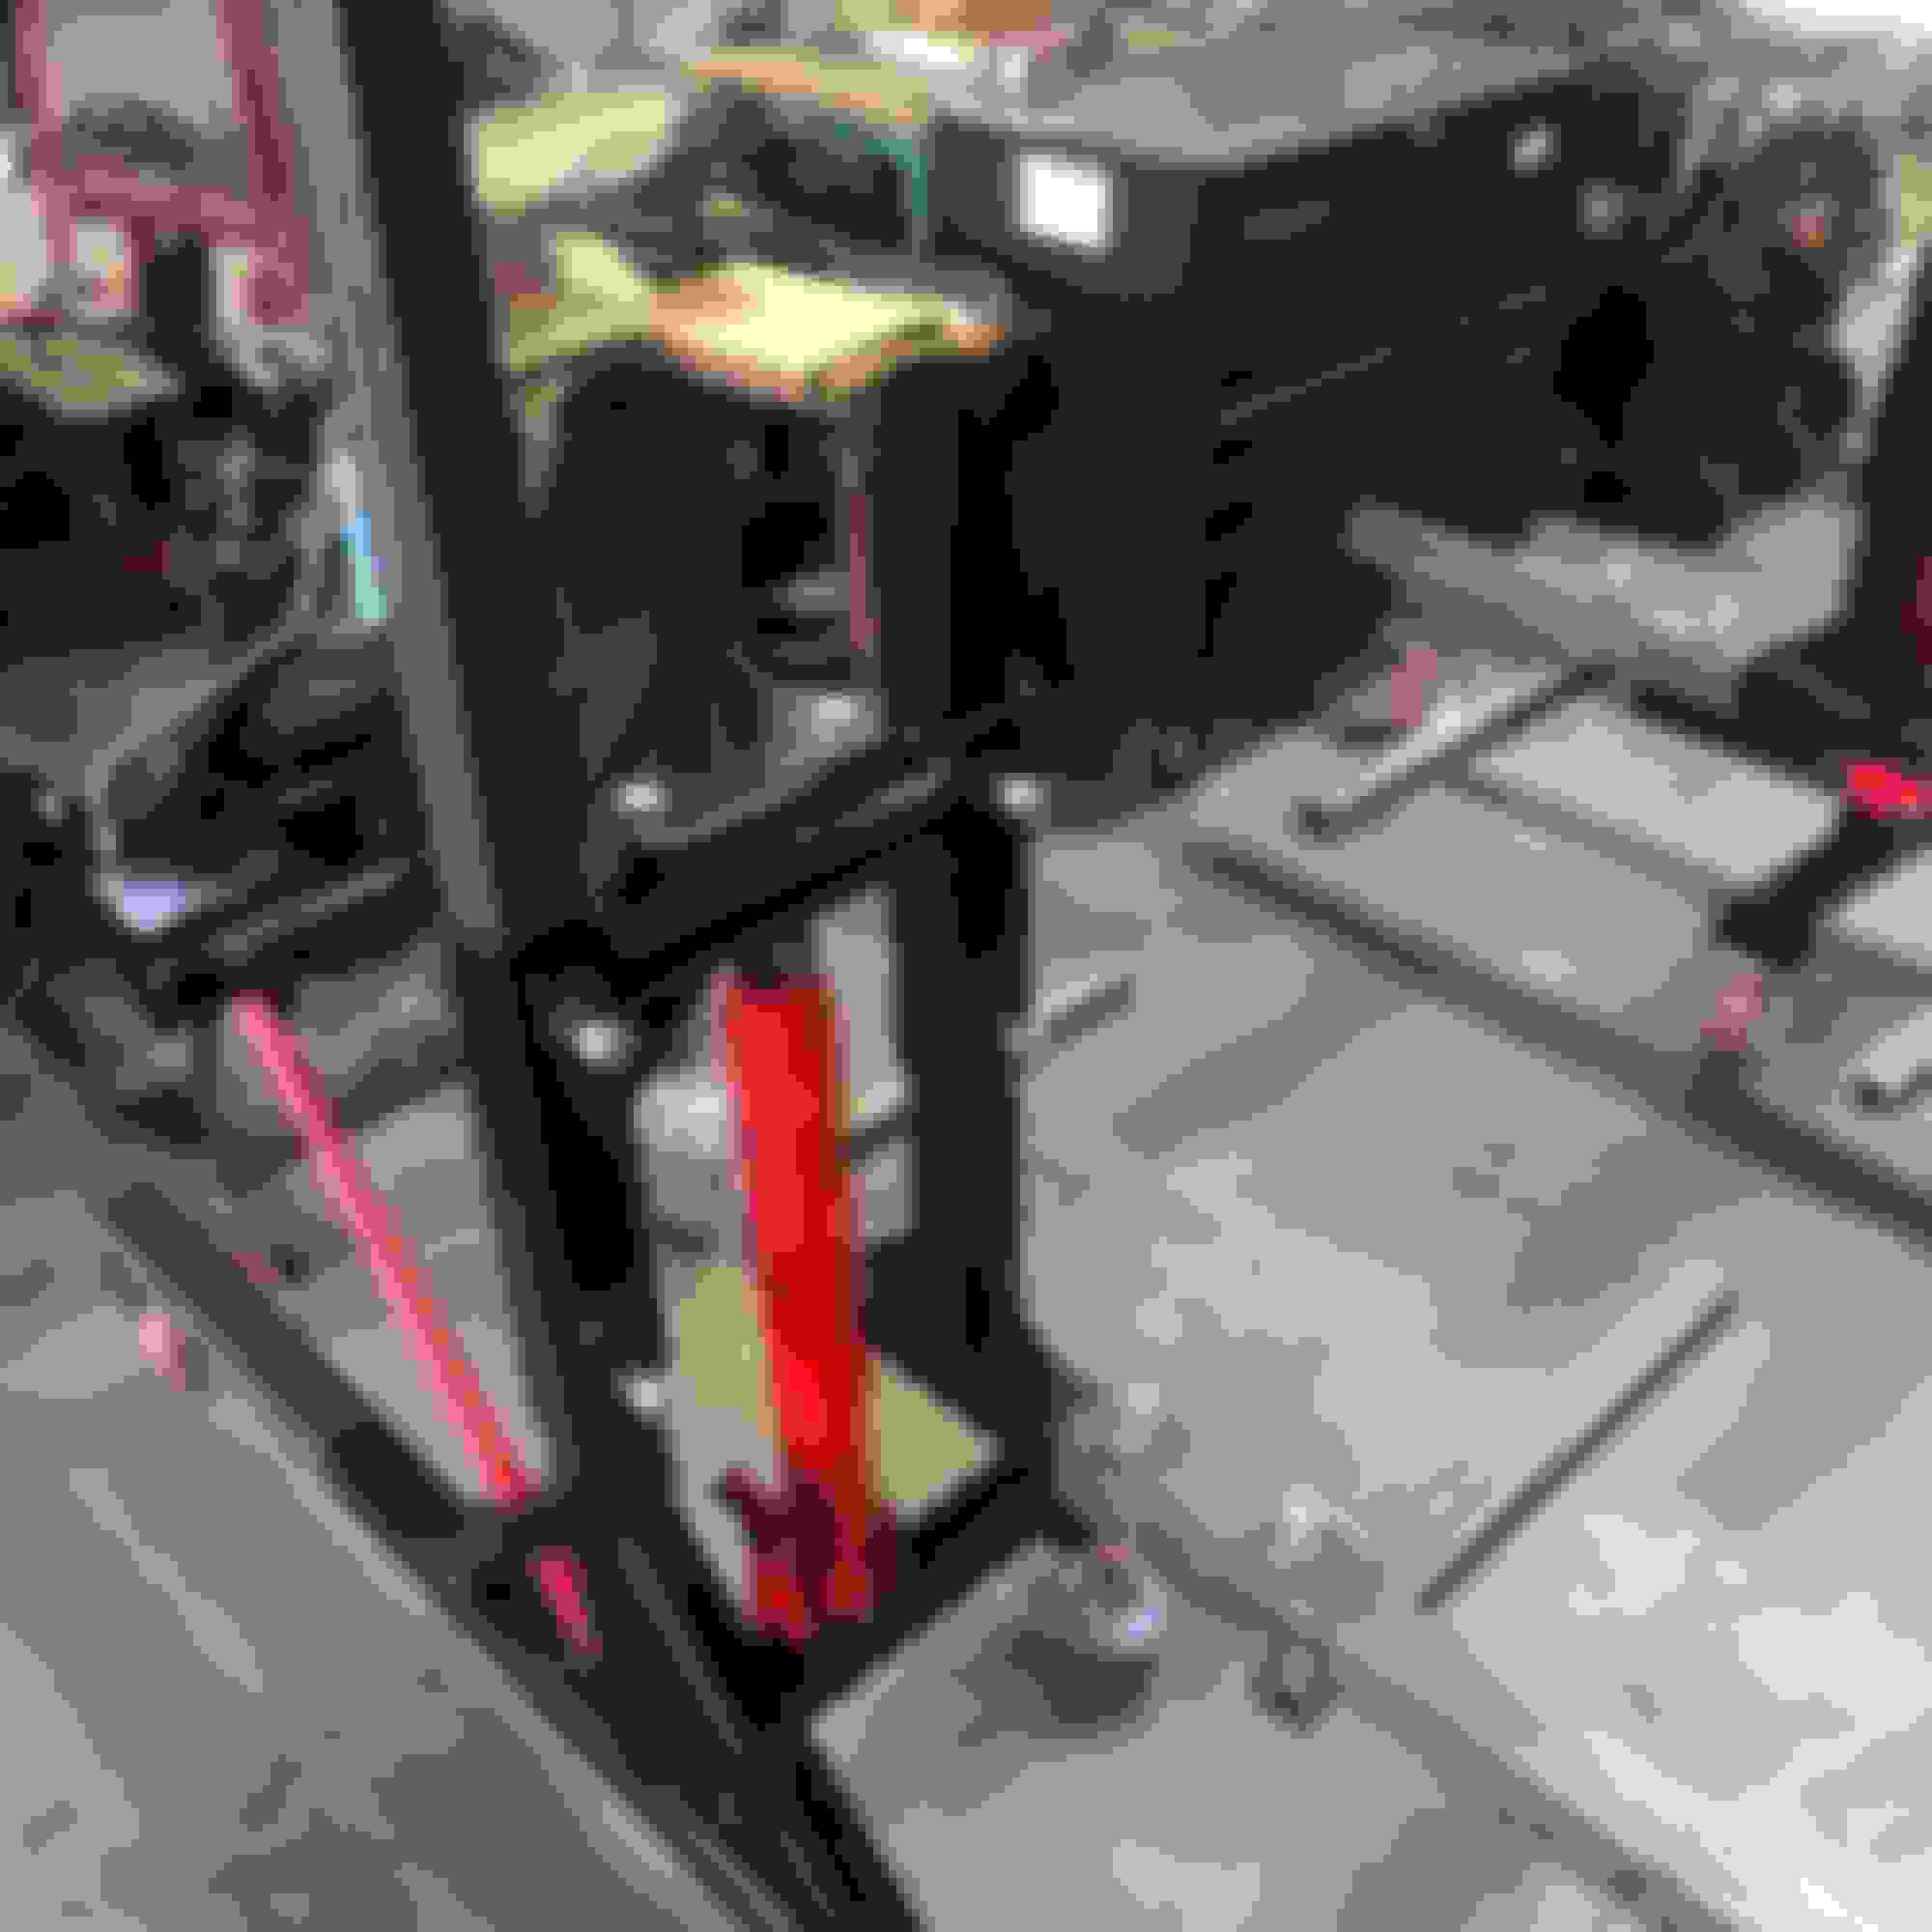
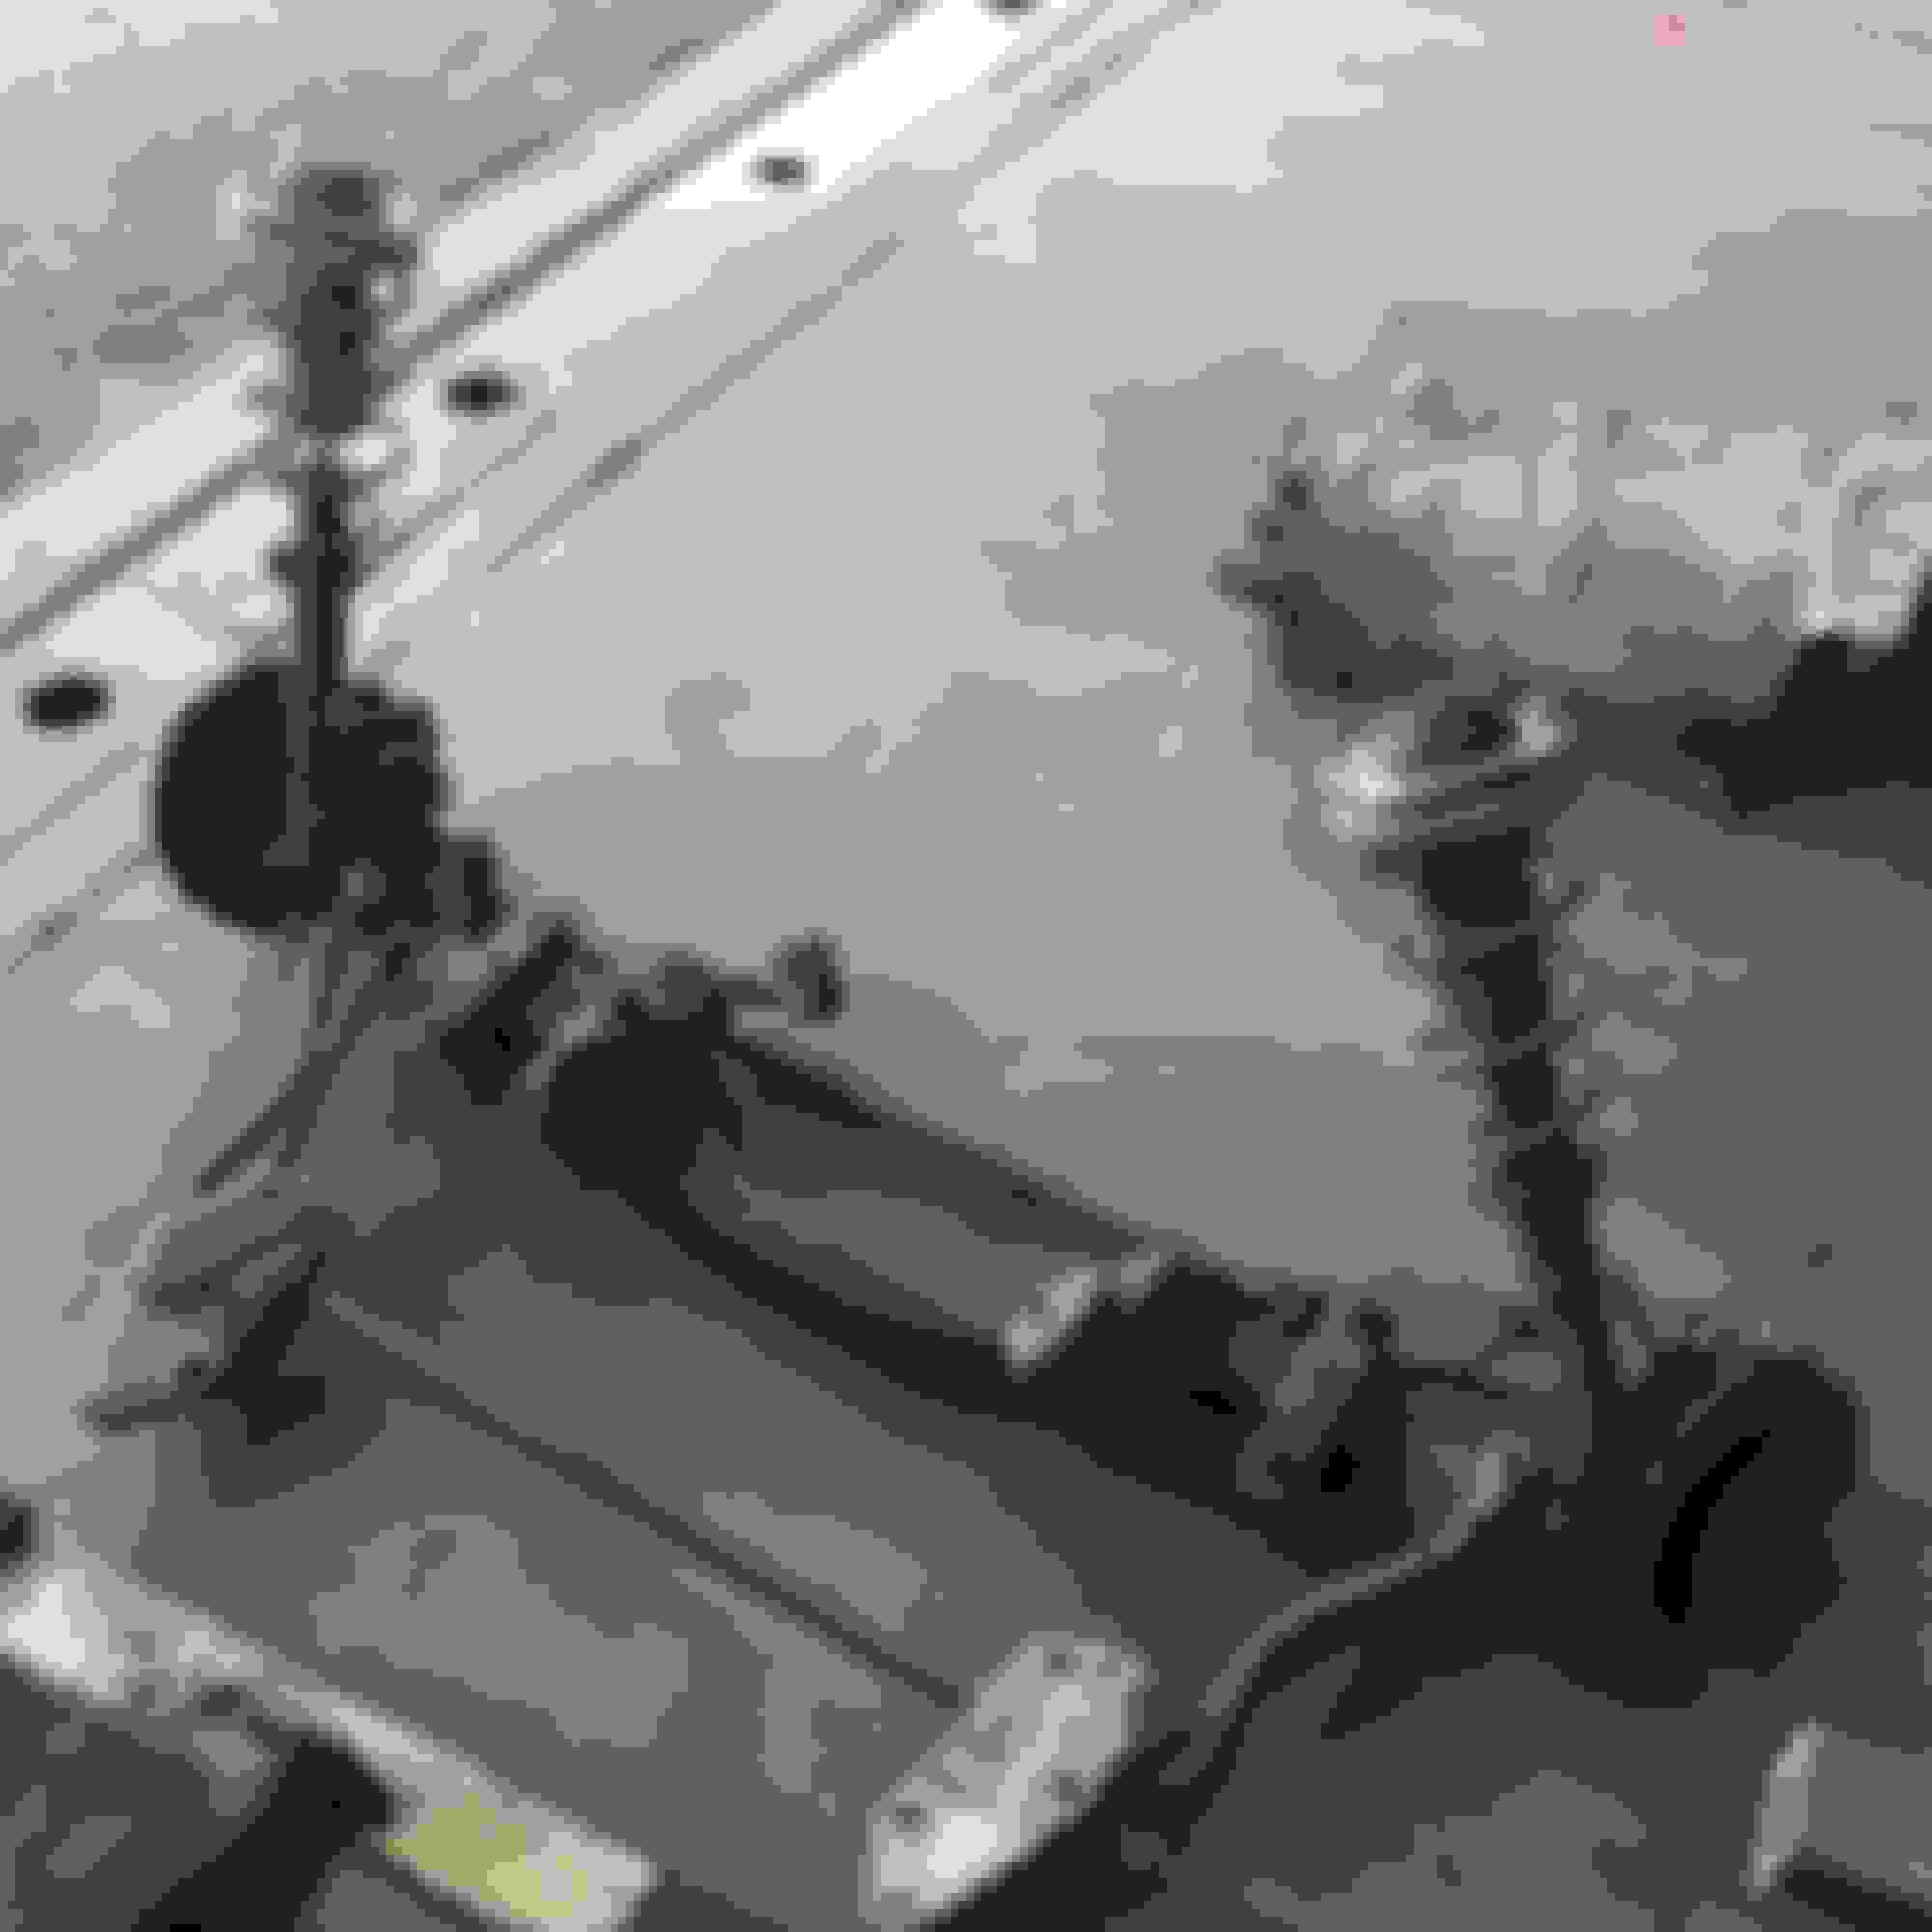
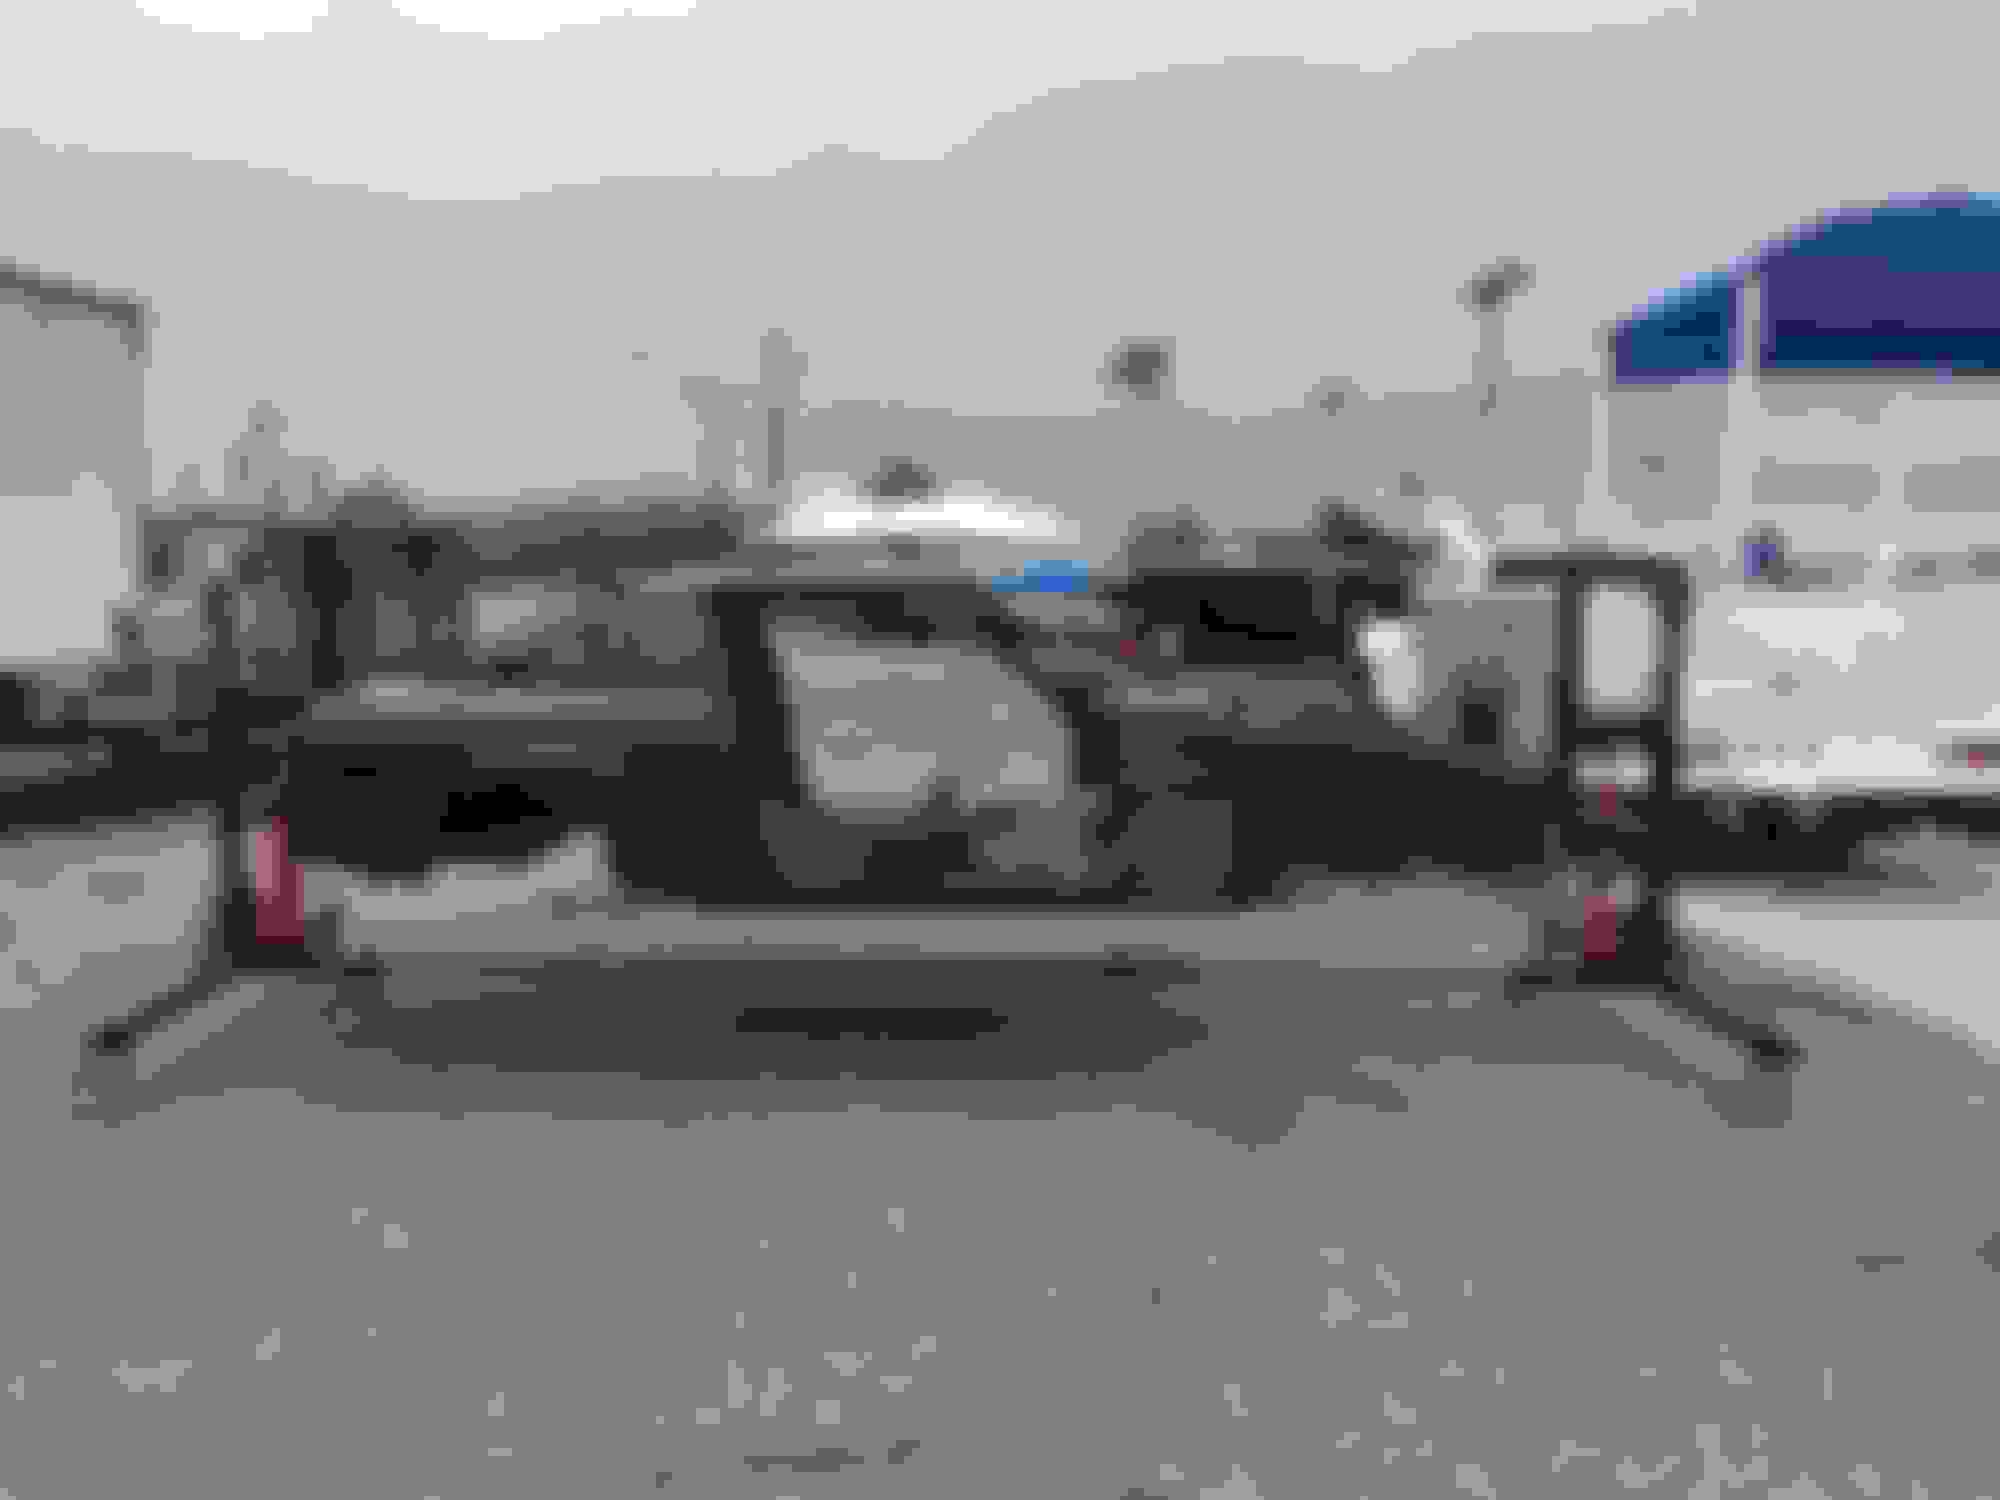
Well, she's on the rotisserie now! Still need to fine tune the position and possibly remake the body mounts.... rear end and subframe has been removed, it's just a big beer can at the moment. The only things on the car still are the gas tank, e brake setup, and what's left of the fuel lines and hardware.....
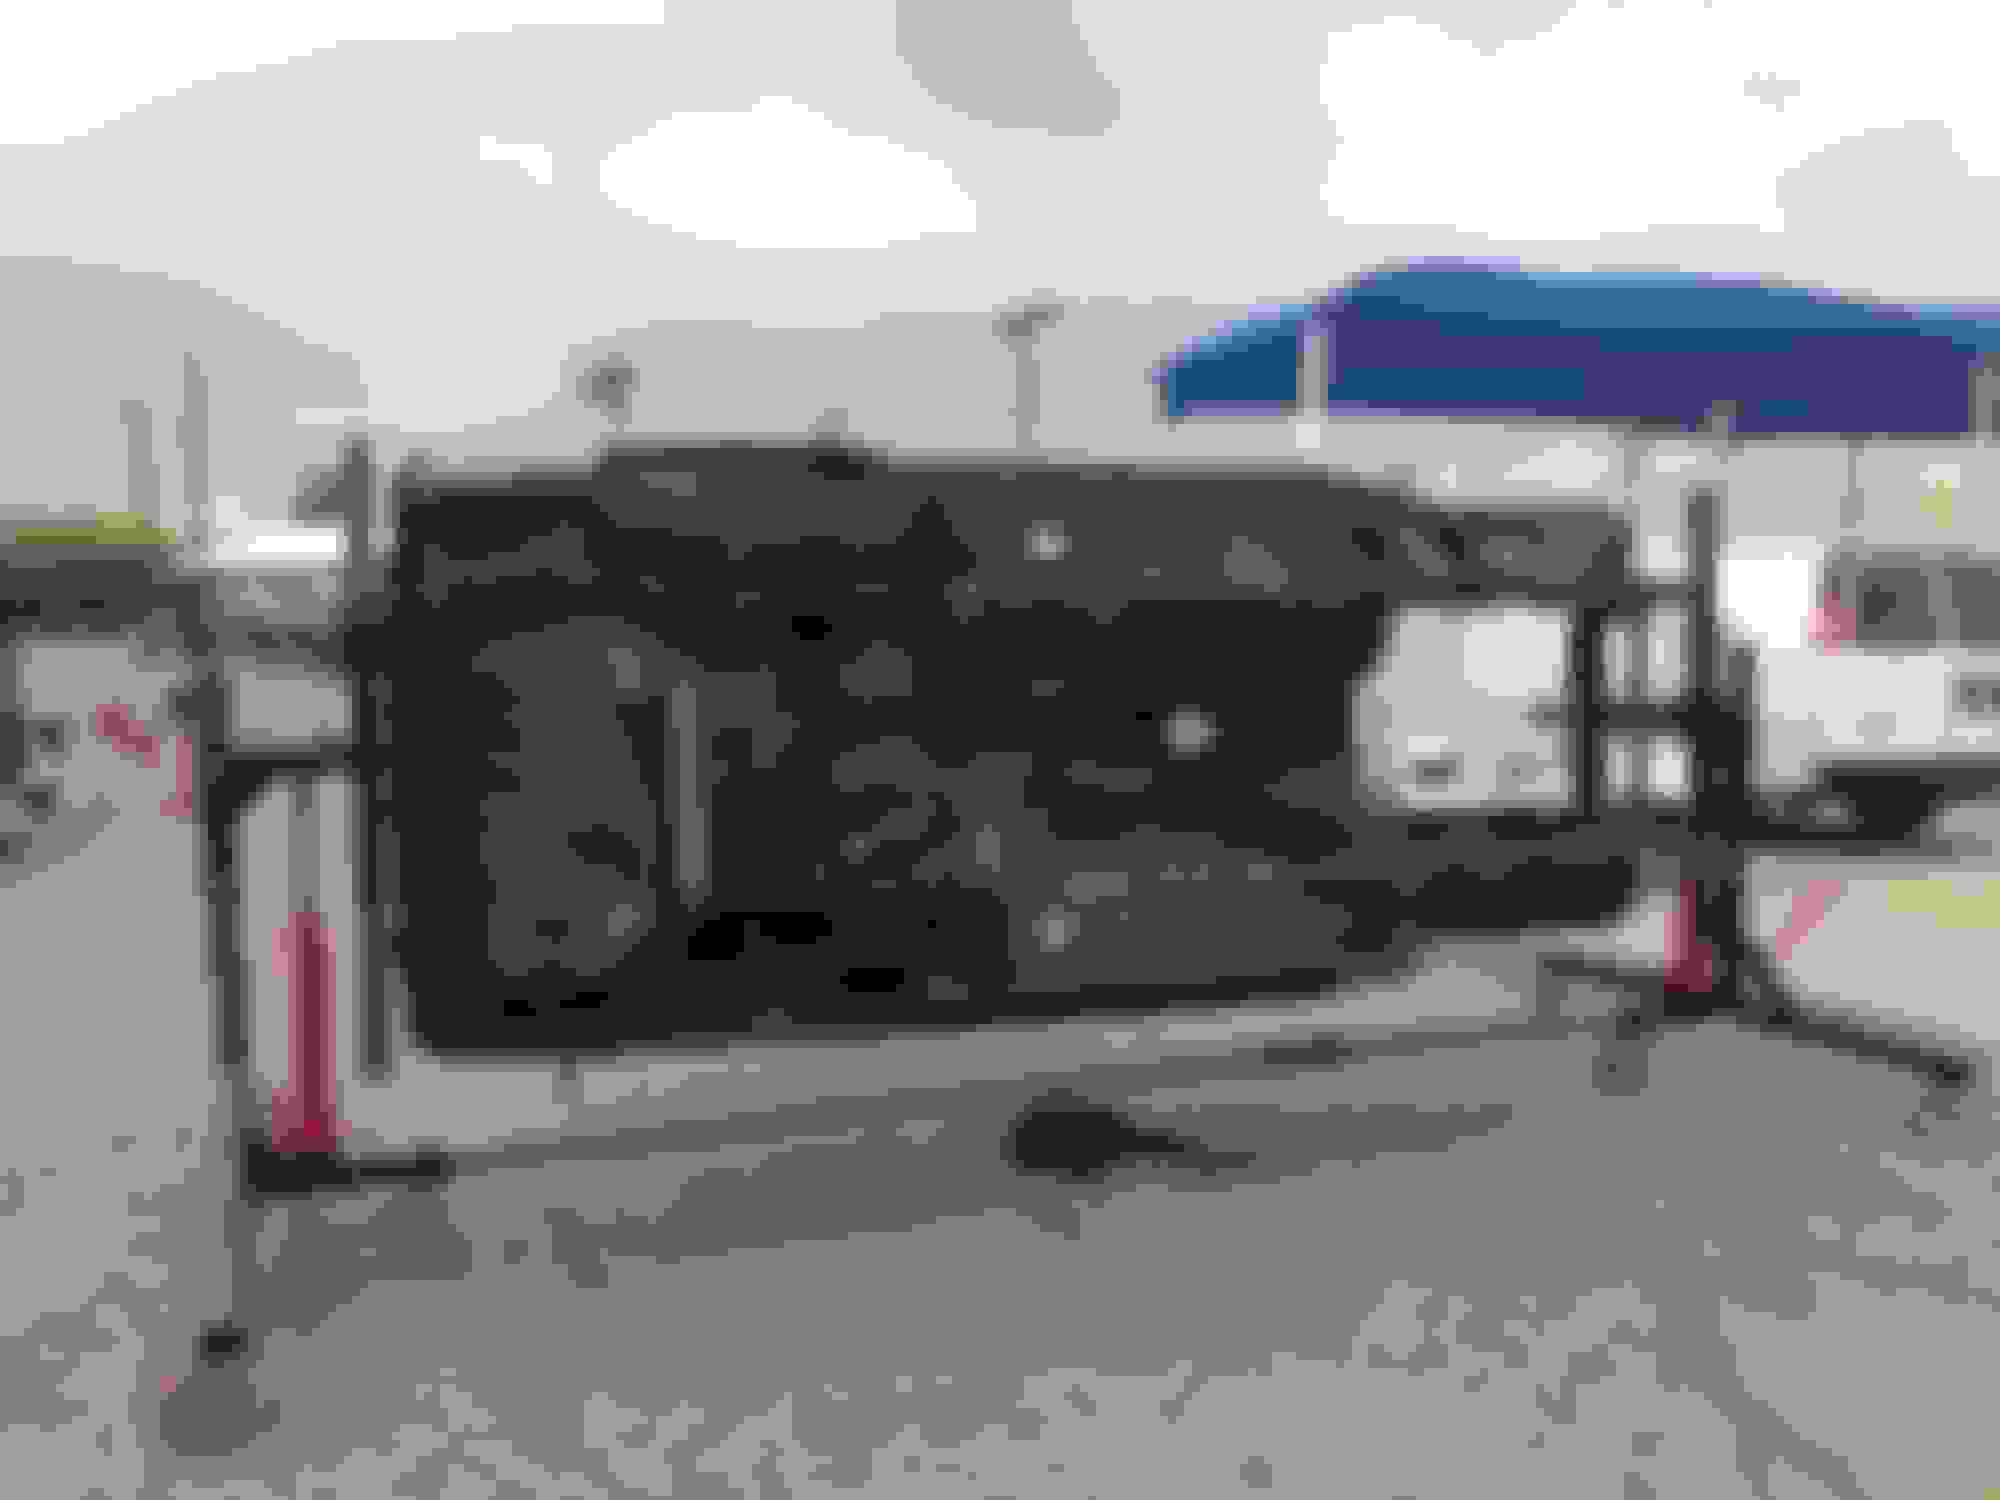
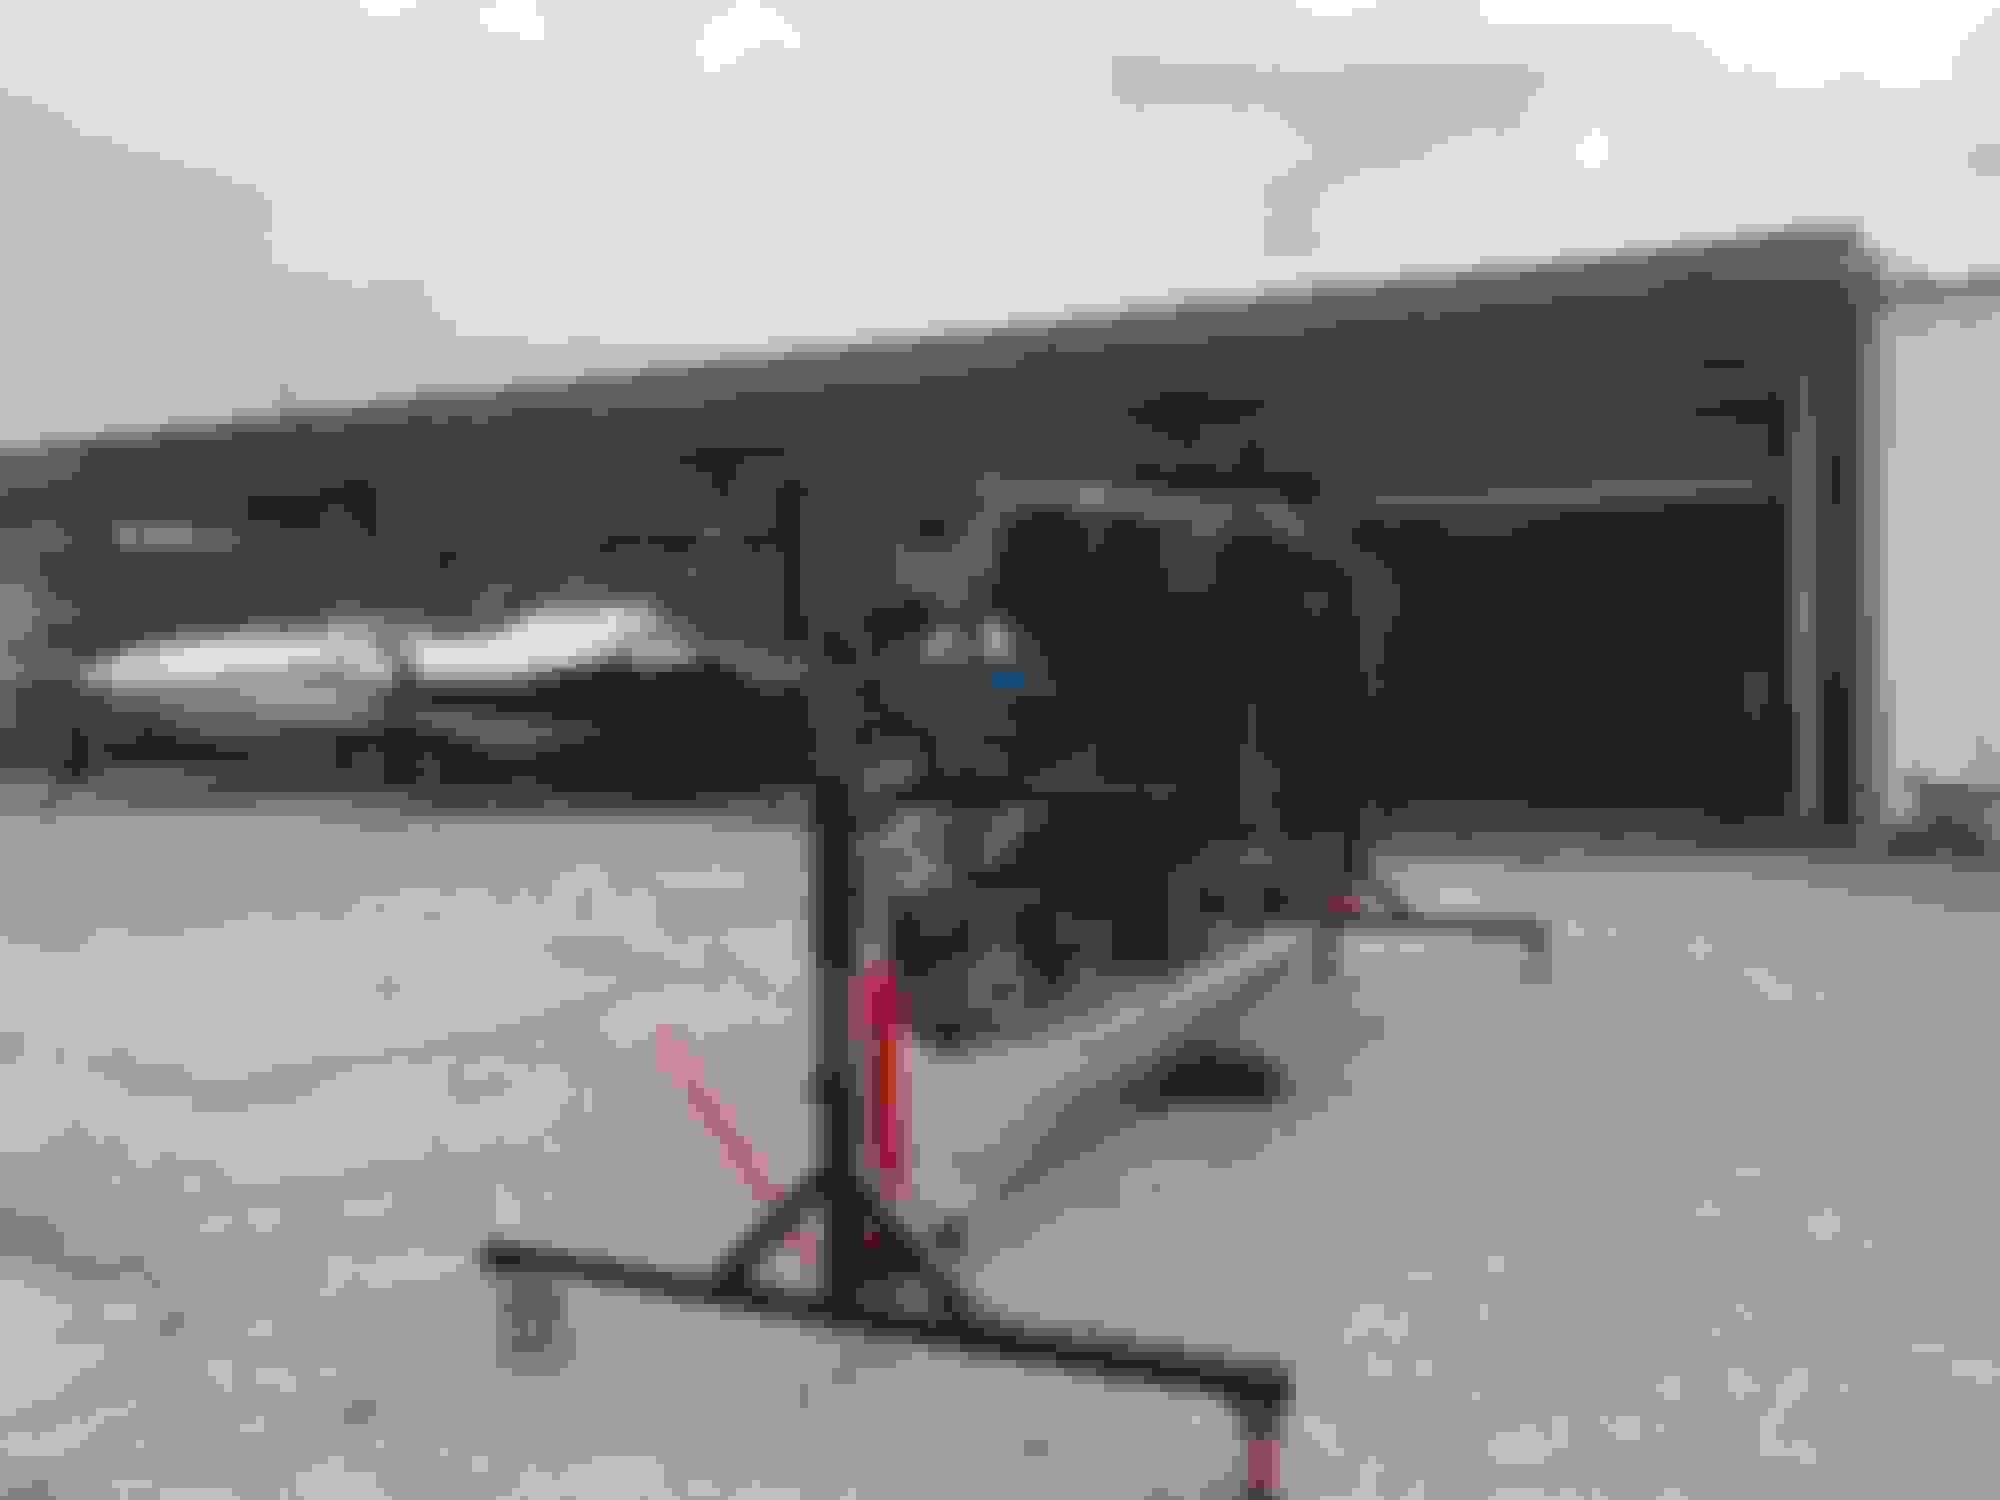
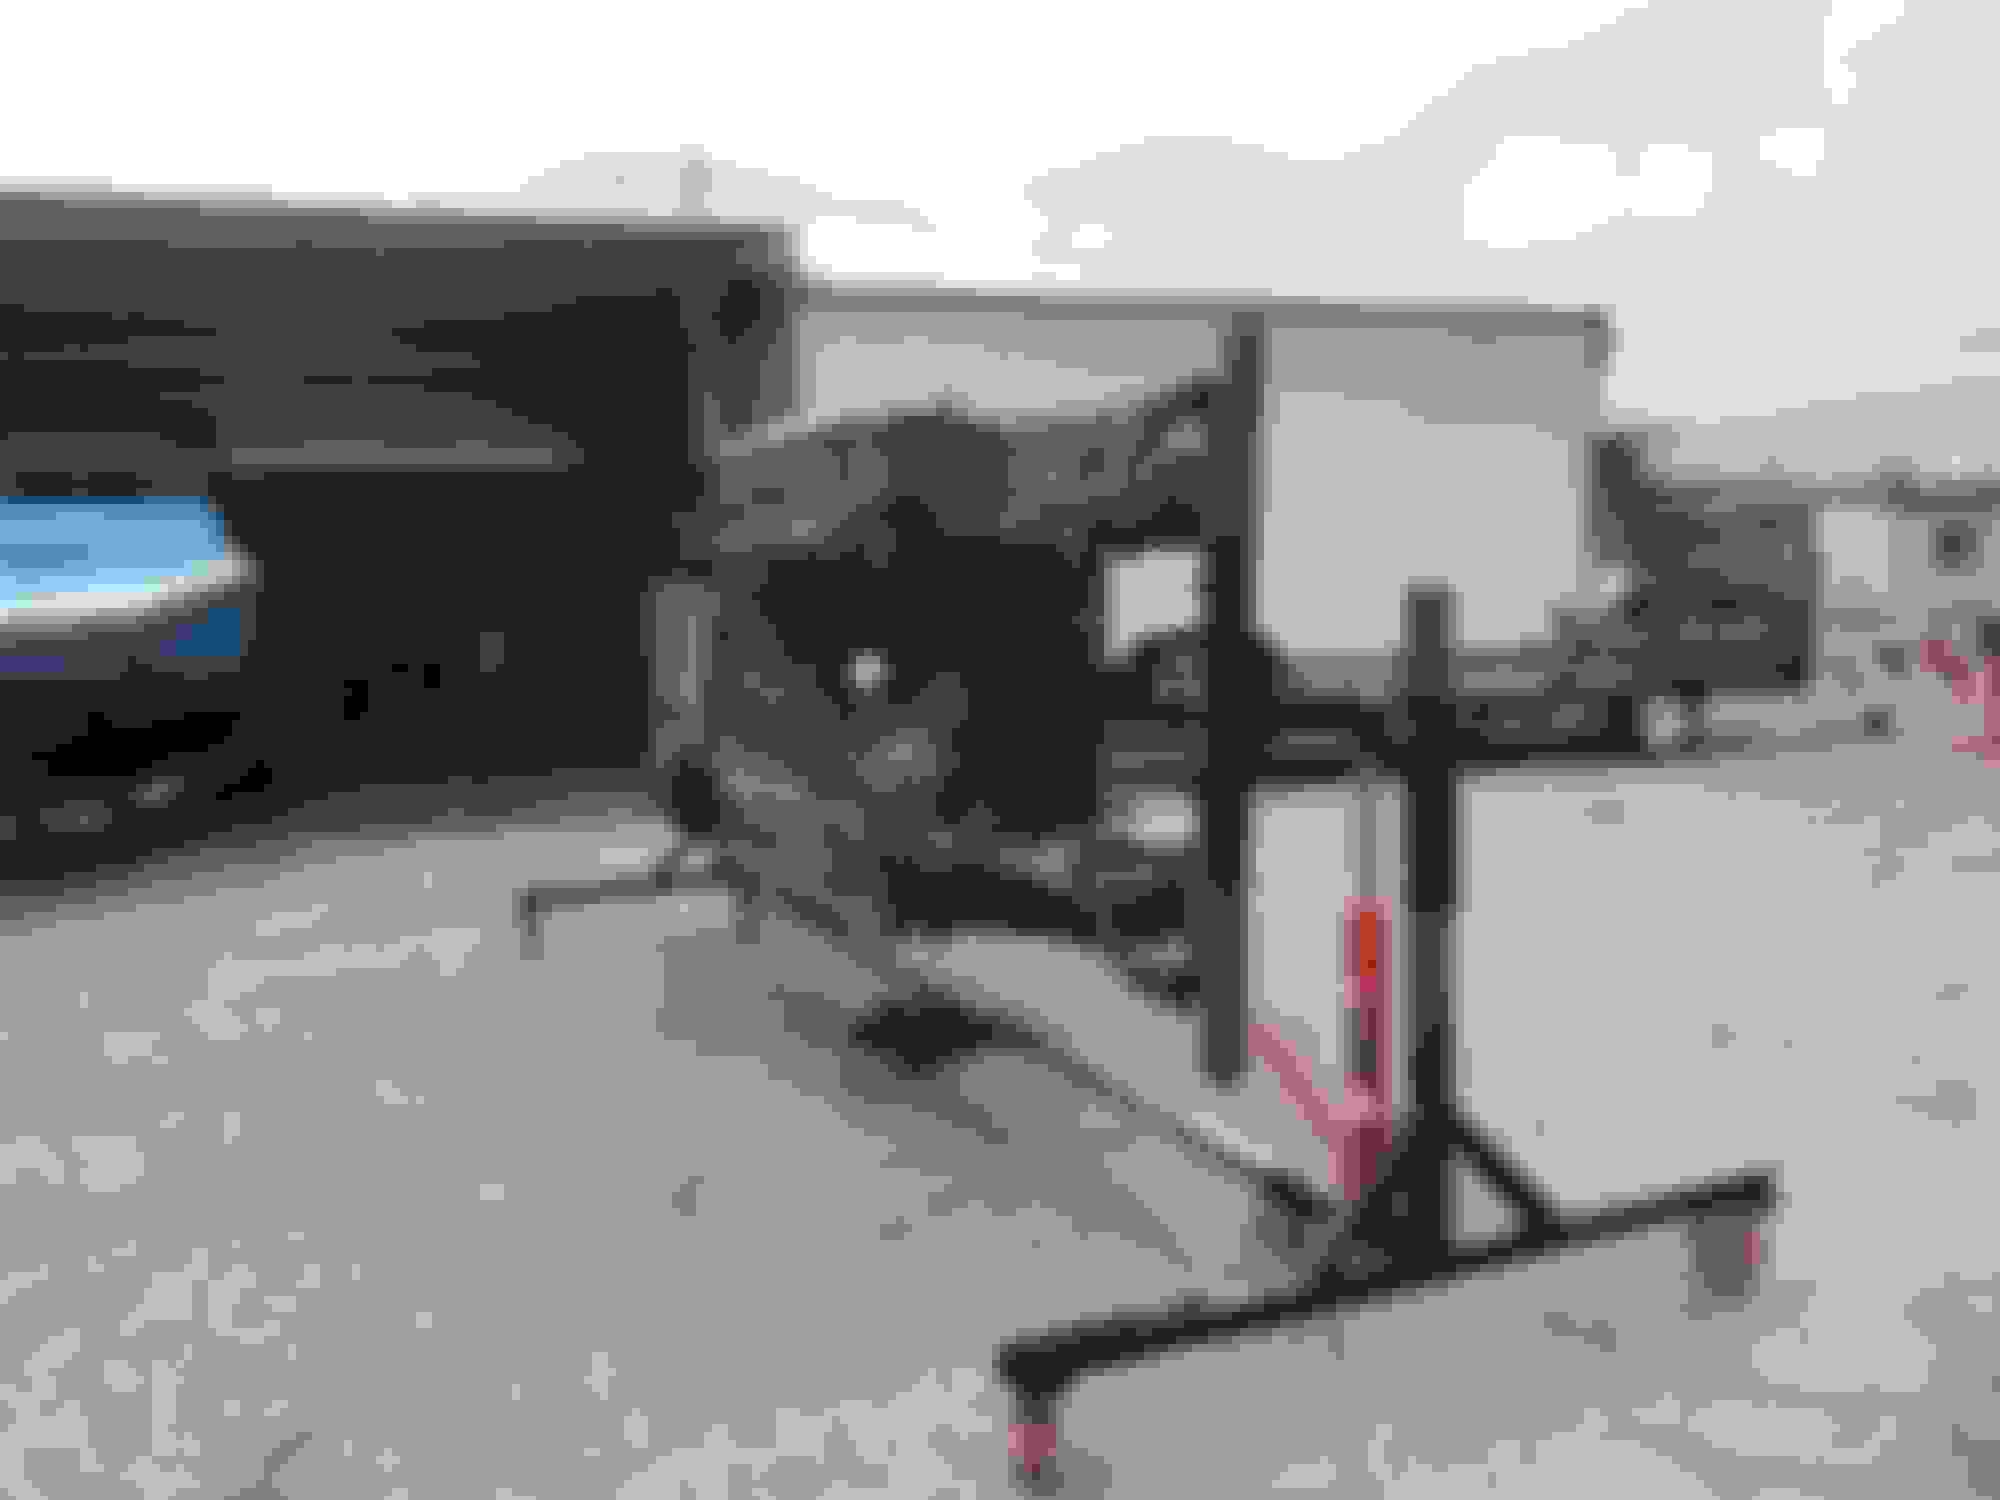
Today I made some big adjustments and found a better center line for the rotisserie's pivot points. For anyone in the future or anyone who is considering this now; if I were to rebuild this again I would put the rotisserie's pivot point directly inline with the bumper brackets (or possibly even lower). The center of gravity is good where I have it now, but could be even easier to spin if it was lower to the cars frame... Here's some pictures!
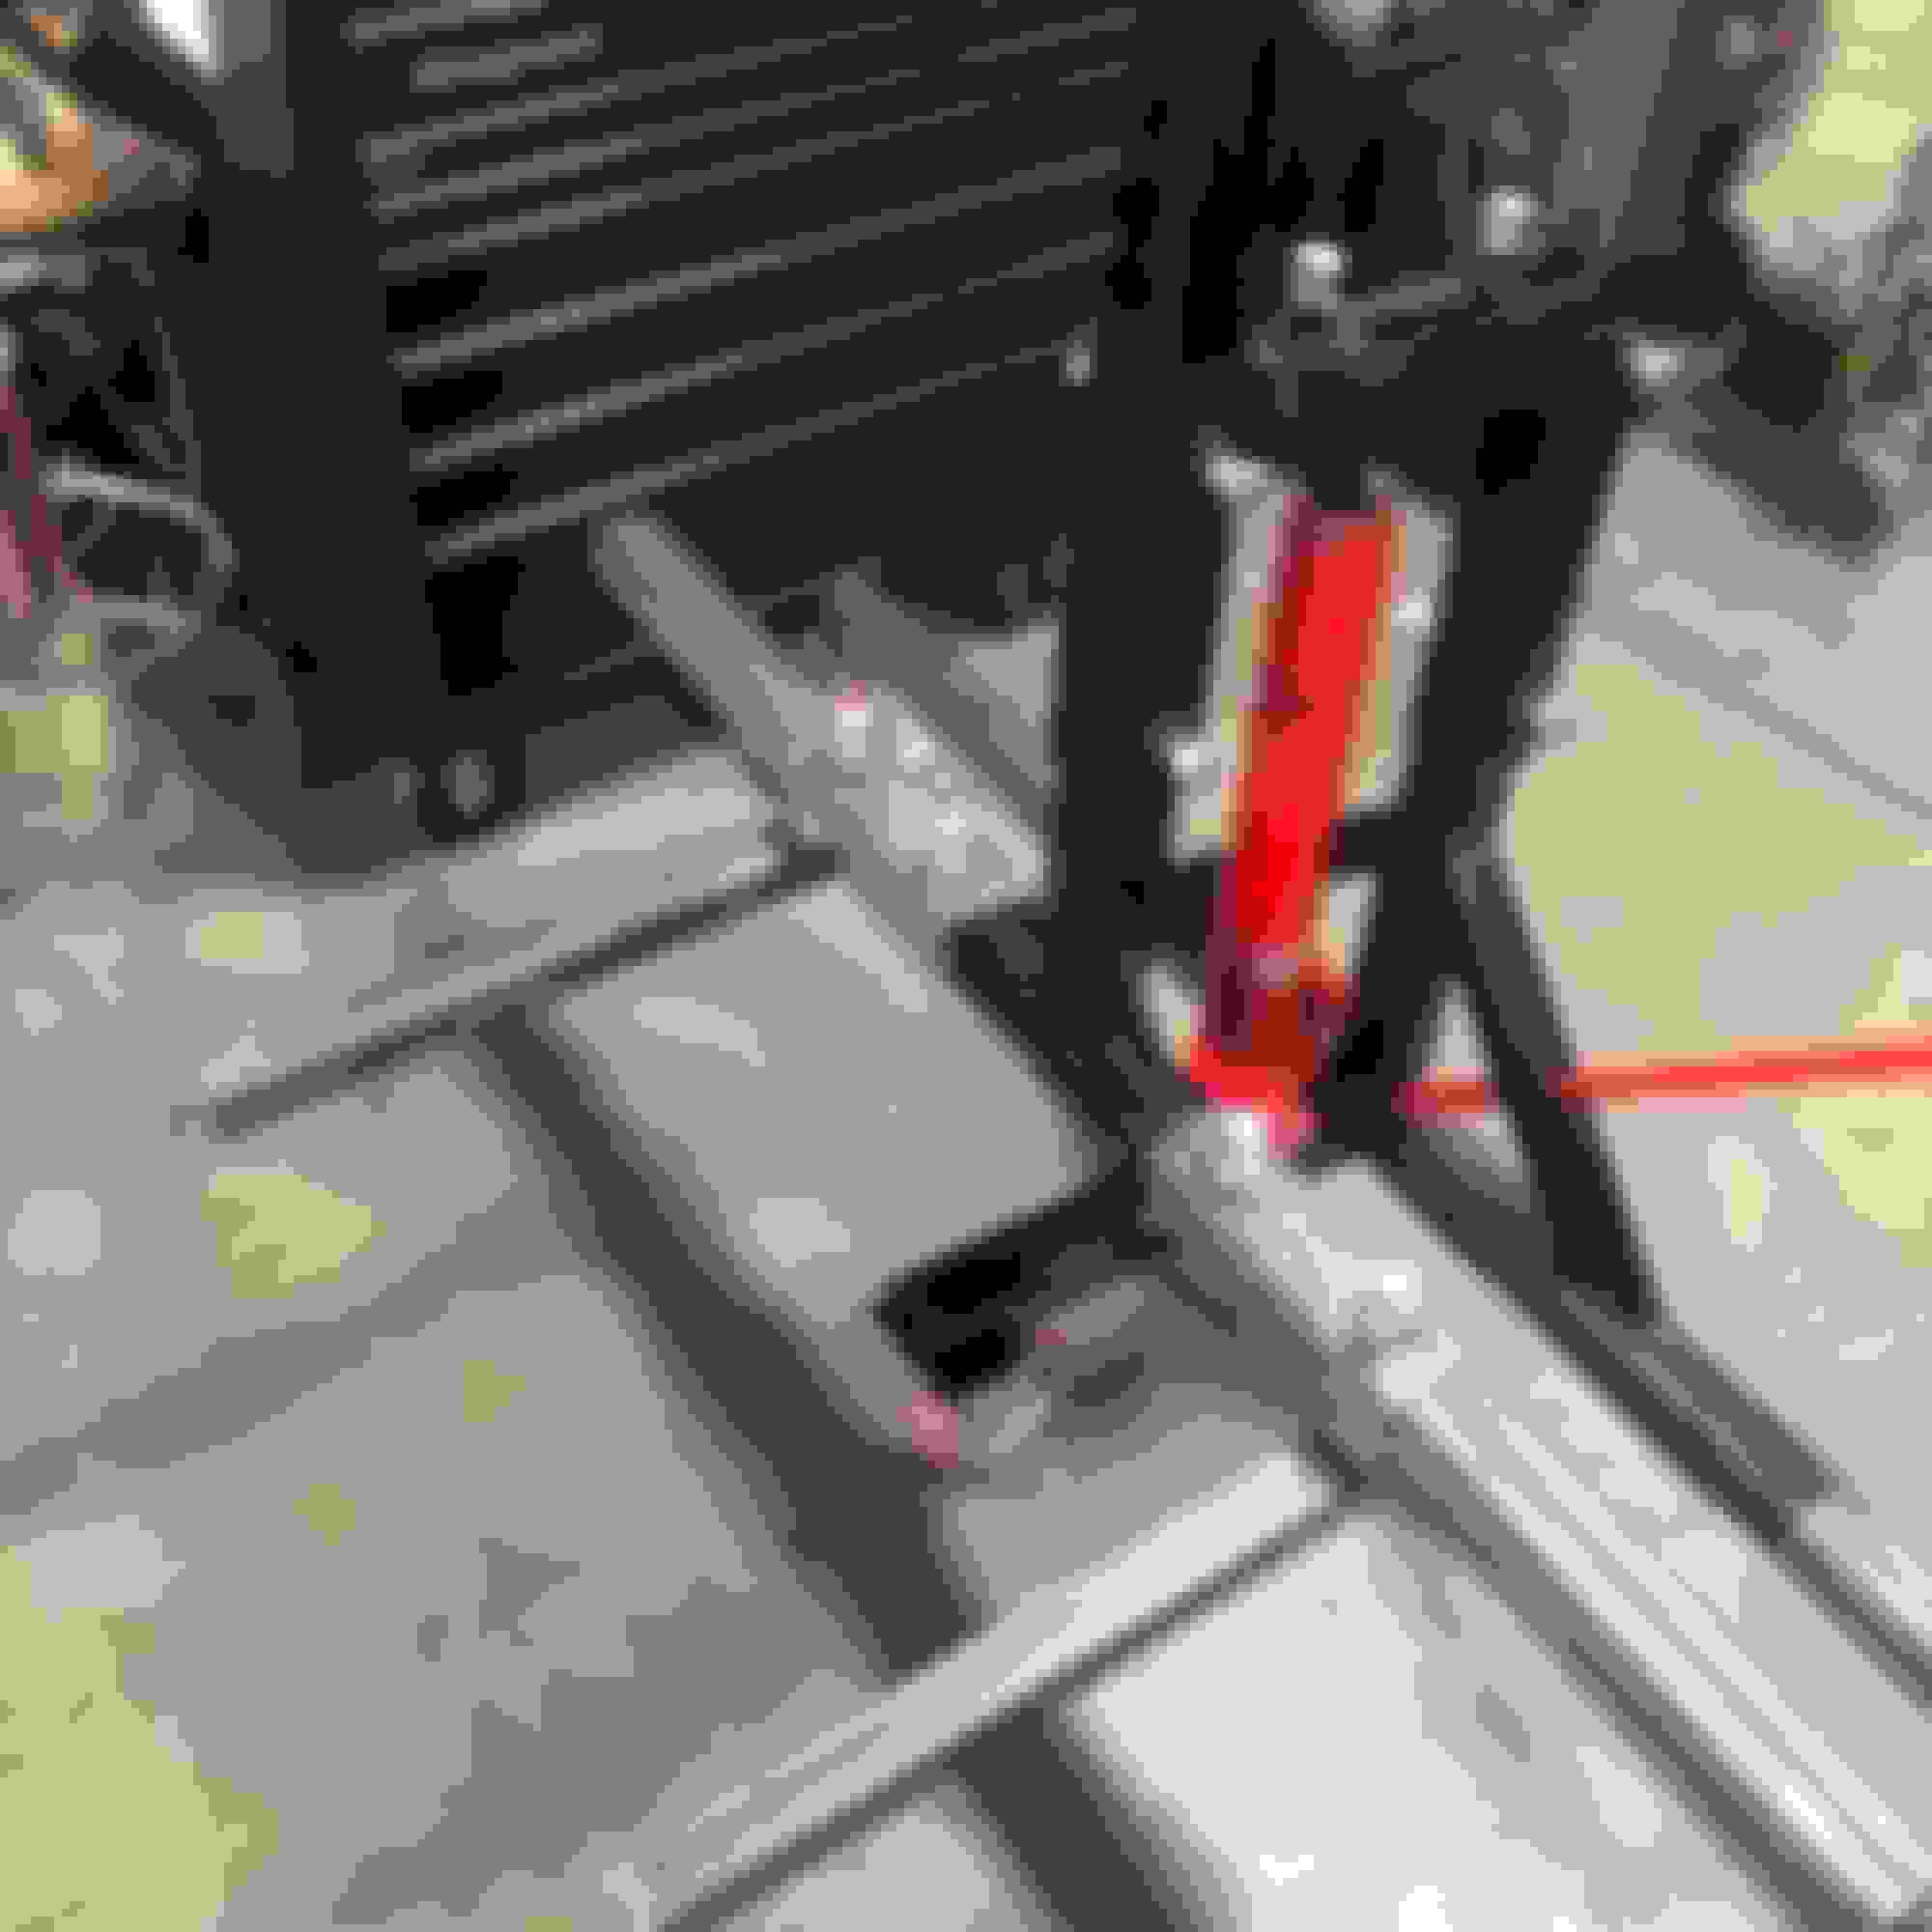
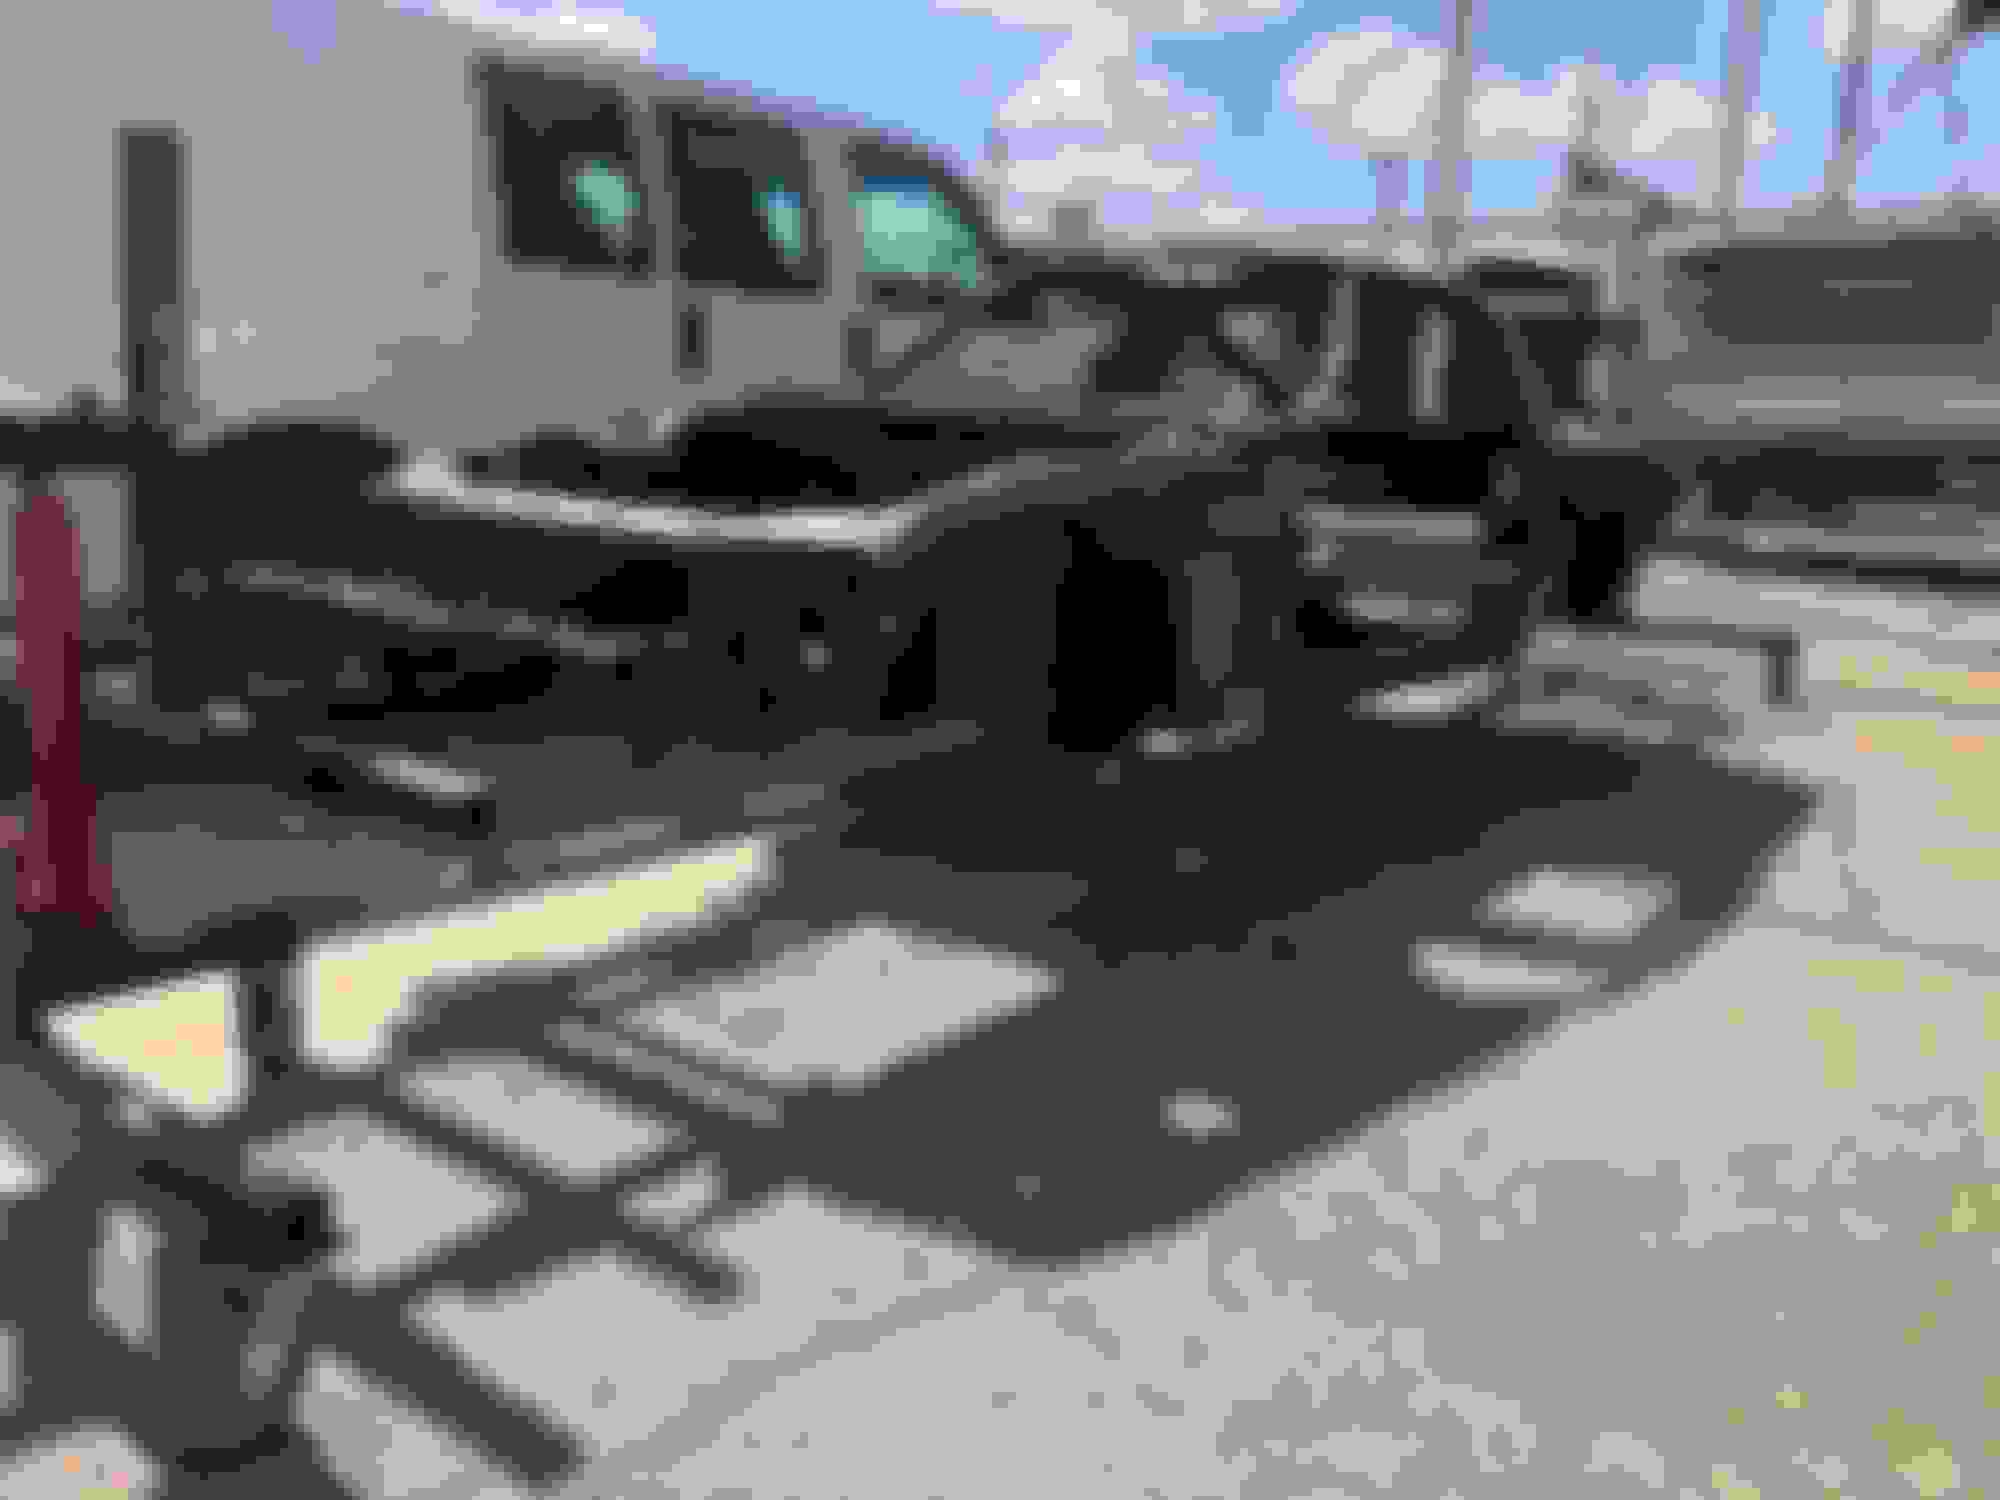
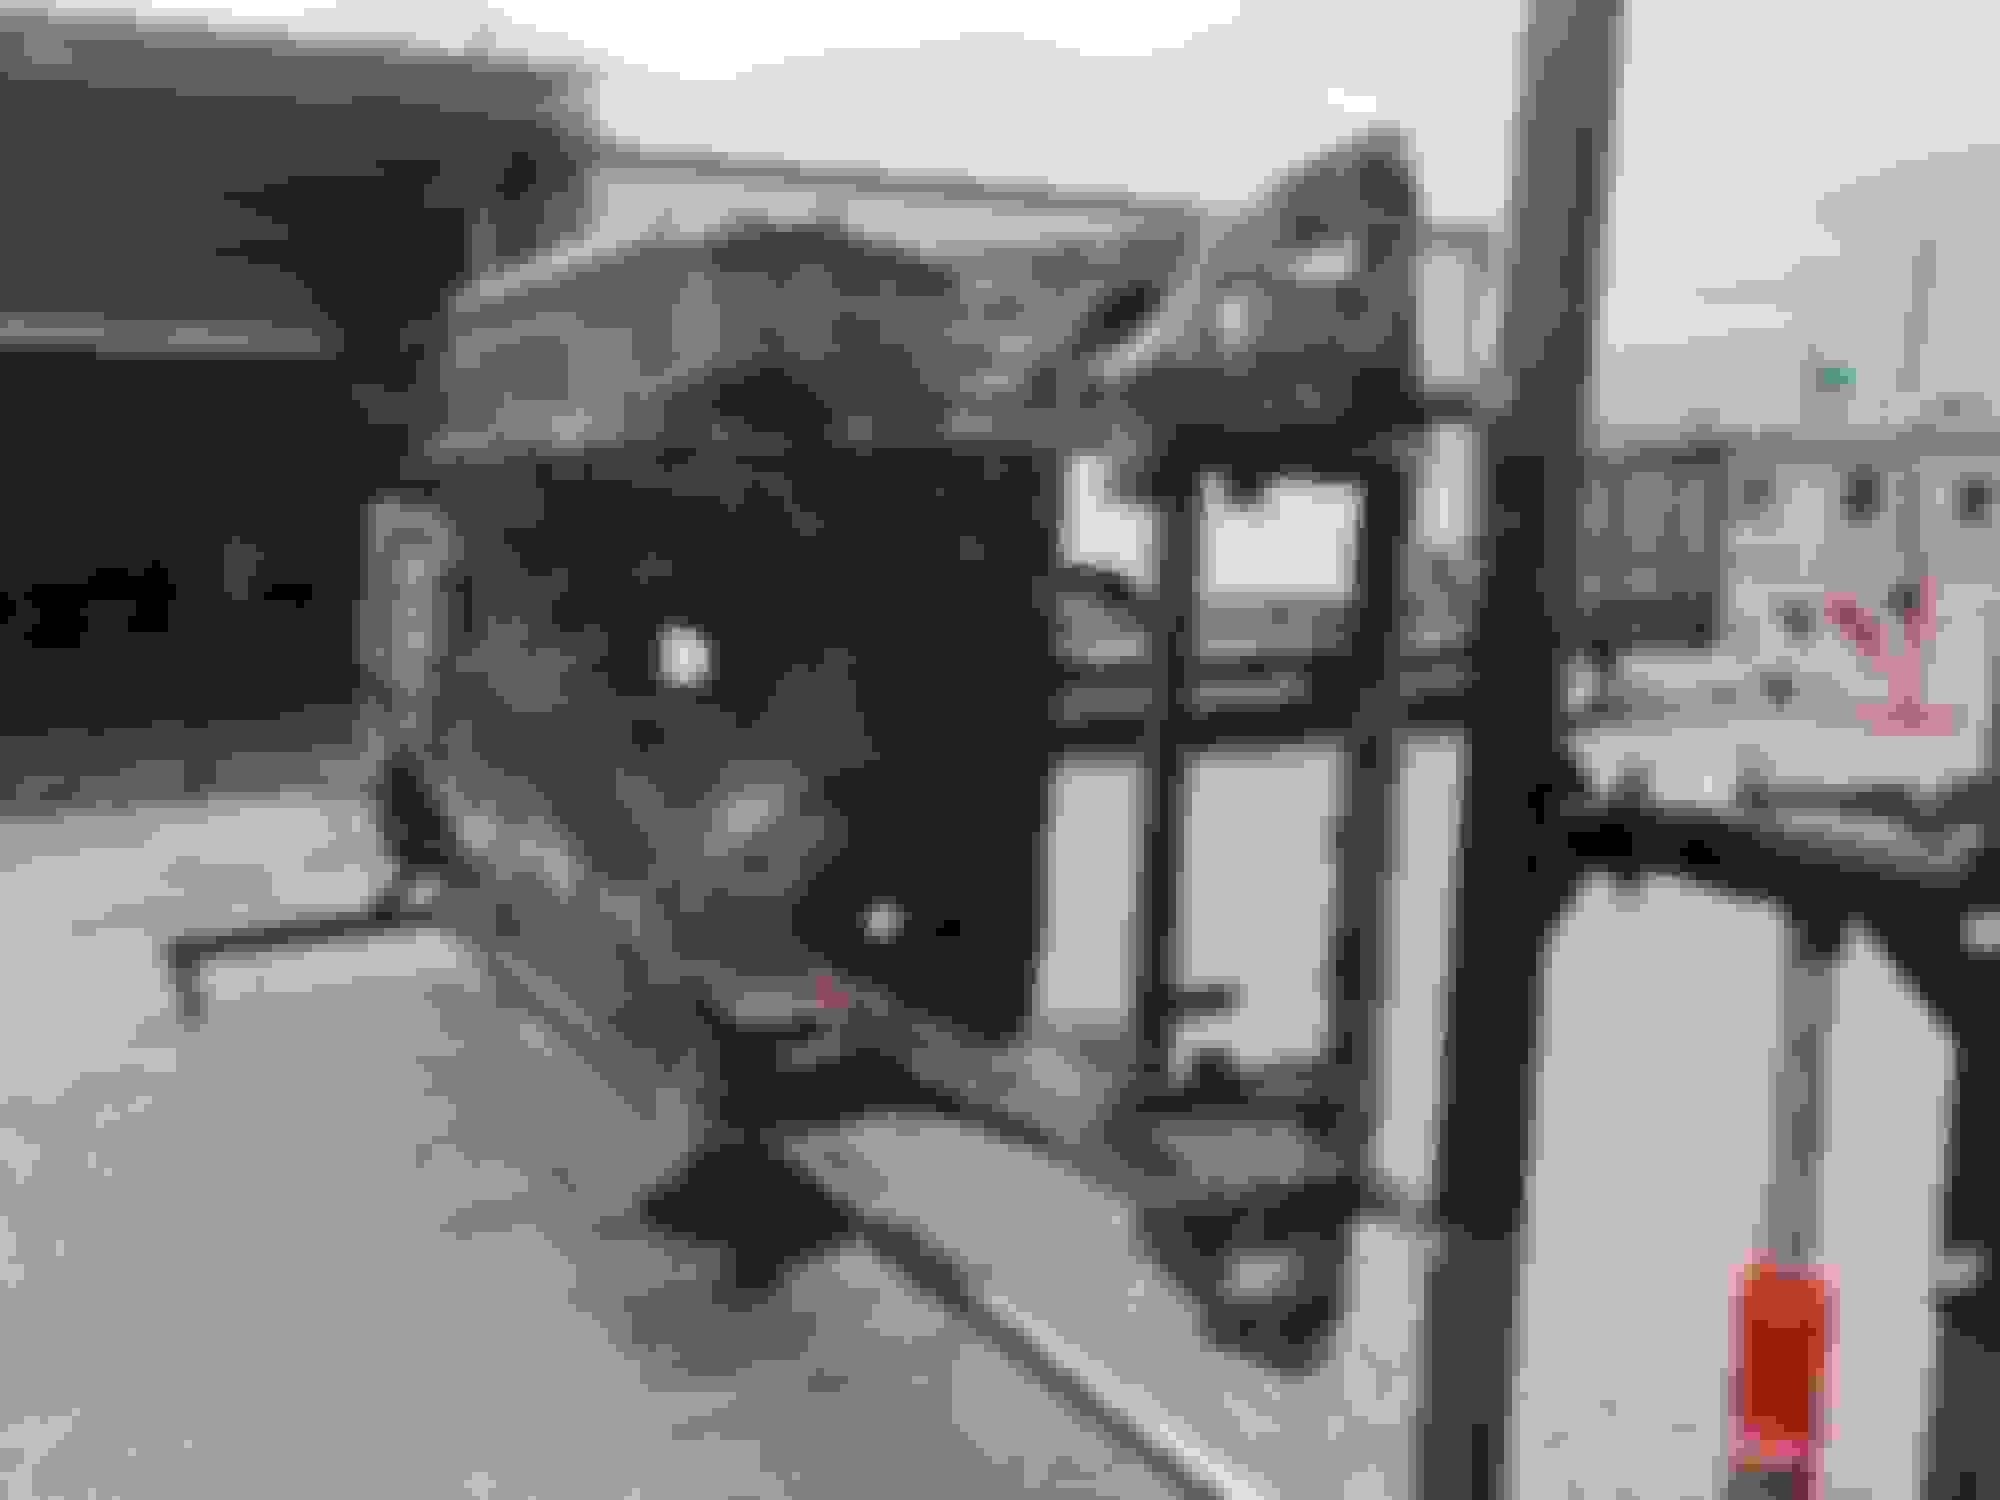
Here's how it was mounted the first time. ^^ Bracket/mounting arms are too long making it hard to keep the stands together.... also pivot point was too high on the car here Second try,^^ trying to make the pivot point lower on the car. This didn't work. Today, I decided to get rid of the mounting arms/ brackets all together, and mount the bumper brackets directly to the hanger of the rotisserie... much easier to spin now!!! This made it much easier to spin and made the overall length of the stands much shorter and more stout. I have no doubts about the setup failing now. I was too scared to spin it 360 today hahaha maybe soon though.... this has been a lot of fun already and I haven't even gotten started! I can't wait to get some real progress going. Next up is stripping the car inside and out and covering it with primer....... and a lot of body work
Mounting it without the bracket arms looks so much safer now. The initial mounting made it look like it would fold in the middle once you tried to spin it. Good job so far!