When you click on links to various merchants on this site and make a purchase, this can result in this site earning a commission. Affiliate programs and affiliations include, but are not limited to, the eBay Partner Network.
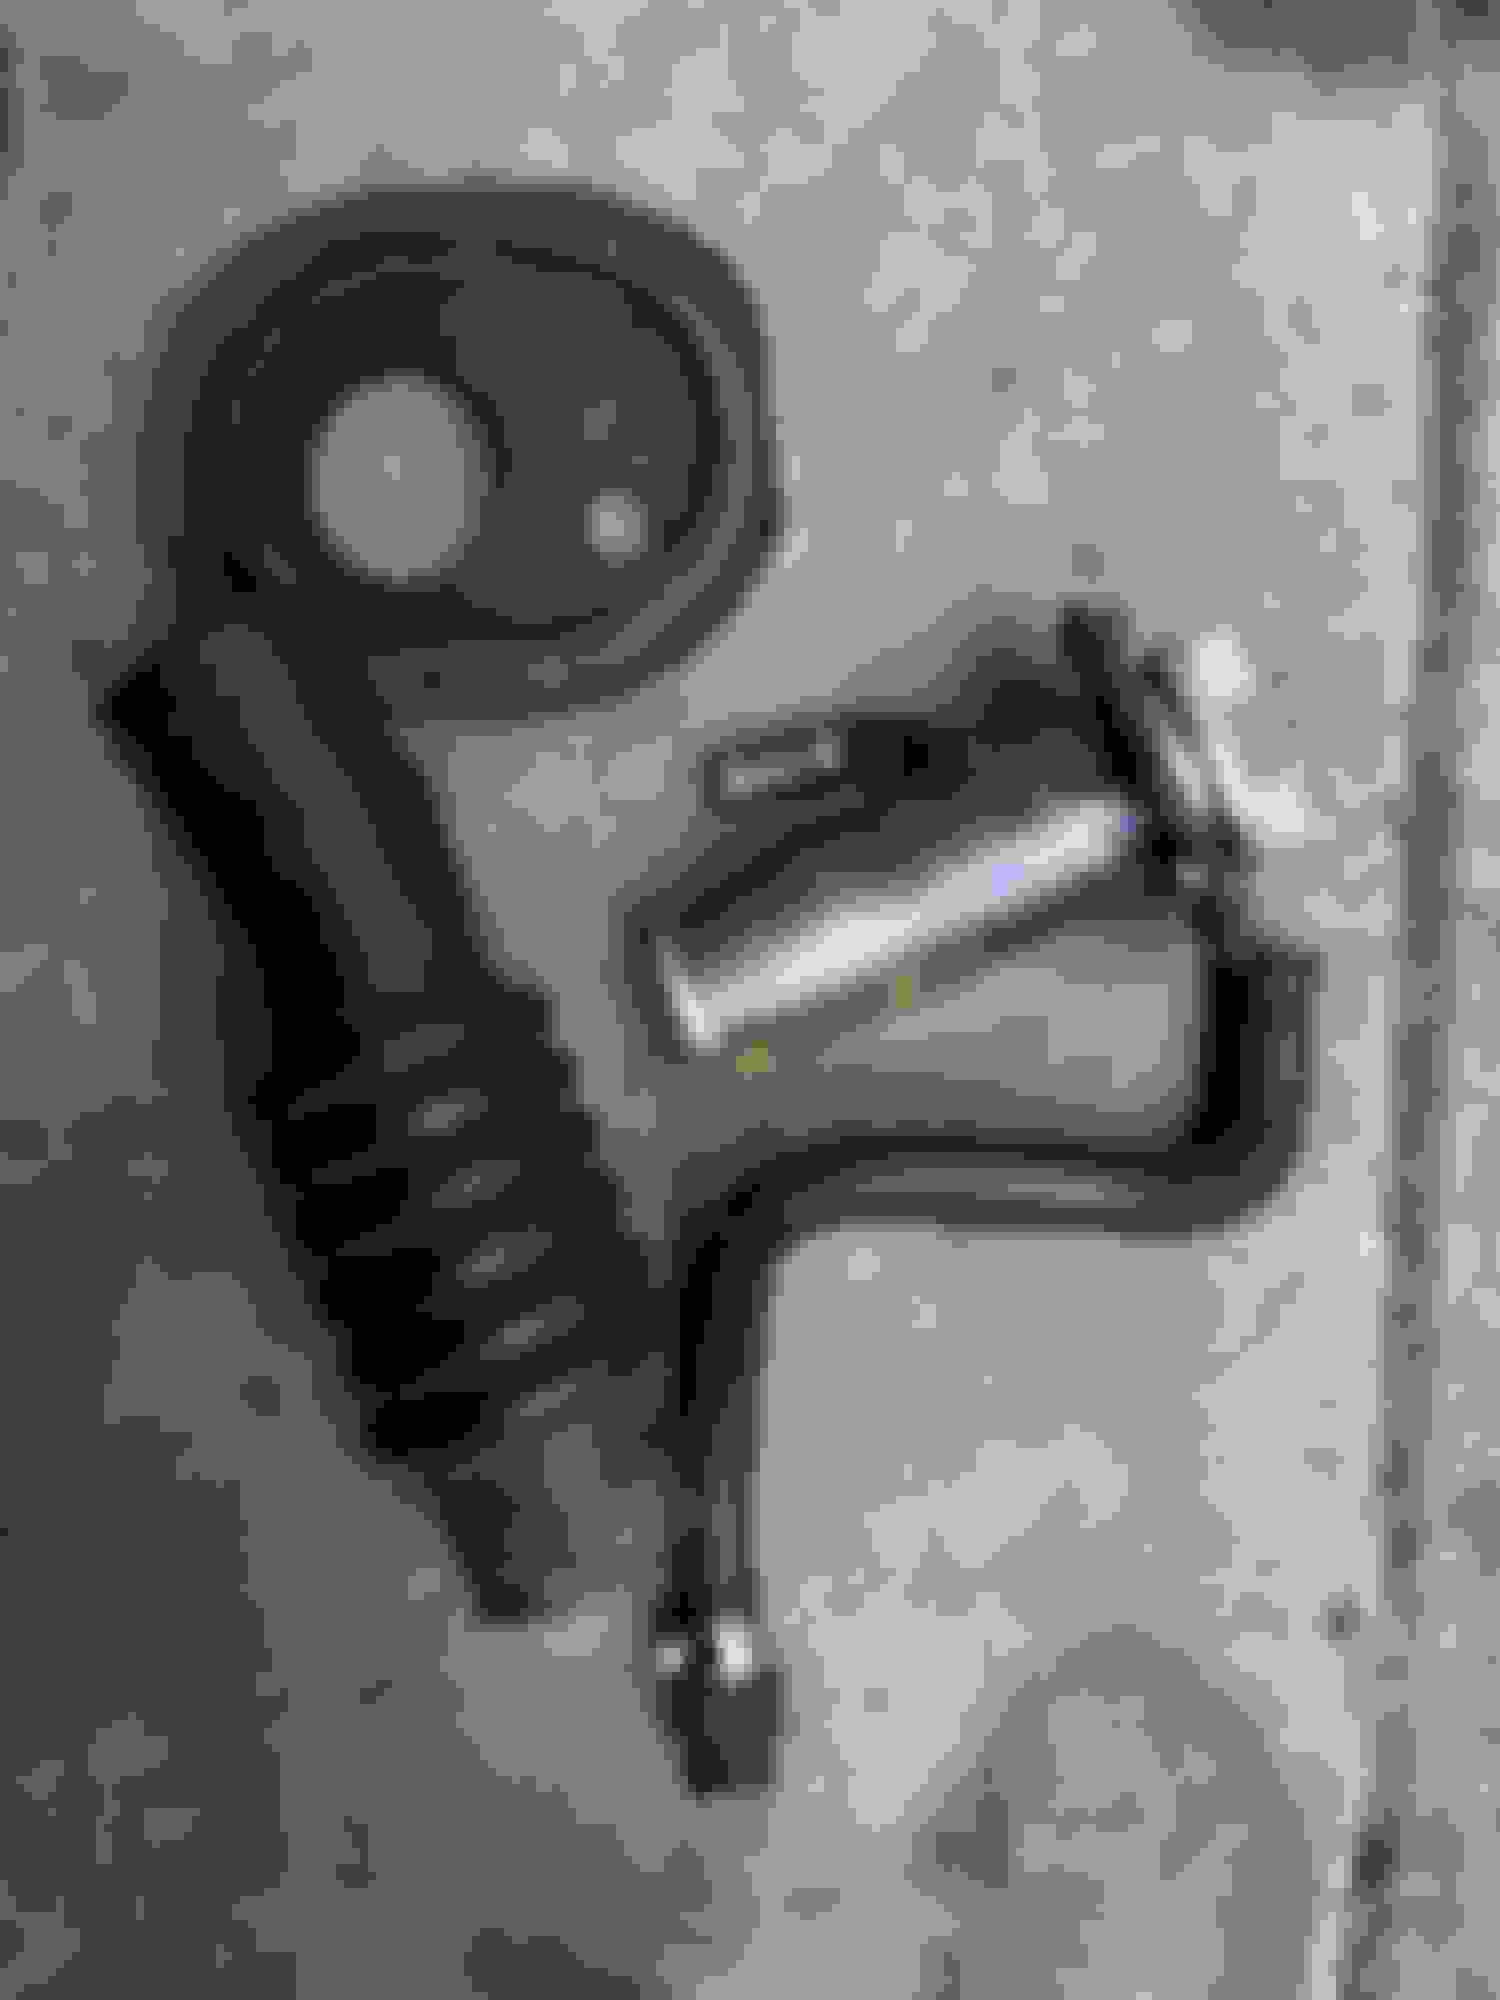
Switching gears from the fuel system for a little bit. I changed the rear wheel cylinders and replaced all of the soft brake lines. Also flushed the brake fluid and bled the brakes. While I was waiting on things for the gas tank to arrive I thought I would drain the coolant and see if I could get my water temp gauge working. While I was in there I changed the thermostat. Once the fuel system is done a good coolant flush is in order.
This was the coolant that came out of the car...
I couldn't get the coolant gauge to work but I am getting about 3.3 (from what I remember) volts at the sending unit wire, at this point my next course of action to fix the gauge is take apart he instrument cluster.
You might want to take to entire water pump housing off and clean it. I just did a 1979 that had been sitting for 30 years. Had to media blast the inside of the water pump housing and for good measure replace to water pump.
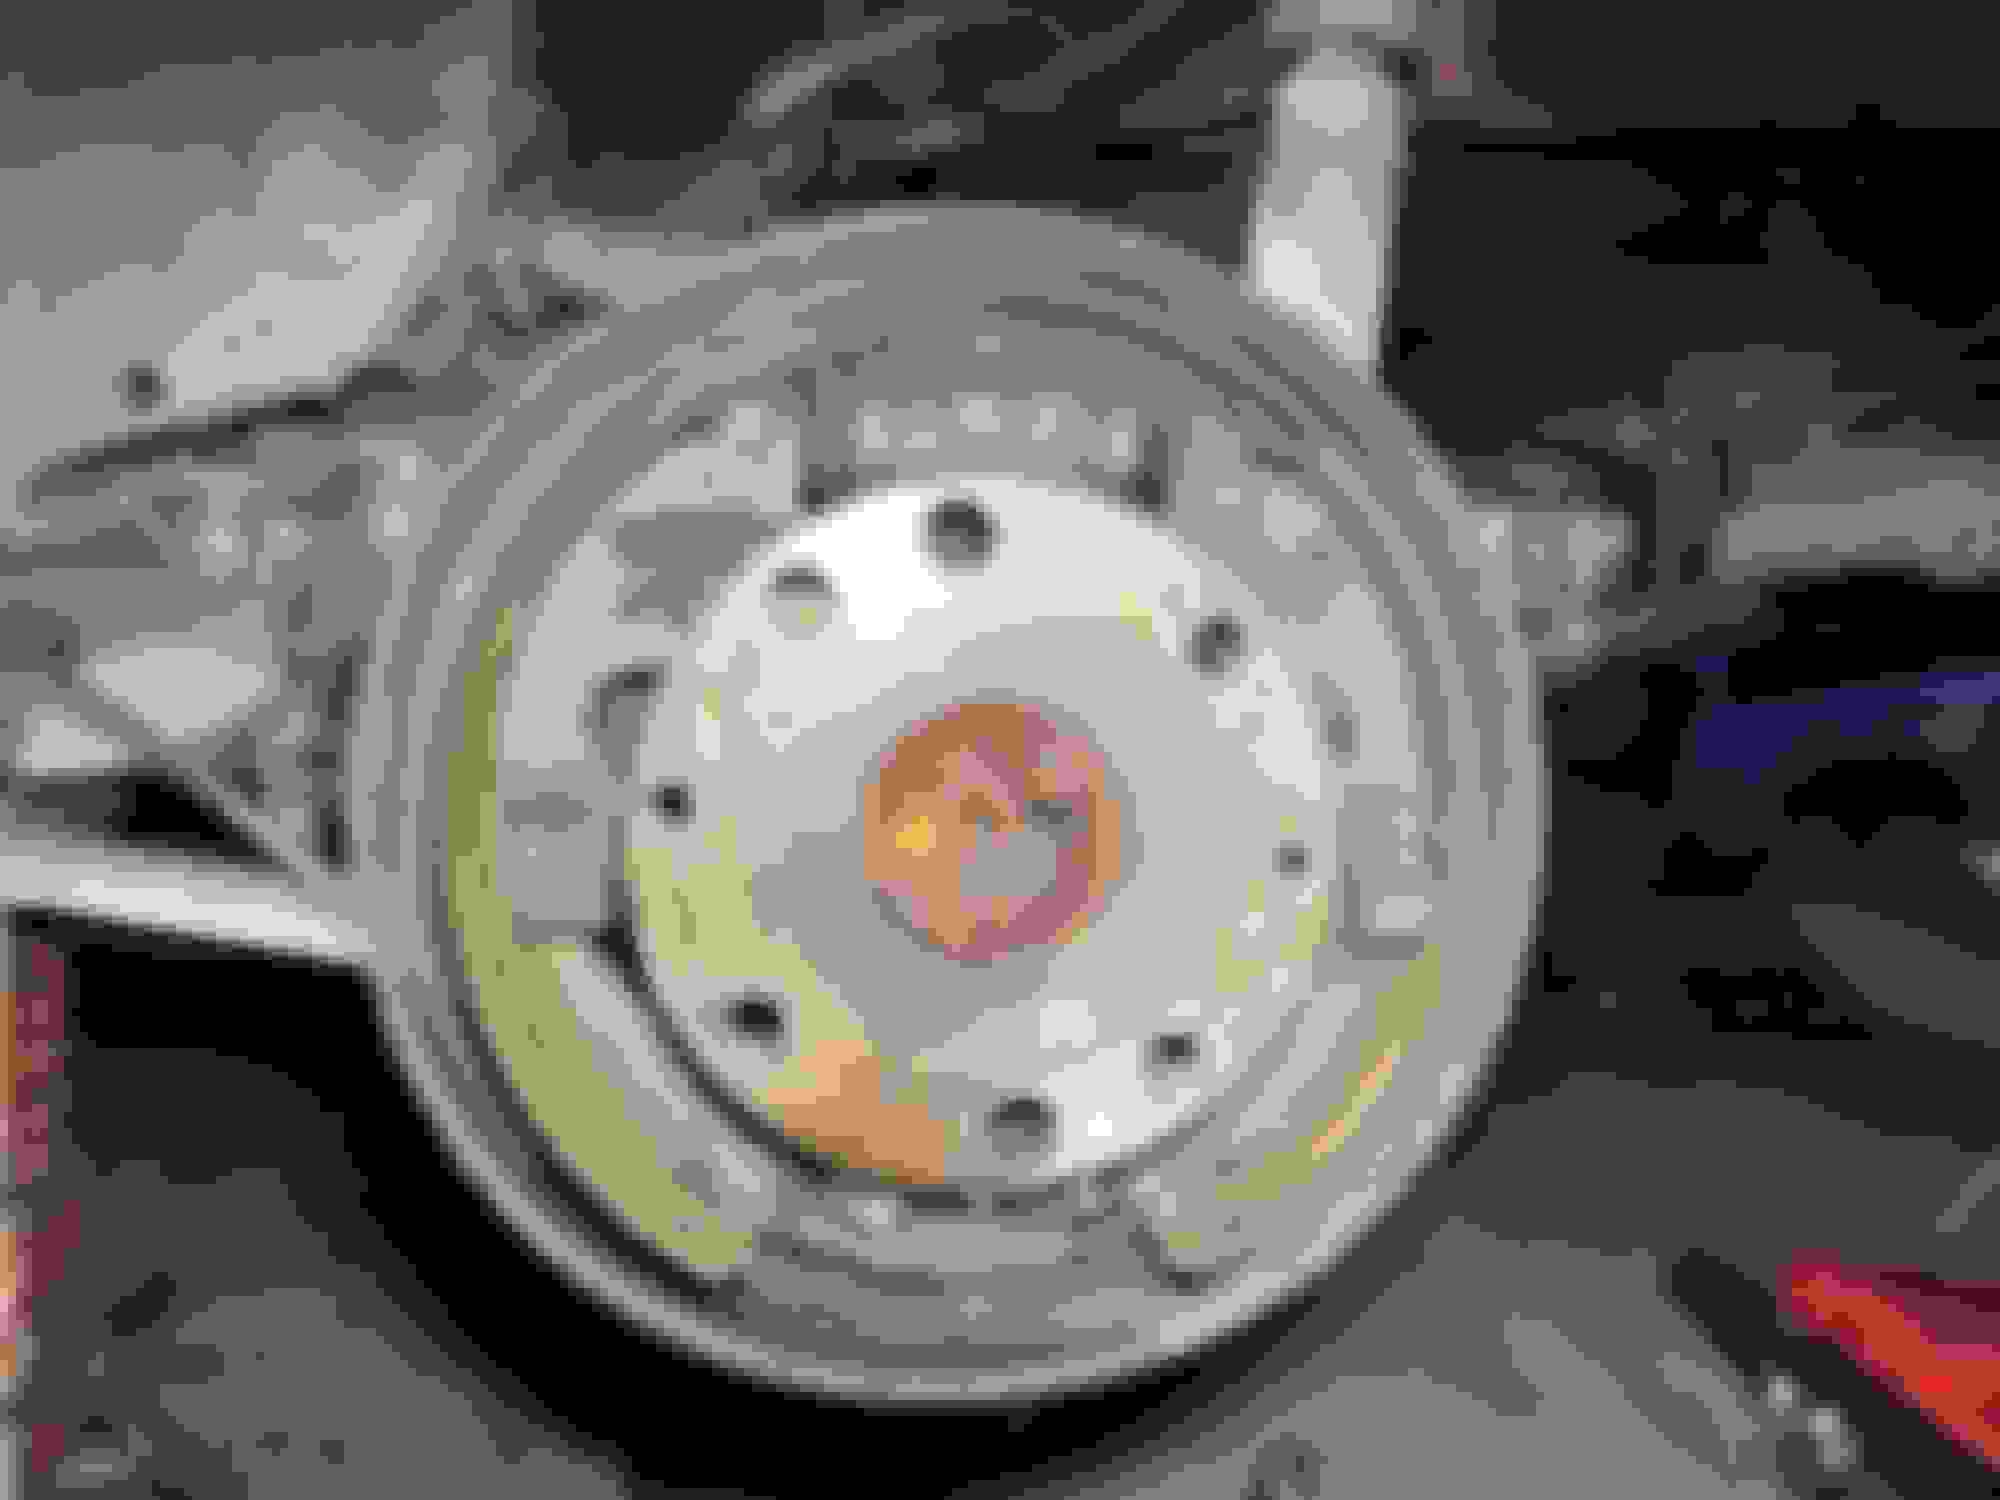
I found some pictures of the brake drums before I did any work to them.
I replaced the wheel cylinders but left the shoes and drums just to get it drivable sooner. Ideally I can swap a gsl rear end into the car and redo all the brakes at once.
I also was not happy with the condition of my fuel tank filler neck, vent hose, and grommet that they went through.
I was able to make a preformed universal 45 90 135 180 degree fuel line work by cutting it in just the right spot. I also decided to try and 3d print my own grommet in TPU. All of my reading regarding TPU and its chemical resistance led me to results saying its poor, okay, and even really good, so I am not sure how it will hold up. On top of that, manufacturers will put additives into their plastic to make it easier to print, so my TPU isn't pure TPU either. I will have to keep an eye on it I guess, and if it becomes an issue address it then. I thought I had more pictures of me printing the grommet but I guess not.
One of my earlier PLA test prints.
If I remember I will take a picture of the grommet in the car.
The foam I used was 1/2 inch neoprene from Foam Factory and passes the fire retardant classification FMVSS-302, as well as being resistant to petroleum derivatives. It was the best foam I could find without spending hundreds of dollars.
I also put in a new factory Mazda pump. I know everyone says the pump isn't enough for these cars stock, but I find it is easier to make changes to your car if you start from a good oem baseline, and this also lets me get the car running quicker.
Once the pump was in a threw the carb on and was able to take it on its first drive.
I did have the car die on me. It slowly started running worse and now it misfires a lot and can barely run.
I pulled the distributer rotor and it looked pretty bad. I cleaned up the contacts with some sand paper and that improved the misfires a lot. It's not perfect, but I am hoping after changing the dizzy rotor and cap, plugs, plug wires, and coils we will be in good shape.
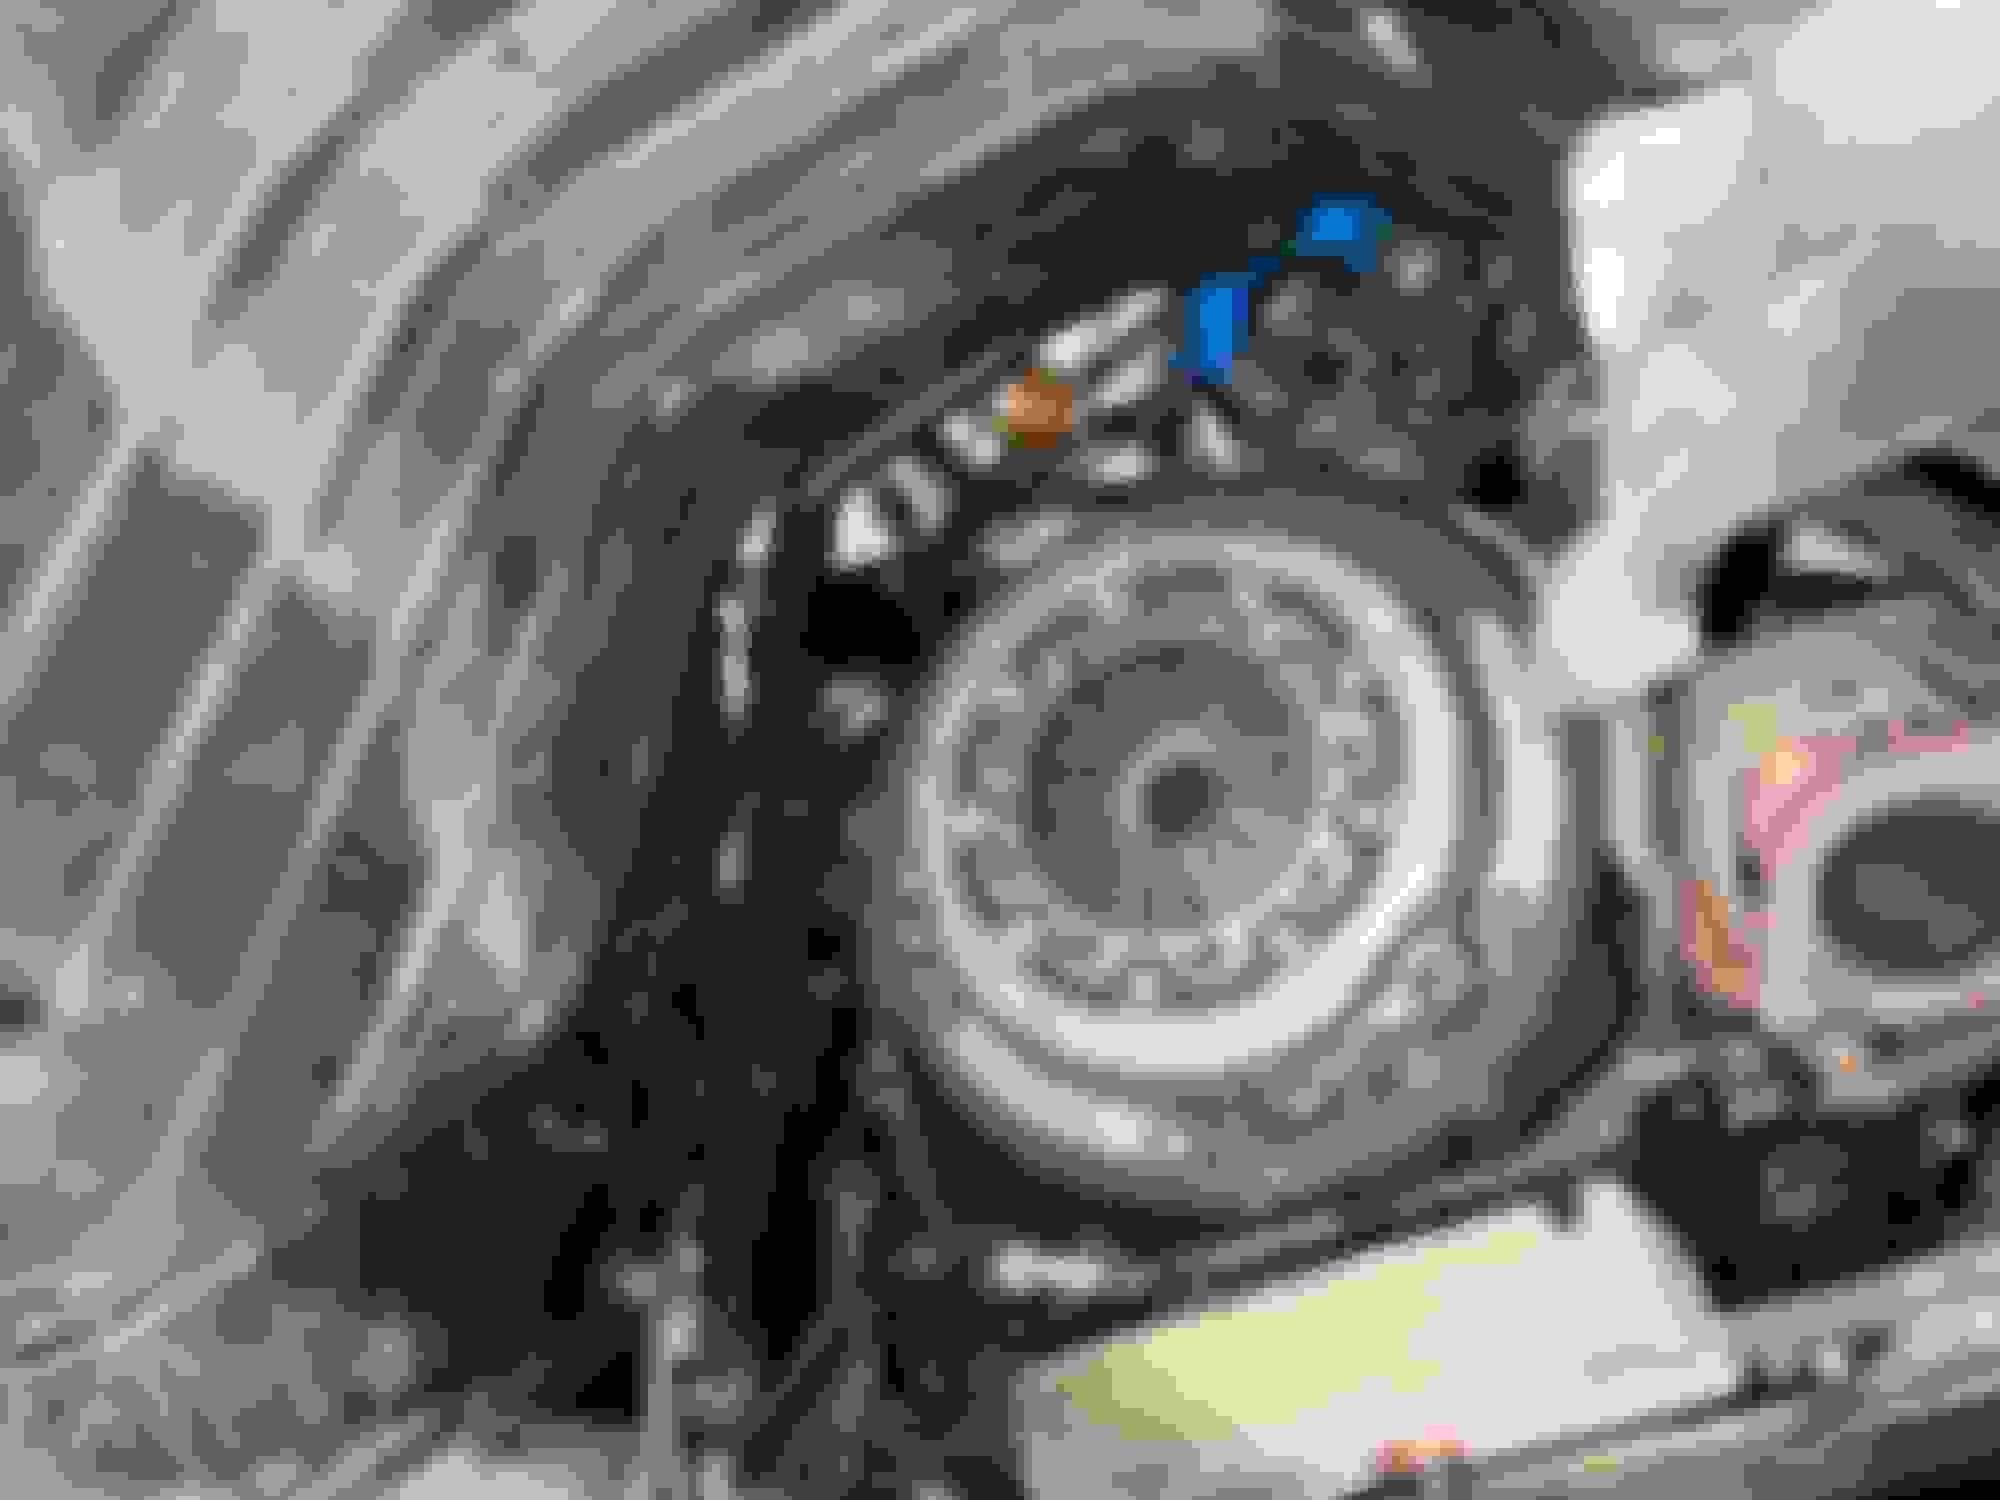
I also pulled my gauge cluster to diagnose my broken coolant temp gauge and battery voltage gauge. I also happen to have a spare gauge cluster I wanted to use for the 130mph speedo. I plugged the spare cluster in and sure enough, the coolant temp and battery voltage gauges work. So I am going to take them apart and Frankenstein together a working cluster with a 130mph speedo, and I may even put in LEDs as well.
My cluster on the top, parts cluster on the bottom. Not sure how I will deal with the odometer difference yet, I'd rather not put an extra 35k miles on the car if I don't have to.
I finally finished with the instrument cluster. My cluster was pretty rusted on the back of the contacts, no wonder some of them weren't working.
I actually wasn't able to unscrew it, because of the rust. The threaded rod became loose in the plastic holding it that was part of the needle assembly. I had to pull the needles and the gauge face to get access to the front.
I think this is actually the good cluster but the threaded rods go to those solder joints, and they were broken lose and just spinning and twisting up that small wire. I was able to unscrew the rusty nut by melting the solder and surrounding plastic, taking a pair of vice grips and squeezing the end of the threaded rod, and then hold the vice grips while I unscrewed the rusty nut.
I pulled all the gauges and the circuit board and cleaned up all the contacts and replaced the fasteners with stainless steel ones so hopefully corrosion is not an issue in the future.
Here is another shot of either the water temp or oil pressure gauge.
Here is the backside of the tachometer.
The 130mph speedo I was working with is honestly not in great condition. It was clearly messed with and not original to the rest of the cluster. It actually wouldn't work either. What happened was someone pulled the needle off at somepoint, and when the put it back on they put to much spring load onto it, so the speedo needle could never move because the spring was holding it down too hard. I 3d printed some pry tools and used them to pull off the gauge needle and after reseating it with less spring preload it works.
Lots of scratches on the gauge face.
I also upgraded to LEDs during this process. One spot for the LED backlight is shorter than the rest and I had to file down the bottom of the LED for it to fit, but it wasn't that bad.
I did get LEDs for the idiot lights but they wouldn't work for some reason. The headlight and low oil level idiot lights take the same size as the backlights, and the LEDs worked for the headlight, but not the oil level light for some reason. But the turn signals, high beam indicator, and defrost indicator are all LEDs now and work.
Picture when I was all done.
Picture showing LEDs
And if you notice I accidentally set the mileage to 930,080 miles. Oops! I did end up going back and correcting it later.
There is a little dirt on the speedometer side, I wiped it off and it looks much better in person.
Thank you! I'm still dealing with the needle valves getting stuck open and not sealing all the way. Hoping to tackle that this weekend. I did replace all my spark plugs, spark plug wires, coils, distributor cap and rotor and that solved my misfire issue from earlier.
I should also mention, the LEDs I used are from superbrightleds.com and the dimmer function is retained. When the dimmer is set all the way low, there isn't enough voltage excitation and they actually turn off, but if you turn it up just a little they come on, and continue to get brighter as you turn the dimmer switch up.
I did think about it, and I went back through the datasheet of the leds I bought and noticed the smaller 74 leds for the idiot lights are polarity sensitive and the bigger 194 ones are not. I do still have them so I can always try again later but at the moment I do not want to take it apart again. I gave up on the quickly because they were shorting out the gauge cluster and I didn't want to keep going through so many fuses. With that said I am pretty sure when I was trouble shooting them I did switch the leds around to see if that made a difference and it didn't. My dashboard is cracked pretty bad and the 130mph speedometer face is not mint so I have two reasons to remove the cluster again at some point and will hopefully remember to give the leds another shot.
Since my last update I've finished painting the under tray. Final picture of it on the car isn't great and it dirty but it is an under tray after all. I wish I took a better before picture but this was the best I had.
I also changed the clutch master and slave cylinders and put in a stainless steel braided line. I decided to spend $80 on the atkins needle valve and seats with the hope that they are oem or oem equivalent, and that they will fix my flooding issue. Side note, when leaving the car overnight or letting it sit for a few days the carb leaks gas onto the insulator/heatshield and I am hoping to find the leak when I go to change the needle valves.
I put in the Atkins needle valves and seats and it completely solved my flooding issues. While I had the carb off I looked for the fuel leak and it looked to be coming from the plugs on the side of the bowls you remove to get at the jets. I tightened them up just a bit more and have not experience any more fuel leaks. I also drove the car to the gas station for the first time and made it back without breaking anything, so it was a very successful day!
I also tossed the sealed beam headlights and got some Hella e-code housings and LED bulbs.
Currently I have one day time running light that doesn't work and the hazards only work on the left side of the car.
Regarding the Speedo. When ever the speedometer needle is pulled off it will need to be calibrated when it is put back on. It is not likely that just putting back on will lead to an accurate instrument. I used to fix mechanical speedo's for a living.
To do this you need to drive the speedo anti-clock wise to a set RPM. On Asian speedometers 1024 RPM = 60MPH indicated. So that means that half that speed = 30MPH and 1.5x1024 = 90MPH. A drill connected to the speedo-cable running in reverse will work as long as you know the RPM it is turning at. To fix any error just twist the needle on its shaft while holding the magnet in the instrument. By the way, this is the best way to remove the needle - hold the magnet and then twist and pull on the needle. When you have the speedo calibrated, tap the needle with a jewelers hammer to seat it.
Regarding the odometer, it looks like you picked the odometer in the replacement speedometer head. This is fine and should cause no issues. The easier fix would have been to move the odometer from the car's original instrument to the new one. Odometers in speedometers that register in MPH are the same regardless of how the instrument face is marked. The different between KPH and MPH speedometers may just be the jack shaft gear that drives the odometer from the magnet.
Last edited by mustanghammer; 05-12-22 at 09:47 AM.
Yes, the speedometer needle does need to be calibrated. Currently with a vehicle speed of 55mph it is indicating 60mph, close but will need to be addressed. I swapped the odometers because I was thinking the sweep of the 130mph speedo would be different from my original speedo but it sounds like this isn't the case.
I've installed the e-codes and LED headlight bulbs and am happy with them. Also fixed the broken day time running light, easy fix, it actually was just unplugged by the taillight. Passenger side hazards still do not work, and the windshield washer pump wiring has a short and is blowing fuses when the pump is not installed. The turn signals also won't turn off when the steering wheel returns back to center. Tomorrow I should be getting new wheels and tires though!
Got new wheels and tires today and drove the car a little over an hour and it survived. Coming from Miata ownership I was pleasantly surprised to see how easy it was to fit 4 wheels in the back. The car is super dirty and its a horrible picture but this is what it looks like.
15x7 Konig Rewinds with 20mm offset and Yokohama Advan Neova AD08R.
Lately I've been dealing with an issue where the tachometer is reading incorrectly sometimes. If I give it too much throttle the tachometer shoots way up faster than the car is accelerator then falls back down, and will sometimes even hold that higher rpm as the car catches up to it. It would even do it the opposite way on deceleration as well. I personally don't trust all of the wiring on the car so I have been thinking it is an ignition issue, especially because it has a misfire at idle and partial throttle and bucks a lot at low rpm. I originally thought thought the tachometer was shooting up the the engine speed was matching the vehicle speed, but after driving it more today I think the engine actually is revving up and the clutch is slipping. I didn't notice it before because the rotary engine is so smooth it feels the same at 3k rpm and 5k rpm. So know I will be looking into getting a new clutch and potentially a lightweight flywheel.
I have started the clutch change. Currently have the exhaust and tranny out. Also put in new Mazda competition motor mounts.
I'm also really struggling to remove this middle boot. It tore a little pulling the shifter up through it. Already got a replacement from Mazdatrix and got the 5 bolts out of the plate holding it down but it is fused on there real good. Anyone had success removing it before?
Last edited by chirmstream; 07-19-22 at 03:01 AM.
Reason: formatting
Often times the plate for the boot is just stuck to the carpet. It will need to be pried up and away from the carpet. Just had to do this a couple weekends ago when replacing the carpet in my 85. The crazy thing was thay I replaced the shift boot and plate about 13 years ago. Didn't figure it would stick but I guess it happens.
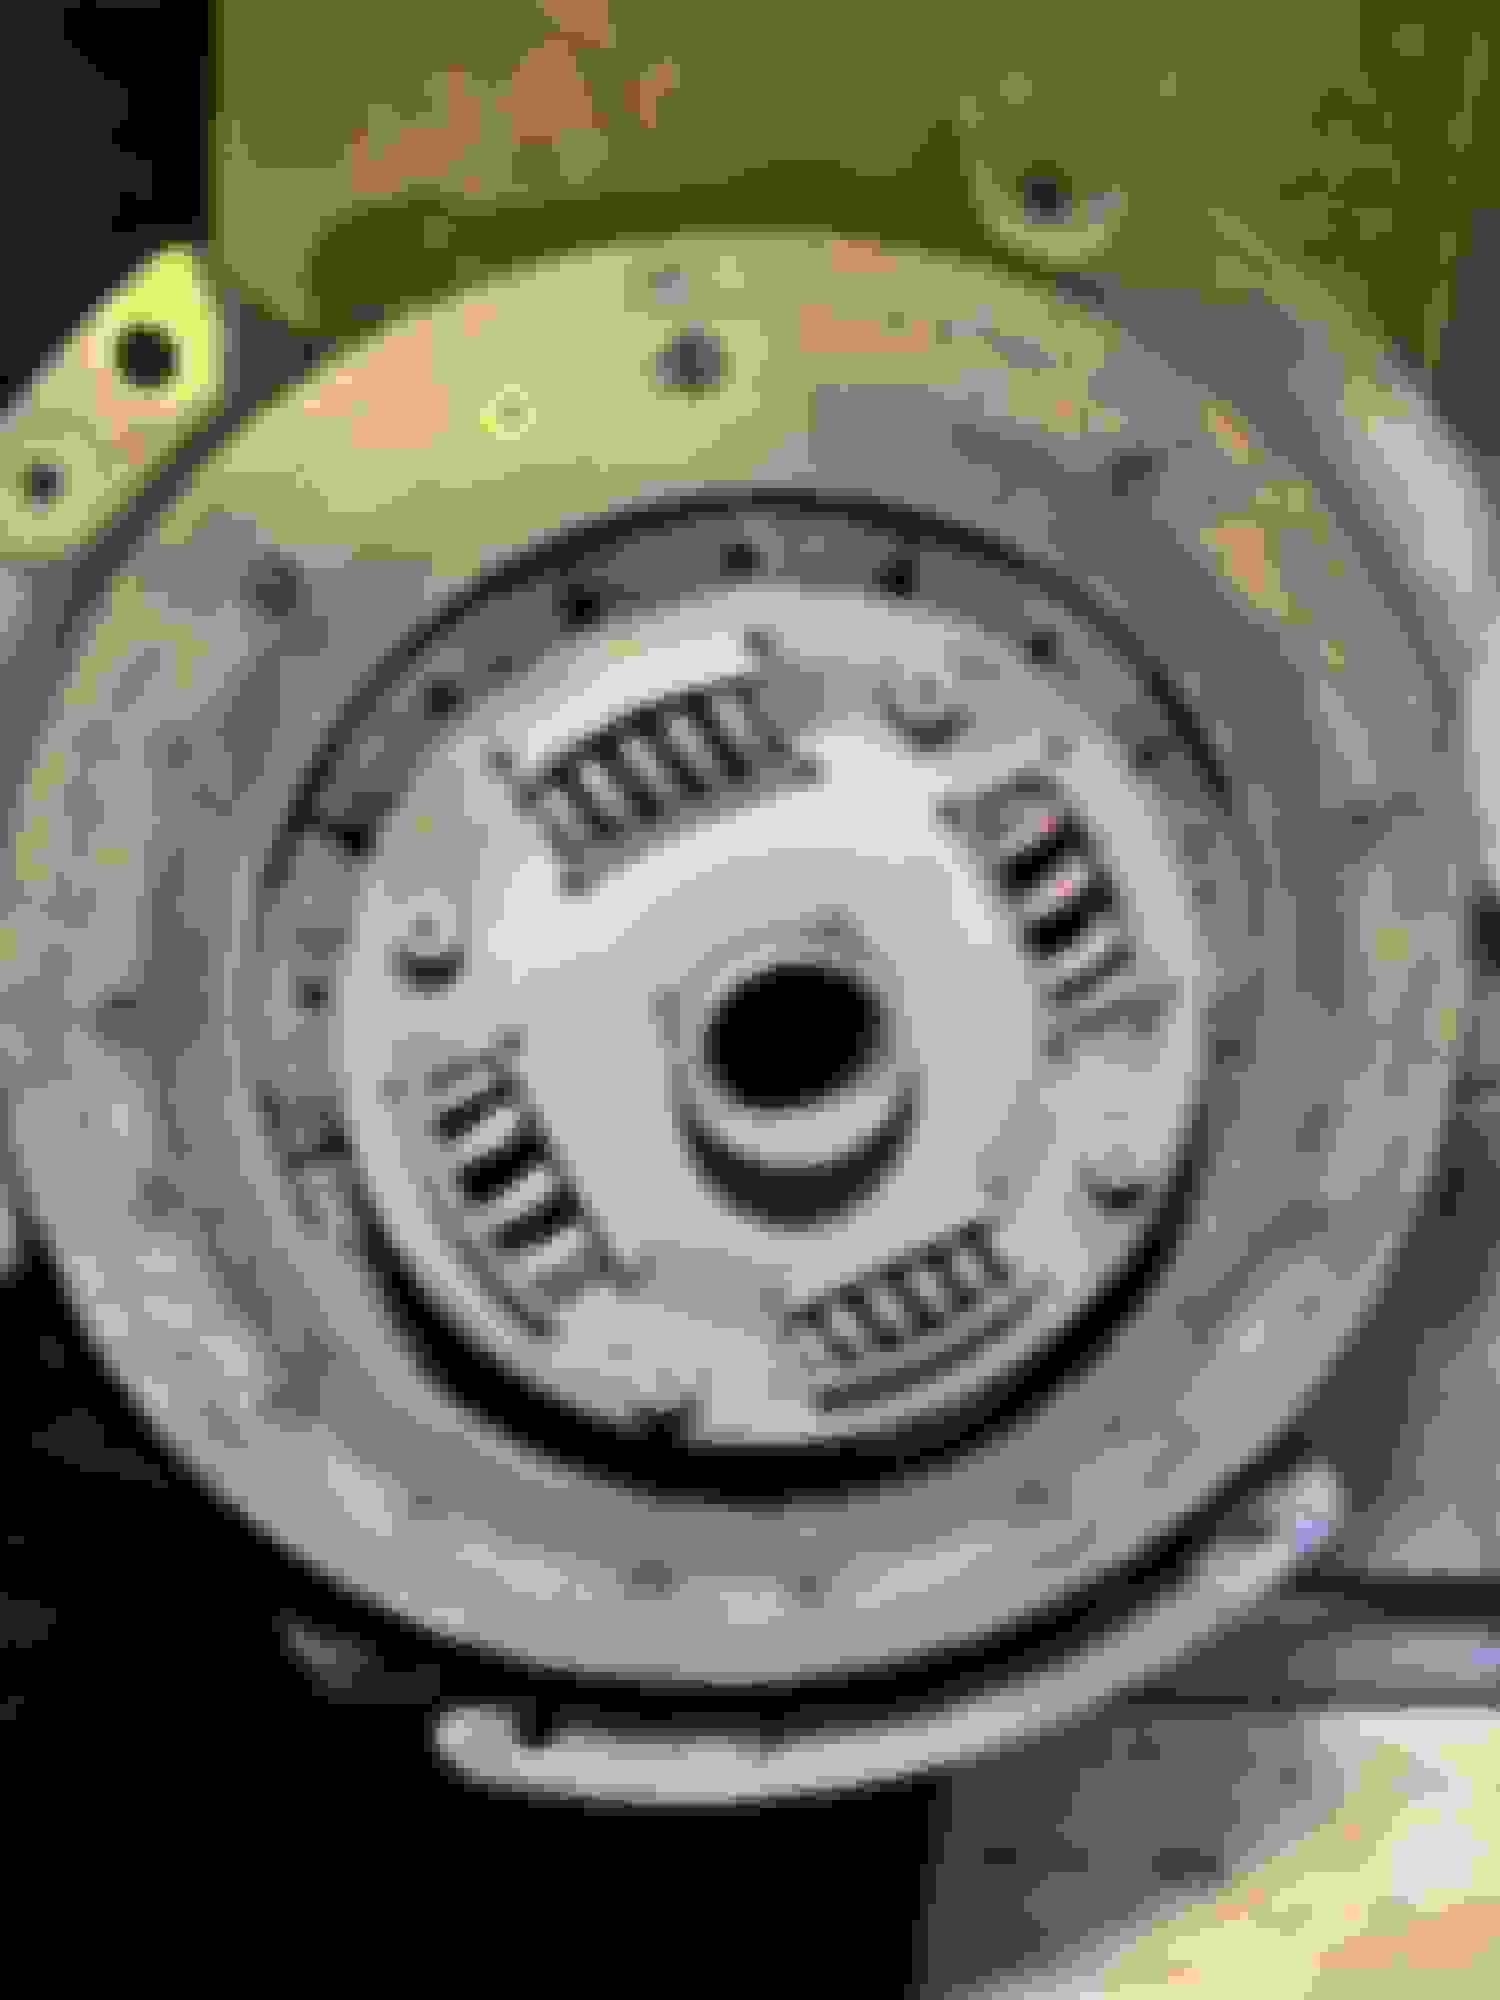
Thought I would show the old clutch disk. It was worn to the rivets...
I was able to get that middle boot out. It was fused to the car body pretty good but I hammered in a pry bar and that was able to lift it up enough to remove. Since my dash is pretty well destroyed already I didn't hold back but it did sustain more damage. With the dash intact I did not see a way to remove the metal plate without removing the dashboard.
I was able to remove the flywheel (albeit with racing beats tool) and changed the rear main seal, pilot bearing, and the pilot bearing seal.
I've repainted the driveshaft (had a little surface rust), transmission mount crossmember, and the shifter boot plate. Also just changed the transmission rear seal and started on the transmission front seal but am having trouble getting it out. I'm thinking a slide hammer will be required since I keep tearing the rubber. It also seems like the shifter return spring got dislodged or bent when removing the shifter because it doesn't return back to the neutral position now. Once the shifter spring and transmission seal are taken care of I think I'll be ready to put the transmission back in the car
Last edited by chirmstream; 08-26-22 at 01:01 AM.
Reason: Formatting
Transmission front seal is done, and I also replaced the speedometer oil seal and o ring as well. I put the tranny back into car, along with the heat shielding, driveshaft and a racing beat street port dual exhaust system. I stopped taking so many pictures towards the end so I don't have anything for the new transmission mount, or exhaust hangers, or new clutch for that matter.
Painted transmission mount bracket.
New shifter with all new boots.
And the car as it sits now. I drove about 25 miles the other day and no issues from the clutch. Still starts up quick and idles well, but WOT is not good. It slower than before the exhaust upgrade, and will sometimes misfire or backfire at high rpm. Depending on the gear I'm in and the incline of the road it runs out of power around 5k to 6k rpm. I am thinking I will need to get a wideband to troubleshoot because at this point I'll just have to throw time, money, and guesses at the problem hoping it goes away.
Great job on the new clutch! Sounds like you did everything right!!!
As for the running issues, I'm wondering if the secondaries are working properly in the carburetor. Can you verify that they come on line at full throttle? You did such a nice job on the fuel tank and you rebuilt the carburetor so I assume that you also replaced the fuel filter. The next logical thing in my opinion would be to confirm the secondary operation and confirm that the ignition components are also in good condition. NGK BR8EQ-14 spark plugs are the best for the 12A in my opinion.


 03-23-22, 06:34 PM