
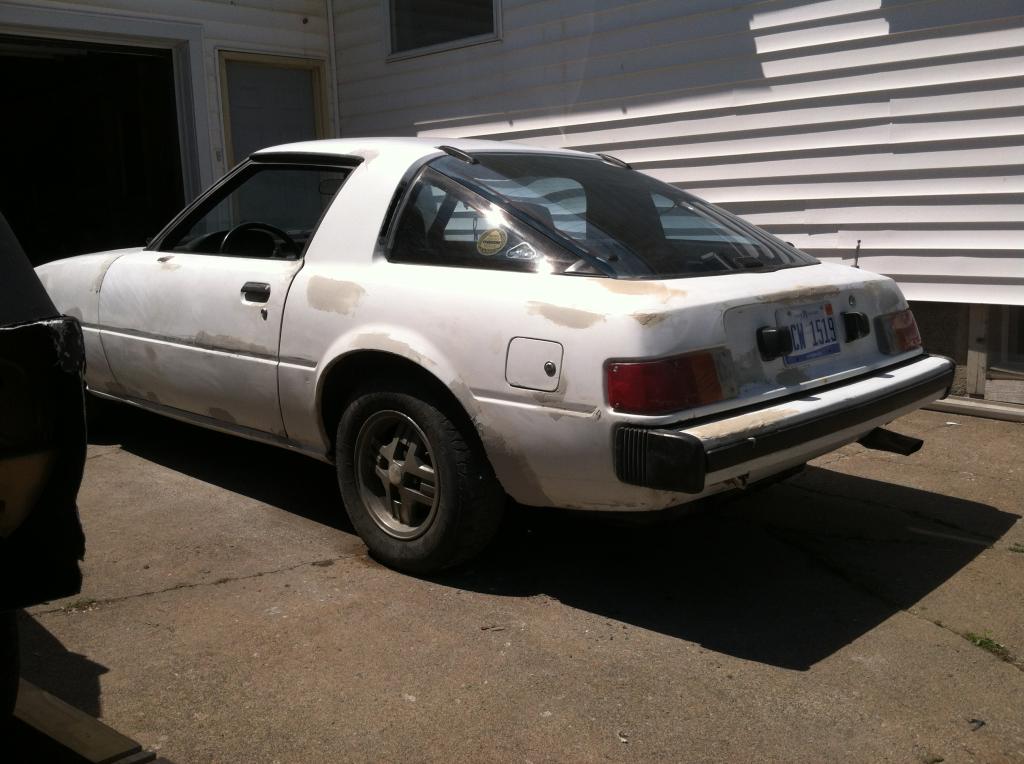
1979 RX7 SA w/ an fb 12a Revival


meter fuse is fine, good resistance. i need to remove the regulator, car doesn't know that its running, and doesnt switch over to tach mode, or turn off the idiot lights. turns out my temp sending unit is bad too. got another one though.
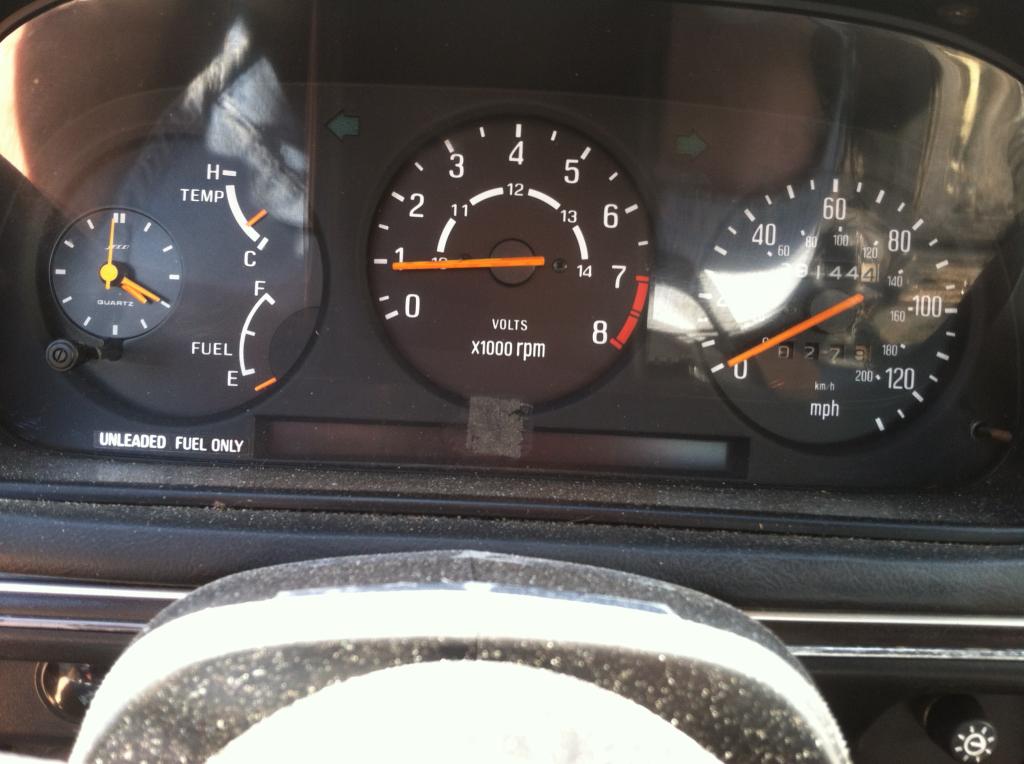
Thanks to Siranikos post about adapting an 83 Alternator to a 79 chassis, i have no lights on! and a working tachometer! how bout that! still runs like *** though :/ tune up time!
took it for a short drive to blow out the cobwebs. still falls on its face at WOT below 2k. noticed my leading coil has a crack in the neck. local shop sells an Accel 8140, but i read those are only good for 6500 rpm. has anyone tried these, and would you recommend them, or should i just wait for some BSD ones from Jegs?
did some math, and it seems the 6500 rmp limit is for an 8cyl engine. since i have a 2 cly engine, it should be fine. a guy i know runs them on his race built 350 up to 9k .
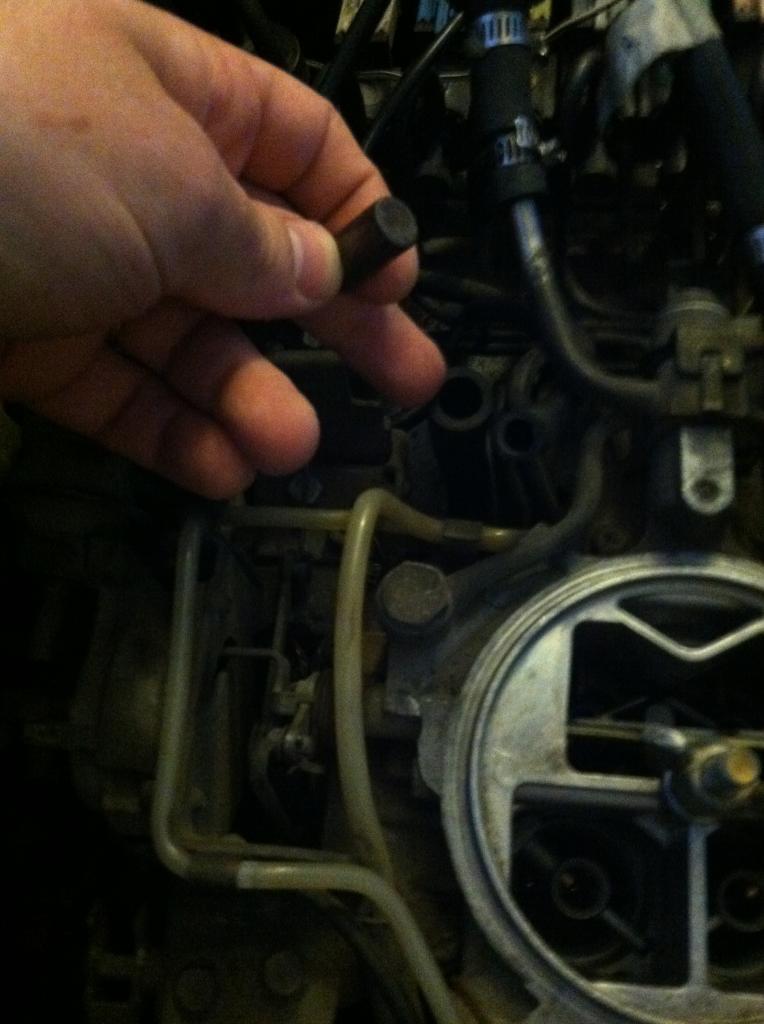
so those are on, but it didnt help my miss-firing. so i tore into the vaccum system and found the coasting tube plugged with a steel dowel (?) and removed it.....now it idles like crap. sound like its on one rotor, and wont go above 3k, seems to smooth out and run like it did before with the choke at 1/2 way. i think my coasting check valve isnt activating.
maybe a rats nest removal is in the future, if nothing else just to cut the problem in half to see if i can get this problem licked. id really like to have a car again

went to replace my temp sending unit, and the one i bought slid right into the hole. i compared it to the one i took out and sure as s#1t the treads are much wider, but it looks exactly the same otherwise. does anyone know what the sensor might be from?
So the front brakes calipers are on, and I can stop the car now, but upon bleeding, the rear driver side wheel cylinder popped. I still need to swap the rear axle from the 83. All the bolts from that are soaking in penetrating oil so ill have more luck getting it off this time. the stuttering. only occurs during transition from idle to open throttle, so i think the jet for the transition phase is plugged, this is arguably the best carb i have right now, so i think ill deal with that a while longer until more funds are available to rebuild the one i pulled off the junk yard 82. all in all, I'm still making progress, and the car is acutally drivable as long as i keep brake fluid in it, so that's a plus. But I am not going to drive it much unless i need to before the rear axle is swapped.
Joined: Jun 2006
Posts: 4,815
Likes: 24
From: Columbia, Tennessee
Its not a 2nd gen air intake temp sensor by mistake is it?
rock auto pics show 2 different ones for an 83

looks like what i pulled out

look like what i got from advance auto
I ordered the first one i listed from RA, i also bought a 2nd gen sending unit, because that looks like the proper treads, but the sender is about a quarter of an inch shorter and the connection is much different.
I can take it back any time, i just wanted to see if it would fit.
the first one still looks a little to thin on the threads.
looks like what i pulled out
look like what i got from advance auto
I ordered the first one i listed from RA, i also bought a 2nd gen sending unit, because that looks like the proper treads, but the sender is about a quarter of an inch shorter and the connection is much different.
I can take it back any time, i just wanted to see if it would fit.
the first one still looks a little to thin on the threads.
i realize of course, that it is entirely possible that someone trashed that hole and had to retap it to a larger bore....but i have no clue what sensor would be in there now. if its not a 2nd gen temp sender.
new carb problem:
The fuel level in the sight glass is about at the top, that may explain my stumbling issue.
i know the pump thats on the car does not look to be factory. i may try and get the stock one off the junker to see if that helps the float level before i tear down the old carb for a rebuild. but i can remember the levels on that one were about half way up the glass. so, hmm. i dont really want to adjust the floats, cause i know that can be REAL tricky.
parts car problem:
Man is that rear end rusty, i was hammering on the top two links at the mounting bracket thats attached to the axle, and the POS just broke right off. a lot of rust on the break, so its been just hanging on for dear life for a while now. also realized that the side linkages are like 20mm(?) bolts and i dont own a socket that big (to the snap on store! ... AWAAAAY)
well the hubs are pretty badly bent on my donor rear end, so ill be rebuilding the drums on the original for now. also after driving it for about 25 miles, my fuel level in the carb has gone down dramatically, now its just a tiny bit above half, and runs much better! should able to daily it next week if nothing else breaks! ill post more pics once the body work is done.

got all the dents pulled, and rust ground down to metal and Mar-glassed, also got some wiring ***-hatery out of the way and revamped the x-01 connector. Yay for Temp Gauge!
Pics!
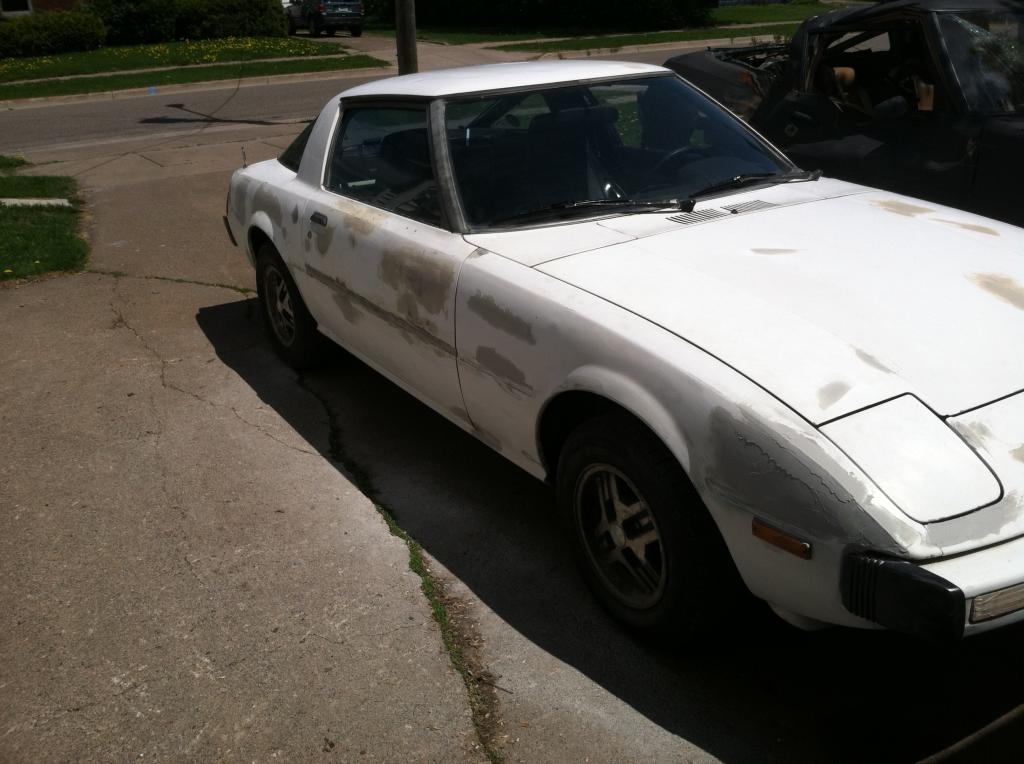
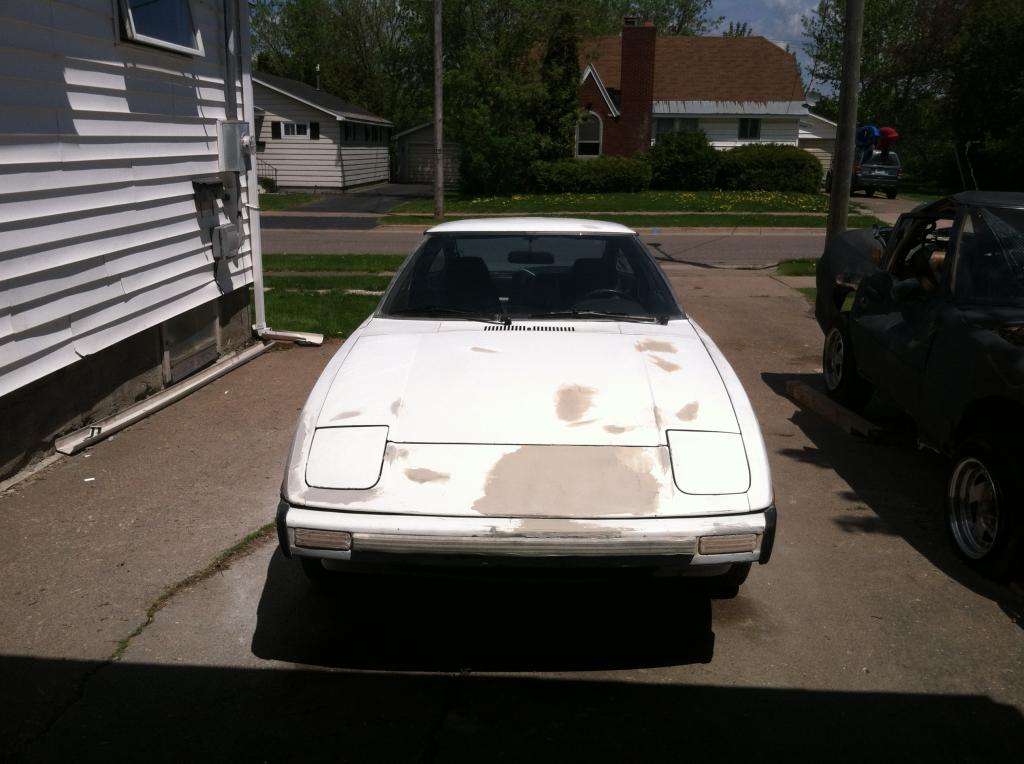
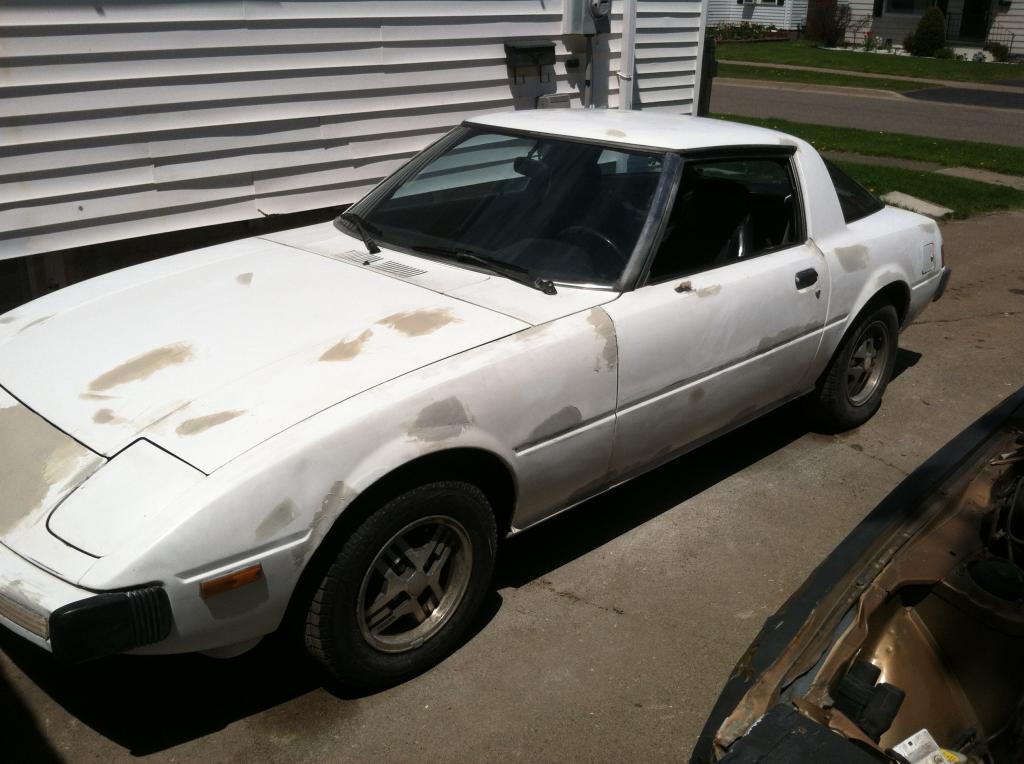
Finally, I KNOW its not overheating!
going to wait a day to rough sand and then top coat & primer, then a 220 grit once over, then roll on the white enamel, and then wet sand till my arms fall off.
also more rear brake part coming next week, i knew i had meat left on the shoes, but i wasnt counting on it falling right off the shoe when i took the drums off
Pics!


Finally, I KNOW its not overheating!

going to wait a day to rough sand and then top coat & primer, then a 220 grit once over, then roll on the white enamel, and then wet sand till my arms fall off.
also more rear brake part coming next week, i knew i had meat left on the shoes, but i wasnt counting on it falling right off the shoe when i took the drums off
man, whoever swapped the engine the first time didnt know f*ck all about adapting harnesses correctly. just took care of under the dash, and now i have a working fuel gauge! (dropped and inspected the tank before that...i have a leak somewhere ) but now its 85% done, and aside from the rear brakes, the fuel leak, and paint, its ready to hit the road, looks like i just may meet my summer deadline after all! 
) but now its 85% done, and aside from the rear brakes, the fuel leak, and paint, its ready to hit the road, looks like i just may meet my summer deadline after all!
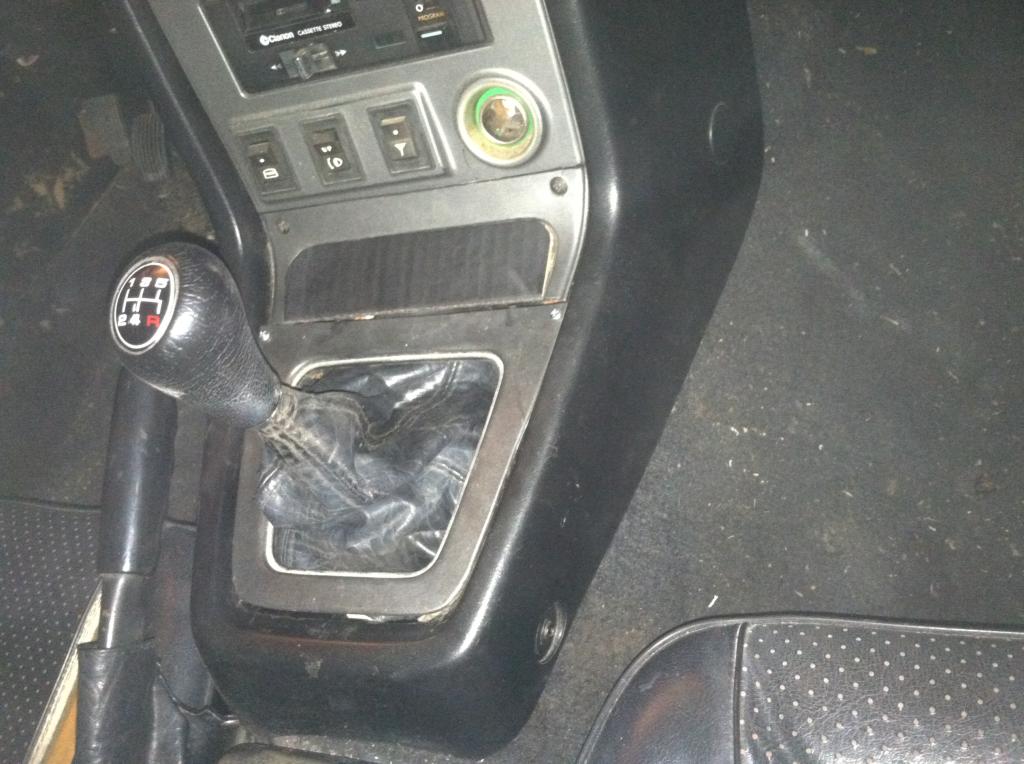
got a little creative today, and while repairing and fabricating a new window regulator for the passenger side, (done now) i decided to hack something into place for my horrible looking shifter housing. its by no means perfect, but it looks a lot better than it did, used the surround off the parts car, and the sawed the old one off at about the right spot and then black primered a cut section of cardboard to cope with the big hole i was left with and glued/taped it in place for now. i plan on fabricating a new surround out of aluminum to mount my oil pres./ temp, and voltmeter gauges.


its really all thanks to finding that 83 wrecked like that, and being able to trade a blazer i didnt want anymore. if it wasnt for that, you would still be far ahead of me in your restore, although i didnt have to do anywhere near the rust repair you are dealing with. Im glad your not giving up!
cleaned up the carb i got last year, and put it on the car. couldn't get it to run by itself (would fire while cranking but not reliably). also swapped over the coasting valve from my old engine. after i could not get it to run , i pulled the plugs, burned and brushed them, and put the 1st carb back on. only got it to run initially, and only on one rotor. compression is still good, and im getting spark. getting plenty of fuel to the carb. now it wont start, just fires occasionally while cranking. going to go get a new batt (mine is TOAST....20 sec of cranking at most) and new plugs. wish me luck.
rock auto pics show 2 different ones for an 83
looks like what i pulled out
look like what i got from advance auto
I ordered the first one i listed from RA, i also bought a 2nd gen sending unit, because that looks like the proper treads, but the sender is about a quarter of an inch shorter and the connection is much different.
I can take it back any time, i just wanted to see if it would fit.
the first one still looks a little to thin on the threads.
79-85 Engine Electrical
Here is a blub from their site: "Note: A few years ago MAZDA changed the thread on the water temp sender in the rear side housing from the straight thread that they had used forever, to a metric pipe thread. All NEW replacement rear side housings have the new thread. It is impossible to know which you have with out looking at it. Most cars still use the straight thread. However, if the engine has been replaced with a FACTORY rebuilt, there is a small chance you have the pipe thread. To identify the thread on your sender, look to see how it seals- the straight thread units use an aluminum crush washer and the pipe thread units do not.The new sender will not read correctly in pre-80 cars"
Awesome, looks like its an aftermarket temp gauge for me! mine is working though, just doesn't get more that 2/3 up the scale. i figured if it ever got higher than that, id shut it off.
Either way, thanks for the info!
New plugs are in, new battery too, fired right up, idles smoother, has a bit more pick up while revving, but still misses and pops. at 5-15% throttle. im thinking the transition circuit is plugged up on the carb, or i missed something in my x-01 connector revamp.
and i snapped off an anchor pin for the drums last night, so that sucks. going to mcguyver a bolt in place and hope that its about near where the bottom of the shoe should be for now.
need to get my butt moving on the 83 rear end rebuild anyway :p
brakes are bled, good tension all around, (yes even on my mcguyvered bent bolt thing i made)
and it is road worthy! Huzzah! its about time! now i just need to finish the body work and paint it!
and it is road worthy! Huzzah! its about time! now i just need to finish the body work and paint it!
i have a rough coat of bondo on, and some sandable primer over it for now going to wait a bit for my final coat and sand, still deciding on color, and saving up for the paint. put about 150 miles on it so far. the rear driver side that the anchor pin broke on is a little noisy, and i suspect the shoes is out a little too far (laterally , no shoe drag), but there's not much i can do about that right now. but it sure is a blast to take for a nice sunday drive!
body work is fully under way, possibly paint tomorrow. i have gotten all the niks and dents filled and sanded and primed. just a final 220 on the rough spots that a 400 wet sand, then alpine white to the whole thing! Pics when its done!