When you click on links to various merchants on this site and make a purchase, this can result in this site earning a commission. Affiliate programs and affiliations include, but are not limited to, the eBay Partner Network.
I tought I share my latest project with you guys,
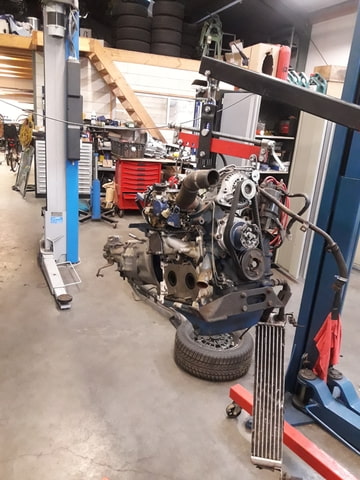
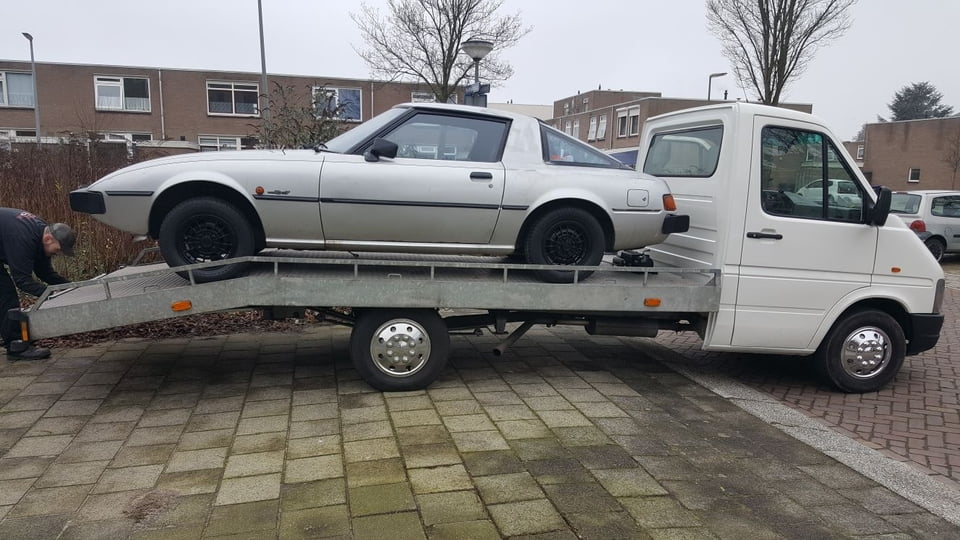
I bought a first gen RX7 with the engine on the driver seat and the gearbox on the passenger seat
so that should be a easy fix .............or not.
some photo's of the pick up.
the engine supose to be good, the gearbox is broken
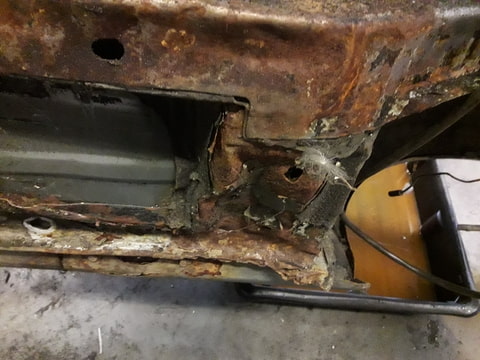
The chassis seems to be in a pretty good state, some welding to do , but not a lot
So the first thing to do was to source a gearbox, A quick search on a buy and sell page got me a nice 5 speed original gearbox.
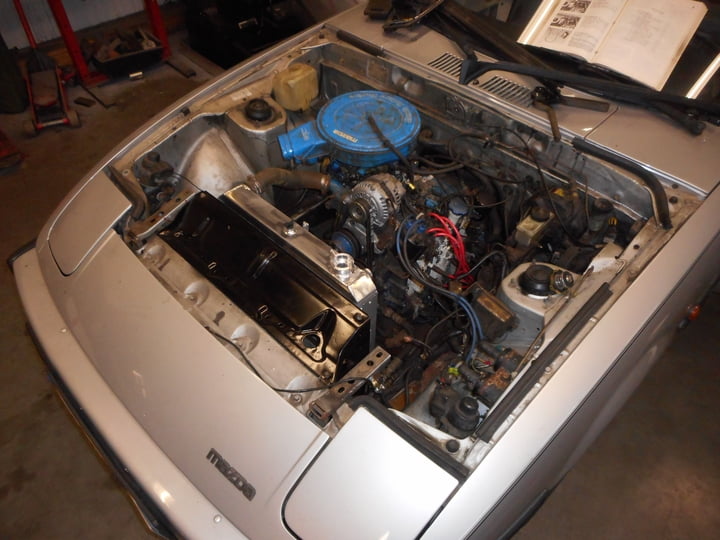
It bolted straight to the engine and after a couple of hours it was in.
I bought a shiney alloy radiator, because the one that came with the car was in a very bad state, looks good i think
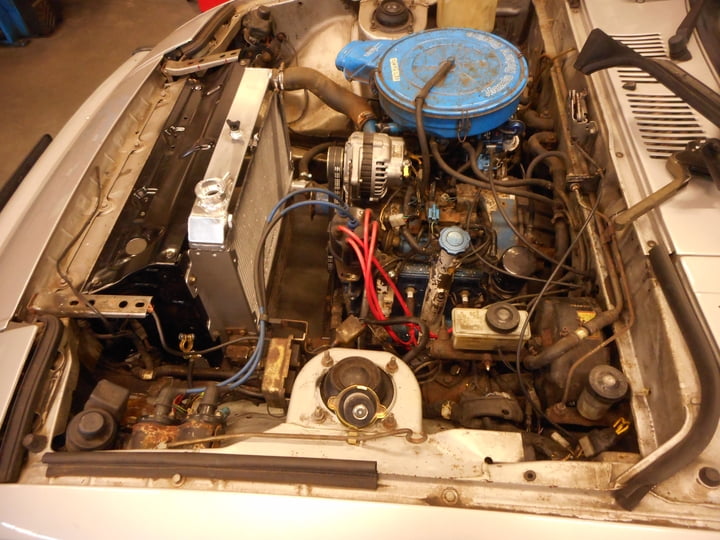
So after we got the engine in, we could start it. after a couple of drip of fuel in het carb she firerd right up. The previous owner had told me that the engine was fine, but the gearbox had failt.
Un fortunalty all the brakes were seized, so we could not drive it. But the engine did run nice and started cold and hot ok, so in theory this should be a good motor.
( made a video of it, but can't find it
In the last couple of wheeks the final picture of what the car should be like formed in my head.
I think it is goining to be some what of a 80's race car, something like they won the 24h of Spa with.
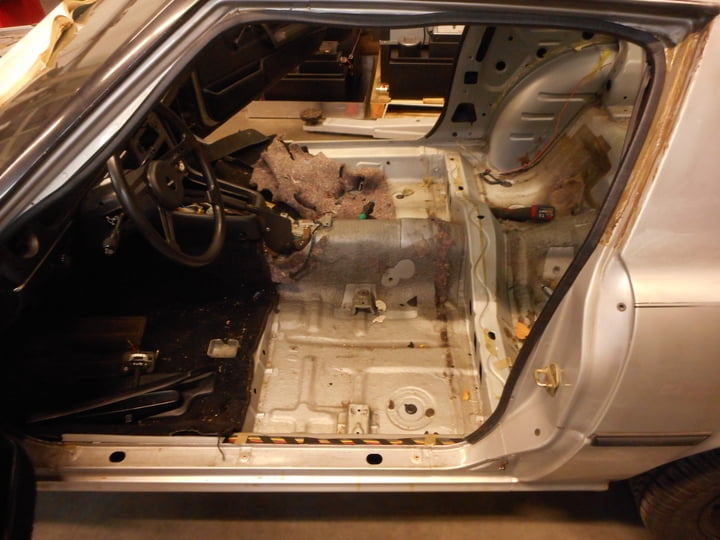
So in order to get it in that kink of state I set out to dismantel the thing.
Maybe thats where my true tallent lies, dismanteling cars
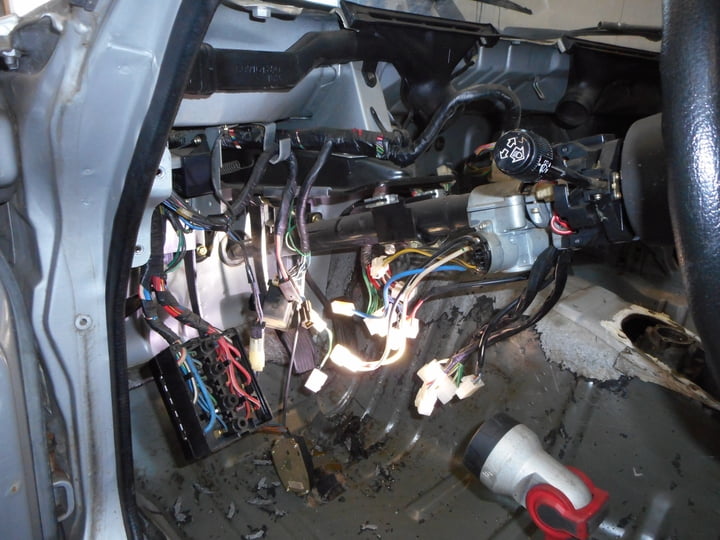
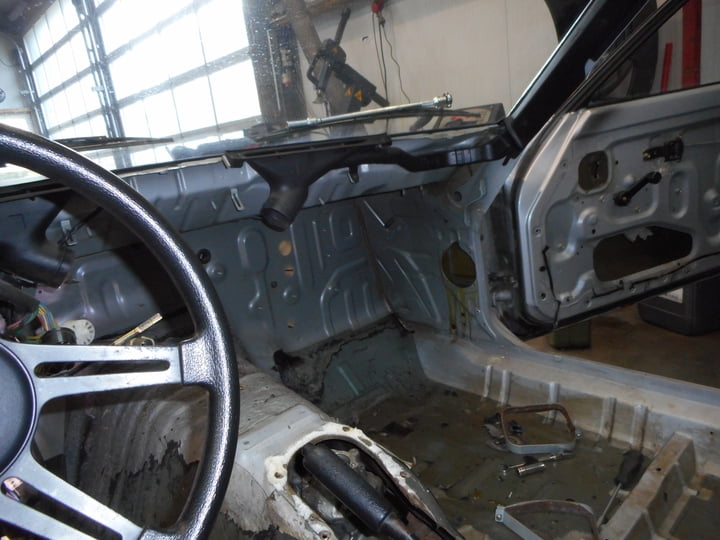
got all the carpets out, dashboard lost the fight so eventualy it came out in one piece
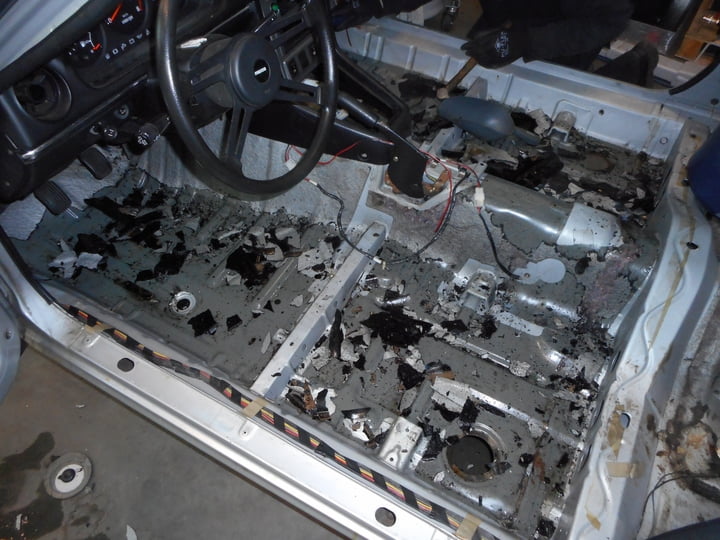
I ordered 15kg of dryice and some alcohol en started removing the sound deadthening, I can tell you for sure, there is a lot of the stuff in a RX7
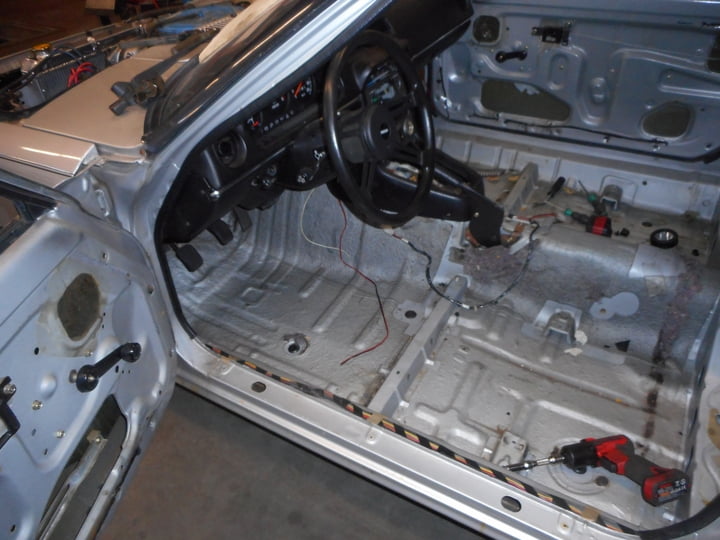
real nice job under the pedals
still some stuff left as i run out of dryice, but 90 % came out within 2 hours of work.
Interesting stuff and welcome to the forum! I was intrigued by the dry ice/alcohol method you described, and in case others were curious, here's a video:
Here's a tip that you probably already know but just in case: make sure you get a properly fitted shroud for the new rad if you are keeping the stock fan setup.
That looks nice! You said you had some welding to do but that looks a lot less rust free than mine had. Looks like a really nice candidate for a build. Can't wait to see how it turns out. Subscribed!
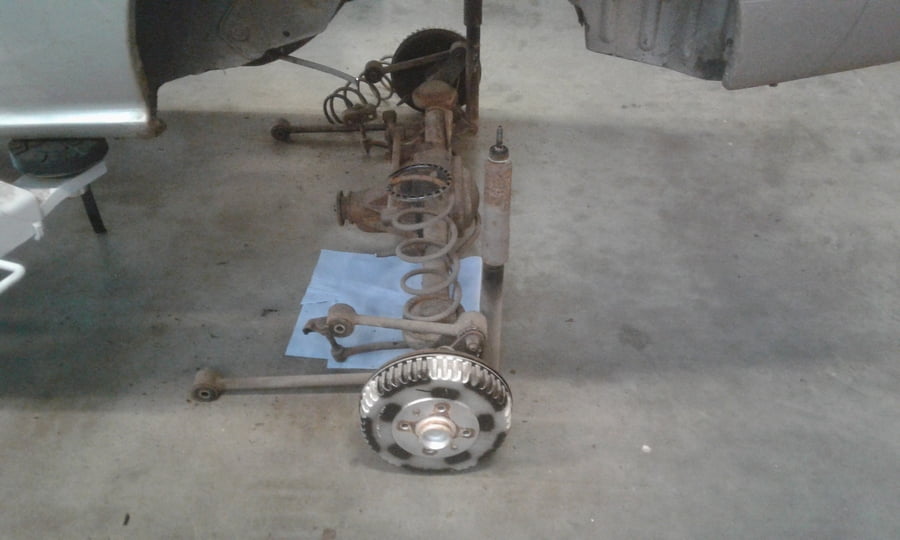
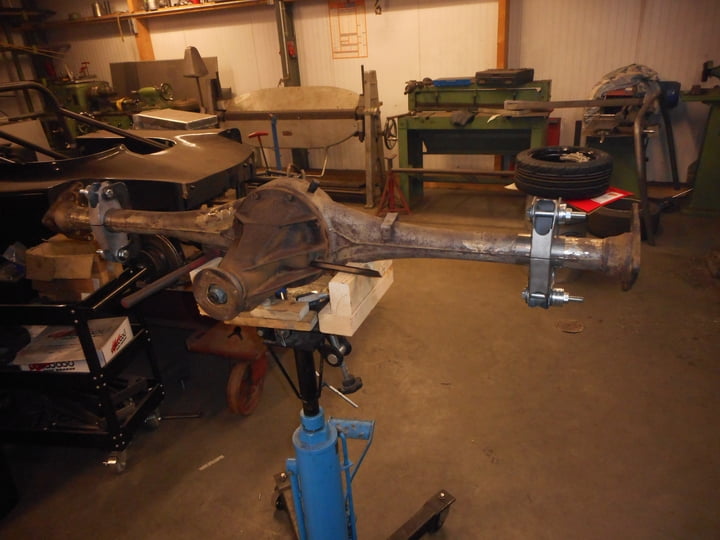
A couple of weeks ago I bought a rearaxle with a LSD.
After reading a couple of topics about racing the RX it came clear that the Original setup has some design faults in it.
So I have decided to modify the Original setup to a simpeler 4 links setup with a Panhard rod, mutch like a lot of escorts are using.
stripped the rearaxle of all its brackets
dropped the Original axle
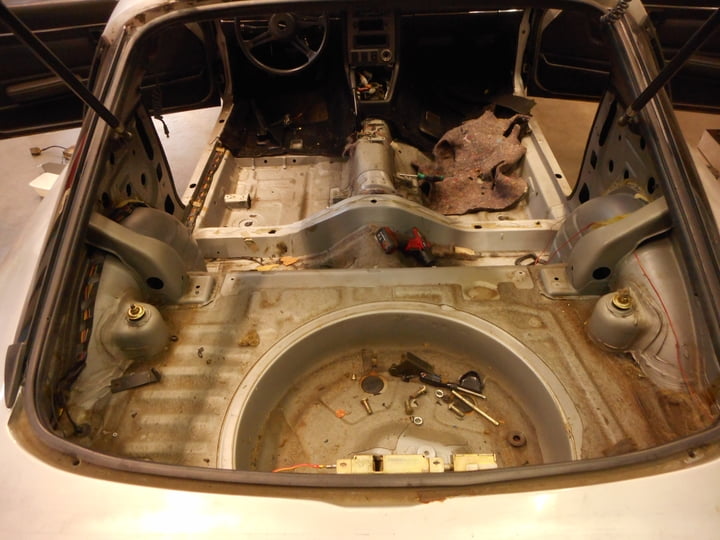
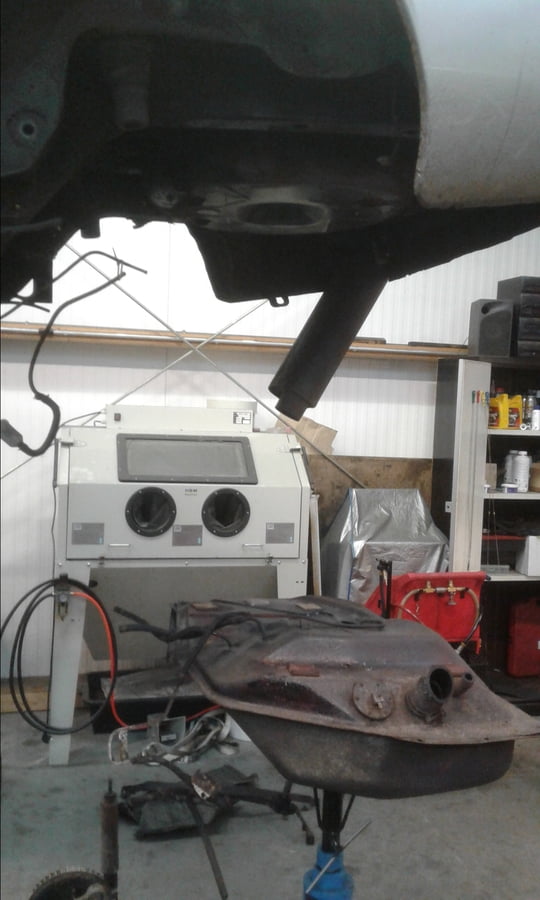
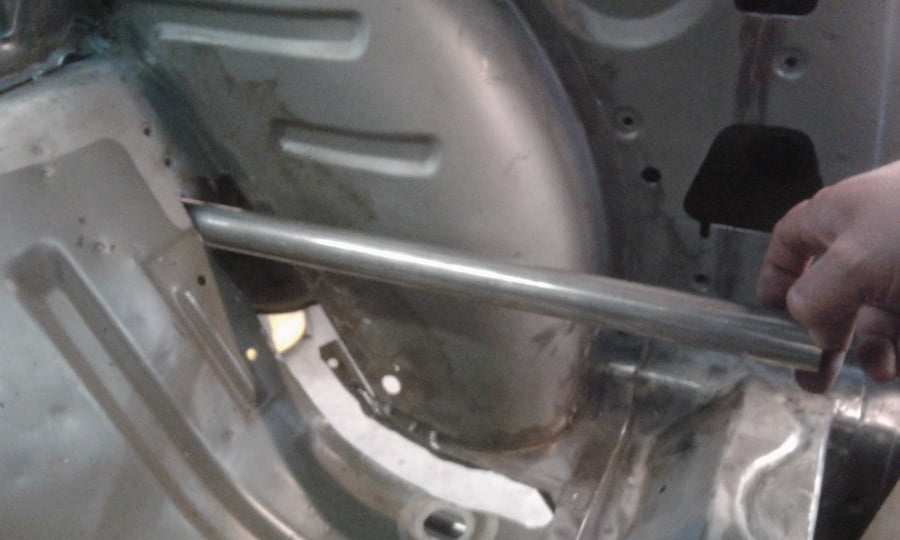
removed the Original tank
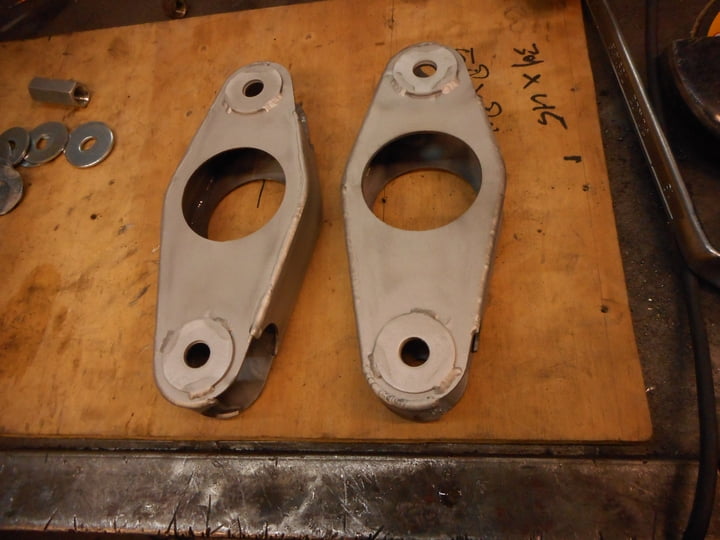
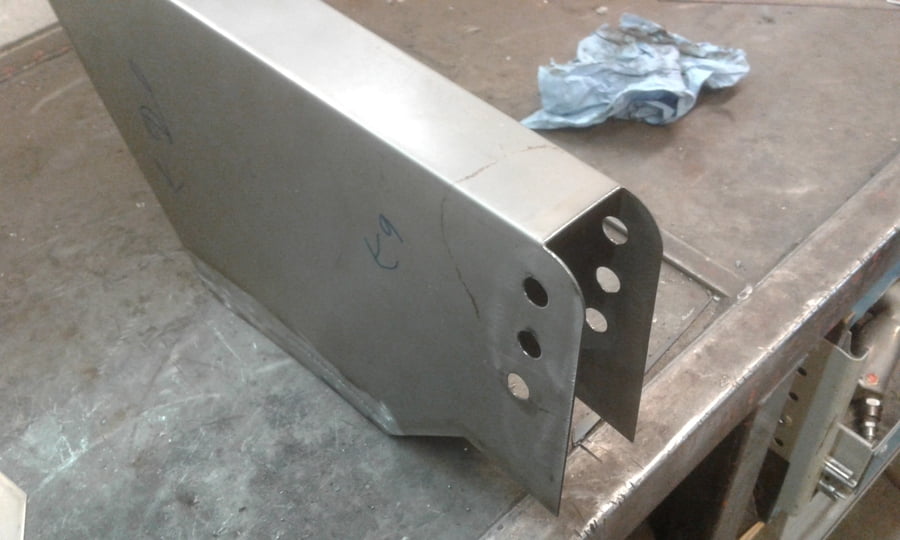
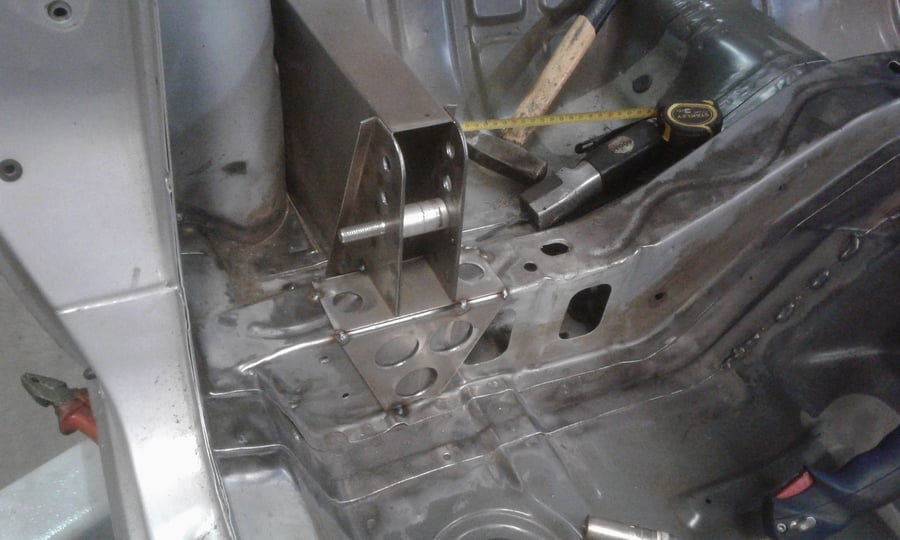
made some new axle brackets
getting them in the right place
first try of witch wishbone lenght would be handy
meanwhile I had a lot of parts coming in from different suppliers, the biggest order came frome my favorite UK shop ( rallydesign ), got front and rear shocks , big brake discs, fuelcell, and lots of smaller stuf.
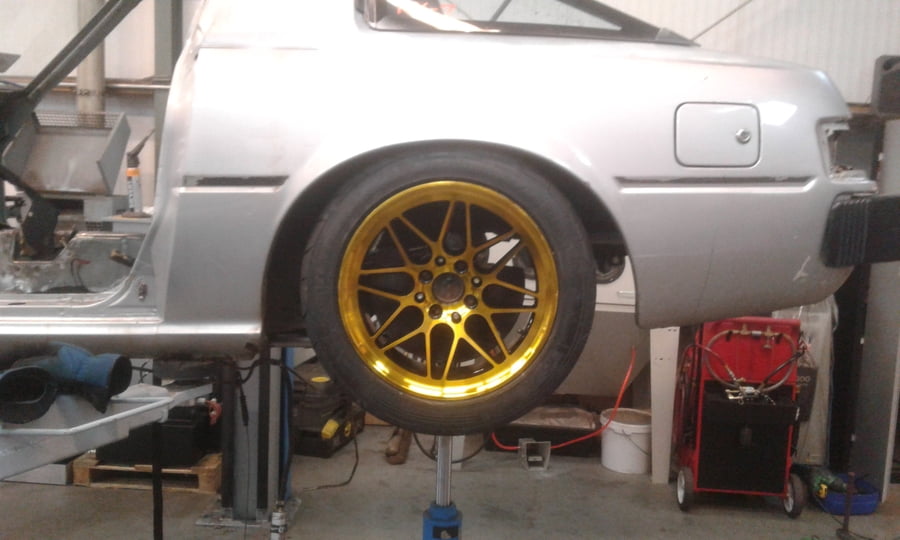
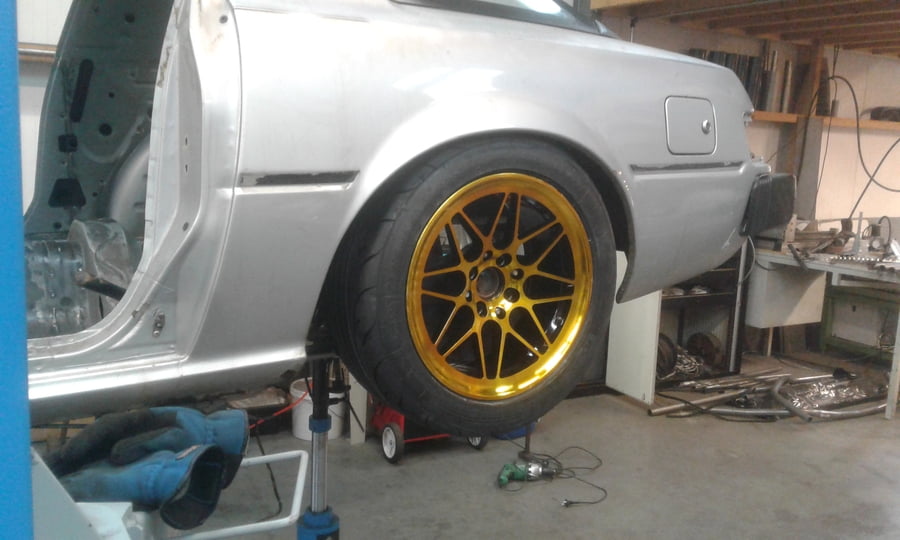
Also got a new set of wheels fitted with Nankang NS2r semi slick tyres
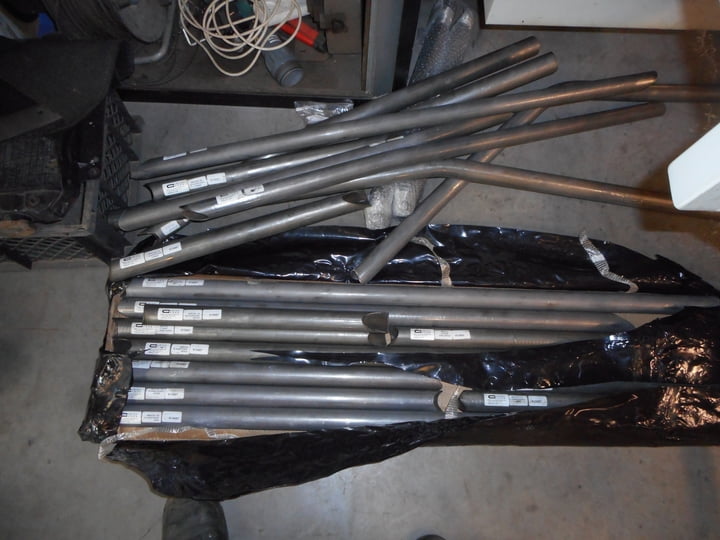
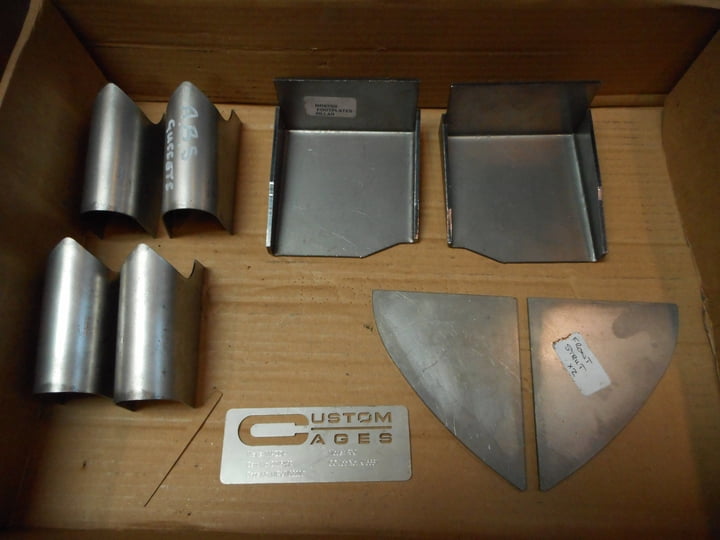
Also the rollcage has arived, not sure how this will turn out. I realy think a got the wrong fitting kit, but customcages are telling me that it will fit this car ( they send my some pics of the wrong car ) so that didn't help to clear the discussion. I going to make the rear suspension prior to fitting the cage, because it makes it easyer to get in and out of the car.
next update hopefully shows the new rear suspension setup
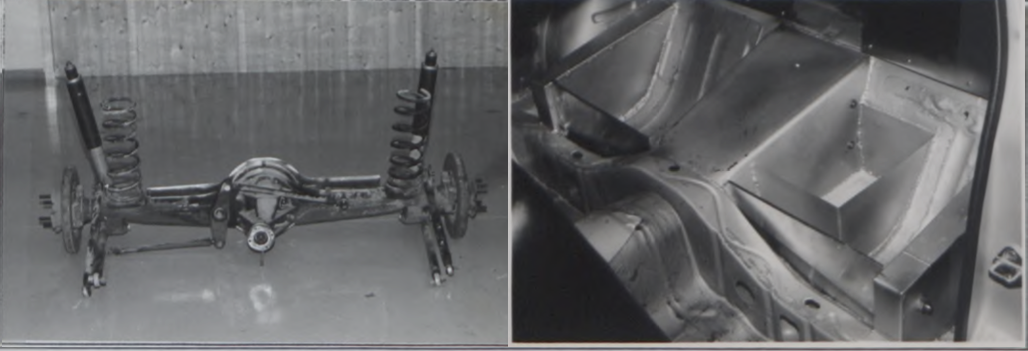
After I tacked the boxes in place I could work out the length of the rods.
Made a set of rods, with left and right hand threath on each side.
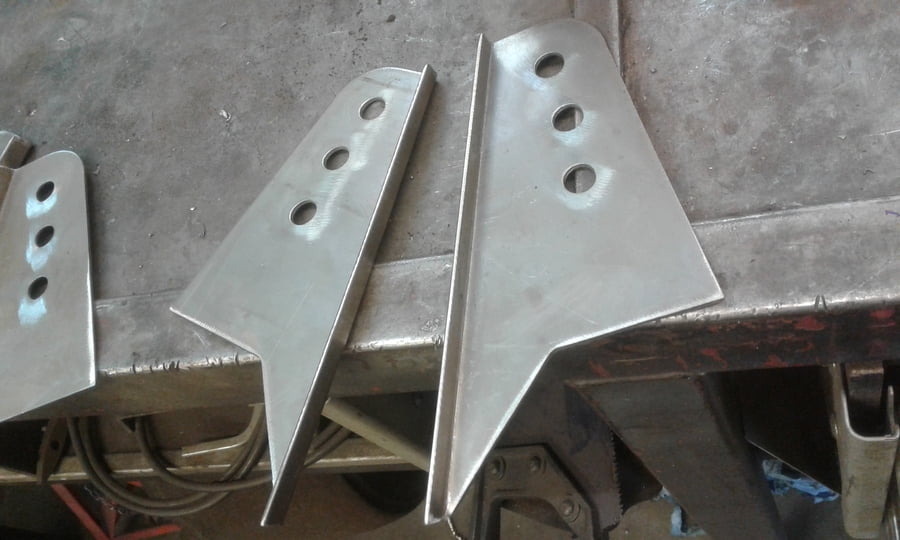
to get the rod length equal i had to remake the axle brackets.
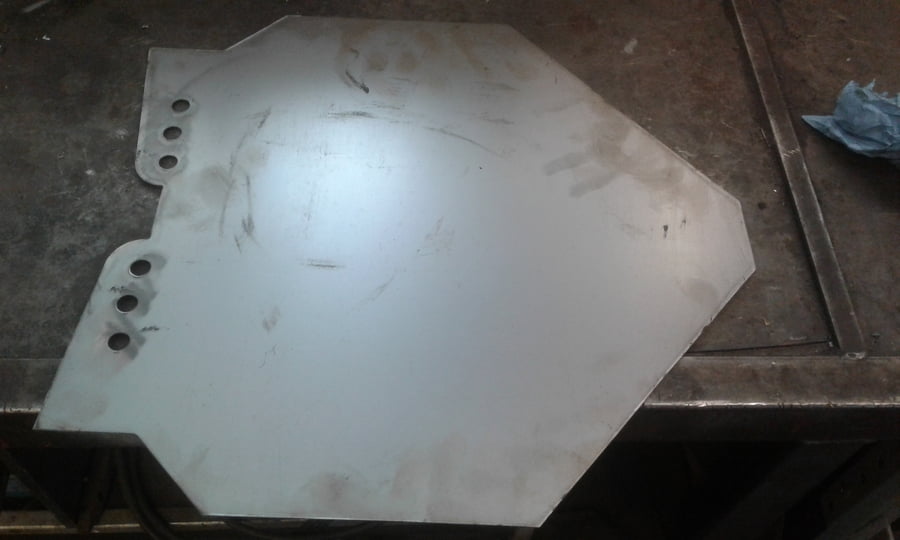
So I made a cad design and cut them out on the plasma table
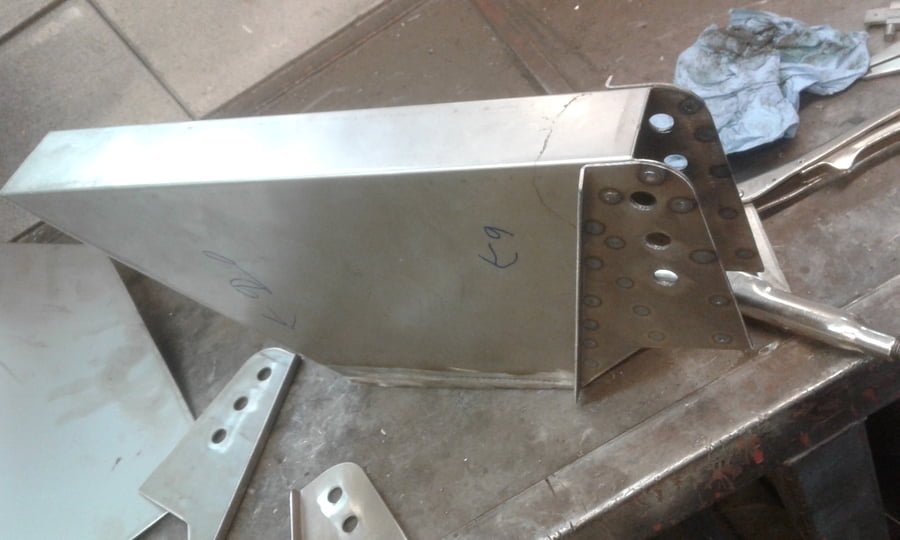
also made some reinforcemends for the shock towers
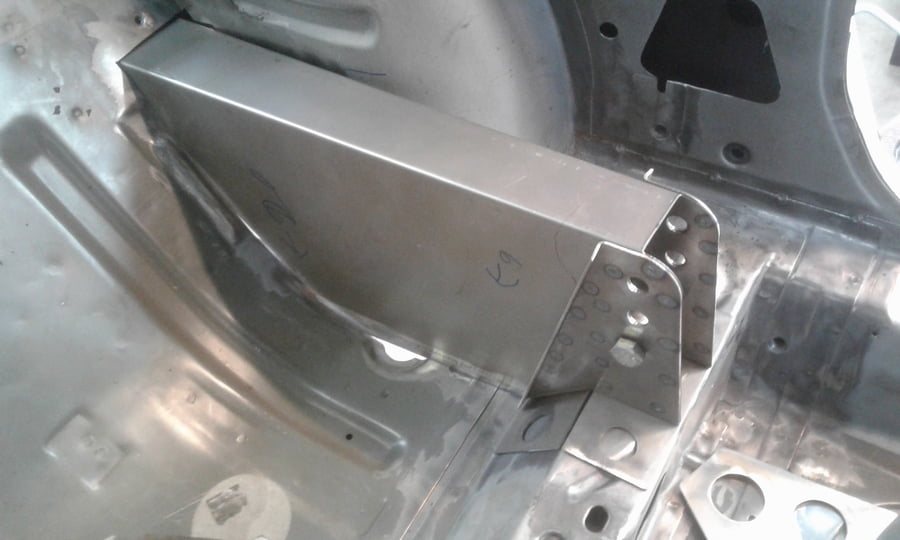
Welded them in place
I also removed the old shock tower and made a new bigger tower to accomidate the new coil over shocks. I bought a set of Ford escort MK2 rear shocks of Bilstein
I have looked a different options for front and rear shocks, but within my budget I could choose between B of C quality brand adjustable shock or a A brand non adjustable shock. so that is what I choose. I don't thing i'll adjust the shocks after a first adjustment, so why bother with less quality witch i'll never adjust.
I have also figured out a awesome front suspension upgrade with high quality shock absorber , but thats for a later update.
very happy with this suspension set up, next is going to be the Panhard rod .
I Always keep an eye open for parts I can use for this build. Last week a 12A engine turned up on marktplaats ( dutch version of ebay ).
Not far from where I live, so made a appointment and got a look at the engine.
The guy that was selling the engine had bought it from a junkyard as a good running engine, we agread on a price if the engine was in a good state.
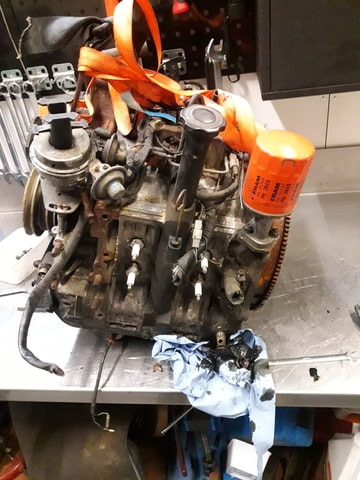
After 2 seconds of looking at the engine it was clear, this was nog a runner. The engine was stood in rain or in a leaking shed and it looked like it came from a submarine.
rust everyware, of course the crank did not turn, so after seeing that engine I made a offer of 20% of his asking price.
He agreed on it so I took it home.
That same evening there turned up another 12a engine on marktplaats, after talking to the guy we made a deal.
As this engine was on the other side of the country I let a courier pick it up.
So in one week I got 2 engine's
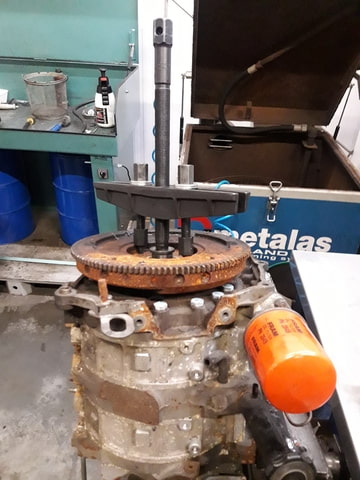
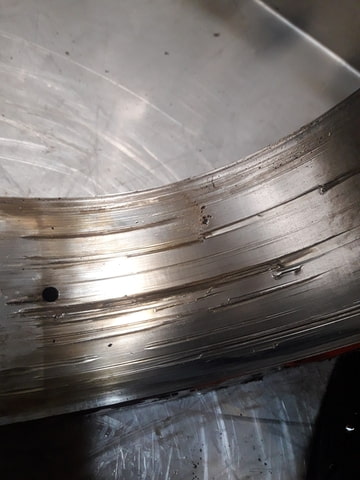
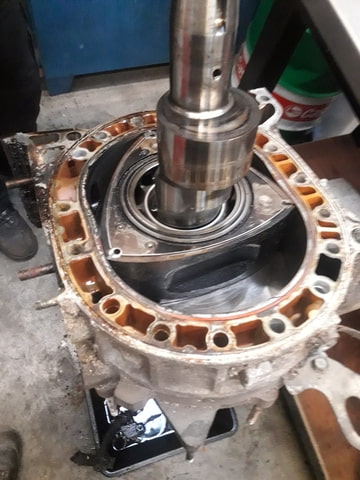
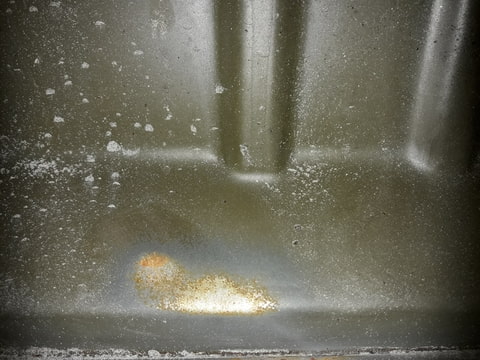
First the submarine version
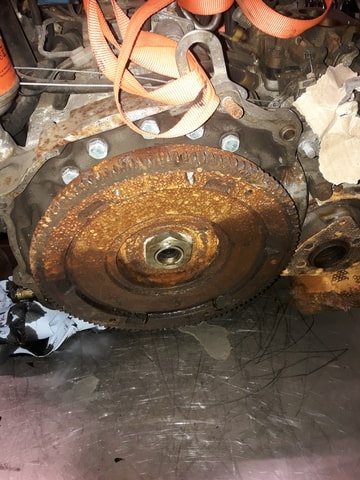
Looking at the rust line on the flywheel you can tell it has been standing in water.
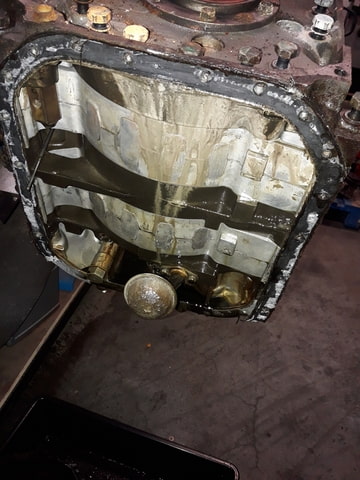
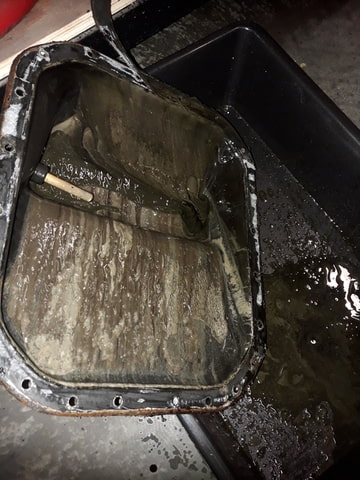
the engine oil was a mixture of 50% water and 50%oil.
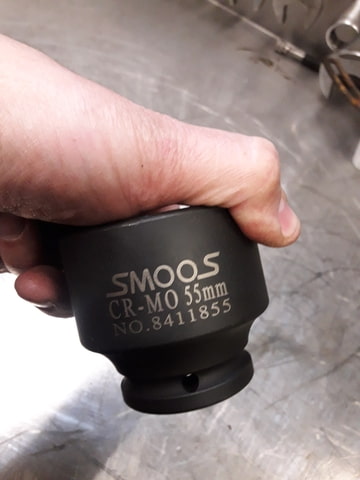
Nice little socket to get the flywheel nutt loose
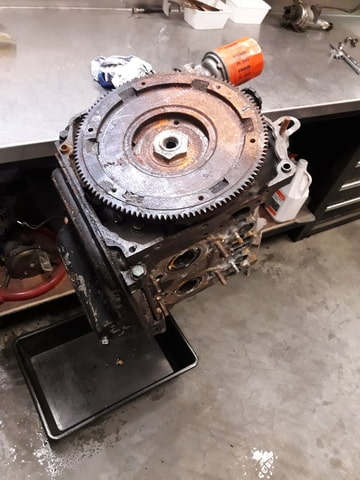
Propper puller to get the flywheel off
nice
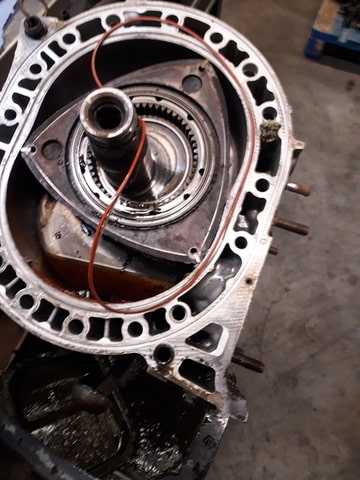
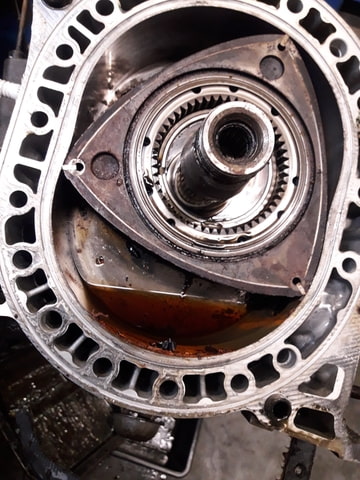
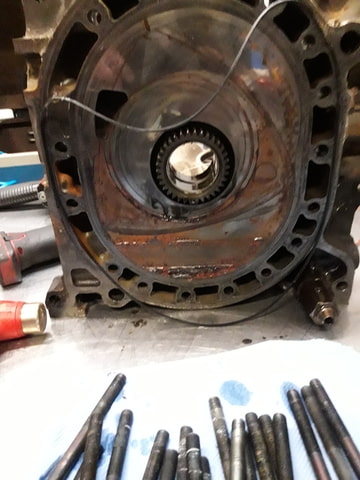
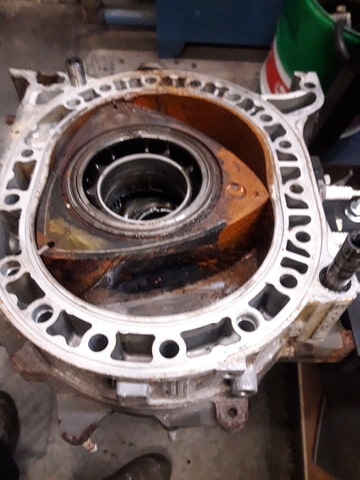
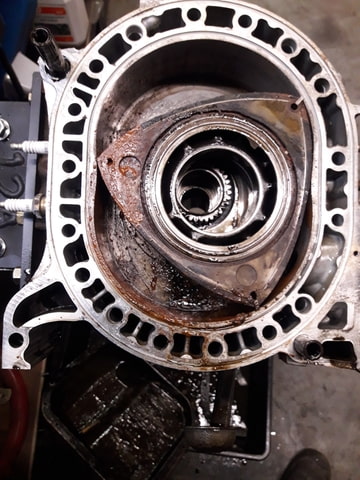
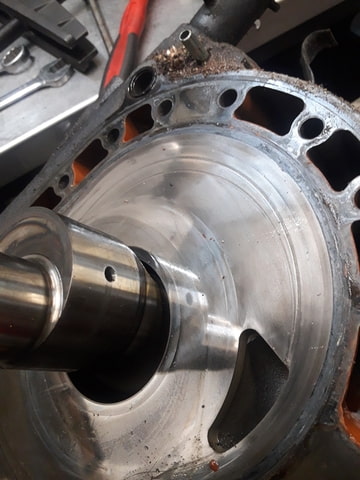
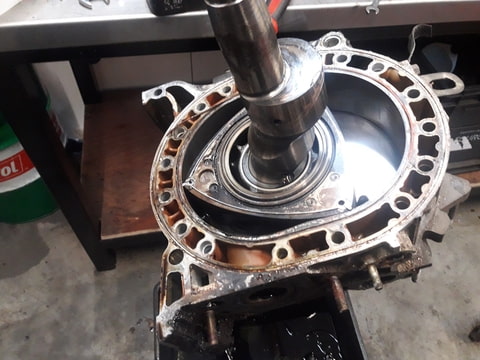
Lifting the end plate gives acces to the rear rotor.
The oil you see is penetraiting oil, I took out the sparkplugs and put half a can in each rotorhousing
After cleaning up the parts a little bid, It is actualy not as bad as it looks.
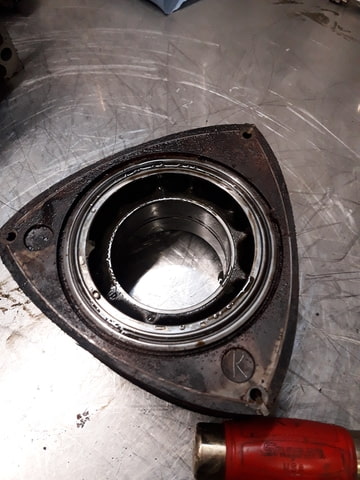
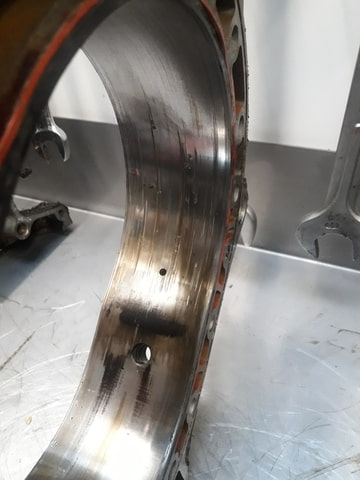
The rotorhousings are in a good state, the rust came right of the chrome wall. The walls are known for flaking off the chrome.
So I'm happy with the rotorhousing's as they are hard to come by.
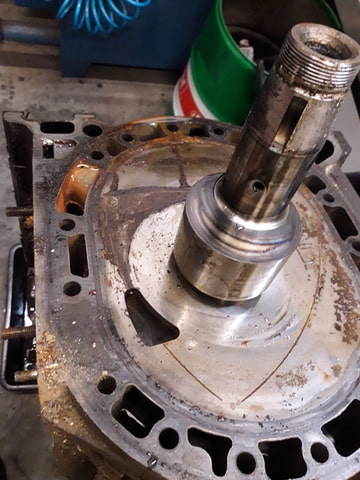
The E shaft ( crankshaft on a normal engine ) looks great, no signs of rust. The first engine has a fubar crank due to lack of oil, so I can use this one for sure.
The Rotors it self are made of steal, if I can get the rust off without damaging the seal seats I have enough parts to fix the first engine.
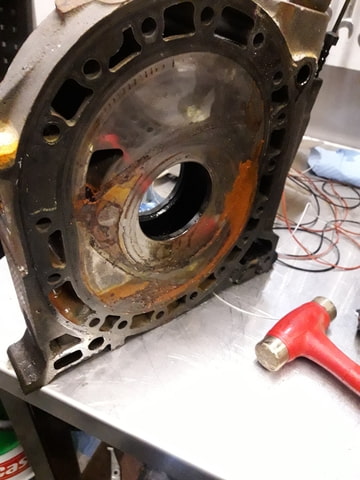
The front, middle and rear plate have some rust pinholes in them, If they are thick enough they can be grind down and used again.
so for 150 euro I paid for this engine I'm very happy with what I got.
The courier delivered the other engine a couple of days ago.
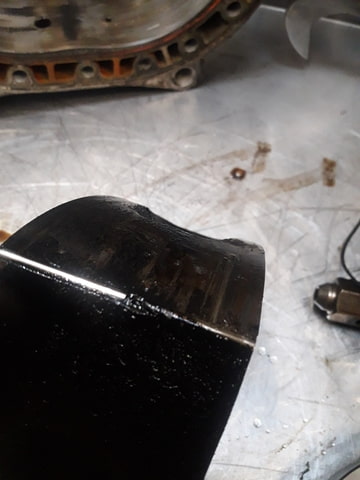
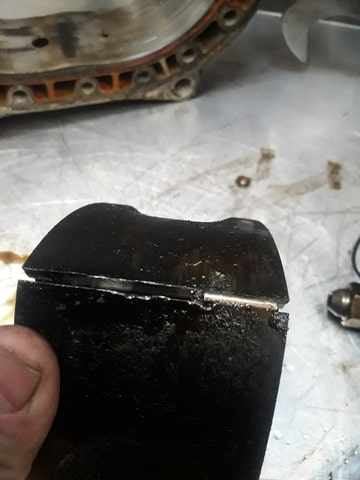
As I was keen on knowing the state of the engine I removed the sparkplugs put a light on it and slowly turned the engine.
Trough the sparkplug hole I could see that the apex seals where broken and it didn't look good.
So after calling the seller we settled on giving me some money back. The seller told me that the engine was in a good state ( do you see a pattern ? ).
So lets have a look what 200 euro buys you today ( including the courier )
geniune FUBAR
FUBAR
Maybe usable
FUBAR rotor & rotorhousing.
So this engine was a little bid a waste of money, The E shaft is good, the front, middle and end plate are probably usable after regrinding.
The engine came with altenator, ignition and carb, so there are some parts I can use , but not a lot.
Between life, other hobbies and the RX7 something else came up.
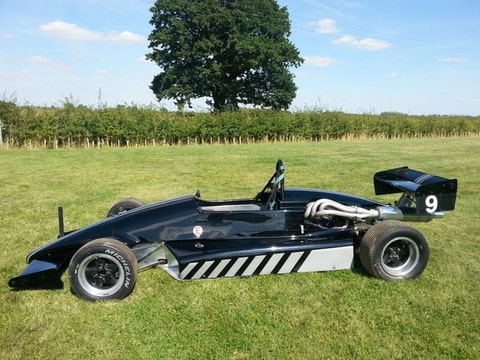
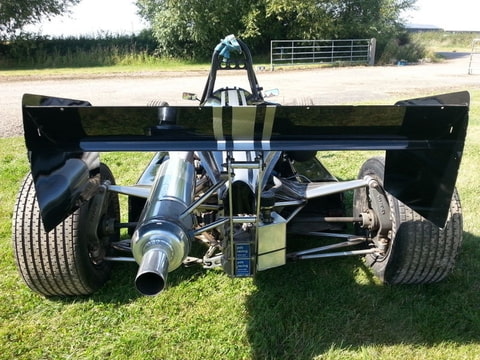
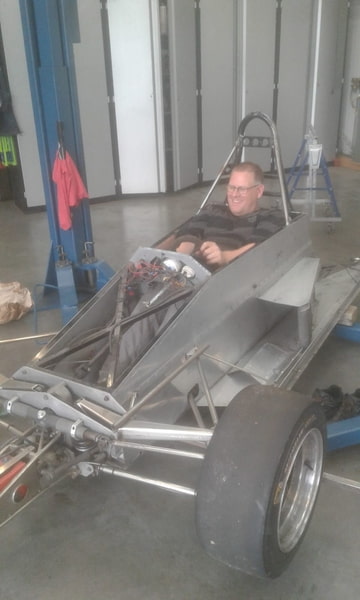
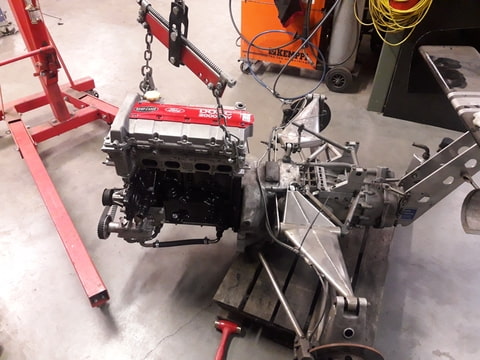
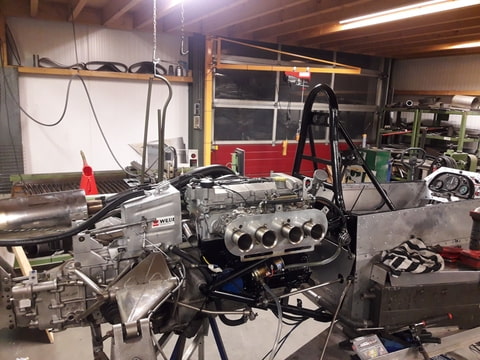
My mate Jon , with who I build a Lola racer, bought a formula Ford.
So after seeing the photo's of the seller I was very impressed because we both have the habbid of buying something in parts, or with damage or so.
So when we picked it up from the seller we aranged a car transporter and a trailer...…
it came like this..
LOL, just how we like to buy cars .
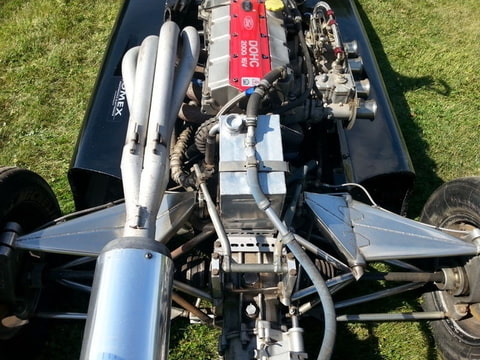
The seller over reved the engine and put a conrod trough the side of the engine.
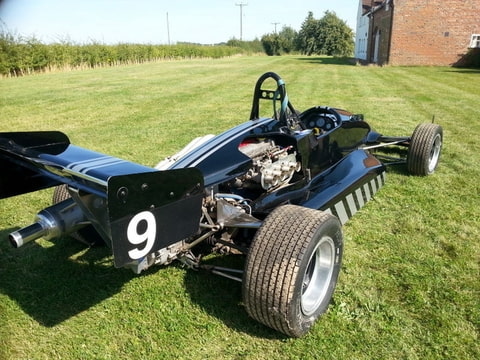
But that didn't matter because this is one of the very few cars where we fit in, We are both big boys .
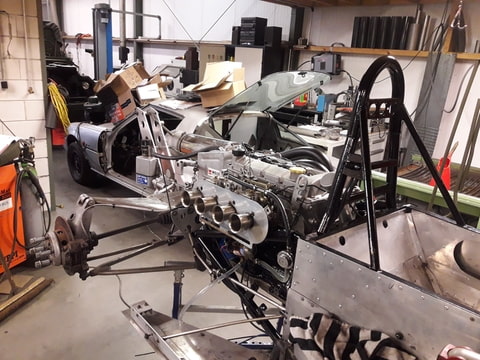
We decided it would be best to bring the car to my workshop to get the big stuff sorted before Jon bringing it to his own shed.
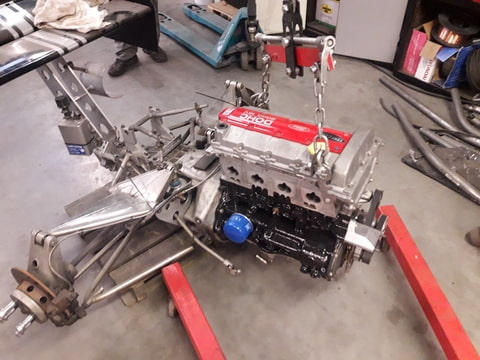
The fact that we fit, didn't mean it is going to be a comfortable ride. So after a good look at the chassis we decided to widen the chassis at the back by 5cm. Making it easyer to get in and out of the car and to make it possible to even shift while sitting in the car
we didn't take many pictures of cutting and welding the chassis, we did try to make it as invisible as possible.
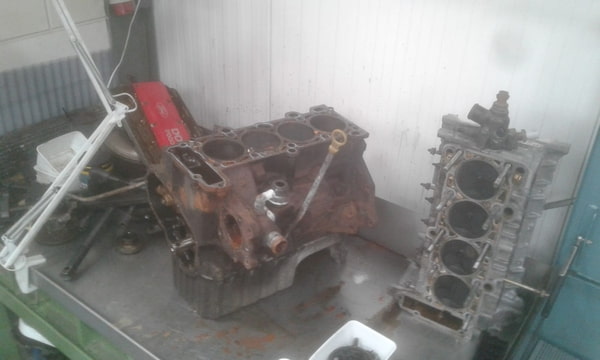
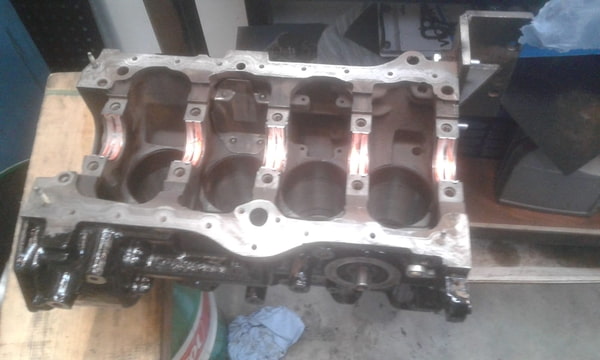
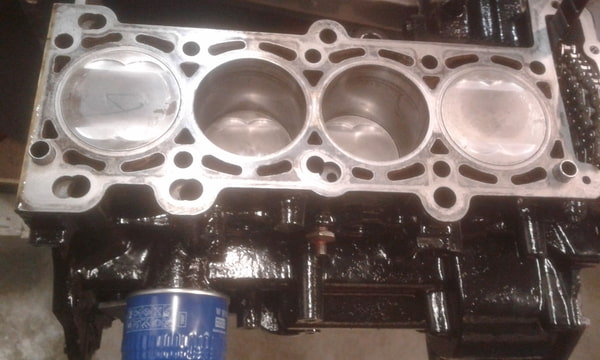
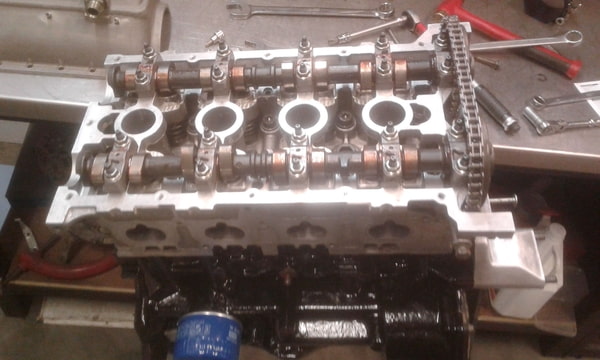
The shortblock was totaly written off with a big hole in the side. Luckily the cilinder head only had a couple of bend valves, As it is a nice ported head we where keen to keep it. So we bought a RS2000 engine out of a Ford Escort.
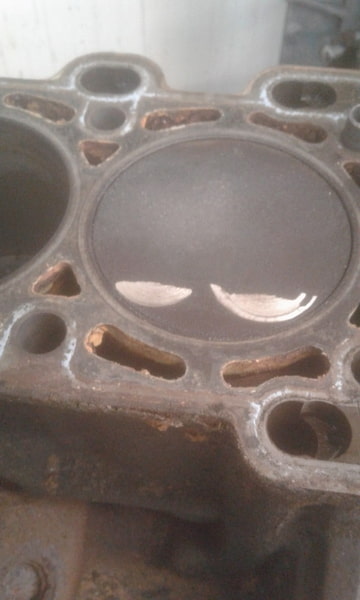
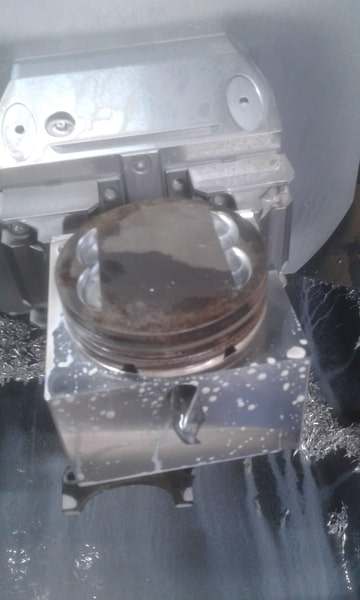
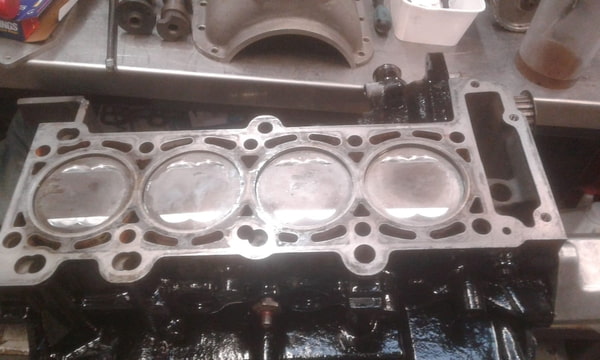
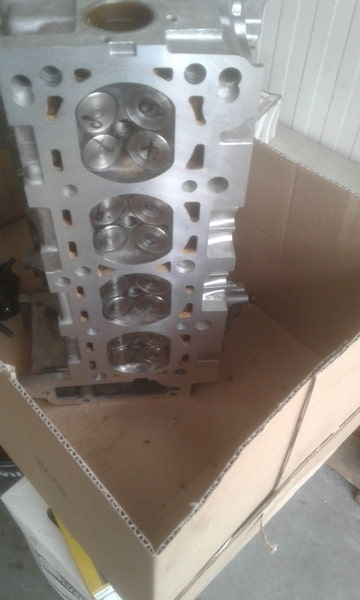
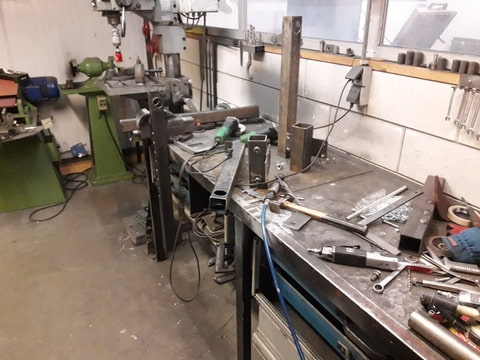
We stripped the engine to rebuild it. Because of the ported head and high lift cams we needed to make a pocket in the pistons.
first try, We glued some sandpaper on the valves and used a drill to cut out the pocket. It didn't work as good as it should have, but it gave us the exact location of the pocket.
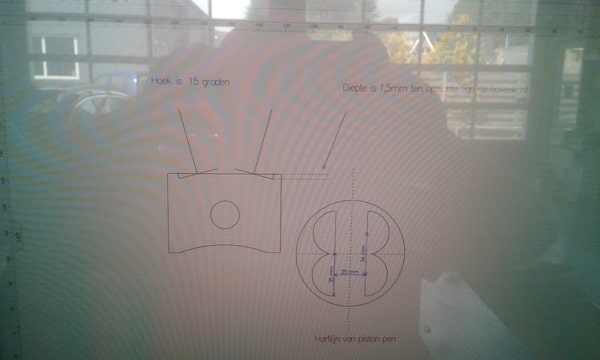
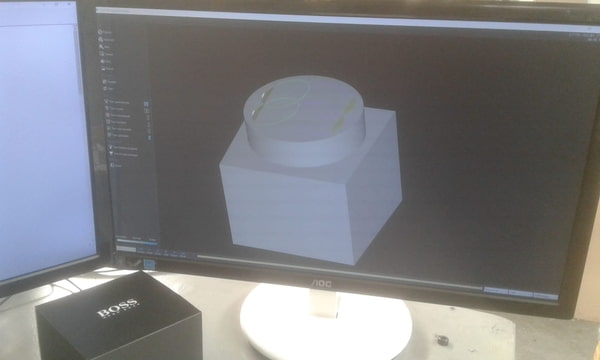
Made a drawing of same basic dimensions.
A good mate of mine has a big machining business so I asked him of he could help me out.
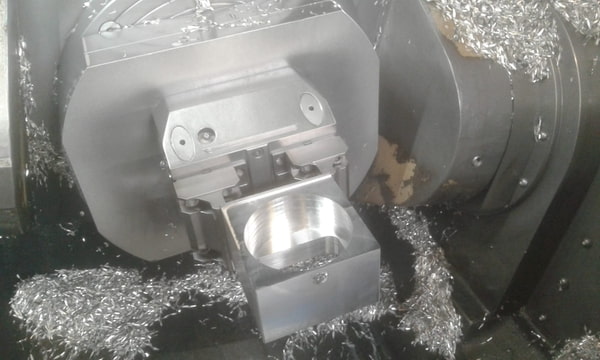
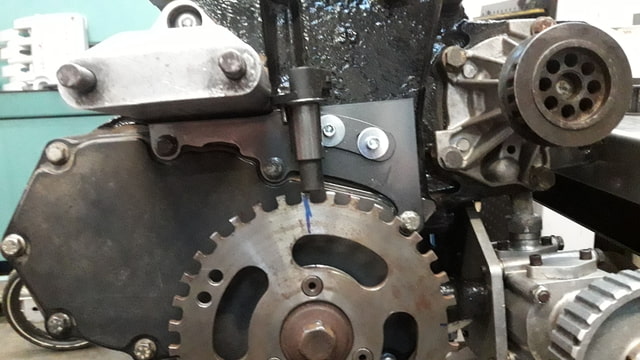
They made a drawing for a 5 axis mill and let the magic happen
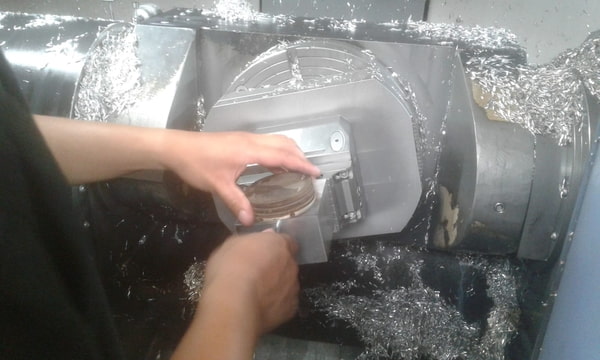
It is realy amazing to see how fast it made the pockets in the pistons, It actualy took longer to get a new piston in the machine than it was cutting.
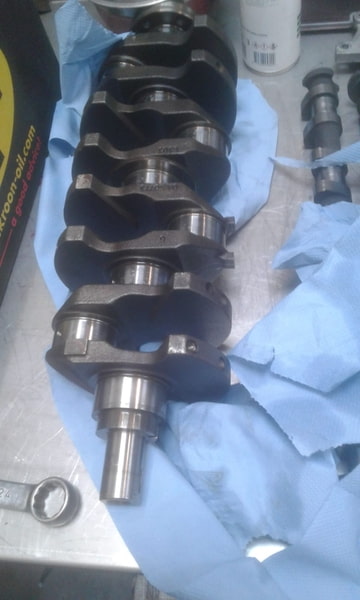
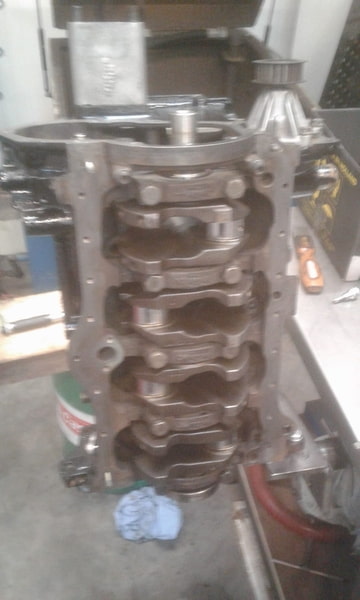
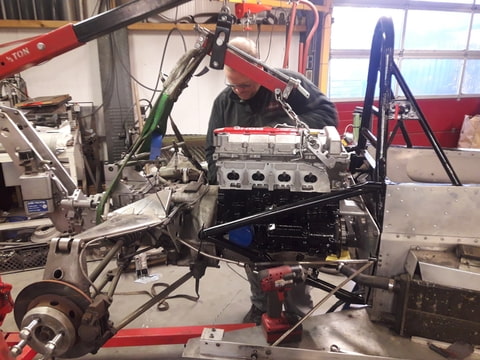
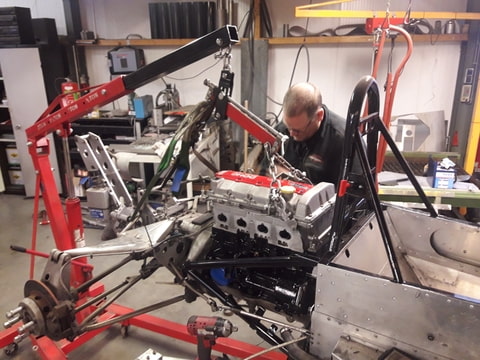
So with the pistons sorted, we could rebuild the engine.
We where both very happy to hear it run for the first time.
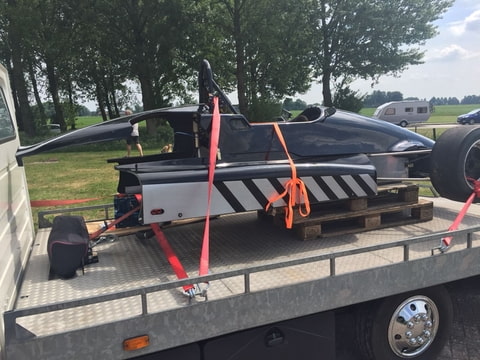
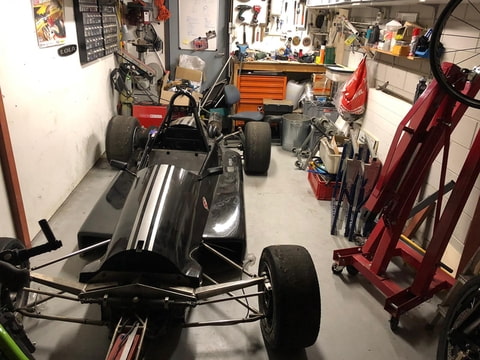
So after we got the engine running and most of the parts fitted, Jon took the car to his home to finish the last stuff and making it ready for some trackdays this summer.
Home at Jon's garage.
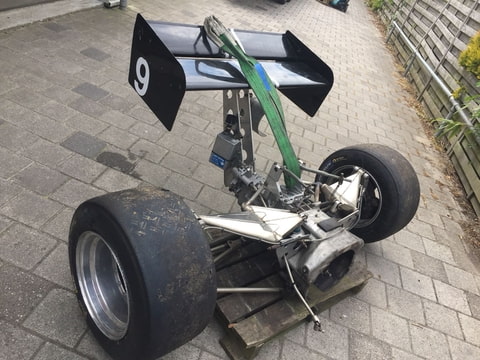
With the Van Diemen gone, I had some room and time to get on with the Mazda.
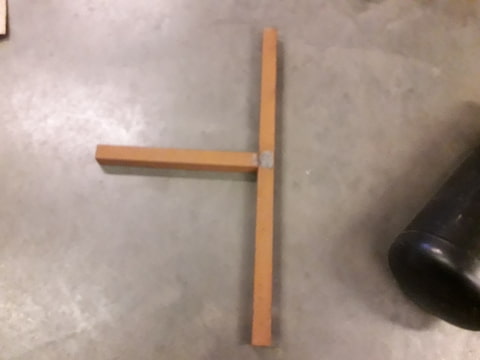
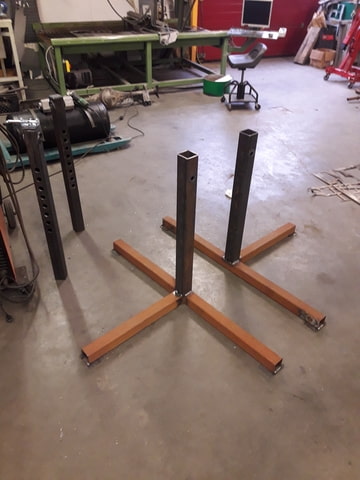
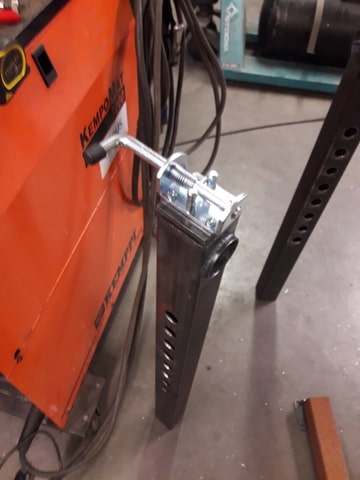
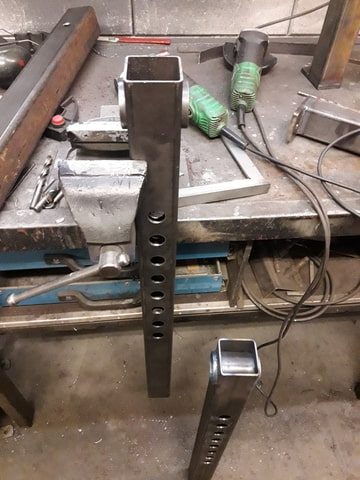
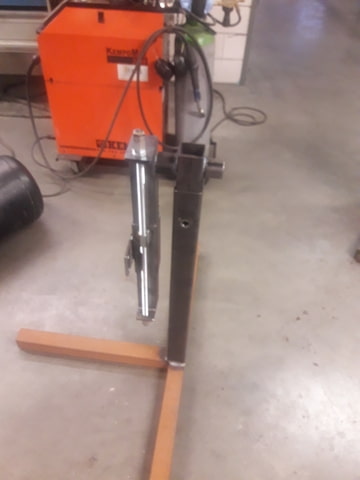
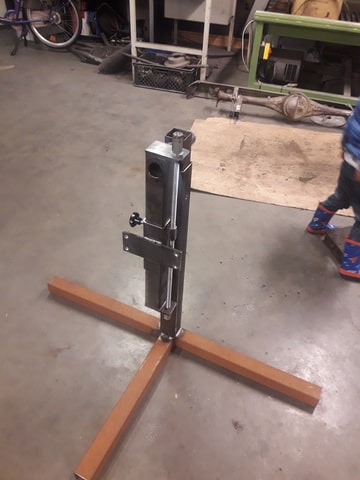
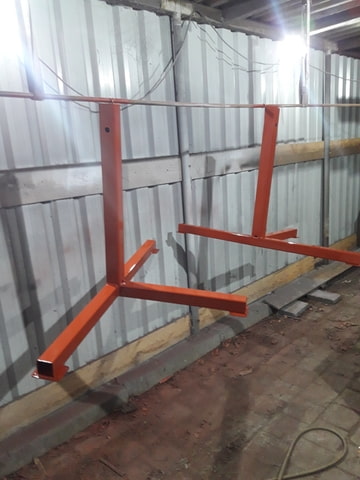
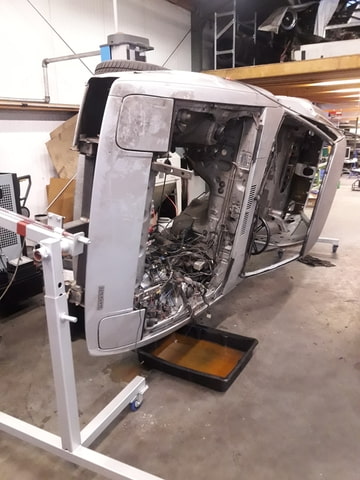
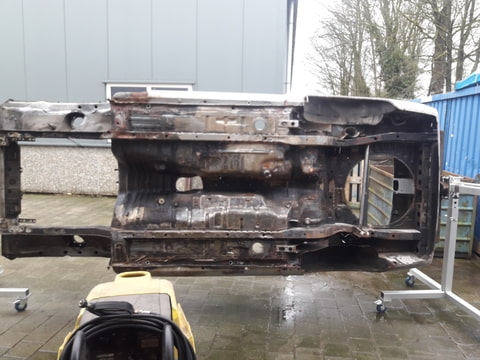
Because the underside needs some welding, I thought it would be a good idee to have the Mazda on a rotisserie, So out came the welder and some metal box section.
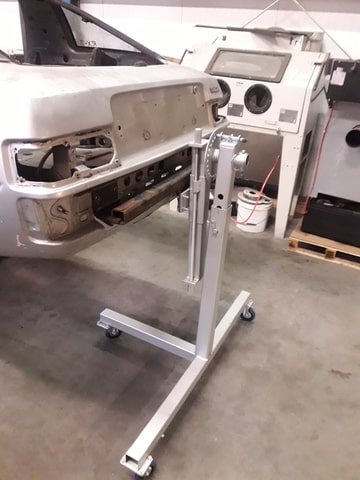
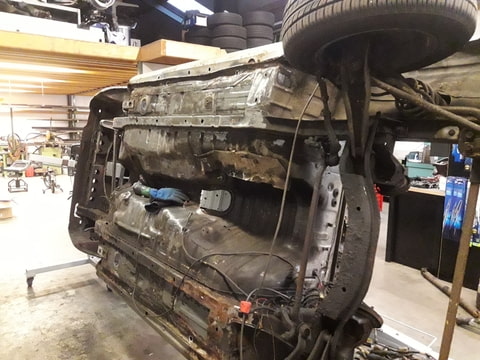
So with the RX7 on the rotisserie, I had good acces to the underside of the car.
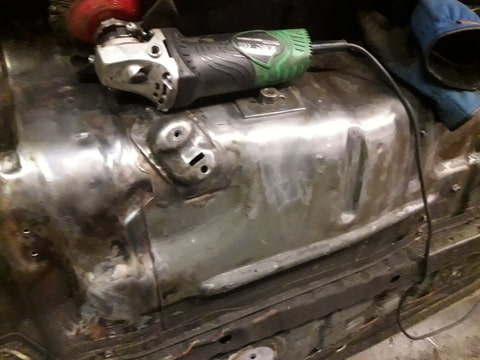
The stripping with a wirewheel on the grinder is a slow and dreadfull process.
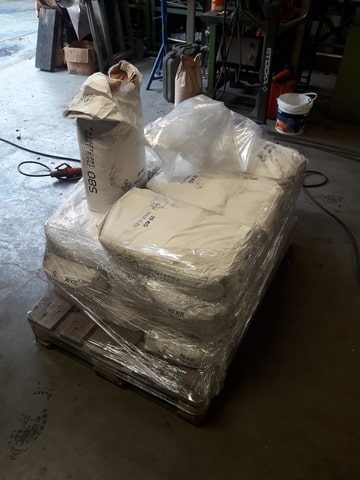
After seeing some YouTube videos of people blasting there own car with a pressure washer I ordered a blasting nozzle and some fine sand.
Took the Mazda outside and gave it a go.
After a couple of hours blasting, I got this far, some how it is nothing like the YouTube video's. It takes forever, the sand feed hose gets blocked every 5 minutes, and it is make a huge mess of the driveway.
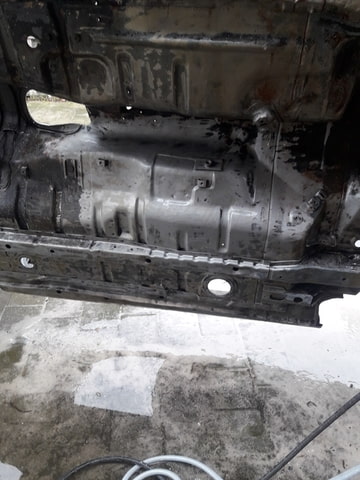
So after a couple of hours I gave up. I cleaned the Mazda as good as I could. Put it back in the garage and let it dry.
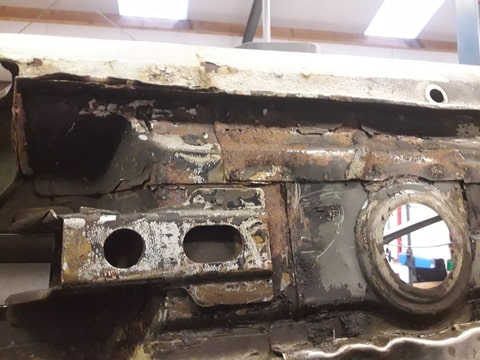
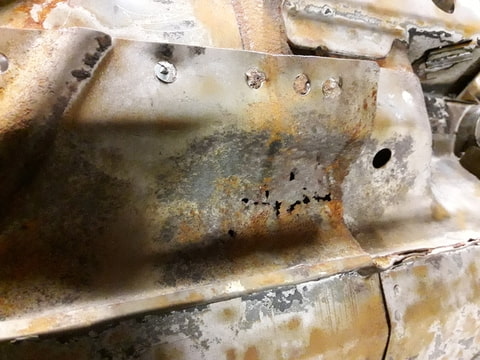
At least I can see the parts that need attention better
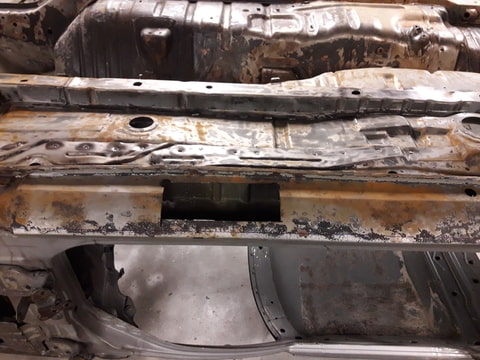
cut a hole to look inside.
Looks good after almost 40 years


 Beautiful work, Sir!