
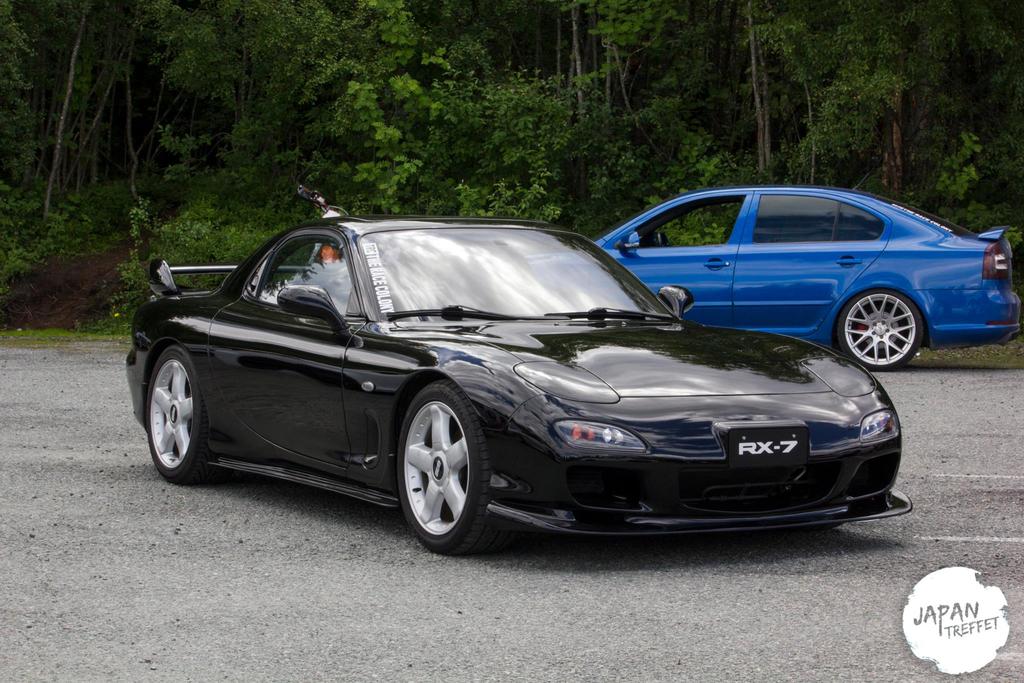
Zepticon's Euro RX-7 FD - Slowlog

So this spring i have been quite bussy.
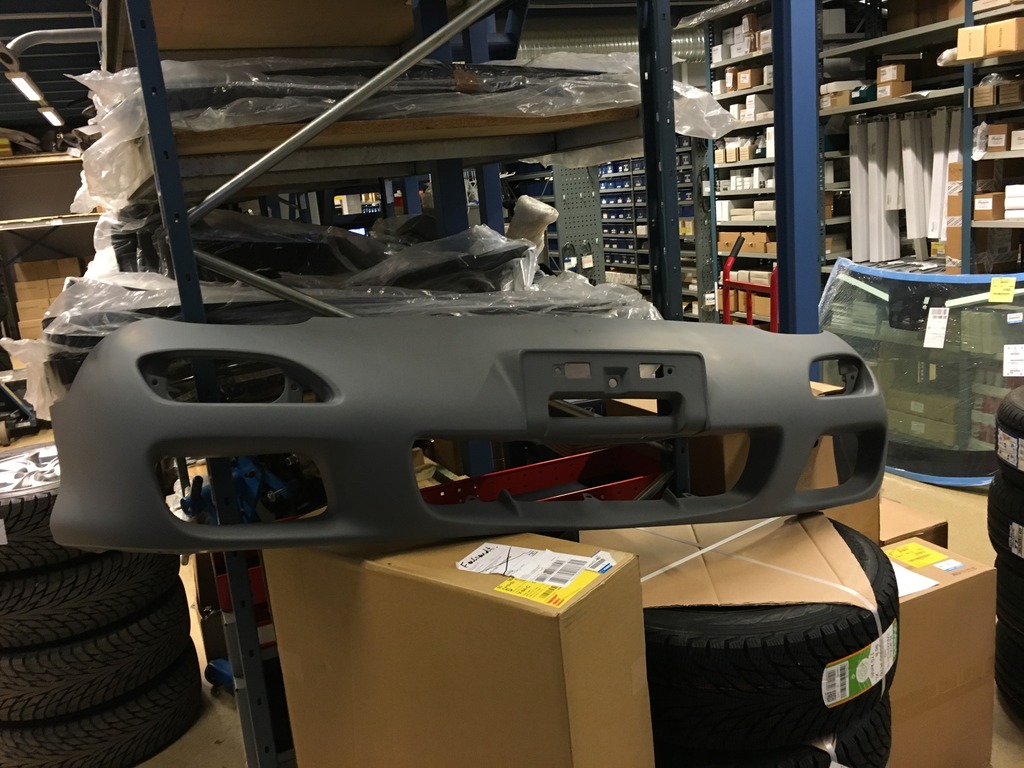
First i got together all the big parts i needed for the 99-spec conversion:

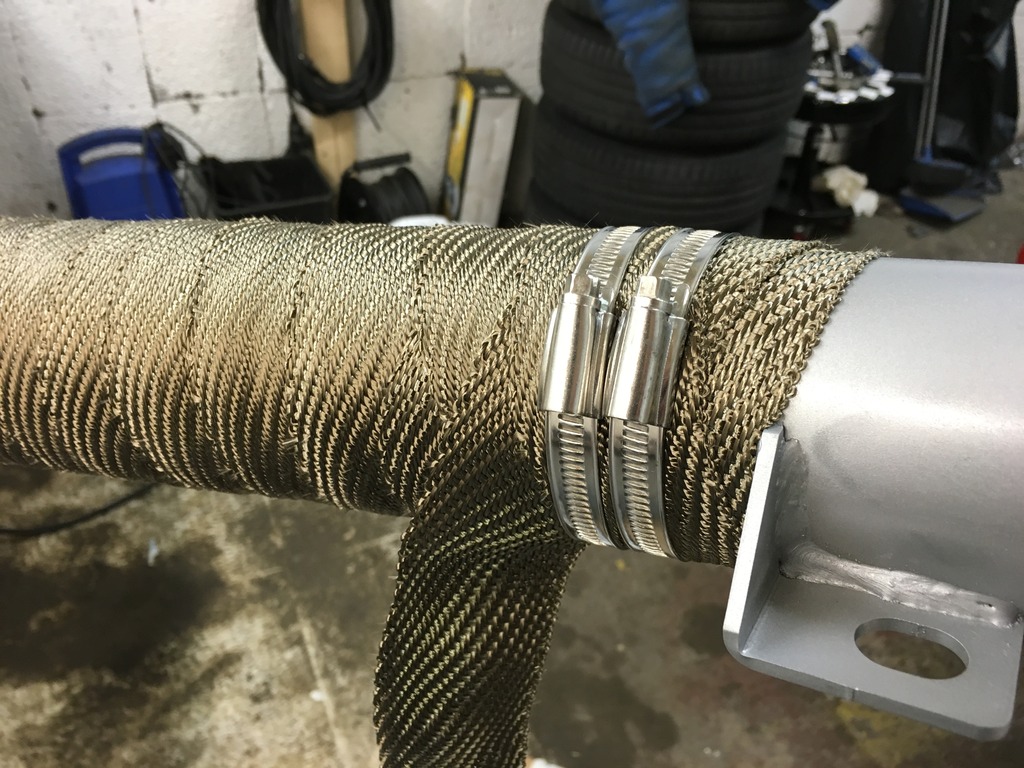
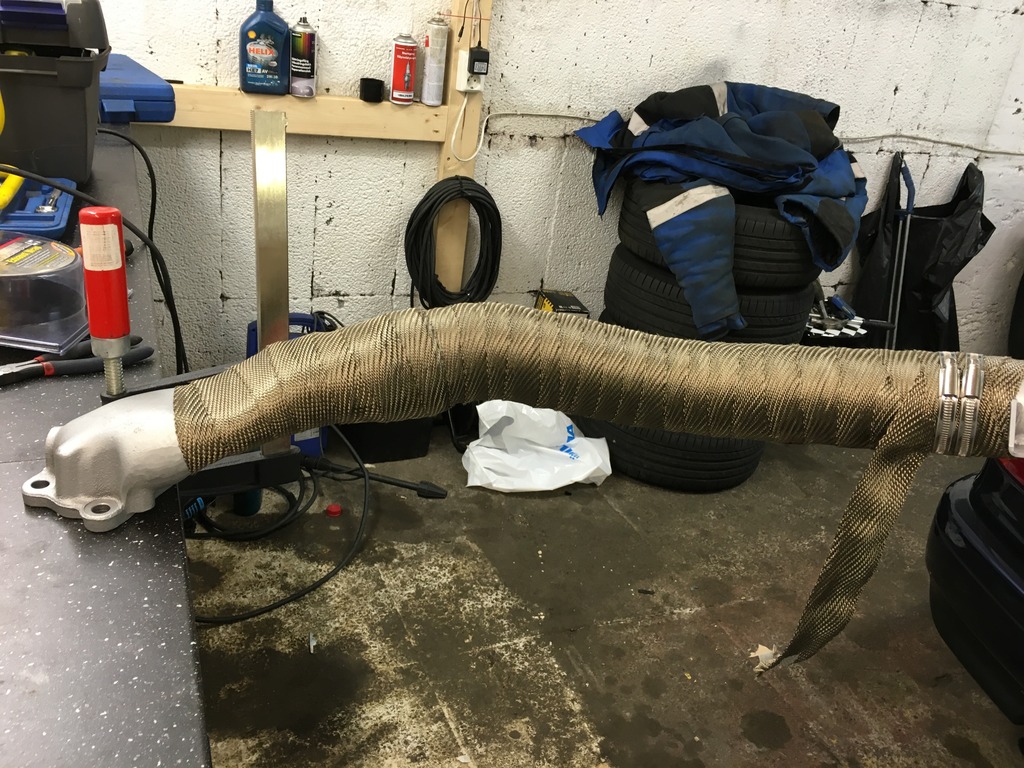
Got some exhaust wrap for my HKS downpipe. Quite happy with the result, tho i wish i could cover more of the top.

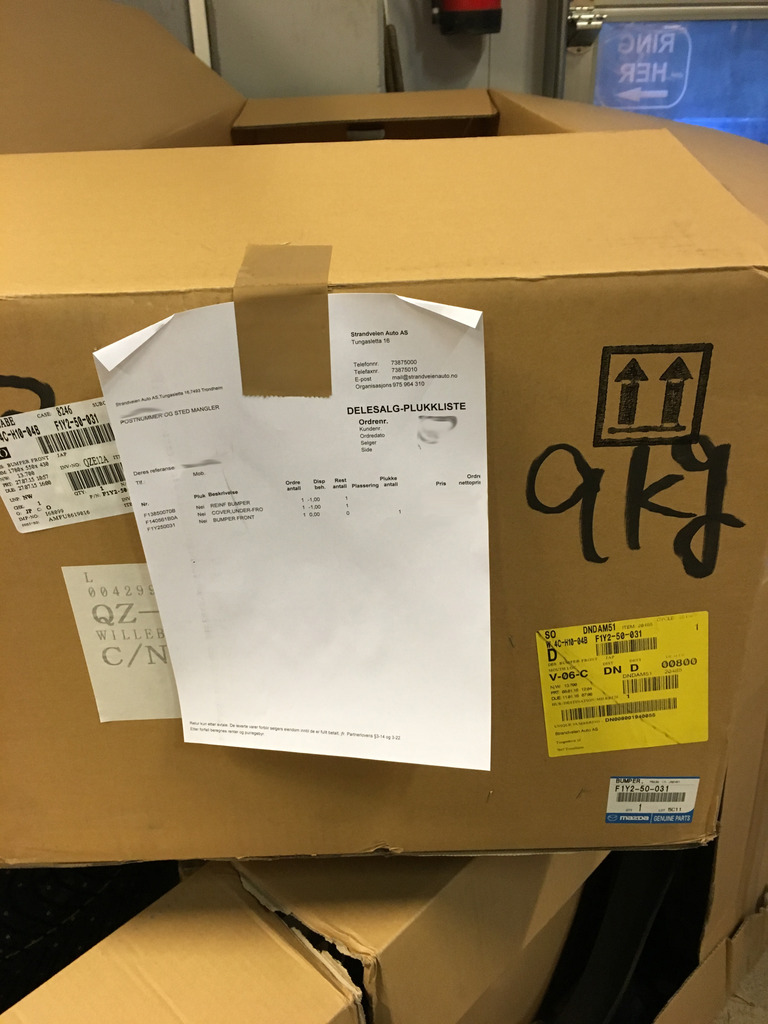
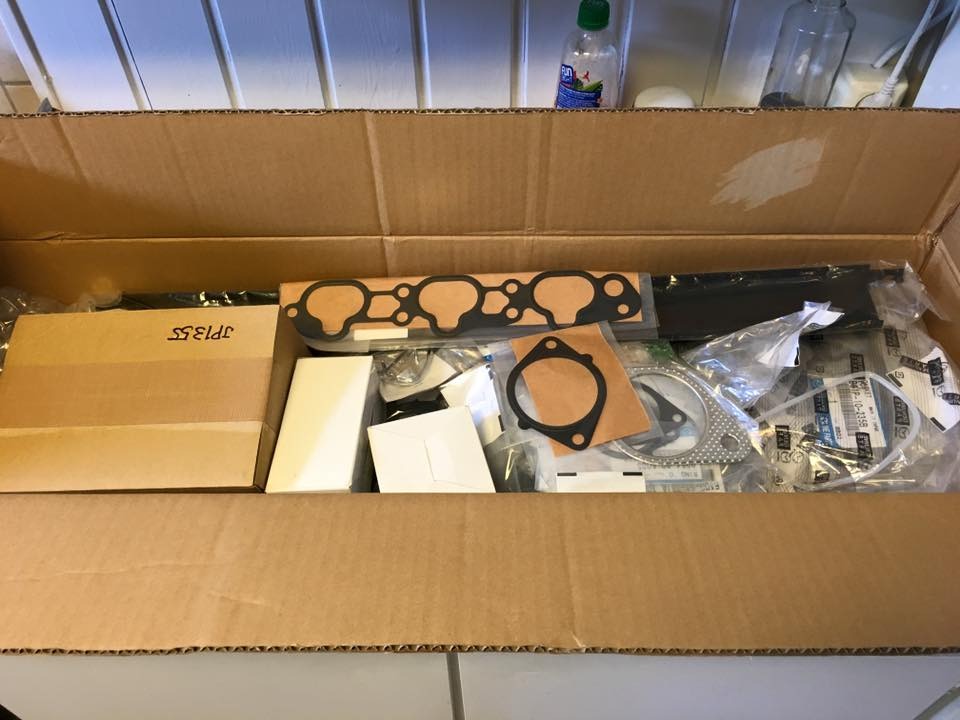
Then a big shipment from Amayama.com, with parts for both my cars

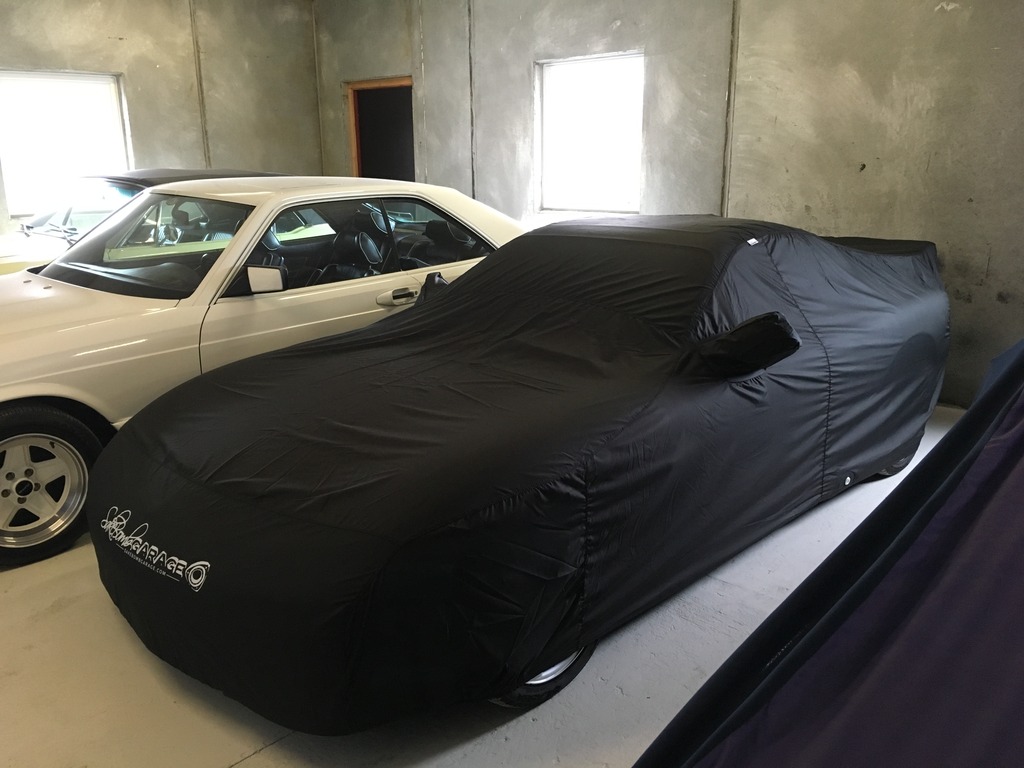
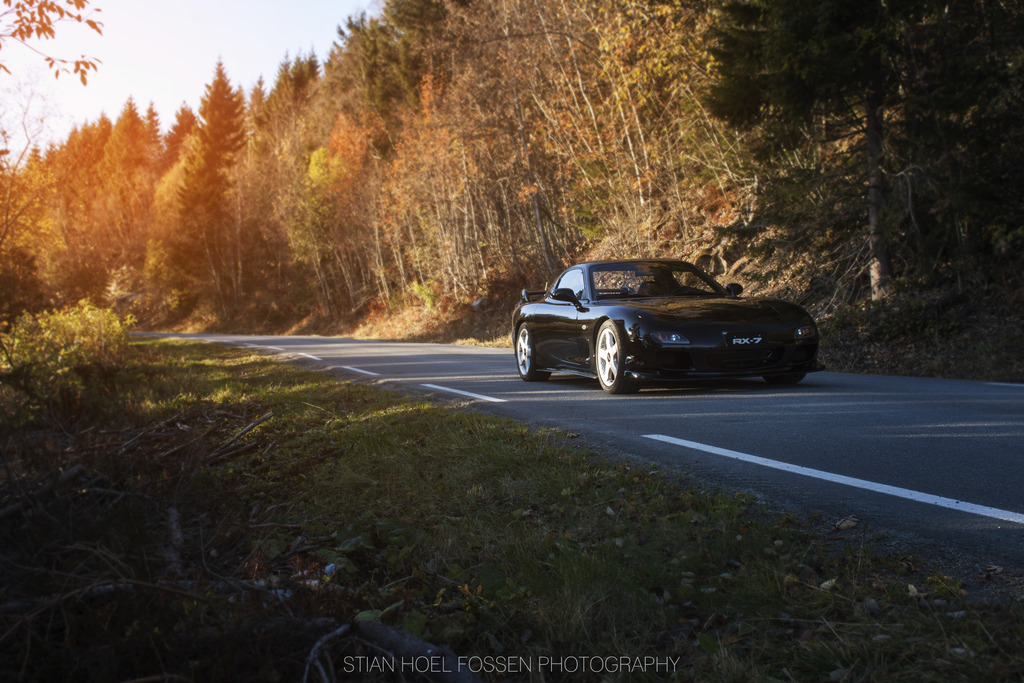
Spring came suddenly, and we went from snow and ice to dry roads in a few days, and with all the parts in house it was time to go get the girl
First i got together all the big parts i needed for the 99-spec conversion:
Got some exhaust wrap for my HKS downpipe. Quite happy with the result, tho i wish i could cover more of the top.
Then a big shipment from Amayama.com, with parts for both my cars
Spring came suddenly, and we went from snow and ice to dry roads in a few days, and with all the parts in house it was time to go get the girl
Last edited by Zepticon; Aug 1, 2017 at 02:25 AM.
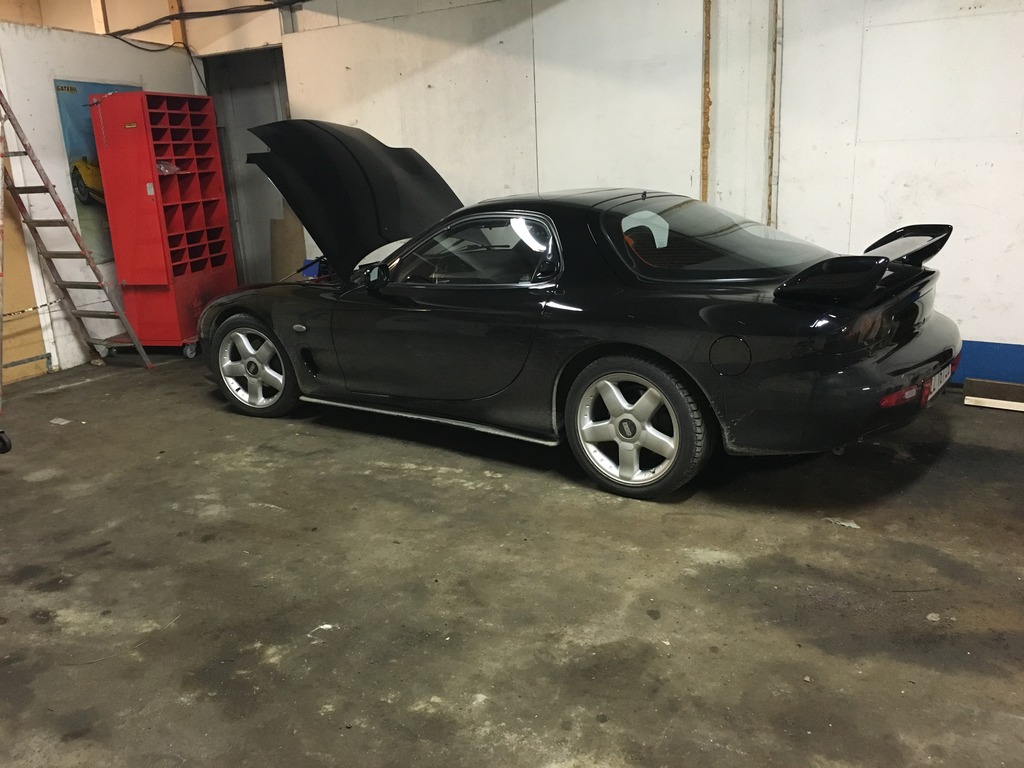
First thing on the list was to get her back to the garage i rent for wrenching, and get the battery charged up fully after a long winter.
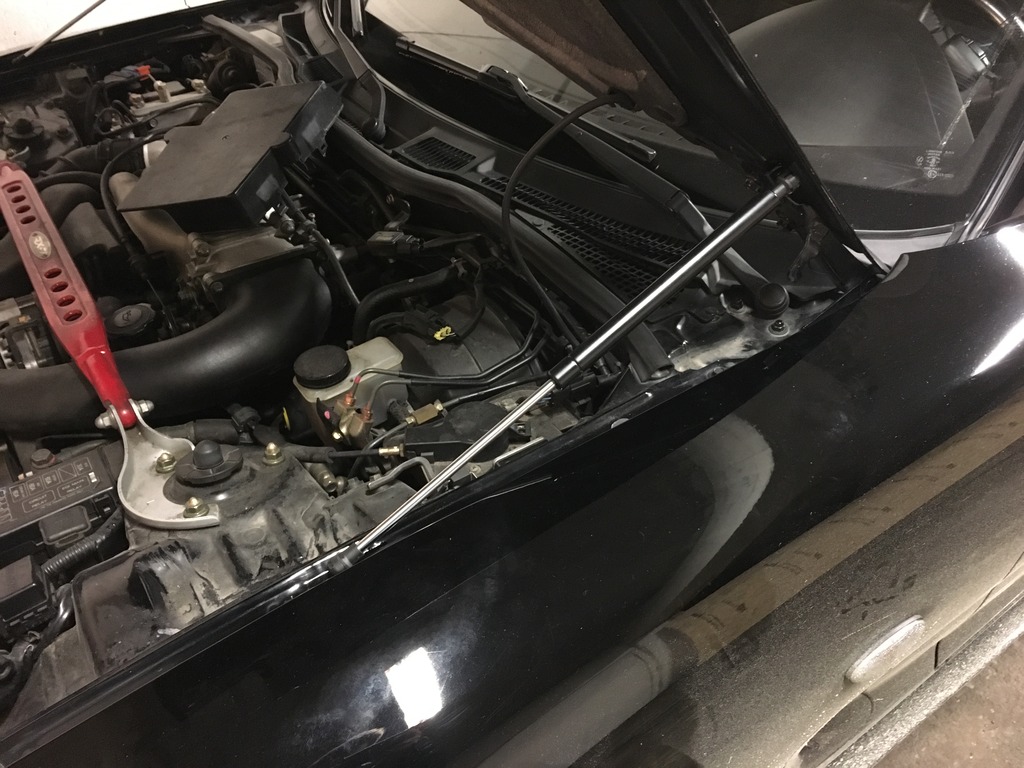
Then i installed some hood dampers:
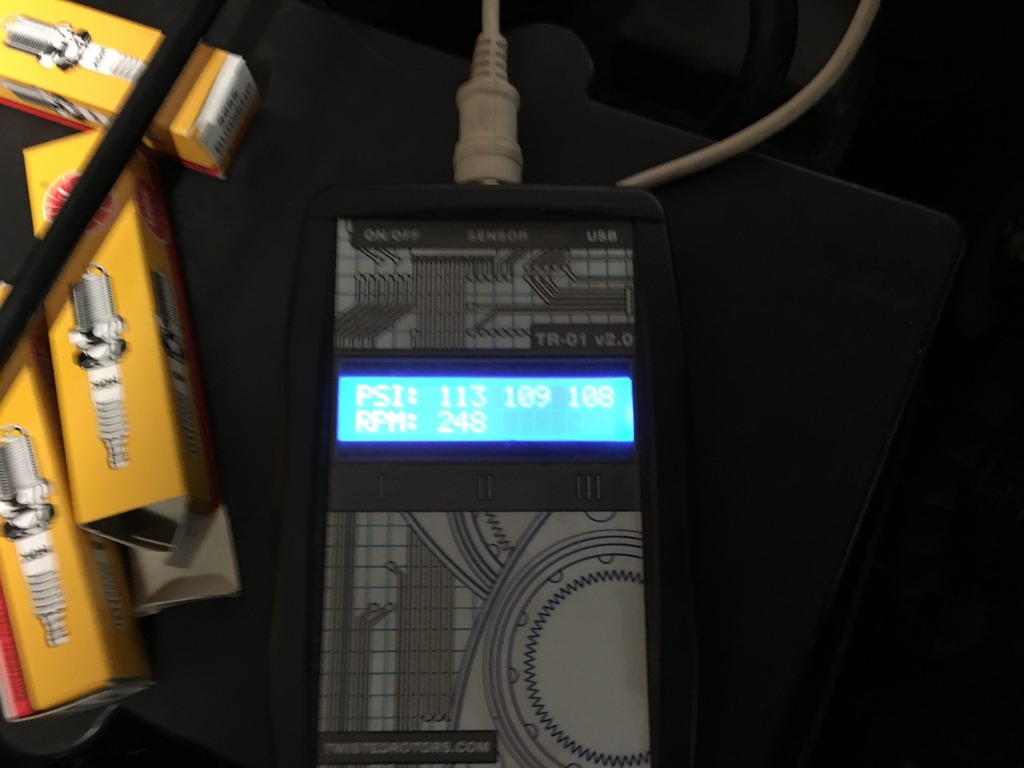
Did a compression test
Rear rotor, cold engine:

Front rotor, cold engine:
And changed the spark plugs. They are pretty rough, but in my defence i have only had the car for 4000km. Will change them each season (2000ish km) from now on to make sure they are in good shape.

After that i got so eager to work that i forgot to take pictures, so there is only a list of work done:
The only remaining thing to do for now is to take care of a coolant leak, and to change the smaller hoses on the intake. They are old and wont seal properly.
Then i installed some hood dampers:
Did a compression test
Rear rotor, cold engine:
Front rotor, cold engine:
And changed the spark plugs. They are pretty rough, but in my defence i have only had the car for 4000km. Will change them each season (2000ish km) from now on to make sure they are in good shape.
After that i got so eager to work that i forgot to take pictures, so there is only a list of work done:
- Mounted new HKS downpipe
- Installed Powerflex bushings on diff
- Changed fuel filter
- Changed 98% of the vacuum hoses
- Mounted and paited Efini Y-pipe
- Grinded casting edges from the UIM and painted it
- Lowered the car 30mm on H&R springs
- Changed serpentine belts
- Painted and mounted mudguards
- Detailed the entire engine bay, including all plastic and rubber.
- 99-spec front bumper mounted!
The only remaining thing to do for now is to take care of a coolant leak, and to change the smaller hoses on the intake. They are old and wont seal properly.
Last edited by Zepticon; Aug 1, 2017 at 02:24 AM.


 Yeah, i want some RPF1s, but they are pretty expensive to get hold of here since i need to import them myself from either UK, USA or Japan. No importers here that want to deal with Enkei
 Tho im not sure if i want to prioritize wheels, or try to get some Recaros before they ebcome to rare and super expensive.
Full Member
Joined: Jun 2015
Posts: 83
Likes: 0
From: Medicine Hat, AB, CA
Thanks Yeah, i want some RPF1s, but they are pretty expensive to get hold of here since i need to import them myself from either UK, USA or Japan. No importers here that want to deal with Enkei
Tho im not sure if i want to prioritize wheels, or try to get some Recaros before they ebcome to rare and super expensive.
Yeah, i want some RPF1s, but they are pretty expensive to get hold of here since i need to import them myself from either UK, USA or Japan. No importers here that want to deal with Enkei Tho im not sure if i want to prioritize wheels, or try to get some Recaros before they ebcome to rare and super expensive.
should be able to pick them up used fairly easily though, they are pretty common. Shipping would be another issue...Either way, wheels or seats, should add substantially to the car.
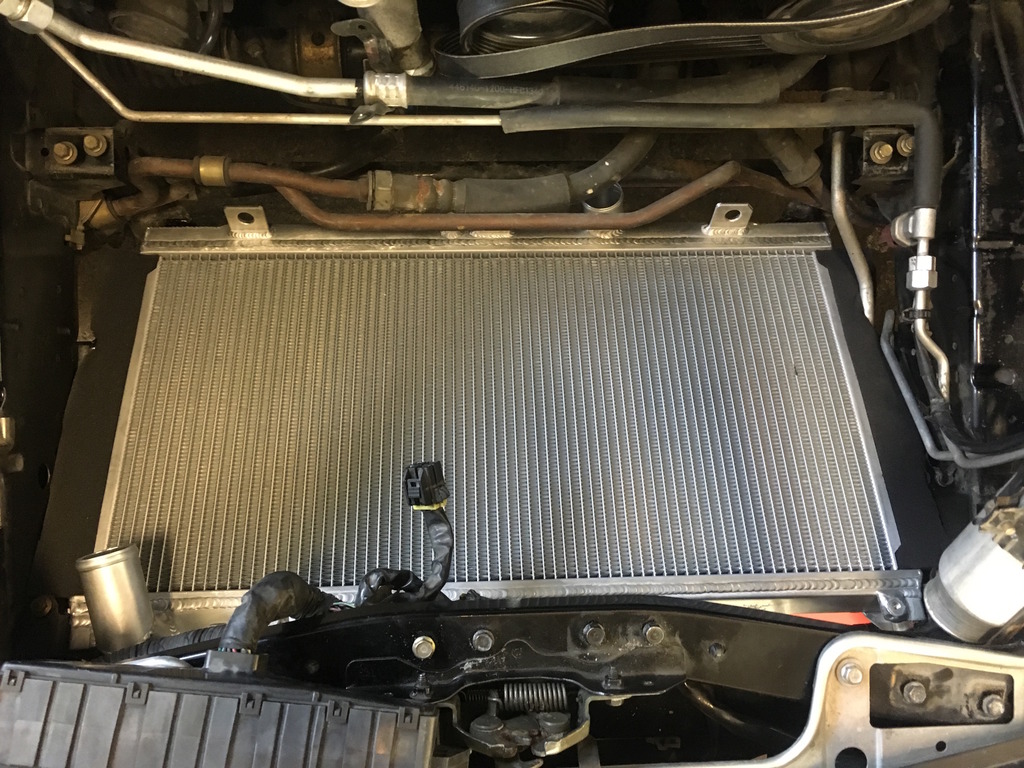
Lately i ahve been working on fixing the coolant system. I noticed it was leaking about a month ago, and decided to change all the coolant hoses to be sure. I also got a Koyo radiator upgrade.
First thing was to fit some foam to the radiator to stop air from going around the rad:

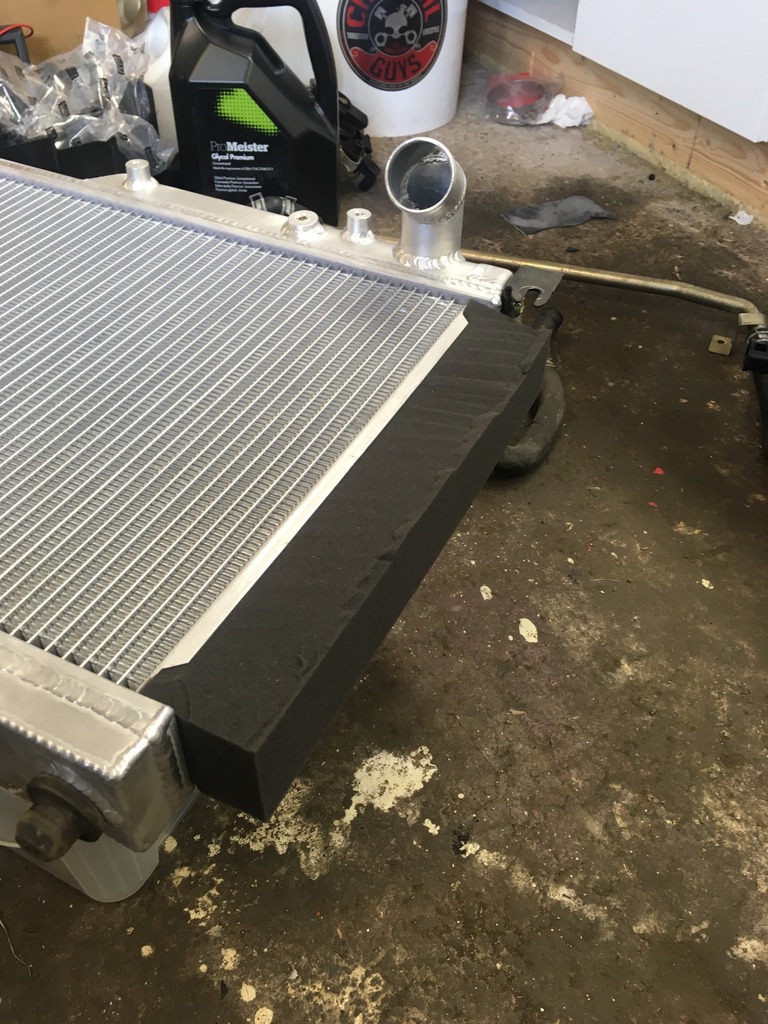
It looks like you got a lot of space when you start, but it fills up pretty quick. Only mod i had to do to make the Koyo fit was to bend away the guides at the bottom:
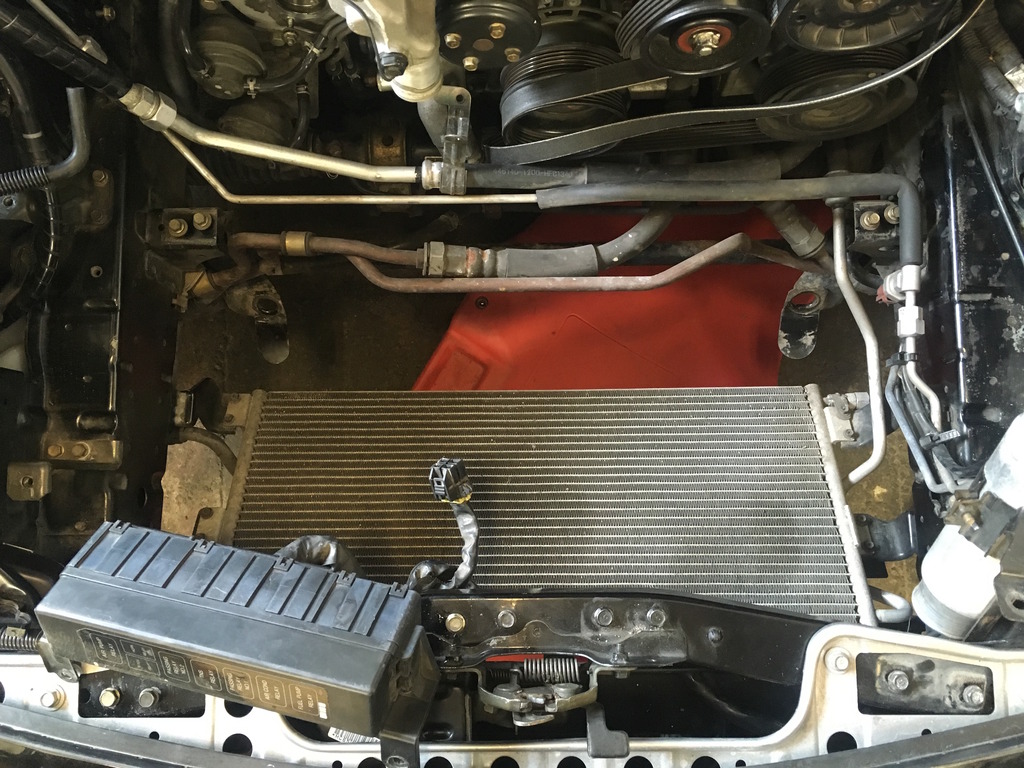
The radiator went in without any issues, fits perfect in a stock engine bay.
Getting the fans in was a bit more trouble since the rad is thicker, and i got less room to move. But i managed after a few tries:
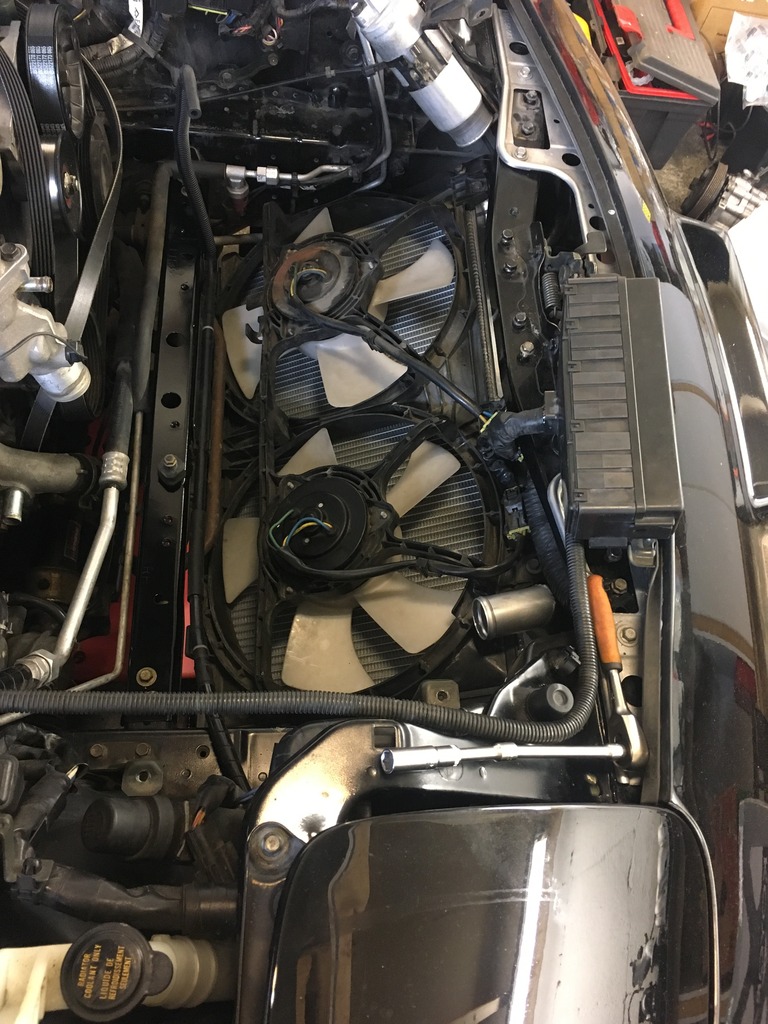
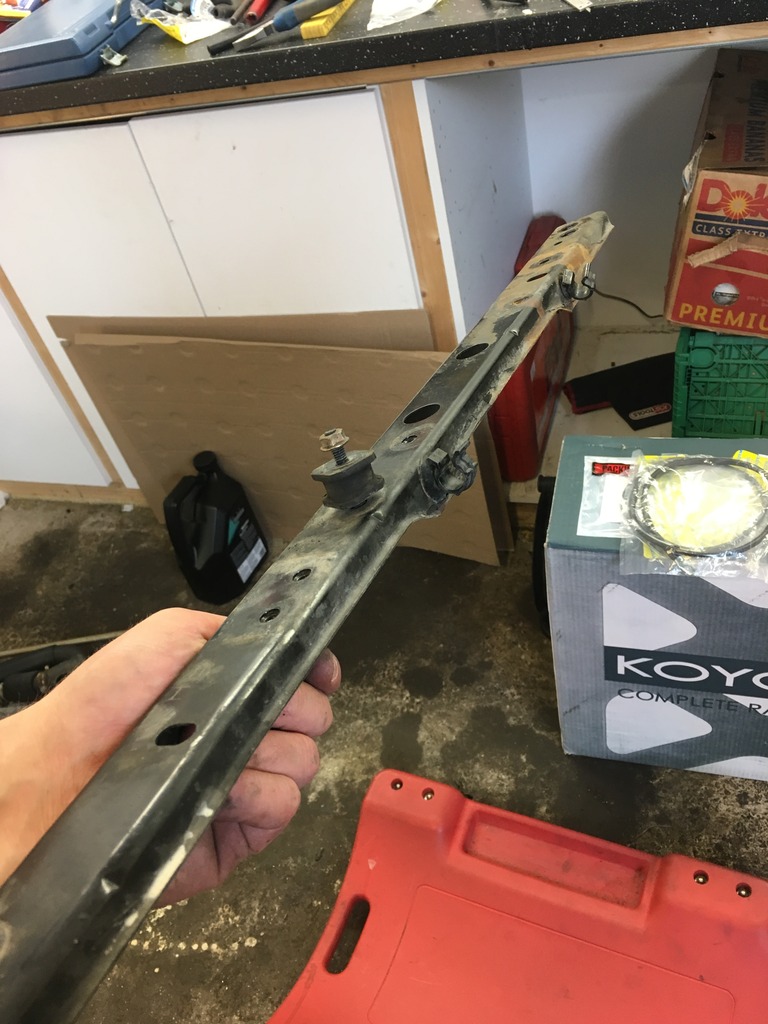
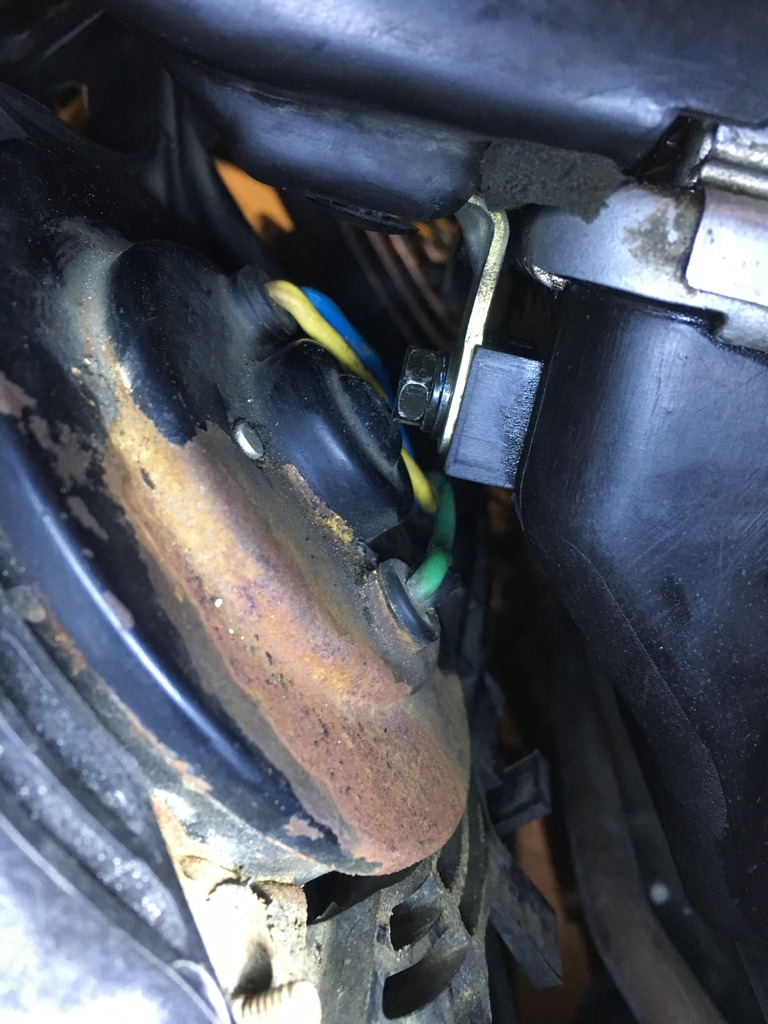
As you can see, i also used the time to fix the only rust i have found on the car so far. The bar going across used to look like this:
Hopefully the Heater hoses will arrive soon so i can get this mess in the car and on the road. Lots of parts under that hood
First thing was to fit some foam to the radiator to stop air from going around the rad:
It looks like you got a lot of space when you start, but it fills up pretty quick. Only mod i had to do to make the Koyo fit was to bend away the guides at the bottom:
The radiator went in without any issues, fits perfect in a stock engine bay.
Getting the fans in was a bit more trouble since the rad is thicker, and i got less room to move. But i managed after a few tries:
As you can see, i also used the time to fix the only rust i have found on the car so far. The bar going across used to look like this:
Hopefully the Heater hoses will arrive soon so i can get this mess in the car and on the road. Lots of parts under that hood
Last edited by Zepticon; Aug 1, 2017 at 02:23 AM.


Not much happening this winter. Car is sitting in the garage, and im sort of doing a HID headlight mod.
I really like the lights that SakeBomb makes, and i would for sure buy them, but in this case i wanted something to do in the winter
So i ordered a set of the new Morimoto D2S 4.0 projectors and all accessory from LightWerks.net
The inspiration comes from this thread: My first HID Retrofit! (how-to inside)
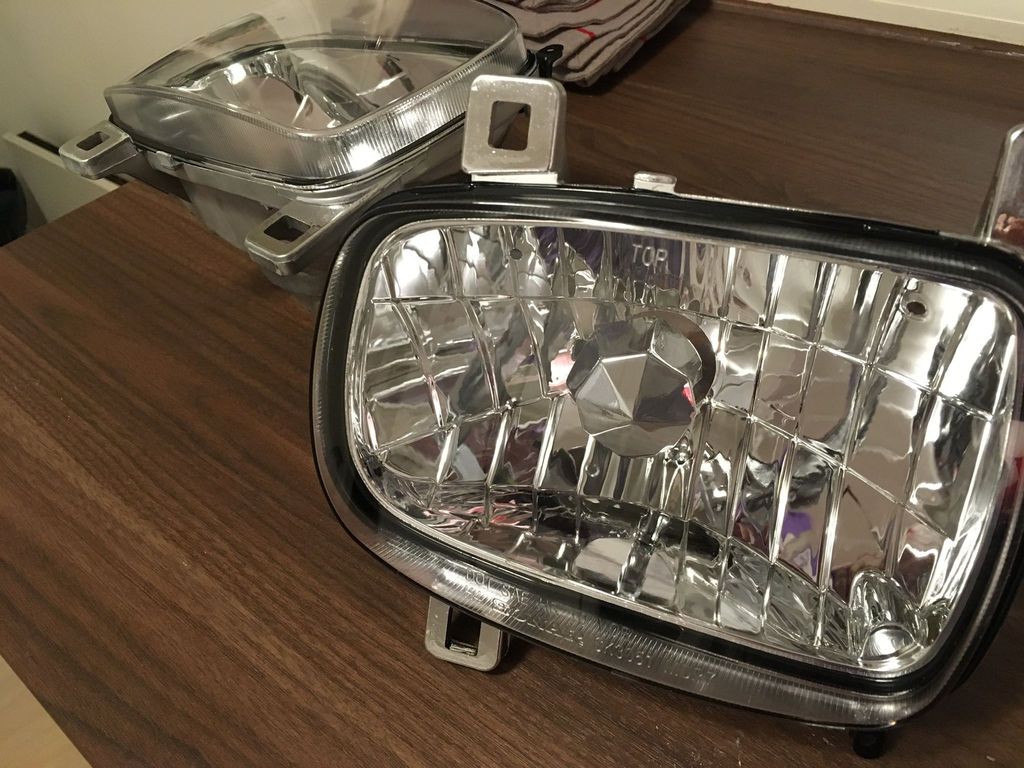
Brand new headlights:
In the oven with them:
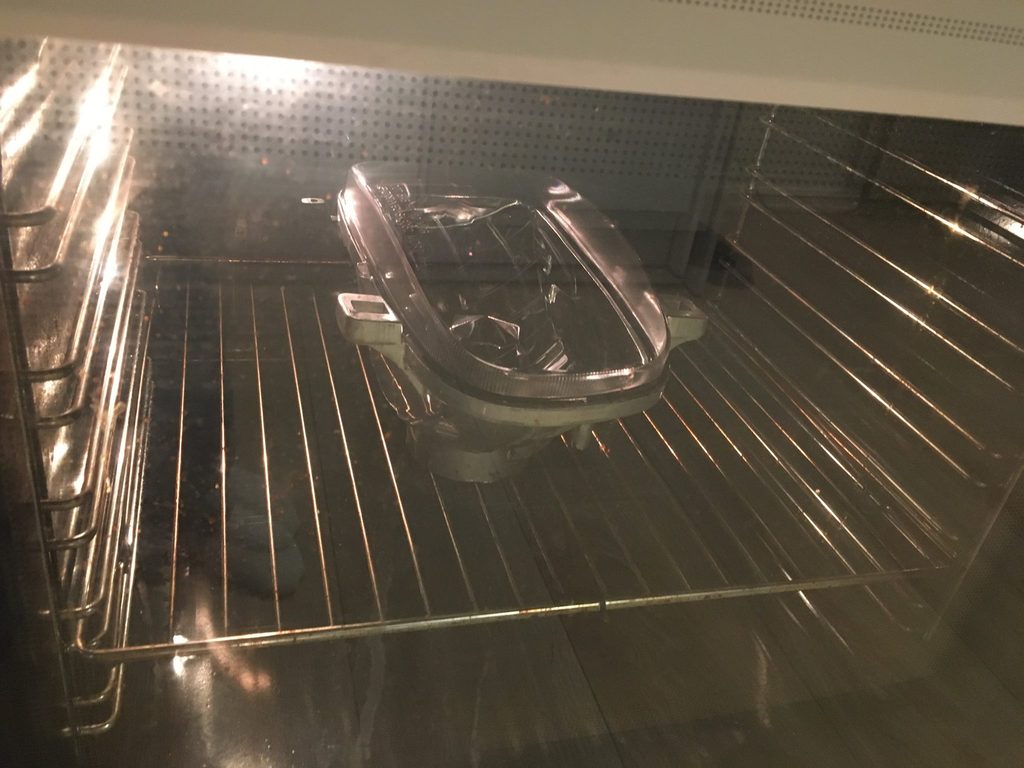
I later learned that the glue used on these lights are easly dissolved by gasoline, and that would be far better than the oven treatment.
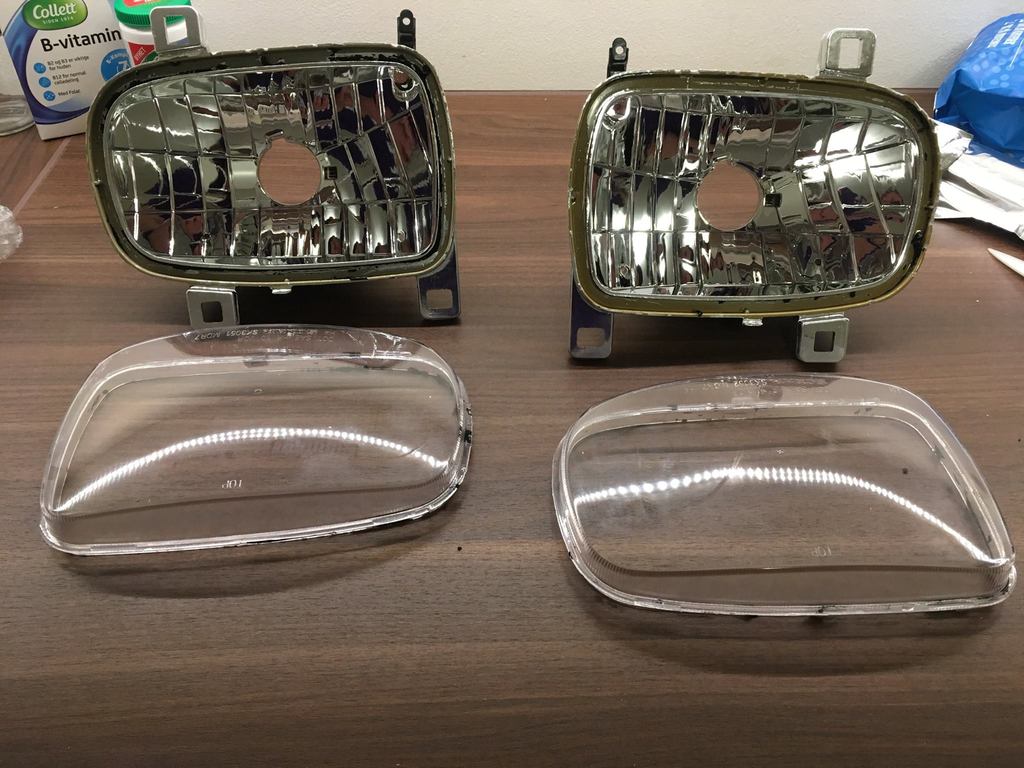
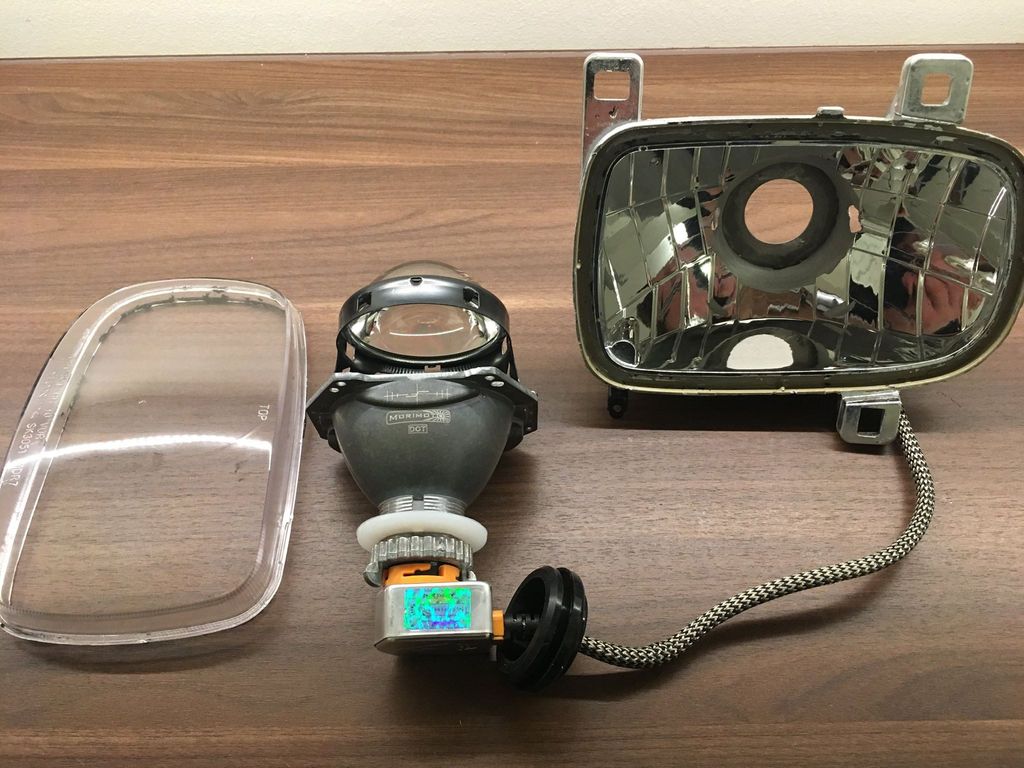
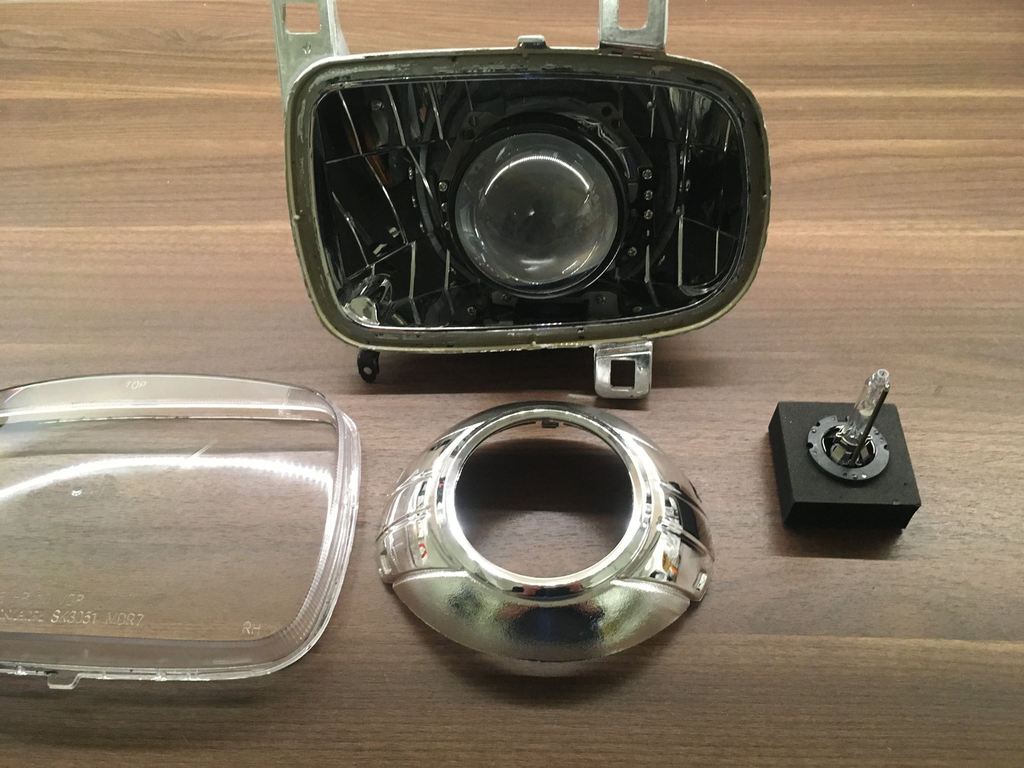
Both headlights taken apart:
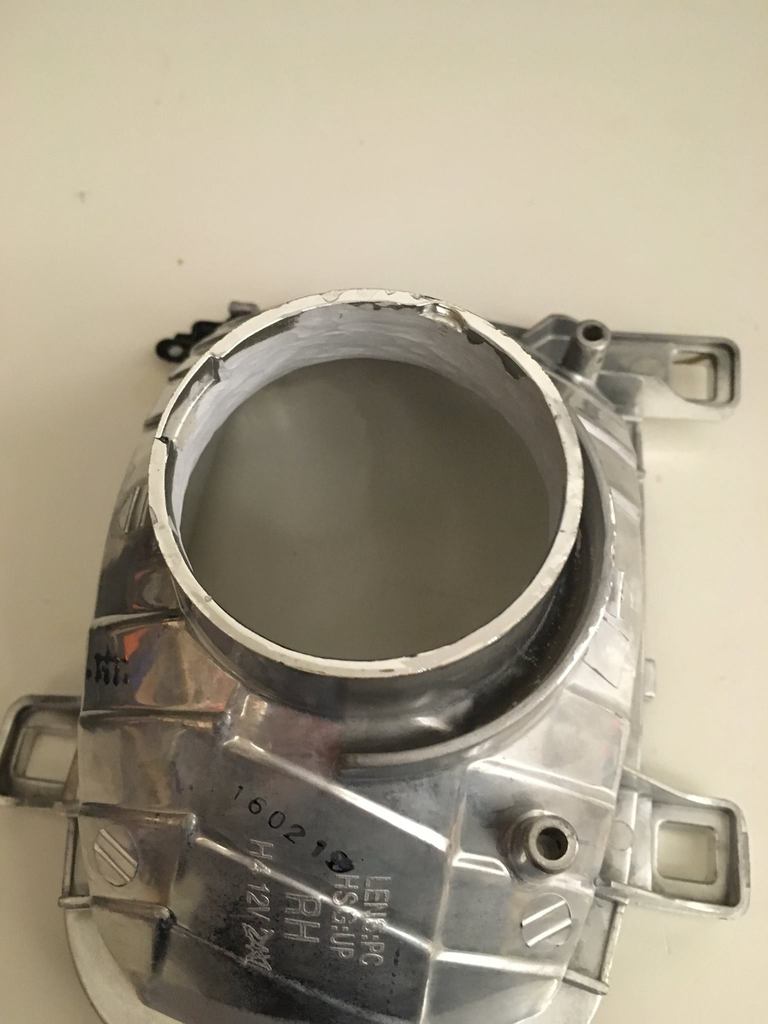
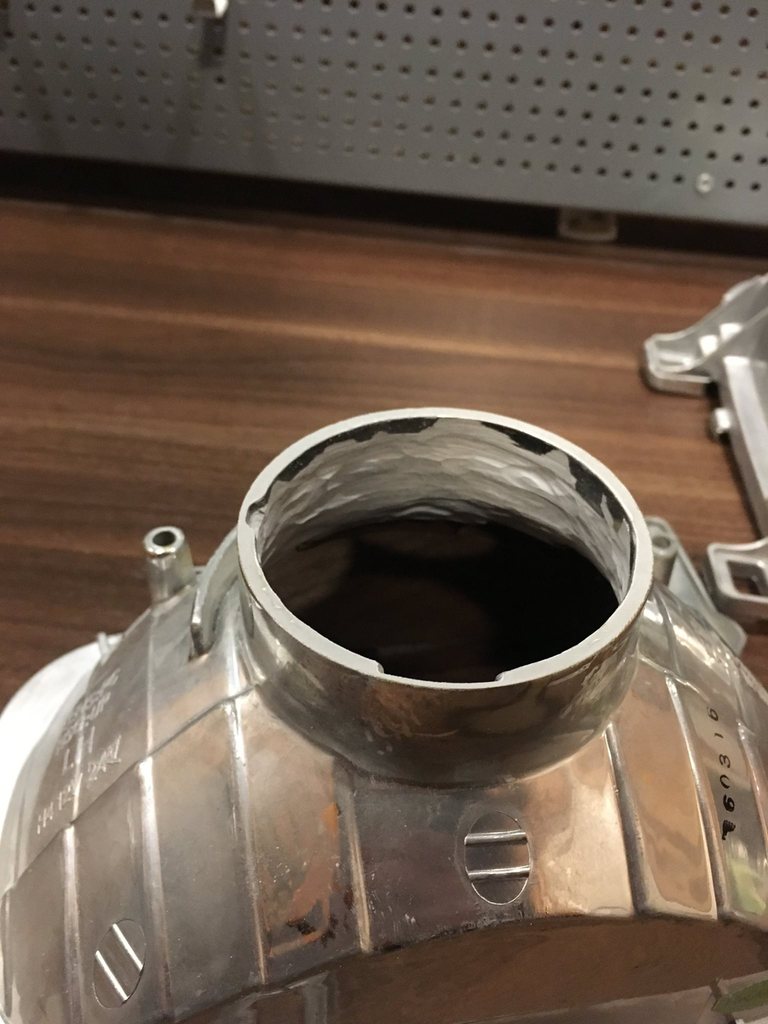
Then i remove the H4 bulb seating with a dremmel to make space for the large projector housing:
The next step is to glue a large *** washer on the headlight to use as a base for mounting the lights. Its the same procedure as in this post.
Here are the headlight base done. As you can see i had to notch the inside, and also make some holes on the side to make it fit as deep as possible in the light, but stil be able to freely rotate for alignment. I will use the holes on the side to fill the entire headlight base with Epoxy after the alignement is complete, to make sure the projector stays where it should.
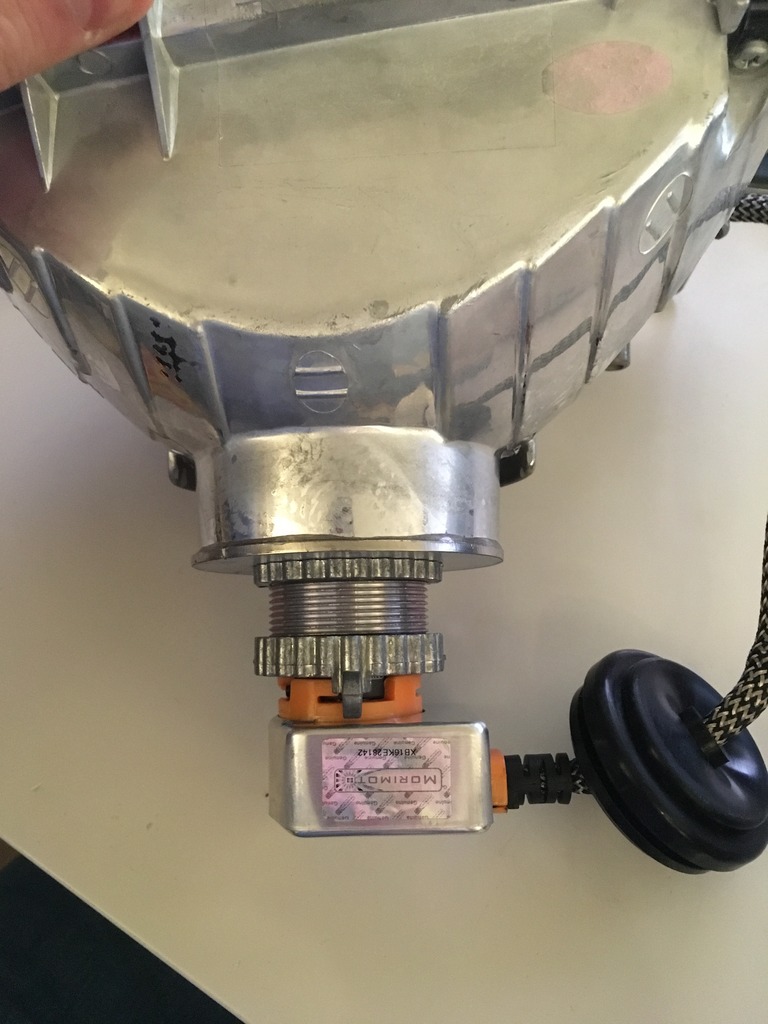
Another issue that i will have to make sure is sorted is the long socket. I am not sure if this is going to cause much trouble yet or not:
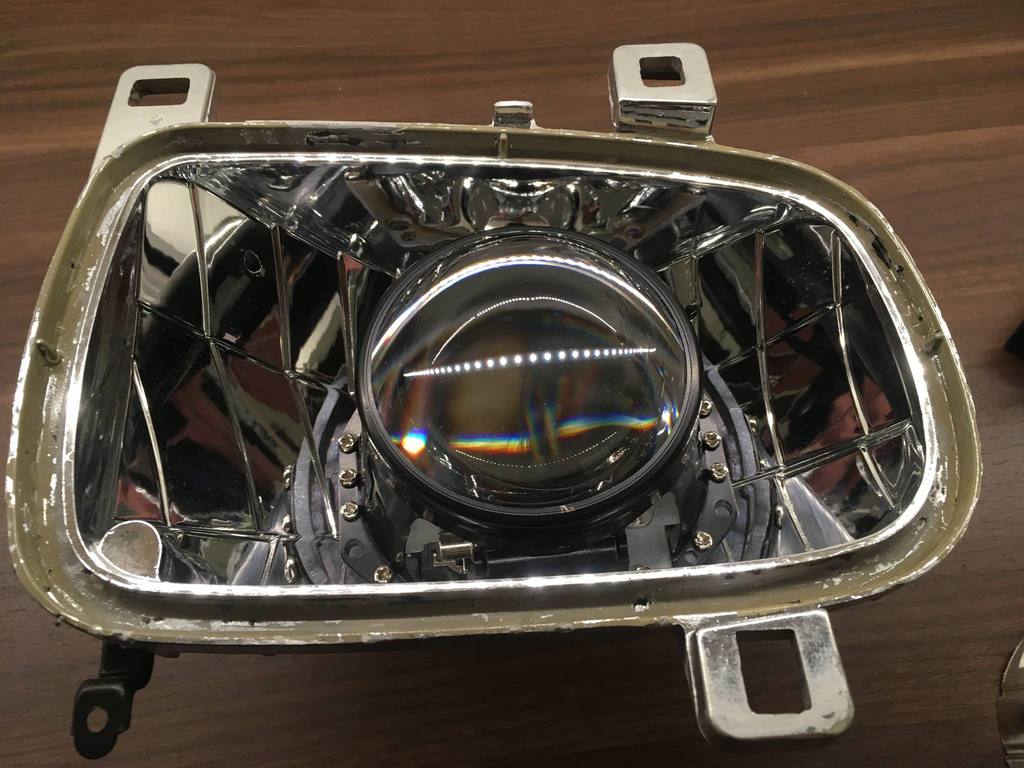
Projectors as they sit in the light:
I really like the lights that SakeBomb makes, and i would for sure buy them, but in this case i wanted something to do in the winter
So i ordered a set of the new Morimoto D2S 4.0 projectors and all accessory from LightWerks.net
The inspiration comes from this thread: My first HID Retrofit! (how-to inside)
Brand new headlights:
In the oven with them:
I later learned that the glue used on these lights are easly dissolved by gasoline, and that would be far better than the oven treatment.
Both headlights taken apart:
Then i remove the H4 bulb seating with a dremmel to make space for the large projector housing:
The next step is to glue a large *** washer on the headlight to use as a base for mounting the lights. Its the same procedure as in this post.
Here are the headlight base done. As you can see i had to notch the inside, and also make some holes on the side to make it fit as deep as possible in the light, but stil be able to freely rotate for alignment. I will use the holes on the side to fill the entire headlight base with Epoxy after the alignement is complete, to make sure the projector stays where it should.
Another issue that i will have to make sure is sorted is the long socket. I am not sure if this is going to cause much trouble yet or not:
Projectors as they sit in the light:
Looks good! The D2S 4.0 is a quick and easy way to improve our headlights, once you feel more comfortable with cutting up the housing and spend more time to align a projector you can go with some premium projector like RX350BX.
Not much has happened this year with the car. I have just used it and had fun with it. But now that its getting close to parking her again, i got some nice bits in.
The plan was to get the first part of my Spirit-R interior plans in place. I managed to get a nice set of barely used E-brake assembly and shifter boot from Australia:

I had expected them to both be bolt-on, but i was not so lucky. For some reason, Mazda seem to have decided to break their proud tradition of reusing parts. So neither the plastic frame on the shifter boot, nor on the ebrake assembly bolts on.
So i have to pull it apart, and mount it on the old plastic. The good part tho, is that everything is leather, compared to the OEM 93-95 faux leather. The downside, is that leather is thicker, and harder to work with.

I started by pulling all the staples out of the plastics. They needed first a push from the backside, and then i pulled them out with some pliers.


I tried aligning the plastics to show you that they are not identical, but its so close that i cant understand why it got changed.


When i installed it again, instead of using staples, i used needle and thread. I made two holes in each corner using a heated needle, and then when it was cooled again, stitched the boot to the plastic. This is only to make sure its hold in place properly, but probably not needed. The booth sat quite tight with just the holes in the leather on the small prongs on the plasic.

The shifter assembly is the same. Pull staples, first help from the backside, then pull the front.

I should have taken pictures of the differences on the plastic, but i forgot. But its no chance that they will fit since they are fundamentally different. Another issue that is barely visible on the picture is that the Spirit-R version is about an inch or two shorter on one side than the other. This caused some headache since the short side is shorter than the 93-95 LHD.
I tired various ways of fitment for about an hour, untill i faced the facts and cut some notches in the leather, to get it to look and behave similar to the 93-95.


I have no interior pictures with them mounted, since i did this in the evening with a headlamp on my head, and that did not work well with my cellphone camera. Will get some proper interior shots in daylight
The plan was to get the first part of my Spirit-R interior plans in place. I managed to get a nice set of barely used E-brake assembly and shifter boot from Australia:
I had expected them to both be bolt-on, but i was not so lucky. For some reason, Mazda seem to have decided to break their proud tradition of reusing parts. So neither the plastic frame on the shifter boot, nor on the ebrake assembly bolts on.
So i have to pull it apart, and mount it on the old plastic. The good part tho, is that everything is leather, compared to the OEM 93-95 faux leather. The downside, is that leather is thicker, and harder to work with.
I started by pulling all the staples out of the plastics. They needed first a push from the backside, and then i pulled them out with some pliers.
I tried aligning the plastics to show you that they are not identical, but its so close that i cant understand why it got changed.
When i installed it again, instead of using staples, i used needle and thread. I made two holes in each corner using a heated needle, and then when it was cooled again, stitched the boot to the plastic. This is only to make sure its hold in place properly, but probably not needed. The booth sat quite tight with just the holes in the leather on the small prongs on the plasic.
The shifter assembly is the same. Pull staples, first help from the backside, then pull the front.
I should have taken pictures of the differences on the plastic, but i forgot. But its no chance that they will fit since they are fundamentally different. Another issue that is barely visible on the picture is that the Spirit-R version is about an inch or two shorter on one side than the other. This caused some headache since the short side is shorter than the 93-95 LHD.
I tired various ways of fitment for about an hour, untill i faced the facts and cut some notches in the leather, to get it to look and behave similar to the 93-95.
I have no interior pictures with them mounted, since i did this in the evening with a headlamp on my head, and that did not work well with my cellphone camera. Will get some proper interior shots in daylight
Aaaaand some pictures of it in the car, and also my new steering wheel


Fitment is pretty good, but i missed the centerline by a 5mm on each side


The shifter boot seems a bit tight at the bottom, but i hope that will sort itself when it wears in.

Fitment is pretty good, but i missed the centerline by a 5mm on each side
The shifter boot seems a bit tight at the bottom, but i hope that will sort itself when it wears in.
^agree , very very beautiful car bro ! I love how you mod your baby , The interior and exterior , just a beauty .
have you ever think of the rare red carpet.
I think it would be deadly. (Even tho it is already)
Keeps the updates 👍
have you ever think of the rare red carpet.
I think it would be deadly. (Even tho it is already)
Keeps the updates 👍
