When you click on links to various merchants on this site and make a purchase, this can result in this site earning a commission. Affiliate programs and affiliations include, but are not limited to, the eBay Partner Network.
Alright things are getting exciting now! Sold some parts including the hood from the wreck, then shelled out the big bucks for some exciting parts. In between swapping the hoods, I repainted the cowl. It really made the car look newer.
Picked up a set of Gram Light 57CR 17x9 et38 and paired them with Firestone Firehawk Indyhawk 500 245/40R17 squared. Rolled the fenders too. Probably could have gotten away without rolling them, but wanted to be safe. Overall I am extremely pleased with the set up. I think the color matches the body well and the fitment is perfect. These tires are awesome too. I had them on my Rx-8 and loved them. My only regret is not getting the 255s. I got them on sale and as a result my speedometer is a little off.
Above is a picture of the car with them on right after getting them at the Show �n� Shine in Destin, FL, with another E30 friend.
Also installed an Apexi Power FC with the OLED Commander. Wanted to go with the Banzai mount, but it did not workout as my glovebox was damaged. Instead used the Scosche magic mount. That I picked up at Walmart https://www.walmart.com/ip/Scosche-M...E&gclsrc=aw.ds
Honestly think it is best set up you can use to mount a commander. Also have the windshield mount for when I need it at eye level.
When I'm off from work sometime next week going to get my rpf1 17/10+38 w/ bridgestone RE11a 255/40/17 tires (squared off) installed and get my fenders rolled. How do you like the Fortune Auto coilovers? I have some Megan Racing coilovers that I got when I bought my FD and it's alright, but haven't had too much seat time yet. Eventually want to upgrade the suspension but can't decide on what to do. Everyone seems to be running Ohlins right now but have got a few suggestions for the Fortune Auto coilovers.
When I'm off from work sometime next week going to get my rpf1 17/10+38 w/ bridgestone RE11a 255/40/17 tires (squared off) installed and get my fenders rolled. How do you like the Fortune Auto coilovers? I have some Megan Racing coilovers that I got when I bought my FD and it's alright, but haven't had too much seat time yet. Eventually want to upgrade the suspension but can't decide on what to do. Everyone seems to be running Ohlins right now but have got a few suggestions for the Fortune Auto coilovers.
So I am not the best person to ask on this, because I have only driven my FD and Dale's. I really like the Fortune Auto set. The ride is comfortable yet firm. A lot of people suggest going lighter on the spring rate (I went 10k front 8k rear just like FA suggested), but I think my spring rate is perfect as the car dives but not too much when cornering and braking. I've heard good things about the swift springs, which I sometimes wish I got but I can always upgrade later.
IMO the best mods for handling are tires, bushings, coilovers in that order. I will say I had RE11a's before the Firehawk's and the Firestone's are head and shoulders better than the Bridgestone's, and a good bit cheaper too.
Really enjoying this thread and all these droolworthy pics. Does the car get a lot of attention? I imagine there aren't many other FDs in Corpus for people to see. : )
Really enjoying this thread and all these droolworthy pics. Does the car get a lot of attention? I imagine there aren't many other FDs in Corpus for people to see. : )
I have only been in Corpus for about three weeks and I have not taken the car out yet. I am doing a complete engine and trans overhaul and should have it running somewhat soon. I have heard about a few other FDs in town but have not seen them. The car got the most attention when I lived in Columbia, South Carolina ironically. I think it was because of the young college students. Hit me up if you are in CC. I am hoping to make a trip to Houston, Austin or SA when I get it running.
Here is a weird problem I ran into. The paint on the rear bumper was cracking just below the tail lights, so I took it back to the collision center and they found this.
Apparently the rear bumper cover was rubbing against the rear end of the car, so the bodyshop tapped out the area with a hammer. No problems yet..
Alright time for some upgrades! My clutch was on the way out and picked up an Exedy stage 1 for half the price, because an FC guy bought it, mounted it, and realized it would not work. Score! Also installed an ACT prolite flywheel. As Dale says, $100 worth of fun for $300 or something like that� My goal with the car has always been to improve on the tactile feel and driving experience, not chase horsepower. I love the responsive heal toe action.
Also installed AEM Truboost controller and Wideband. I used the power from the radio to power the gauges. Here is a neat �wiring� harness my friend made to power the gauges and boost controller.
A little bonus content for the Initial D fans. After replacing the clutch I went to a local rotary meet and saw this. It is a Suzuki Samuri with a 3sge beams engine swap.
Looking good! I still need to roll my rear fenders! Project for this Fall when all my other parts roll in. I agree with keeping the car close to factory if you can!
Looking good! I still need to roll my rear fenders! Project for this Fall when all my other parts roll in. I agree with keeping the car close to factory if you can!
Thanks! I really like your car. Wish I saw it when I lived in Pensacola.
Time to delete! My air pump had been giving me trouble since the day I bought the car. After hunting down used ones I got tired of fooling with it and decided it was time to delete. I installed an HKS downpipe that I had ceramic coated by Calico Coatings, and welded a bung for a wideband on it. I also installed a Bonez high flow cat.
What an absolute mess! I thought when I first removed the UIM. Now it seems much simpler to me. No pictures, but I will also ad that I used the Rotary Performance idler pulley set. Wow this thing is great! A really high quality piece. I hear people complain about the bearings failing or wobbling with other idler pulley kits, I have confidence this one will not suffer the same fate.
Here is a little comparison photo of the JDM downpipe that was on the car to the ceramic coated HKS pipe. It does not seem like much but the HKS pipe is much wider and lighter.
Next I installed some underhood bits from Banzai. For whatever reason my tensioner bolts for the pulleys were shot, in fact my car had a habit of breaking the alternator tensioner belt bolt. I determined it was the original alternator bracket that was bending the bolts. This banzai kit is much sturdier and uses heavy duty stainless bolts. A real quality piece.
Installed a Walbro 255 from Banzai racing. Had a little bit of trouble with the pump. That circled cap has to be trimmed to fit the fuel line. You can actually see in the first picture I did not do this and well it did not start...
Still having weird issues with the coolant.. The car is not overheating, but it is loosing coolant all the time. After replacing a few unnecessary things I figure out that it is the relatively new water pump that has failed. I took the ride of shame home and replaced it with a stocker. At this point it is my 4th time pulling the water pump. I am getting fast at it.
Which waterpump are you using? OEM or one of those high flow one?
The high flow pump failed on me. I don't think it is a bad product, I think I just got a bad one or it sat on a shelf too long in Dale's attic. I went back to OEM just because it was cheap and the shipping was fast.
The high flow pump failed on me. I don't think it is a bad product, I think I just got a bad one or it sat on a shelf too long in Dale's attic. I went back to OEM just because it was cheap and the shipping was fast.
Ahh, I'm running an IRP pump so I was just wondering.
I feel like it is taking forever to get current on this thread.
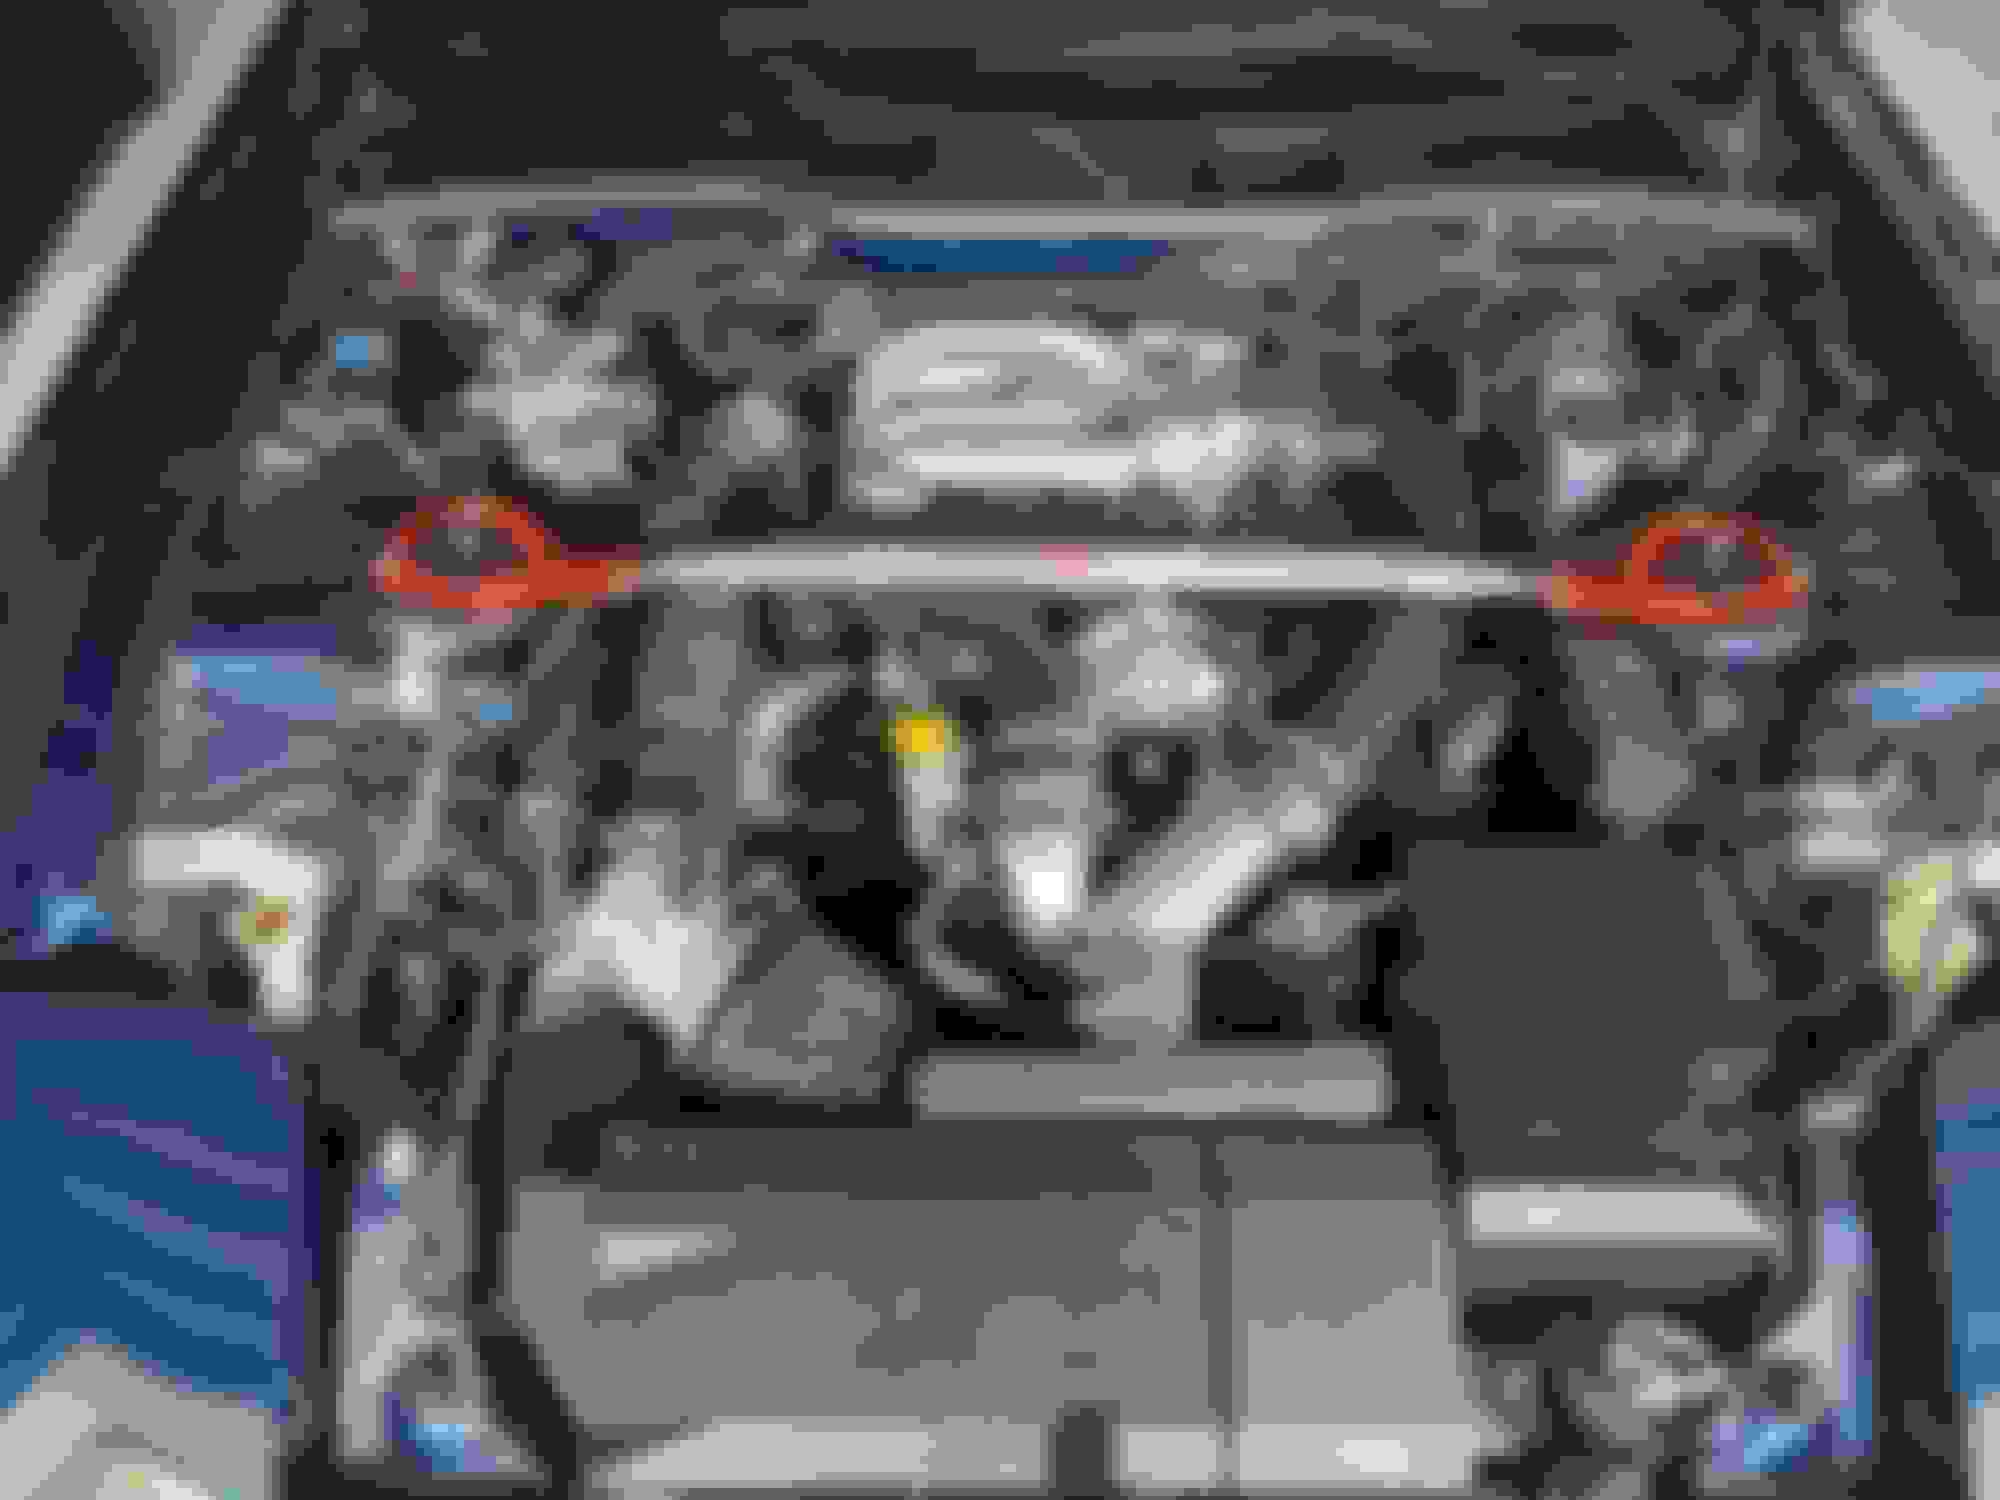
After my last post I was still having the occasional coolant issue. I figured it was time for a rebuild. Even if my coolant seals were fine, it would be worth it just for the piece of mind and get rid of the oil leaks. The underhood of my car looked like an oil rig. I was putting over a quart of oil in the thing every 1000 miles. He was my thought process and diagnosis for pulling the engine:
1. The car was constantly losing coolant. Not always overheating, but would slowly lose coolant after every third drive or so.
2. I had replaced every coolant component on the car, bar the heater core lines. All new hoses, new water pumps, new AST, new Koyorad, new caps.
3. I had pressure tested the coolant system. It held at about 11lbs to 13lbs, but not much higher. I had also done the champaign bubble test. I have heard mixed reviews about the efficacy of this test, but I was always getting bubbles. It would take a long time to bleed the coolant system before the rebuild.
4. My transmission was junked. It grinded really bad going into third which made driving mildly spirited impossible. Not a prerequisite for pulling the engine, but if one starts to go bad might as well fix the other, while the car is down.
5. This is something I did not find the answer to until we pulled the engine, but I would not make full boost at high RPM. Above 7000 it would just start dumping boost to where I was at 3-4 PSI at redline. Turns out it was a bad manifold gasket.
Before I pulled the engine I polished and ceramic coated the car. Here are a few pictures.
Last edited by suzukisteve; Sep 9, 2021 at 09:57 PM.
Rebuild Time!
Unfortunately it was moving season for me. The plan was to pull the engine from the car, have Dale rebuild it, then worry about installing it and rebuilding the transmission once I got to Texas.
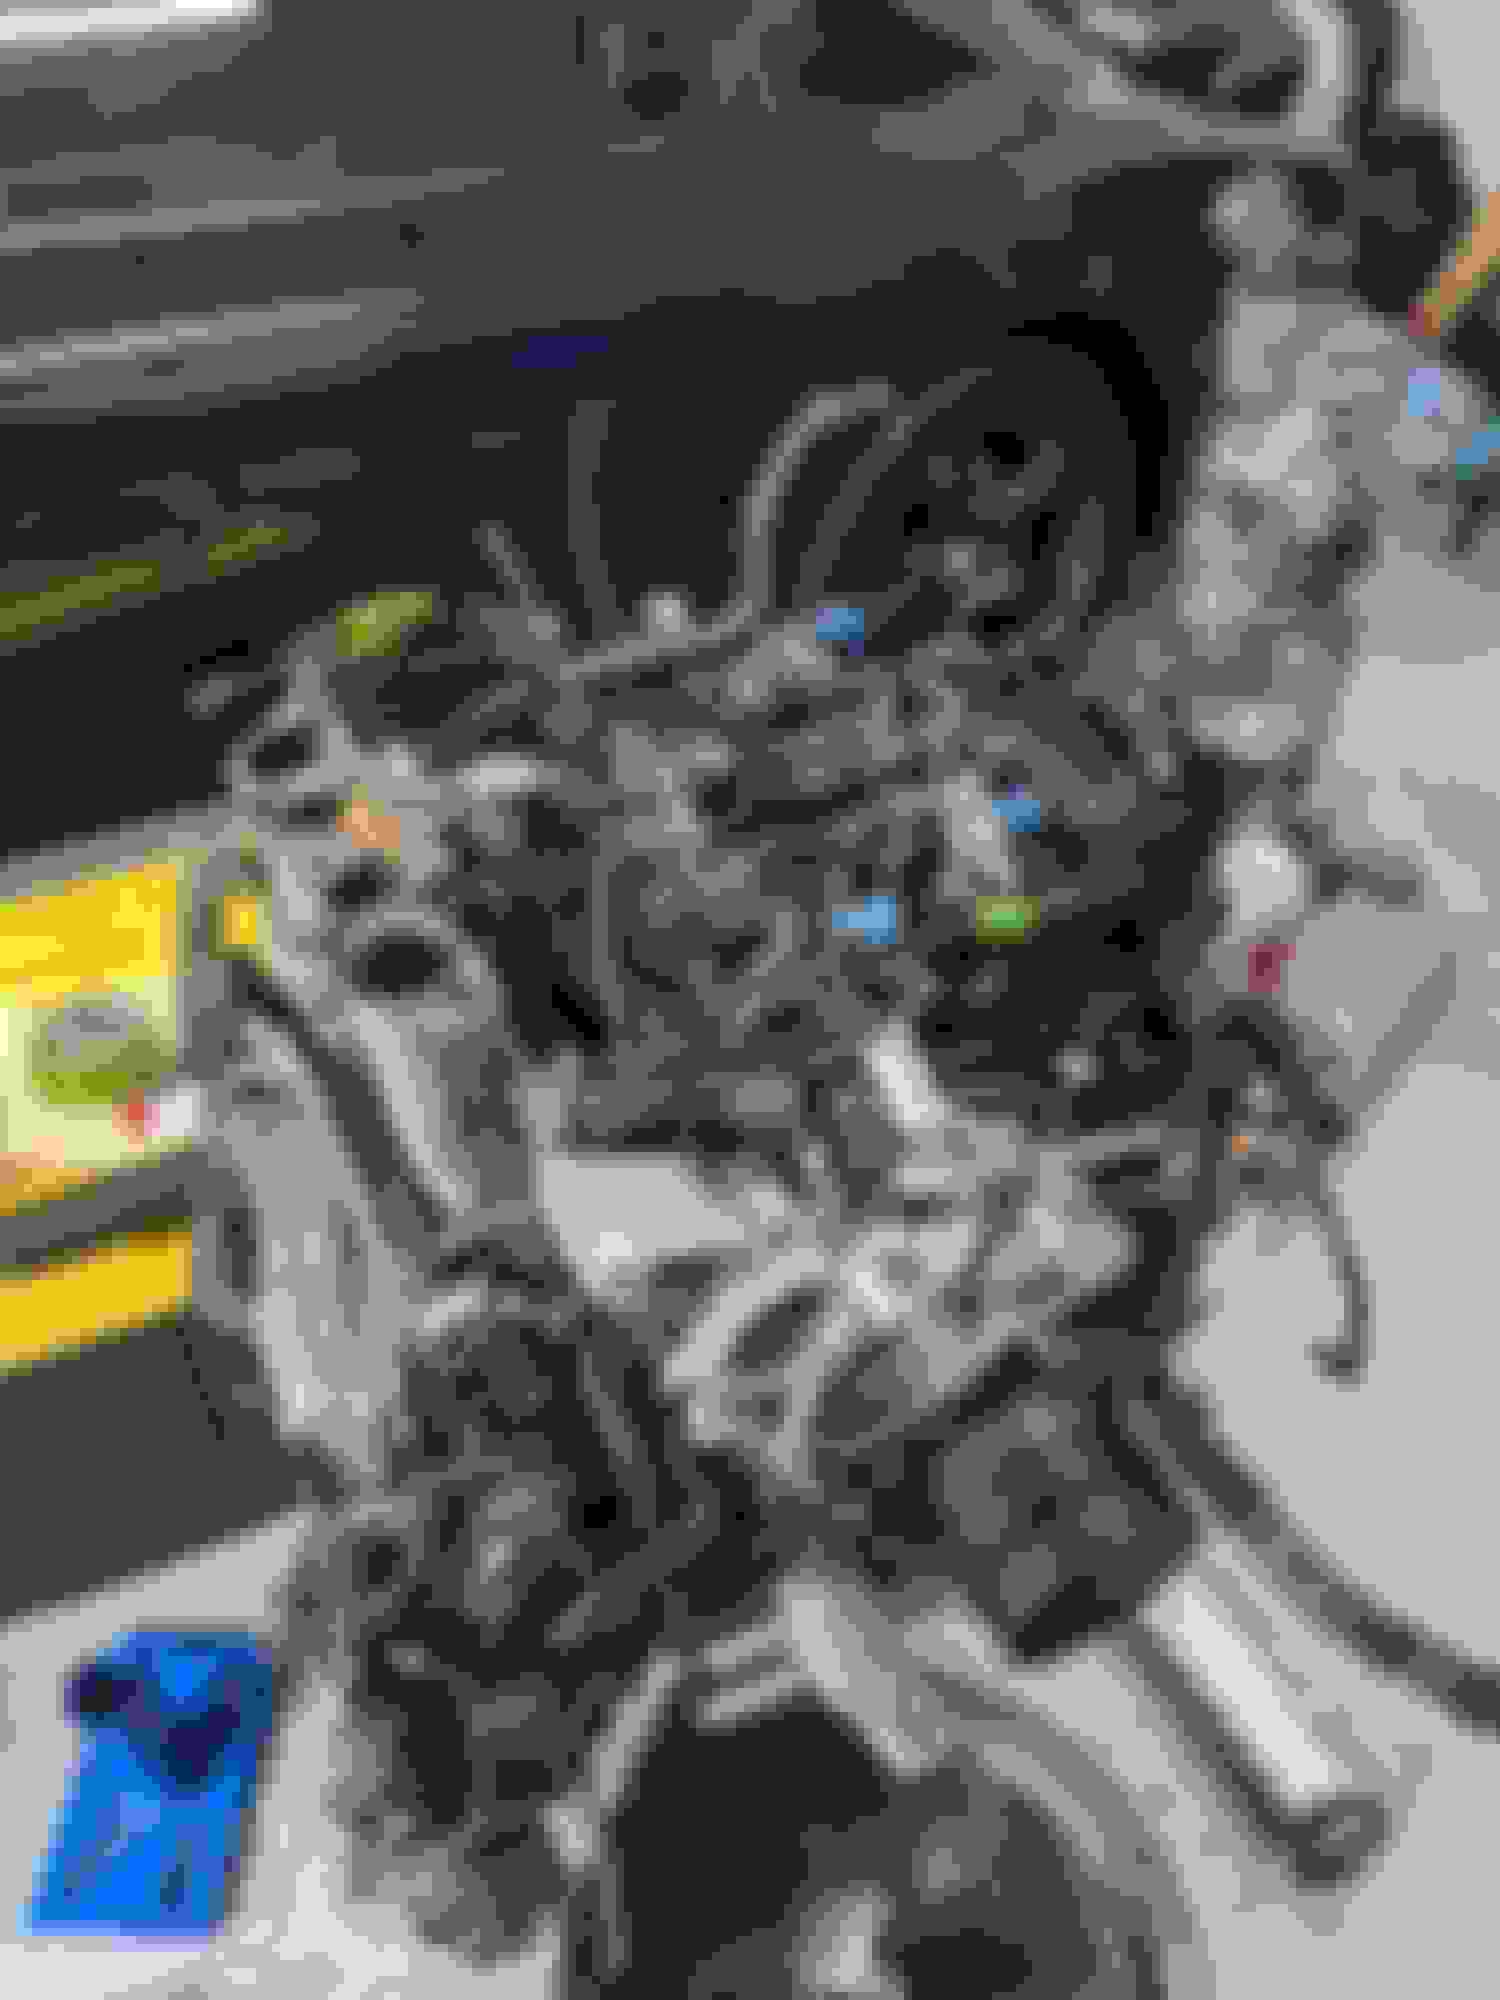
Here is the before.
I actually pulled the transmission with the engine, but did not get a picture of them together. When the combo was pulled I did a 180 and put them in my truck bed where I separated the transmission.
Last edited by suzukisteve; Sep 10, 2021 at 06:04 PM.
Loosing parts and hardware was my biggest concern. I made a manifest of every thing, in what box it was going in. For most of the hardware I put in bags and taped to the parts then bubble wrapped it like seen here.
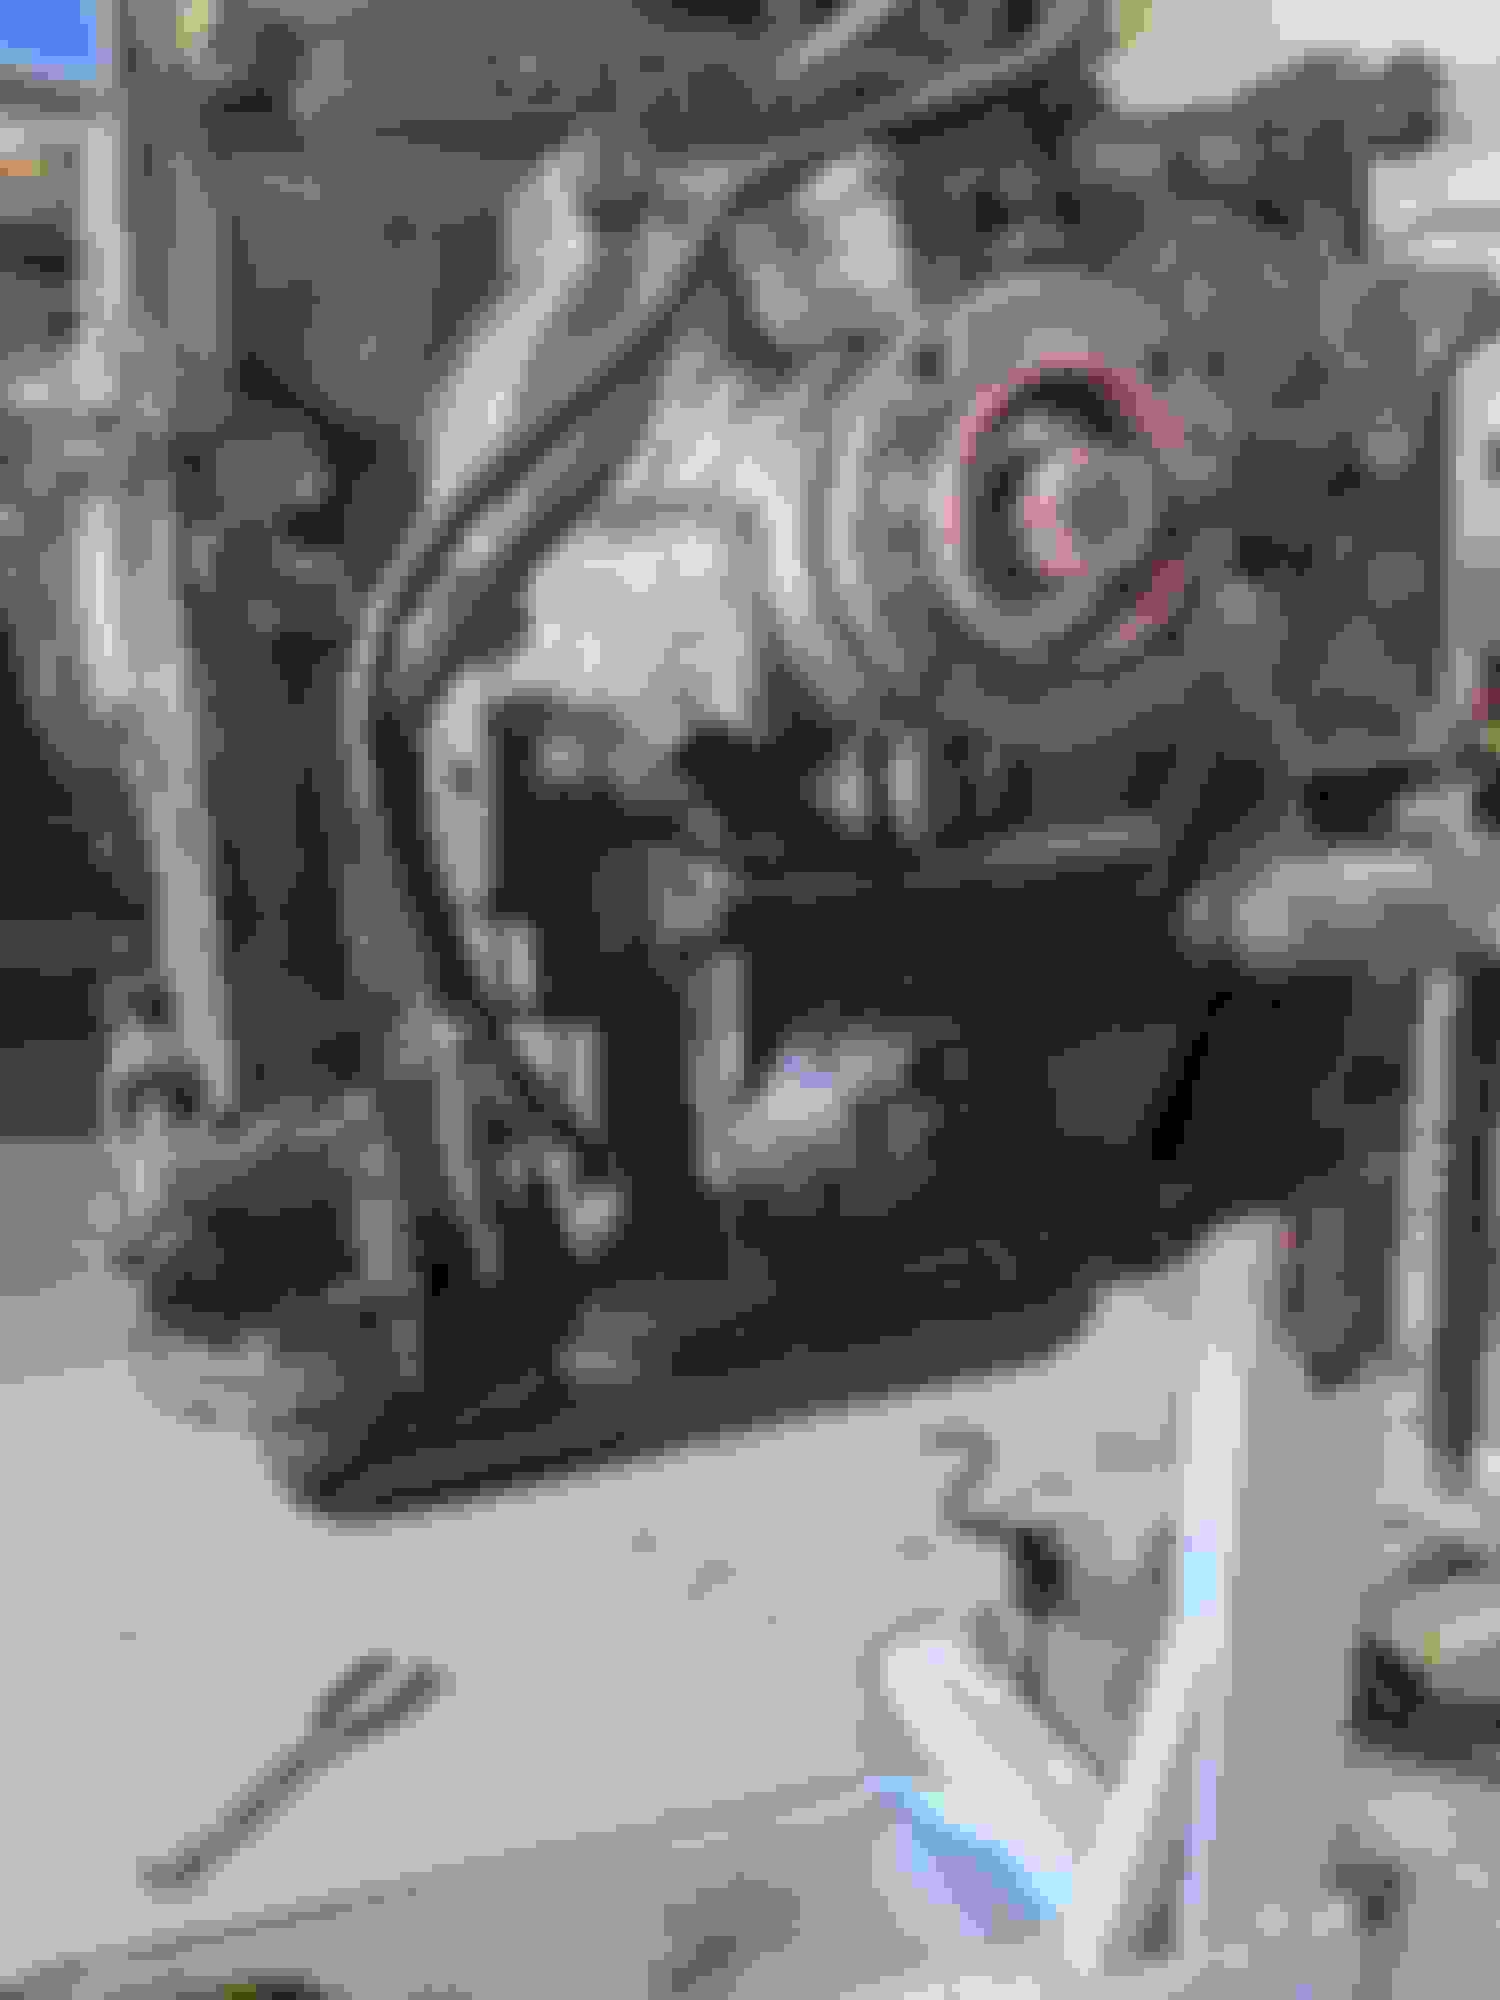
As you can see my engine was a big oily monster. A new oil pan and brace was in order.
He is more than likely why I was losing boost at high RPM. My turbo gasket was shot. Not too happy with the way that bridge looks either, but it will have to do for now.
The parts are really starting to fill up. I effectively made a build your own FD kit.
Short post,
Took the engine to the guru to tear it down.
As we suspected the coolant seal was busted. Lucky me the rest of the engine was healthy. This build is pretty basic, so we ordered all new OEM seals. Will get into the full details of the build in the next post
The original plan to have the engine shipped to me after the move quickly changed after Dale finished it at a break neck pace. He also ported out the LIM for a cosmo gasket and ported the waste gate on the turbo.
Quick comparison of the stock 3 piece apex seal to the new Mazda 2 piece apex seal. I was shocked to see how much wear had accumulated on the stock seals. This engine only had 70k miles on it.
Here is a couple little things I did while the engine was out of the car and I was waiting to move. First I tried to strip the paint and sandblast the intercooler support brace on the car. It was a little rusted and the paint was chipping in multiple places. This was a huge fail. That paint was really hard to remove and the bead blaster at the hobby shop did little for it. I repainted it using some Dupli-color engine enamel and it has already start to bubble again. I should have sent it to get powder coated.
The next picture is of some things that were successfully coated. After Dale ported the LIM, it and the turbo manifold was sent off to Calico Coatings. The Turbo manifold got their high heat coating and looks great. The LIM was coated with teflon in the inside to prevent icing and the outside was ceramic coated with their imitation chrome. I am glad I coated it for the thermal barrier, but it does not really look like chrome, especially next to the UIM. This is mostly because of the rough cast material. I also hit the manifold shielding with the bead blaster and painted it with some VHT "ceramic" coated paint. This actually turned out really good, too bad you cannot see it.
Last picture is the UIM that was shined by Boost Therapy in Navarre, FL. This guy knocked it out of the park.
A few other things not pictured, I patched the wiring harness with some Super 33 tape and replaced some of the connectors. Next rebuild I am just going to replace the harness, but it is working for now. I also pulled the lock code and had our friend Jon cut an NS key to code. Something really cool to see for such an old car.
Here is the thread where I learned where the key code is. https://www.rx7club.com/3rd-generati...-keys-1143529/
Finally the car was loaded up on the Uhaul, no engine nor transmission, Texas or bust.
Up to this point the build was going smooth, but as it is putting it back together is always harder. I forgot how much work a move is and I needed to get my garage clean and organized to get to work. Cabinets had to be ordered along with an air compressor. While that was being done I started to look for a transmission builder. Unfortunately, the only place in town I found that would rebuild it wanted $2100. A bit steep considering that I had a guy in Florida that would build it for far less. I ended up buying a used one from a JDM car. This was a gamble, but the transmission ended up being fine. The bigger issue was that the importers have caught on and most will not sell you a transmission without selling the undesirable 4 port Renesis that comes along with it. IIRC I paid $1400 to have the combo shipped to my house. Not much cheaper, but I am hoping to part out the 4 port to recuperate some money.
While waiting for the transmission to arrive I replaced the rear diff bushings with poly. Now the whole car minus the engine mounts are poly. Some might cringe at the way I pulled them out, but this was my best option. With the size of the brace and due to the fact that it is cast it would be susceptible to cracking under too much vertical pressure. I made sure not to grove out the inner bore and polished it when done.
Also did a quick little polish job on my Racing Beat muffler.
Last edited by suzukisteve; Sep 18, 2021 at 09:53 AM.
AC went out on my daily. Time to get this engine in, but not without several pitfalls.
Assembly was not bad. One thing to note that will help future newbies and weak minds like me is the the 95 CARS DO NOT HAVE AN EGR SOLENOID. I was racking my mind as to why I had a yellow connector and no solenoid to go with it.
I replaced all of the studs related to the exhaust of the car from this thread: https://www.rx7club.com/3rd-generati...dition-957371/
Pretty good stuff here. I like that the studs for the downpipe are shorter, which allows more flexibility when installing and removing the downpipe. I did not like the studs for the housing to the turbo manifold. They have less threads than the stock studs. I am sure they have served people well, but I did not want to take any chances. I ordered new studs from the local Mazda dealership.
I had a hell of a time removing the stock downpipe studs. They needed to be removed because the threads were pretty screwed up and one of them the nut was rusted to. A propane torch removed two of the studs pretty easy. The last one was next to impossible. I soaked it in PB Blaster and Liquid wrench. I heated it multiple times and my stud removed kept slipping. This stud extractor from O'reilly's was a life saver.


 .
.