When you click on links to various merchants on this site and make a purchase, this can result in this site earning a commission. Affiliate programs and affiliations include, but are not limited to, the eBay Partner Network.
Battery tray finished. Used the top strap to attached the MSEL battery isolator. Was even able to make a cutout window to read battery charge level without having to remove the top strap. Now I can start making the power and ground wires.
Spent 7's day working on more wiring. All main 12V+ is done. This @prowireusa 1AWG motorsport bat cable is super flexible which made it "easier" to route.
99% done with fuel system overhaul. Not looking forward to taking it all apart so I can prep and paint the fuel cell area.
-10 AN from the @holleyperformance hydramat to feed the @fuelab_fuel_systems Prodigy pump. -8AN from pump outlet to @injectordynamics F750 filter. -8AN from filter out up to @cjmotorsportsinc secondary rail feeding two @injectordynamics 2600CC and two ID 1050's. -6AN return from regulator all the way up to the flex fuel sensor and back to the ATL 15 gal fuel cell.
Plumbing inside the fuel cell is done. I used @earlsperformance Ultra Pro hose and hose ends. Man these are some nice fittings and hose. Much more flexible than regular PTFE braided hose. Kinda makes me which I used them for all the fuel system. But that was $$ prohibitive. I just need some E85 compatible fuel cell foam to keep the @holleyperformance hydramat in place.
Heat protection for fuel hoses done. I used @earlsperformance flame guard insulation and sealed the open ends with a bit of Raychem ATUM heat shrink from @prowireusa for a clean finished look.
Ignition coils sub-harness progress. Got all the cables cut to length and all the branch points have been crimped using TE open barrel splices and sealed/strained relieved with Raychem SCL.
I'm using the awesome push to seat connectors from @tickperformance instead of the standard pull to seat that are normally used with IGN1A coils. These are nice because they have provision for booting the end of the connector and use regular GT 150 3.5 mm CL terminals and seals.
All of these is possible thanks to the awesome wiring courses from @hpa101 .I have no previous experience in such a large wiring job. The course material gave me the confidence to take on this project. Highly recommend it.
As always all other wiring supplies come from @prowireusa
@rifesensors pressure block sub harness done. This block shares the +5V and the signal grounds in one pin for all 4 sensors. Therefore saving 6 wires in total when compared to wiring 4 separate pressure sensors. The block uses a DT06-6S connector.
Was able to wrap up the gearbox sub harness. Kept this one pretty simple as in the future I'll probably end up replacing trans.
Wrapped in Tessa 51036 high heat tape and covered with nylon braiding since my Raychem Dr-25 has yet to arrive. Ends are sealed with Raychem SCL and DTM-06 connector was booted with Raychem ATUM.
90% happy with how it turned out. This was a good first practice before undertaking sheathing and booting the main engine harness.
Don't mind the paint over the wires🤣. I used paint marker to keep track of wires before booting.
Another sub-harness done. This is interfacing with X-11 and X-12 OEM connectors. This includes oil press gauge sender, oil level SW, coolant level SW, starter solnd and alternator wires. This is another simple harness, I will eventually run a second PMU16 for all chassis functions and will replace this sub harness. For now this will do the job of keeping the OEM cluster and all it's required signals.
More aluminum TIG practice. Was able to complete the AST/fill point for the cooling system. All lines will use 16AN connections including the CWA400 pump.
This is only my third time welding aluminum but I'm 70% happy with how the welds turned out. There are ugly welds and some not so bad .
I was also able to fabricate an aluminum block to support the alternator and keep it in the same location as stock. Still need final shaping to make it looks finished and to modify the tensioner bracket so it mounts to the front iron lift point bolts.
IAT sensor, ECT sensor and EOT sensor done. These are direct wire from @rifesensors and I finished them with Deutch DTM. Also finished the @fullfunctioneng engine trigger sensor with a Deutch DTM.
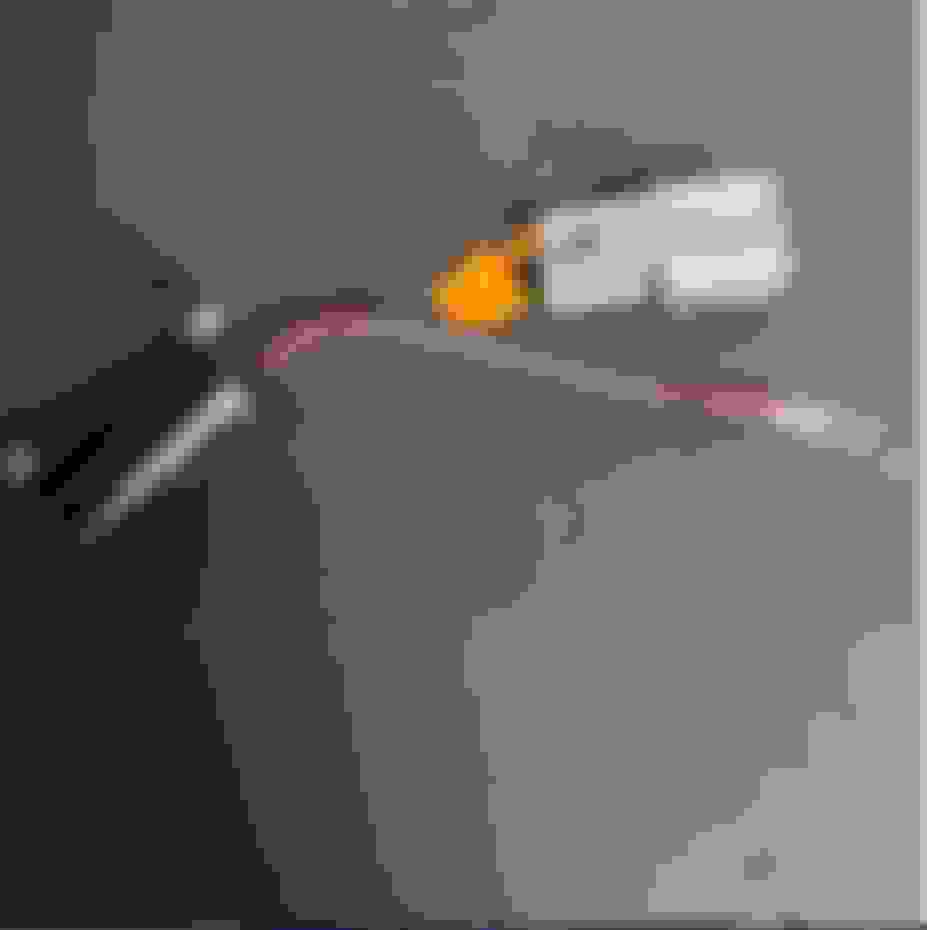
First piece of the @turblown kit just arrived! One step closer. Chose the EFR 8374 IWG. This should be a great improvement over the Greddy T78 old setup.
Full Greddy turbo kit will be for sale for cheap. Includes T78-33D turbo, Greddy exhaust manifold, Greddy type R external gate #borgwarner#efrturbo
95% done with the main engine harness. Just need to pin the injector plugs, turbo speed sensor and IGN coils sub harness connector.
Harness has been sheated with DR-25 all branch points points sealed and strained relieved with Raychem SCL and all connectors booted with Raychem Atum. I used Deutch connectors whenever possible.
This was a major project that took a lot of planning and documenting. I am extremely happy how it turned out being my first time doing something like this.
Could have not done it without the great @hpa101 courses and supplies from @prowireusa
Hoping this serves me well for a long time. This is considered a club level harness.
Maybe in a few years I'll undertake a full on concentric twisted harness. But for now this will do.
More pieces of the @turblown 8374 kit showed up over the weekend. Turbine housing and cast IWG manifold. I'm amazed at the quality of the fitment of the inconel shielding, just WOW perfect fit all around.
Las big piece missing is the downpipe and the rest of the smaller miscellaneous hardware.
I am extremely impressed so far with the parts as well as by Elliot's customer service. Always easy to get a hold of via phone.
Stocked up on a bunch of new yellow zinc hardware from @belmetric to replace all the old crusty ones. I do have stainless steel bolts for non critical things because they look better IMO. However anything that is mission critical and will see significant load gets JIS 10.9 hardware.
Looks like what I used to think was making bad *** moves is just the new high level standard in what we do now on RX-7Club (we've always had dime pieces left and right, I just don't remember so many going at the same time in recent memory)
Great stuff Michael - looking forward to seeing this come together
Last edited by ZumSpeedRX-7; Feb 18, 2022 at 11:12 AM.
Looks like what I used to think was making bad *** moves is just the new high level standard in what we do now on RX-7Club (we've always had dime pieces left and right, I just don't remember so many going at the same time in recent memory)
Great stuff Michael - looking forward to seeing this come together
Definately!! So many great builds going on. Many I've taken inspiration from. Thank you for the kind words, I cannot wait to get this thing "finished" .
Last edited by Michael Garcia; Feb 18, 2022 at 11:30 AM.
Things escalated quite a lot since my last post. I went down a rabbit hole with wiring and ended up making my own fully concentric harness. Going to dump my latest intagram posts covering the build.
T-transition completed. Sealed with Resintech RT125. Side 1 of the boot holds main branch consisting of a four layer concentric layup containing 79 individual conductors.
Side 2 holds 5 separate concentric layup branches with a total of 43 individual conductors.
The last side on the T boot holds another 5 separate concentric layup branches with a total of 69 conductors.
All supplies come from https://www.instagram.com/prowireusa/ and the knowledge from https://www.instagram.com/hpa101/
Last edited by Michael Garcia; Jun 12, 2023 at 01:38 PM.


 .
.


 (we've always had dime pieces left and right, I just don't remember so many going at the same time in recent memory)


