When you click on links to various merchants on this site and make a purchase, this can result in this site earning a commission. Affiliate programs and affiliations include, but are not limited to, the eBay Partner Network.
just got the last non-sunroof roof skin! Still need to order the cross bar brace.
Started drilling out the spot welds in the door openings. Having a spot weld remover drill bit really helps with the process. It was a little pricey, but i got spot welds on both sides removed in about 30mins.
Here you can see the factory braze lines for the roof.
Rainy season is coming up, so i need to push the car into the garage and completely finish the roof swap.
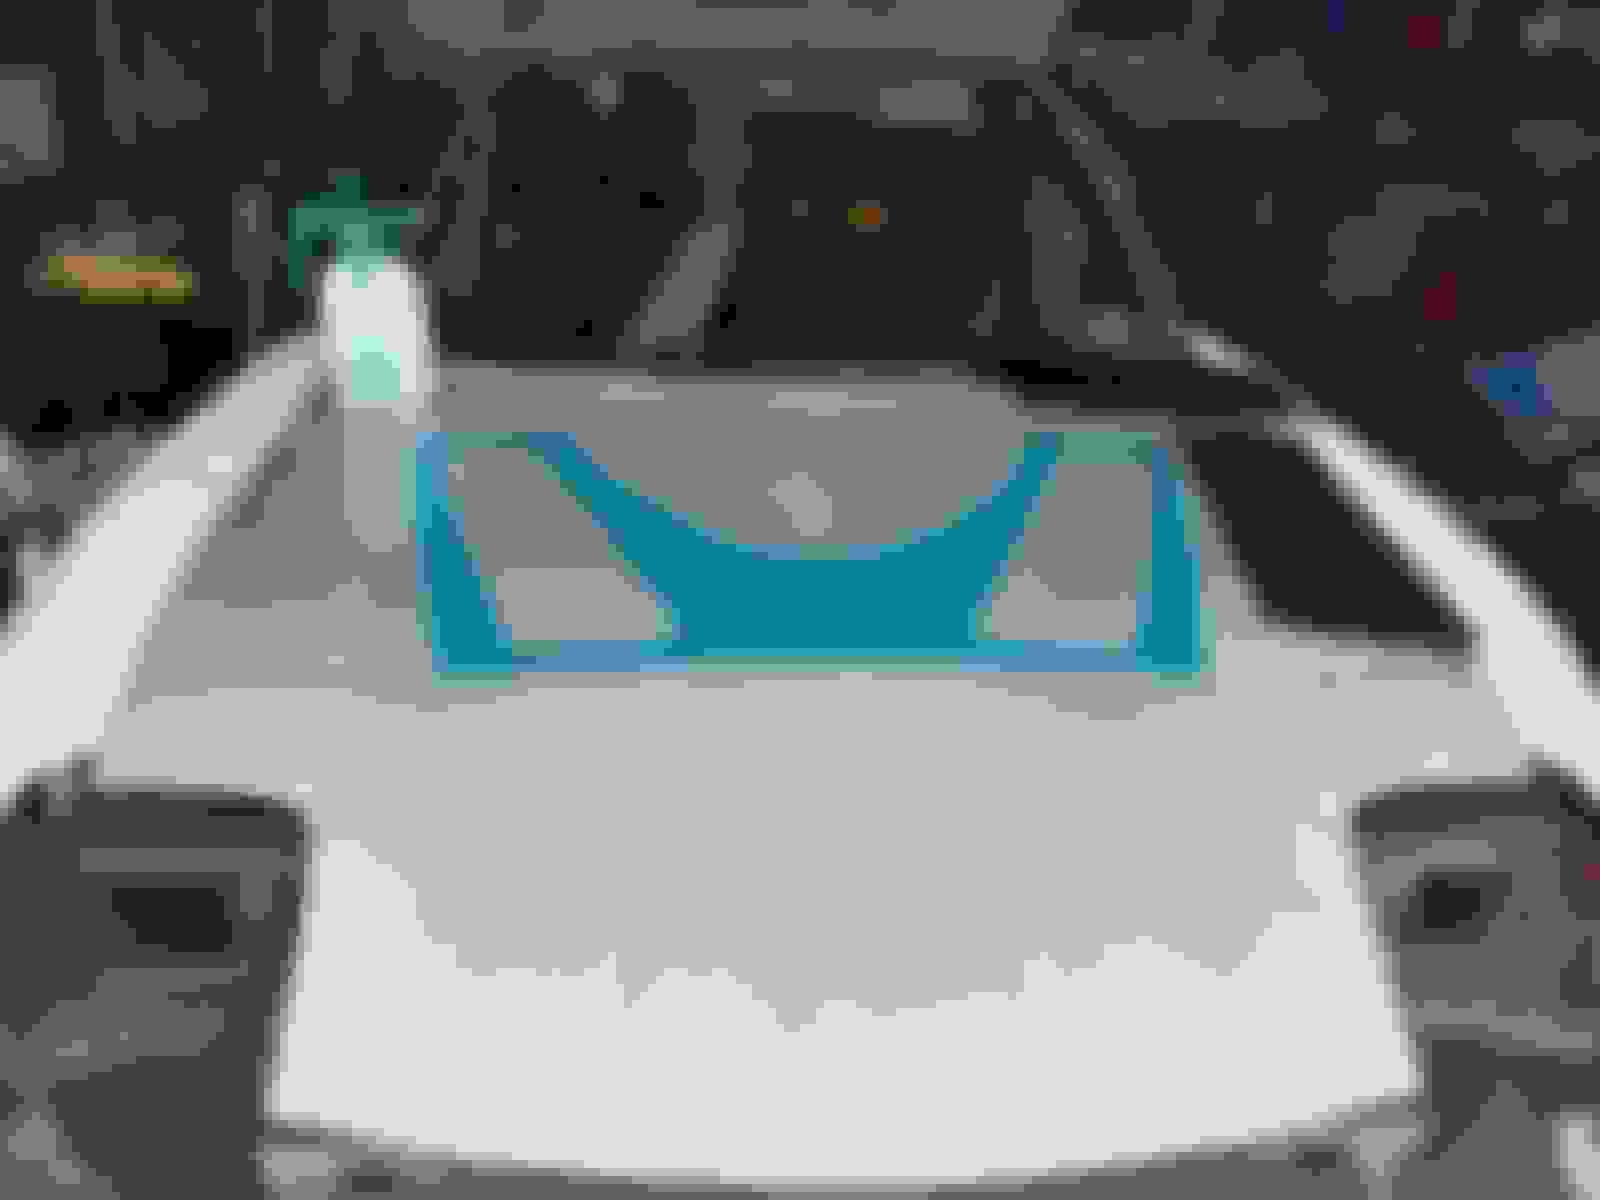
the trunk is ready for patchwork and welding.
Also ordered a Fuji Mini-Mite 4 for painting the car once body work is done. I didnt have any room for a big compressor, and body work is insanely expensive... So im doing everything myself...
Here's the big reveal! The replacement engine for the FD. Starting up the rebuild soon. Street ported NA.
Got the Fuji Mini-Mite 4 for spraying, getting the car ready for body work soon! Trying to decide to go between single stage and two stage paint for BRG.
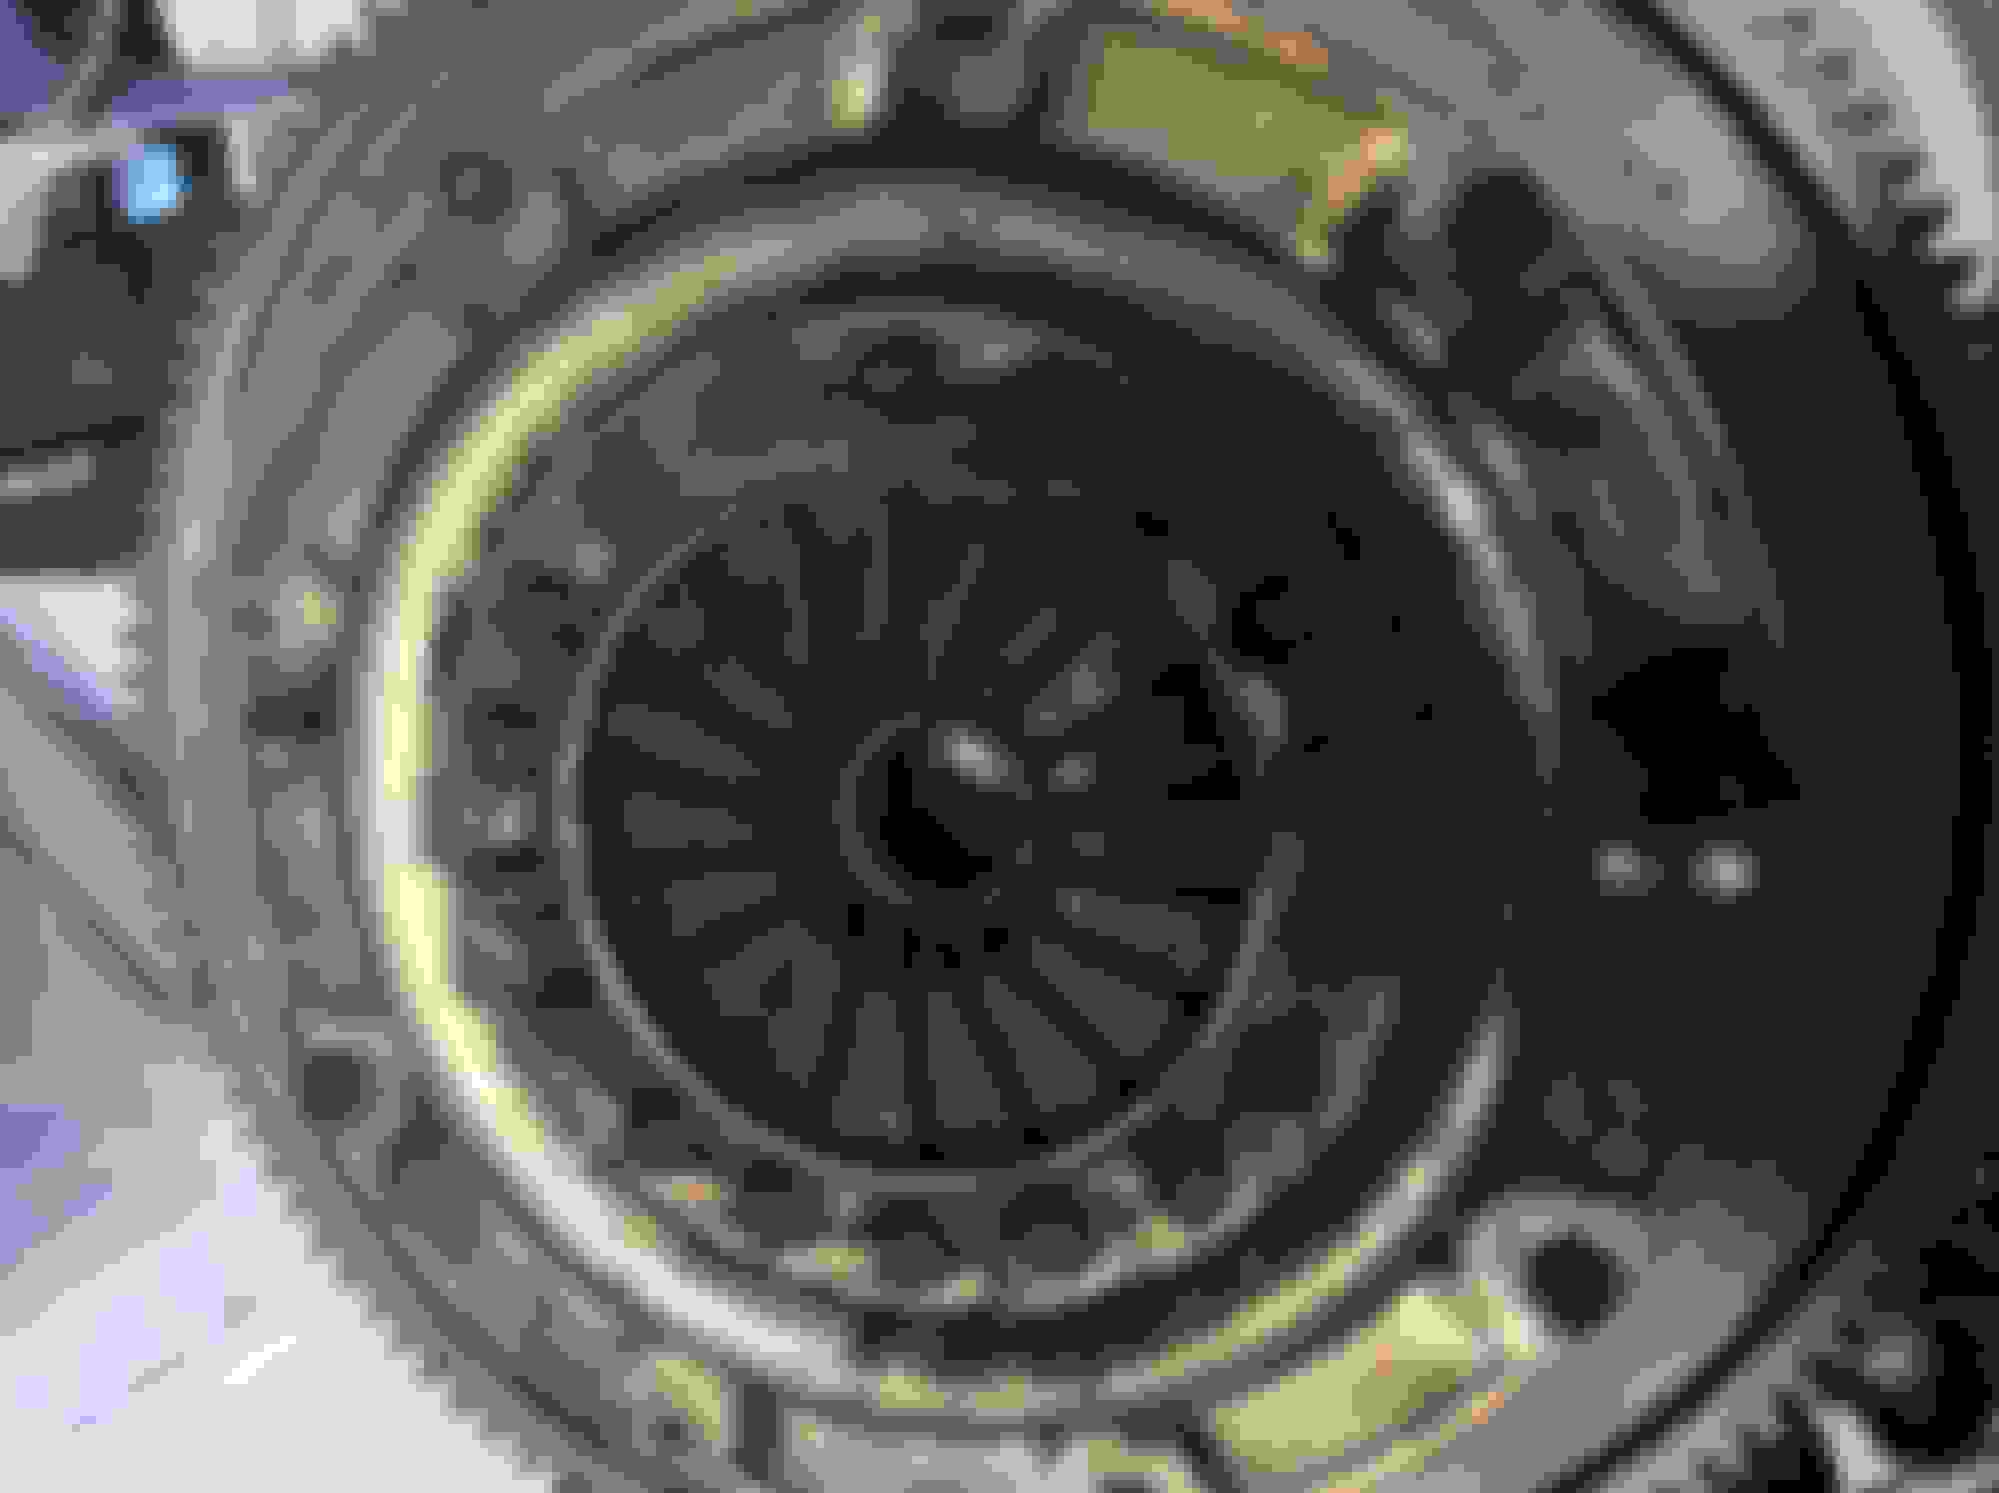
Got a Tilton hydraulic release bearing to modify to run a 2 disc OS Giken clutch for a FC. Ill post some pictures this weekend!
Got some new parts in for the project!
Tilton hydraulic release bearing, going to modify it to fit onto the stock fd transmission and to use one of my old multi-disk OS Giken FC clutches.
Tilton Hydraulic Release Bearing. Need to order some bearings and threaded sleeve to adjust height. OS GIken FC Multi-disk Clutch. Going to do a quick refurbish since the friction material is still usable. 20B is going to be test fitted into the FD soon! then going to start the rebuild.
Ordered some used 20B mounts to drop into a FD, Need to modify the stock oil pan and see what other clearance issues I will have.
I know I will have to figure out how to lower the intake to clear the hood. Maybe end up designing some custom ITB or Slide throttle setup.
Finally got the garage cleared enough to push the car in this weekend! then off to finish roof and start on the major bodywork!
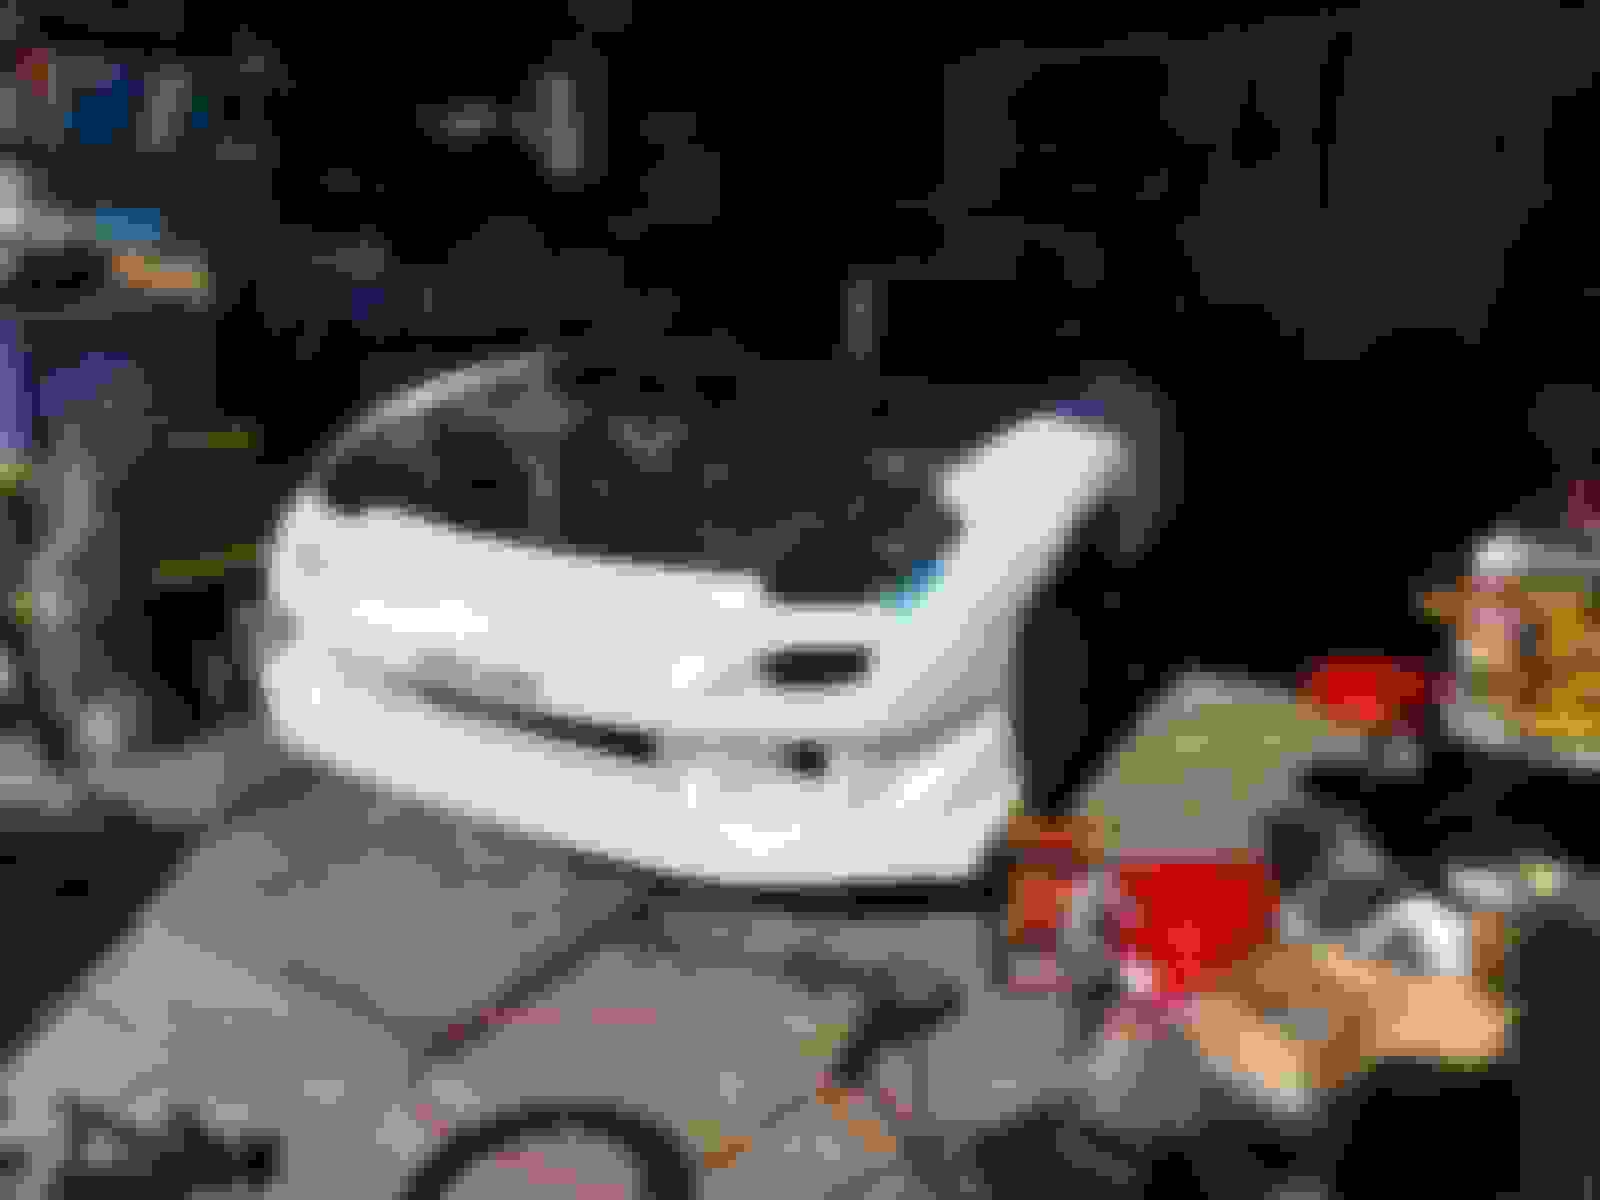
Decided to cut out the trunk area and replace stock tank with a 16 gallon fuel cell with a swirl pot.
This is the fuel cell I've decided on. Nothing too fancy since it will not be under any sanctioning racing bodies. https://www.speedwaymotors.com/RCI-1...ell,49541.html
Researching some affordable swirl pot options currently.
So I've been late on the updates....
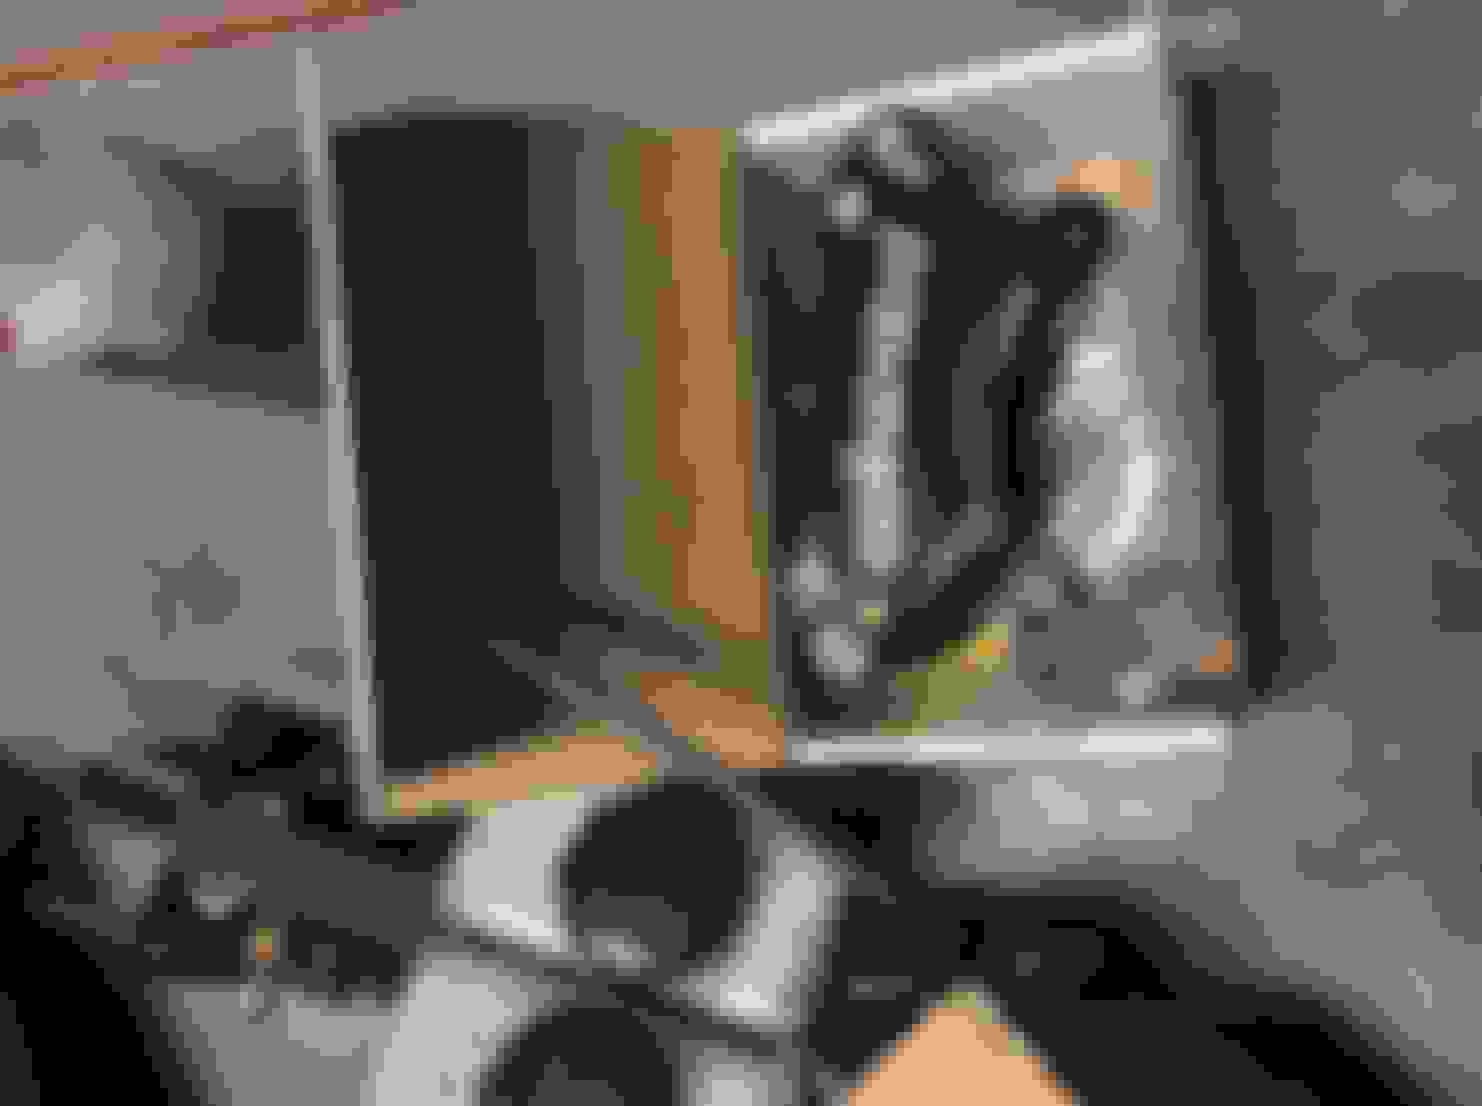
Ive gotten the roof off completely, It was a major hassle. Still need some grinding on the A pillars to get the panel to fit perfectly. Roof Is half off on the picture.. need to weld some cut that were too deep. Heres the panel being test fitted. I've pulled the engine and almost completely stripped the engine bay. Started removing the seam sealer from welding locations. A little more cleaning and the car will be ready for patches and reinforcement welds.
Need to pull the ABS lines. Decided to cut the harness since most of it ended up being chewed up by rats. Removing the seam sealer and wirewheeling surface rust. Ive started trying to figure out what type of brake system I'll be running as well as routing for fuel etc.
I have a prototype dual master system I'll be testing on the car as well as some wilwood calipers I'll be using upfront. Wilwood dynalites! these will be difficult to setup, but a interesting test. Need to make a brace to keep firewall from excessively flexing.
Lots of updates! I just havn't gotten around to making a new post.
Most of my updates have been on instagram haha.
Here is how the car is sitting now. I'll post a detailed update later!
Since our last update I've had a decent amount of work actually done! It's no where near done, but it actually starting to look like a car again.
I've decided to use aircraft stripper on all removable panels and the quarter panels on the vehicle. I avoided edges to make sure the stripper did not go into any crevices and cause problems during the painting process.
i started with the doors, hood, and then later the quarter panels.
Made sure to tape all edges on the quarter panels to keep the stripper on the flat surfaces.
It took about 2-4 applications for each panel. I was able to do most of the car with about 3/4 of the can. I think it saved about 20hrs sanding. 2nd application of aircraft stripper. Initially used a plastic scraper/spreader. Decided a razor scraper was a bit more effective. The 1st application for the hood!!! Finished product. After some sanding with 80grit on DA Finished product. After some sanding with 80grit on DA
I also ended up ordering something to really make the project look like its progressing... you could call it a facade.....
Fitment isn't as great as I imagined. I'm not experienced working with aftermarket body components, so I'm not sure if this is considered great or meh...
Alot of micro-fractures on edges. voids on corners between the gel-coat and fiberglass. Bolt holes don't generally line up between body components. But I think it's all fixable with some work.
Oh look a big box!!! what could this be!!! Group A RE style kit!! 1st fitment testing. Not terrible None of the bolt holes from the fender to the bumper actually line up... hahahaha
Getting the correct tools can really make life much much easier!
I bought a Cleco Fasteners kit off of Amazon. Made aligning the rear over fenders much much easier.
I'm planning on also using it to align the roof on when the time comes. I know that there are Cleco Jaw fasteners available as well.
Cleco fasteners are generally made for sheet metal, but with correct sized fasteners it worked perfectly with the fiberglass.
Think of them as a temporary fastener that you can remove at any time with a tool. Cleco fastener kit off of Amazon.. Highly recommended!!! Cleco in... Cleco out.... The 1st cut is the deepest......... Driver side alignment was the most difficult due to the gas lid location. Either the sideskirts has to come out.. or the overfender comes out... not sure...
I was considering getting an aftermarket hood for venting purposes... but I was never a fan of replacing a stock aluminum hood with a worse fitting possibly heavier fiberglass hood.....
I ended up getting some Singular Motorsports ND MX5 Hood Louvers. I always thought the hood proportions of the FD and the ND were close enough that this would be a good candidate.
You have to cut the structural baffle under the hood, it seems that the hood has most of the rigidity as long as your care Also got a driver side Bubble Tech Heel plate since I'm not planning to run carpet! Came with a sheet of Skateboard tape and all fasteners. Would recommend based on quality and completeness of part.
ful .
Let me know if anyone has any questions on this install. It took a few hours, and wasn't that difficult. I would imagine if you had a pre-painted hood, it would take a bit longer.
Step 1. Measure and align the supplied vinyl Looks about right...... step 2. attempt to align vinyl without stretching or deforming..... Step 3. give up on vinyl.... mark with sharpie Step 4. Cut holes as clean as possible. corners are tough, but you can get the correct radius using a file afterwards. Step 5. drill holes, test fit and use supplied edge trim. Make sure to remember to bend your find prior to install!!
***WARNING: I am not a body shop guy... just a guy learning... whats done is done.... Any tips for future projects would be appreciated.. but please be nice!
We picked up a big can of Rage Gold Ultra.. which supposedly is the best filler around...
Some of the last few layers, I used Evercoat Metal Glaze.
Also got a stud welder from Harbor Freight, which came with the stud puller..
I've watched a few videos on Youtube on the general process of fixing panels and filling.. but have zero experience...
I attempted to pull the dent out as close to the original location as possible, then used a thin layer of filler to get the shape to be perfect(?)...
The supplier of our primers, Southern Polyurethane recommended filling prior to using Epoxy Primer to seal, so we took their advise and direction. I guess its a learning experience.... It made an awesome kalimba sound.... Filler Then Sand... And more filler... Then sand again........ Maybe we should filler stuff we cant see....... That was stupid.... The discovered door Bondo during the Aircraft stripper process did not survive.. Sooo i'm re-repairing the doors. Took about 5-7 times to get it to the point where I was happy.. I'll probably end up working on it a bit more during filler primer steps.
Subbed. Nice work! You should work on some kind of mongoose theme or emblem to honor the gnarly beast that perished in there.
I remember people looking at my first FC or my basketcase KZ-750 (that literally came to me with the parts in baskets) and saying they were too far gone. As long as you've got the vision/energy - and you do - it'll all come together.
Got some bumper lights.
Finished some welding for the quarter panels.
Decided to epoxy the under roof frames prior to installing the room. You can see some of the micro fractures on the bumper. These exist on the rear fender extension as well. Got some Uras style 99 Spec lenses. Some quarter panel work. Some of my wonderfully terrible welding.. After some grinding.. it started to look decent!! .. this is pre-grinding... hahahaha started washing the car, masking some interior parts.. I wanted to seal the car with epoxy. Slight surface rust started to appear since the car is bare metal. After some grinding and sanding, its ready for epoxy primer..
I was initially planning on restoring the vehicle to a stockish street vehicle. But after seeing the car in person, I decided to just make it a track car.
Get rid of all unnecessary electronics, interior and parts will make this a lot easier and cheaper to build.
I got a couple of big expenses left though. The intake and exhaust I'll just make myself.
- ECU (Adaptronic)
- Wheels and Tires (Momo Heritage 6?)
- Pedal assembly (Tilton)
- Roll Cage
Originally Posted by alexdimen
Subbed. Nice work! You should work on some kind of mongoose theme or emblem to honor the gnarly beast that perished in there.
I remember people looking at my first FC or my basketcase KZ-750 (that literally came to me with the parts in baskets) and saying they were too far gone. As long as you've got the vision/energy - and you do - it'll all come together.
Got the epoxy primer on the car. It's really starting to look like a vehicle again.
I'm continuing to fit the panels. then some light body work on some small dings and dents.
Planning on removing the sub-frames soon to weld up and modify for fitment of the 20b.
I'll end up sending it out to get it powder coated as well.
For the interior, I'll be sandblasting! Luckily my other half found me a free 240V air compressor that can keep up with the job!
The interior will be painted with White Epoxy, along with the engine bay as well.
I've been using a Fuji Mini-Mite 4 for spraying. It's been working amazingly!
some heavy spraying caused some orange peel.. but i'm happy with my first primer attempts woo. it actually looks like a car!
The FD actually has been on hold for the last few weeks actually. I've been helping my buddy paint his car.
Same paint color the FD is planning on being.
I think it came out fairly decently considering it was done outside with absolutely no experience.
I had some dry spraying in parts, but we did 4-5 coats of clear coat, so we have enough material to cut and buff. my 1st paint job!
 08-25-17, 02:16 PM