
Project Clean CYM


Very clean CYM 
The FEED slosh tank pics are great. Plan to do that soon and they should help figure out how it fits.
And food for thought on the AEM filter. You may want to support it by the filter and not the plastic tubing. I really don't trust those push-lock fittings and the weight of the filter may pull it out
FWIW, I took a piece of aluminum and cut a hole that was slightly larger than the filter for it to rest on. I then mounted to the cross member and I can reach the filter from the top
Thanks for the complement!
Ya the slosh tank too a while to figure out since the instructions were all in Japanese. I had to punch a hole in the 93 tank baffle as they do not have the plastic loops the 94+ tanks had. Luckily I got my hands on a 95 tank I will be installing soon.
As far at the AEM filter I absolutely agree with you. This was the only pic I had at the time of my posting but was only the initial mounting. I have since added additional zip ties that hold the actual body and the engine tray also supports the filter after it was installed.


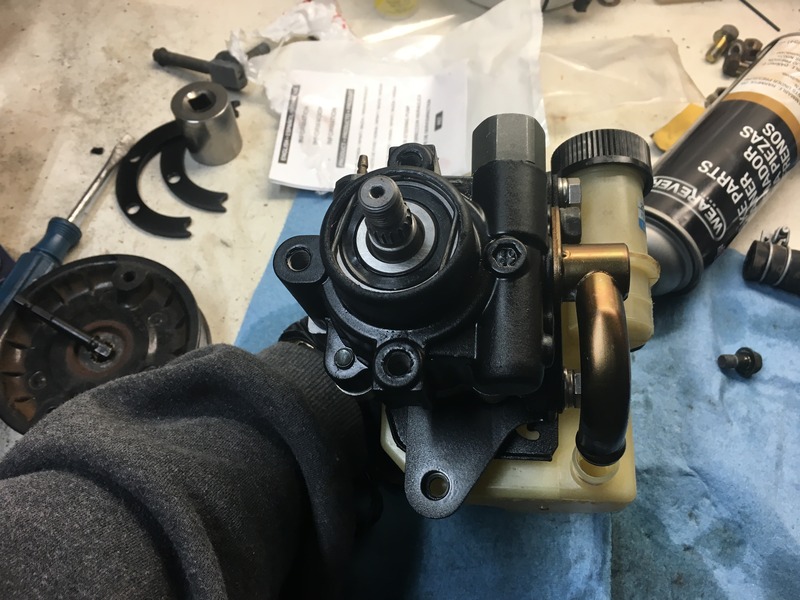
So after spending a day at ZoomZoom's garage a few weeks ago and helping him install the Greddy vmount kit on his car which still retains full AC and power steering, I was inspired to retrofit power steering back in my car. My car had a Mavel manual rack when I bought it and I never really considered using power steering but after driving the FD around and comparing to my Supra which has power steering I decided it should go back in. Luckily we have a parts car which we're parting out so I will be able to use the rack and pump from it. However, in OCD fashion I made sure the power steering pump and components were refurbished, upgraded, and powder coated. So here's some update pics:
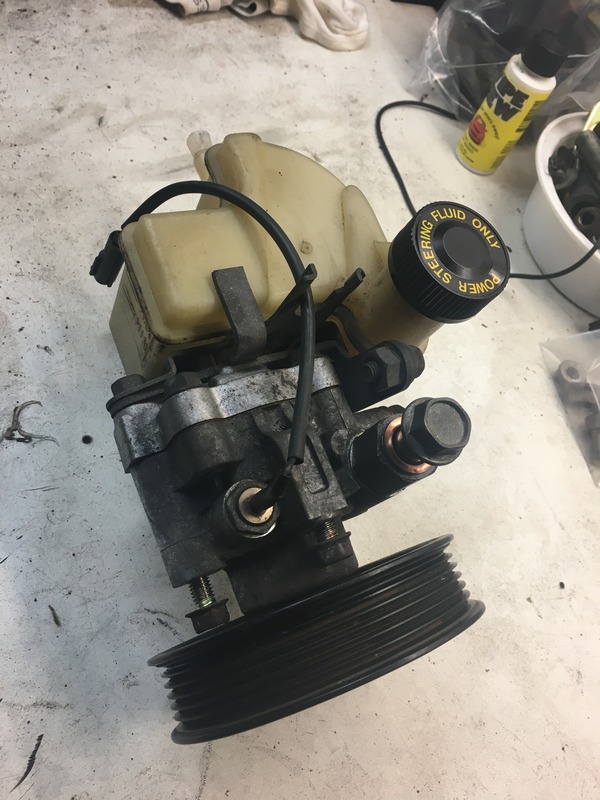
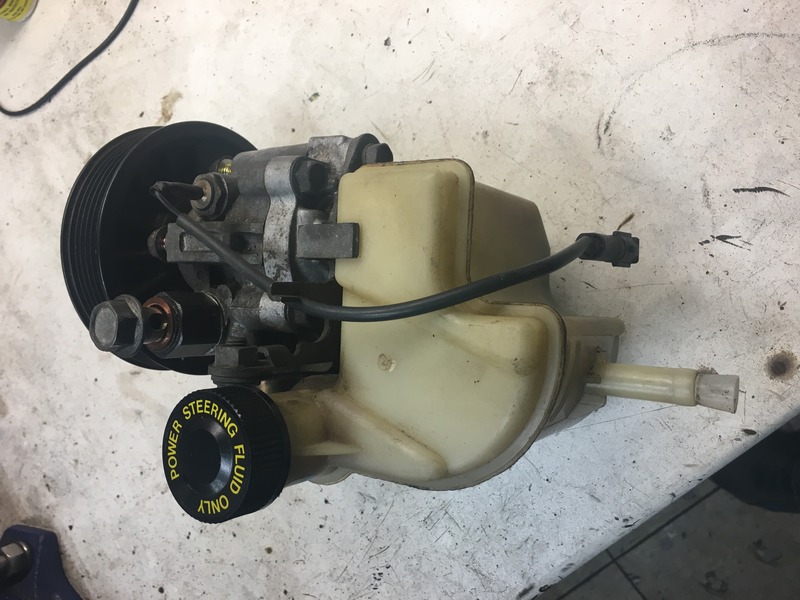
Power steering pump off the parts car.
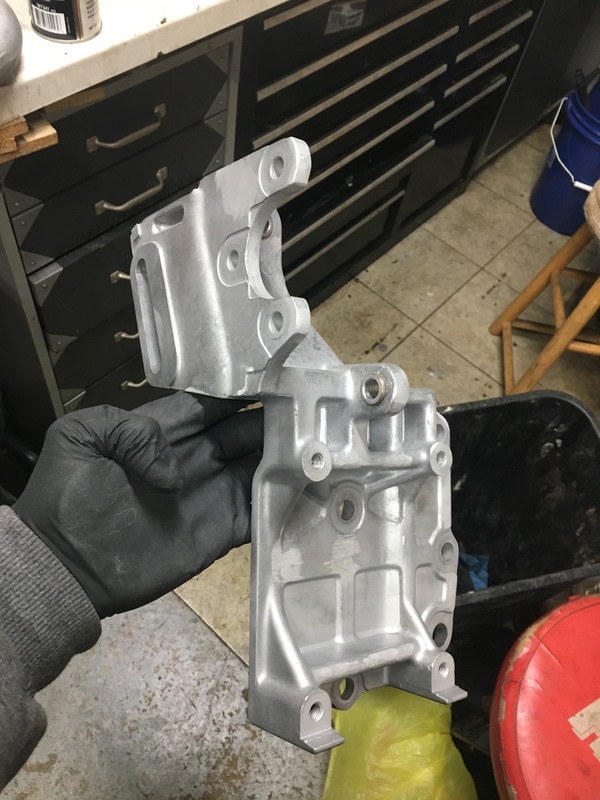
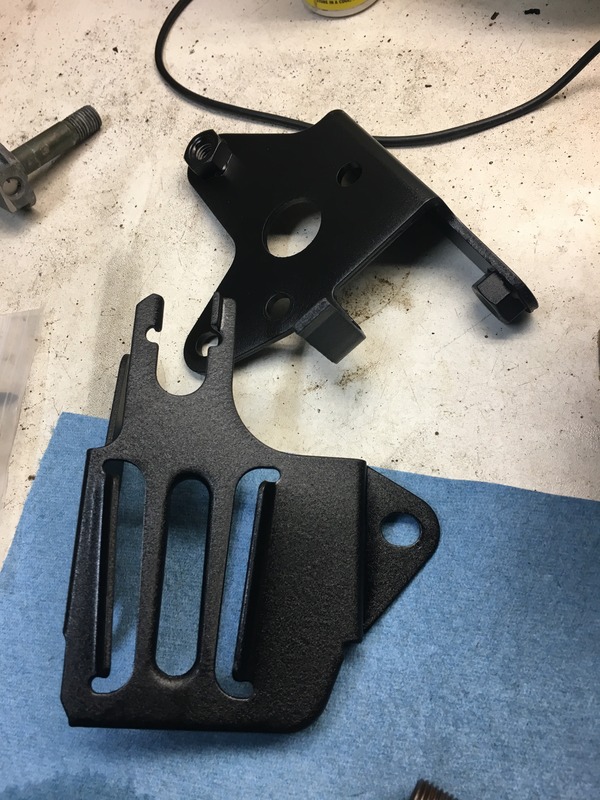
Mount cleaned up and ready for powder coat.
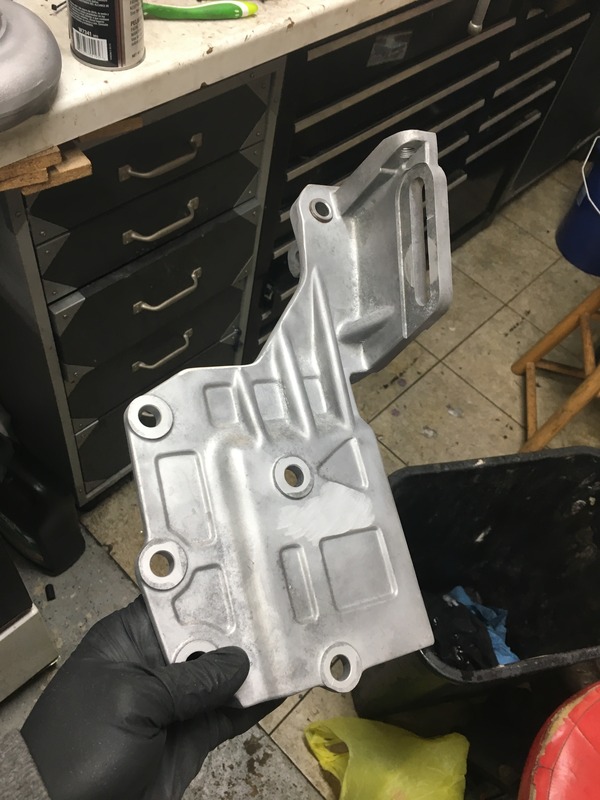
Shaved all casting marks smooth
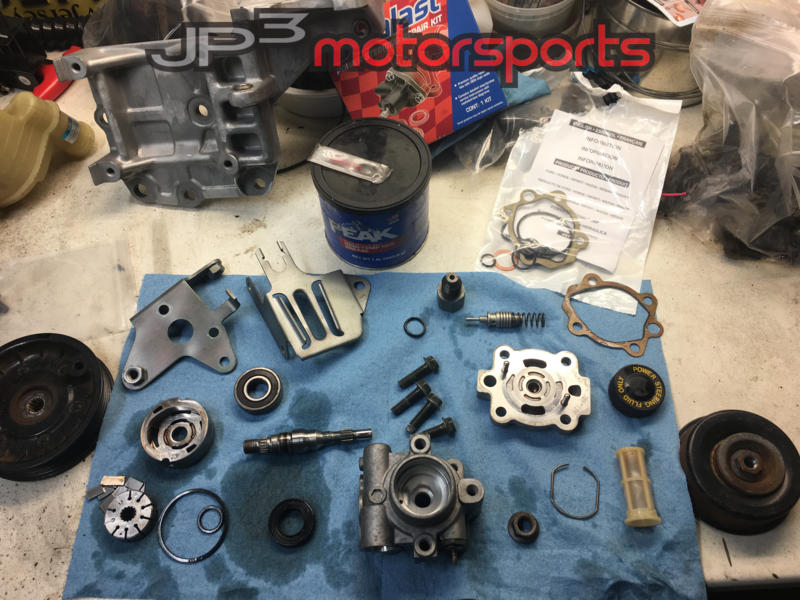
Power steering pump disassembled
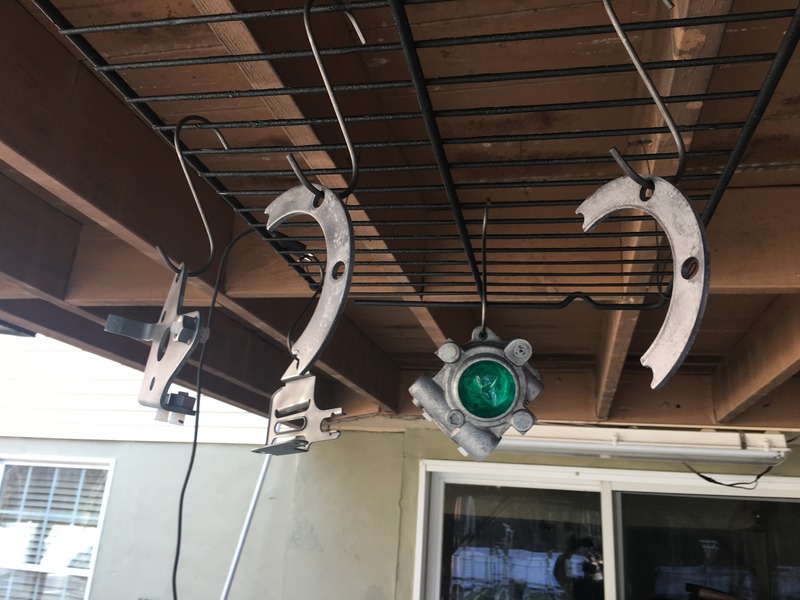
Ready to spray
Bottle brackets
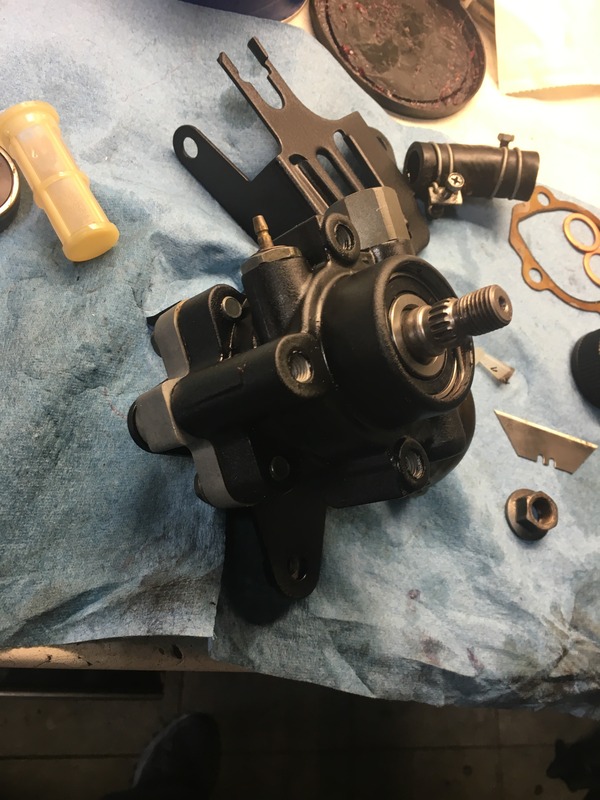
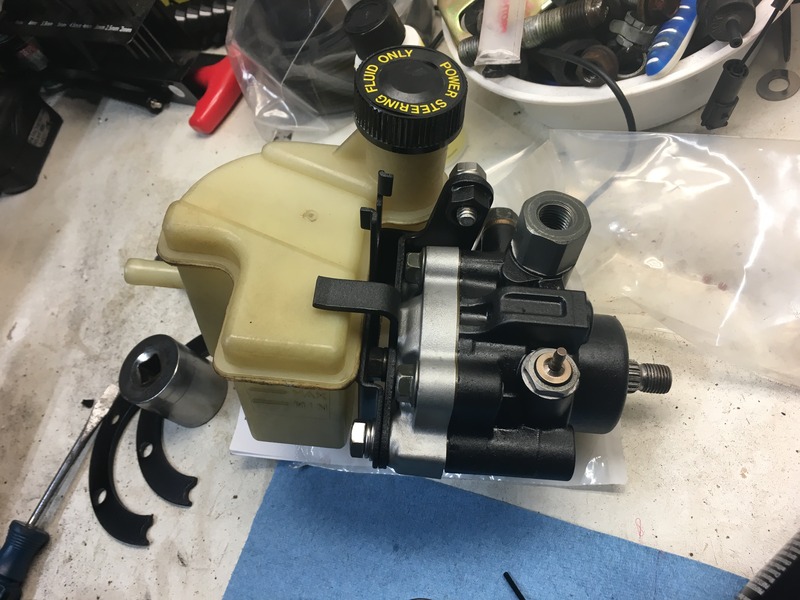
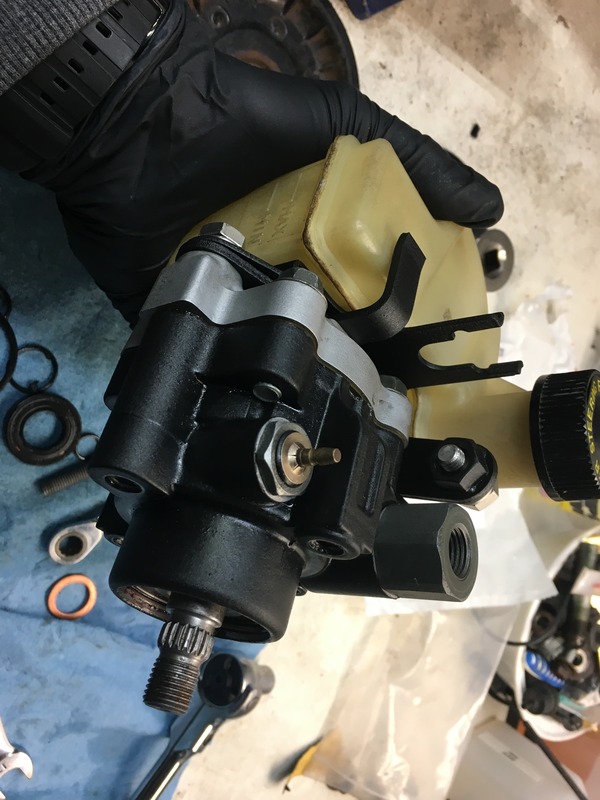
Re-assembled with upgraded ss bearing

Power steering pump off the parts car.


Mount cleaned up and ready for powder coat.

Shaved all casting marks smooth

Power steering pump disassembled

Ready to spray

Bottle brackets

Re-assembled with upgraded ss bearing


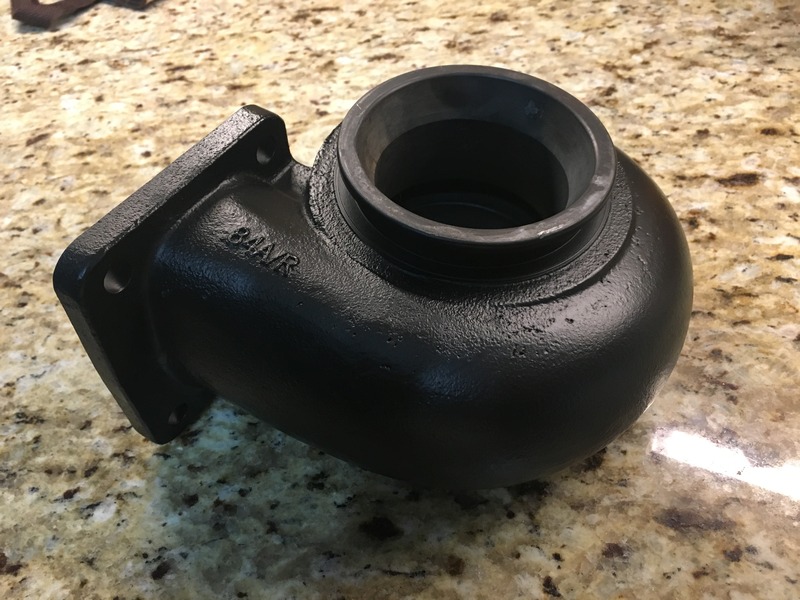
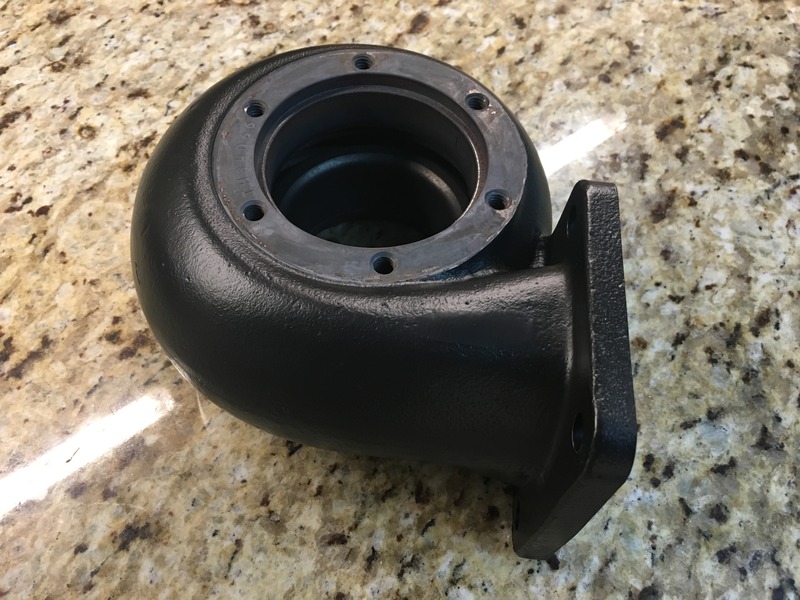
Also picked up some goodies recently. Also decided to get the turbo exhaust housing and downpipe ceramic coated at a local shop.

Banzai trans brace
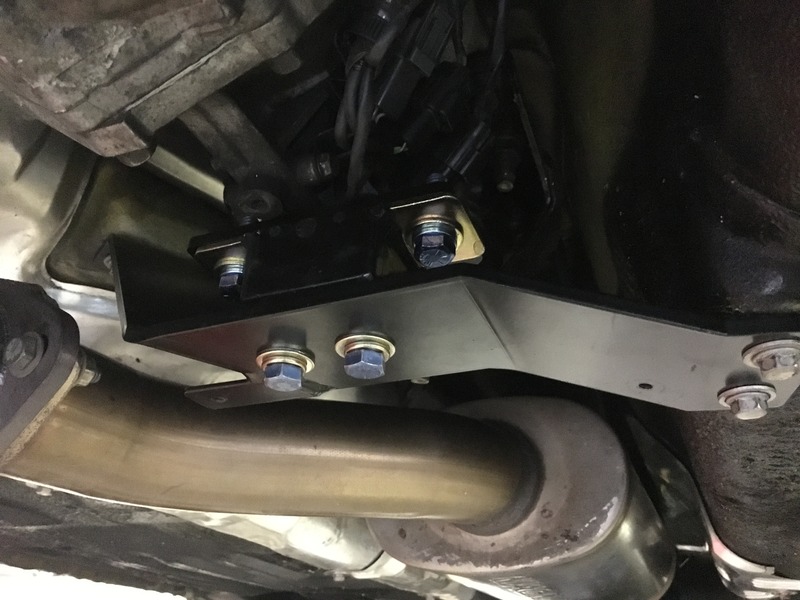
Fits like a glove
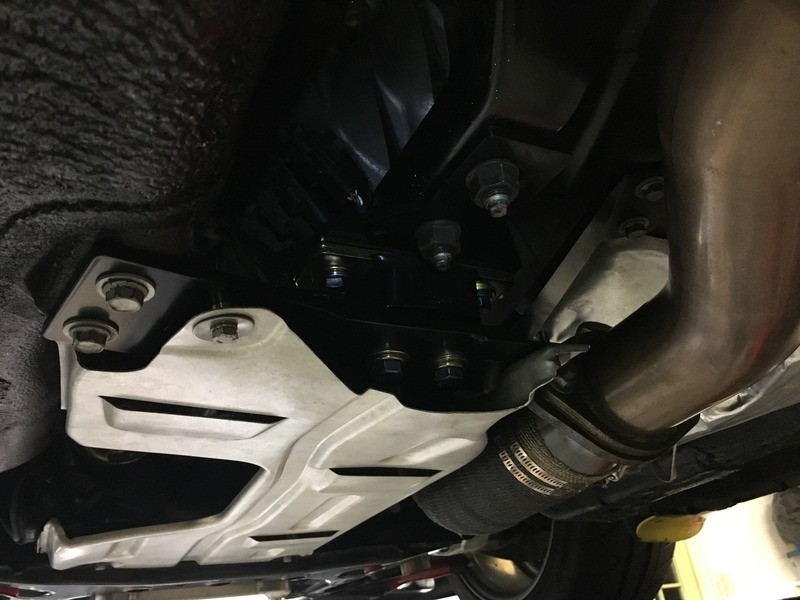
Shield back in place.
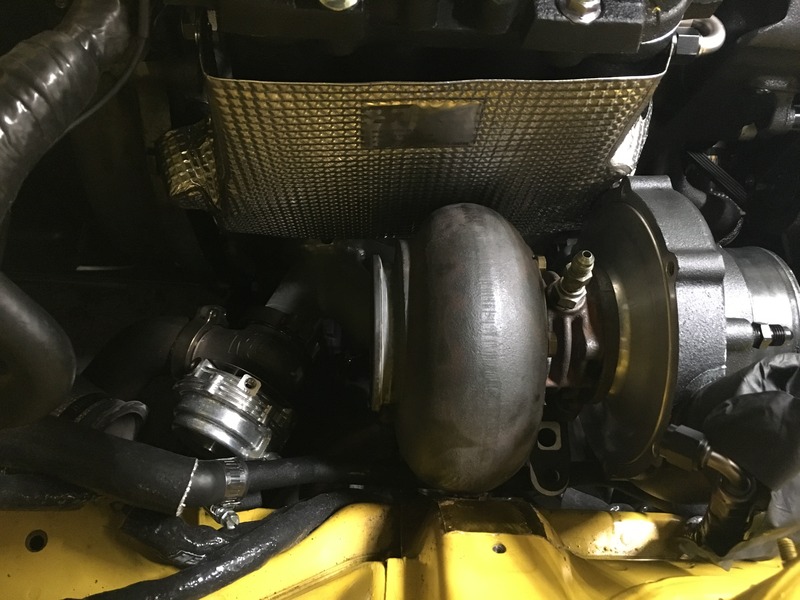
Inconel LIM heat shield
Had to "persuade it" a bit at the front to clear the front turbo housing
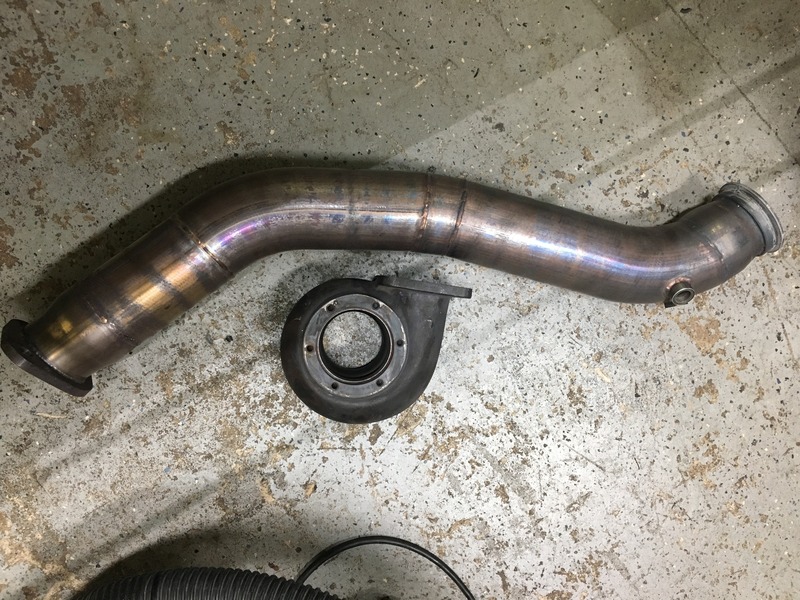
Housing and dp before going out to ceramic coating

Banzai trans brace

Fits like a glove

Shield back in place.

Inconel LIM heat shield

Had to "persuade it" a bit at the front to clear the front turbo housing

Housing and dp before going out to ceramic coating


My build is very much inspired by this cars engine bay.
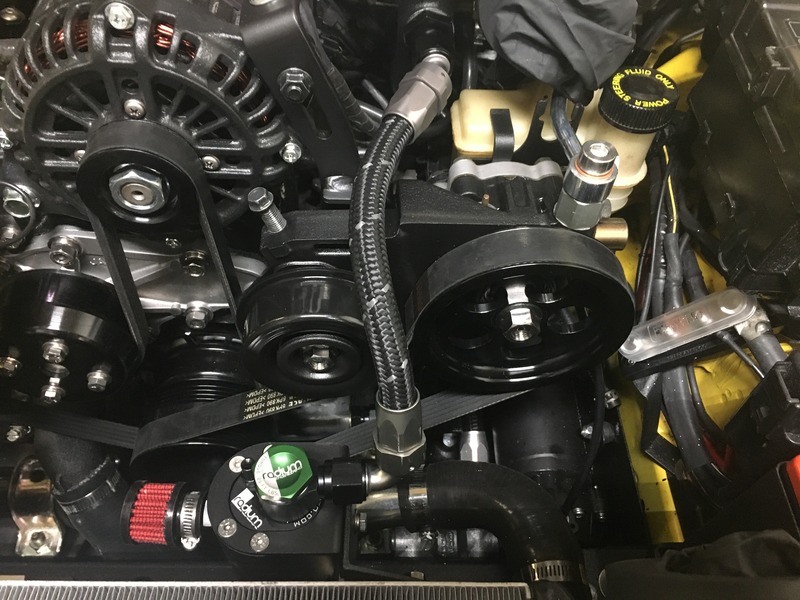
Finally got the turbo snail and dp back from ceramic coating. I was able to fully install the power steering bracket, pump, and pulley. Thanks to ZoomZoom for the titanium hardware for the pulleys. He also came up with the idea for clear brake hose for the clutch. I think it adds a nice touch.
Added some aluminum heat shielding to the passenger fender wall.
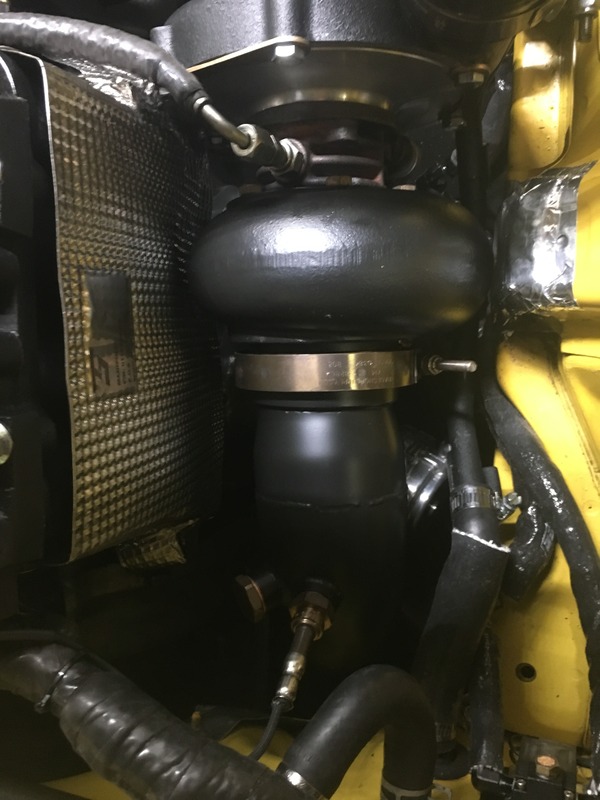
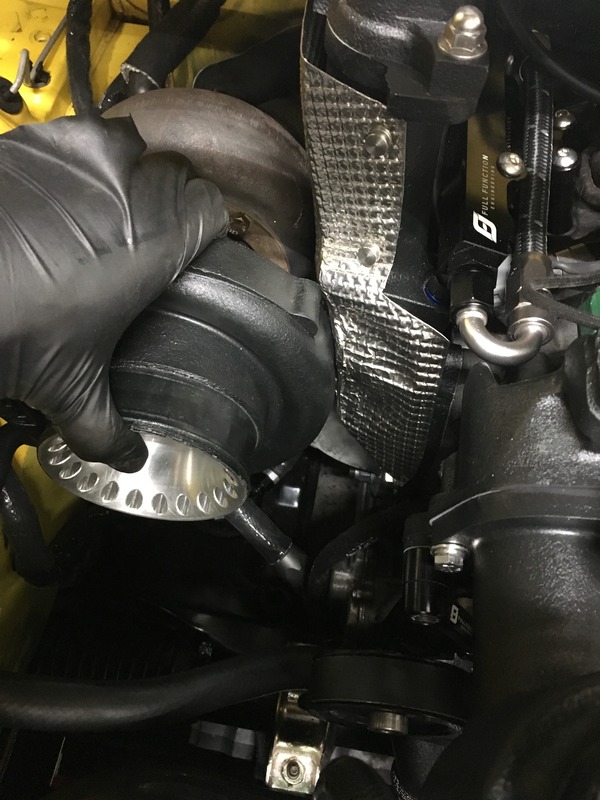
Turbo and dp re-installed
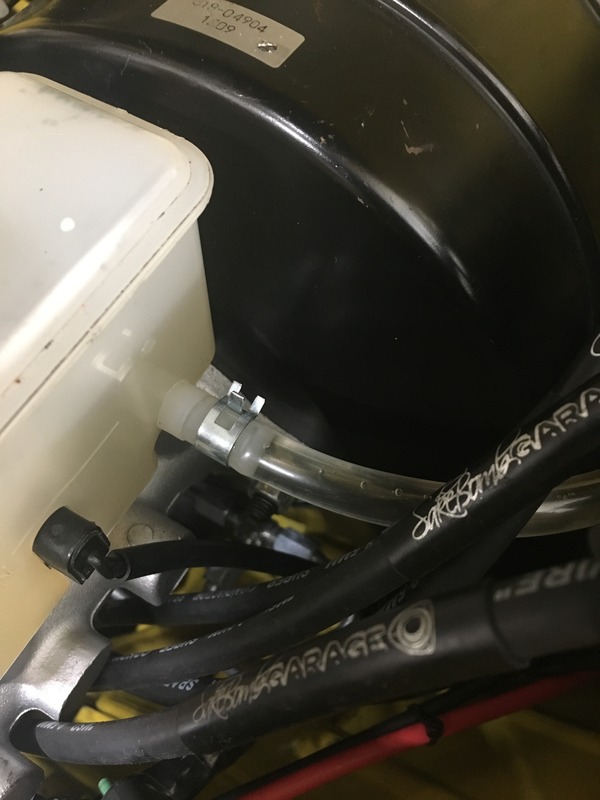
Clear brake line for the clutch master.

Titanium nuts installed for the pulleys.
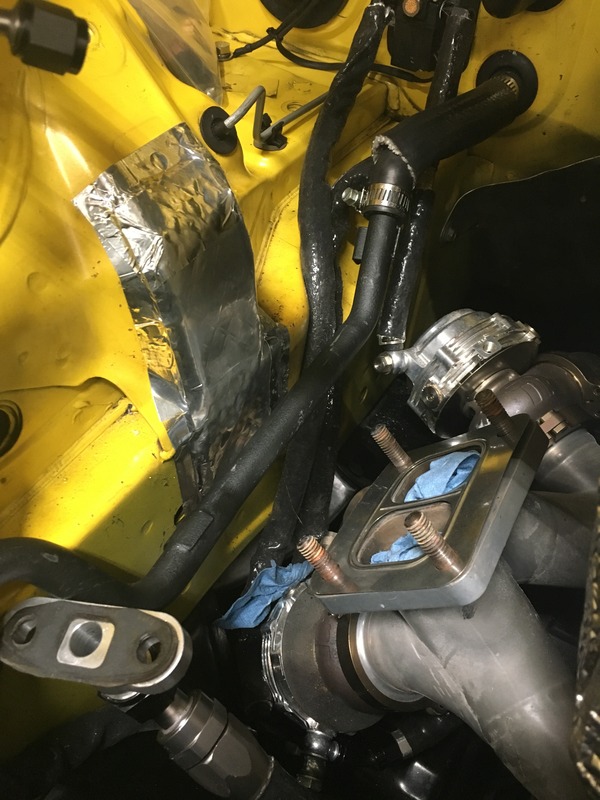
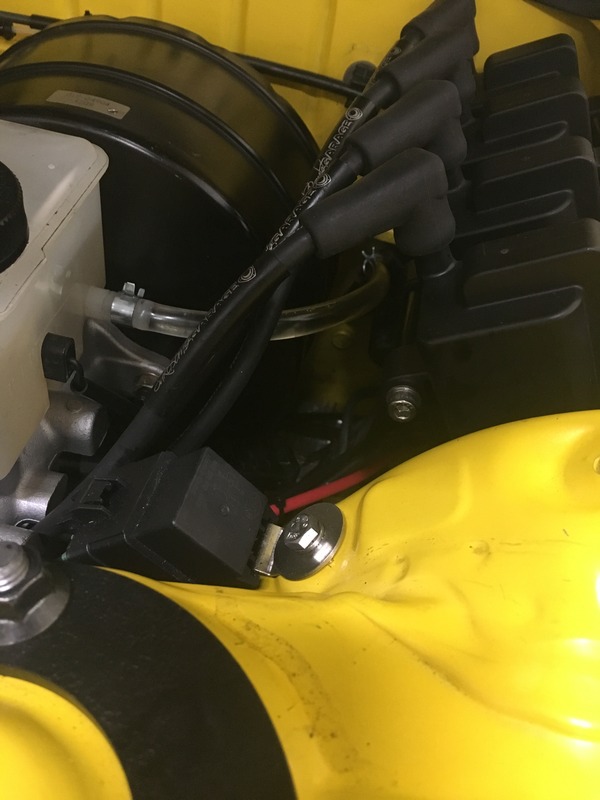
Catch can re-installed. Had to use a 30 degree -8an fitting to direct the hose away from the Greddy elbow. Also shows the new PS hydraulic hose with Hex-style Banjo bolt to spice it up a bit.
Just need to remove the Mavel rack and install the power steering rack back in and we'll be back in business. I also picked up a set of Zeal Function X coilovers that will get re-furbished before being installed.


Added some aluminum heat shielding to the passenger fender wall.

Turbo and dp re-installed

Clear brake line for the clutch master.


Titanium nuts installed for the pulleys.

Catch can re-installed. Had to use a 30 degree -8an fitting to direct the hose away from the Greddy elbow. Also shows the new PS hydraulic hose with Hex-style Banjo bolt to spice it up a bit.

Just need to remove the Mavel rack and install the power steering rack back in and we'll be back in business. I also picked up a set of Zeal Function X coilovers that will get re-furbished before being installed.
Last edited by 1cleancym; Dec 26, 2016 at 05:39 PM.
i love this car. i;m sad it doesn't have ABS, but that's OK i guess.
do you have any more pics of the catch can install? i love the way you did that. i need to do something similar.
do you have any more pics of the catch can install? i love the way you did that. i need to do something similar.

Made more progress over the weekend. I was able to button up the power steering install about 90%. I hit a speed bump when I realized the inner tie rods I ordered were not the right ones. Found out the 93-4/94 racks had fine thread vs 94-95 had the course thread. So I ended up ordering a set from J-auto and will have to wait till they come in for me to be able to complete the install. I was also able to install new door rubbers/trim that I bought a few weeks ago.
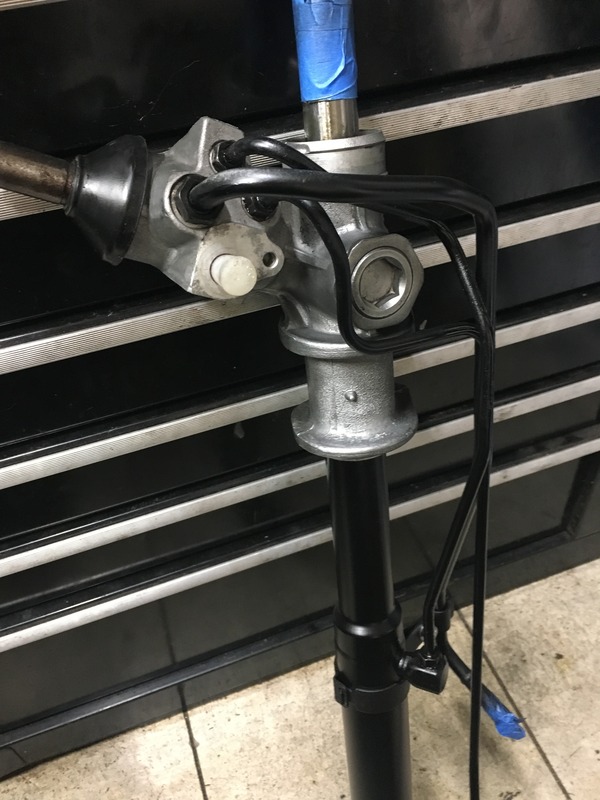
Rack and hardlines cleaned up.
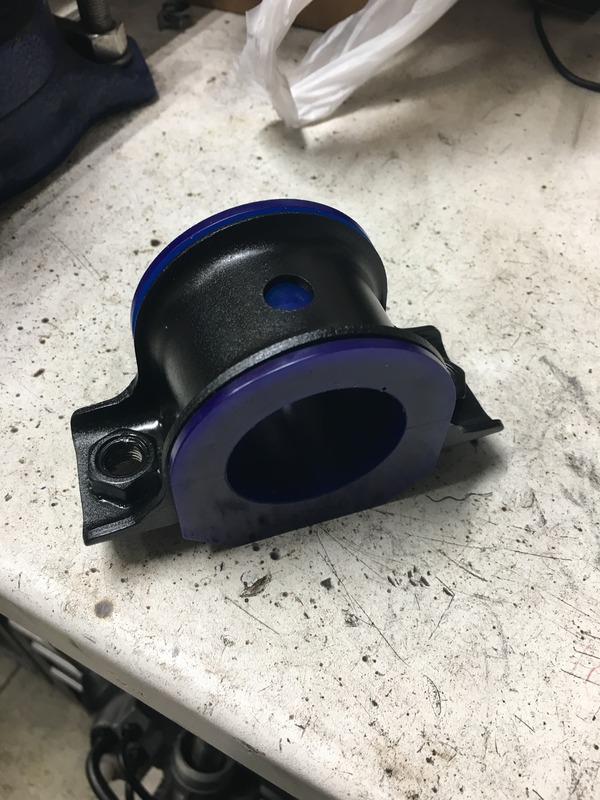
Superpro bushing with powdercoated mount
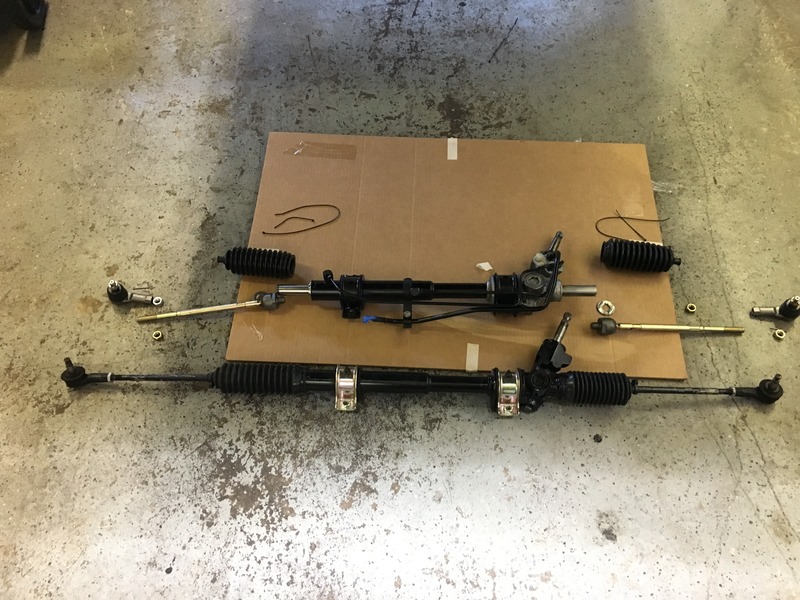
Mavel rack next to the power rack read to be assembled.
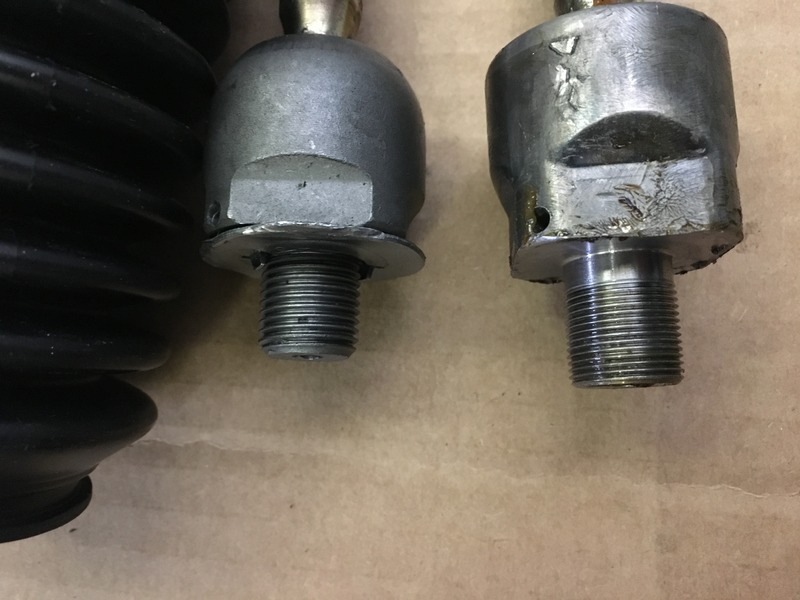
Course vs fine thread inner rods. I needed fine threaded rods.
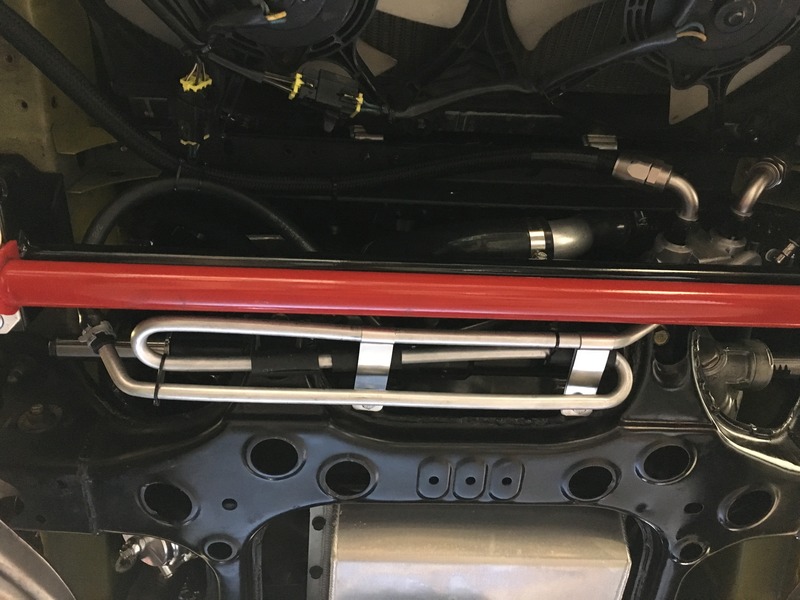
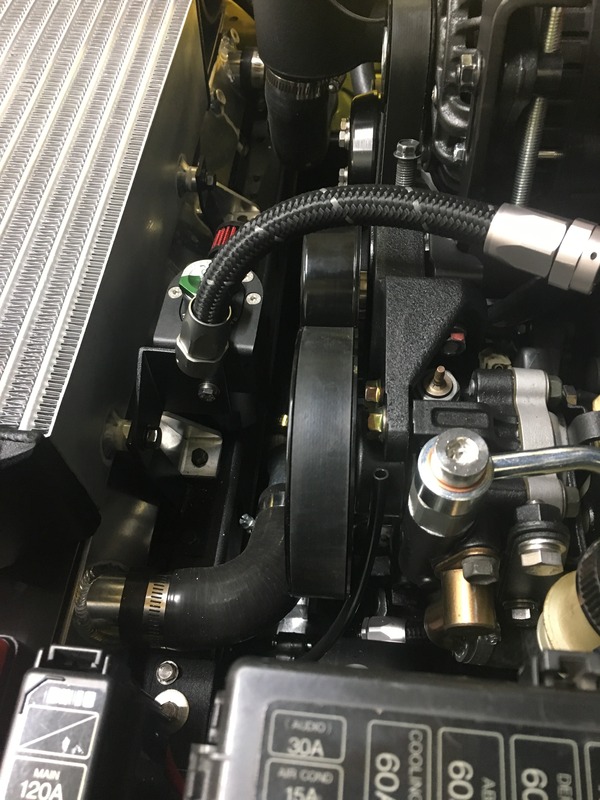
PS cooling coil installed. Had to modify it and mount it slightly differently since the KTS sway bar mount was in the place where it was meant to be installed. I think it came out pretty well, all things considered.
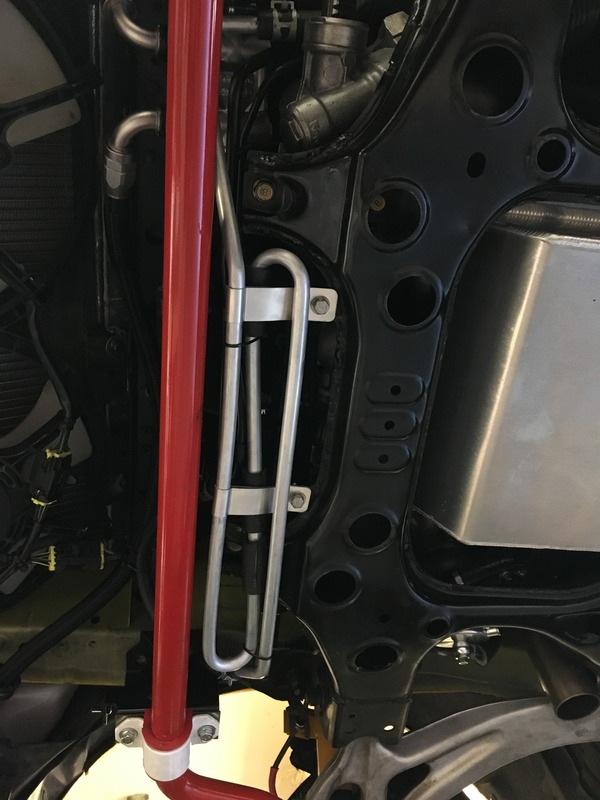

Had to shift the cooler coil to the passenger side slightly as the water injection pump was in the area where the PS reservoir hose is usually located. Tight clearances but there was enough space without having anything come close to any moving parts.
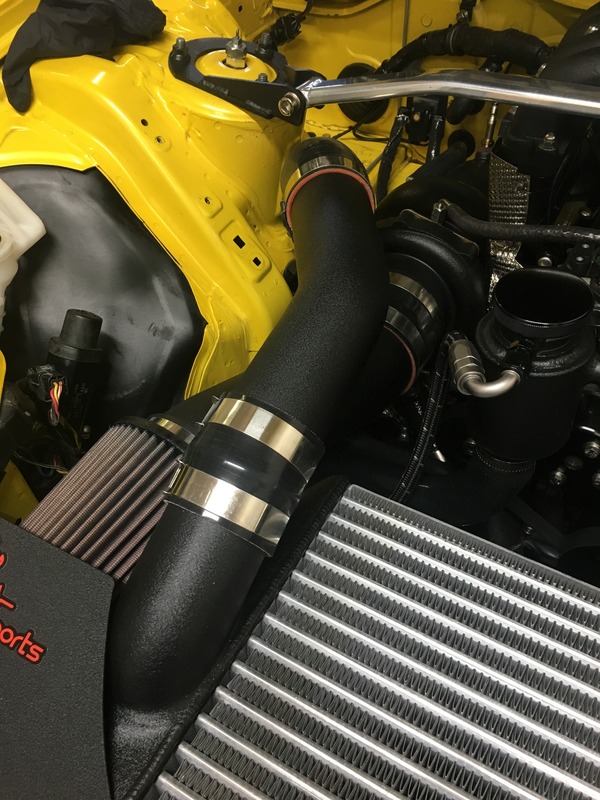
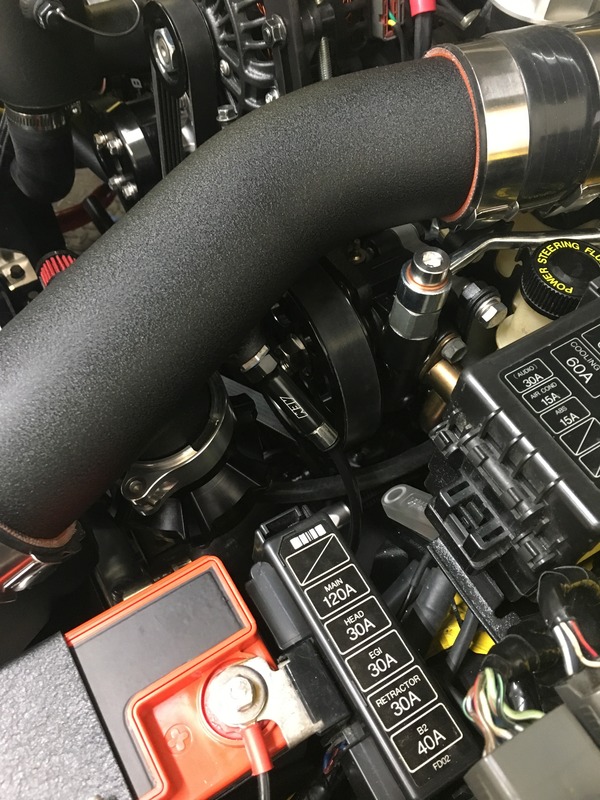
Finally got the hot side and intake pipes re-installed.
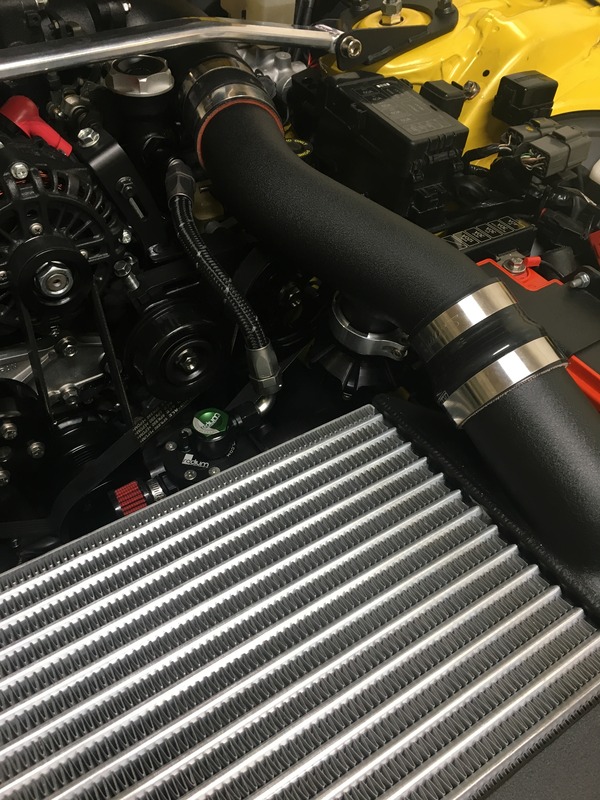
Cold side pipe with new BOV flange and water injection bung welded to clear the power steering pump.
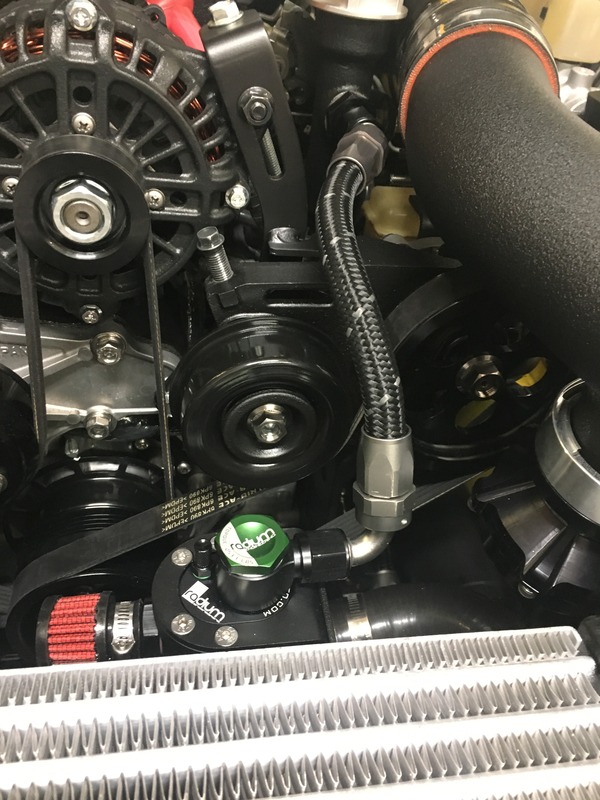
Catch can re-installed with 30 degree fitting clearing the Greddy Elbow. Titanium hardware from ZoomZoom adding some fine details. Also added a new shiny alternator nut.
Water injector clearing the power steering pump. Peep the new PS hardline and allen key banjo adding a nice custom touch.

Rack and hardlines cleaned up.

Superpro bushing with powdercoated mount

Mavel rack next to the power rack read to be assembled.

Course vs fine thread inner rods. I needed fine threaded rods.

PS cooling coil installed. Had to modify it and mount it slightly differently since the KTS sway bar mount was in the place where it was meant to be installed. I think it came out pretty well, all things considered.


Had to shift the cooler coil to the passenger side slightly as the water injection pump was in the area where the PS reservoir hose is usually located. Tight clearances but there was enough space without having anything come close to any moving parts.

Finally got the hot side and intake pipes re-installed.

Cold side pipe with new BOV flange and water injection bung welded to clear the power steering pump.

Catch can re-installed with 30 degree fitting clearing the Greddy Elbow. Titanium hardware from ZoomZoom adding some fine details. Also added a new shiny alternator nut.

Water injector clearing the power steering pump. Peep the new PS hardline and allen key banjo adding a nice custom touch.
Last edited by 1cleancym; Jan 1, 2017 at 10:05 PM.


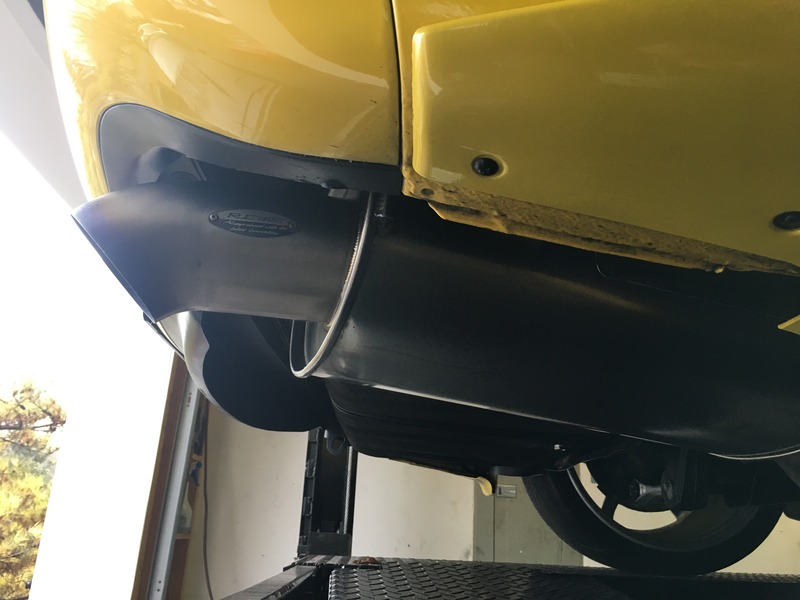
Overall shot

Another view

New door rubbers and belt line trim installed.


New Triangle trim

New Passenger side trim/rubber

Last edited by 1cleancym; Jan 1, 2017 at 10:05 PM.
He does awesome work. I was at the house today when he was replacing the trims and weatherstripping. The stuff he took off looked good but this car is on another level. It's a fast well put together car that is just as at home on a track as it is af a car show. So much pride in this car. I dropped off my Vbox so I expect we will have some data on how well this car performs on top of how well it looks.
You also never met a nicer more talented guy and this is just his hobby.
The season is winding down around these parts but expect some more media of this car in the spring. We are making plans for some fun stuff.
You also never met a nicer more talented guy and this is just his hobby.
The season is winding down around these parts but expect some more media of this car in the spring. We are making plans for some fun stuff.
Some updates. I always believed that the little details always make the most difference. I've been adding/modifying/customizing little details that make my car unique and emphasize my attention to details. Here's some pics of what I've been up to lately.

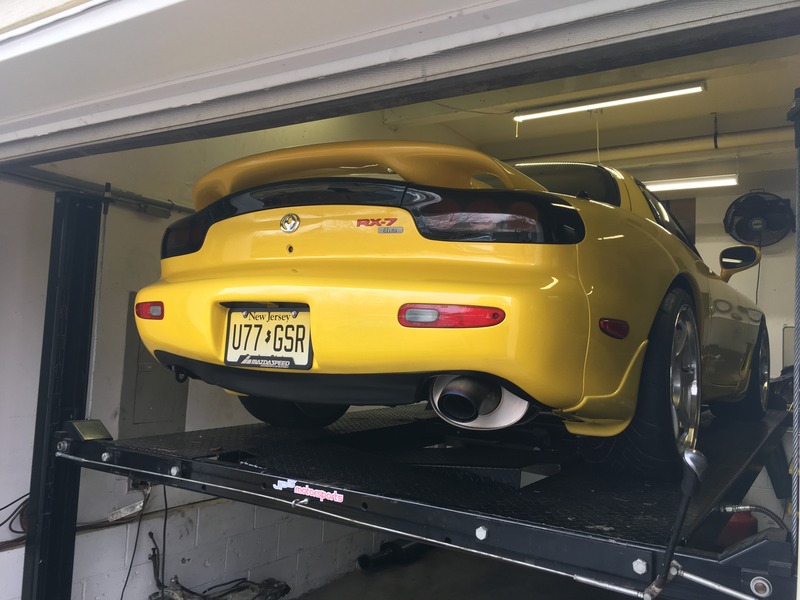
Finally got my brother, Fourtyounce, to trade/sell me his Titanium Re Dolphin tail.
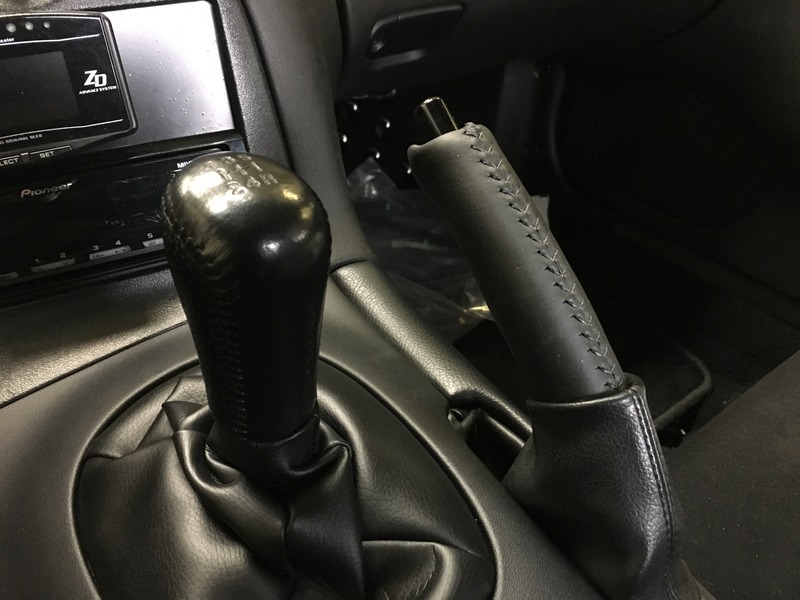
Recovered ebrake handle from Goodfella. Replaces the janky original one I had.
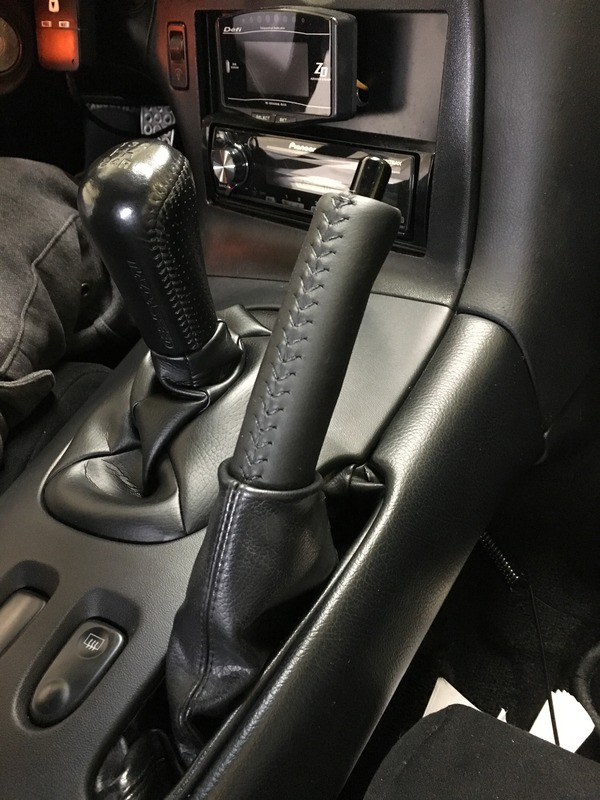
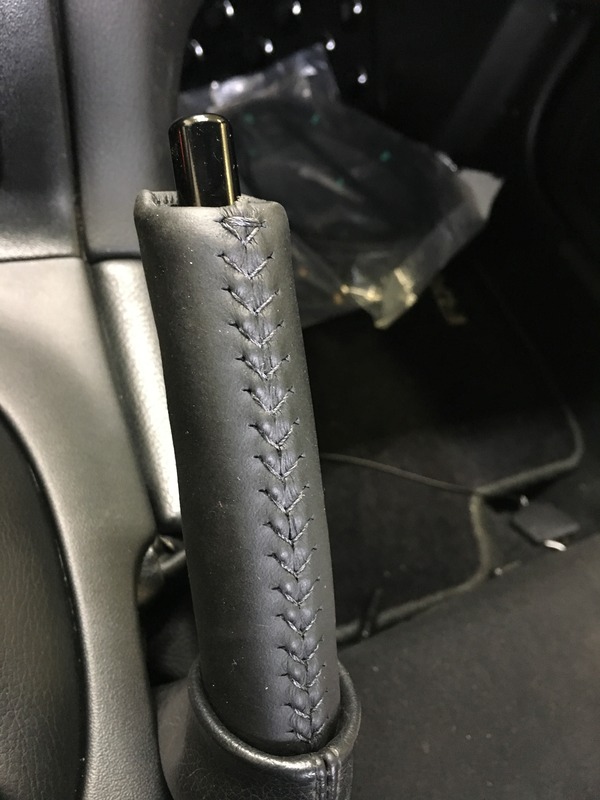
Notice the black CNC black anodized ebrake button.
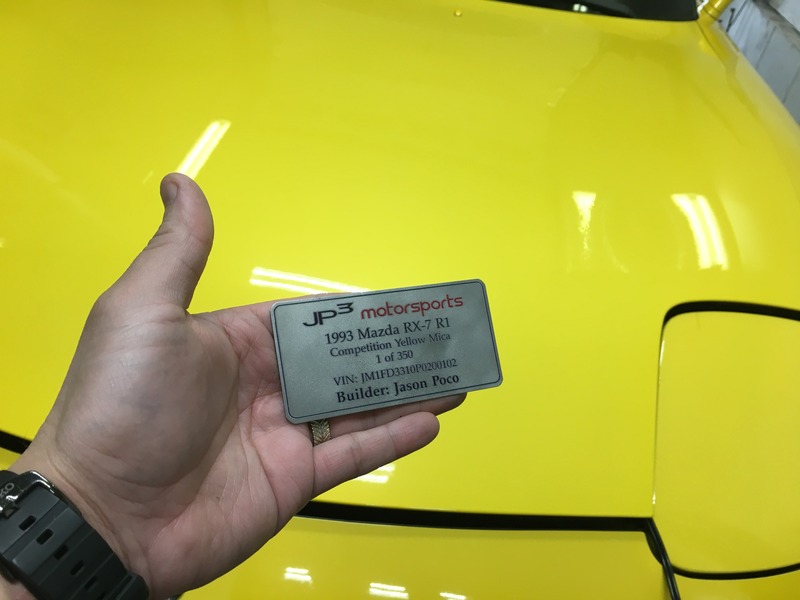
Custom Titanium color laser etched build plate I made to be mounted on the firewall.
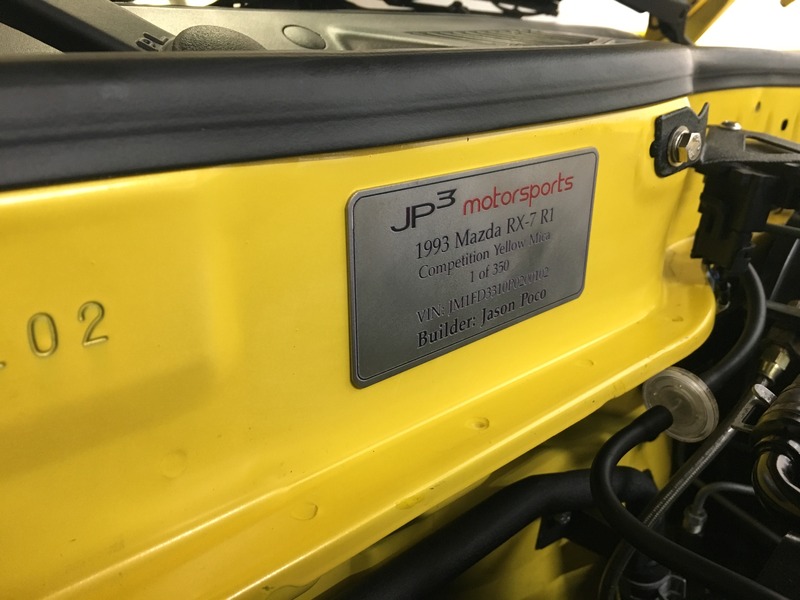
Mounted with double sided tape.
From afar.
Added some titanium acorn nuts.
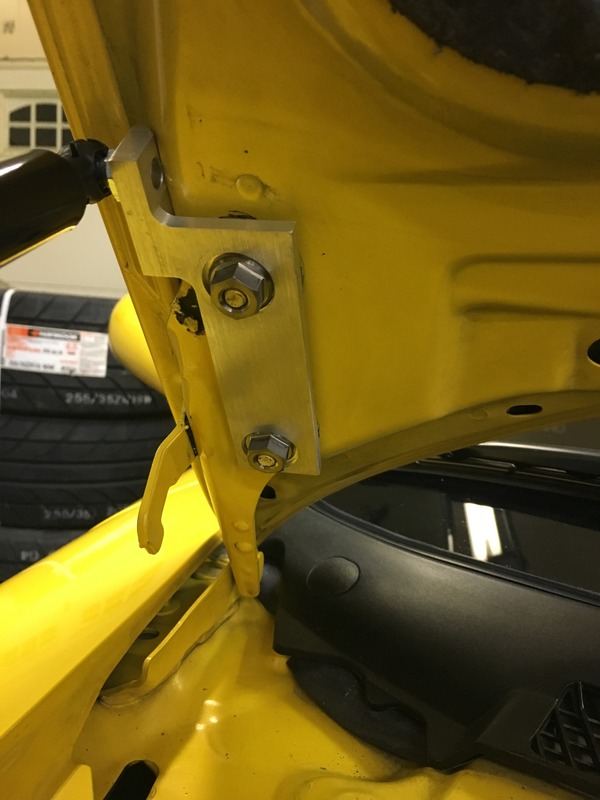
Titanium nuts for the hoot strut mounts

Finally got my brother, Fourtyounce, to trade/sell me his Titanium Re Dolphin tail.


Recovered ebrake handle from Goodfella. Replaces the janky original one I had.


Notice the black CNC black anodized ebrake button.

Custom Titanium color laser etched build plate I made to be mounted on the firewall.

Mounted with double sided tape.


From afar.

Added some titanium acorn nuts.

Titanium nuts for the hoot strut mounts

More Titanium hardware.


More titanium acorn nuts to finish off the look. Notice the matching powdercoated wrinkle black throttle body.

I recently acquired a set of used Zeal Function X coilovers that I'm currently having refurbished by Endless USA. They should be back in another week. I also recently sold my 17" Fikses and will be rocking new wheels in a few more weeks as well. The car should be ready to rock in the spring!!

I think your build plate is really neat!
Edit: just saw the titanium dolphin tail, awesome!
Does anyone still make/sell a titanium-oval-canister cat back like that? I see FEED still lists one, but not quite as pretty :/
Edit: just saw the titanium dolphin tail, awesome!
Does anyone still make/sell a titanium-oval-canister cat back like that? I see FEED still lists one, but not quite as pretty :/
Last edited by Narfle; Feb 1, 2017 at 11:47 PM.