
Mannykillers/ AAPARKAH Street/time Attack/Drift Build (heavy Pics) #Thisisthewolf


not sure it it was mentioned already, but what plugs/wires are you using? non-resistor plugs and/or low-resistance wires could have been causing emi and the computer disconnection problems
I'm using auto lite Ar3932's/x. And I'm using the sake bomb plug wires, they're great. Timing was jacked and it leaned out.That's what kaboomed motor#2
that plug/wire combo could be causing some of your problems. sakebomb website says the wires have EMI equivalent to that of a 1.5k wire. the factory wires are 3k i believe, and non-resistor plug just making it even worse


As long as one of the components (either the plugs OR wires) are resistive/suppression you're 90% of the way there and should be okay. The wires are more critical, simply due to their length. You really only need one resistive component in the circuit to limit the instantaneous current and the resulting EMI. The stock type carbon wires may perform better at preventing interference than wire wound suppression wires (that use inductive reactance for suppression), at least that has been my experience.
The stock NGK (carbon filament type) wires are about 1.5k ohms for all the ones I've checked--they are actually very good for what they are. Racing resistor plugs are usually around 1.5k as well. For stock type resistor plugs, around 3 to 5k is the norm; although some are as high as 10k (yikes!). The more resistance you put in the circuit, the more you limit the peak current and the more spark energy is lost to heat. As it is, the stock system throws away about half its spark energy generating heat due to resistances in the system. Or to look at it another way, just putting non-resistor plugs in the system gives you about the same [or more] spark output as would putting an amp in while using stock resistor plugs. Given the forgoing, I recommend a minimum amount of resistance in the ignition circuit for best performance and mitigate RFI/EMI interference in other ways. Usually a set of good quality wires is enough.
The Autolite 3932 plugs should be fine. I've used those for years with good results.

Update:
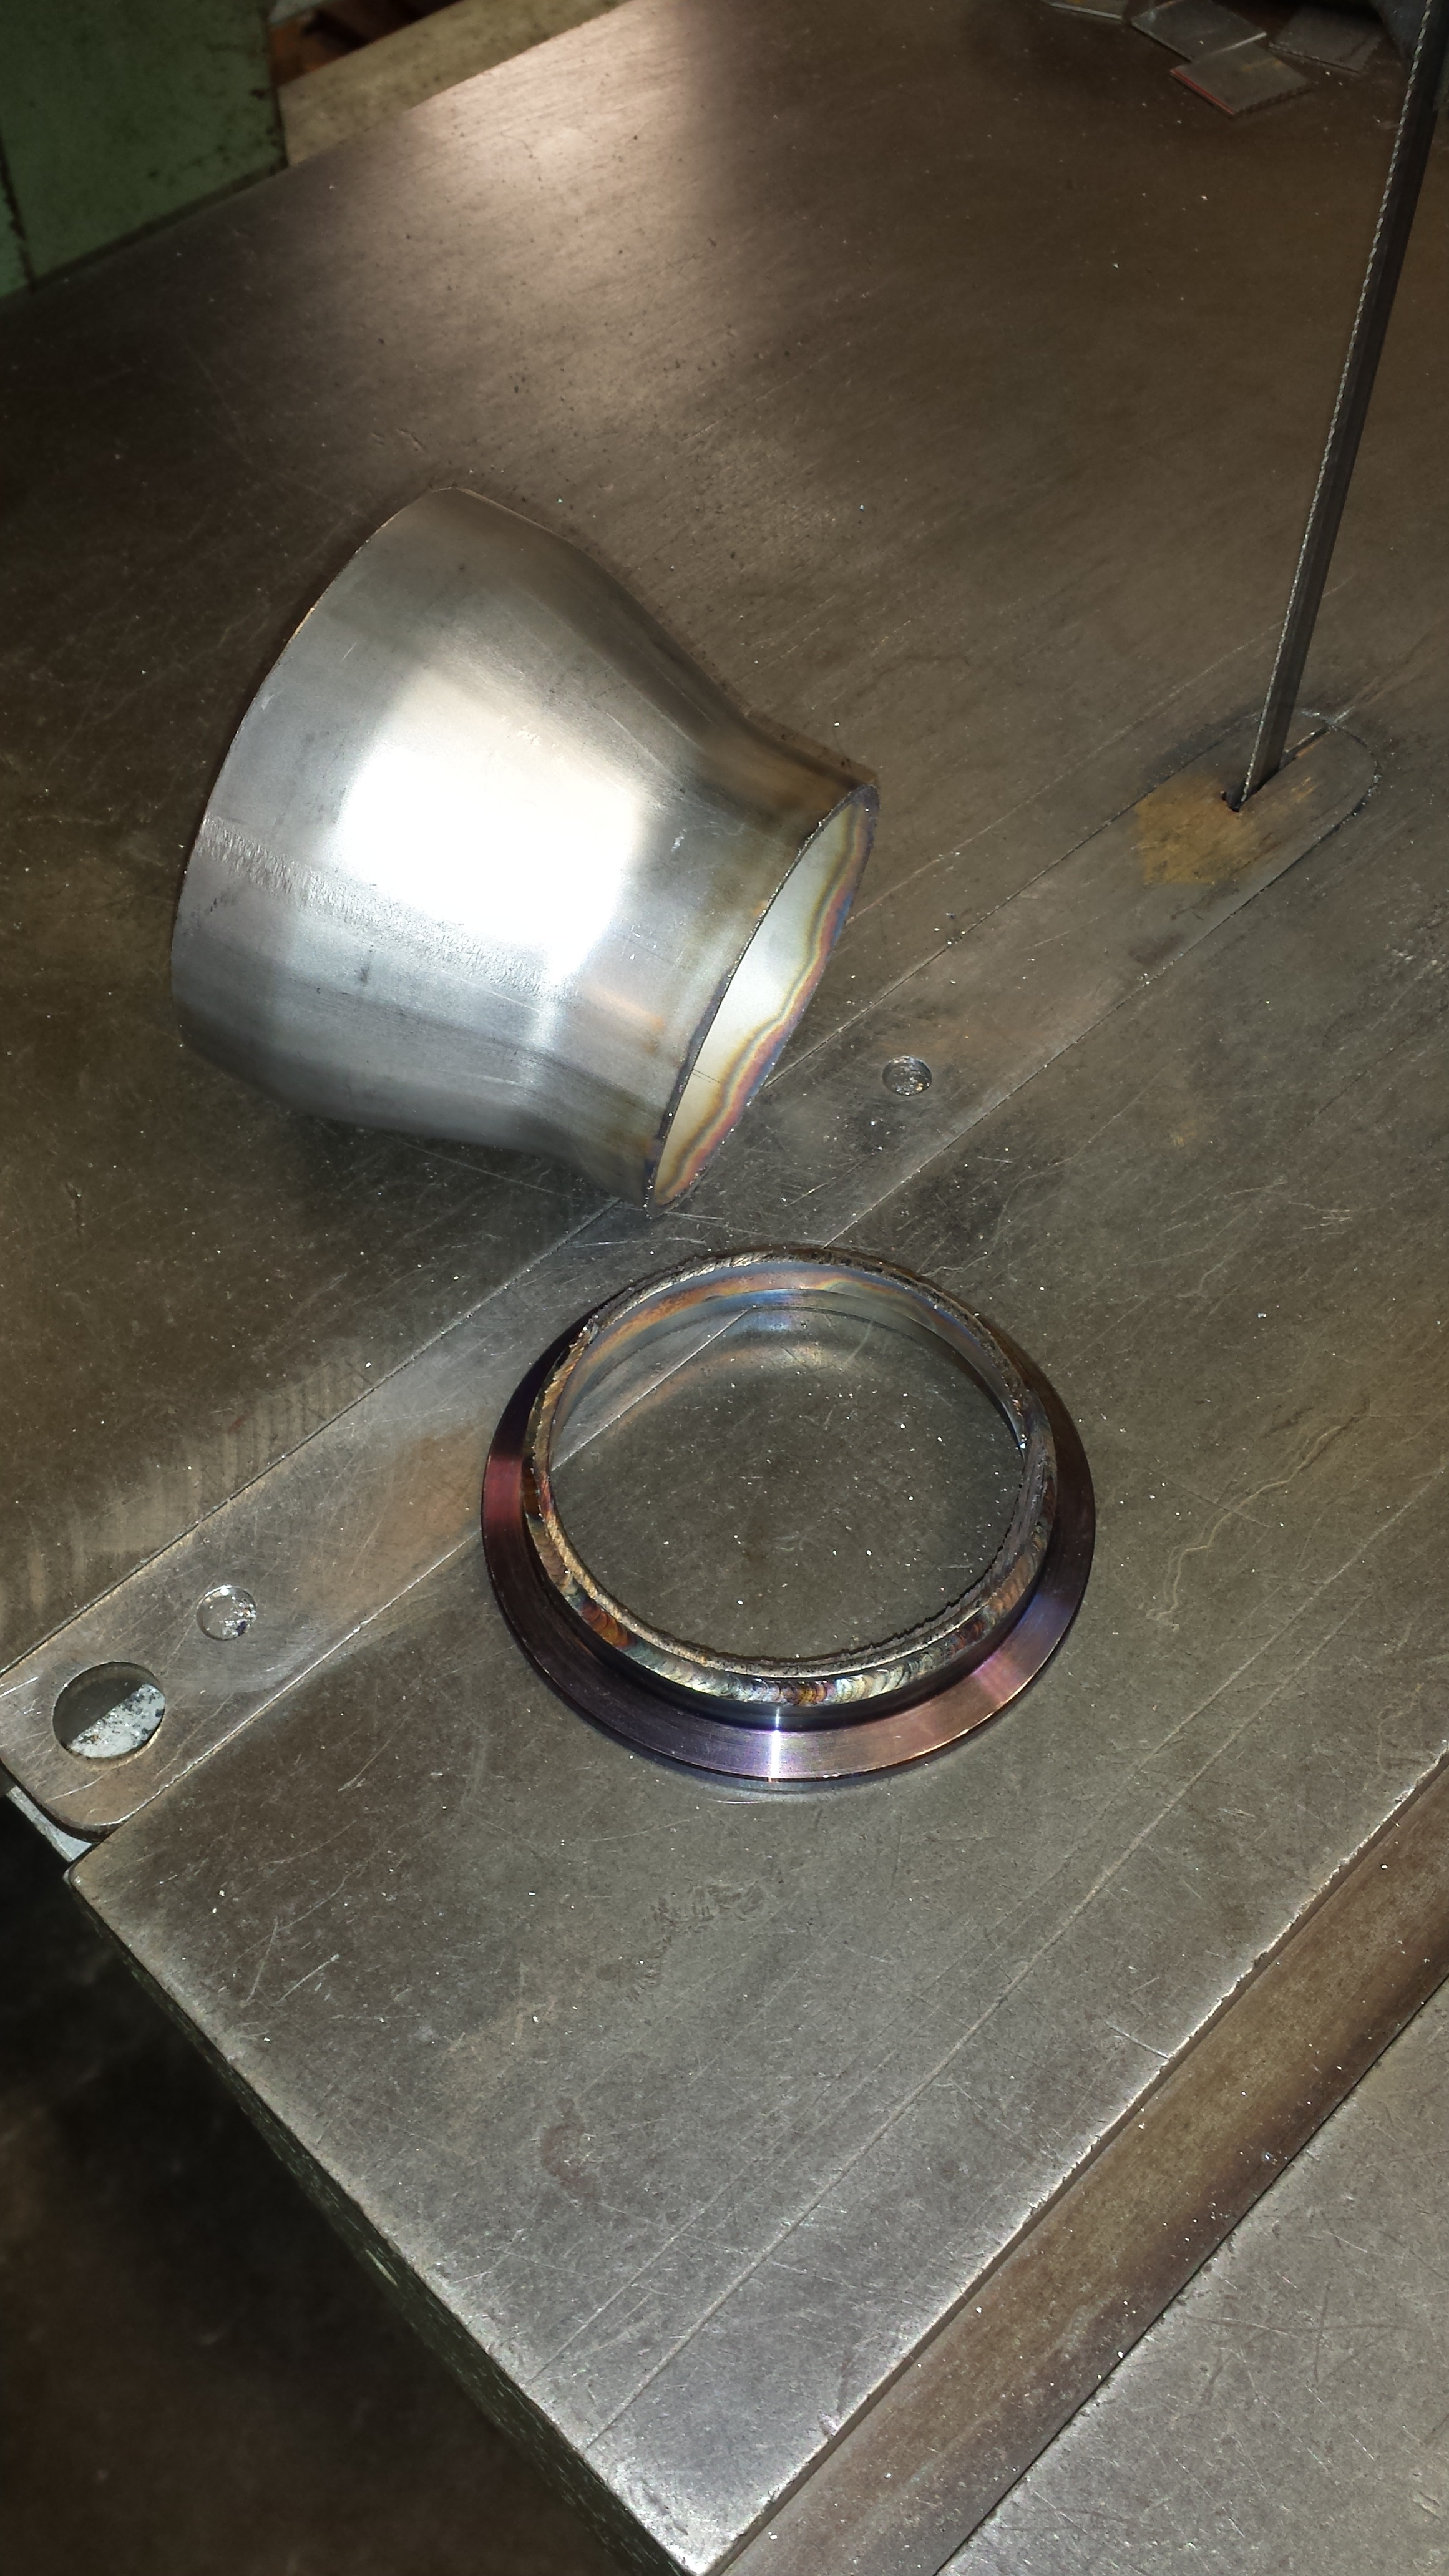
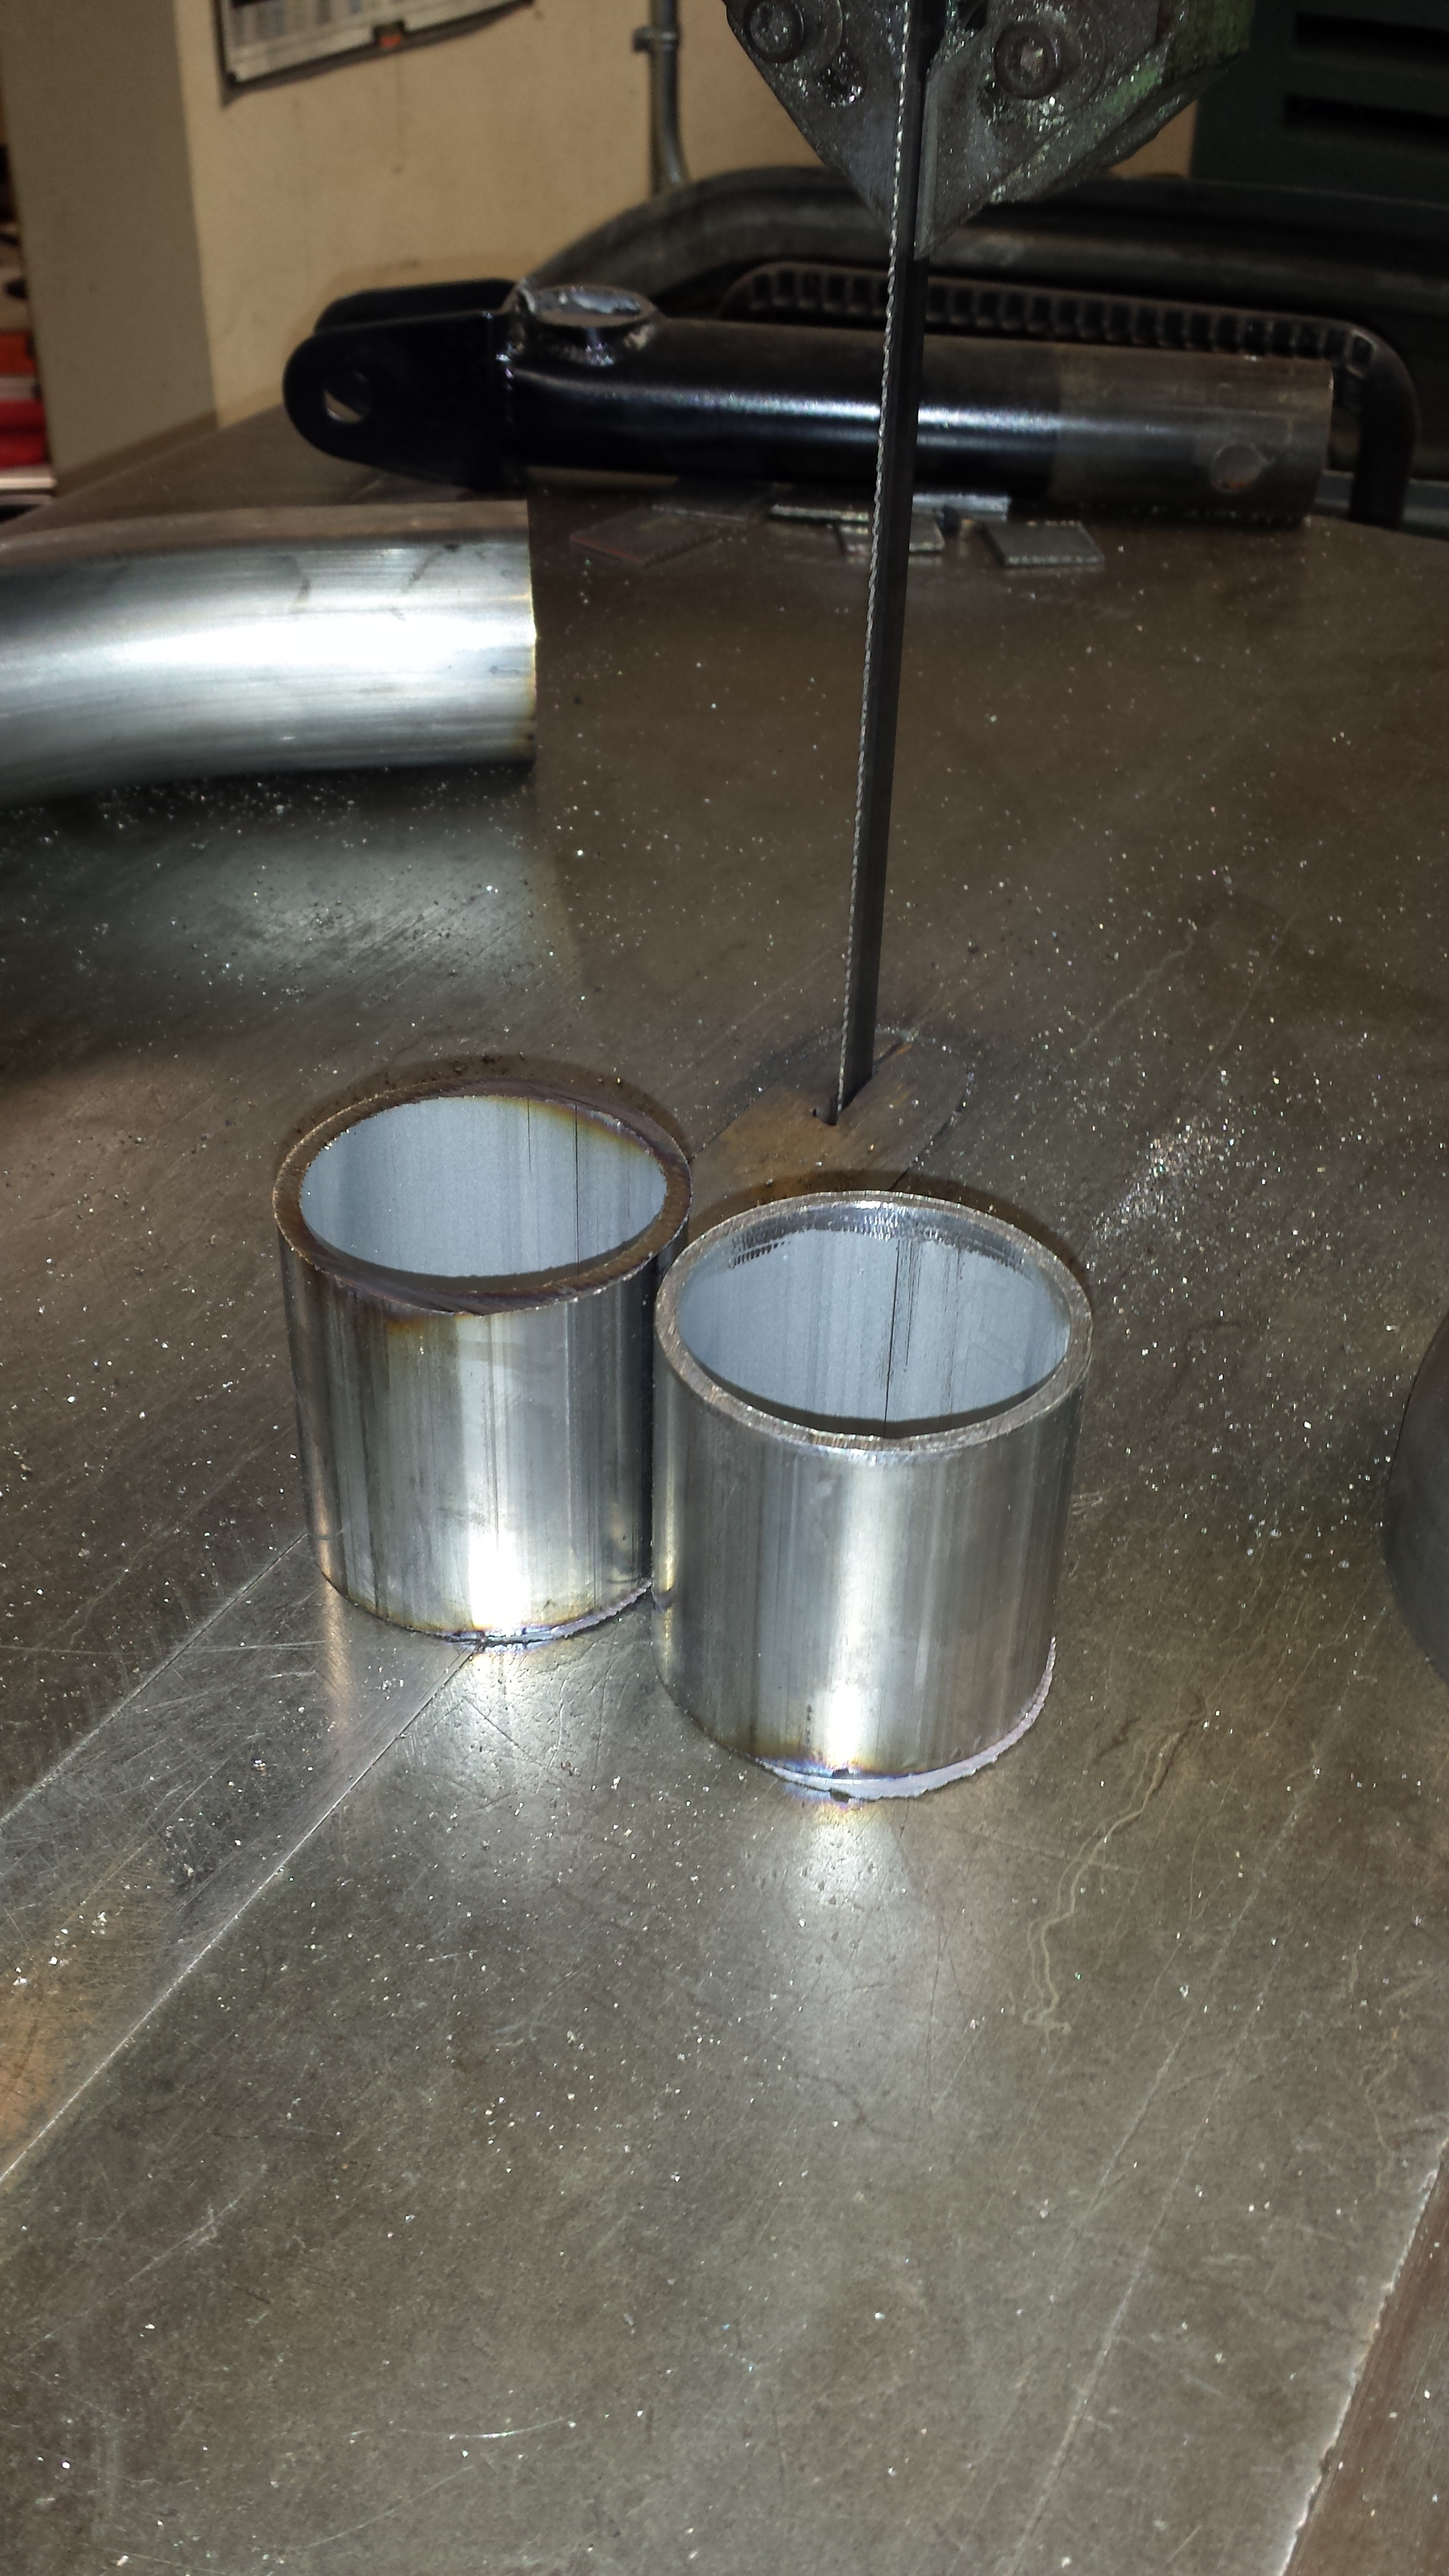
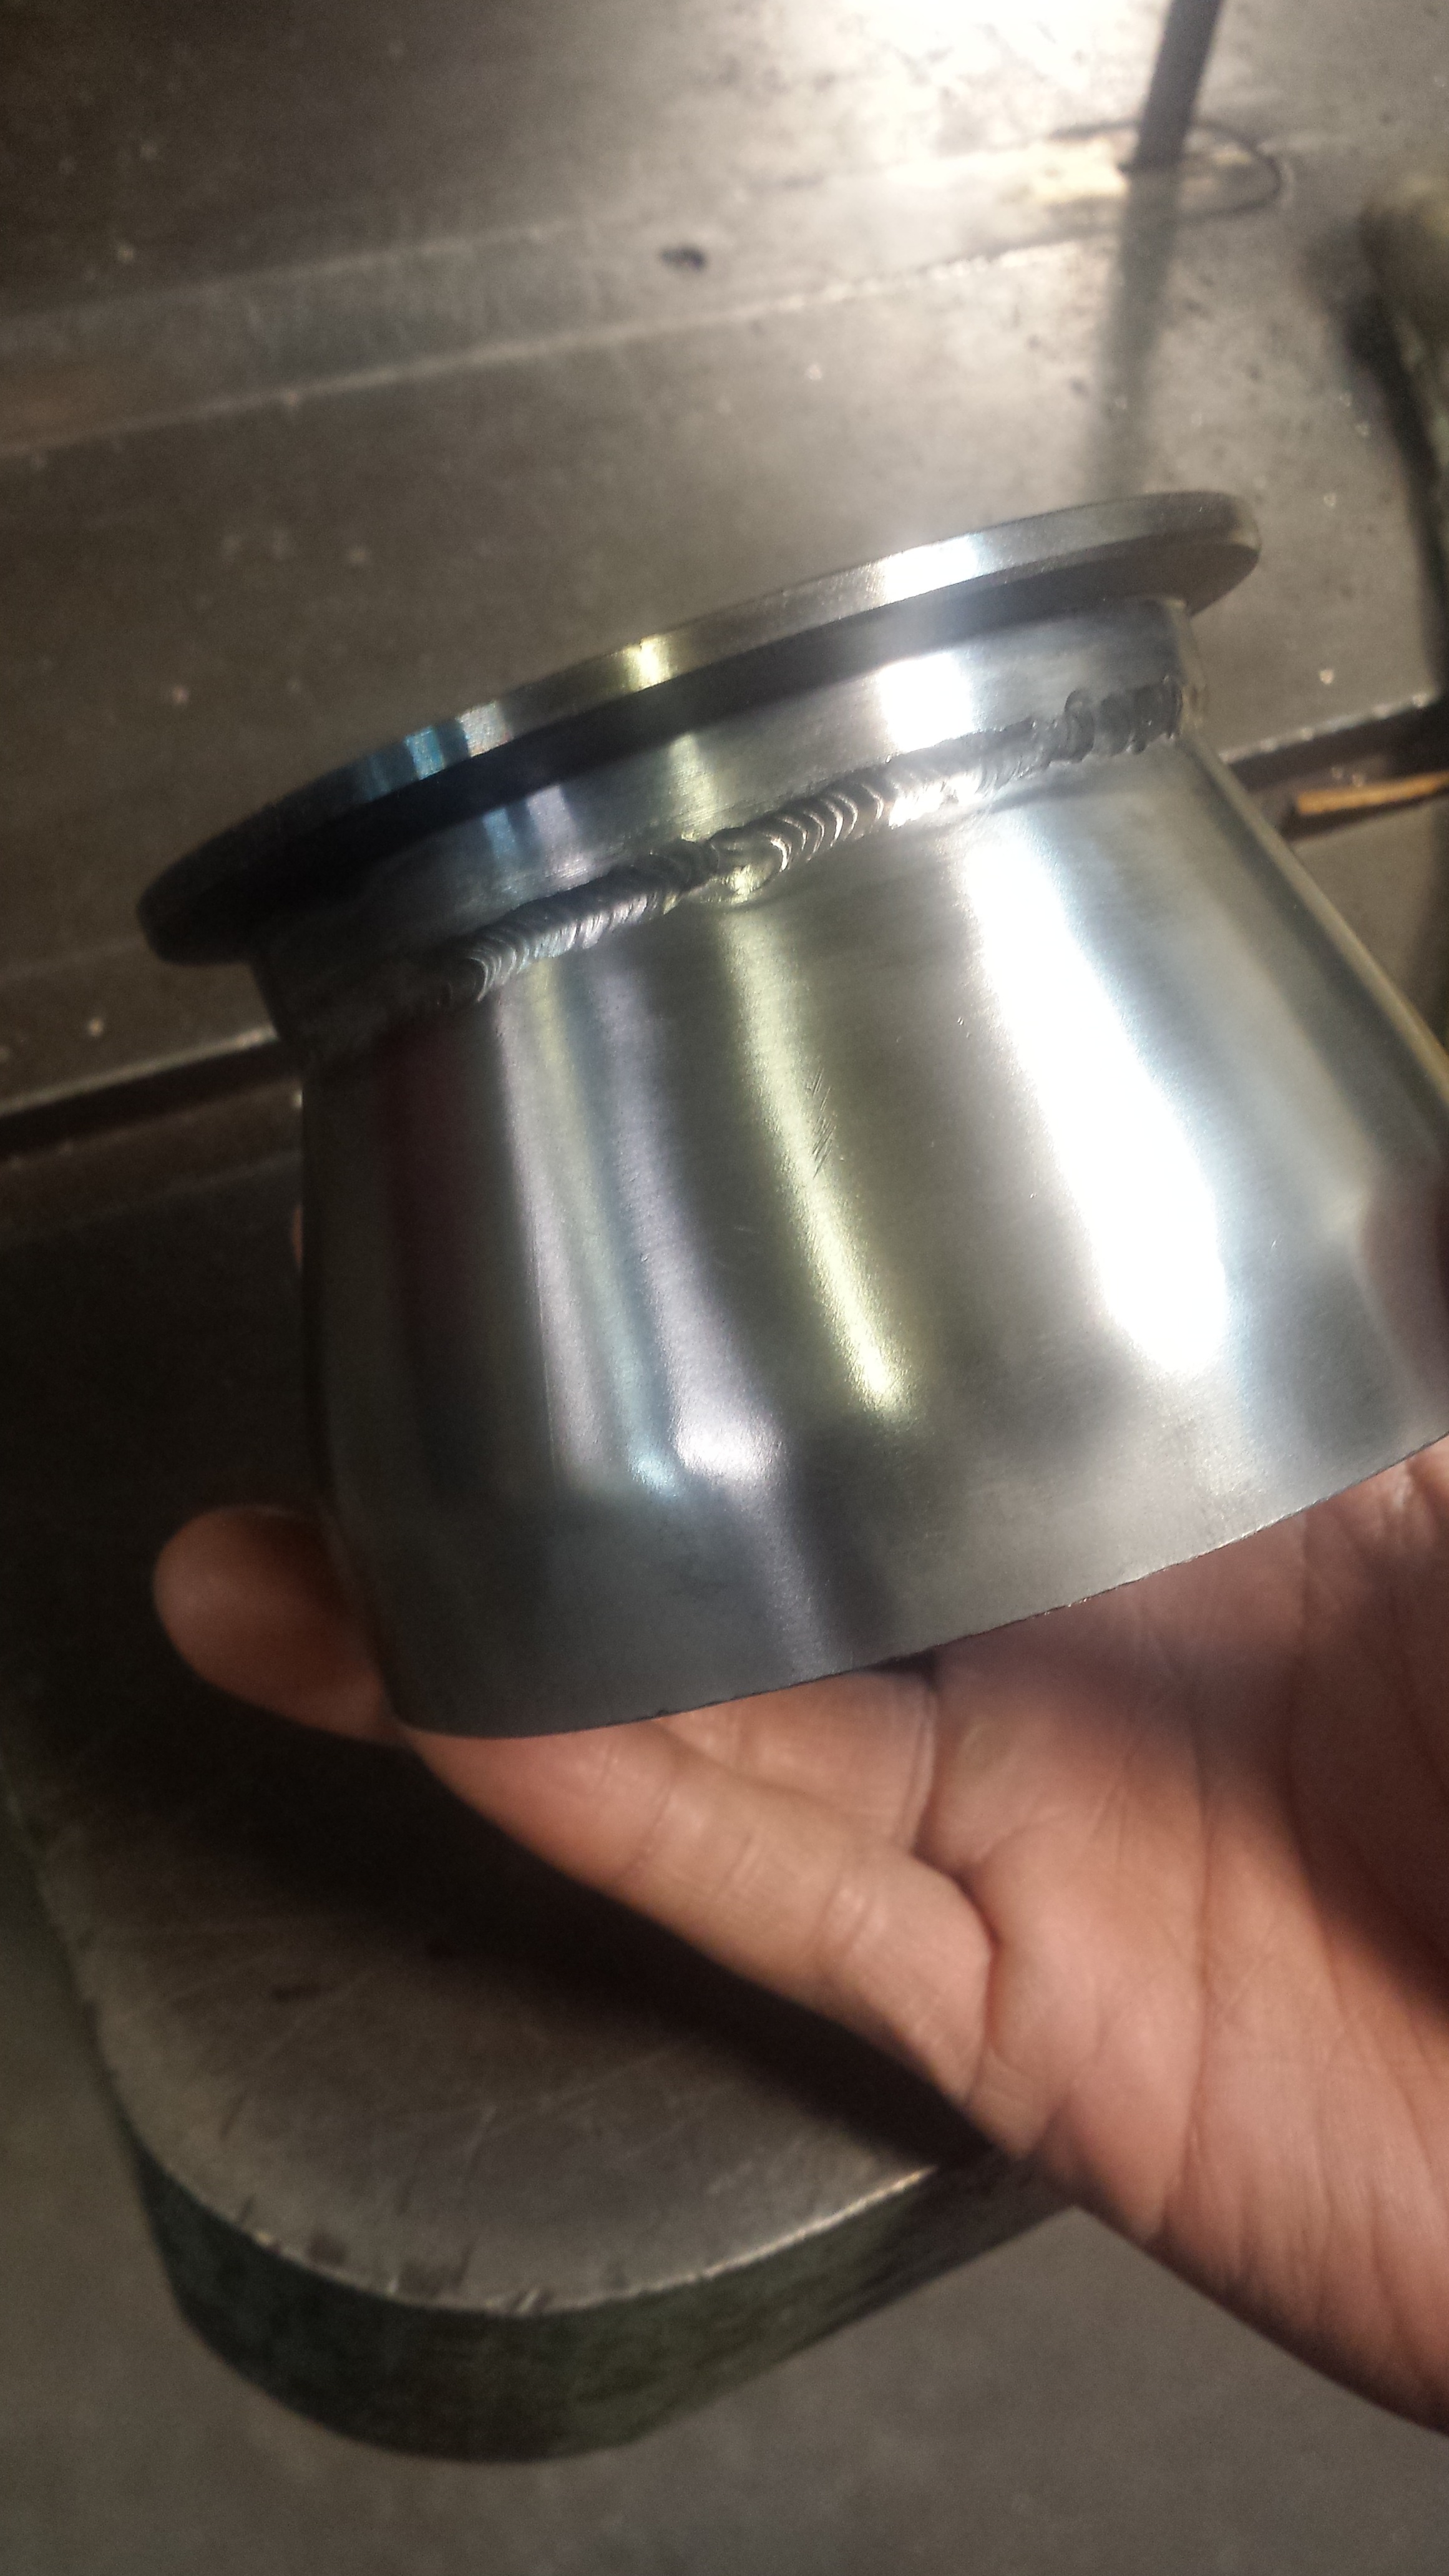
Took a step forward today with some little things that I wanted to do better with this new set up. First was the 3" to 4" transition I got from ATP turbo. It's a nice piece but theres a flat spot between the transition...that I couldn't figure out why... until a buddy of mine said it was so the piece could be rotated on the machine welder. Makes perfect sense...and who knows it would actually make a difference. But I wanted to take the flat spot out so that the transition into 4" started right at the 3" Mark.
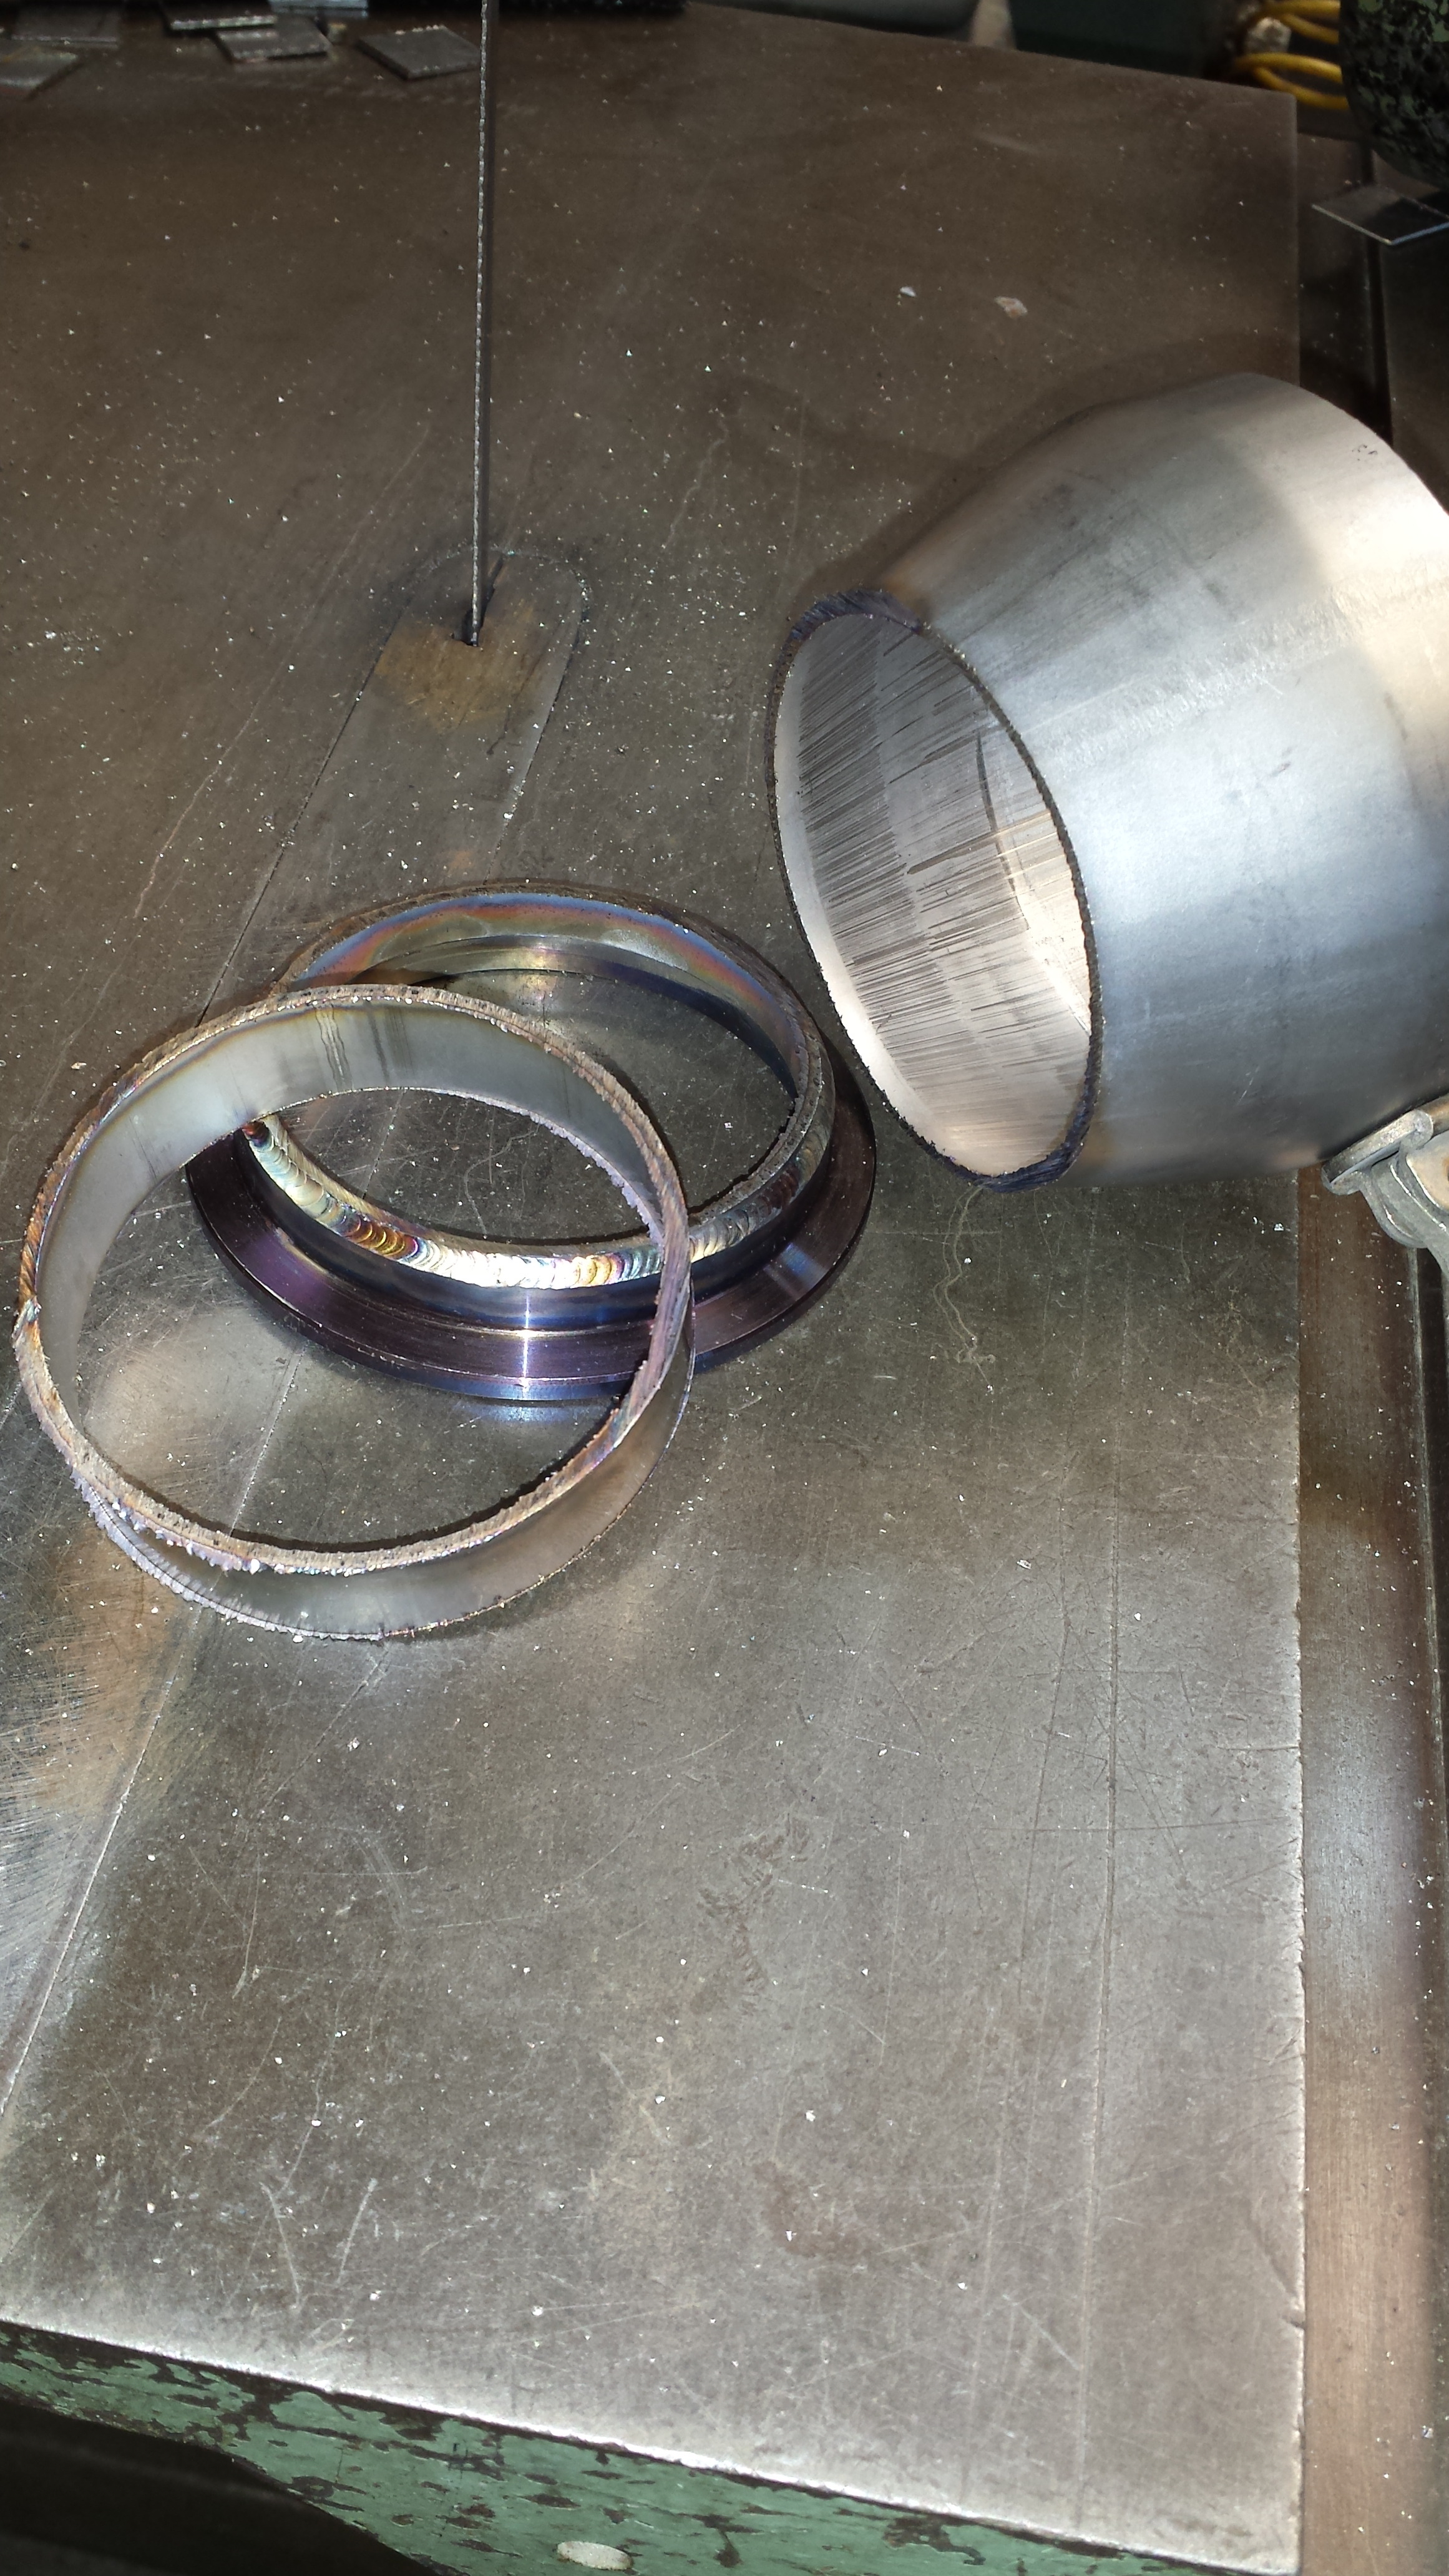
So I cut the flat part out using the band saw.. got as clos as possible so we could get the inside slip fit out...
straight section is tossed into the garbage..
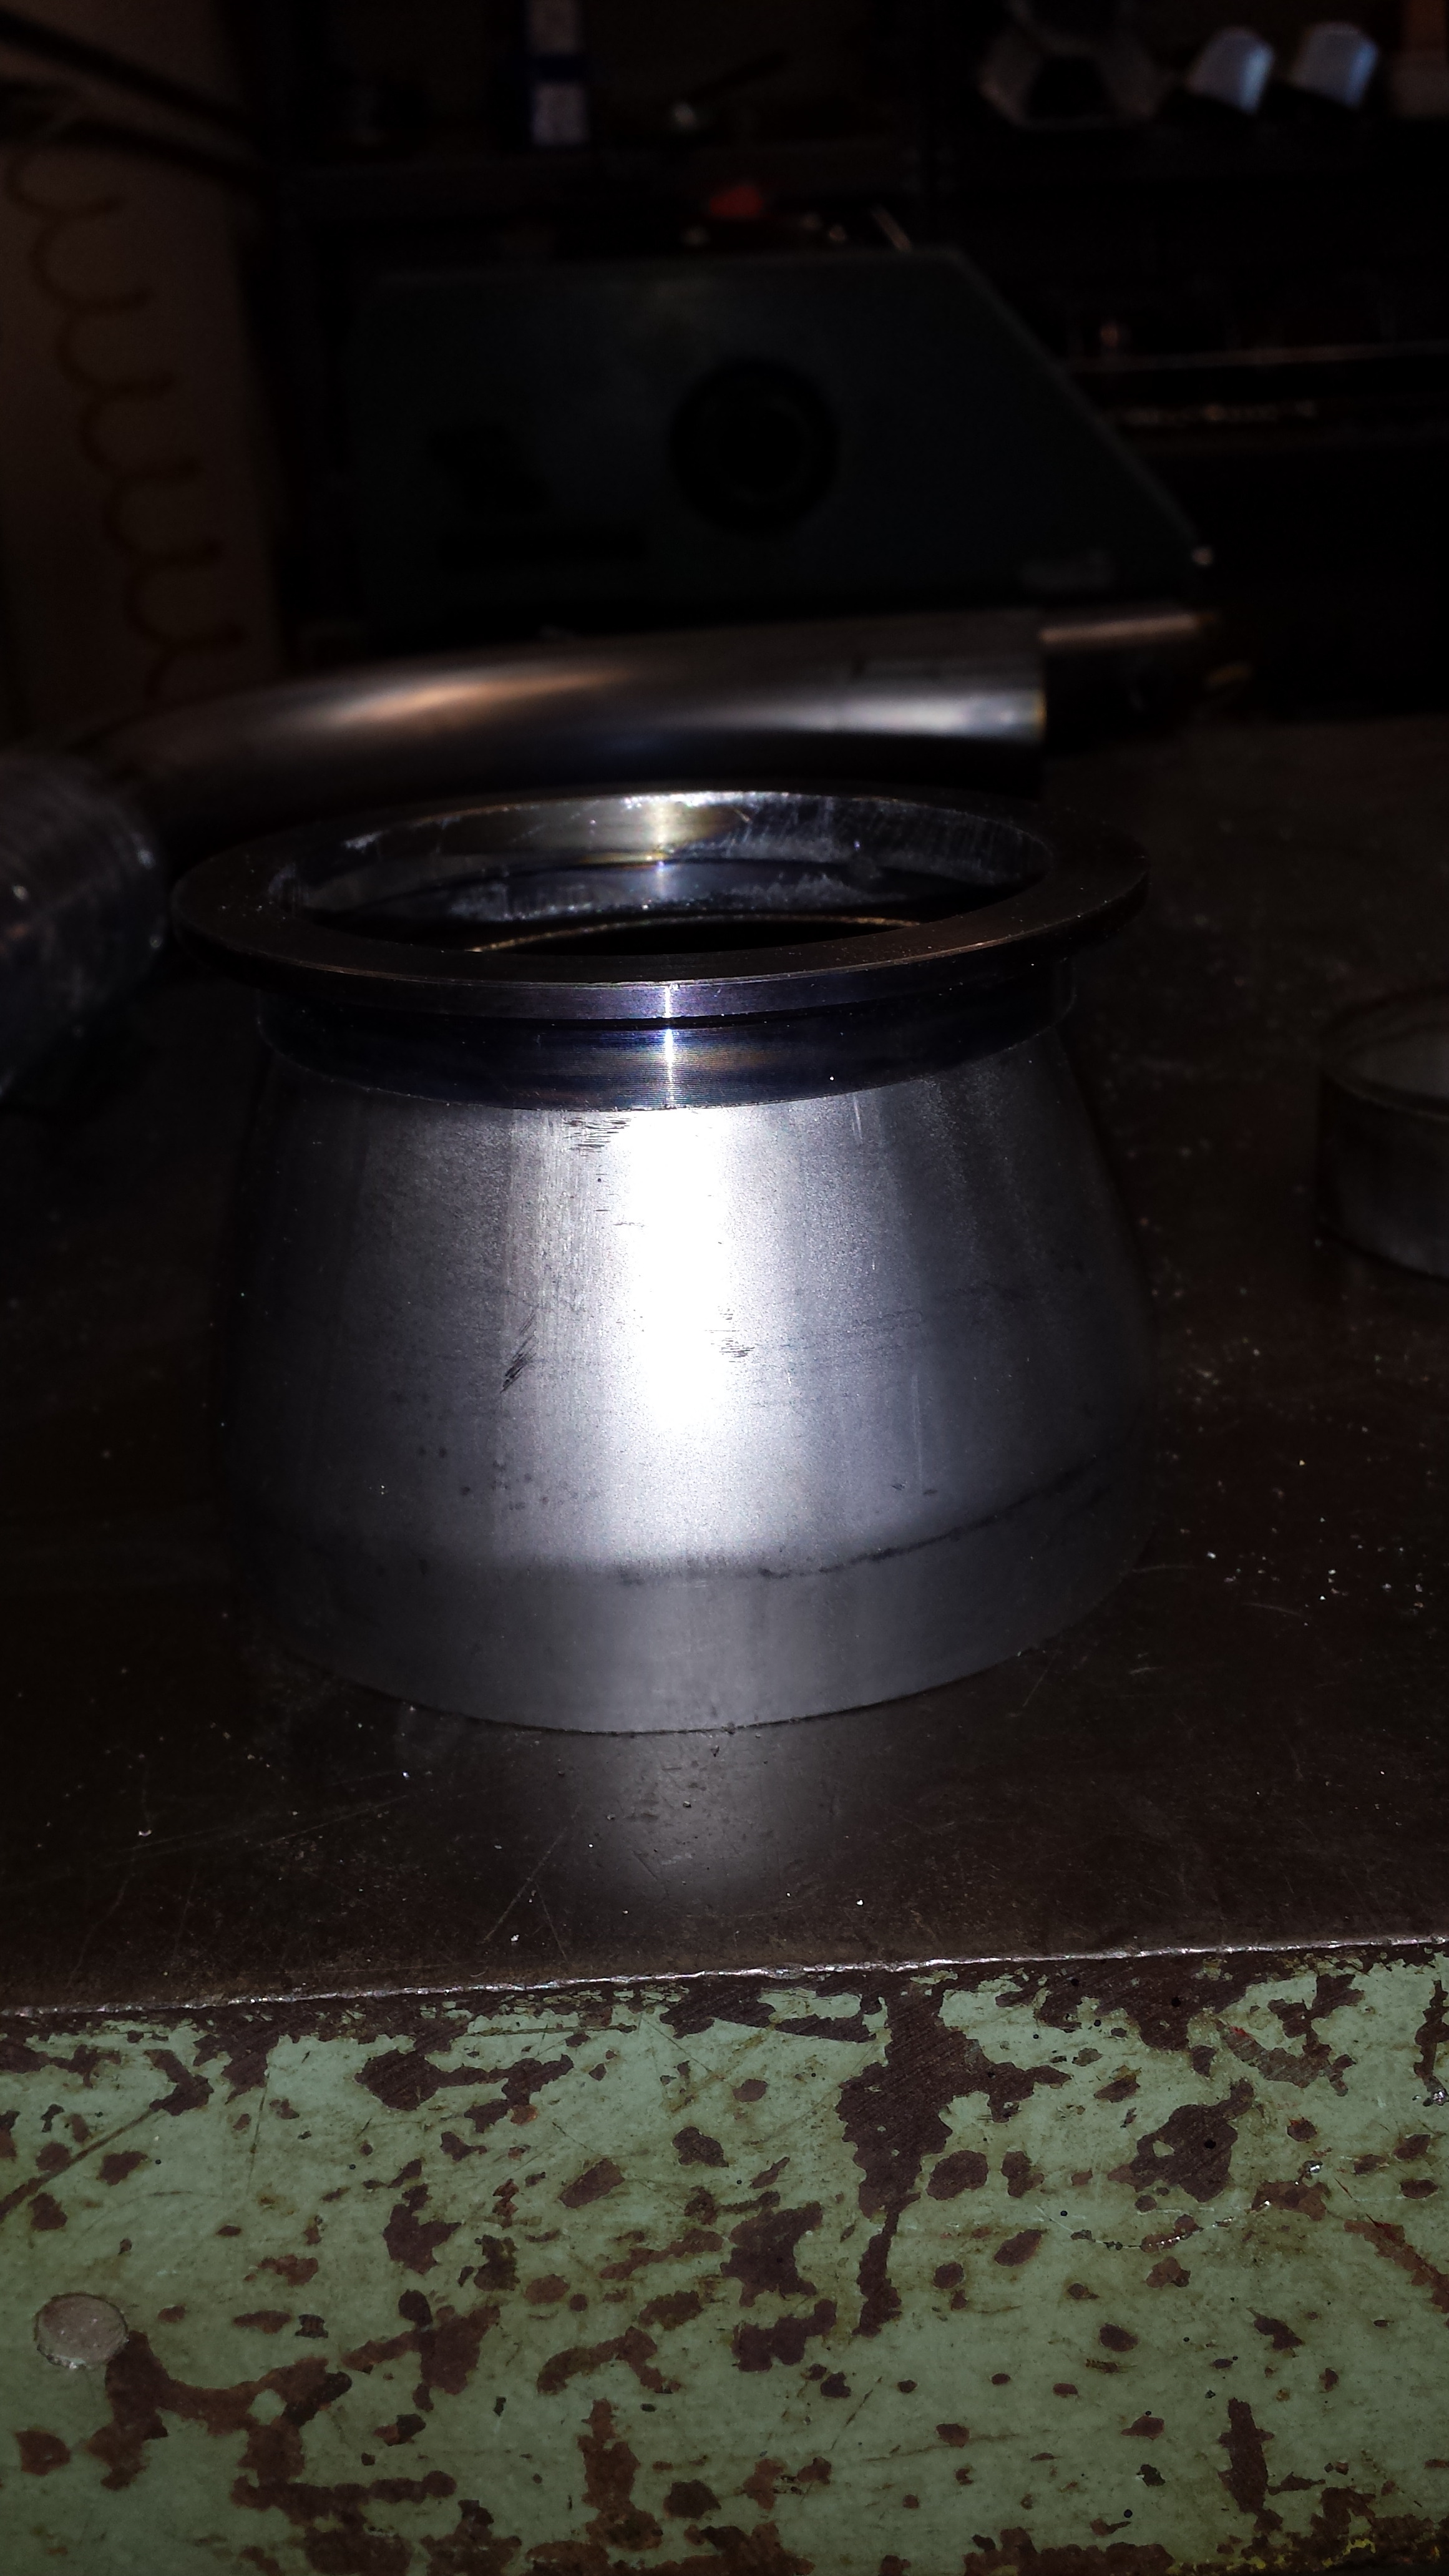
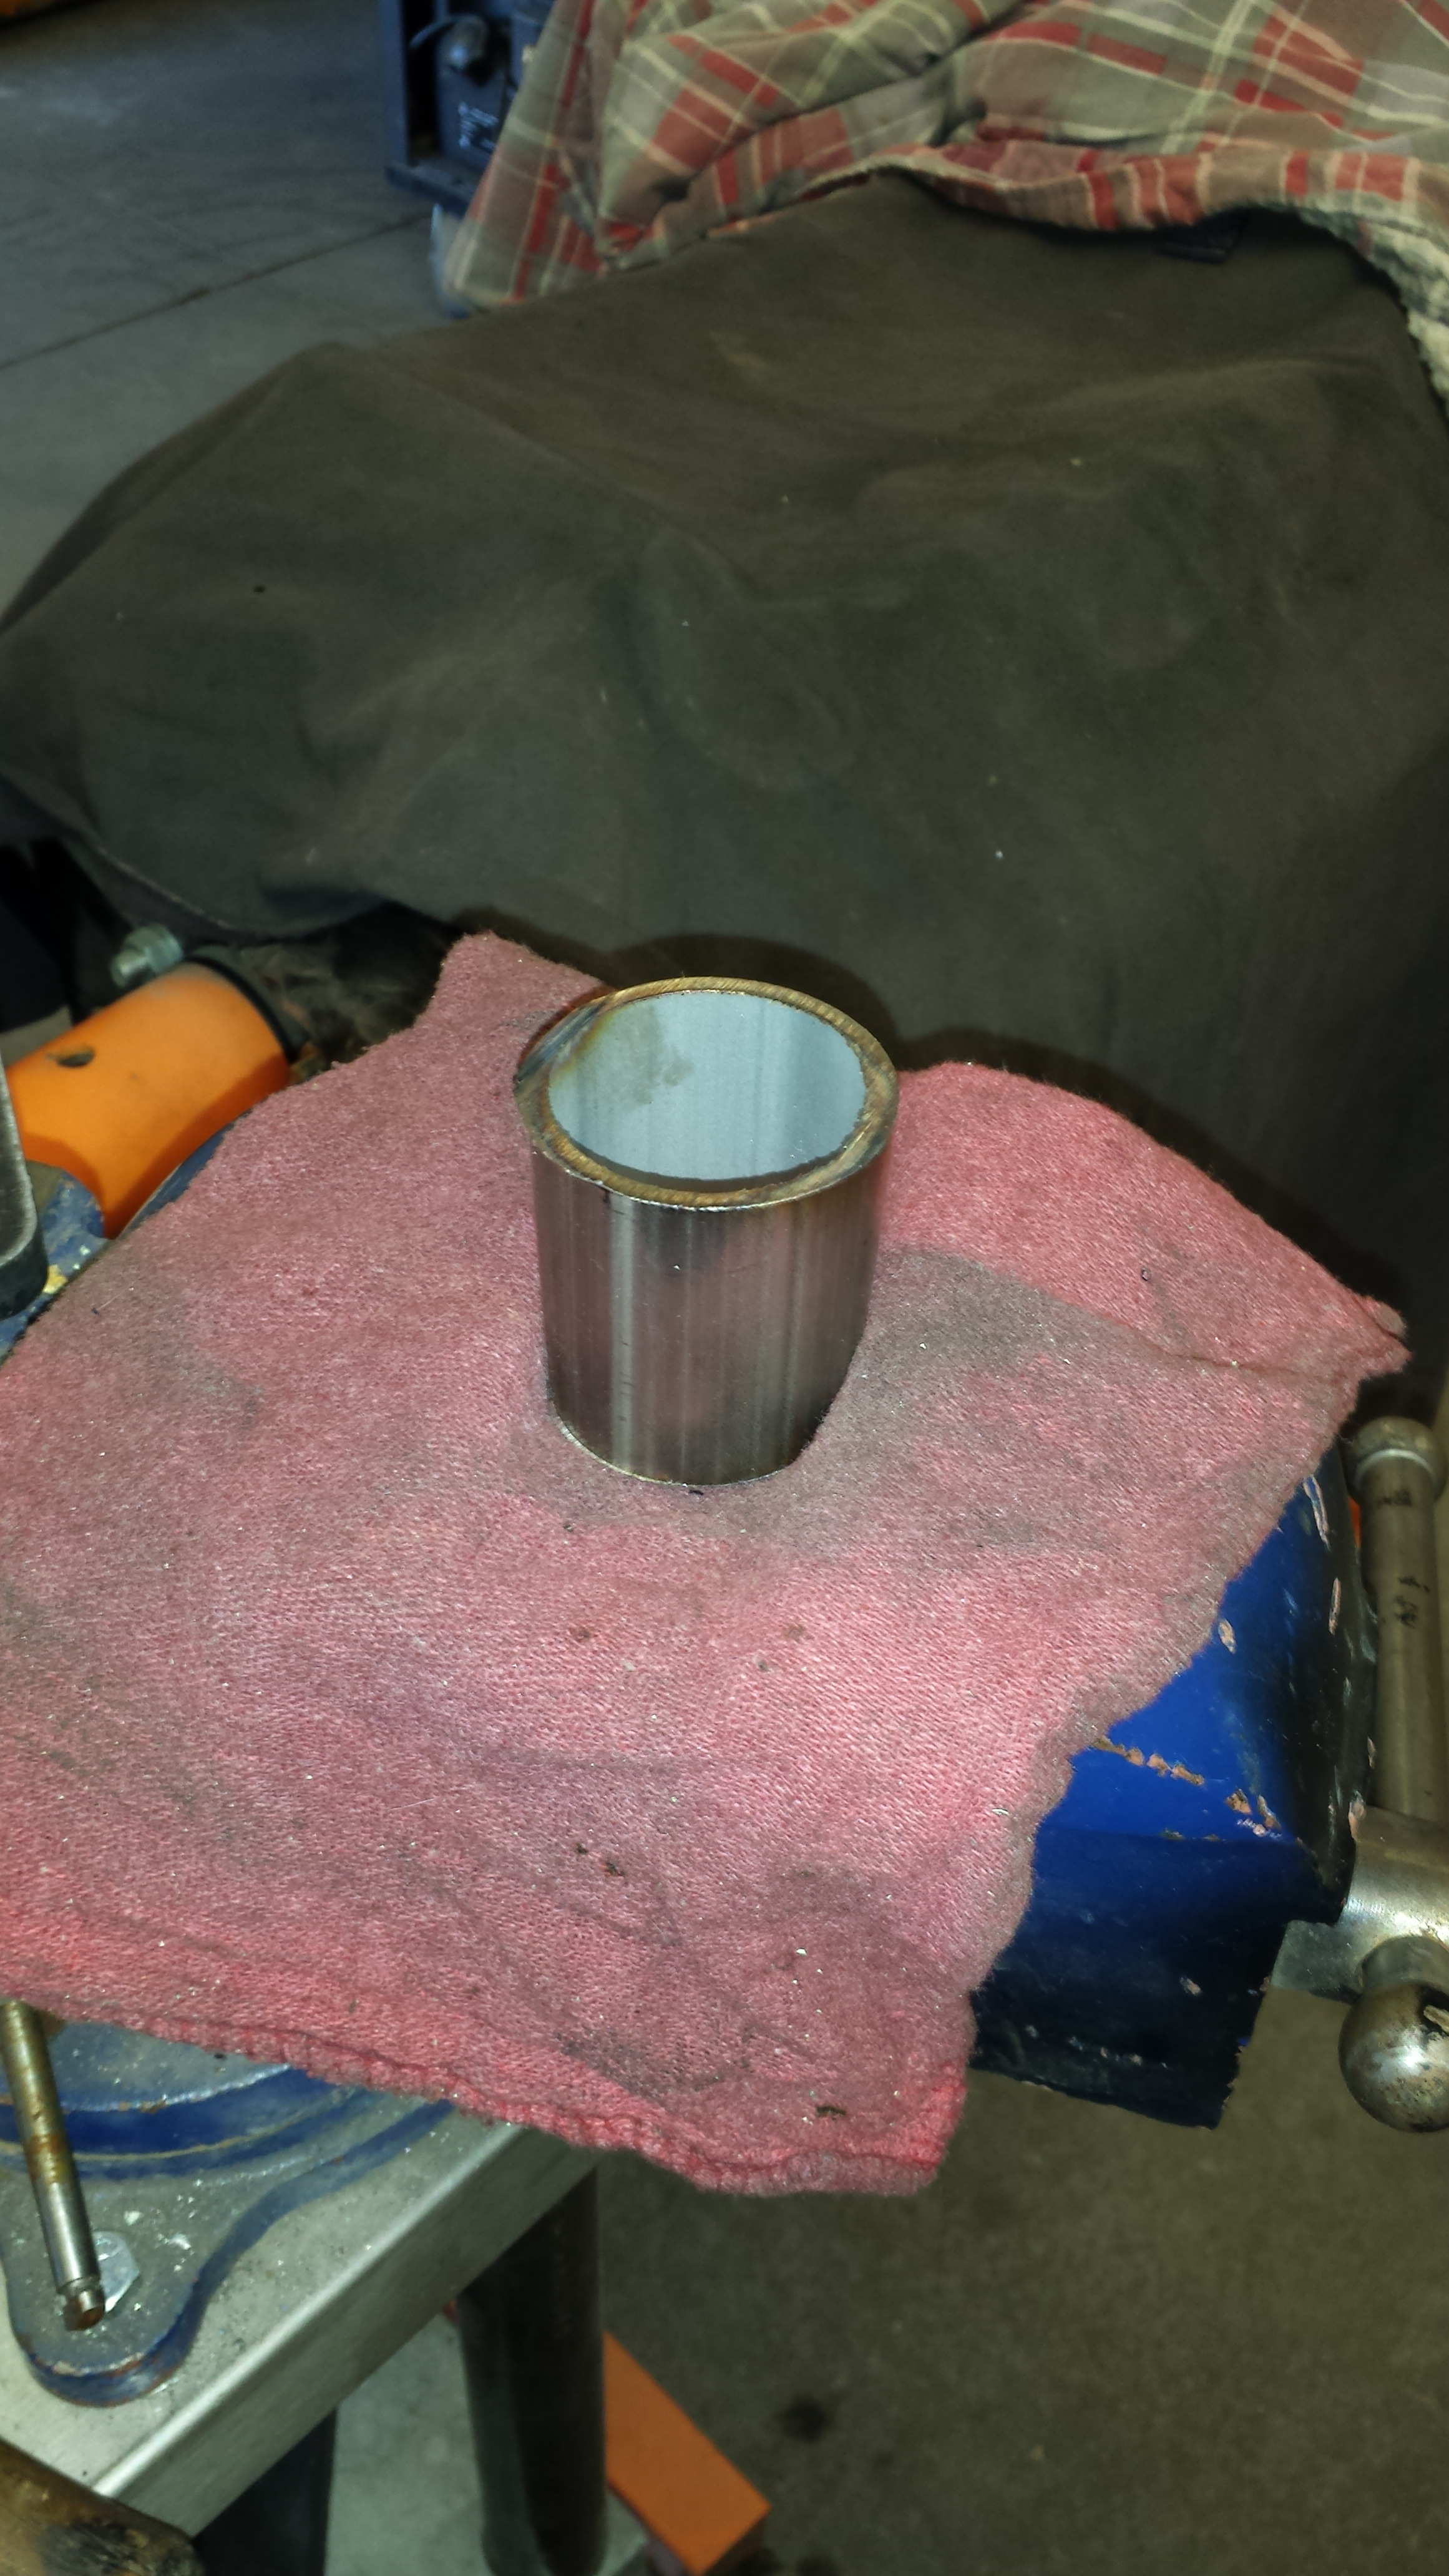
threw the 3"v-band onto the lathe and got it nice and legit
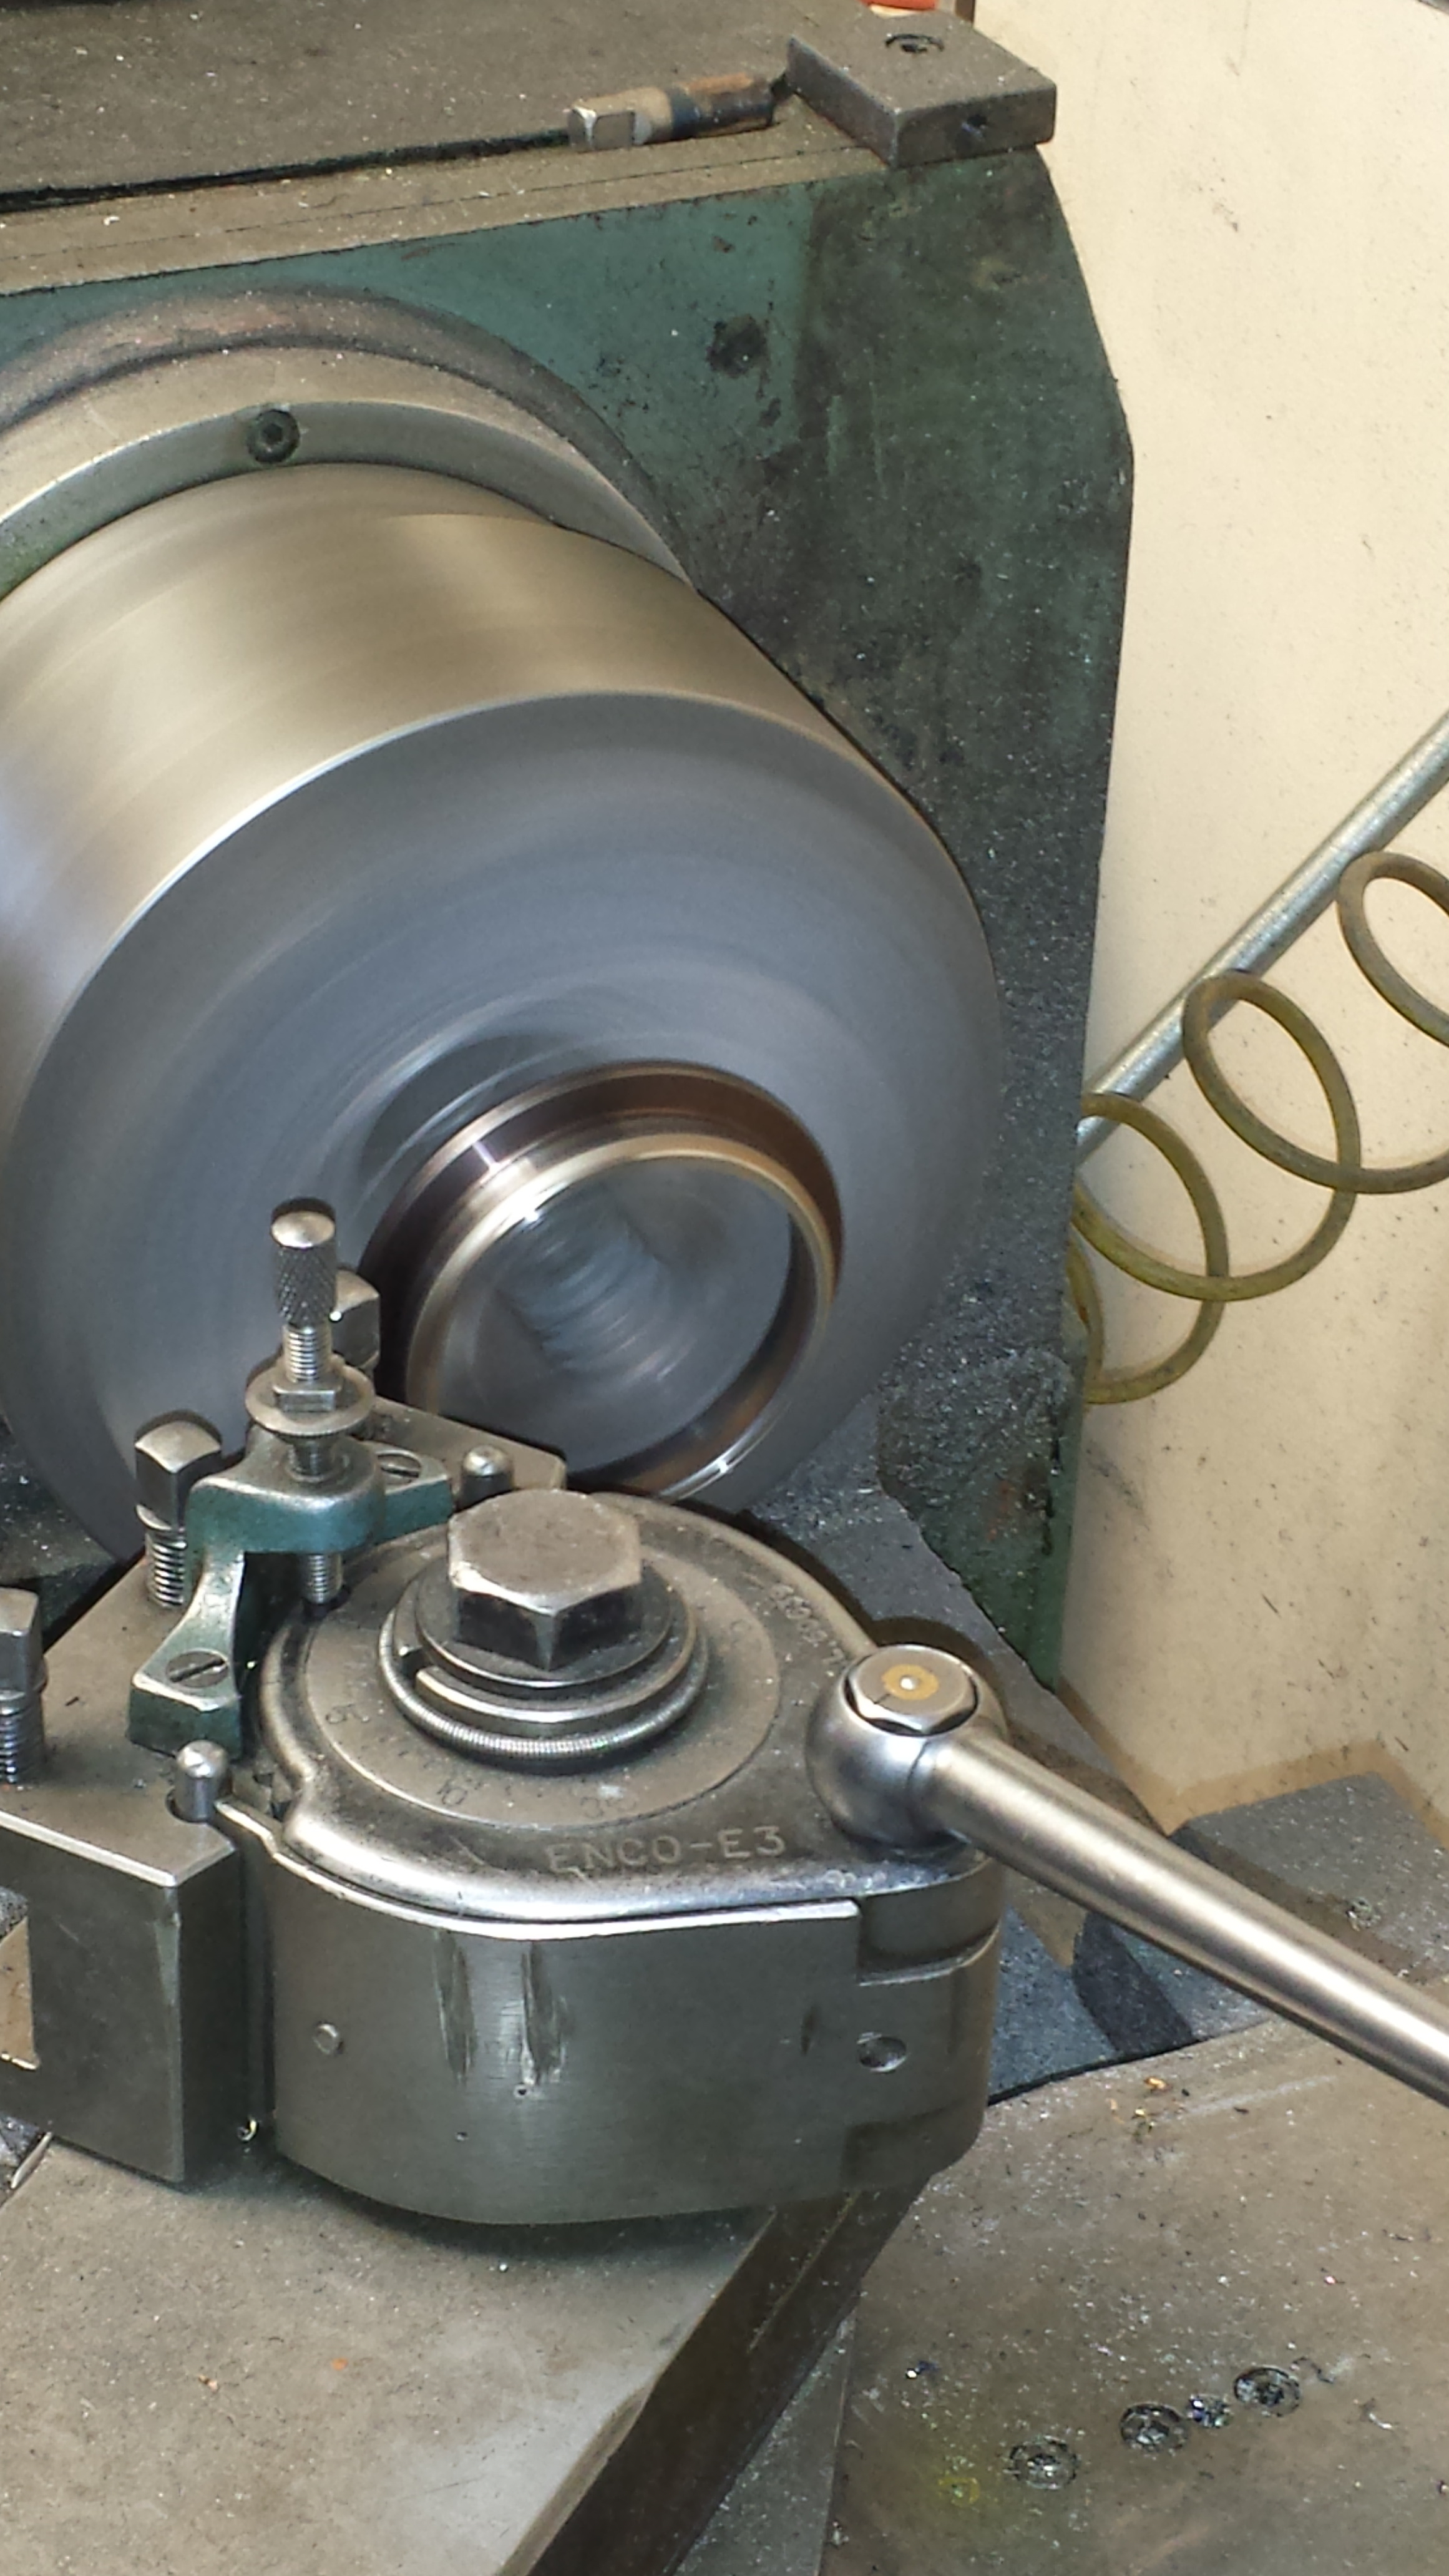
And thats that. Ready to weld
Took a step forward today with some little things that I wanted to do better with this new set up. First was the 3" to 4" transition I got from ATP turbo. It's a nice piece but theres a flat spot between the transition...that I couldn't figure out why... until a buddy of mine said it was so the piece could be rotated on the machine welder. Makes perfect sense...and who knows it would actually make a difference. But I wanted to take the flat spot out so that the transition into 4" started right at the 3" Mark.
So I cut the flat part out using the band saw.. got as clos as possible so we could get the inside slip fit out...
straight section is tossed into the garbage..
threw the 3"v-band onto the lathe and got it nice and legit
And thats that. Ready to weld
Continued:
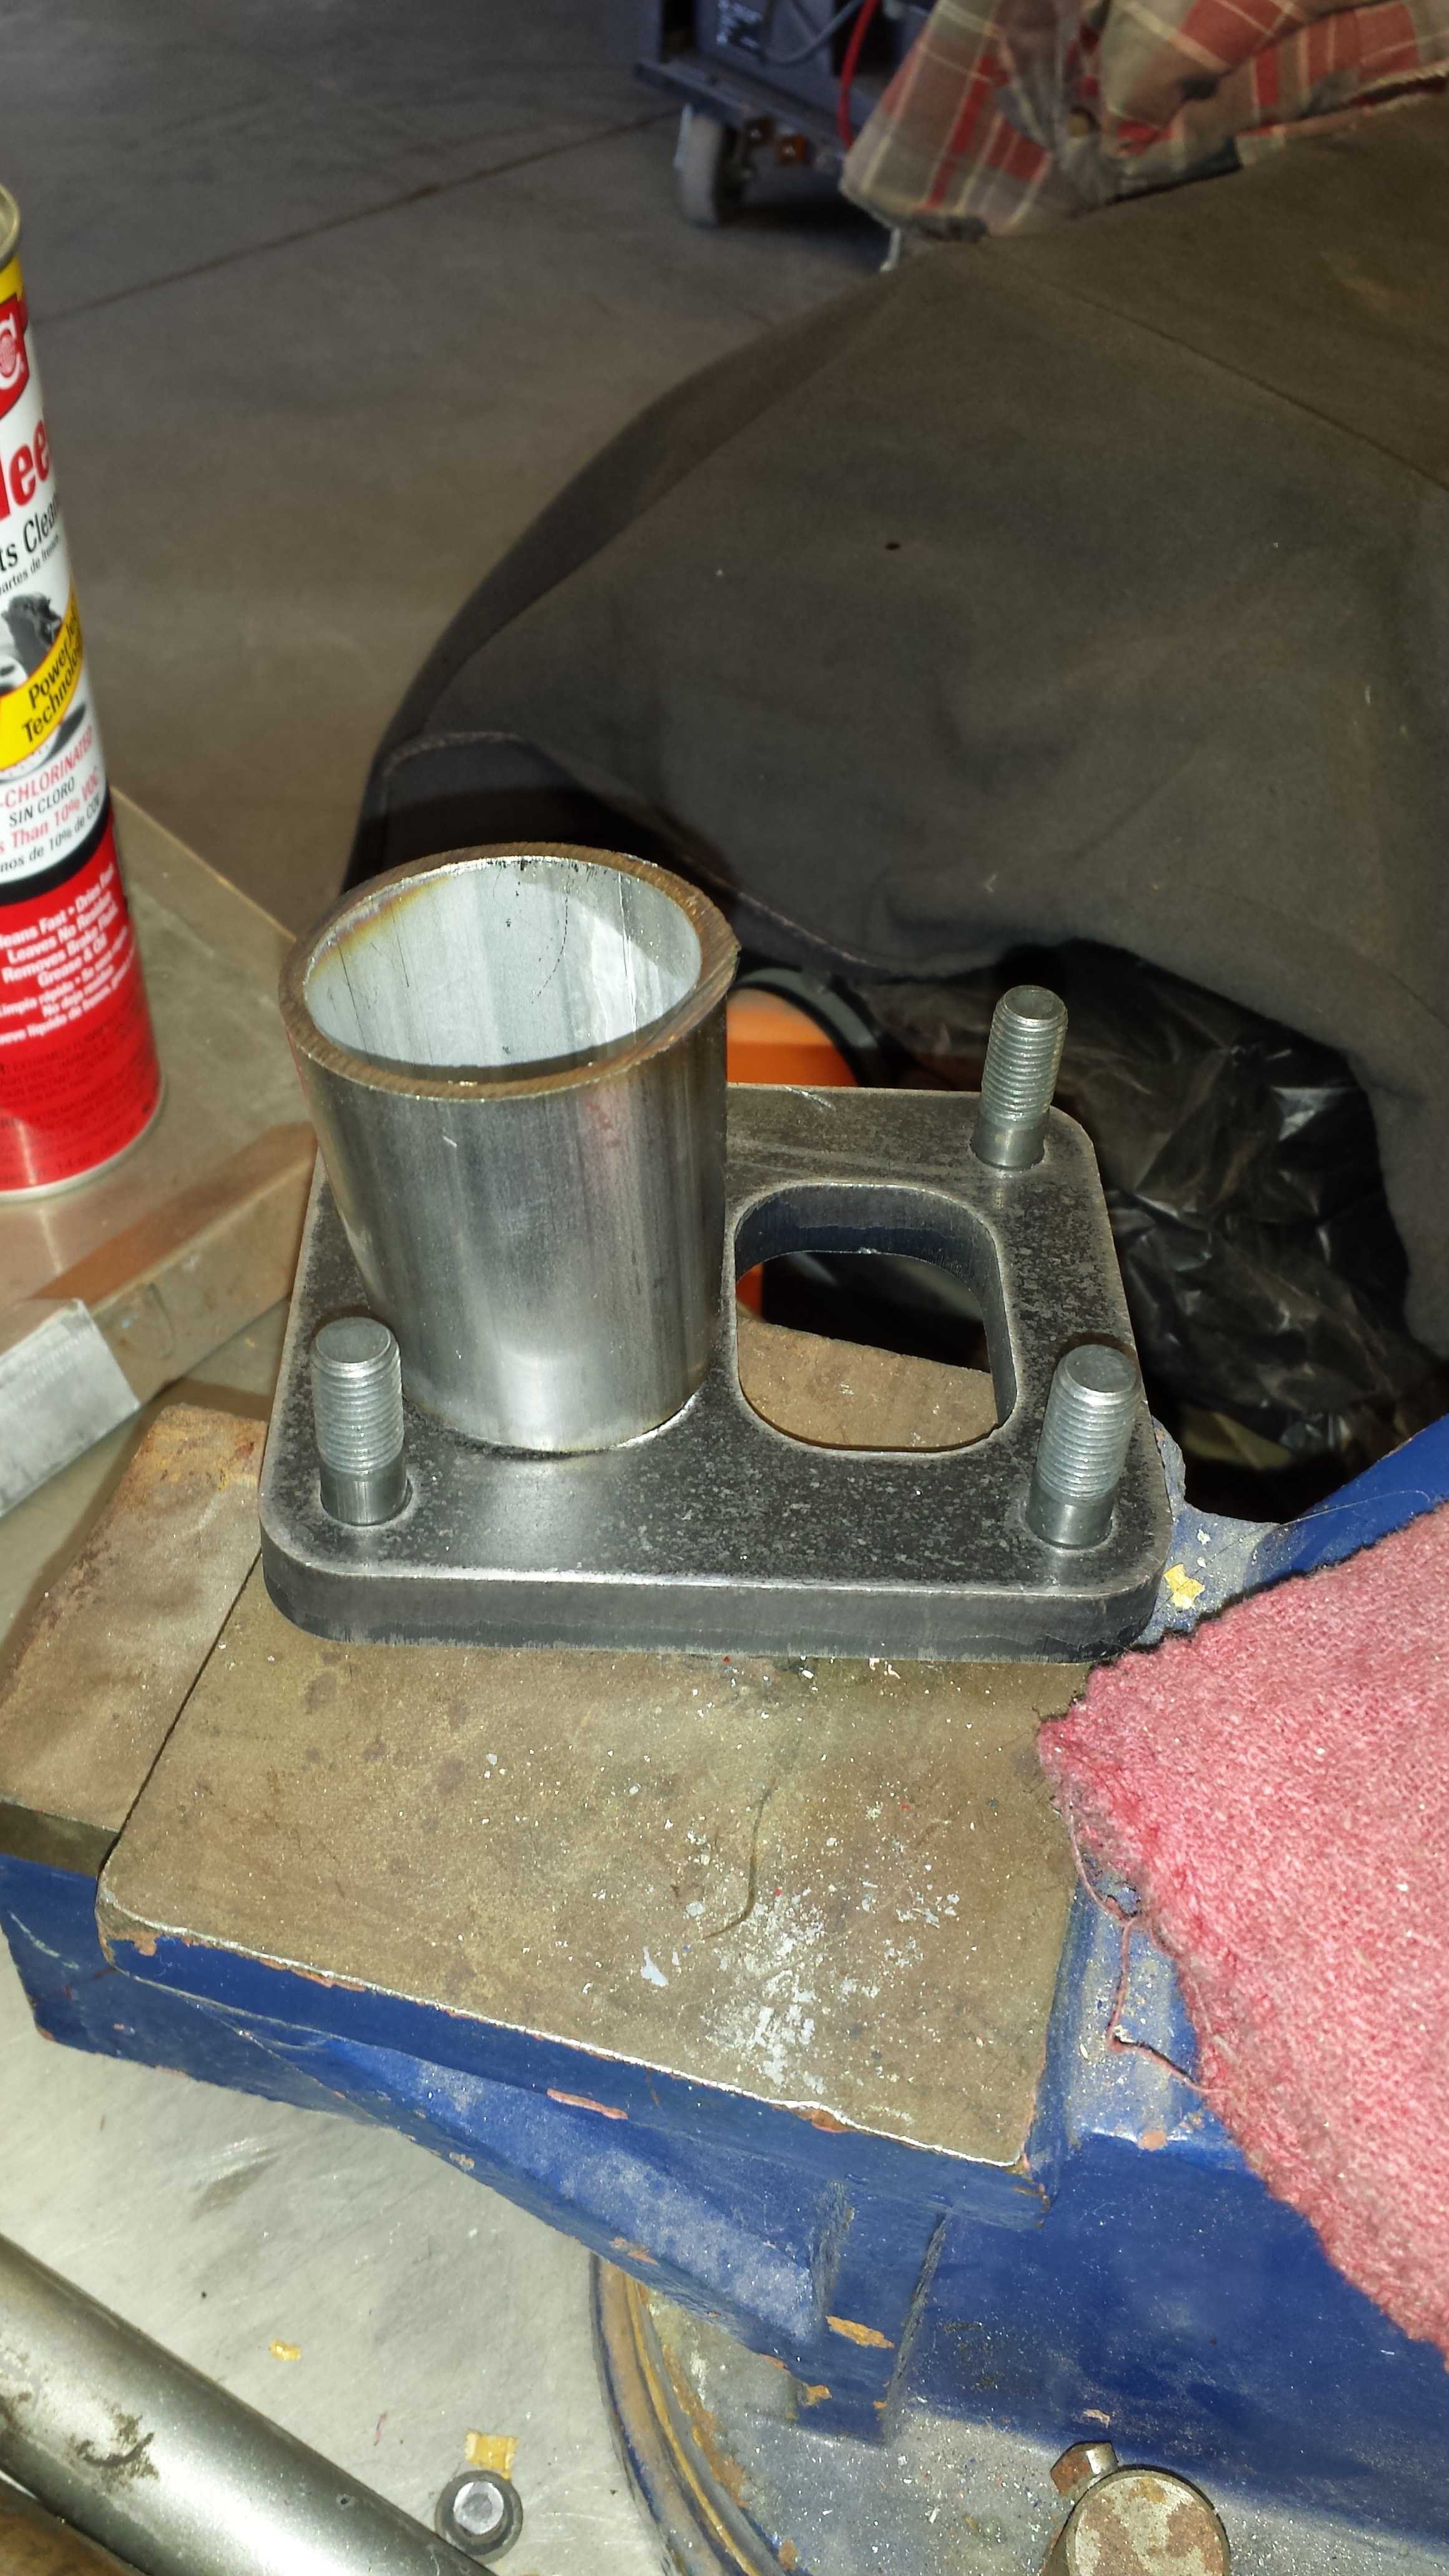
Then I really wanted to make a nice transition from the turbo manifold pipe into the T4 Divided flange. I want it to be as flawless as possible.. But there was also a problem. I don't have the motor back yet and so finalizing the turbo position and manifold entry is still up in the air. But I like to get the dirty done when I can.. so I figured i'd make 2" inlets and work on the transition from them into the T4 flange. This way there we can build into the tranistion into the flange/turbo and still retain the clearances etc. Does that make sense? So essentially by the time I get the motor back in and everything else ready to go...all we'll need to do is work on bridging the motor flange to the turbo flange and the time consuming flange entry will be done.
So here's where I started:
I cut two pieces off one of my many mandrel bends. Both of them are 2" long and perfectly round.
Perfectly round isn't going to mate up to the T4 divide very well...
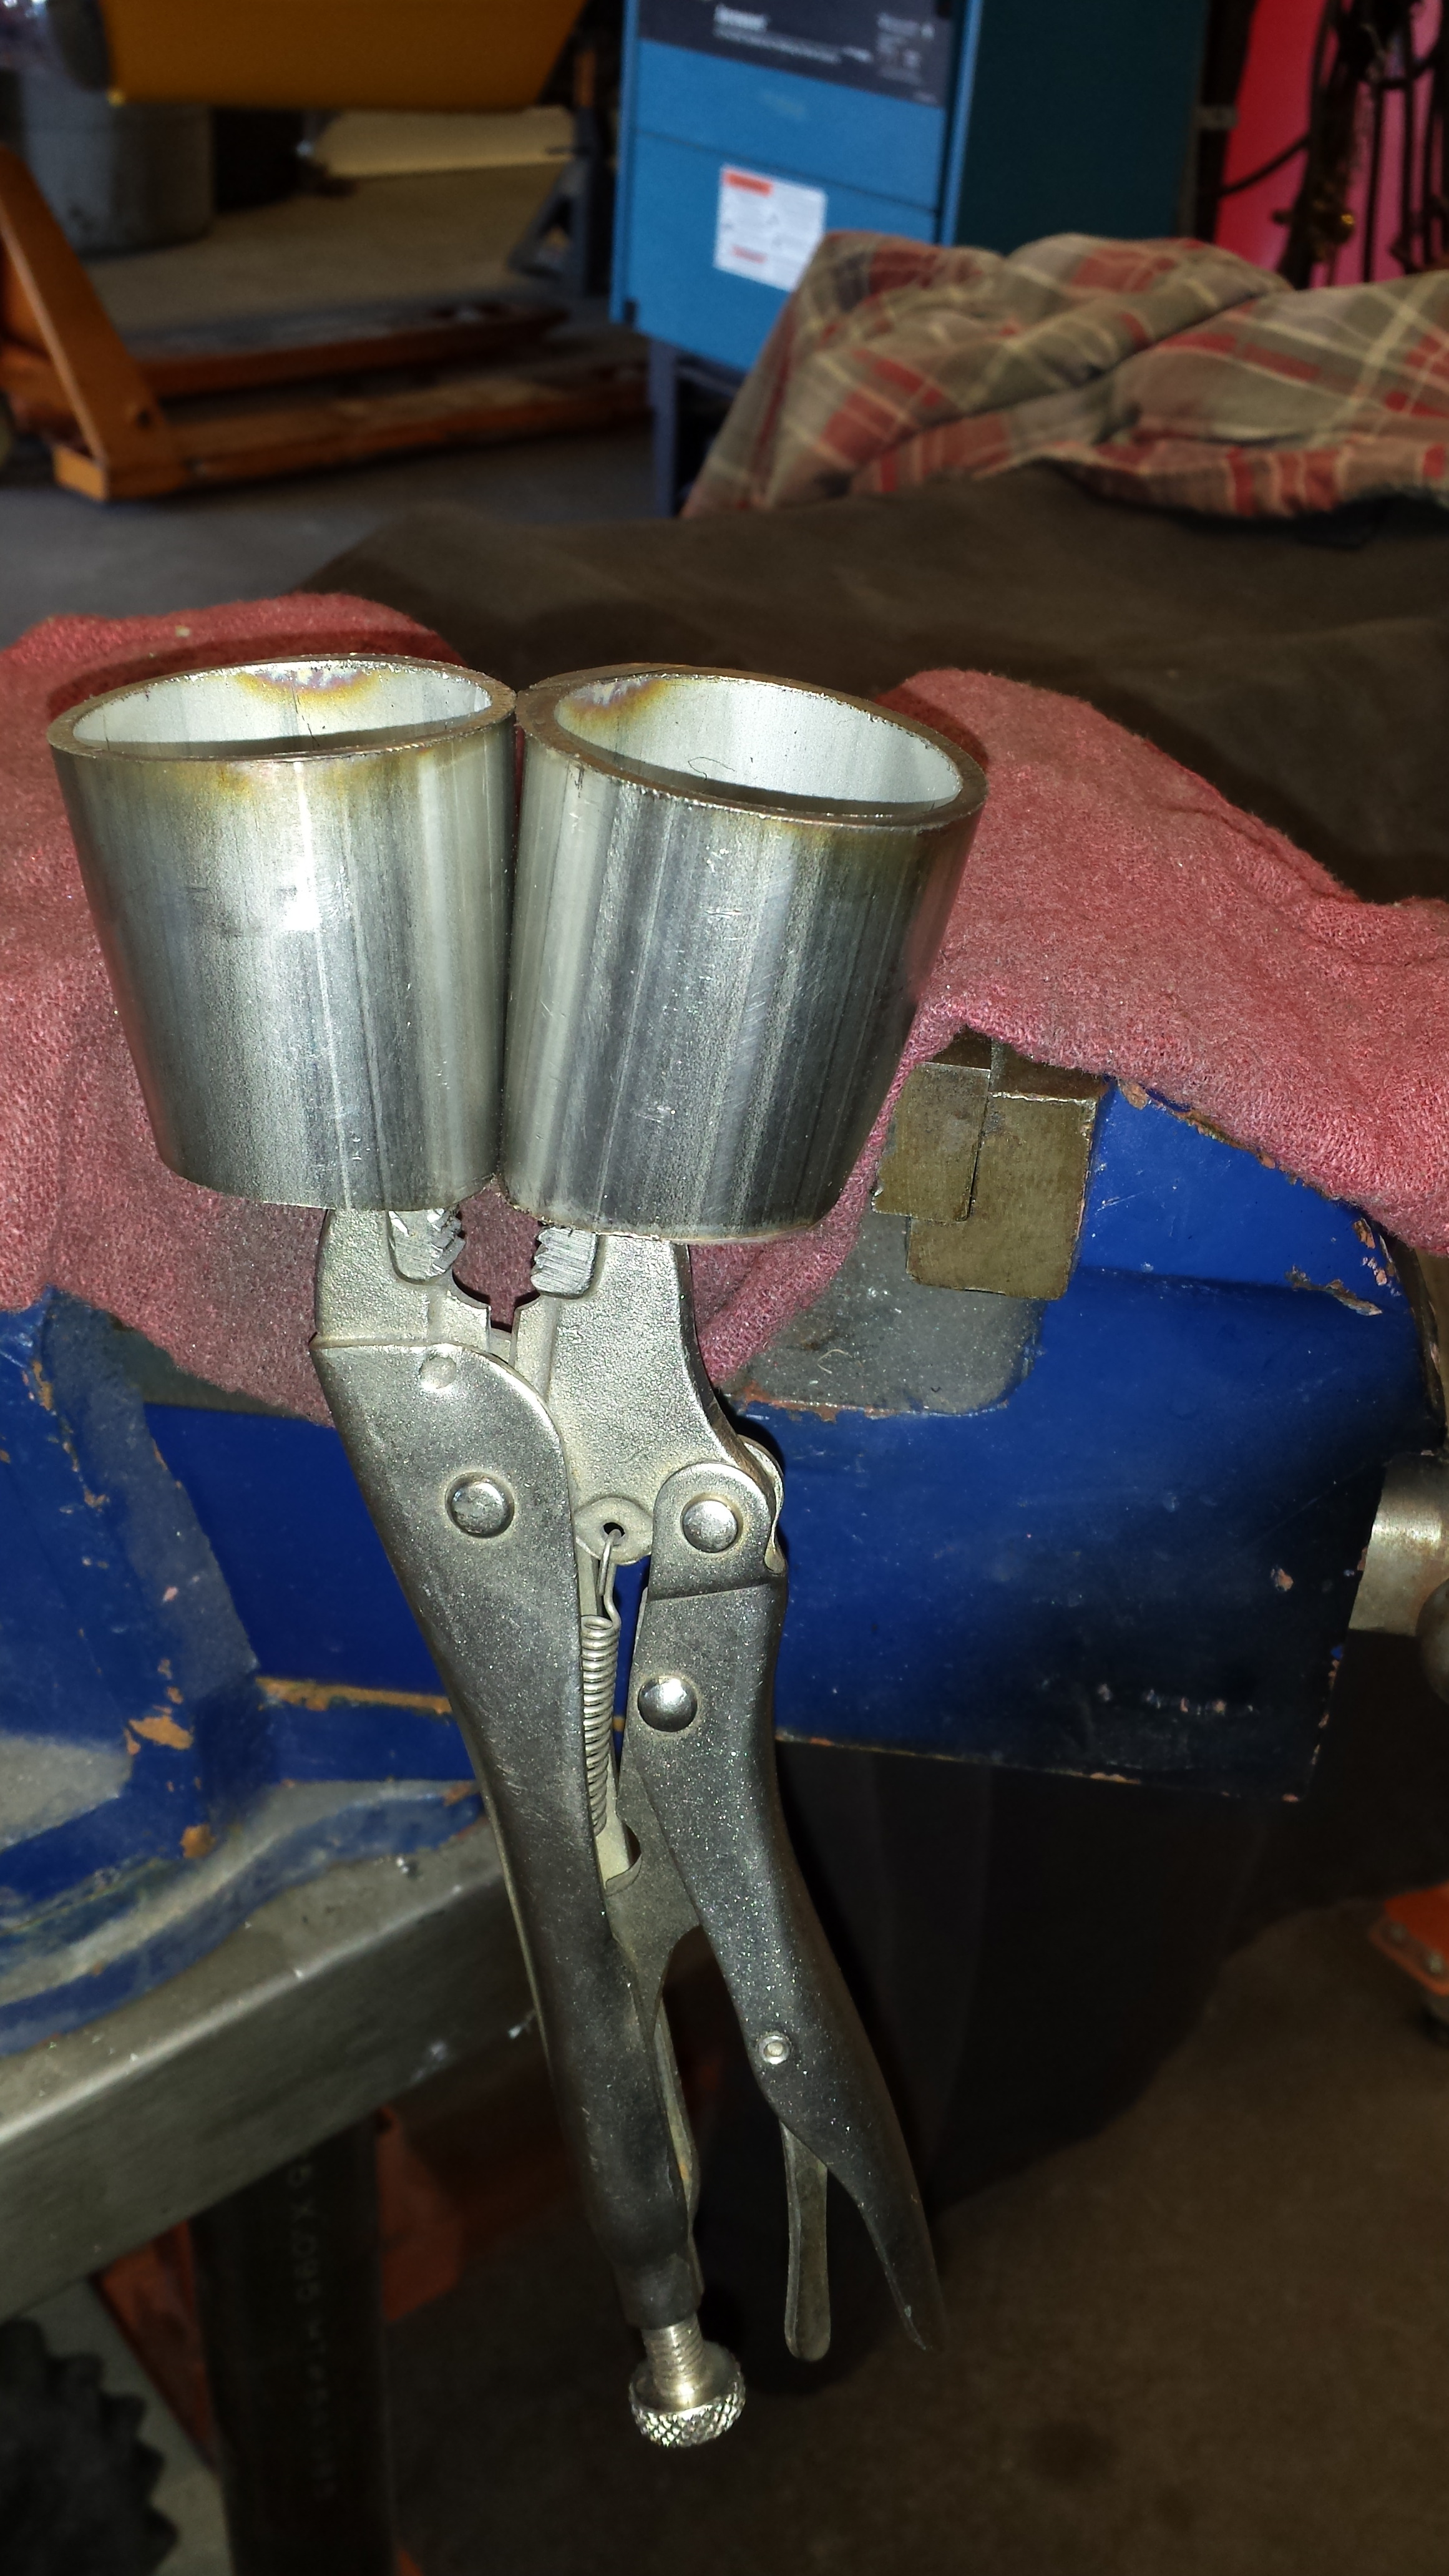
like fitting a circle into a triangle...this .120 wall was damn stubborn. But the increased wall thickness will really sturdy this thing up

Time to hit the vise...
pinch ovaled it into the right oblongish shape... but still needs tobe squared a bit.
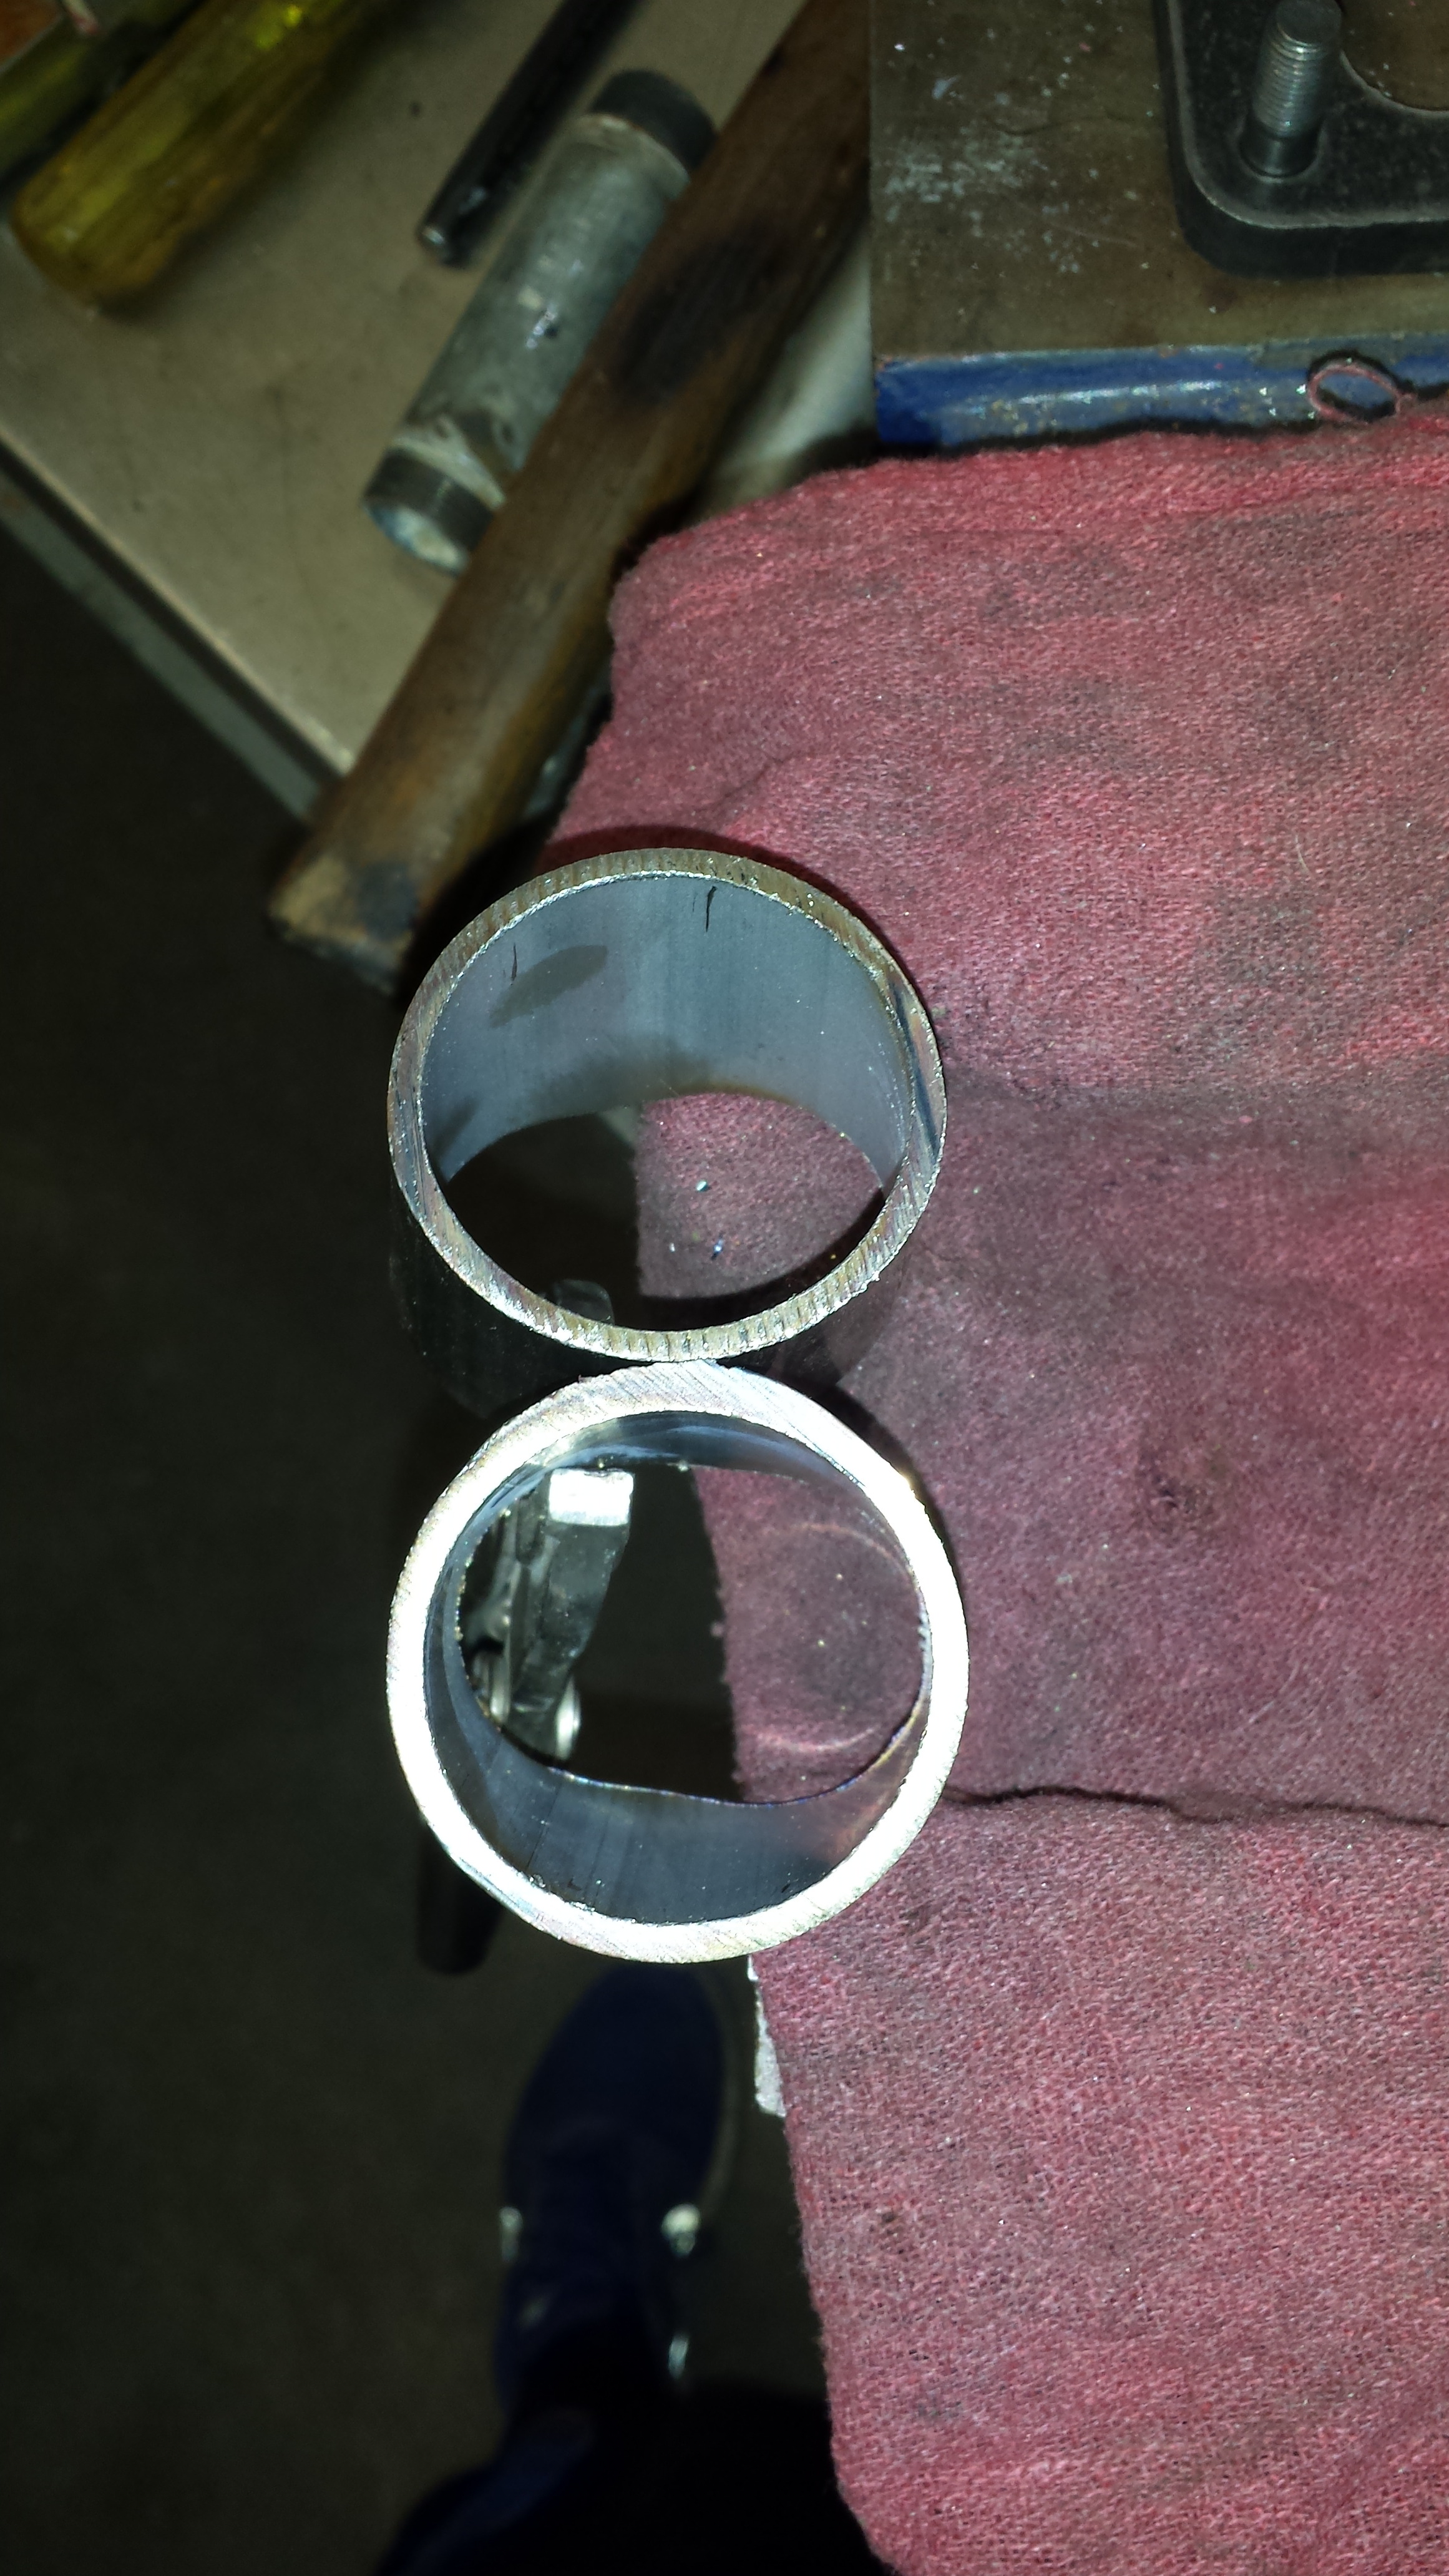
I also cut off of the butt side that was mated up to the flnage so it would sit at an angle.
And I used a set of vise grips to get the touching sides of the pipe completely flat. They held one point in place and I put the other side into the vise so it would flatten out the mid section so they would mate up together for the divide in the middle. ..Garage build tactics at it's best. I was actually really proud of myself for mcguivering this up. Had to pat myself on the back for this one.
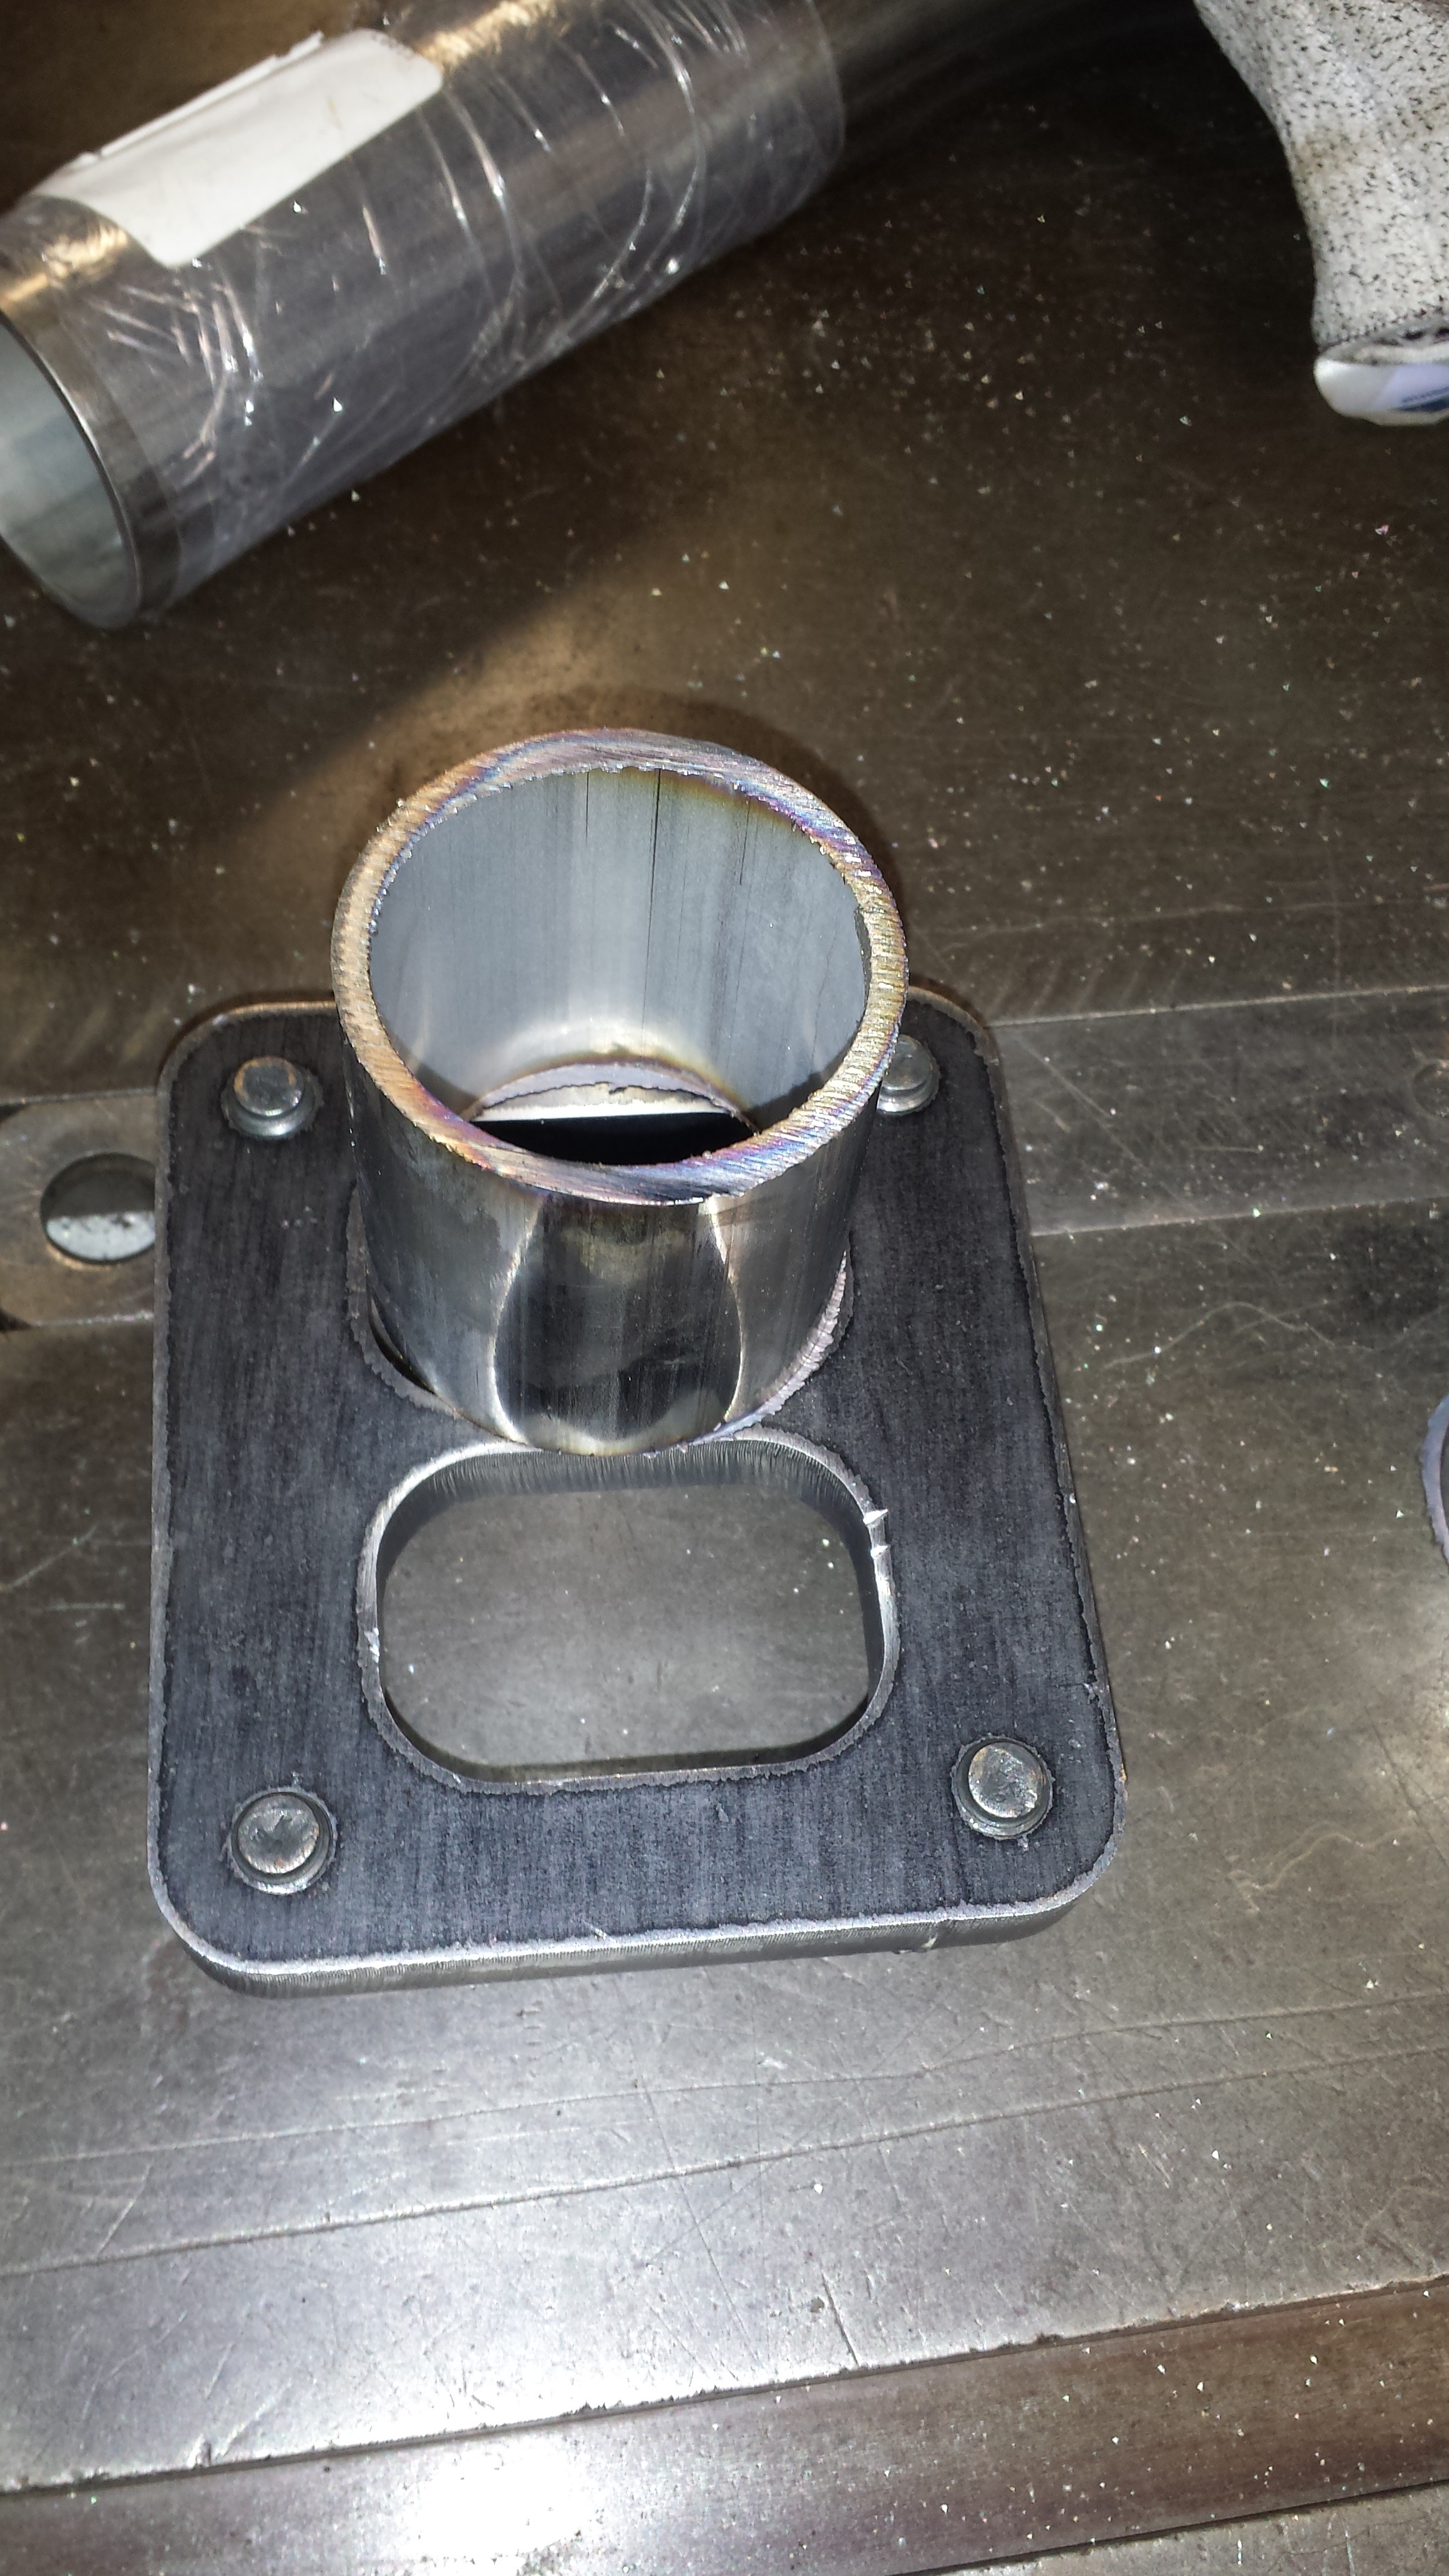
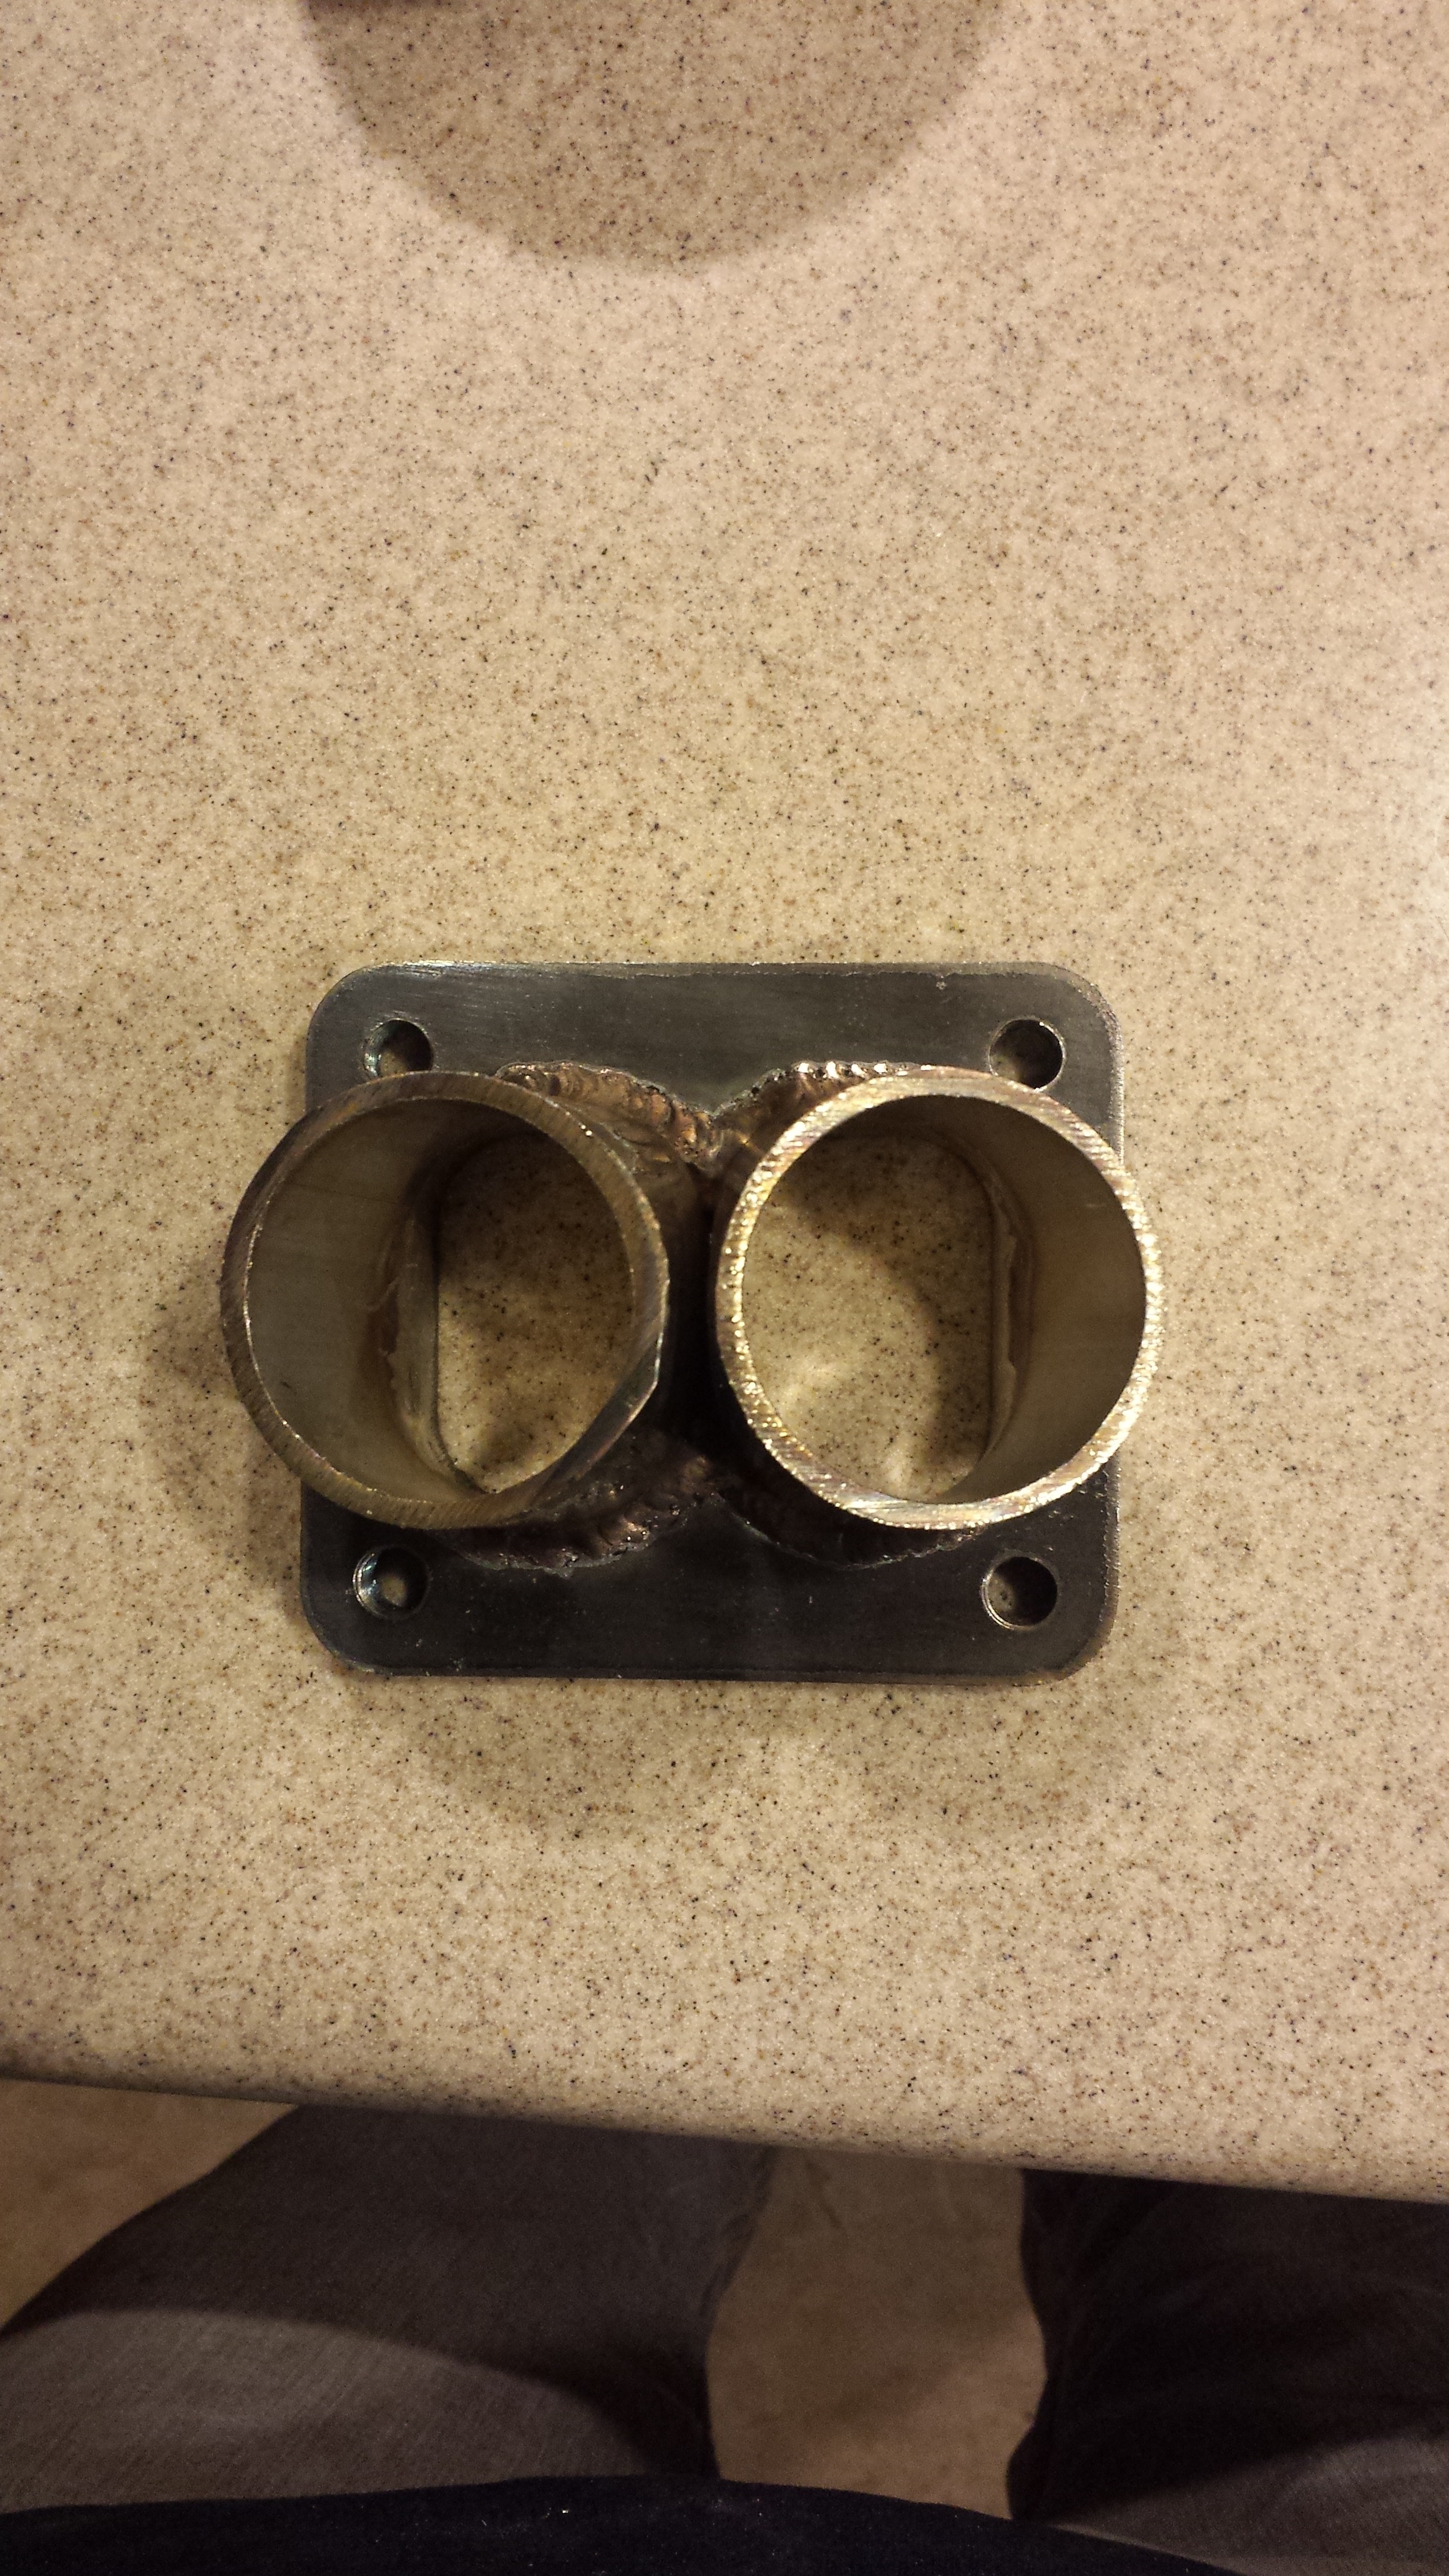
And I'm going to have Bj Tack the long sides to the flange and then throw it into the vice on the short sides so I can square it off a bit more. But this is pretty much how it'll end up looking...(everything will be straightened out etc before final weld). It's a bit hard to tell from this angle but it looks really good from the inside. The center divide section is flat against eachother pipe and a couple small tweaks and it'll be ready for the final weld.
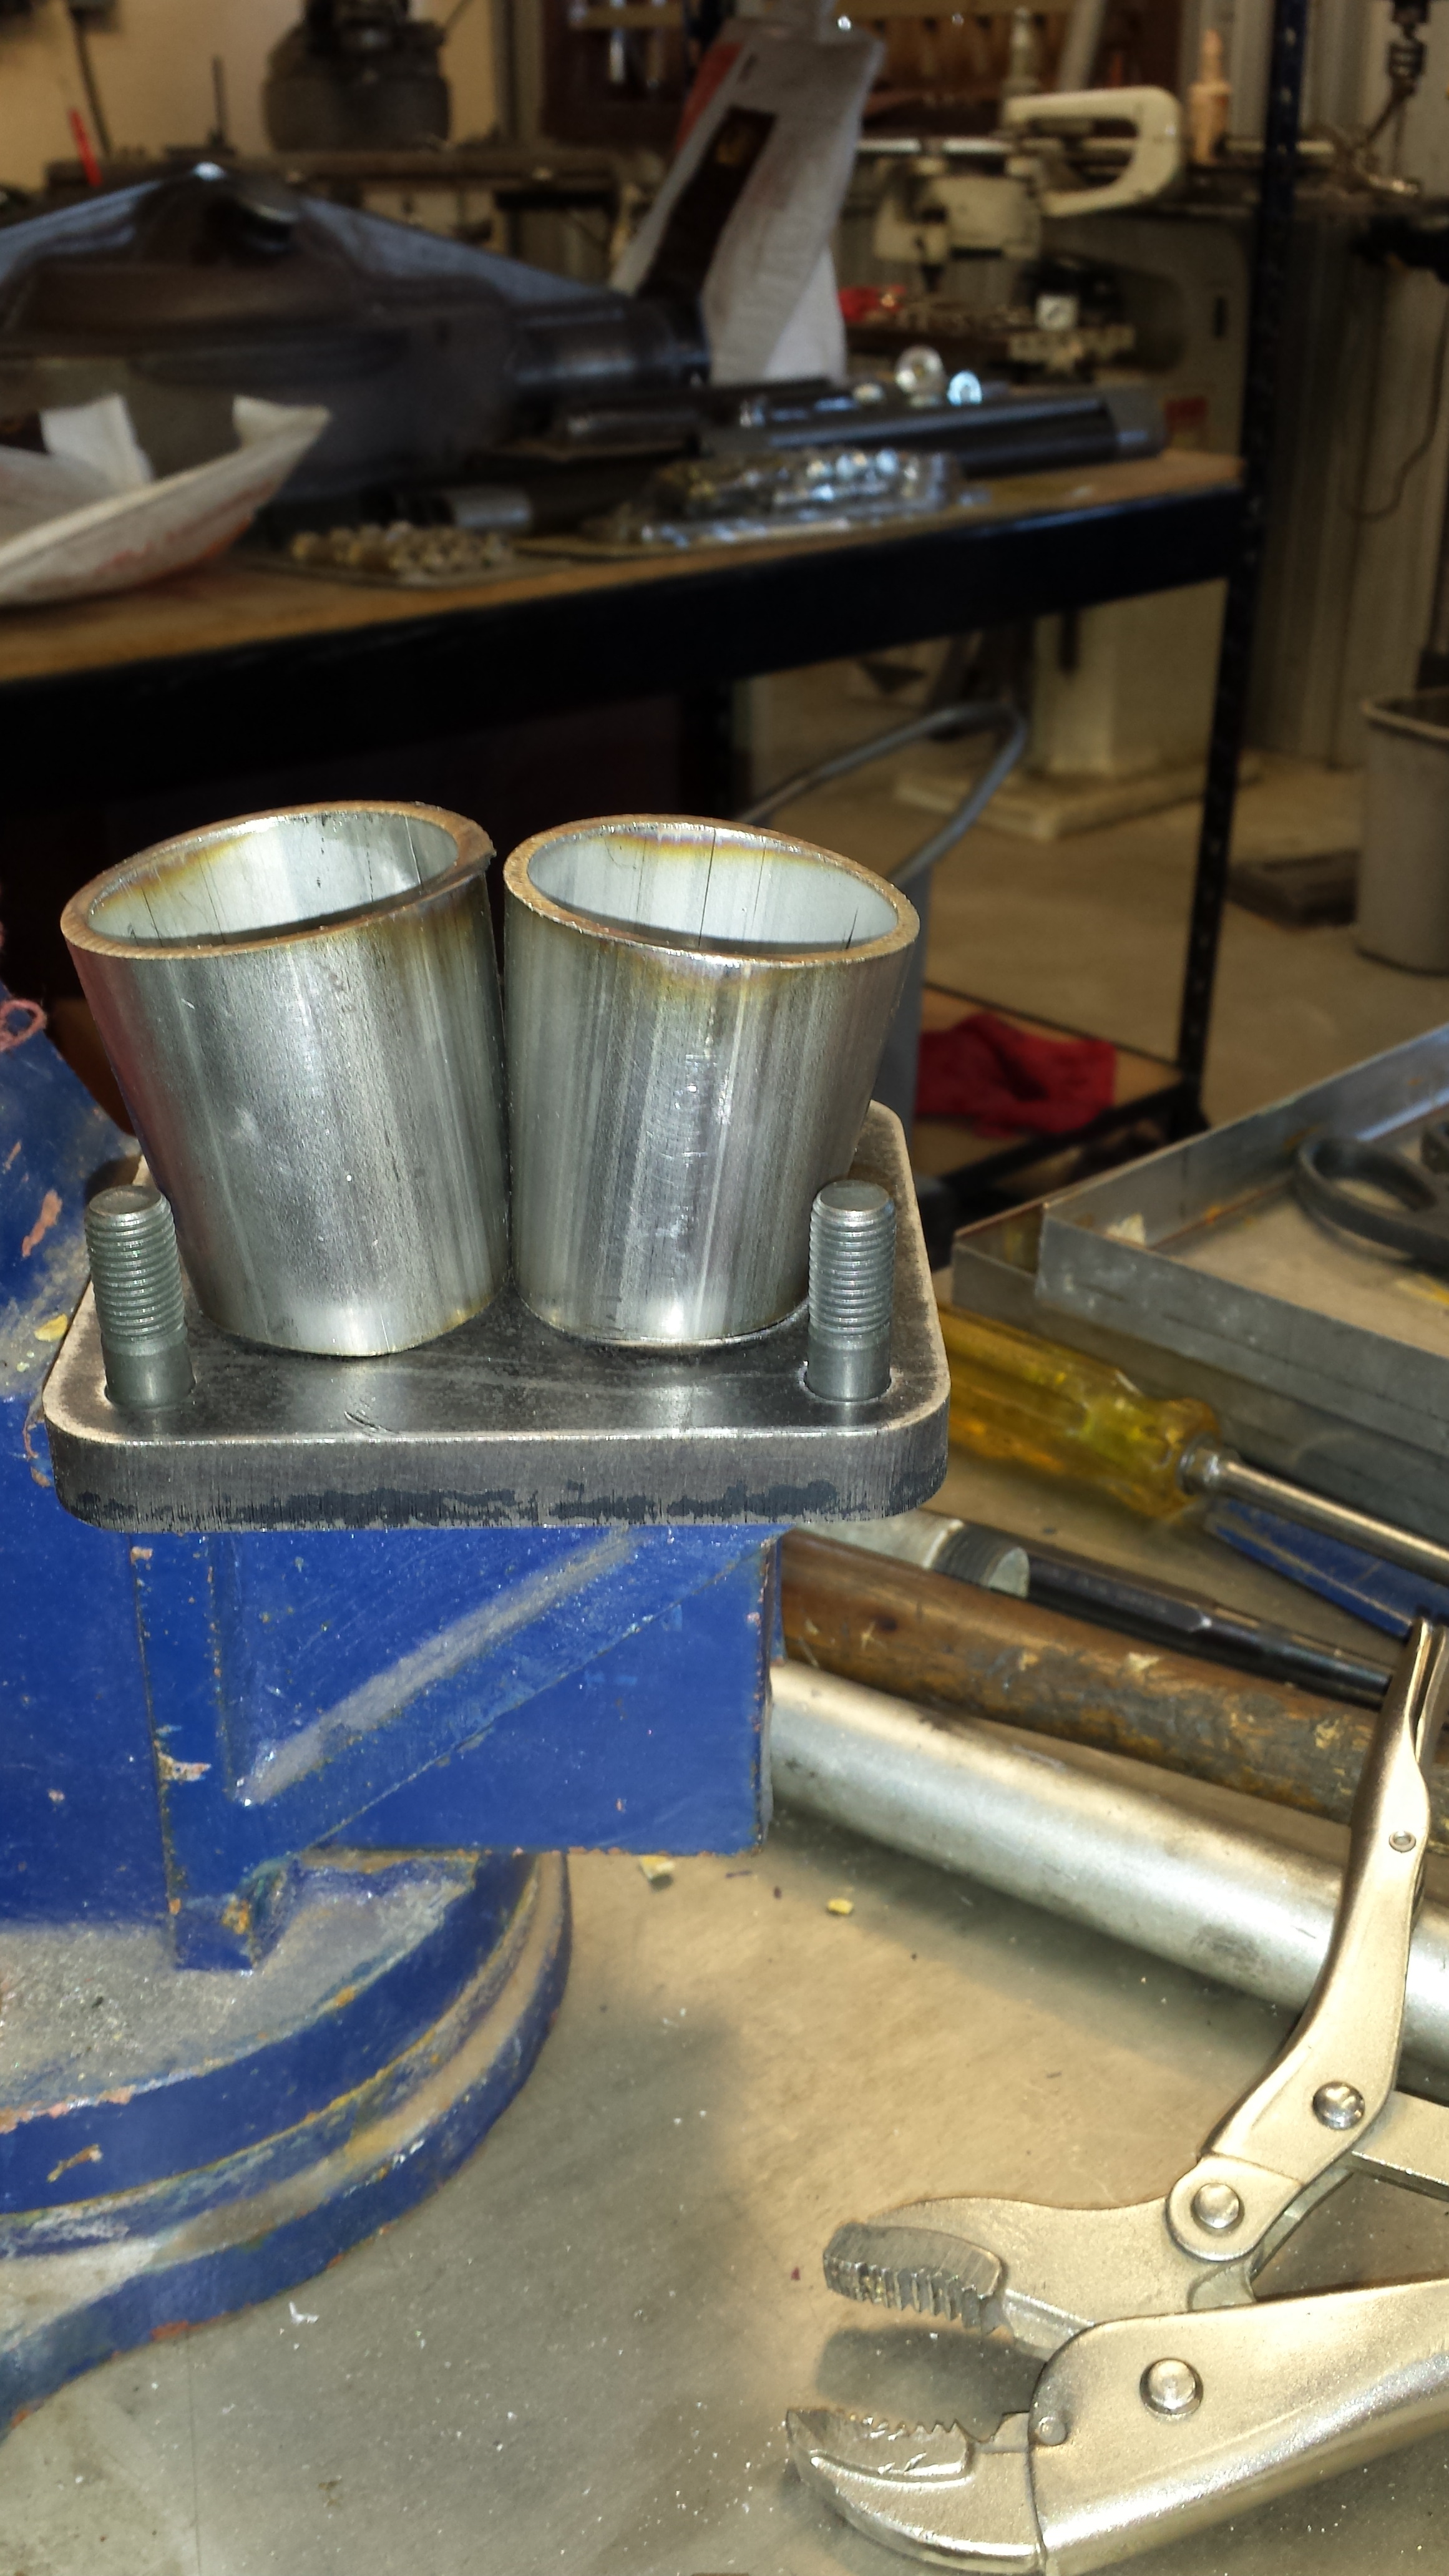
More updates to come! stay tuned!
Then I really wanted to make a nice transition from the turbo manifold pipe into the T4 Divided flange. I want it to be as flawless as possible.. But there was also a problem. I don't have the motor back yet and so finalizing the turbo position and manifold entry is still up in the air. But I like to get the dirty done when I can.. so I figured i'd make 2" inlets and work on the transition from them into the T4 flange. This way there we can build into the tranistion into the flange/turbo and still retain the clearances etc. Does that make sense? So essentially by the time I get the motor back in and everything else ready to go...all we'll need to do is work on bridging the motor flange to the turbo flange and the time consuming flange entry will be done.
So here's where I started:
I cut two pieces off one of my many mandrel bends. Both of them are 2" long and perfectly round.
Perfectly round isn't going to mate up to the T4 divide very well...
like fitting a circle into a triangle...this .120 wall was damn stubborn. But the increased wall thickness will really sturdy this thing up
Time to hit the vise...
pinch ovaled it into the right oblongish shape... but still needs tobe squared a bit.
I also cut off of the butt side that was mated up to the flnage so it would sit at an angle.
And I used a set of vise grips to get the touching sides of the pipe completely flat. They held one point in place and I put the other side into the vise so it would flatten out the mid section so they would mate up together for the divide in the middle. ..Garage build tactics at it's best. I was actually really proud of myself for mcguivering this up. Had to pat myself on the back for this one.
And I'm going to have Bj Tack the long sides to the flange and then throw it into the vice on the short sides so I can square it off a bit more. But this is pretty much how it'll end up looking...(everything will be straightened out etc before final weld). It's a bit hard to tell from this angle but it looks really good from the inside. The center divide section is flat against eachother pipe and a couple small tweaks and it'll be ready for the final weld.
More updates to come! stay tuned!
i would ditch the ceramics altogether, they have their place and this is not it.
my reasoning is: ceramics are more fragile than even OEM seals, at a hint of detonation they will completely scrap at least half of a complete engine and likely the turbo along with it.. there is no benefit that can override that looming outlook that will always be over your head. i've seen your pain firsthand at the damage they cause and that isn't something you want to continue repeating. even if a bendy seal engine won't last half as long as a ceramic seal does on average they outlast them by leaps and bounds in their reliability and cost of rebuilding with usable parts, yet i've never seen a ceramic seal engine actually last as long as it potentially could because the seals quite simply are like glass.
they are much less likely to break in a naturally aspirated engine, so that is the only place i even remotely suggest they have a place to live.
that is my advice, unless you like lighting $100 bills to stay warm in winter.
Last edited by RotaryEvolution; Jan 2, 2014 at 03:58 PM.

i would ditch the ceramics altogether, they have their place and this is not it.
my reasoning is: ceramics are more fragile than even OEM seals, at a hint of detonation they will completely scrap at least half of a complete engine and likely the turbo along with it.. there is no benefit that can override that looming outlook that will always be over your head. i've seen your pain firsthand at the damage they cause and that isn't something you want to continue repeating. even if a bendy seal engine won't last half as long as a ceramic seal does on average they outlast them by leaps and bounds in their reliability and cost of rebuilding with usable parts, yet i've never seen a ceramic seal engine actually last as long as it potentially could because the seals quite simply are like glass.
they are much less likely to break in a naturally aspirated engine, so that is the only place i even remotely suggest they have a place to live.
that is my advice, unless you like lighting $100 bills to stay warm in winter.
my reasoning is: ceramics are more fragile than even OEM seals, at a hint of detonation they will completely scrap at least half of a complete engine and likely the turbo along with it.. there is no benefit that can override that looming outlook that will always be over your head. i've seen your pain firsthand at the damage they cause and that isn't something you want to continue repeating. even if a bendy seal engine won't last half as long as a ceramic seal does on average they outlast them by leaps and bounds in their reliability and cost of rebuilding with usable parts, yet i've never seen a ceramic seal engine actually last as long as it potentially could because the seals quite simply are like glass.
they are much less likely to break in a naturally aspirated engine, so that is the only place i even remotely suggest they have a place to live.
that is my advice, unless you like lighting $100 bills to stay warm in winter.
A bit? longer than a half of a dyno session? lol Me too!!
i understand his point, ceramic seals do work well and don't do any harm to the rotors or housings compared to steel seals over the long term when wear is the concern.
the issue i find is that most tunes and fuel system just don't hold integrity indefinitely and if an issue ever does present itself it will be engine #4 with a list of parts instead of just a small few.
the issue i find is that most tunes and fuel system just don't hold integrity indefinitely and if an issue ever does present itself it will be engine #4 with a list of parts instead of just a small few.
Update:
I was able to get in a couple hours at the shop last night. I was able to finish the manifold to turbo flange runner shapes, and also have BJ weld it up. I also finished the 3" to 4" V-band out of the turbo.
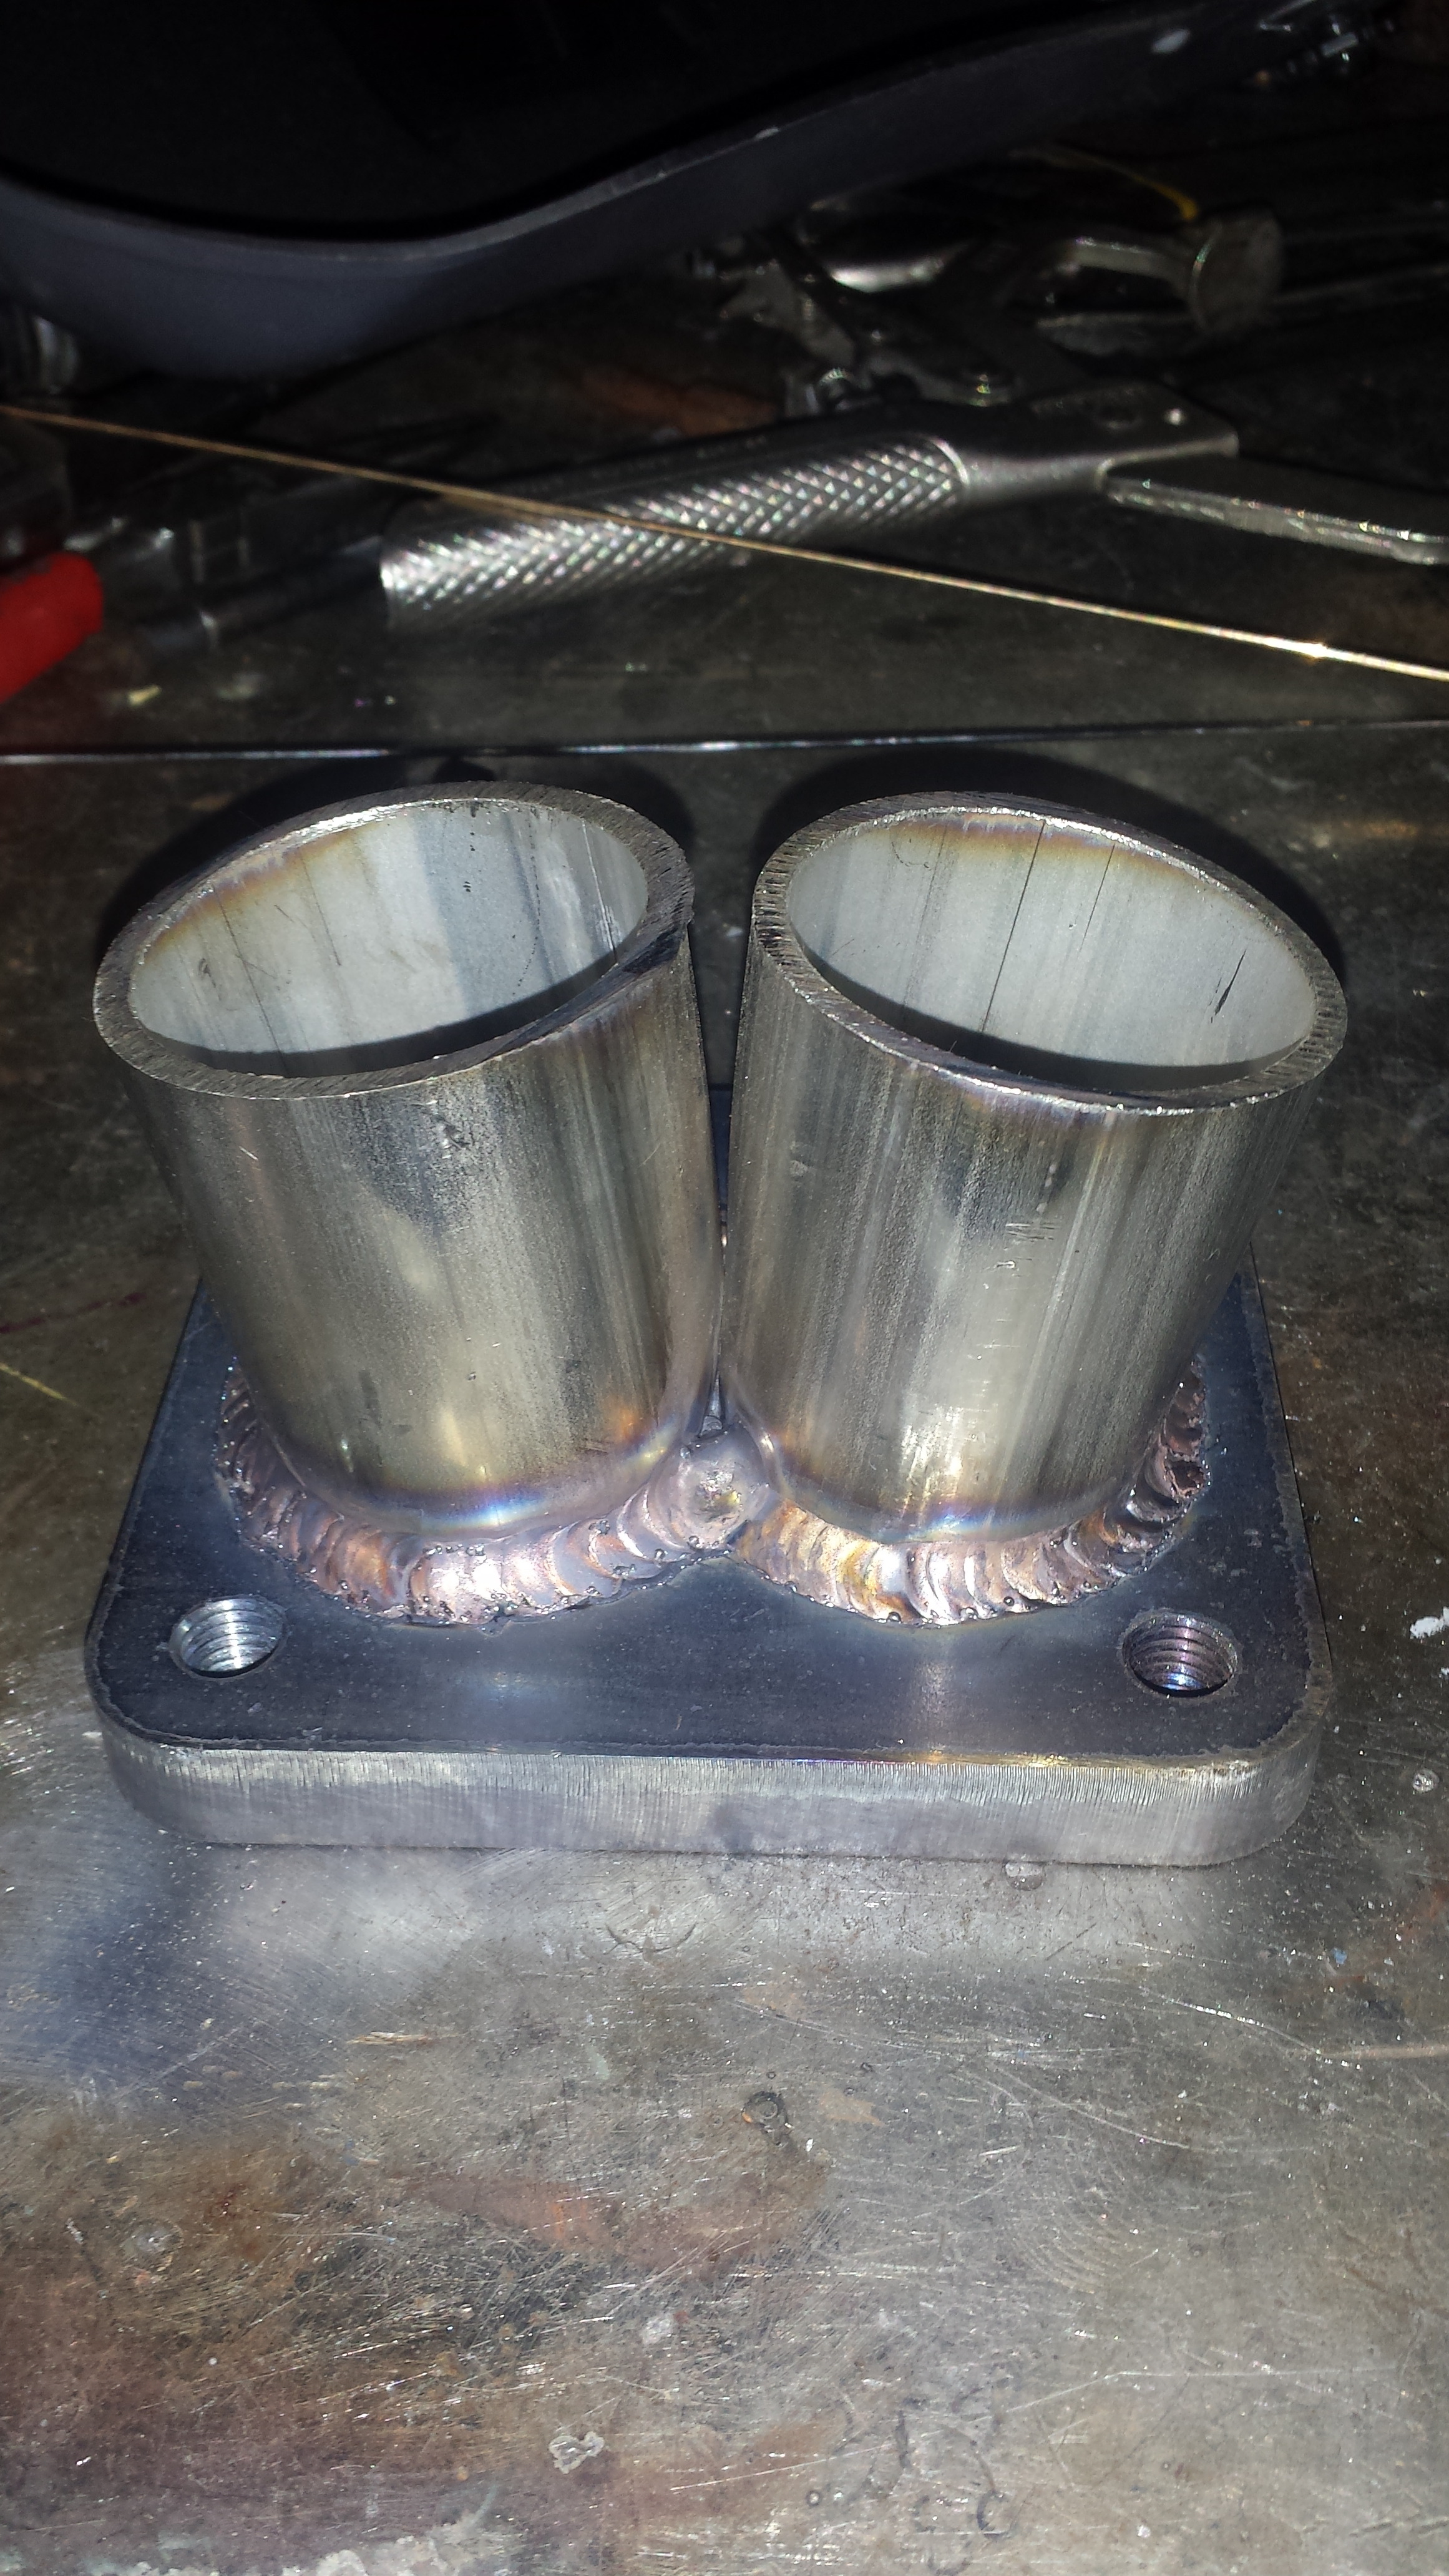
So before I post pics I just wanted to say that I've gotten a bunch of crap for not having bj back purge both of these items. But truth is... I'm sure it's relevent. And once everything is tacked together and were done with the shape of the manifold, we'll be back purging the whole thing. But we didn't back purge these two pieces. There wasn't much trash on the inside of either welds aside from a small line of salty left-overs so I simply used the porting tool to get it all off and smoothed out the imperfections till I was satisfied.
V-band Welded and wire wheeled
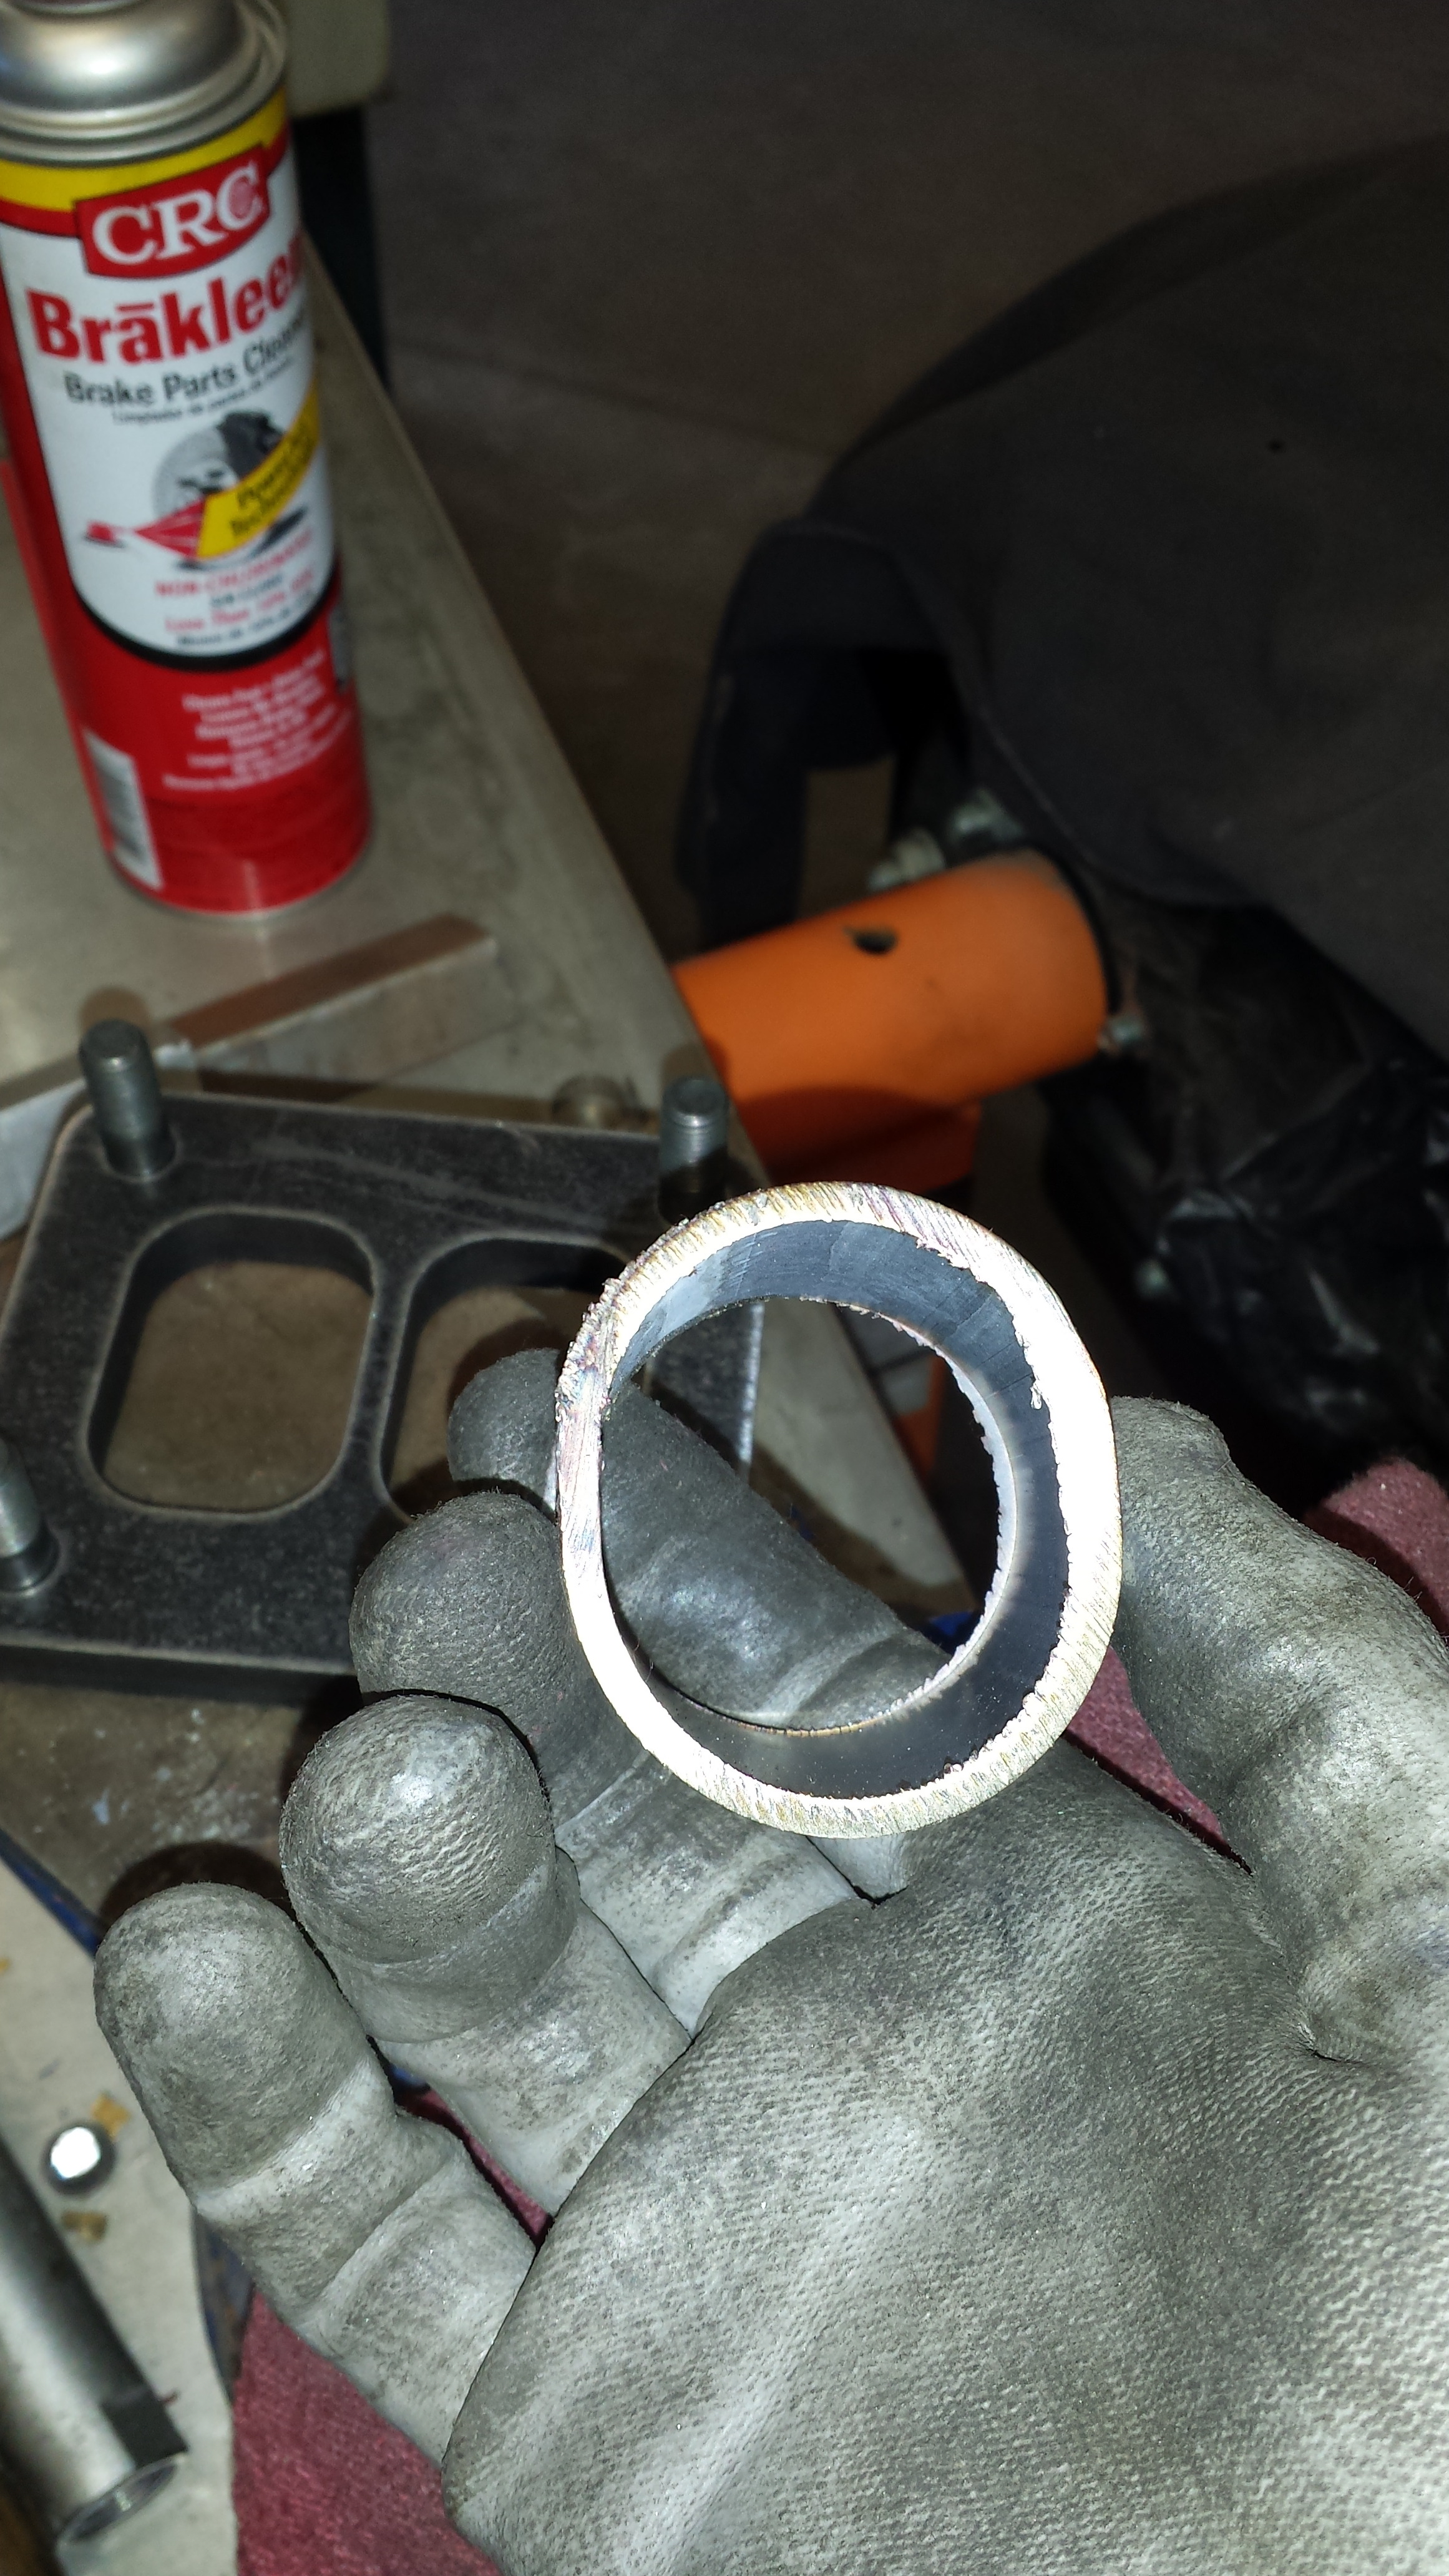
Inside garbage
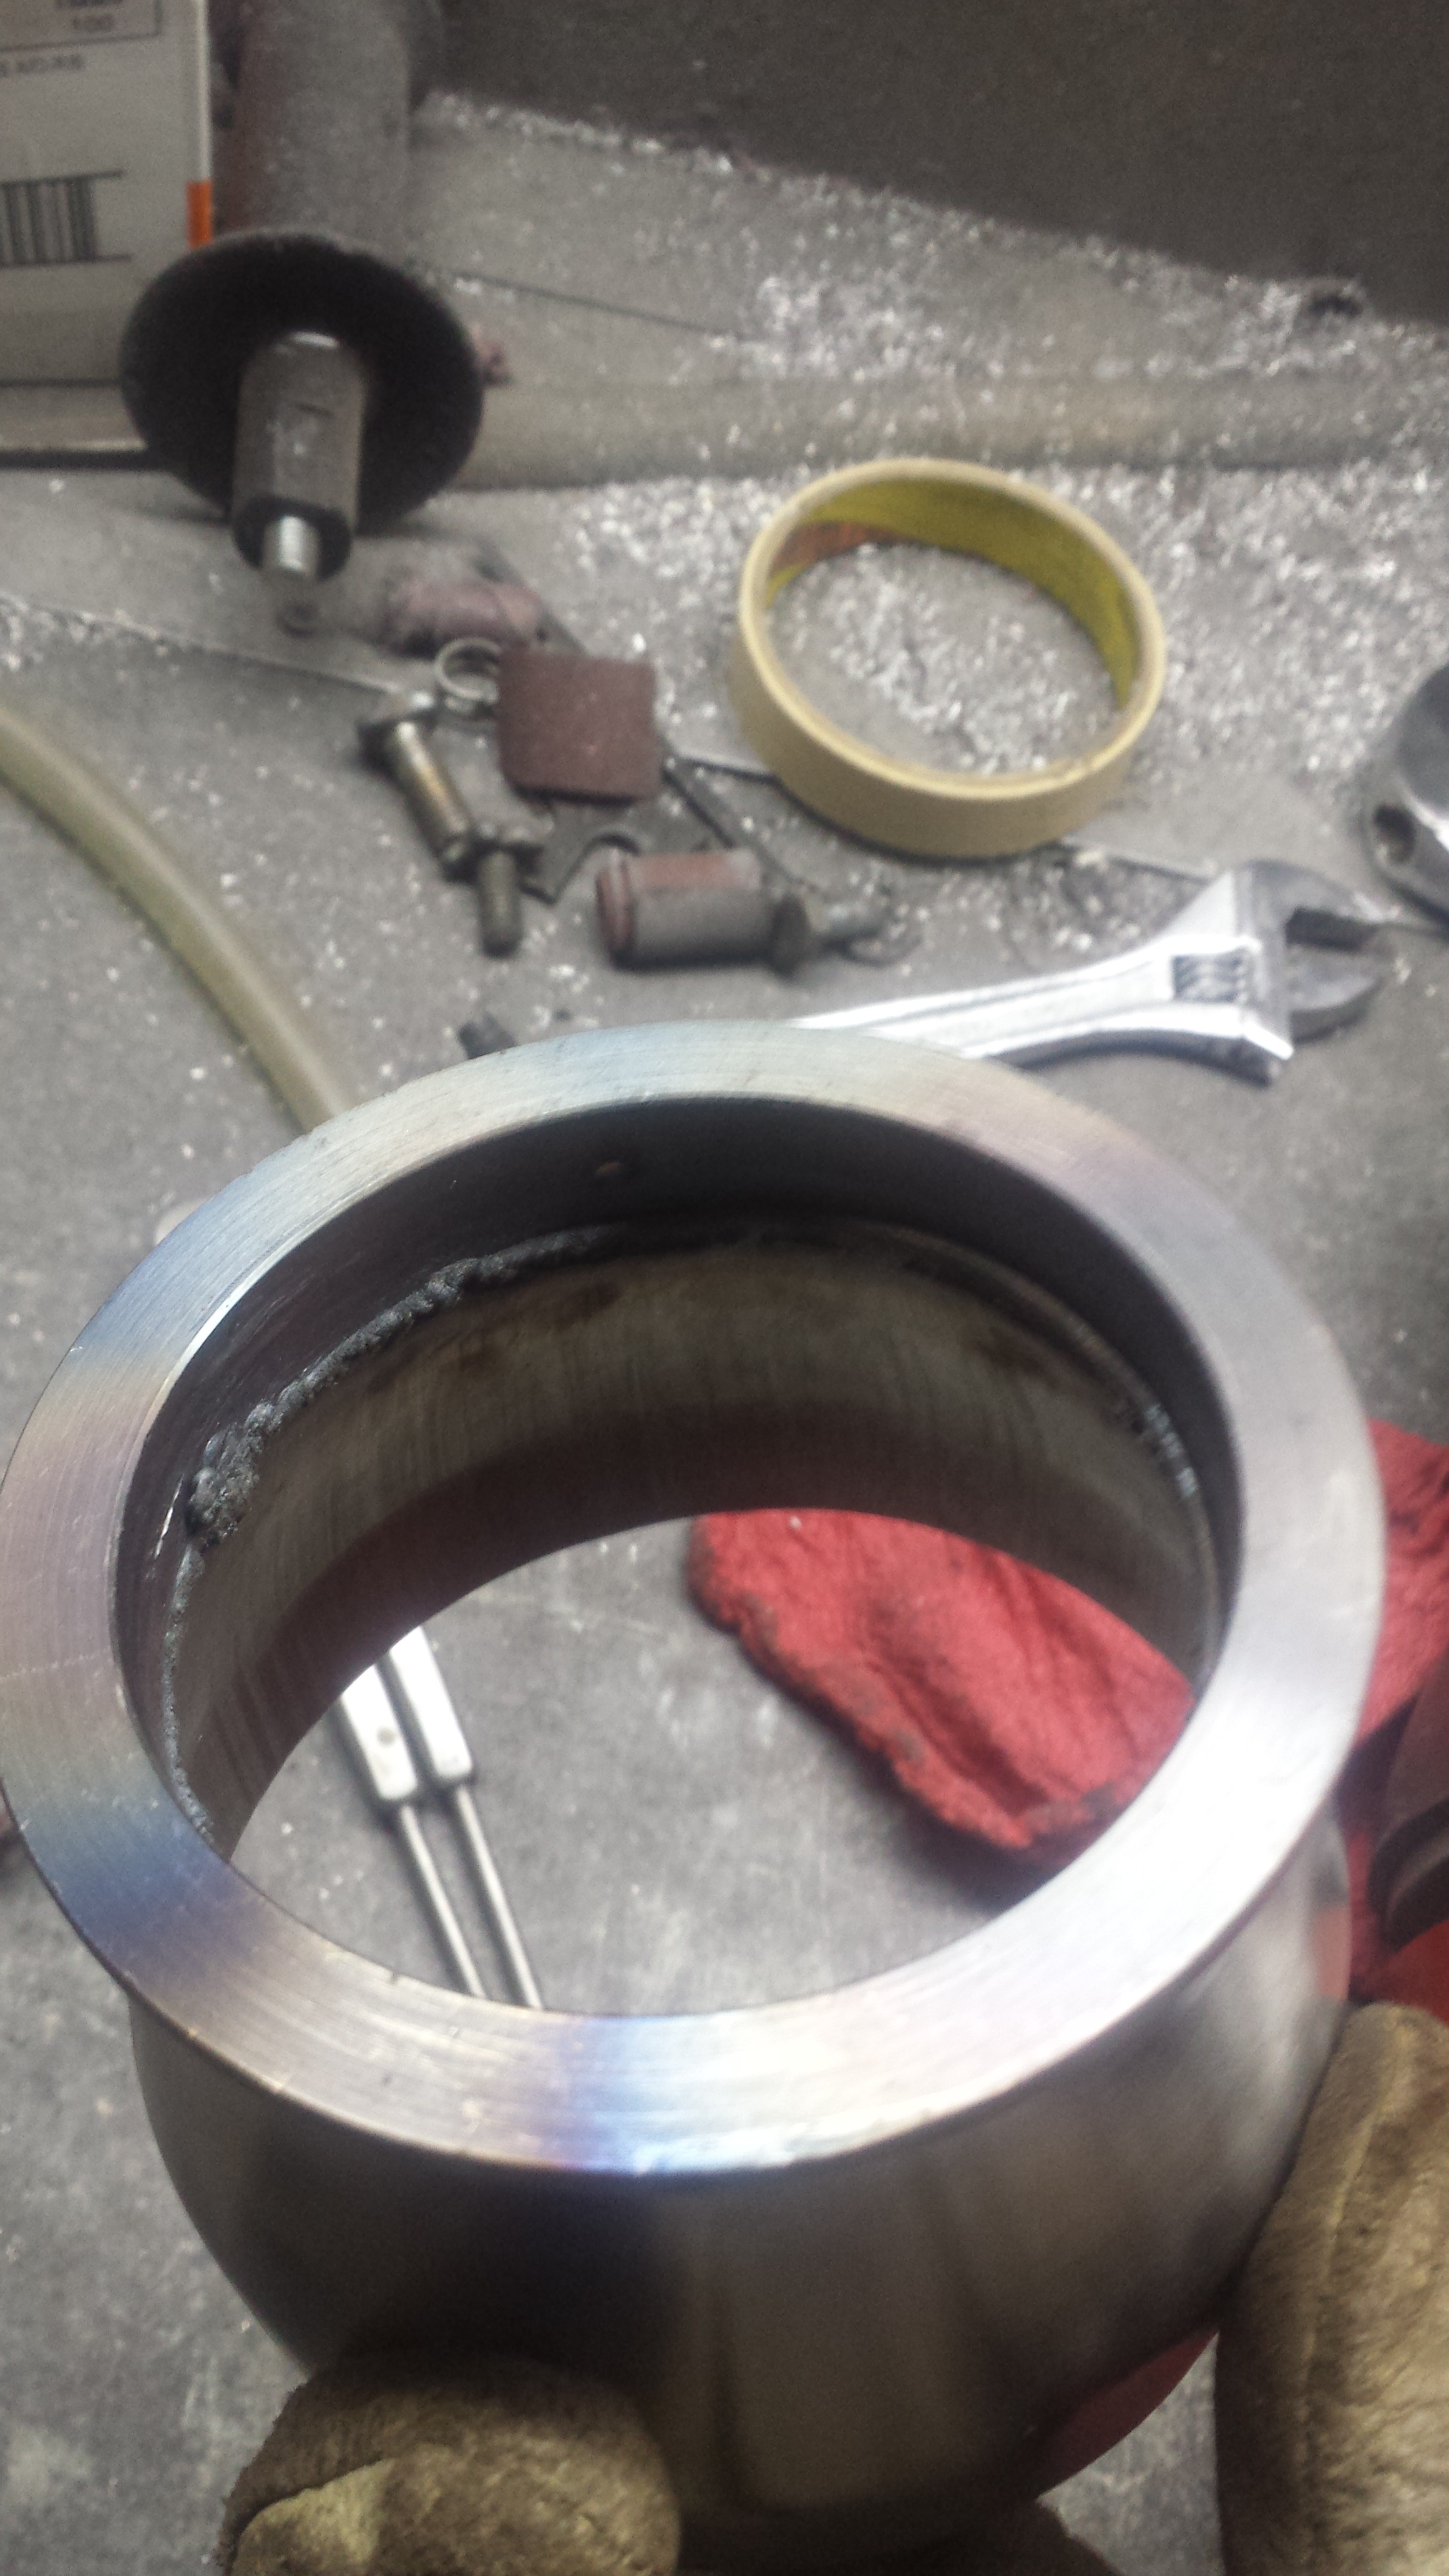
Doesnt take much to get all the Sugar trash off
But the end product is wayy smoother and gives me a better piece of mind as well
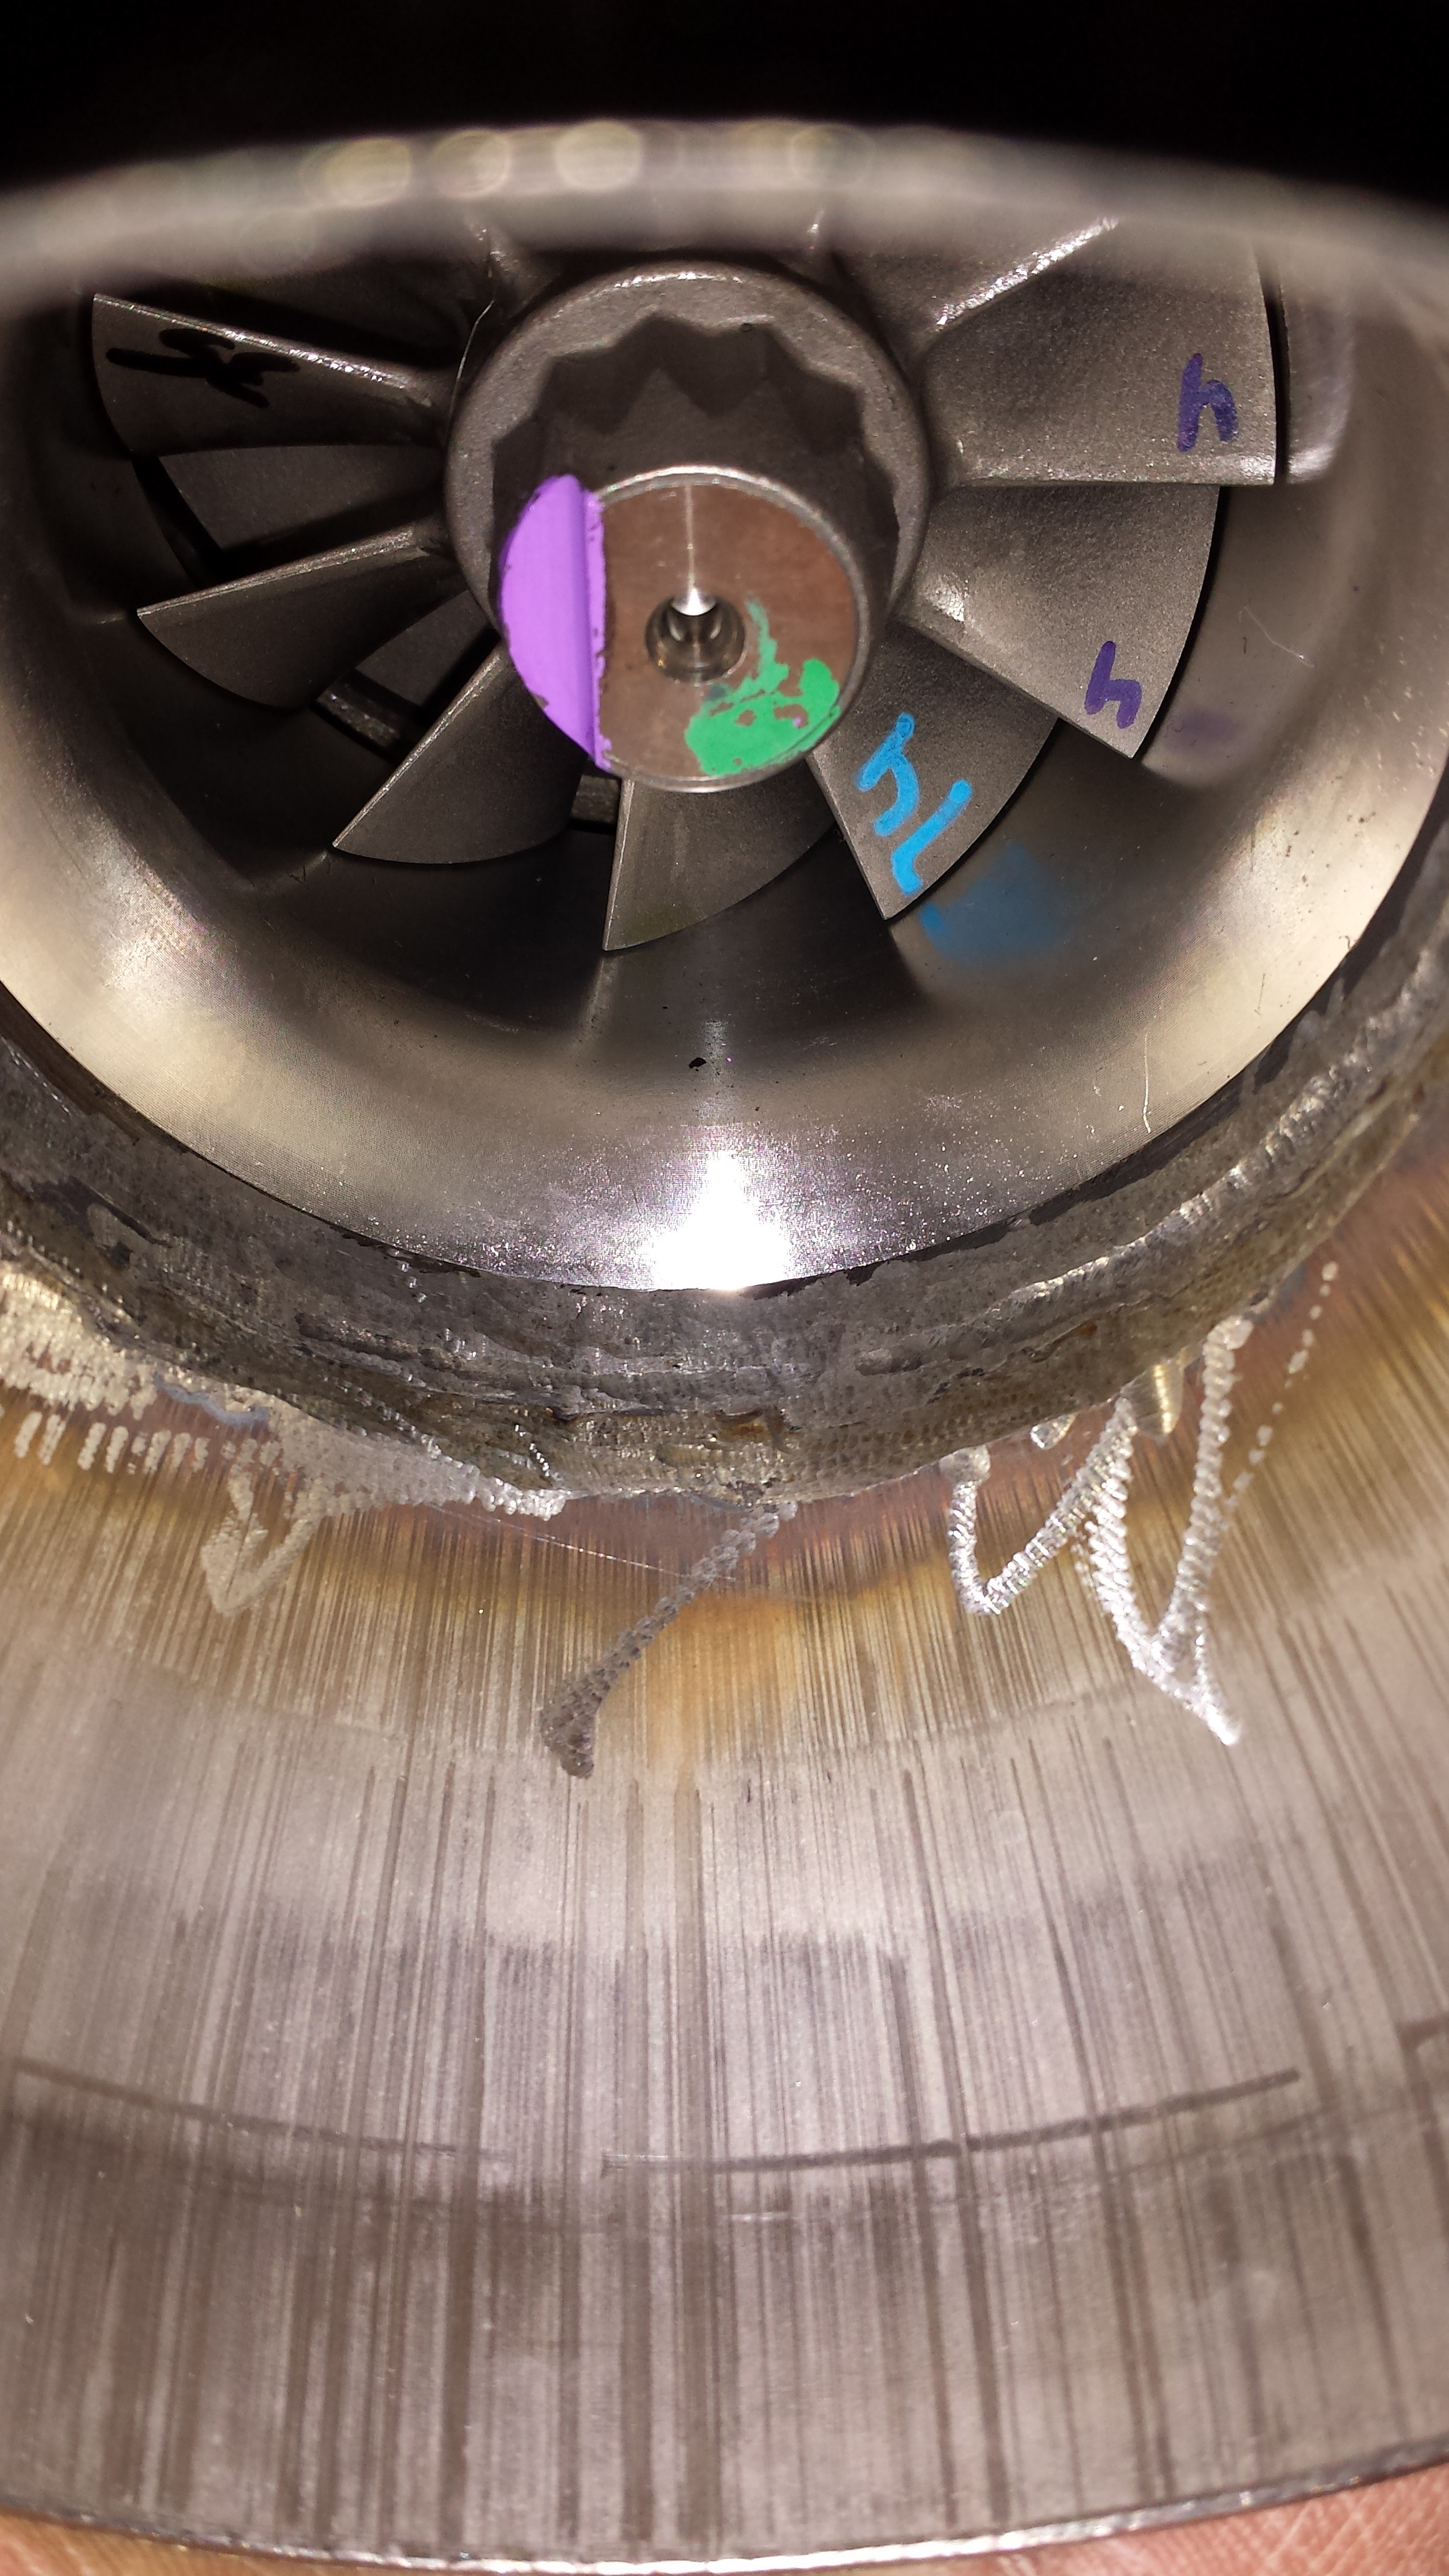
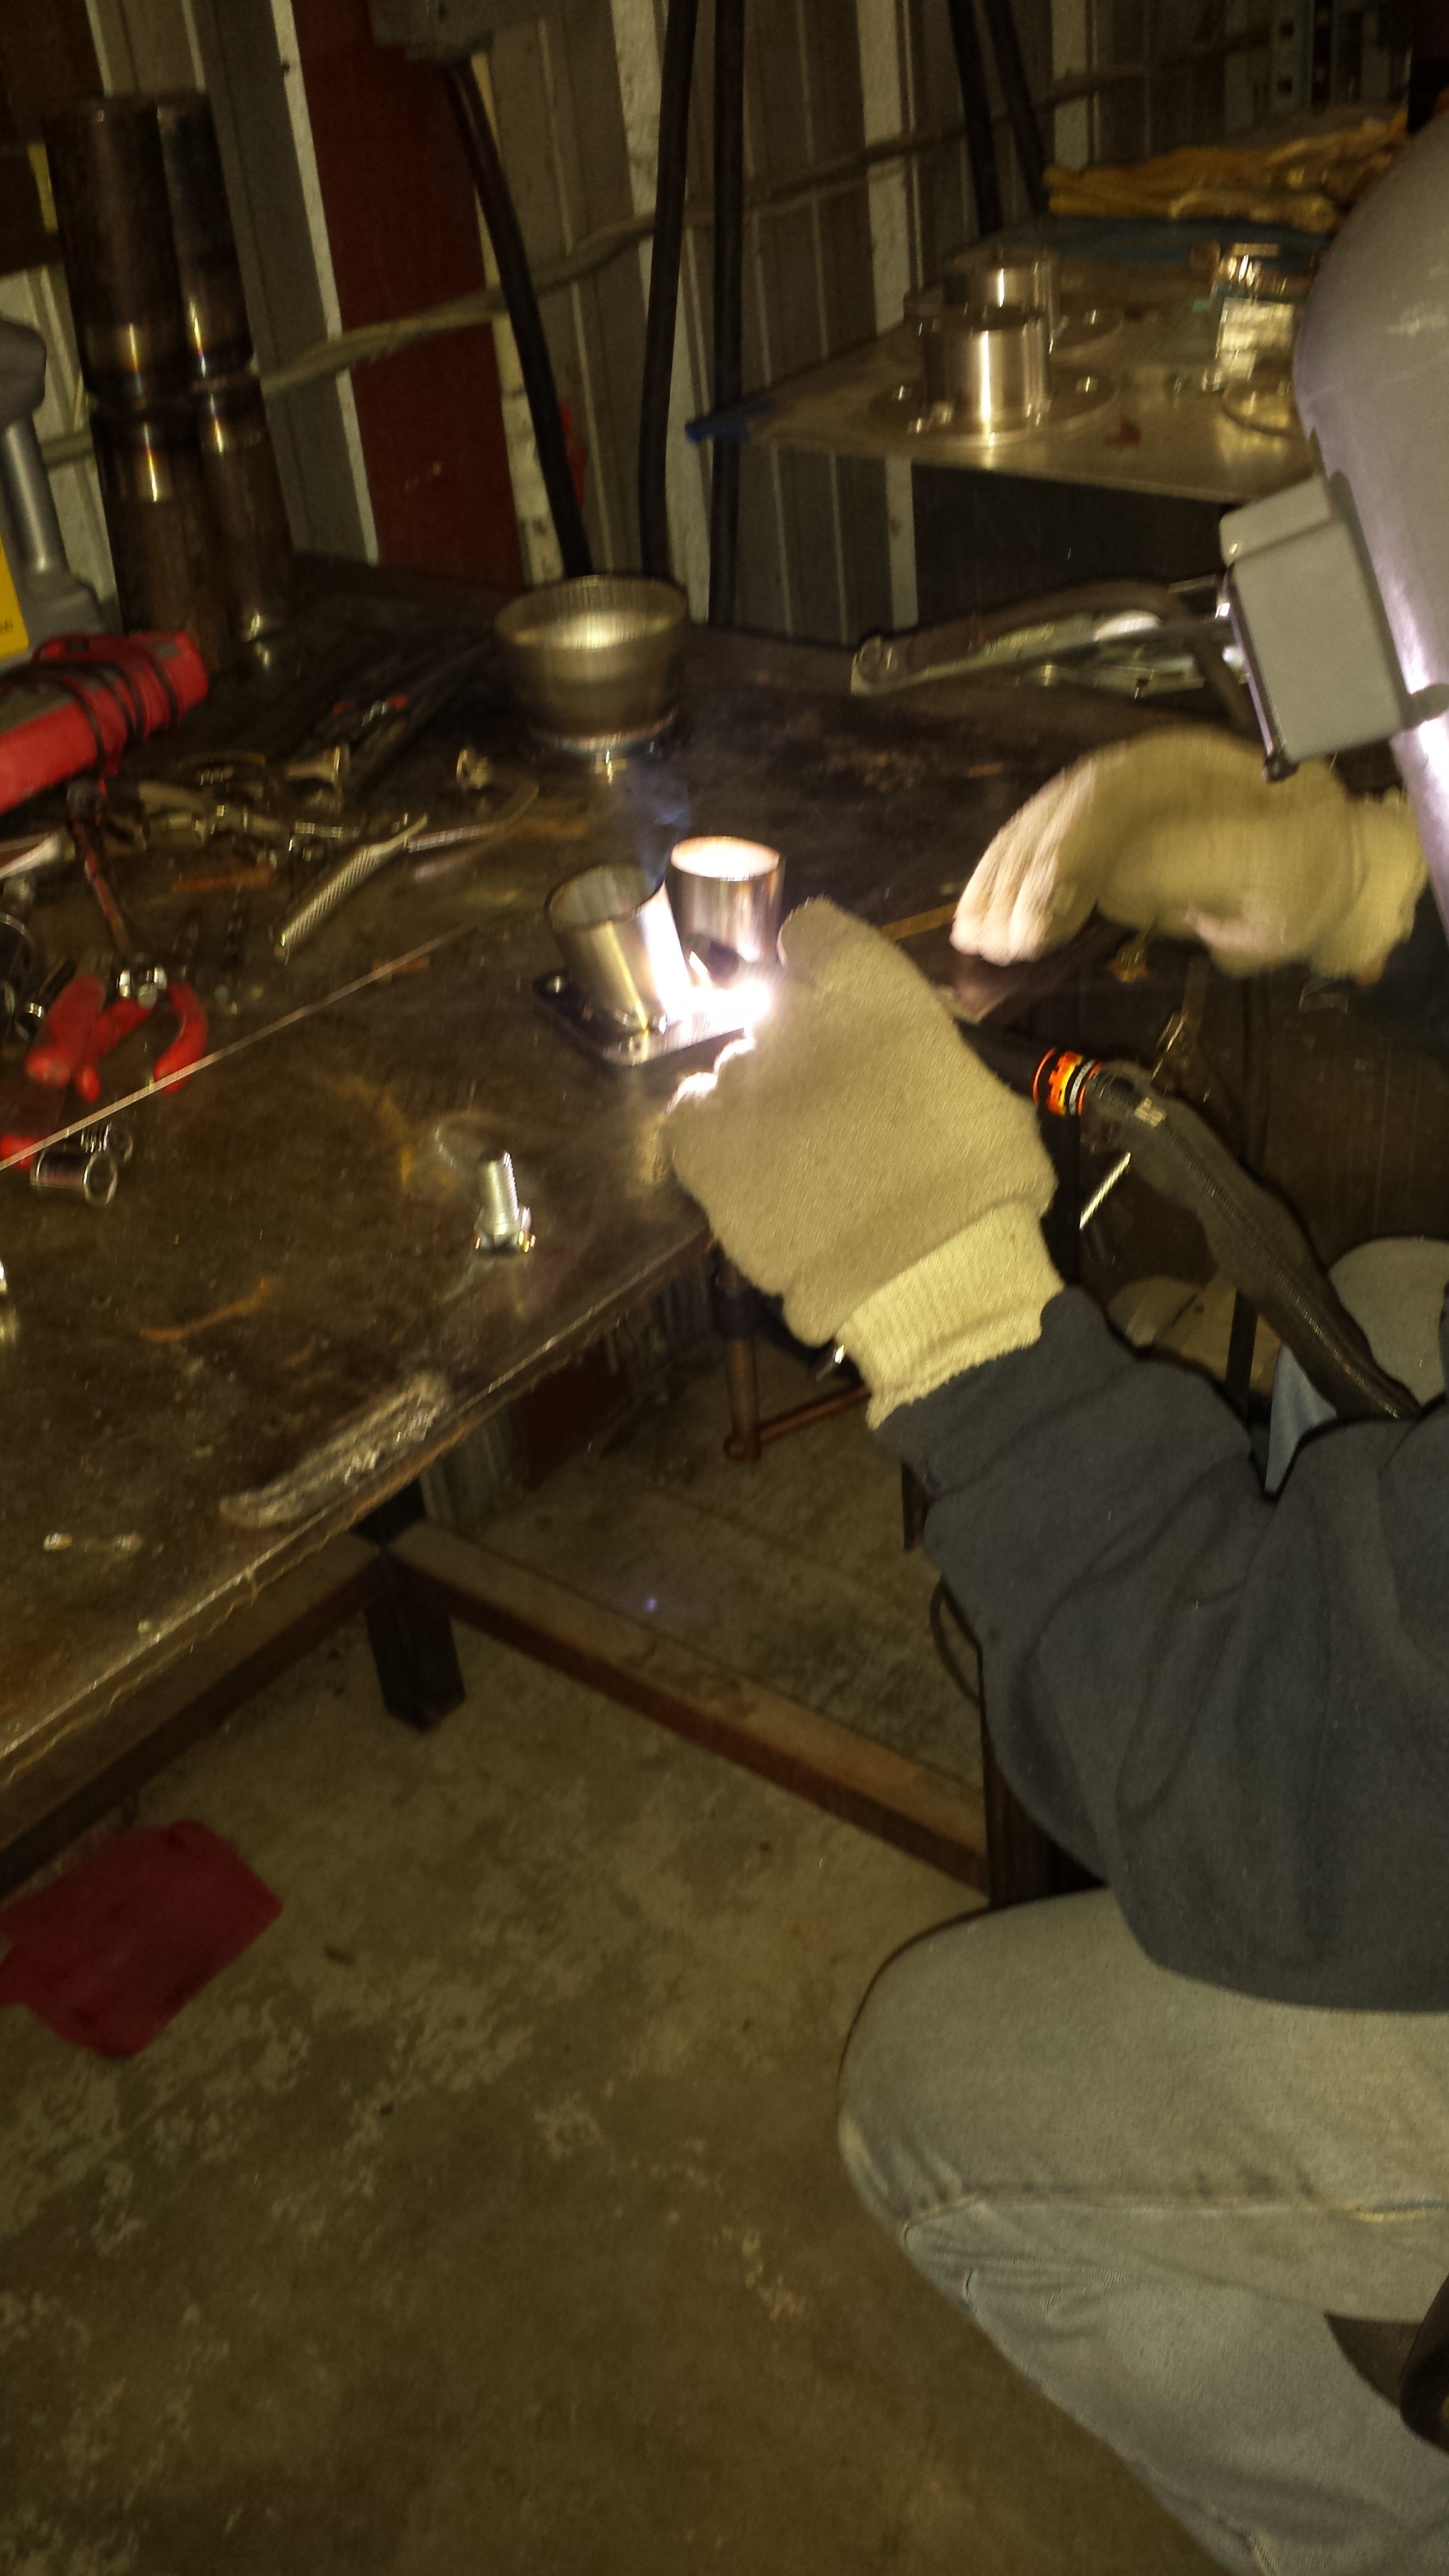
Bj Welding
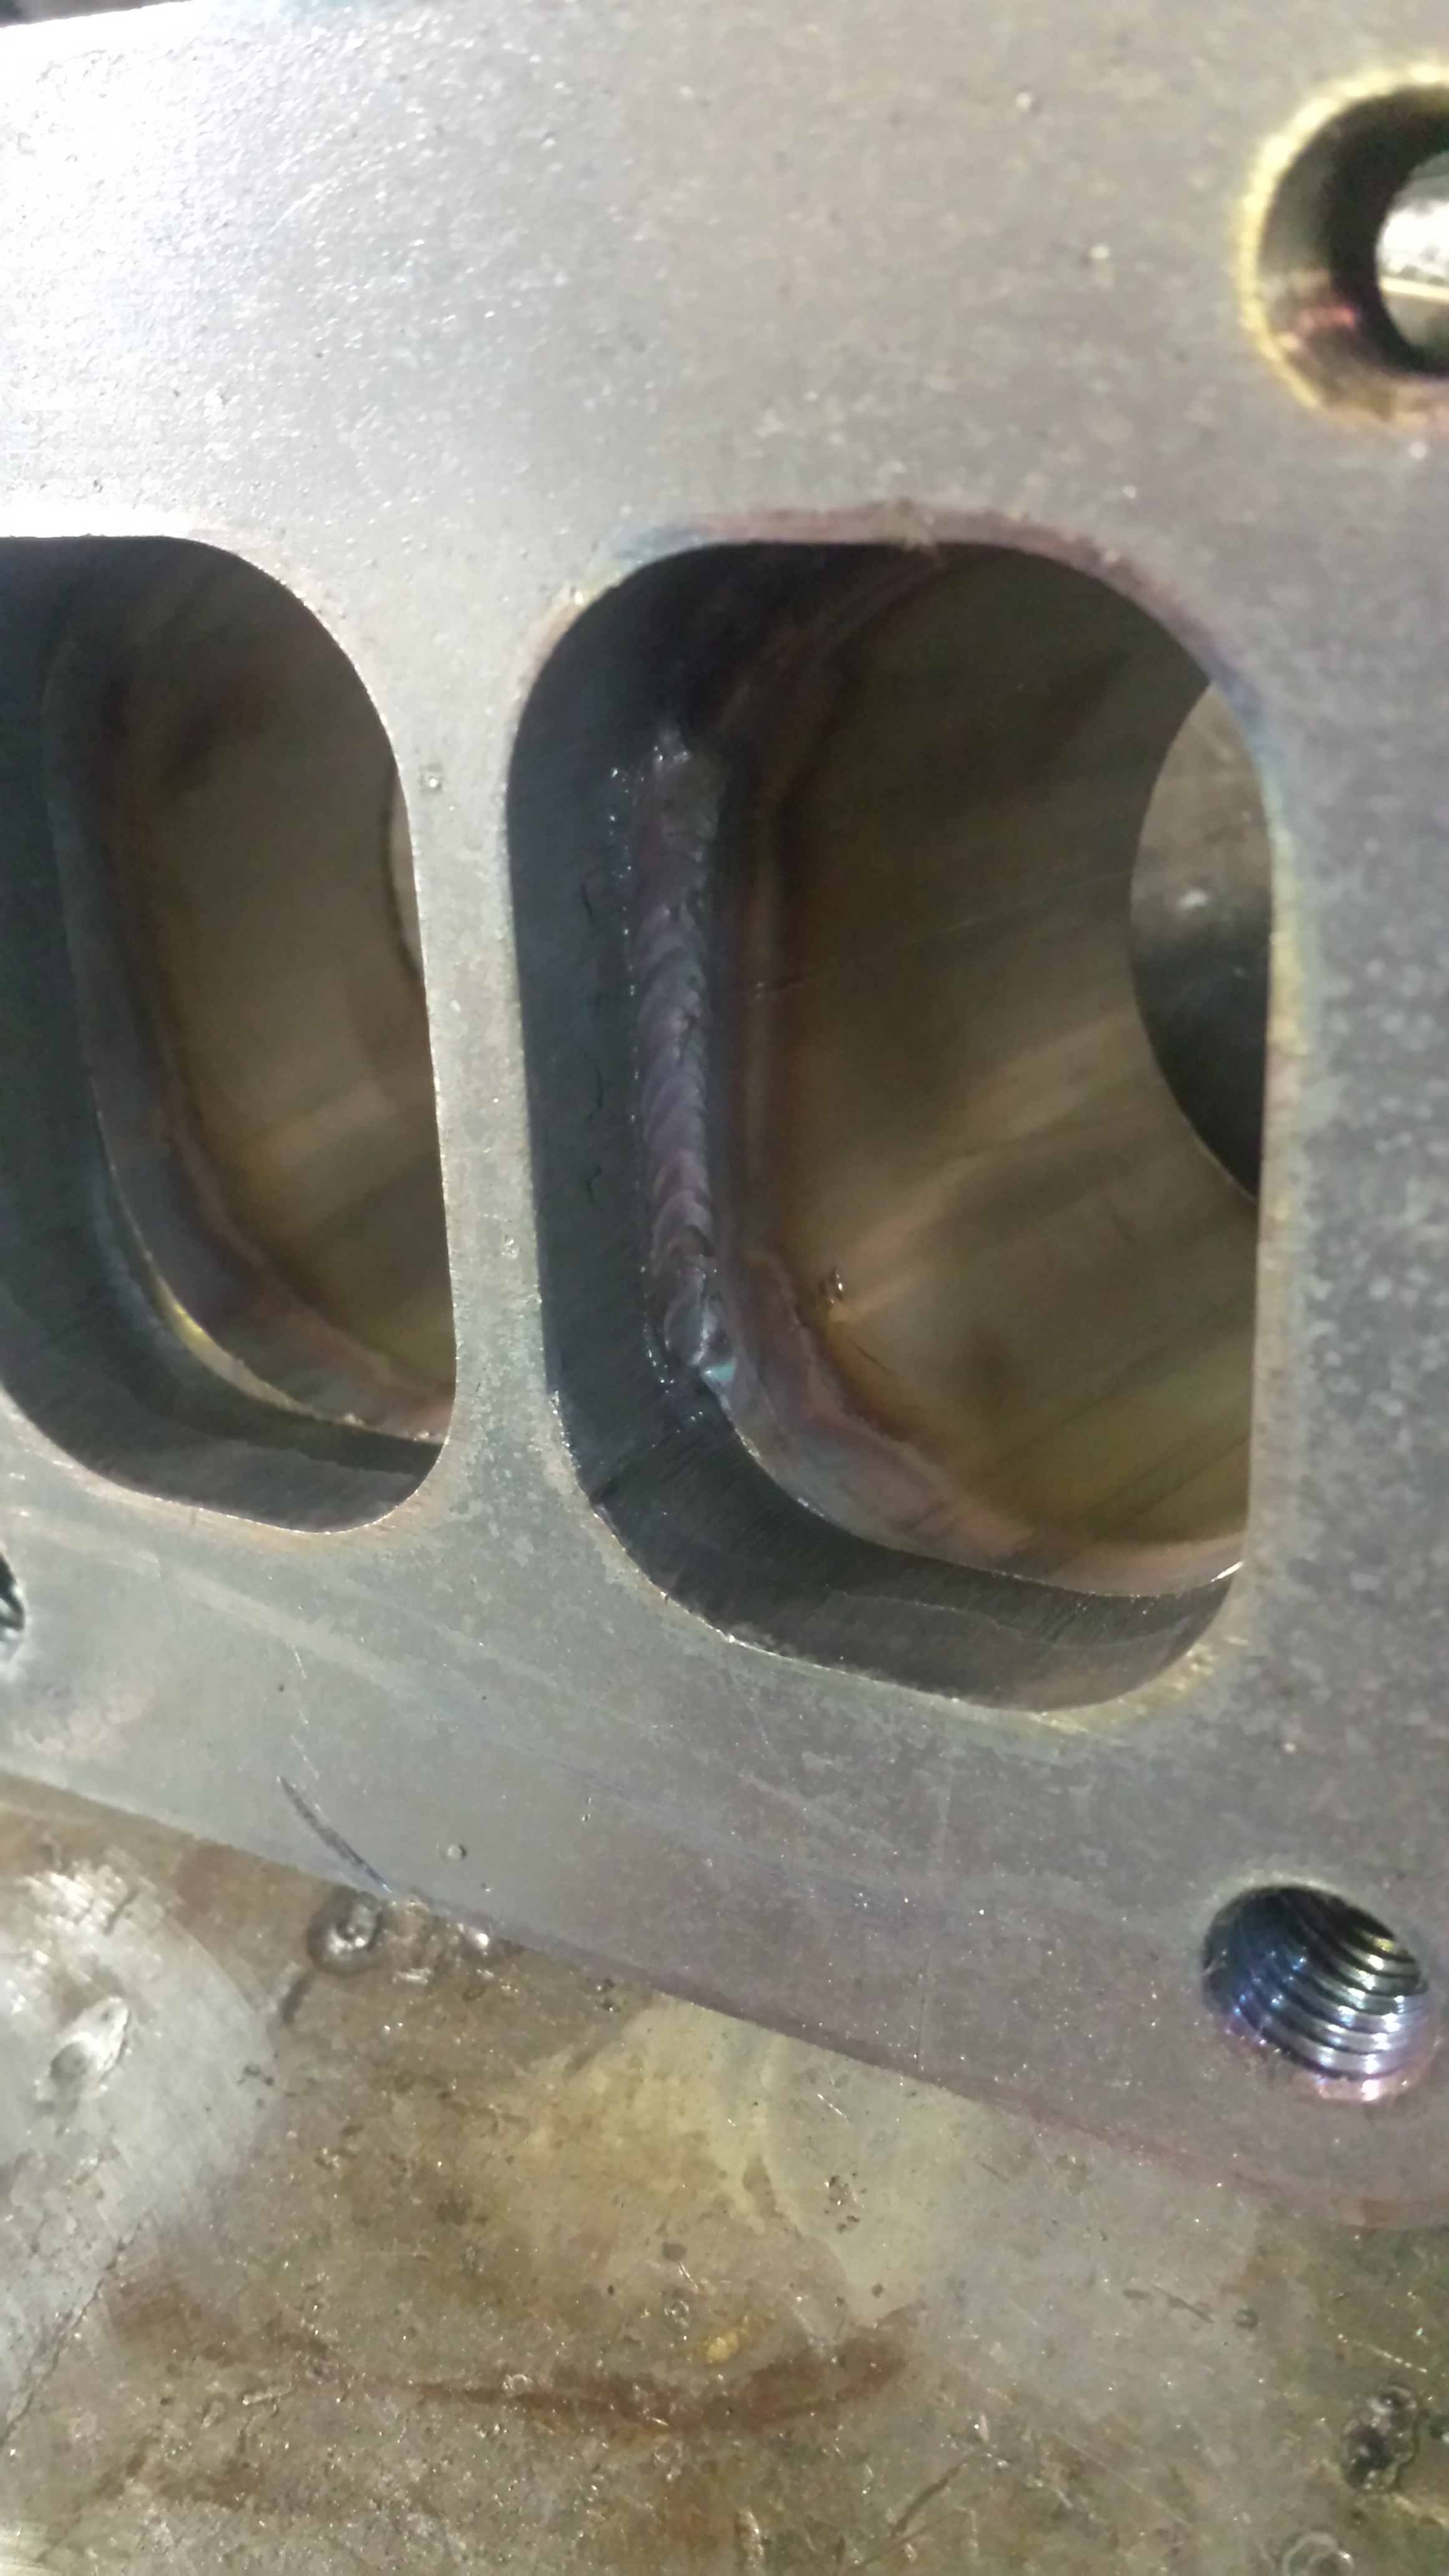
Inside of the divide welded
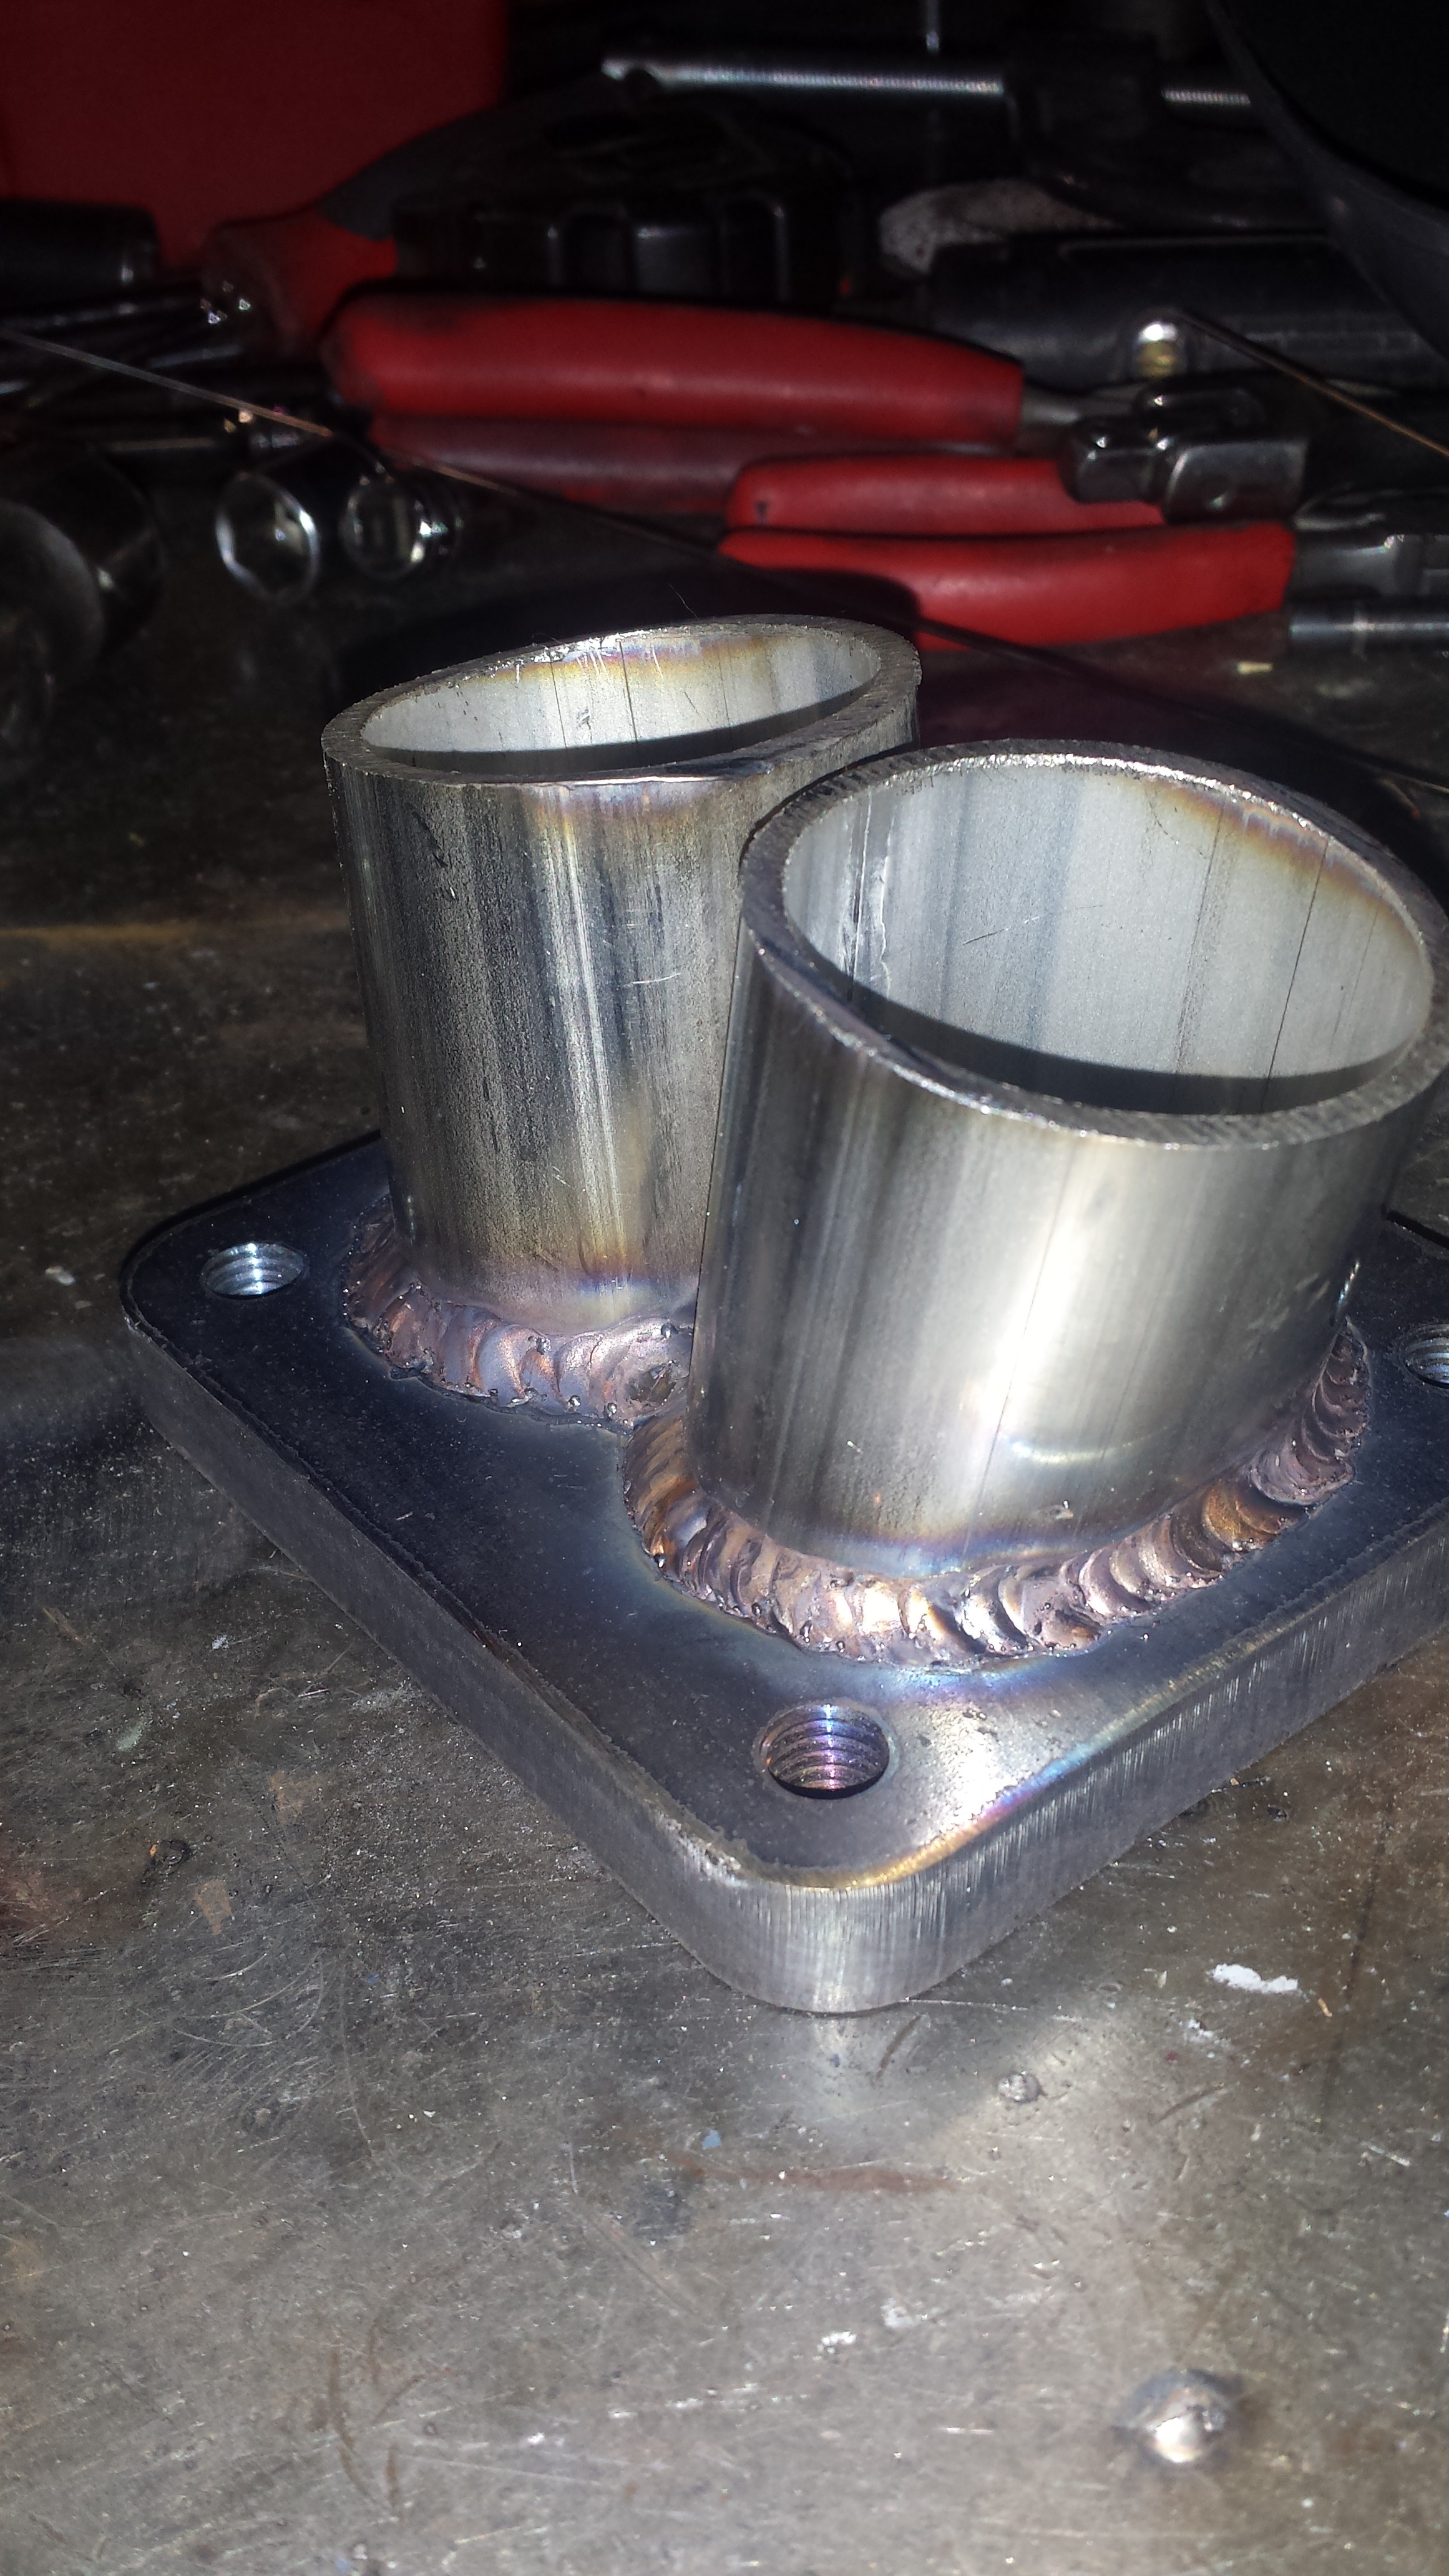
Outside
I was able to get in a couple hours at the shop last night. I was able to finish the manifold to turbo flange runner shapes, and also have BJ weld it up. I also finished the 3" to 4" V-band out of the turbo.
So before I post pics I just wanted to say that I've gotten a bunch of crap for not having bj back purge both of these items. But truth is... I'm sure it's relevent. And once everything is tacked together and were done with the shape of the manifold, we'll be back purging the whole thing. But we didn't back purge these two pieces. There wasn't much trash on the inside of either welds aside from a small line of salty left-overs so I simply used the porting tool to get it all off and smoothed out the imperfections till I was satisfied.
V-band Welded and wire wheeled
Inside garbage
Doesnt take much to get all the Sugar trash off
But the end product is wayy smoother and gives me a better piece of mind as well
Bj Welding
Inside of the divide welded
Outside
Continued Update:
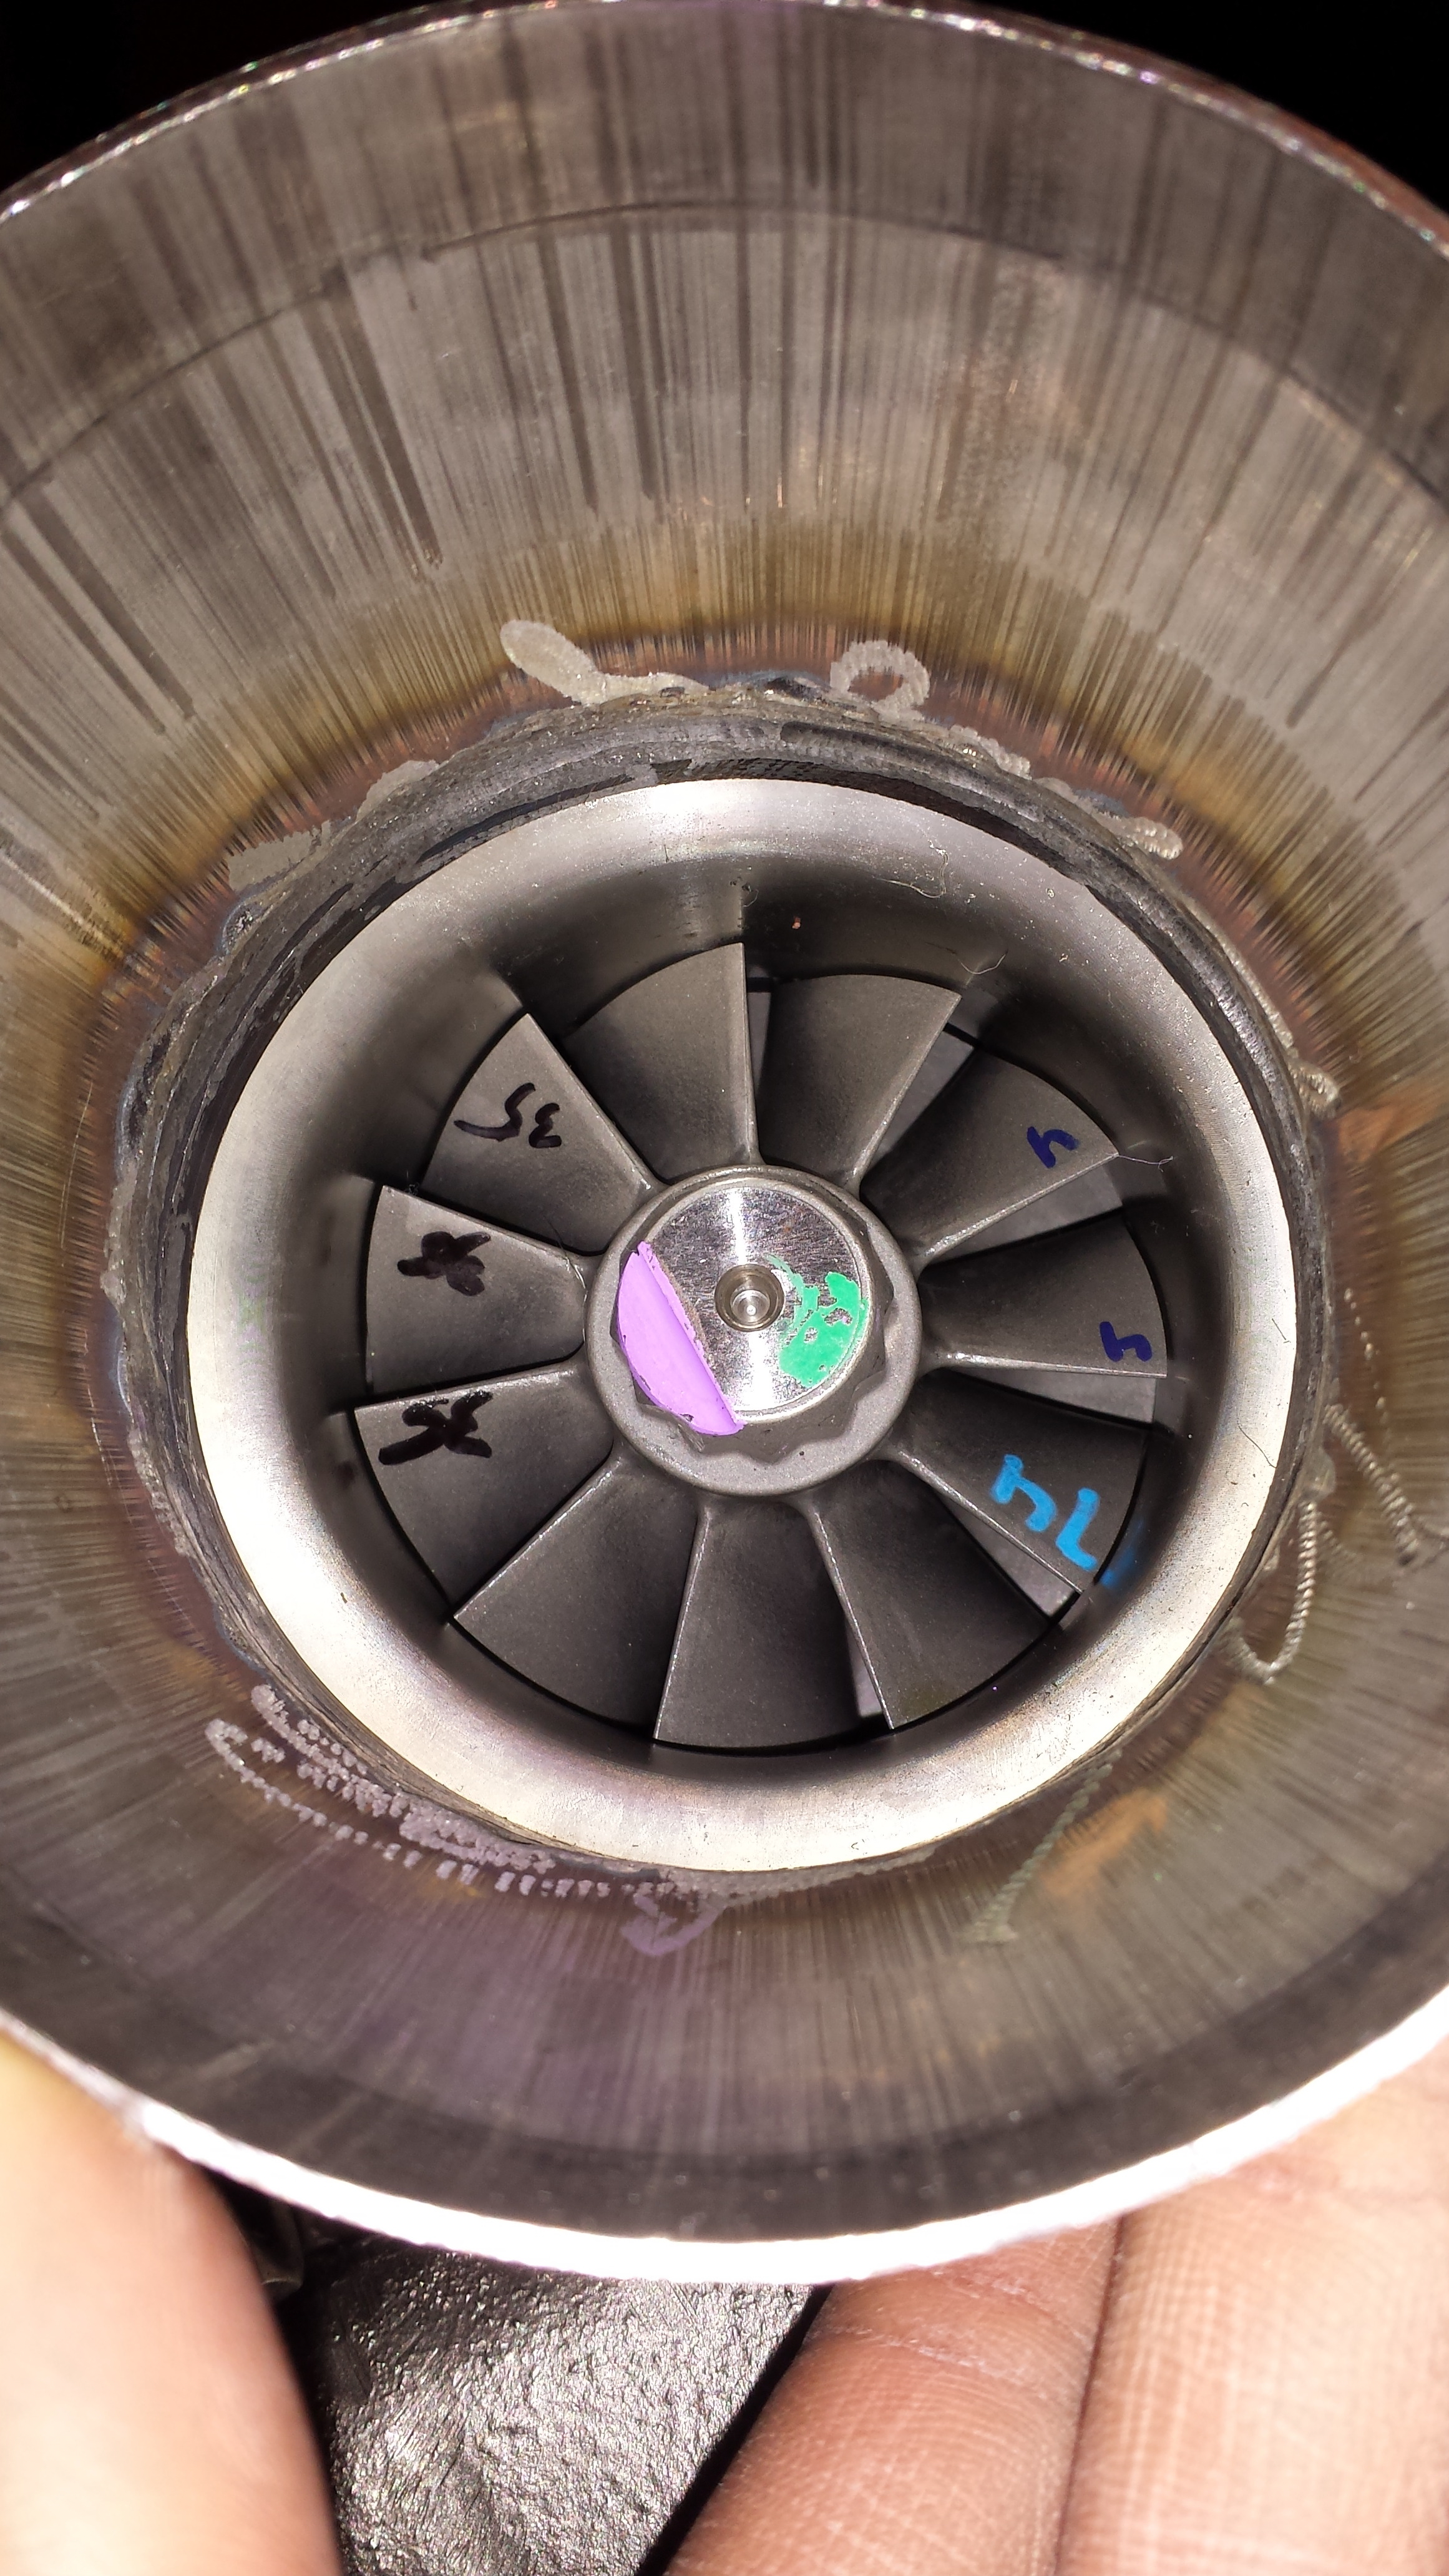
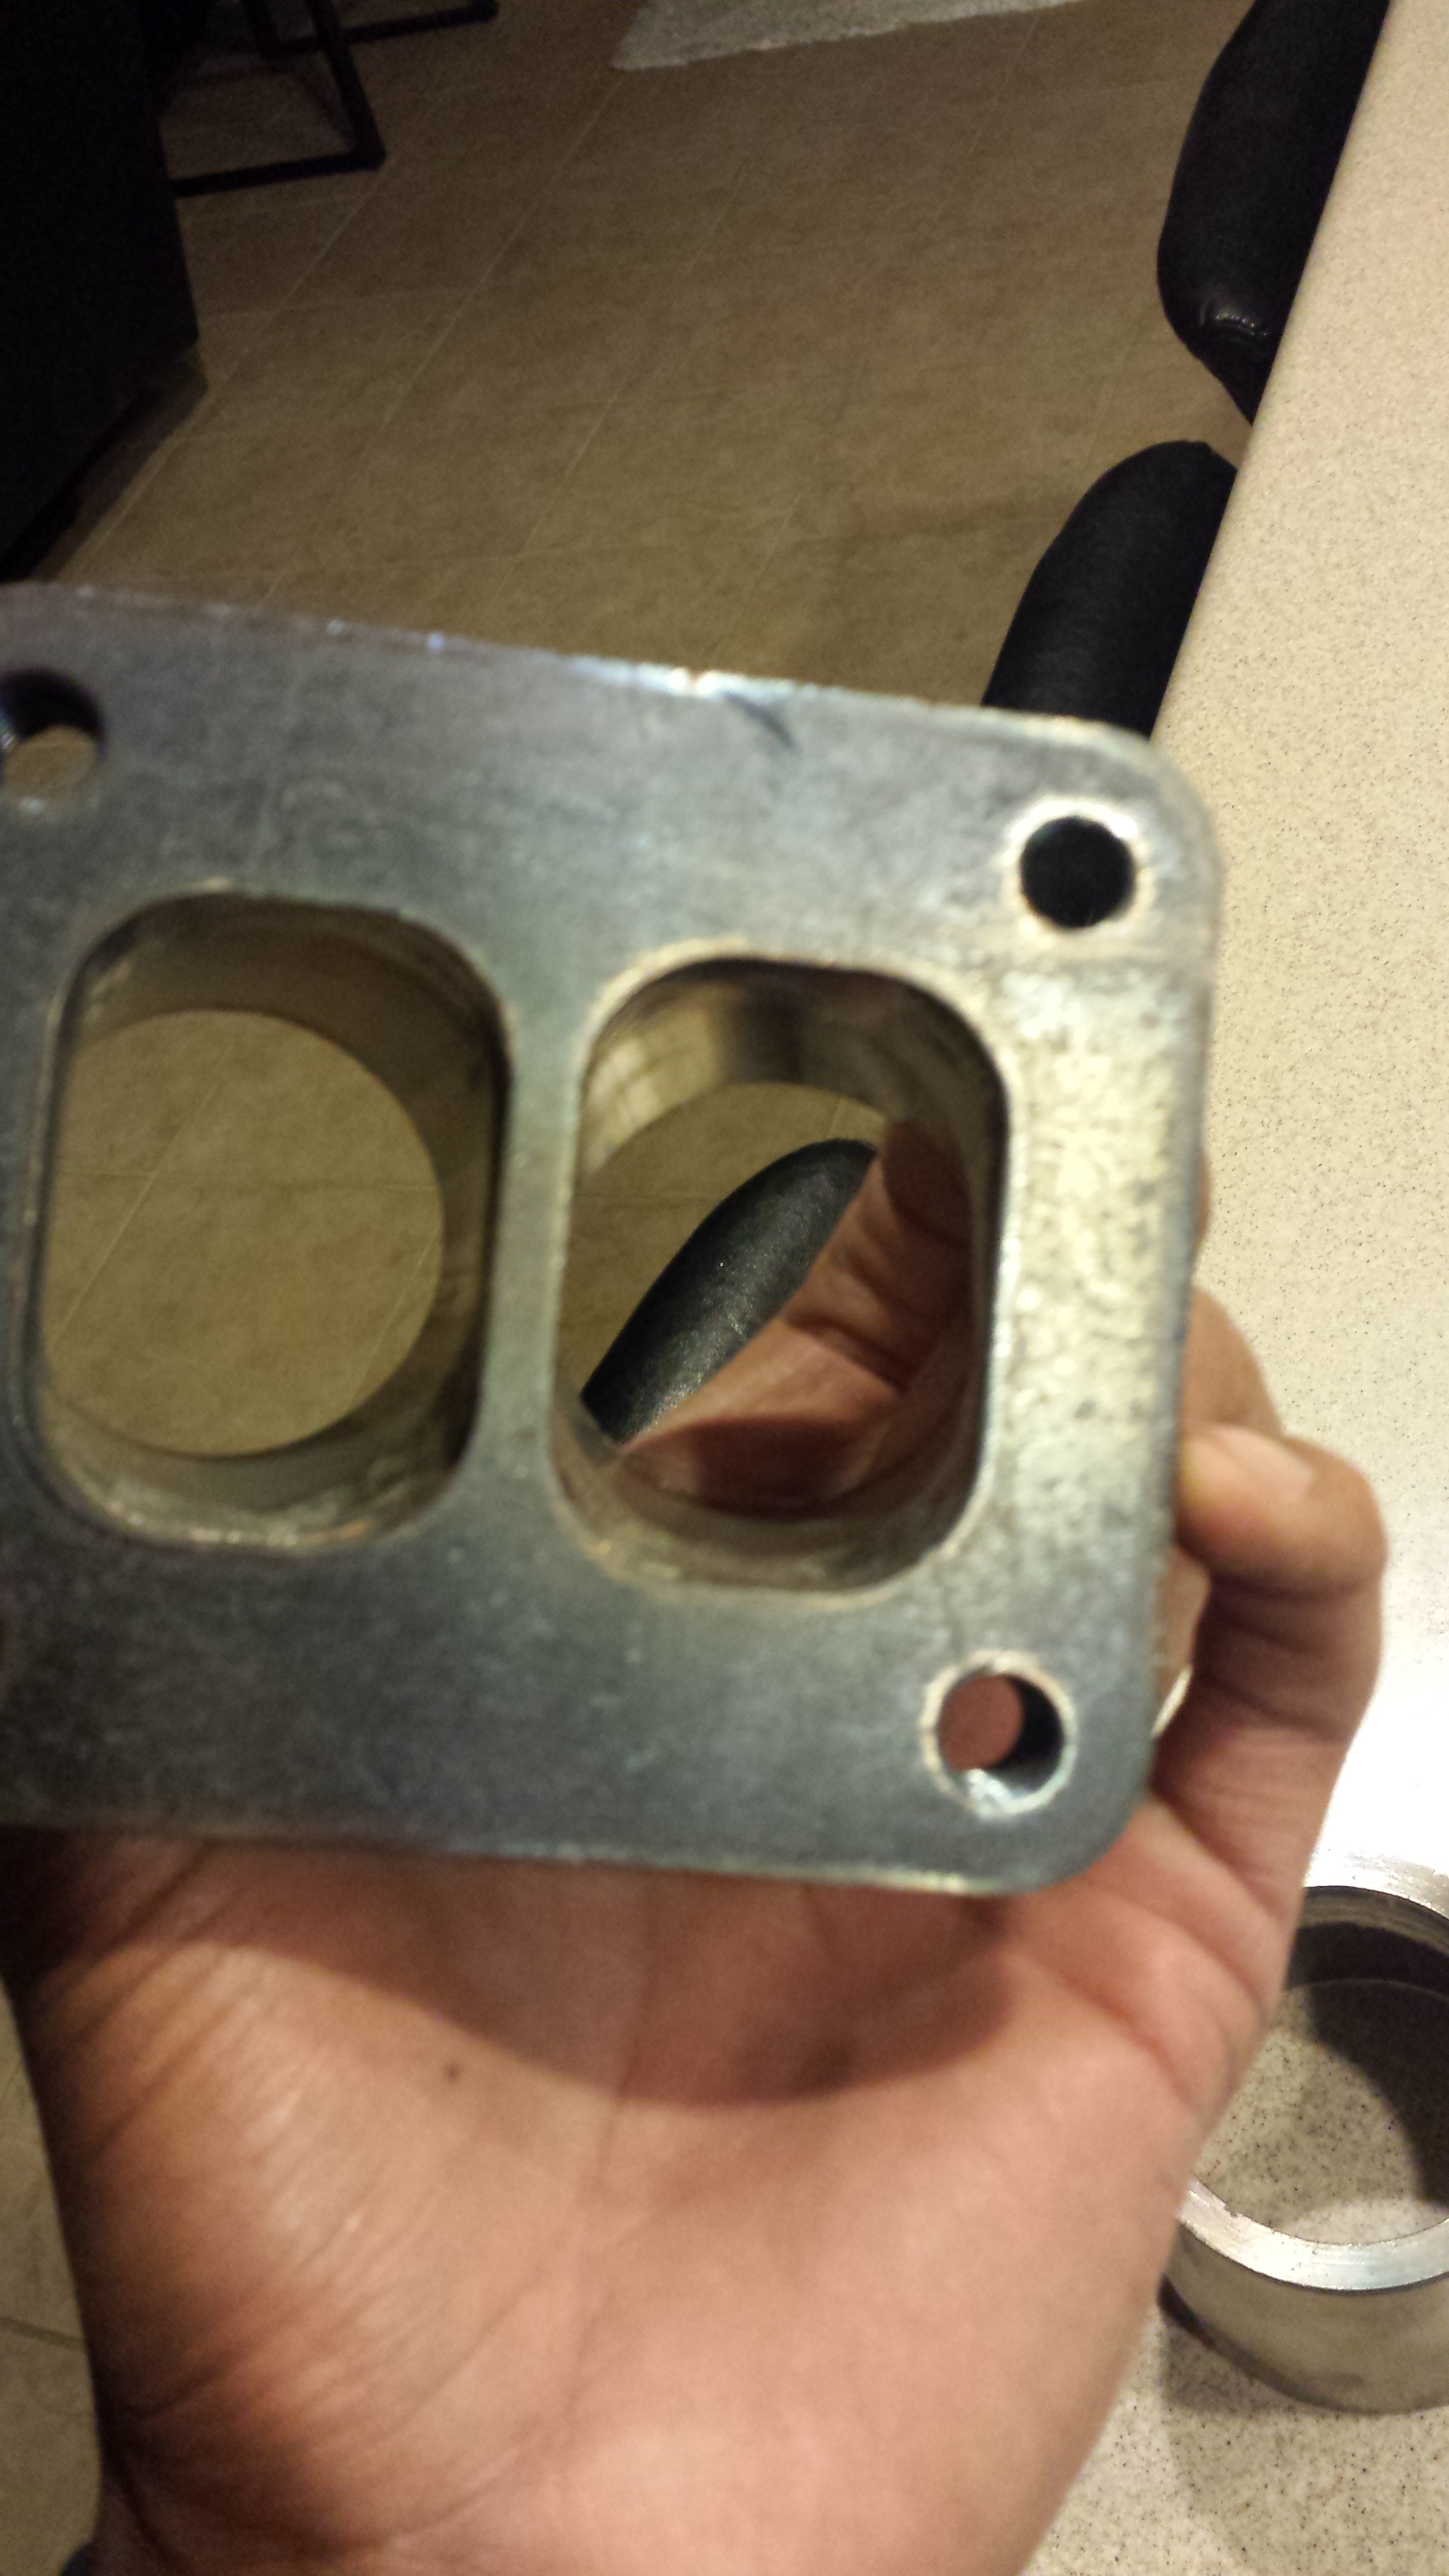
Top of the flange
Inside after using the porting tool to blend in the imperfections
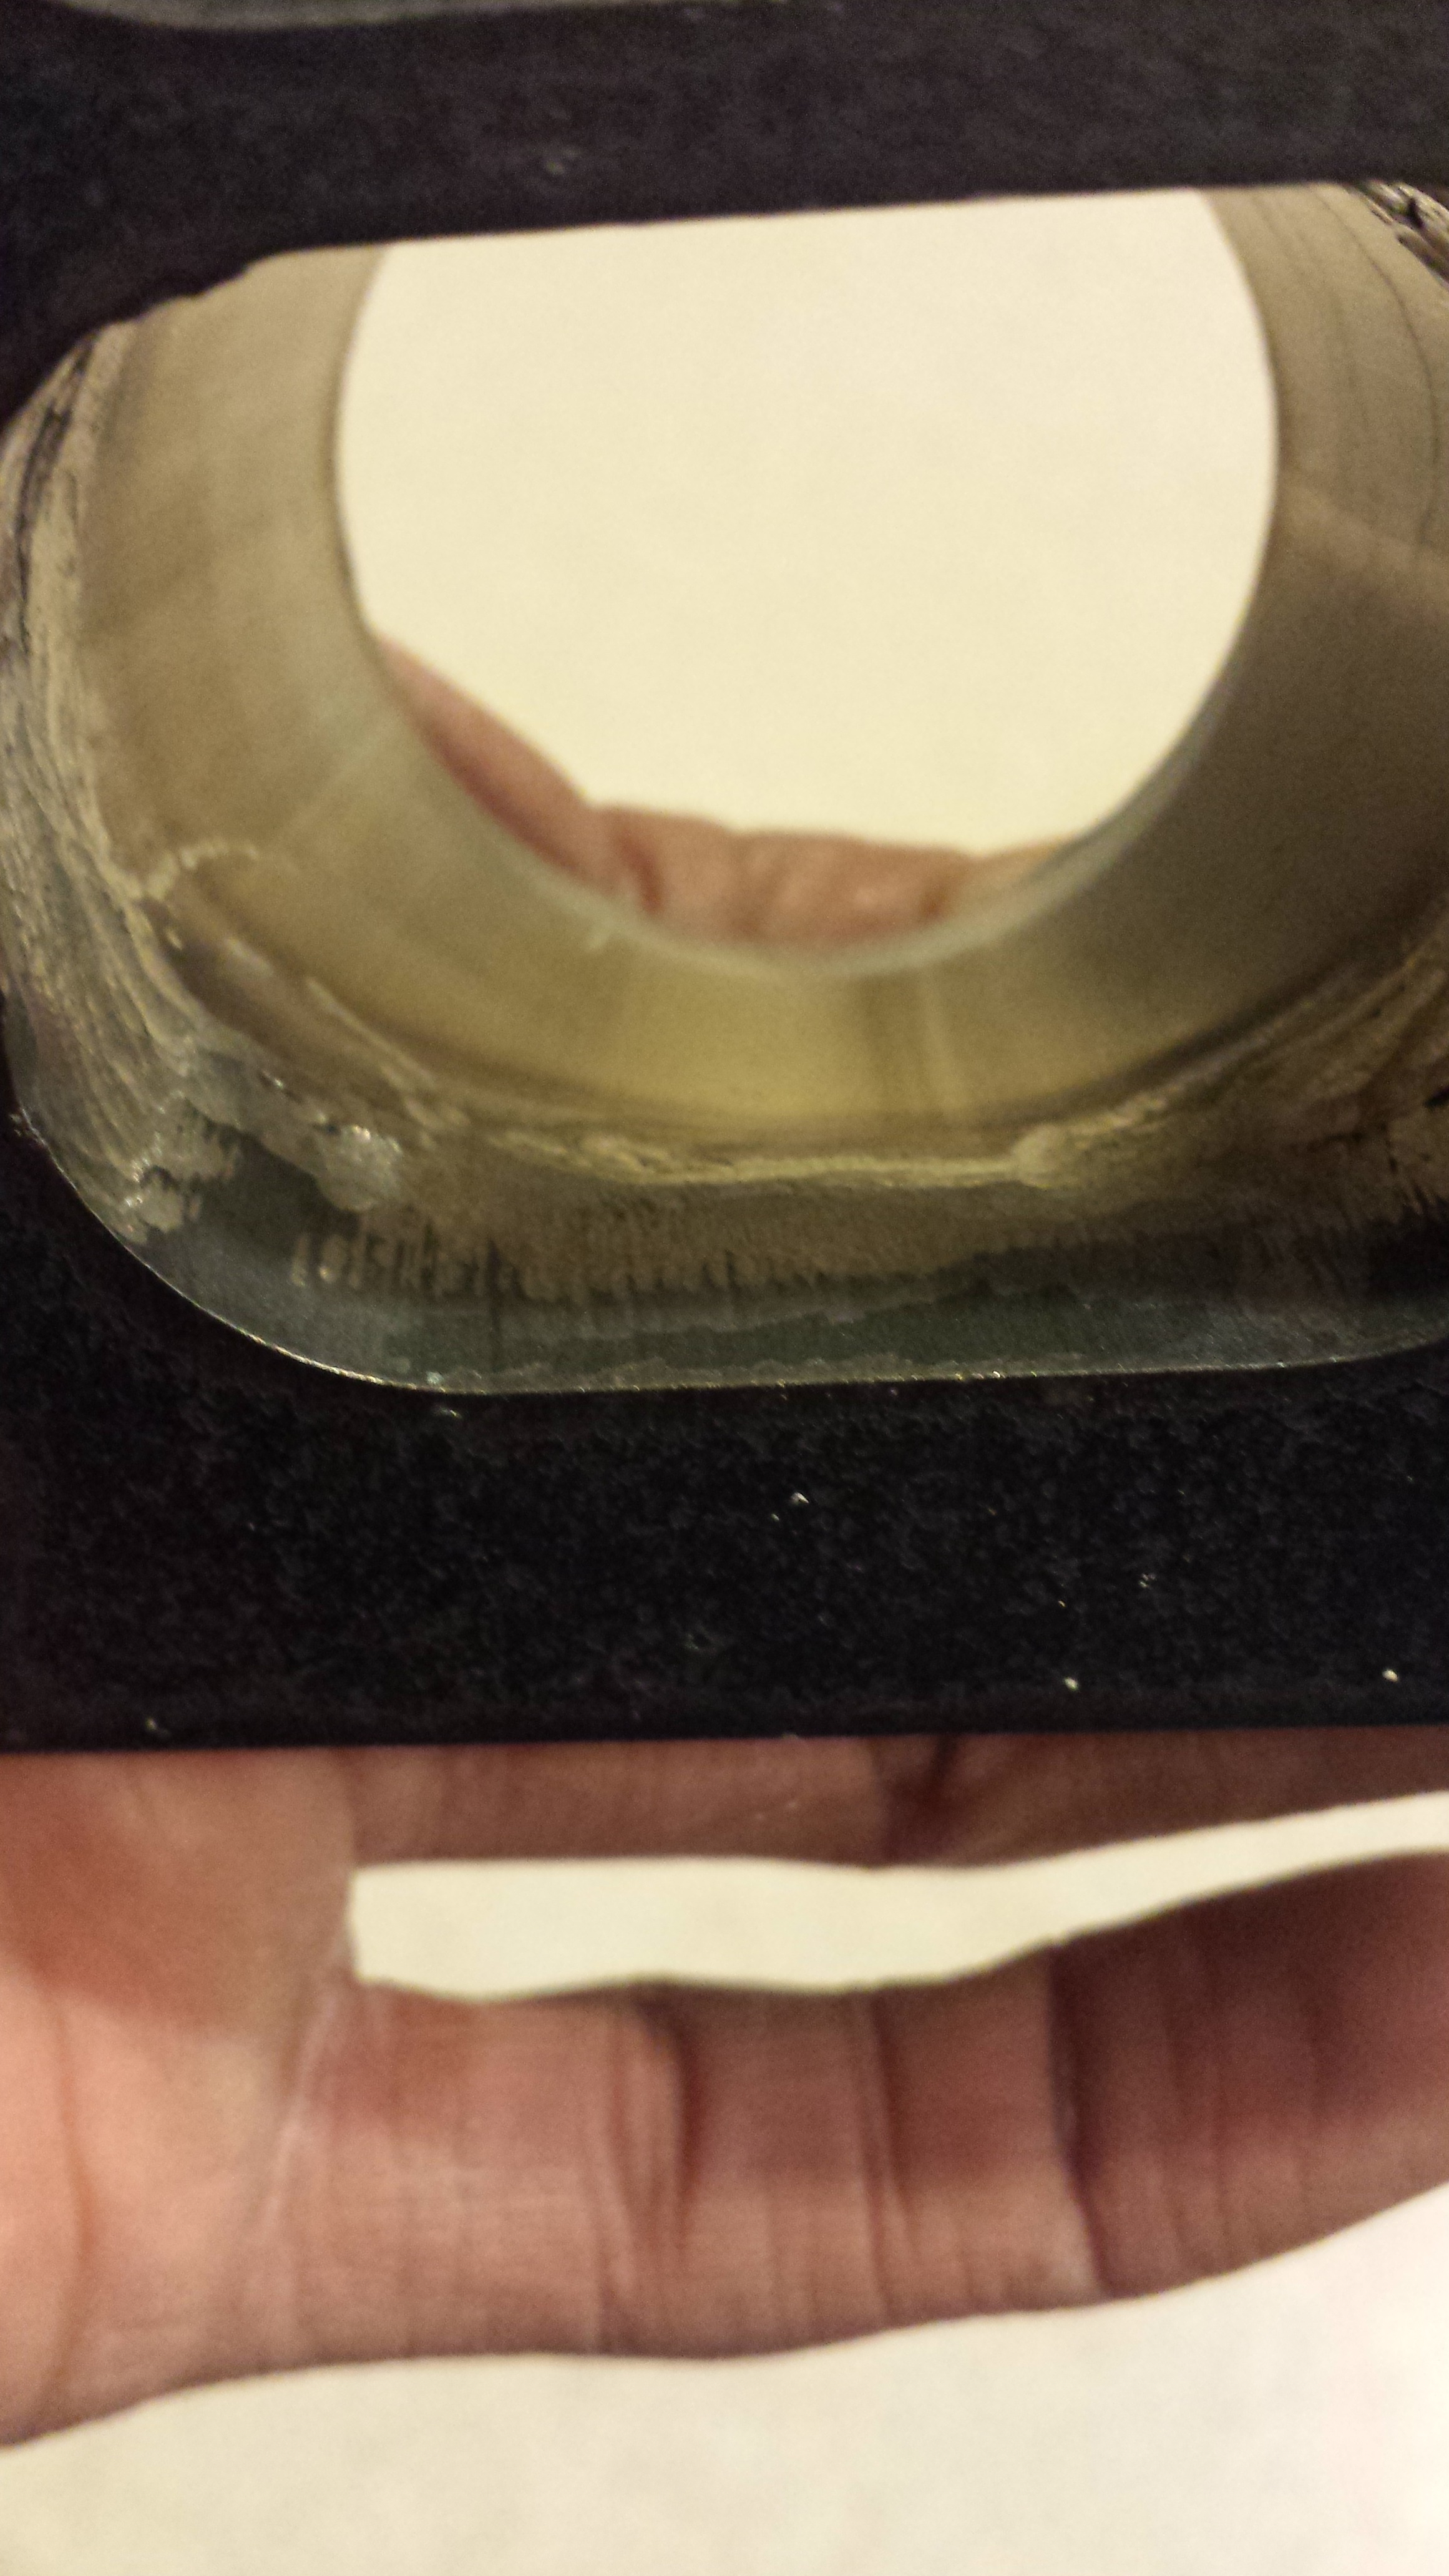
Heres a bad pic but the shape is very nice. There are no lips and I'm very happy with how well it turned out.
More of my mandrel bends....can't wait to get started once I get the motor back!! Looking forward to it.
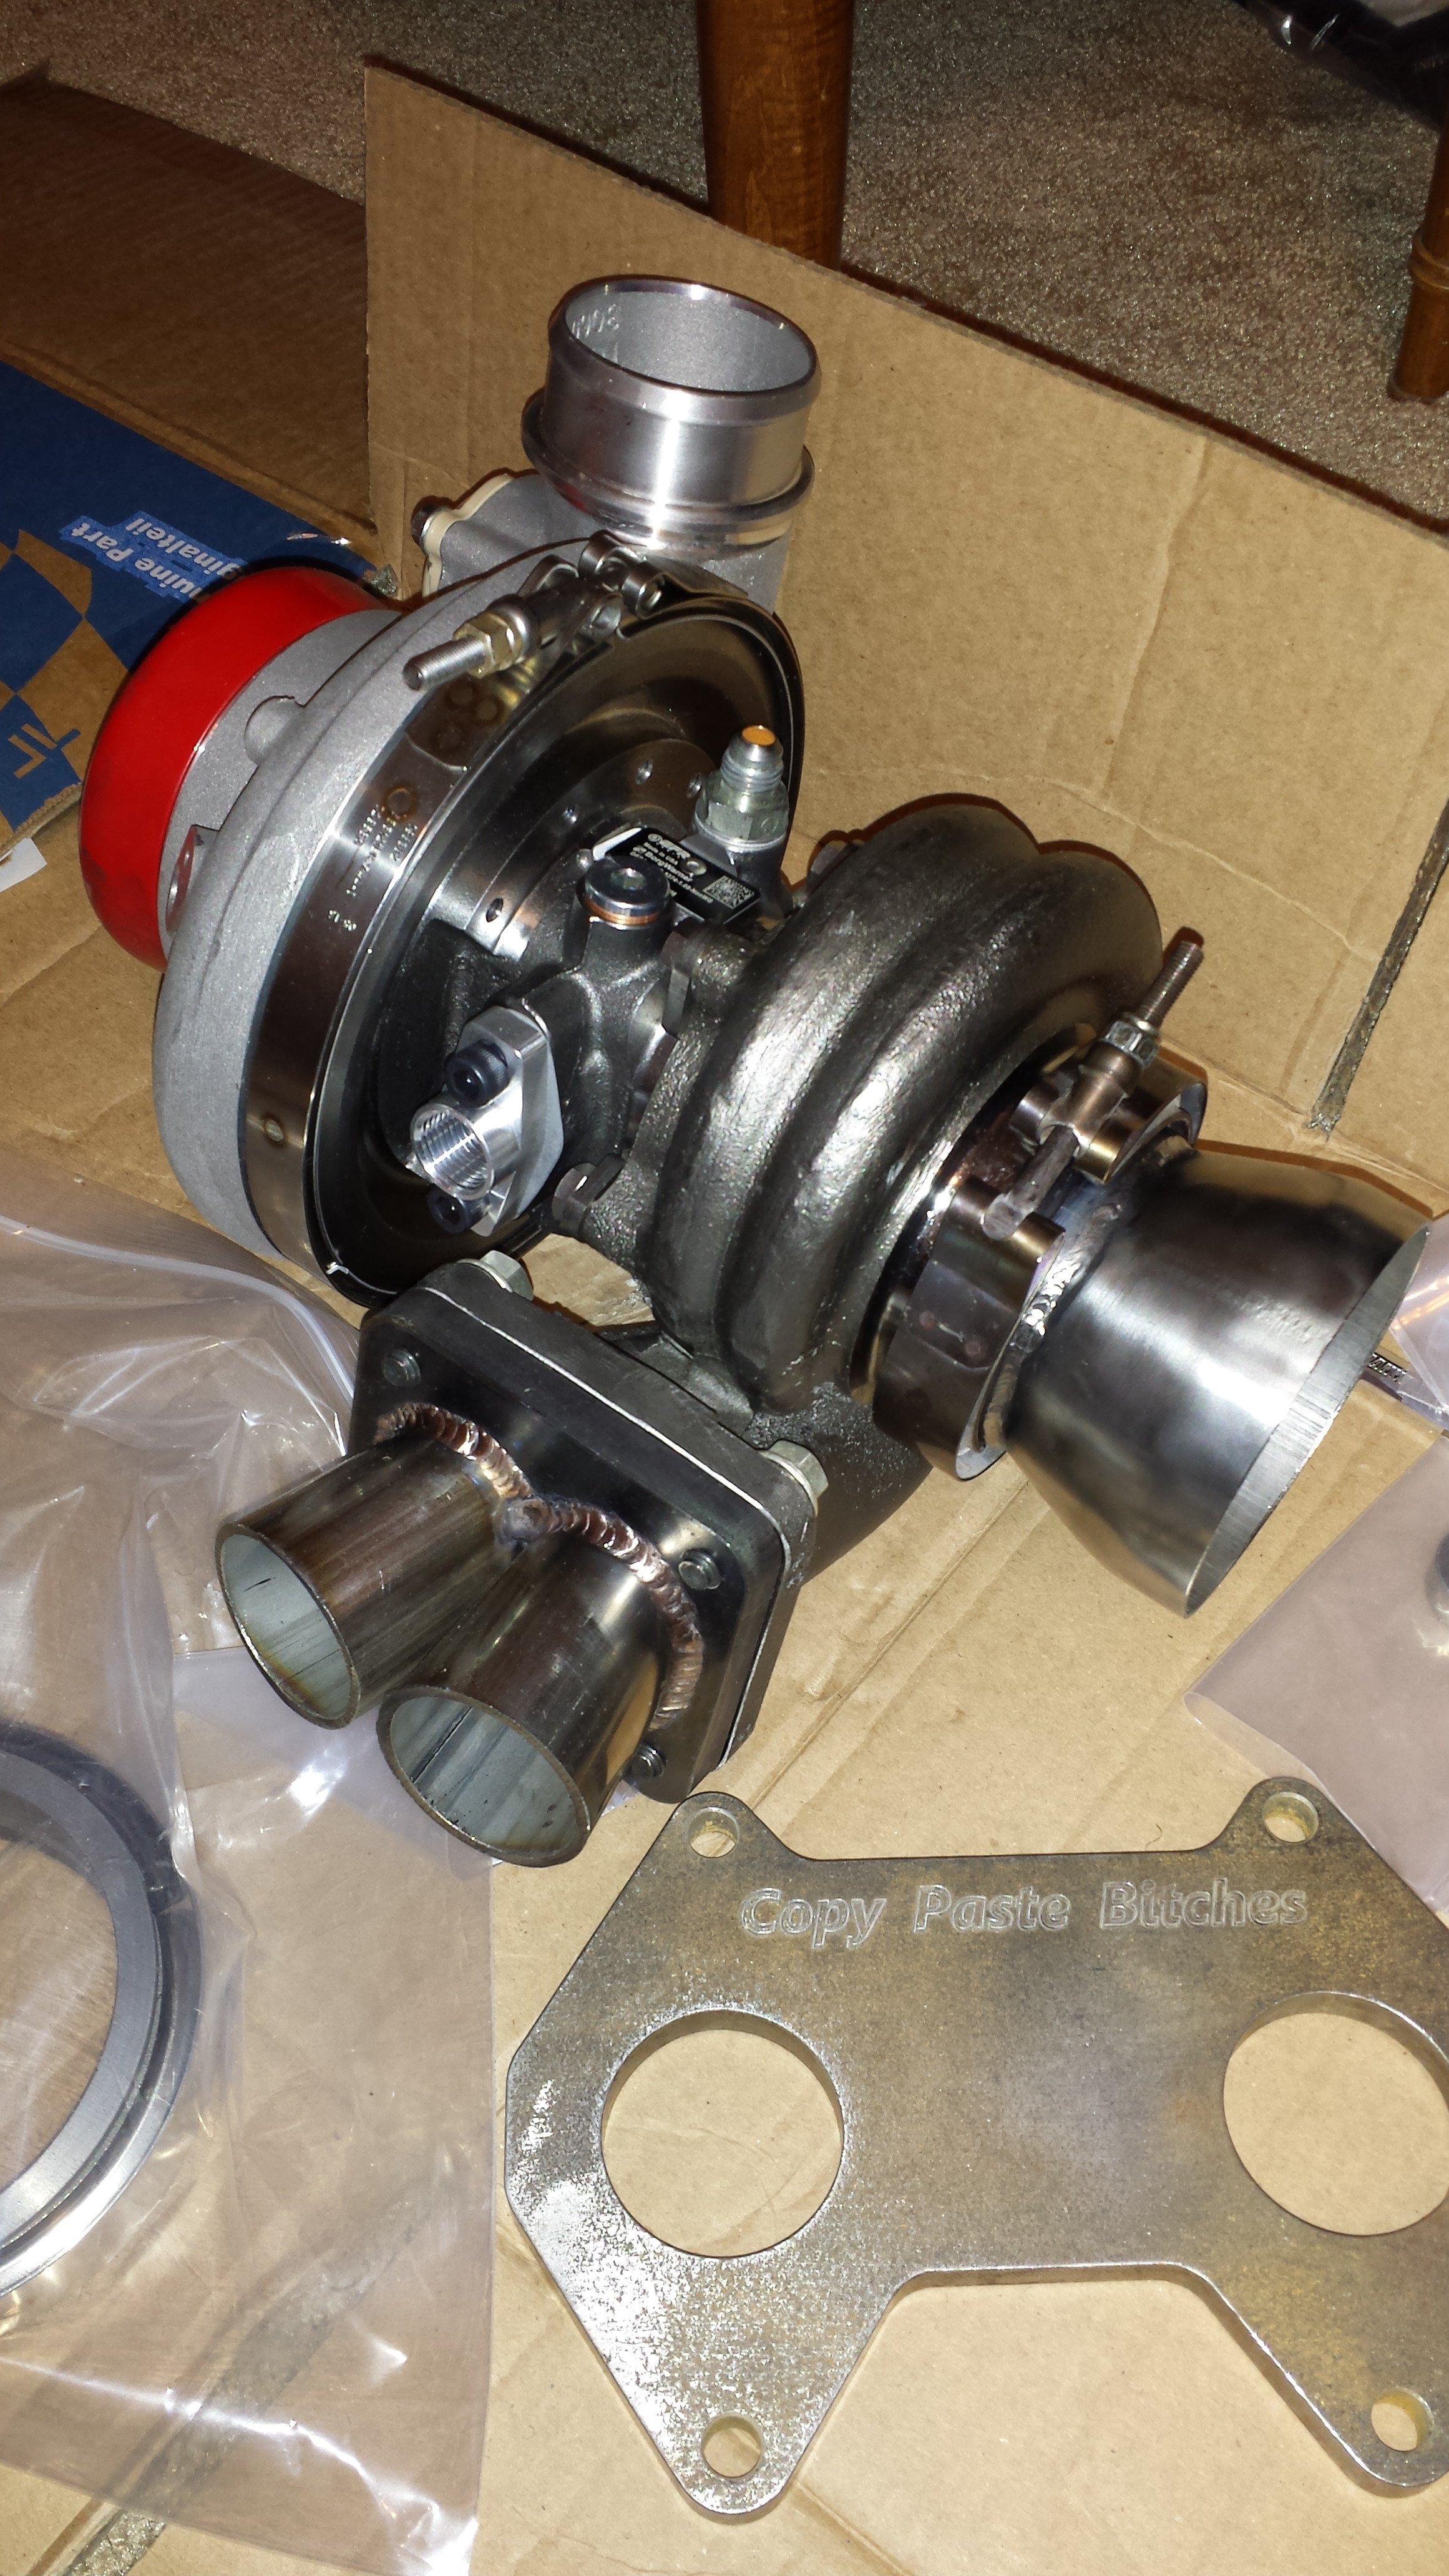
And Flange on the turbo, as well as the Exhaust V-band transition! Looking like a million bucks!
Stay tuned. Next big update will be when I get the Motor back and the everything back together so I can start building the manifold into the turbo etc.!!
Top of the flange
Inside after using the porting tool to blend in the imperfections
Heres a bad pic but the shape is very nice. There are no lips and I'm very happy with how well it turned out.
More of my mandrel bends....can't wait to get started once I get the motor back!! Looking forward to it.
And Flange on the turbo, as well as the Exhaust V-band transition! Looking like a million bucks!
Stay tuned. Next big update will be when I get the Motor back and the everything back together so I can start building the manifold into the turbo etc.!!


Yes, I understand that. There are a bunch of different types of rods bj uses. Just because there is rod on the table doesn't mean he used it to weld my stuff.
Its not because of the rod on the table its because of the rod in his hand while welding. You can tell by the welds that are on the flange also.
Last edited by Tig418; Jan 7, 2014 at 08:28 PM.

Likely because Burns Stainless recommend welding the outside of runners with silicone bronze and the inside with the appropriate stainless filler.
Moves made Update:
The housings have been sent out to get diamond honed. When we get them back, the motor will be assembled.
Also I may be using a mock block to start doing the manifold. This way when the motor gets back I can simply swap the mock for the real keg and start it up!
The housings have been sent out to get diamond honed. When we get them back, the motor will be assembled.
Also I may be using a mock block to start doing the manifold. This way when the motor gets back I can simply swap the mock for the real keg and start it up!
Small Update:
Front and rear Rotor housings are OK...diamond honed and on their way back to Howard for reassembly.
Putting in an order for some TurboSmart goodies here at Turblown/Turbo Source this week as well!! Pics to follow!
Front and rear Rotor housings are OK...diamond honed and on their way back to Howard for reassembly.
Putting in an order for some TurboSmart goodies here at Turblown/Turbo Source this week as well!! Pics to follow!