When you click on links to various merchants on this site and make a purchase, this can result in this site earning a commission. Affiliate programs and affiliations include, but are not limited to, the eBay Partner Network.
I'm so impressed by the passion and work you have put into this car.
I was blown away by your car in the Larry Chen Hoonigan feature and then seeing the pictures of the progression and being able to spot some of the hidden details and work.... I don't know what to say.
Thank you?
You are one of those FD owners that really increase the prestige of the FD in ways I appreciate the most.
Thanks man, that's one of the kindest things anyone's ever said to me haha. Everyone has their own idea of what an FD should be, I'm glad that we share a similar vision.
Originally Posted by ptrhahn
Great work!
That's the thing with the FD, there's no "free lunch" as far as weight savings, because Mazda had already done so much. For instance, normally switching to race seats might save you 40-50 lbs on a regular car, but I doubt once you add mounts/rails for your race seat it's but a few lbs. on our cars. So what you're left with is exactly what you've done, a ton of little details that add up. That's an incredibly impressive number, given you also still have an interior. Love that Esprit wing. I looked at it, but couldn't justify the cost.
Inspirational! Though I can't even imagine the work of gutting and redoing all the wiring. I'll probably never do it.
Thanks! Yup, I learned early on that Mazda really went hard with the FD. Even with all the effort I put in, most of the greatest weight losses still resulted from just removing components. Your example of the seat is a great one - I left the stock seat for passenger comfort as the weight difference is minimal. The Esprit wing is one of my favourite purchases, pricey but less than many others. The wing itself is FRP (I had always planned to paint it), iirc the price was about 1400usd with the dry carbon uprights.
The wiring could honestly be done in a far more budget friendly manner with something like this:
http://www.ronfrancis.com/prodinfo.asp?number=BX-10
Instead of the Motec PDM. Keeping the factory cluster and ABS makes doing a chassis rewire a lot harder as well... Still might be worth it one day for a track junkie like yourself.
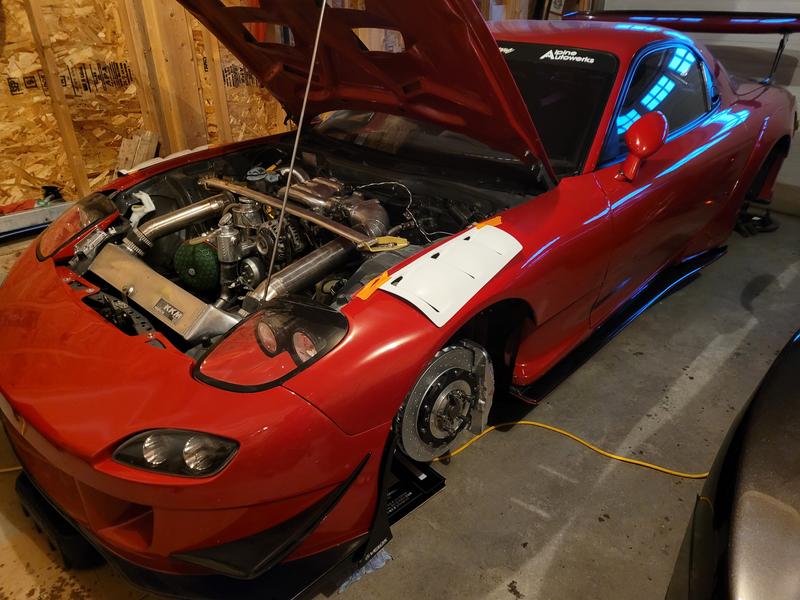
Figured I'd update this thread as parts have mostly arrived for the changes I'm making this spring.
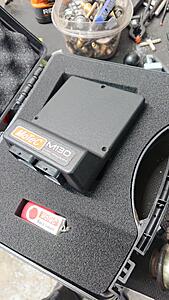
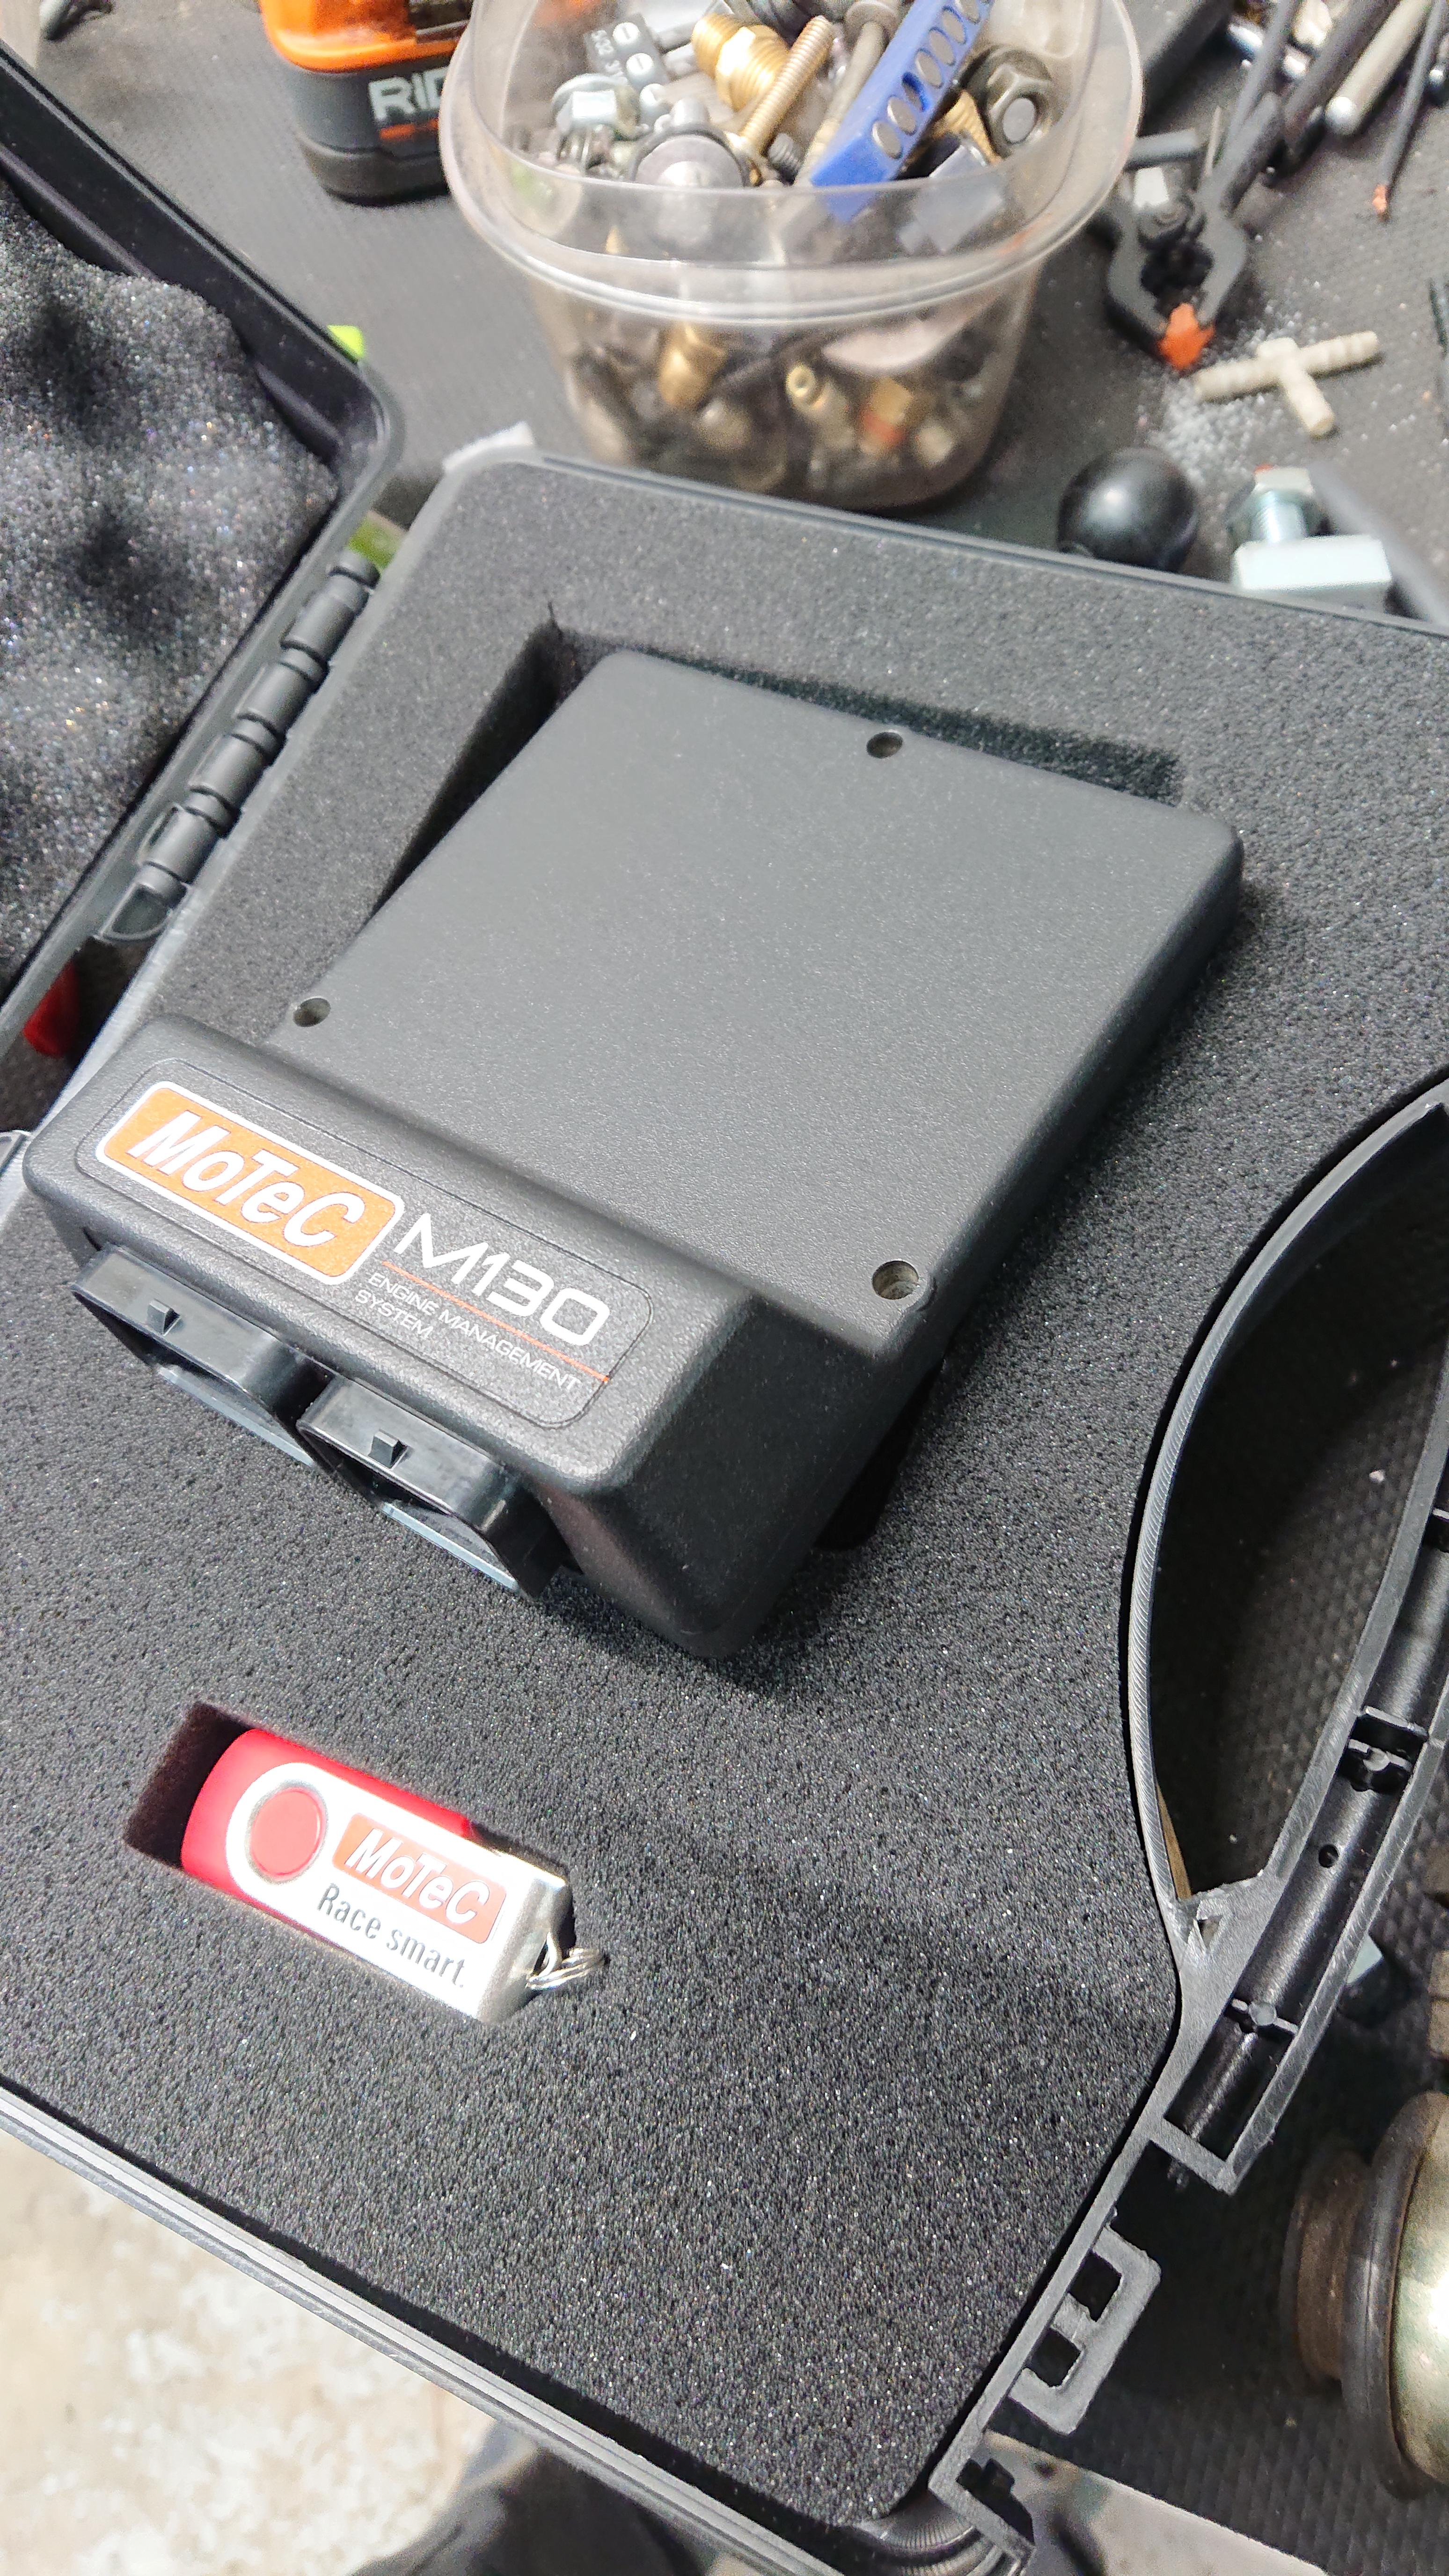
New engine management, excited to try this out
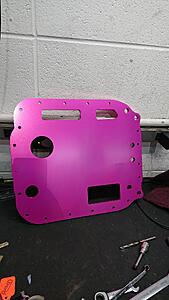
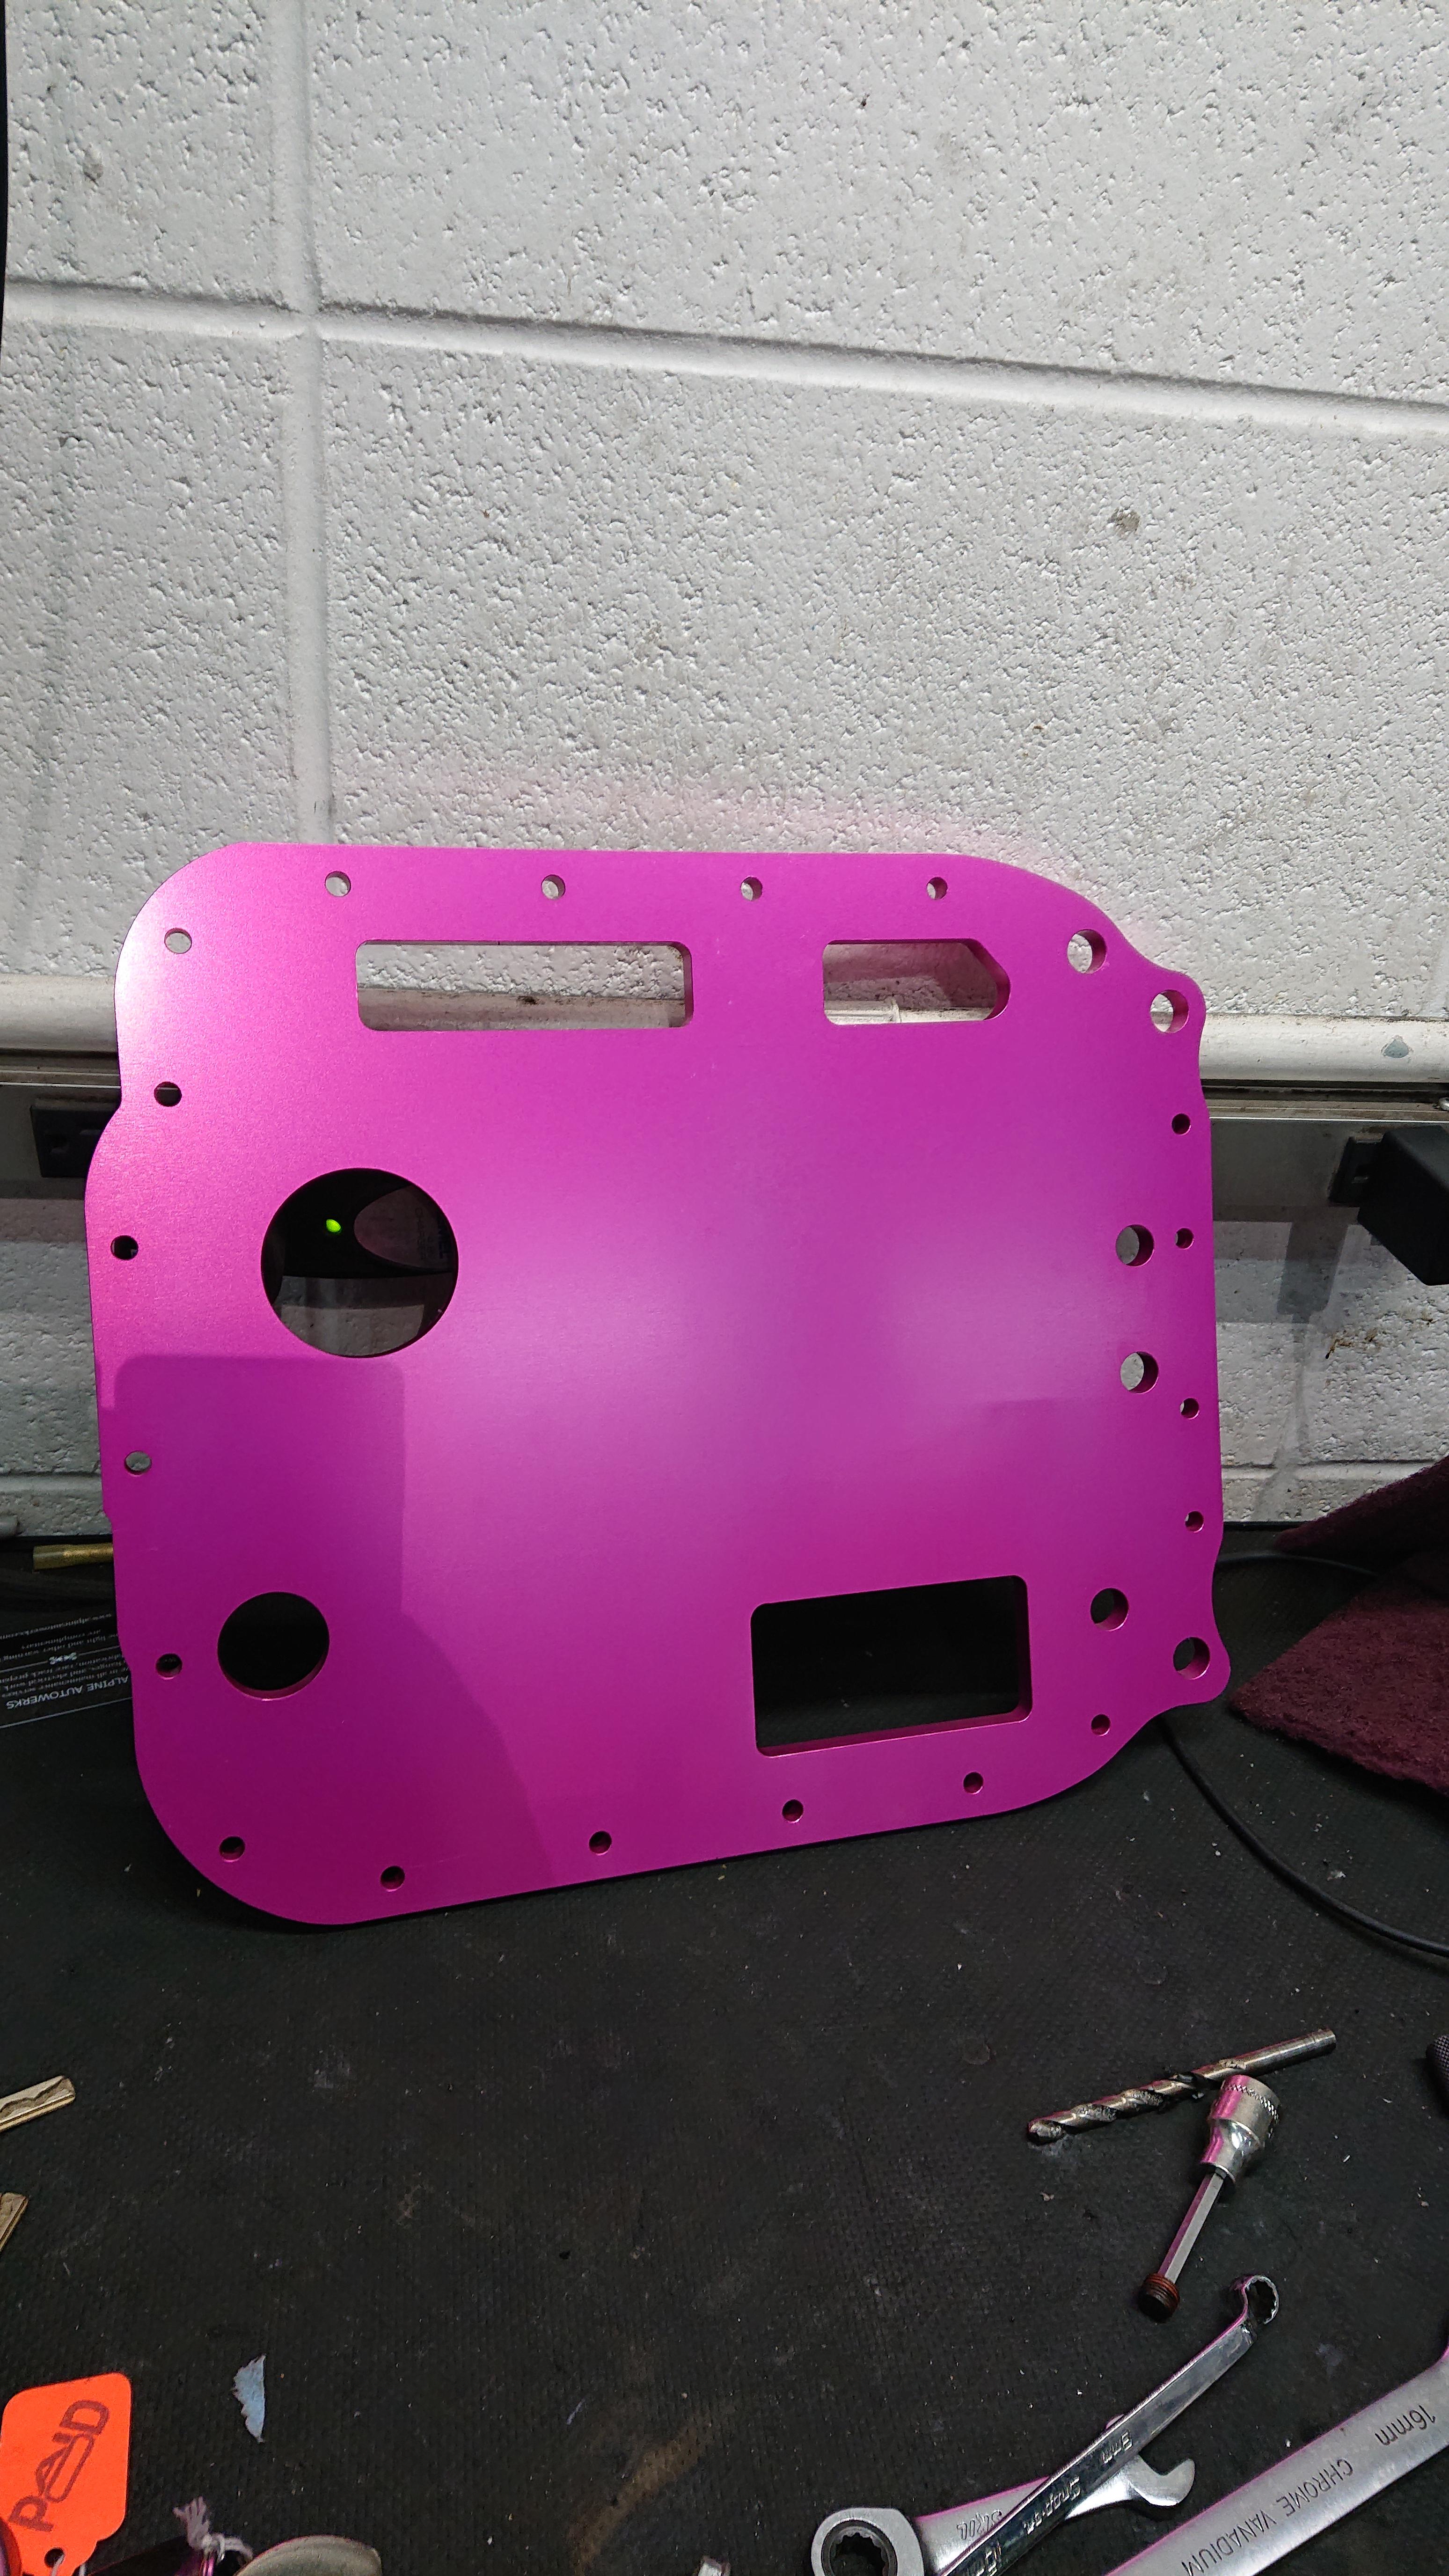
Super Now engine baffle/reinforcement plate
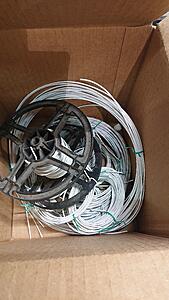
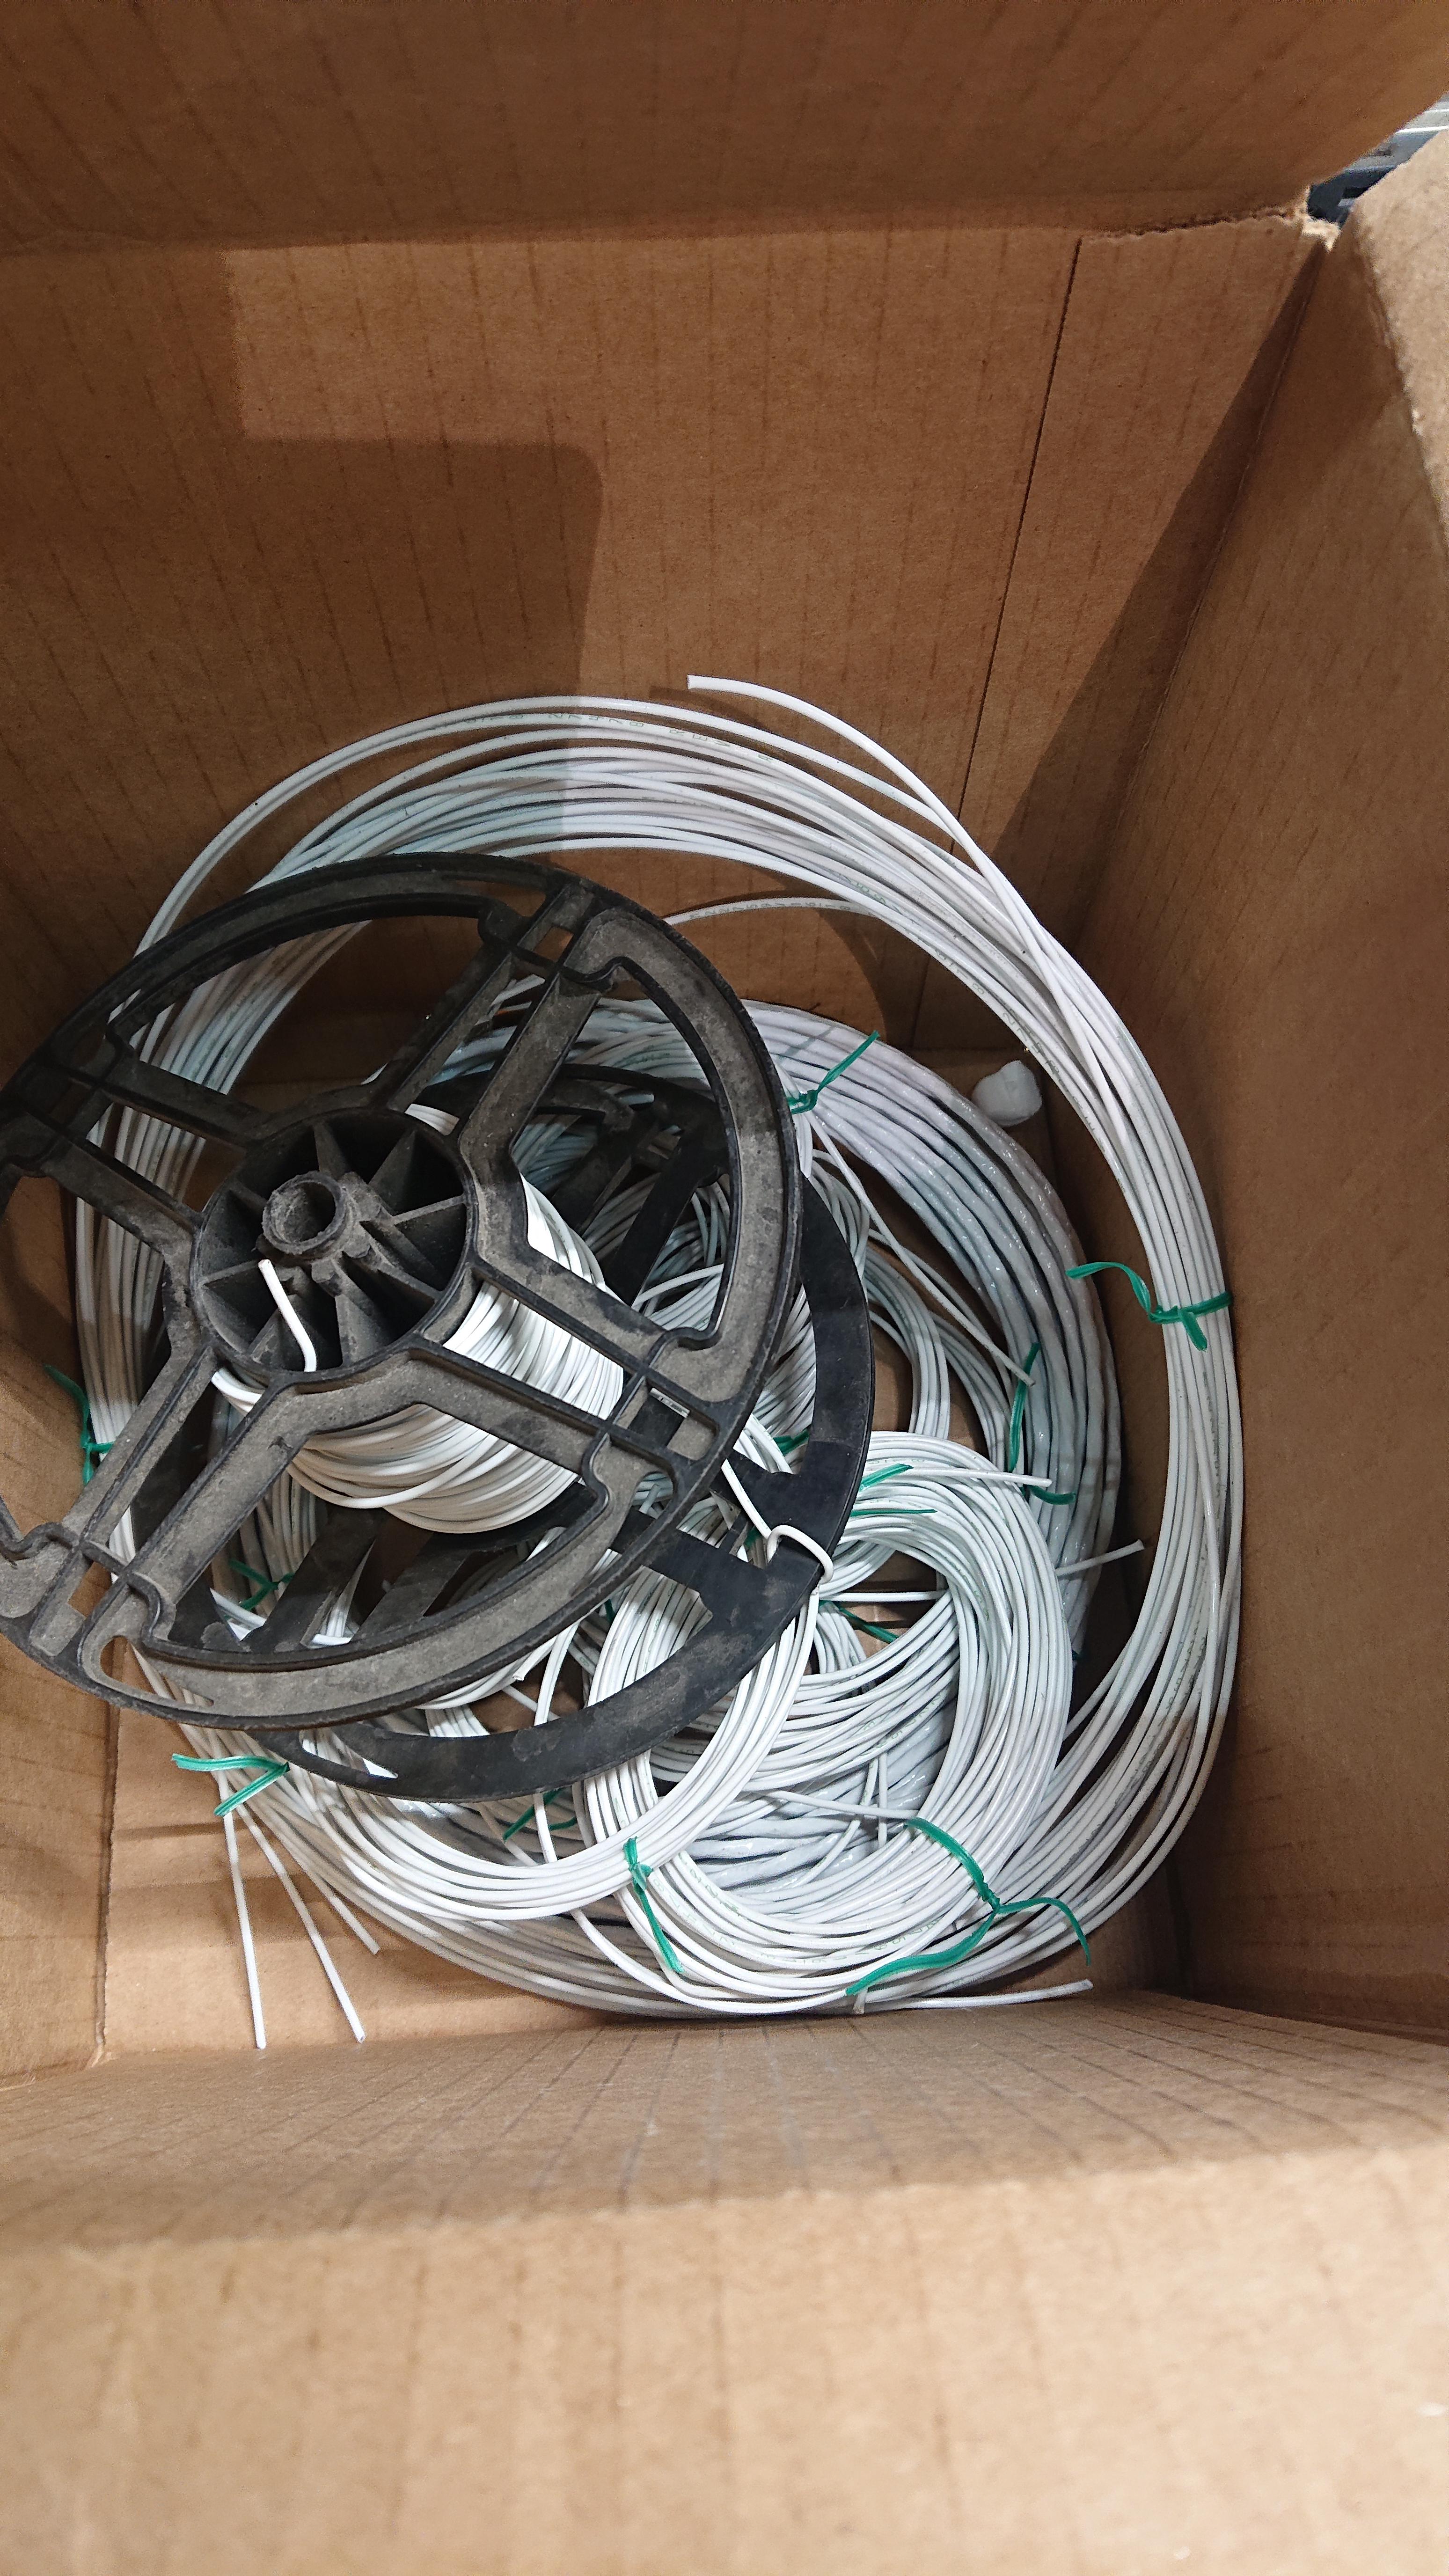
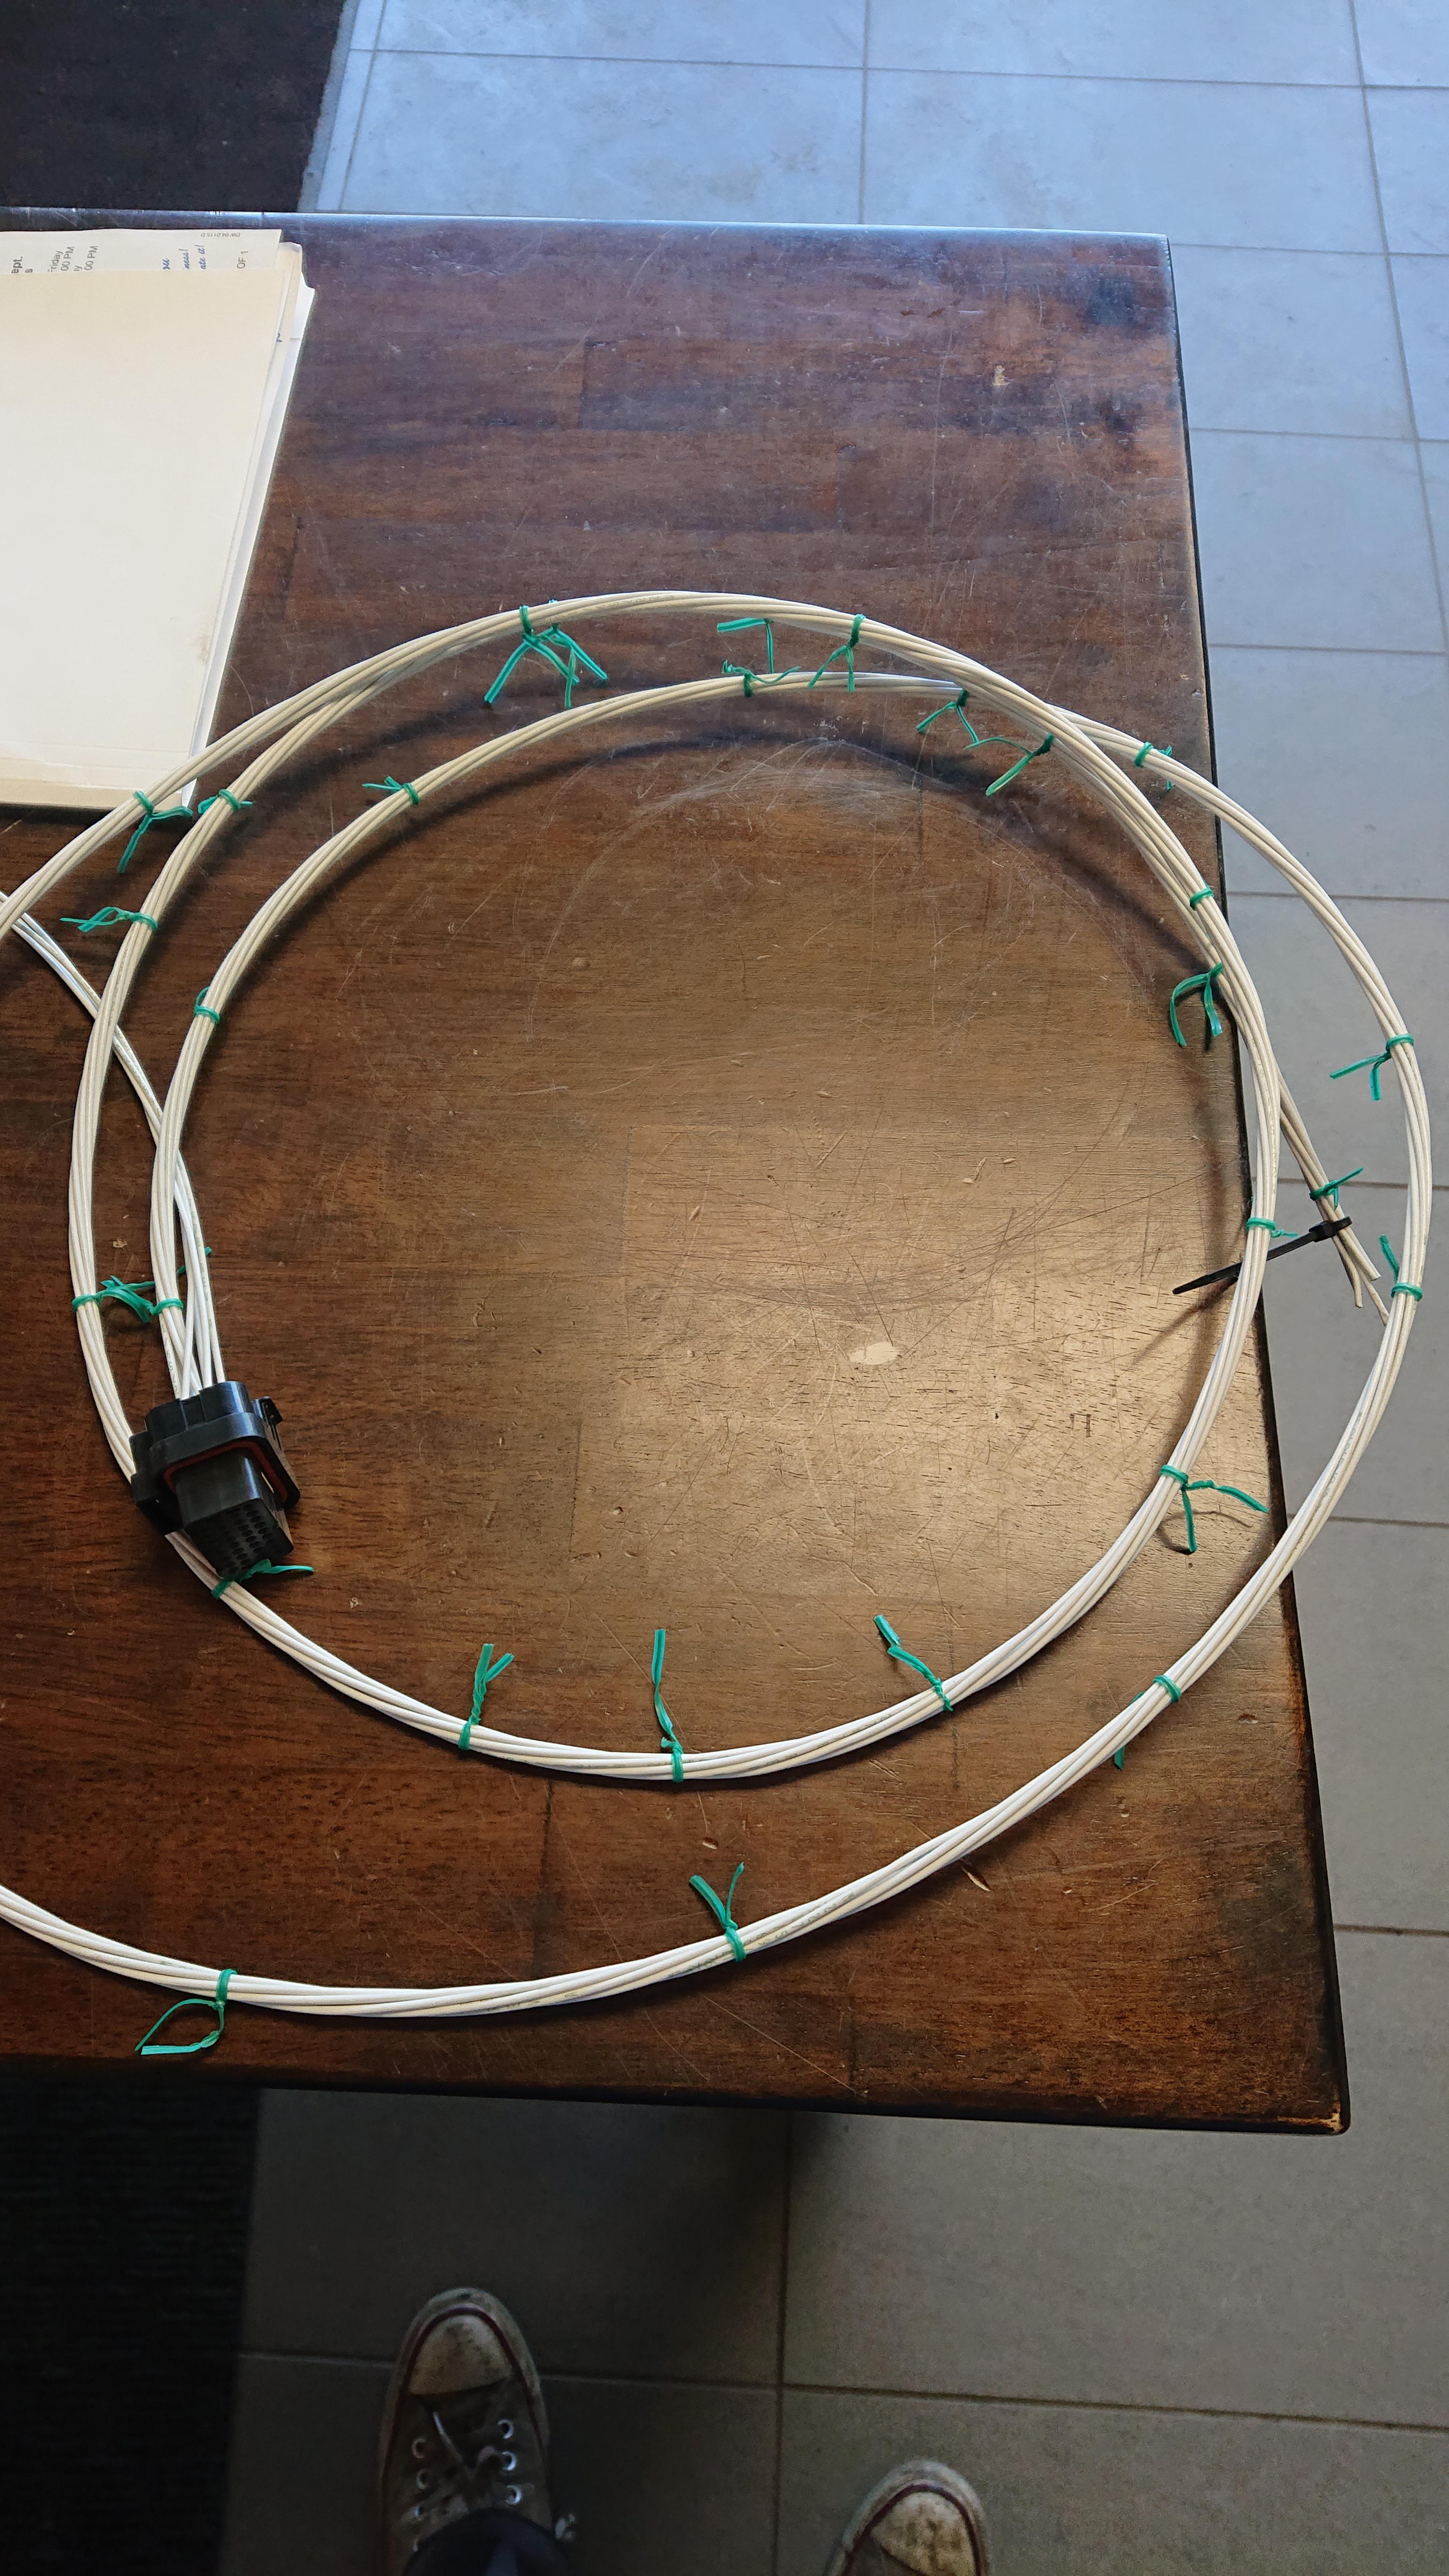
Bunch of legit Aero grade wire supplied by a good friend
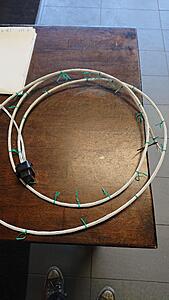
Harness start
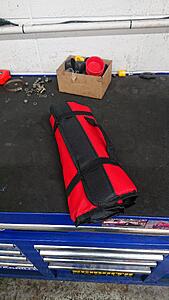
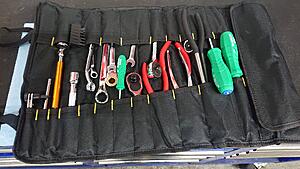
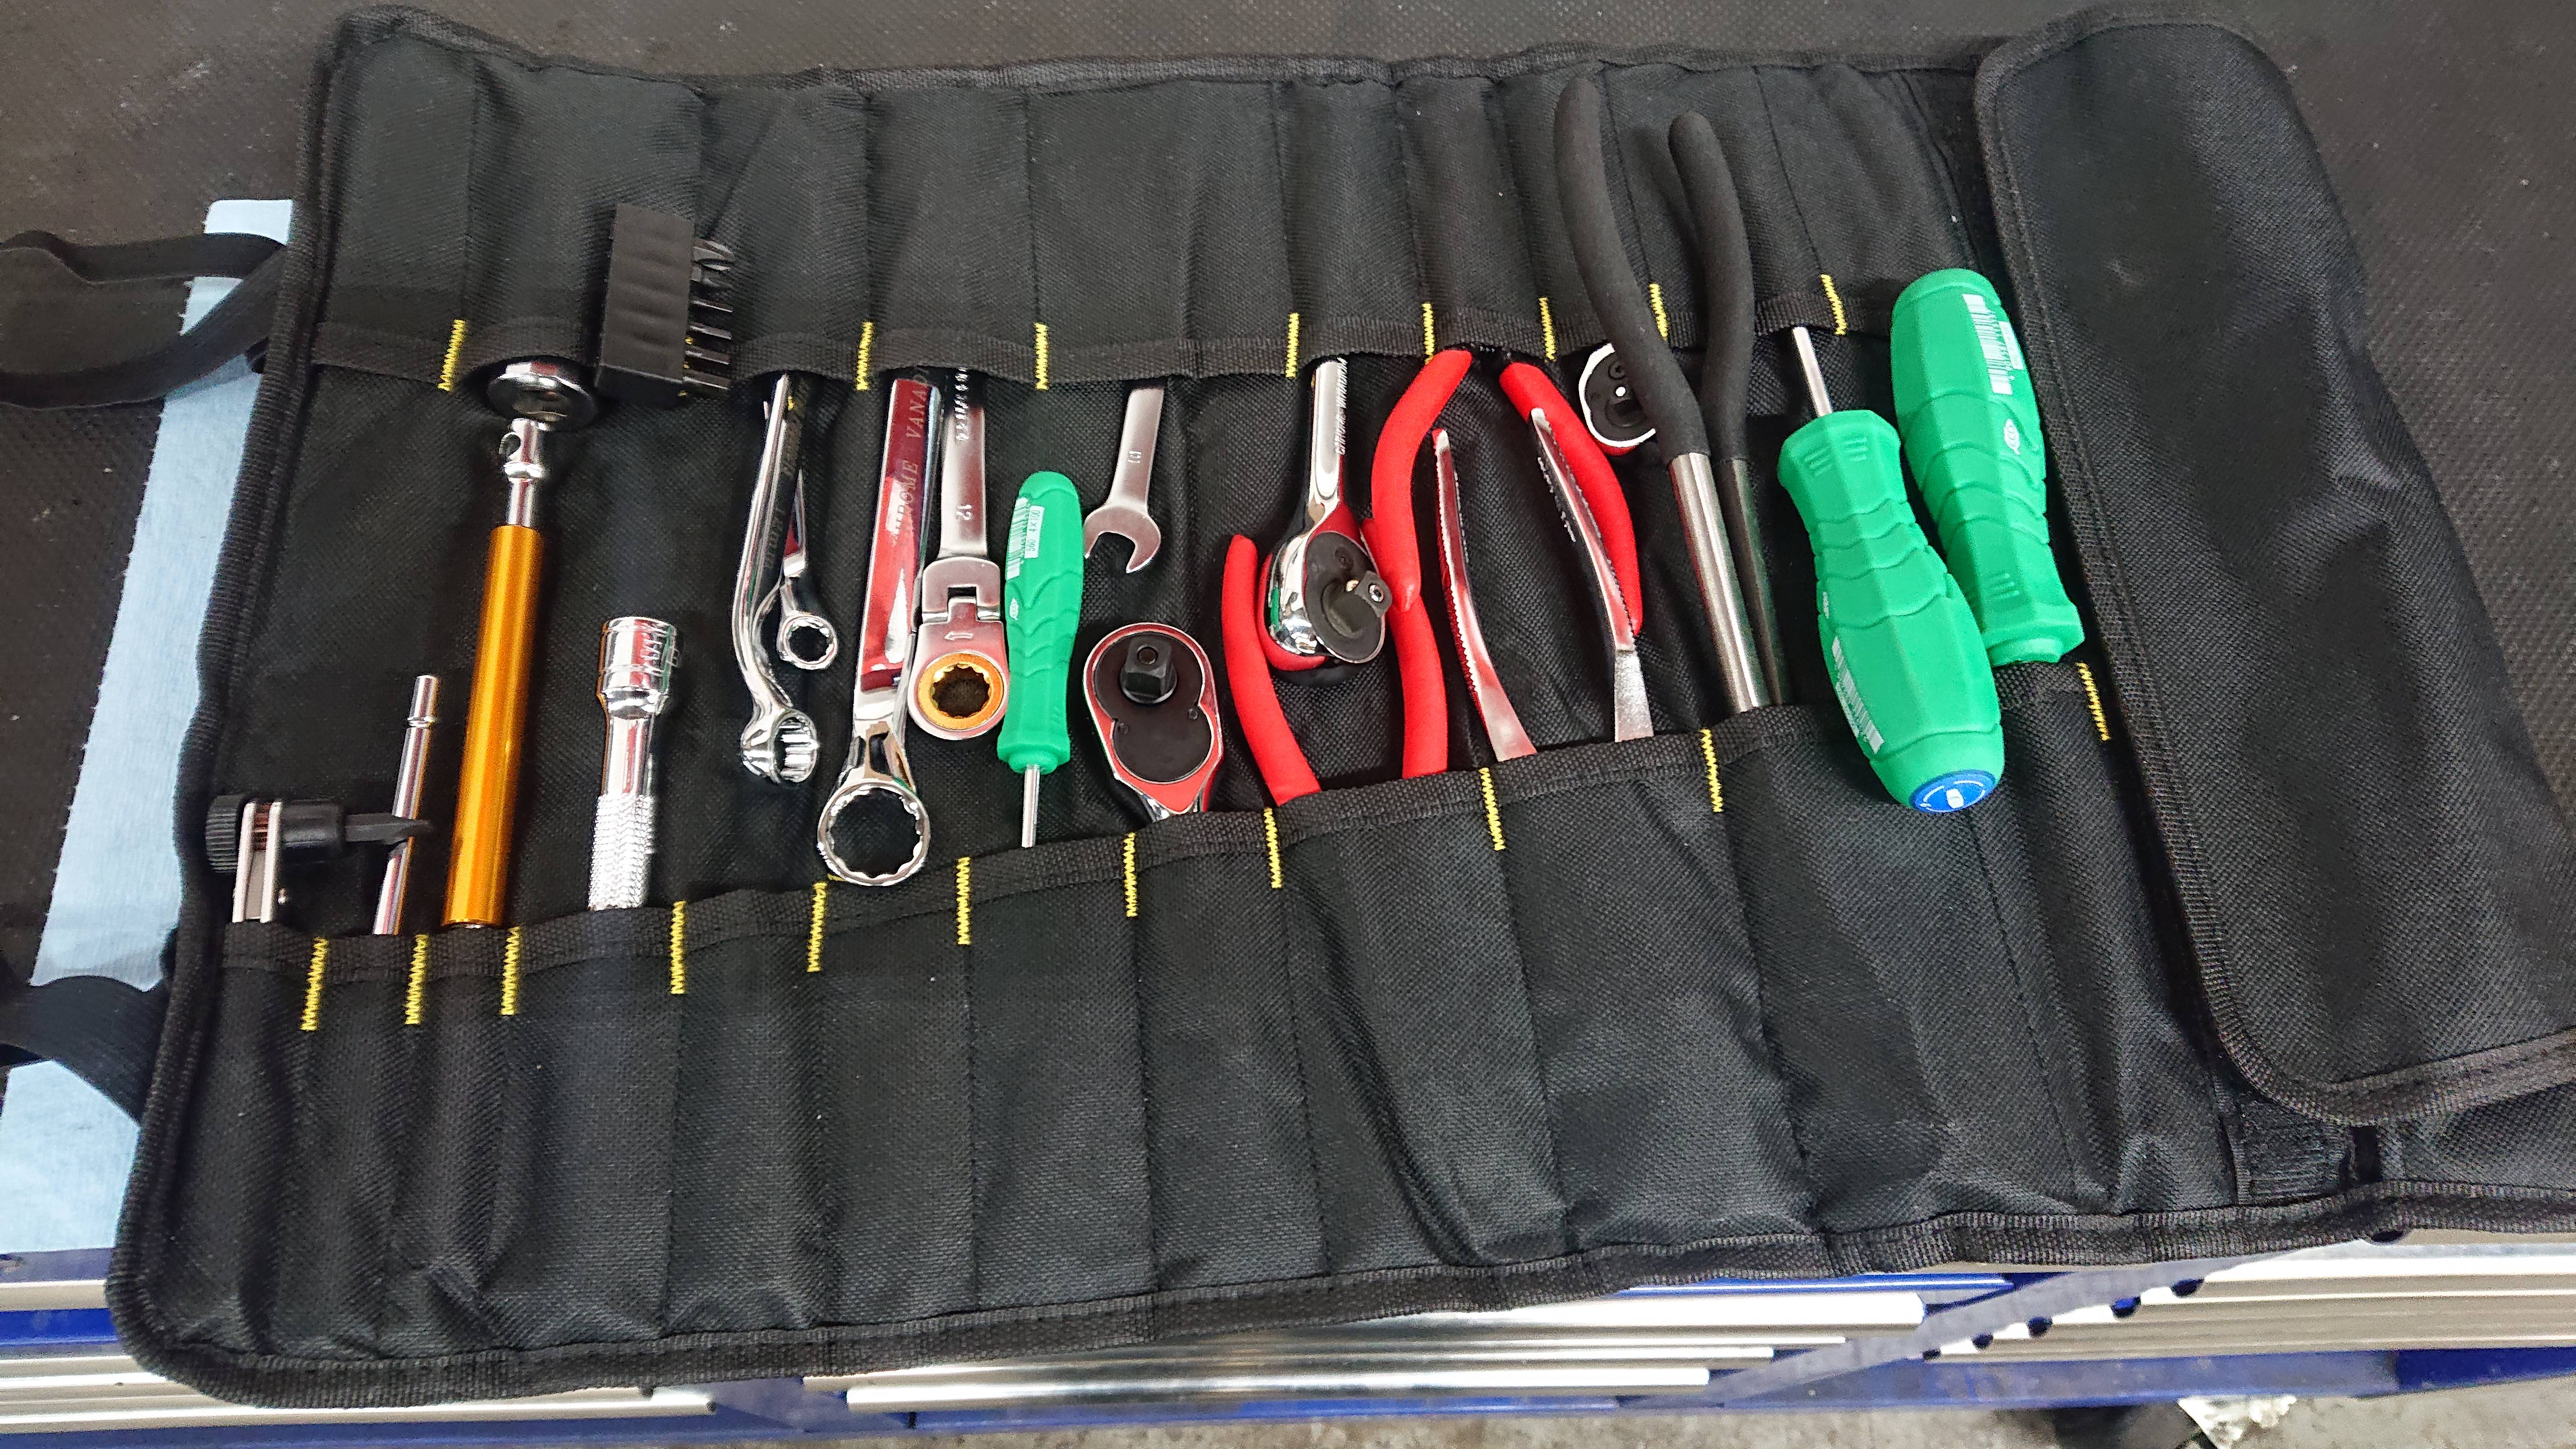
Neat little bit of kit, I got this FC/FD specific tool kit from the Project Phoenix group in Japan, the group responsible for the upkeep and demonstrations of a 767B
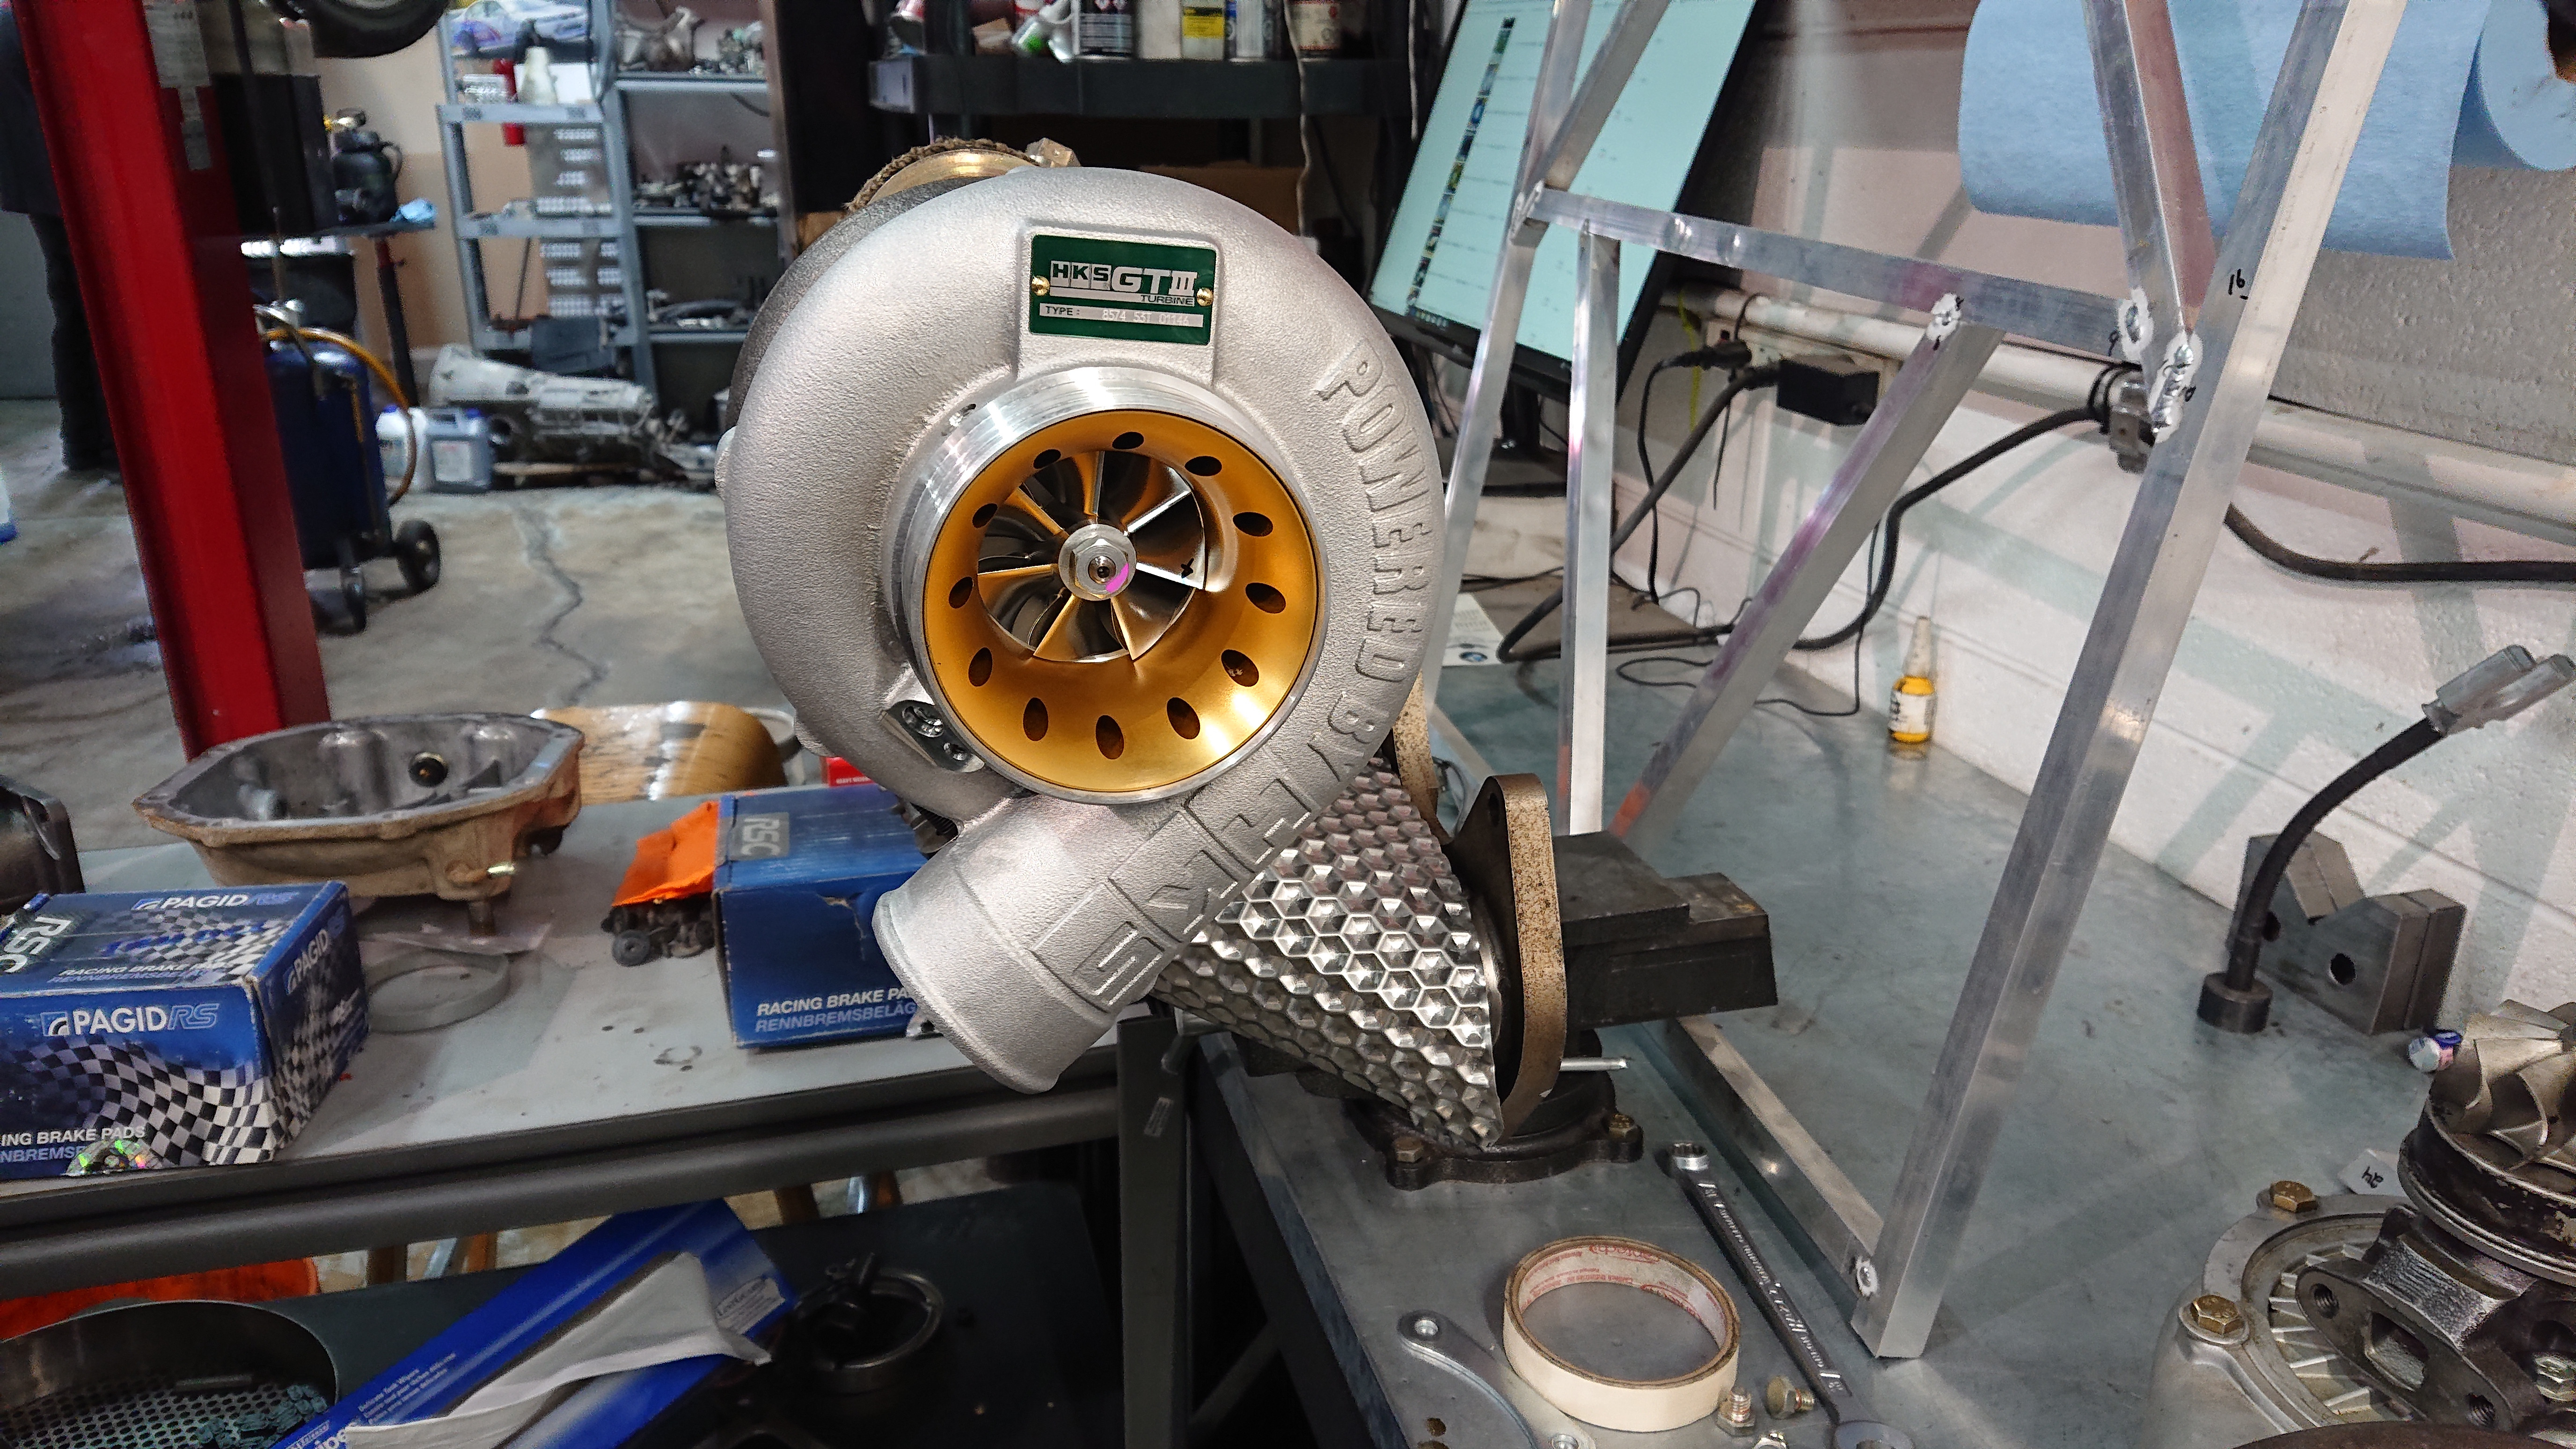
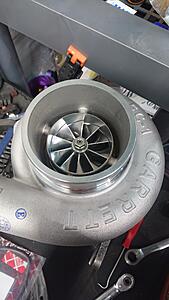
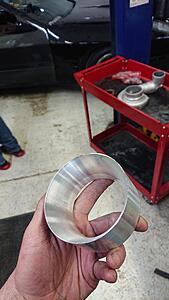
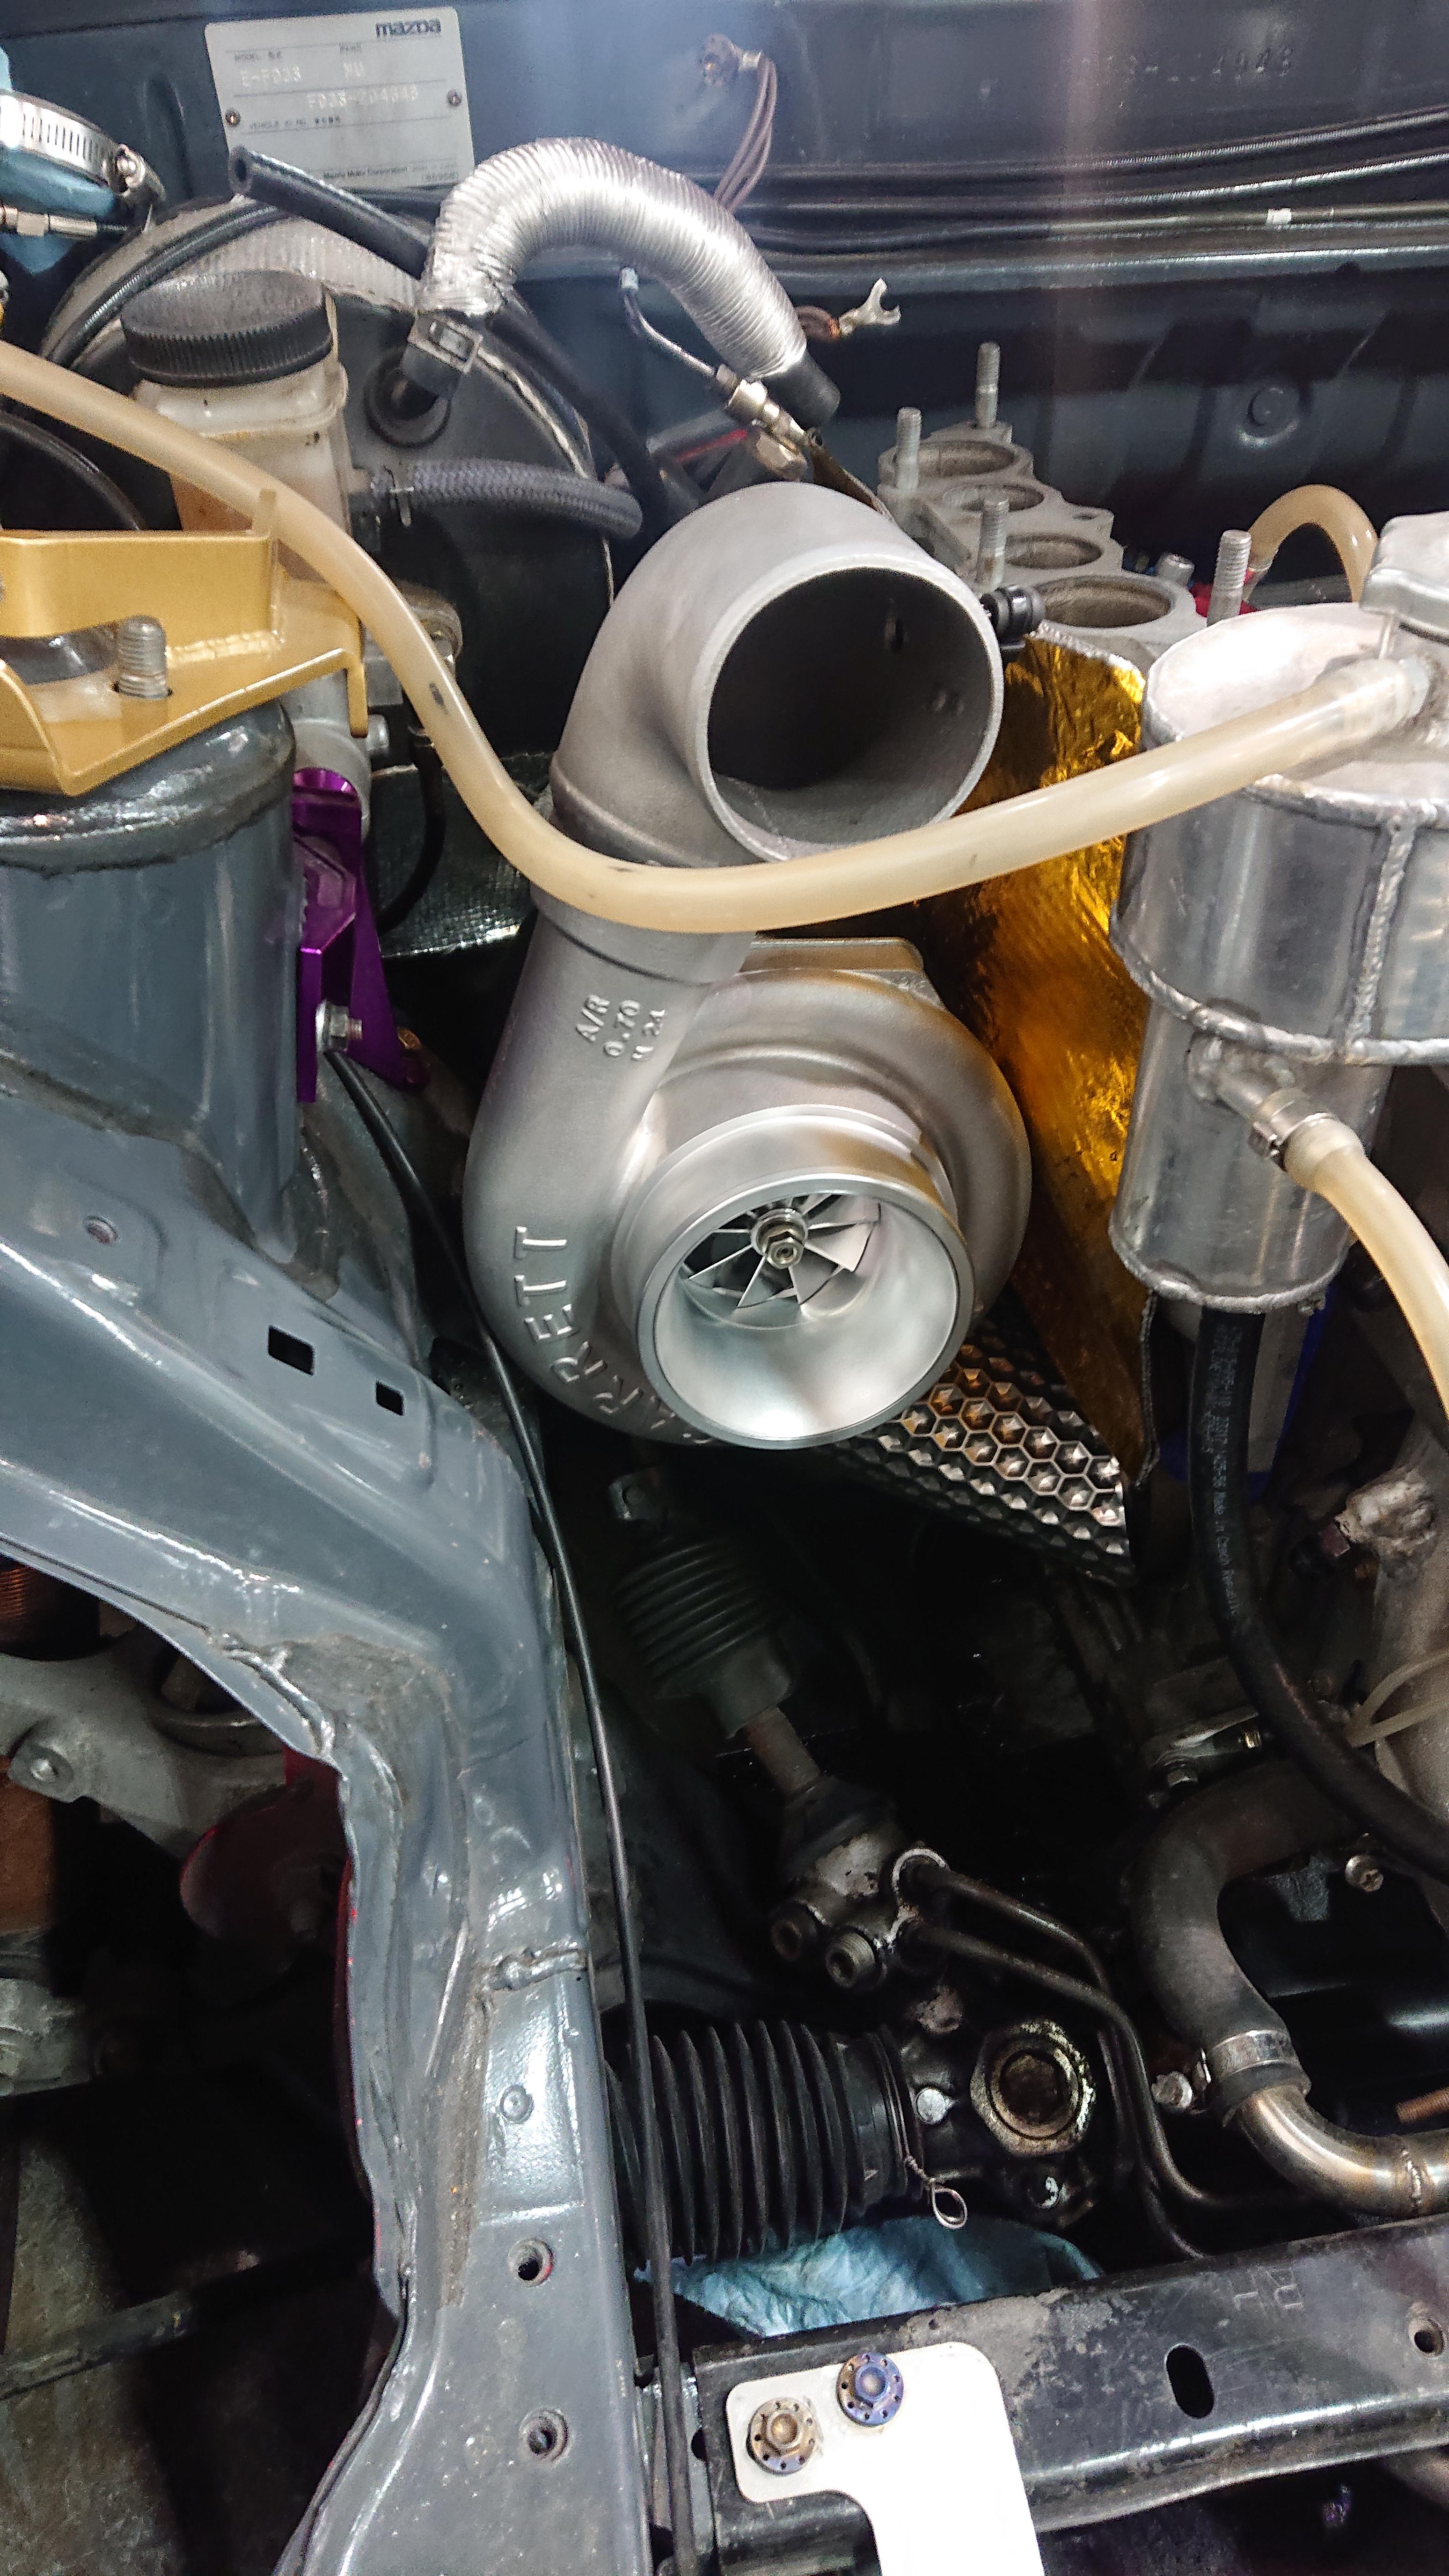
Mocked up a new HKS GTIII-4R while working on some new manifold heat shielding. So pretty, but more than I'm willing to spend.
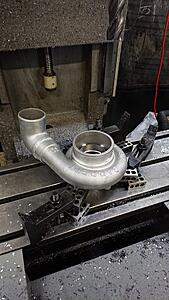
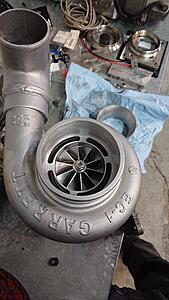
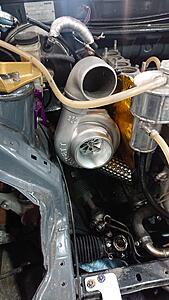
Took a couple months but the new turbo finally showed up. DBB GTW3884, meant to be a T04Z with modern compressor Aero. Should work well but it's missing some of the little details that the HKS turbos have, so Im going to experiment a little with this one.
Now that that's done, the comp and turbine housings are off for coating. I'll be buying a replacement comp housing and the insert I made is removable so I'll be able to do some back to back testing. I also bought the new HKS manifold for long term usage, it's really fantastic that new products are always being released for such an old chassis.
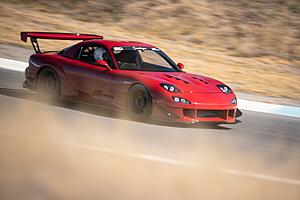
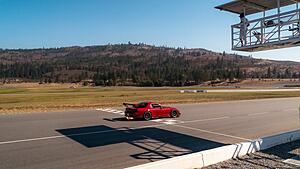
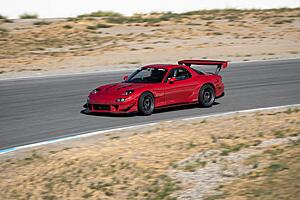
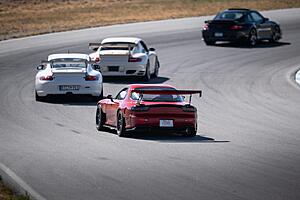
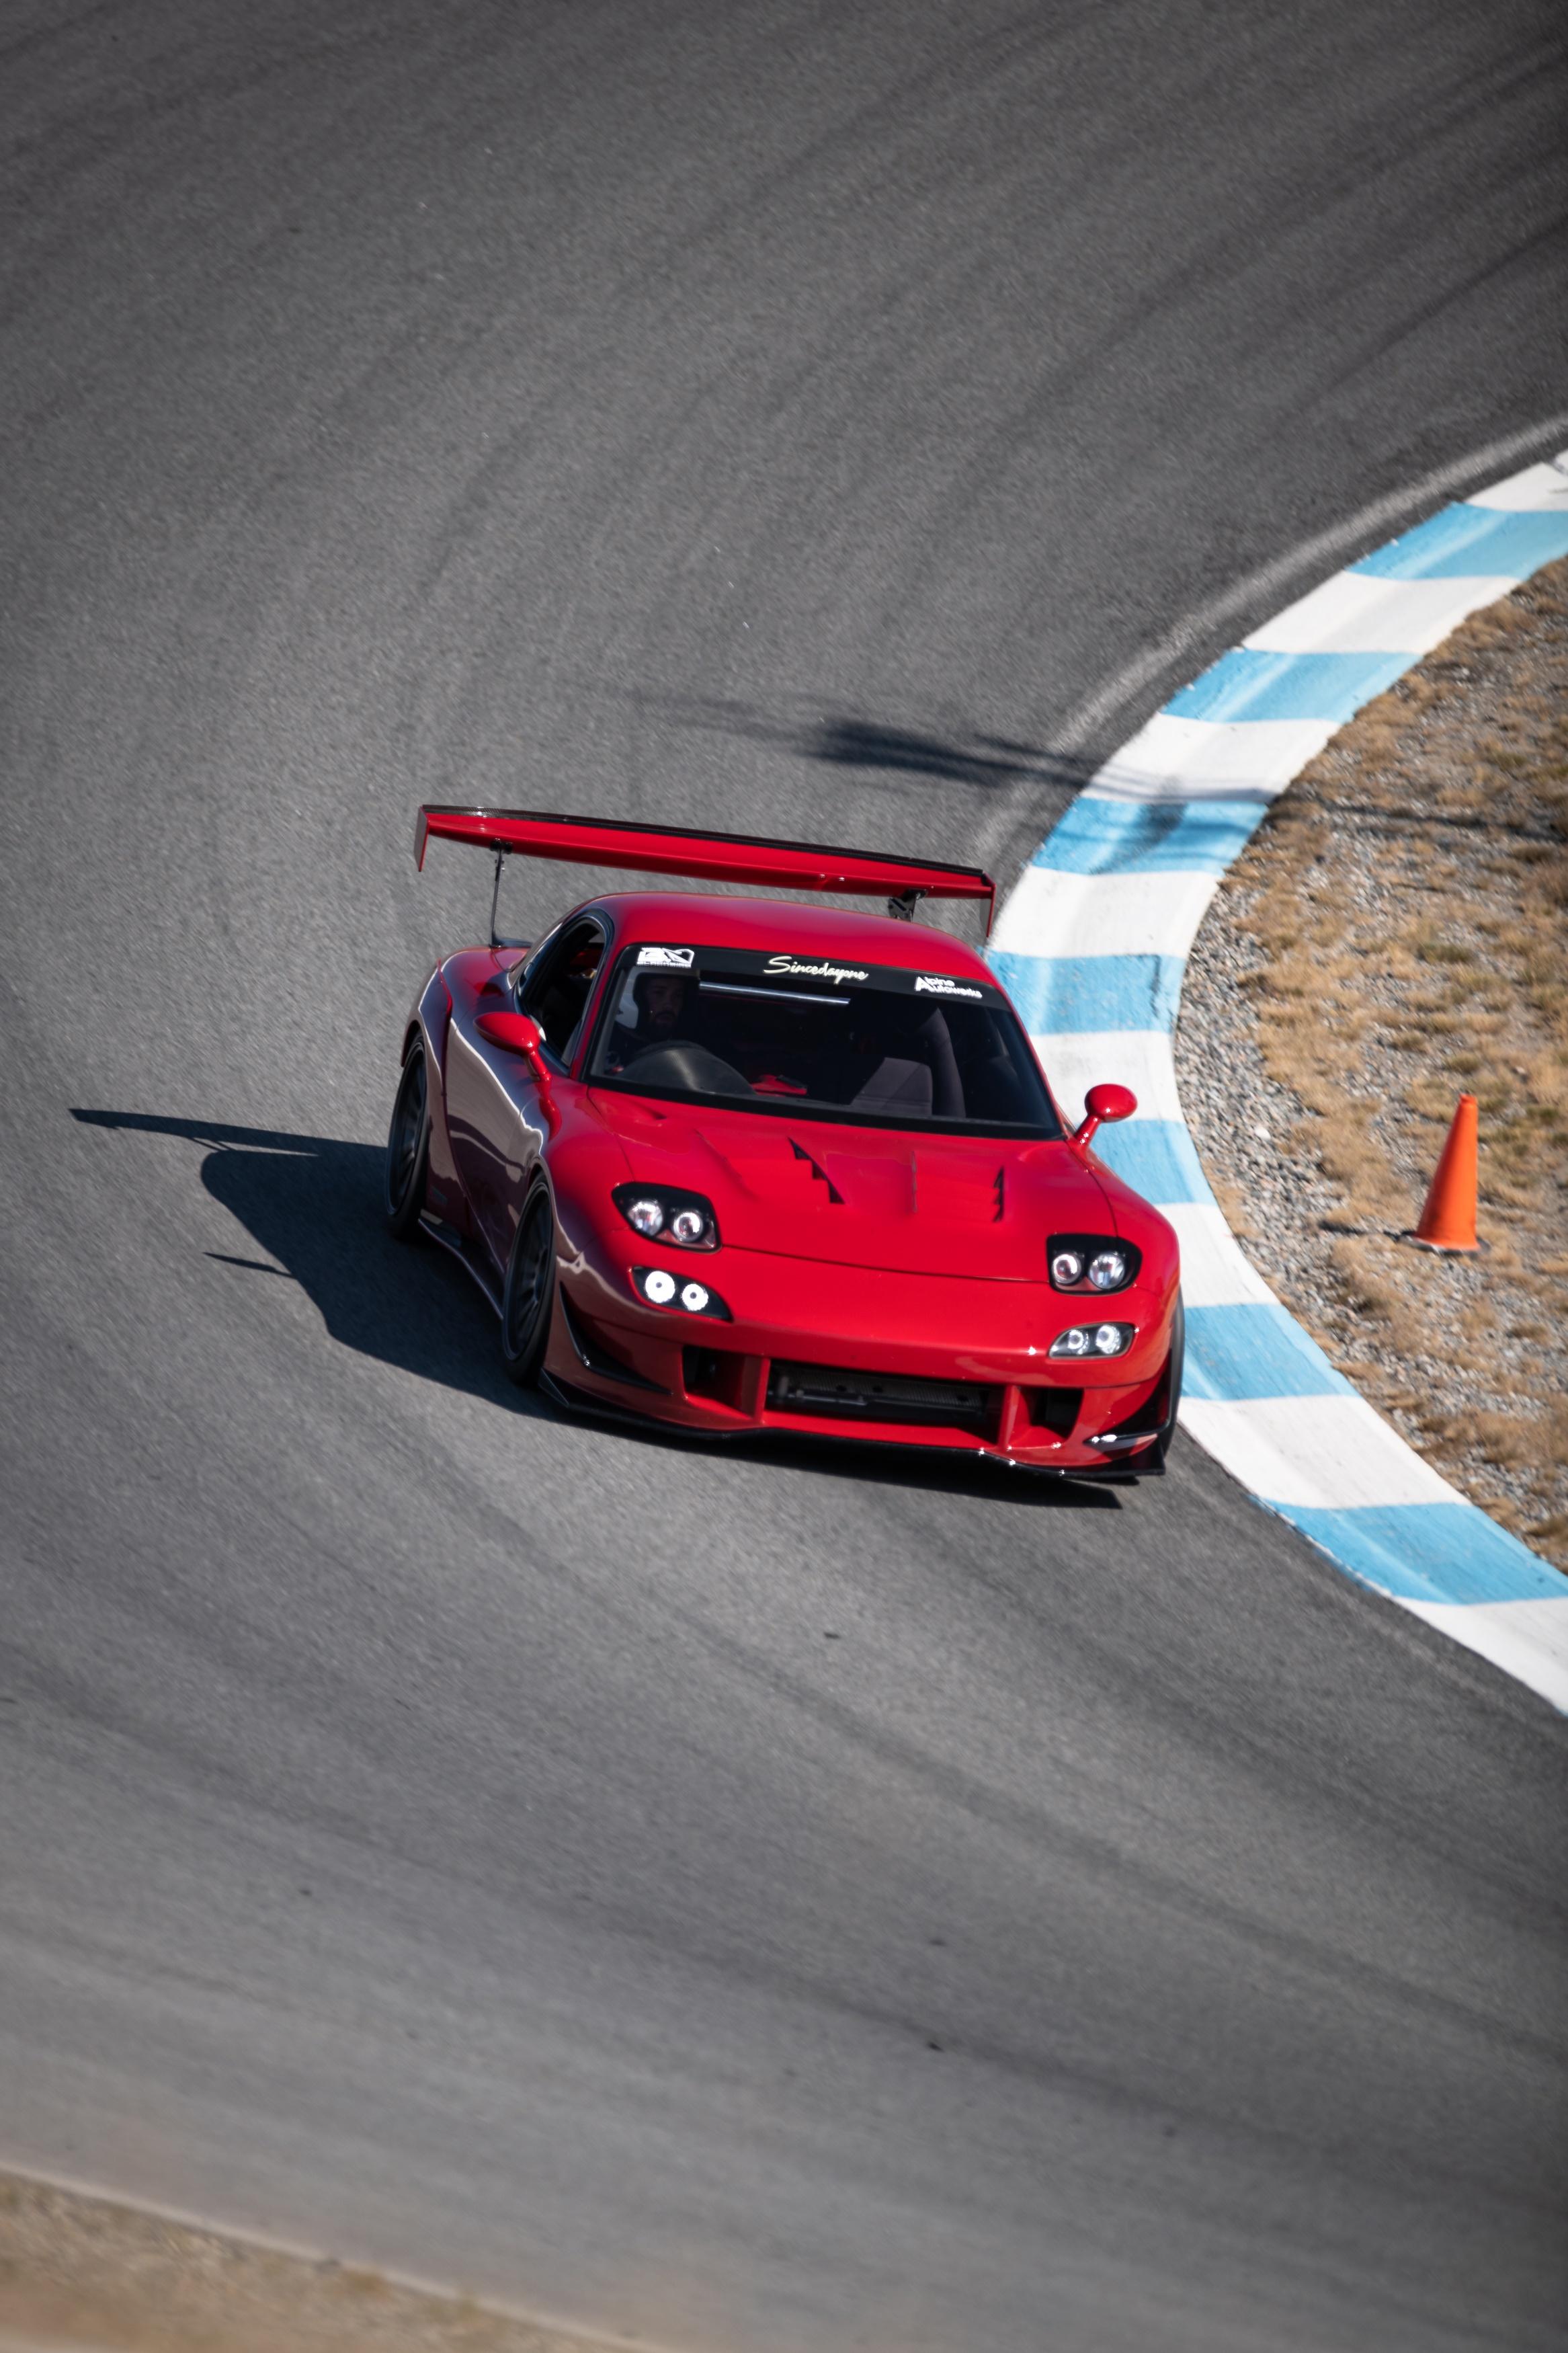
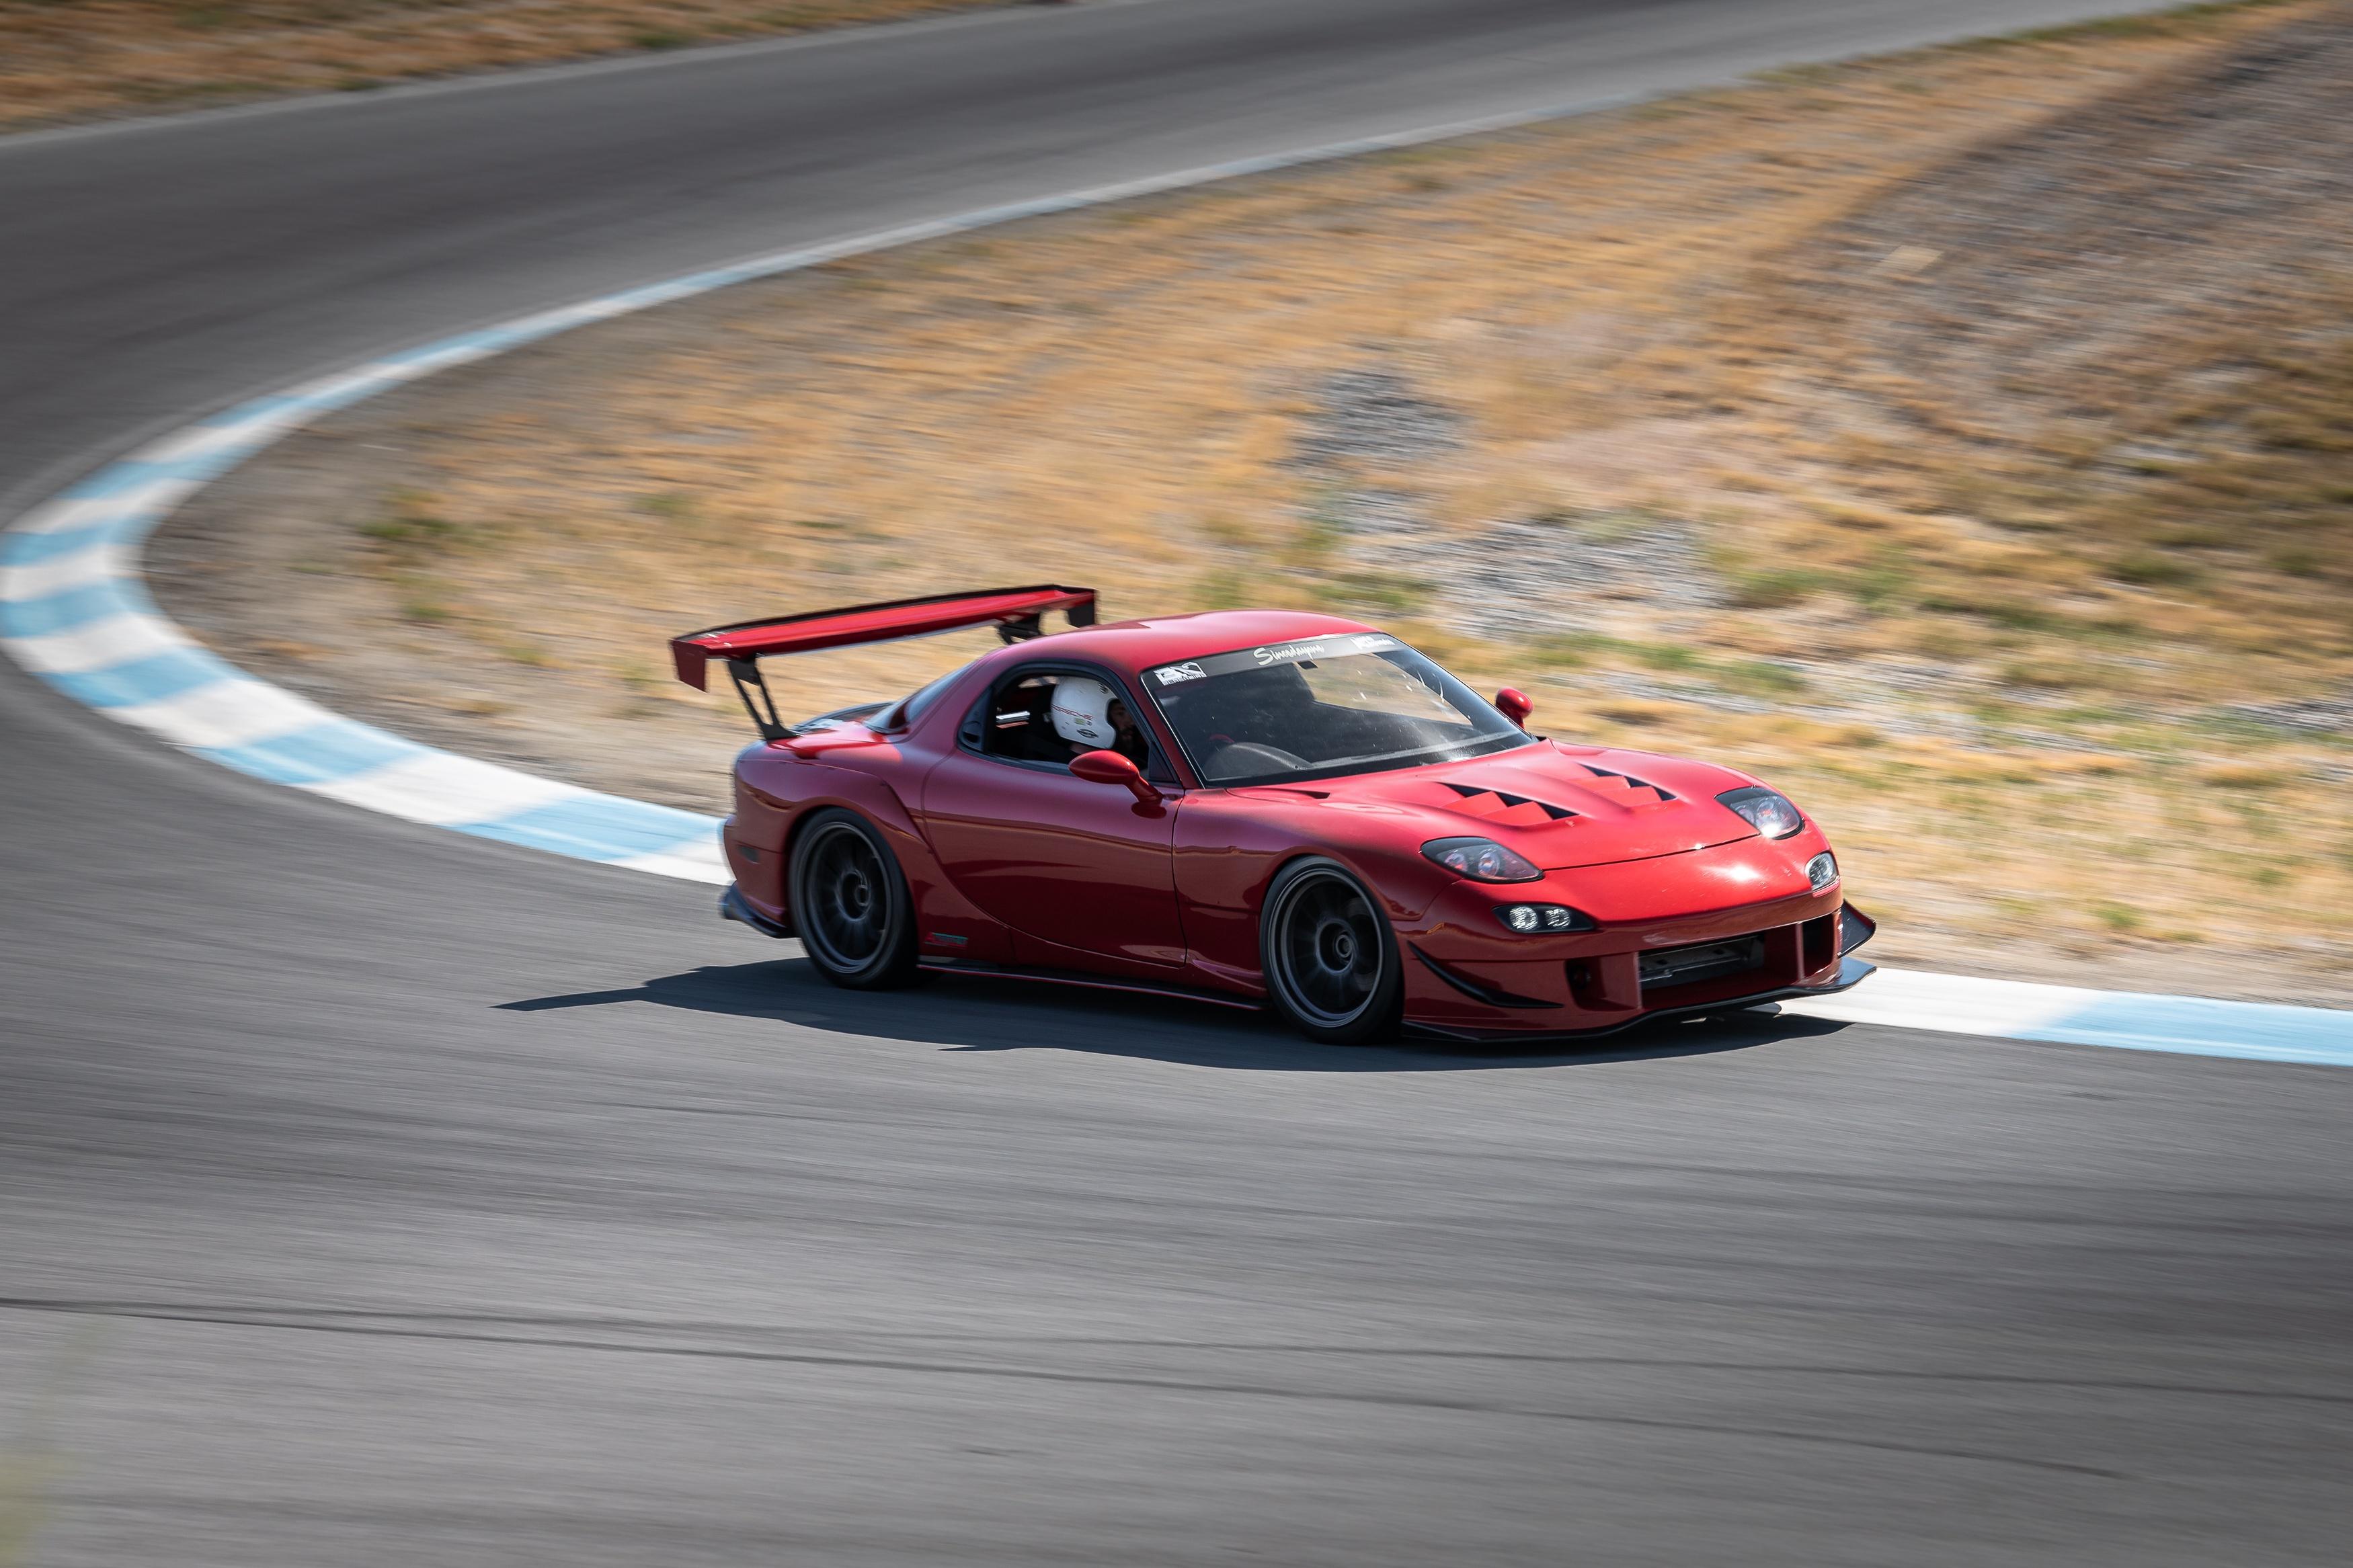
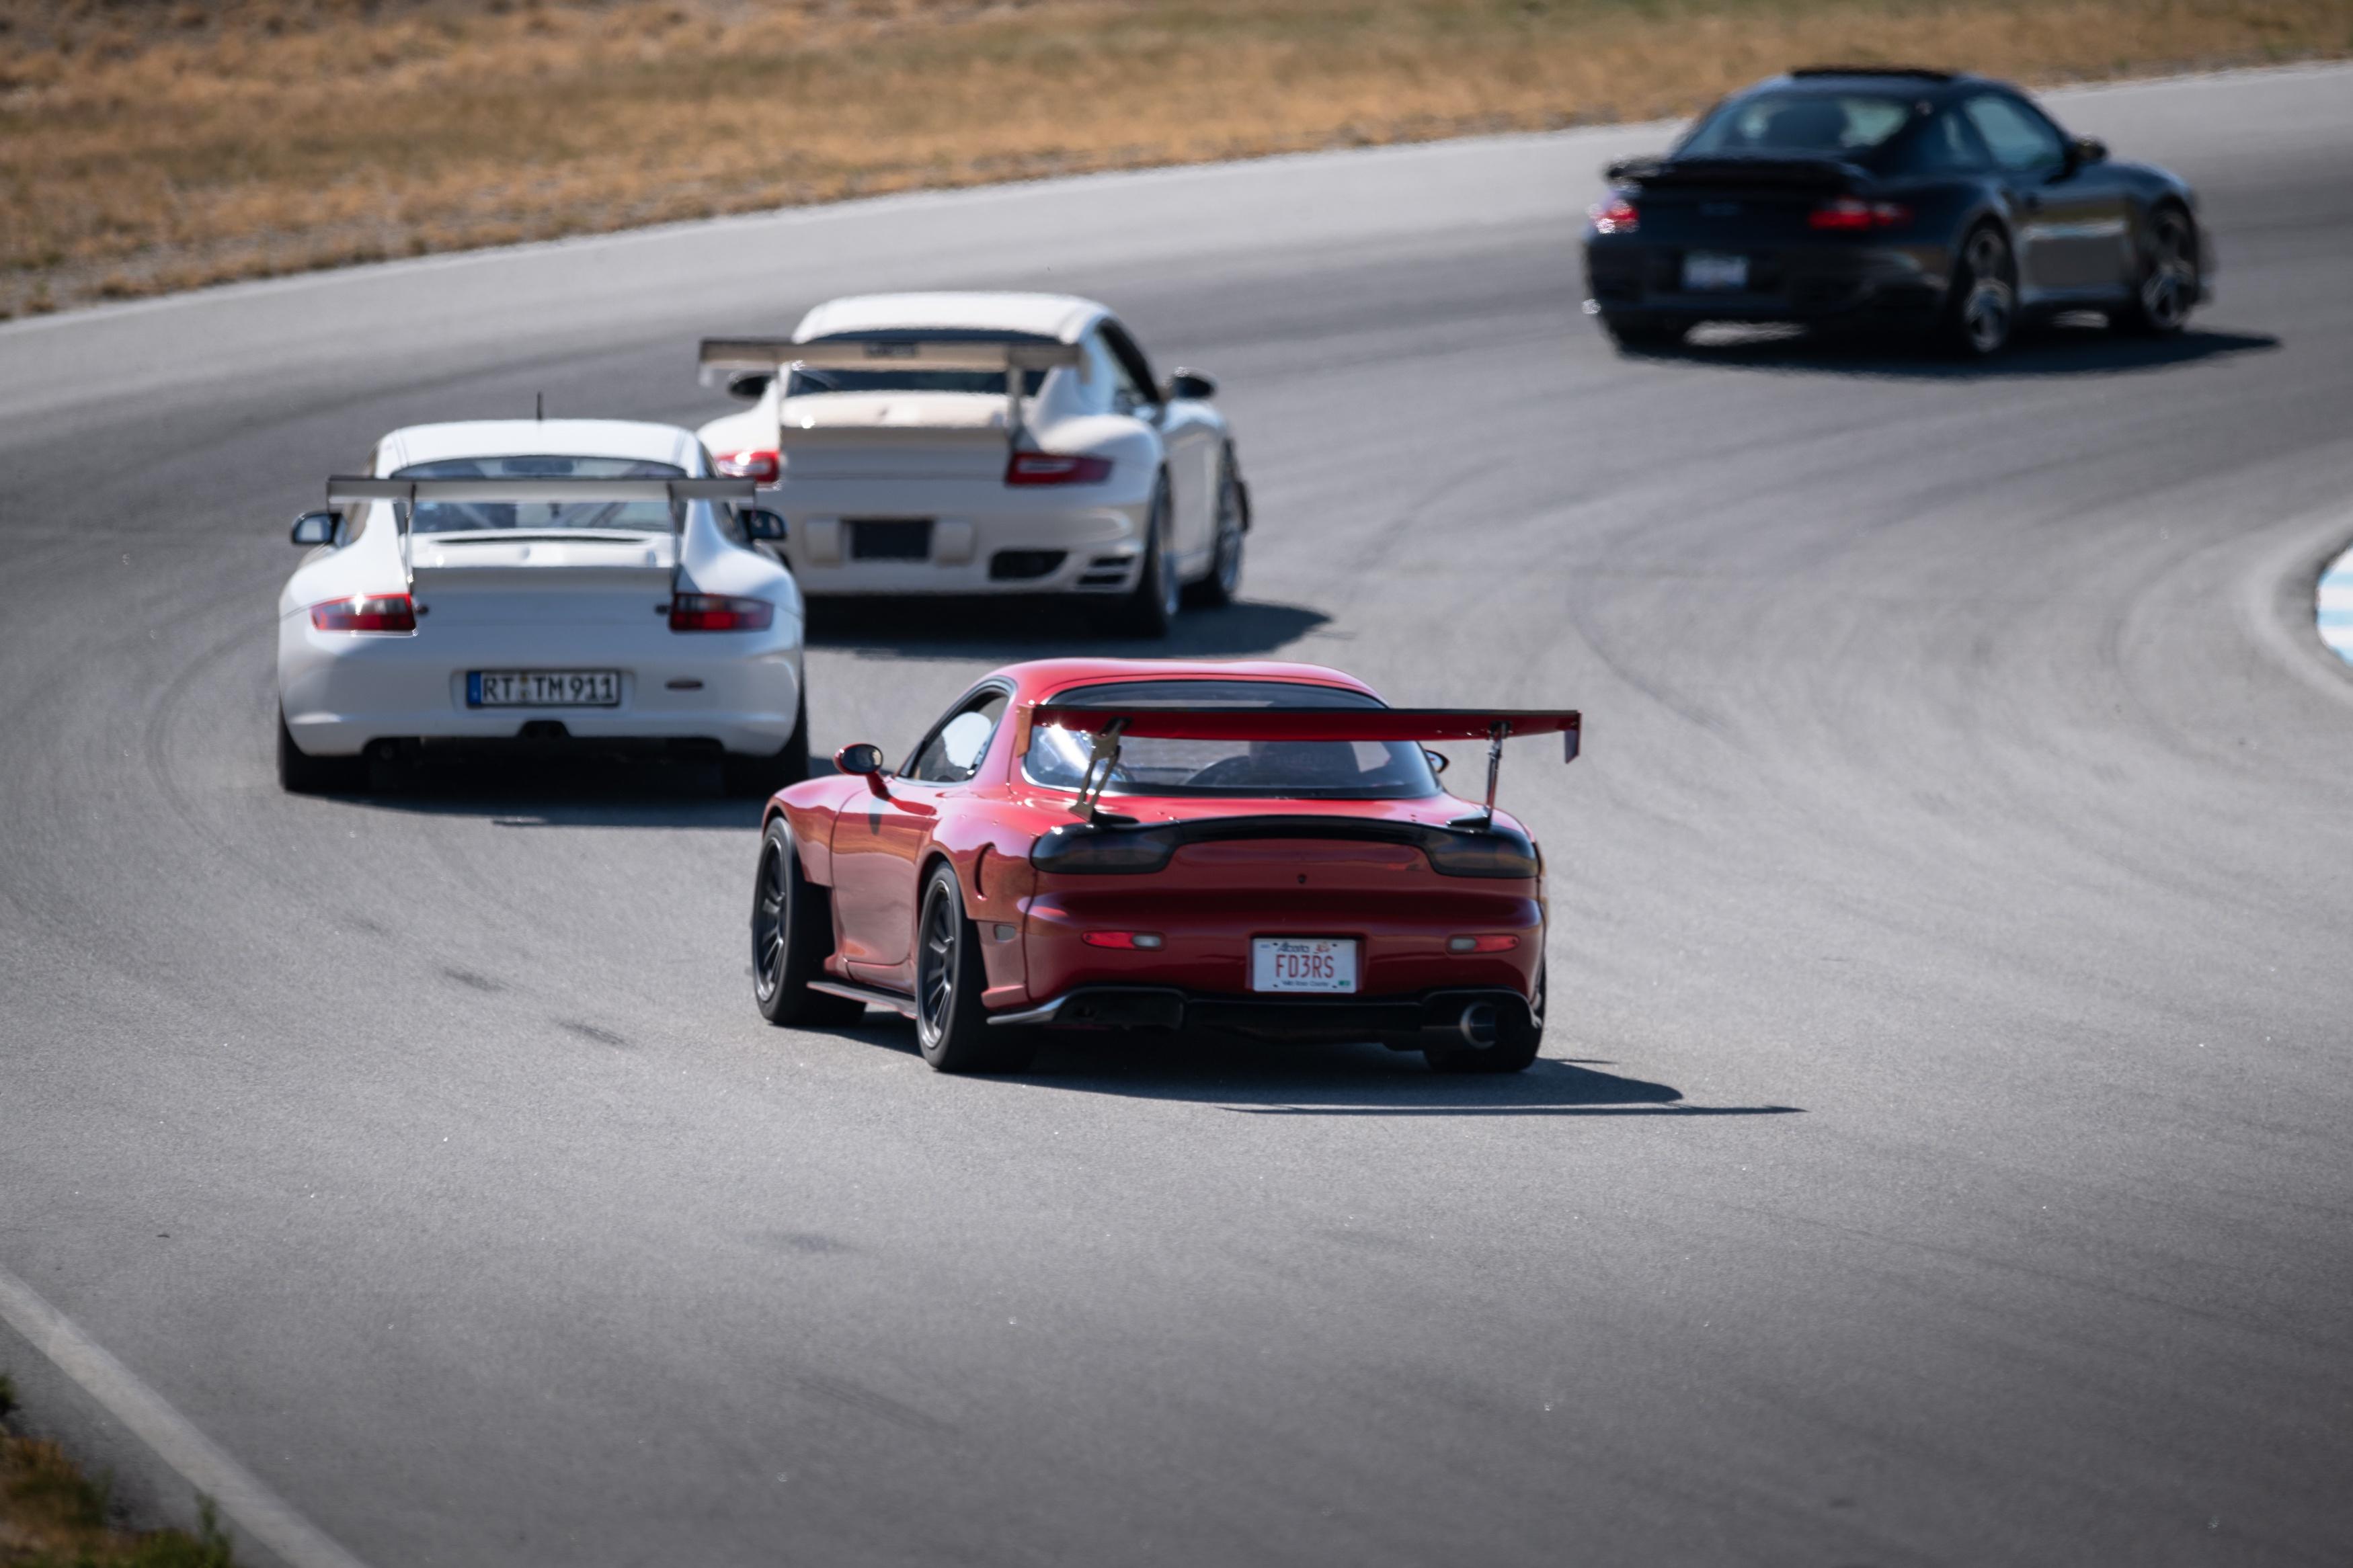
Still here, just chugging away. Car does well at our local track but it's a pretty sketchy place to push it until the new track is complete. Went out to Area 27 last week and got some great shots there.
Lifting the inside:
Lots of 911s to play around with, can't quite catch the cup yet:
Looks like I'm building a new engine this winter as someone made a very good offer on the engine currently in my car. Probably won't change much as I quite like the setup in the car. M1 works great, MOP control is functional on both Denso and Mikuni pumps. Lots and lots of dyno time required. GTW made 20 less power than the magic HKS T04Z at .9 bar but spooled slightly faster.
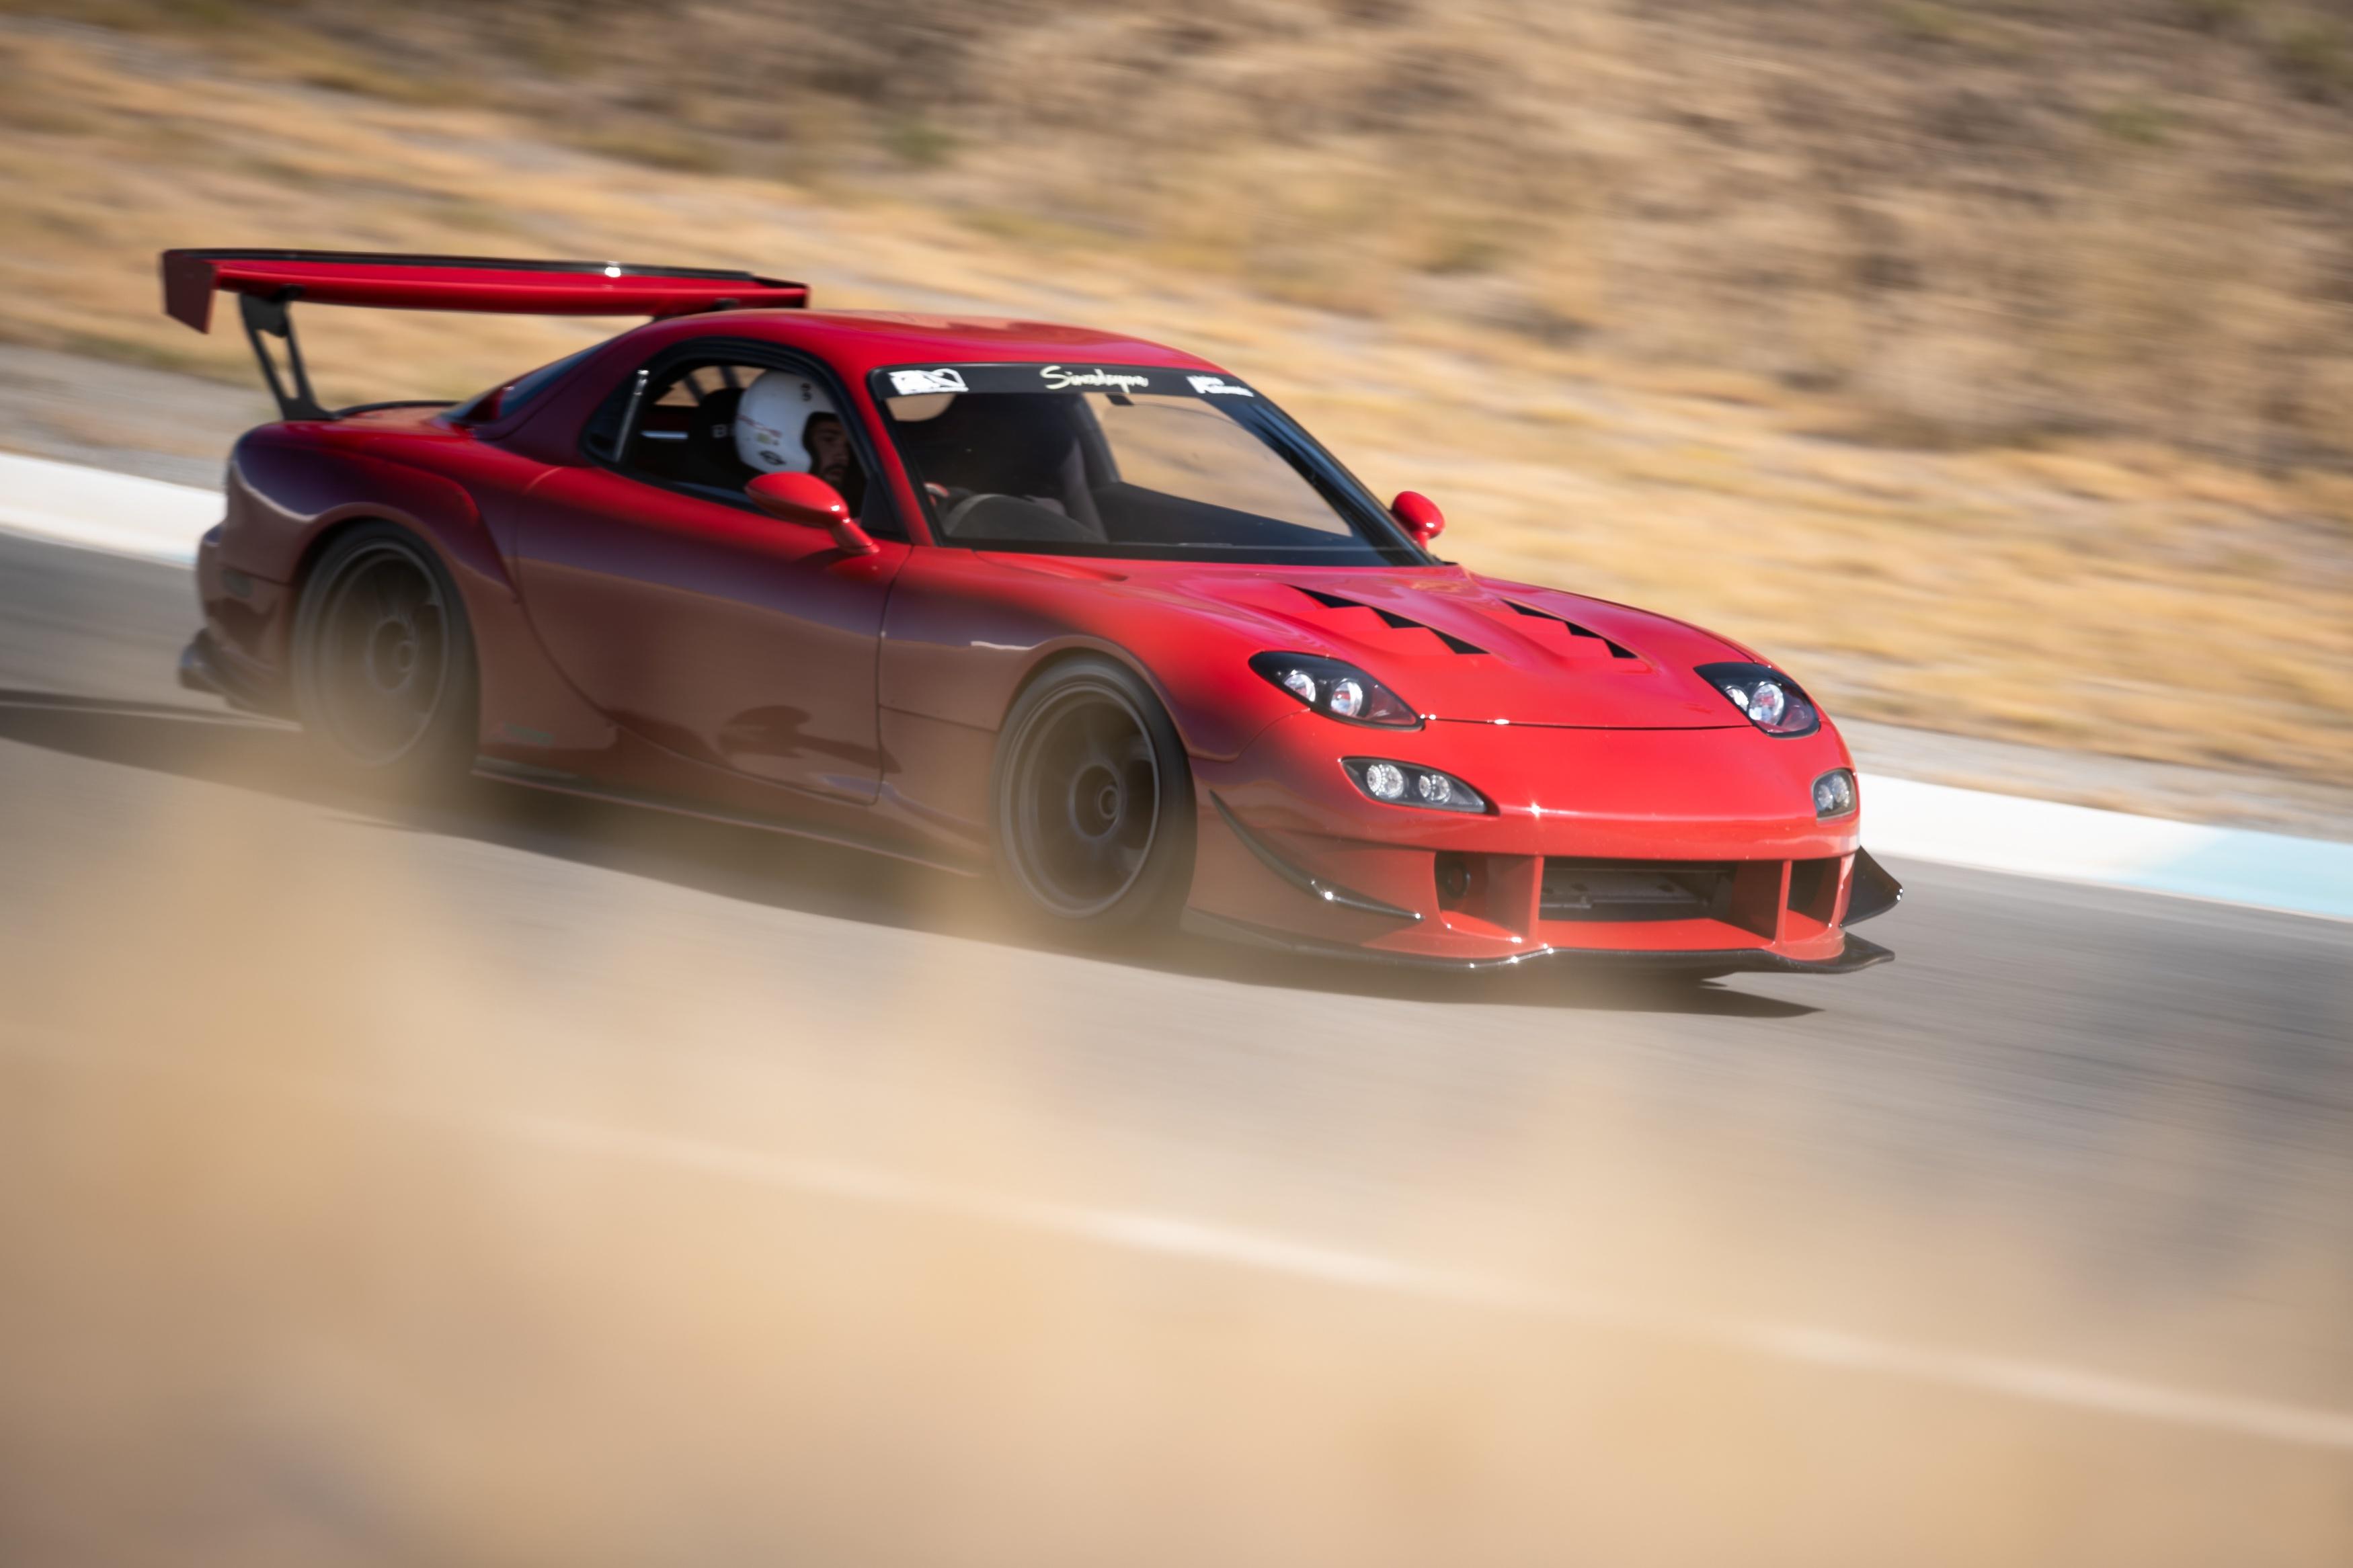
Working on some improvements for the upcoming track season and wouldn't mind some input from other track guys. Seems that my ricer wing has been putting in some work:
I think I'm going to come up with a rigid mount that sits maybe 2mm below the hatch in normal closed position. Something like this should translate the force more directly to the chassis. I am worried about how to prevent the hatch from moving side to side once located on said mounts. Has anyone else dealt with this or come up with a similar solution?
Also addressing the brakes on the car. Ducted stock fronts with 99 spec rears worked well with appropriate pads and fluid (Carbotech XP14/12 and Endless RF650) worked well at the local track for a long time but getting out to higher speed circuits has exposed some weakness. I fitted a 6 piston front brake kit and make brackets to fit a mustang rear caliper with a 350mm rear disc but I need to sort out the master cylinder. I could fit a 1" unit from the 929 but I think a 1-1/16" bore is more appropriate. Has anyone fit something like this or resleeved the factory master to fit a larger piston?
WI could fit a 1" unit from the 929 but I think a 1-1/16" bore is more appropriate. Has anyone fit something like this or resleeved the factory master to fit a larger piston?
TIA!
Subaru has some big masters, have a look at an SVX master, or 2003-2006 Baja. also, 1998-2001 Mazda B truck/Ranger/Explorer of all things. all are 1 and 1/16" with two 10mm fittings
In the middle of an M1 install as well. Would you mind sharing who did your tuning? I assume you got the GPR Rotary package? Appreciate the eMAP/MAP data, especially your crossover point... will be interested to see where mine falls with an 'ancient' GT40R. Did you use the knock sensors... any feedback would be great. Obviously very little shared knowledge out there for Rotary M1 setups.
Subaru has some big masters, have a look at an SVX master, or 2003-2006 Baja. also, 1998-2001 Mazda B truck/Ranger/Explorer of all things. all are 1 and 1/16" with two 10mm fittings
I actually have a 2.5RS master + booster arriving tomorrow funny enough. My eyecrometer thought it looked close - soon I will know for sure! I am a little unsure about the booster ratios but I might just have to try it and see. As an added benefit, it's a slot slimmer than the early FD booster.
Originally Posted by Carlos Iglesias
Truly impressive build... bravo!
In the middle of an M1 install as well. Would you mind sharing who did your tuning? I assume you got the GPR Rotary package? Appreciate the eMAP/MAP data, especially your crossover point... will be interested to see where mine falls with an 'ancient' GT40R. Did you use the knock sensors... any feedback would be great. Obviously very little shared knowledge out there for Rotary M1 setups.
Thank you! Yes, GPR package. I think I am one of the first running it as the MOP control was not functional until some discussions with motec were had and revised firmware developed. I did my own tuning. Maxt showed me enough to work around this combo without blowing it up (yet). Lots of dyno time still to go, car is only mapped up to 0.9 bar currently. Crossover point at that boost level was very late as you might expect, after 7k IIRC. I'll try to share some more useful data in Spring when I get back on the dyno. I suffered some mega time setbacks after realizing I had made the critical oversight of placing the TMAP in the secondary throttle tract which deprived the M1 of a valid reading between 1-15% TPS. I tried tuning around it with the MAP estimate table and a ton of time on the accel enrich tables but never got an acceptable result. The upside is that I learned a ton about how the x-tau and MAP estimate functions work and I also got to spend a ton of time on the staged injection blend table. Very time consuming as the primary and secondary injectors both have their own tables to set up, although you can get 80% done with the secondaries. I also tried a couple pulls with and without filter, with and without the compressor inlet shroud, etc etc. Still have to set up knock sensor, closed loop boost control, closed loop fuel, closed loop idle, maybe TC. Boost control strategy is clever but needed to be tweaked on track as part throttle corner exit situations would put the car into a loop where it would drop in and out of the control margin. I also used the default "engine load normalised" setting for the ign table which is nice but again requires time and caution to set up. Endless sinkhole of time.
ProEFI and PFC both took like... half or less time to set up. Even my brother's Syvecs was less time consuming. It would be a real tough sell to someone not running a full motec ecosystem as honestly, most RX7s simply don't need the sophistication offered. That being said, the car runs very very well on the M1. Every function so far except the MOP also works as advertised. I have a video of the car idling at a smooth, stable 900RPM. I hated it lol, fortunately it was easy to get the BP idle back.
Last edited by ninesixtwo; Dec 21, 2020 at 09:08 PM.
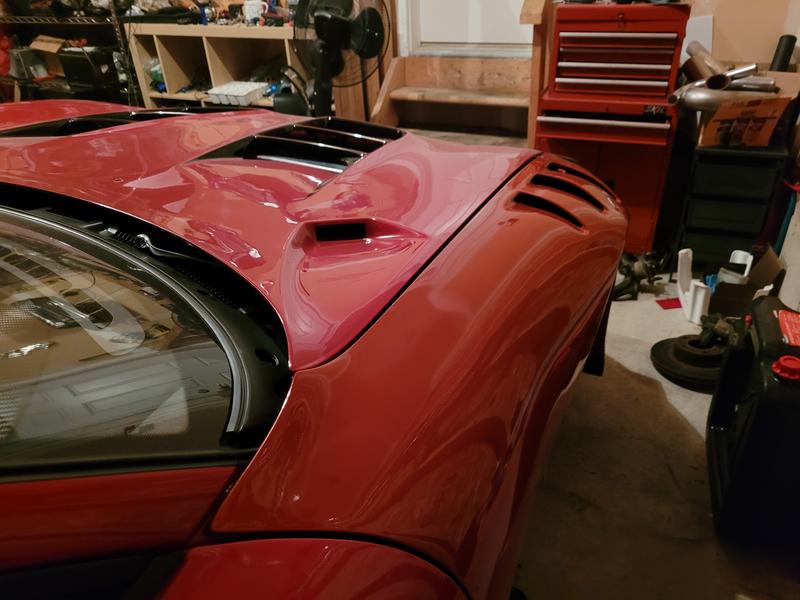
Bodyshop finished molding the CCE vents in. The view from the driver's seat is mega. Front diffuser install up next. For the brake master cylinder, I ended up fitting an evo 27mm master cylinder. Definitely not a bolt on but close enough.
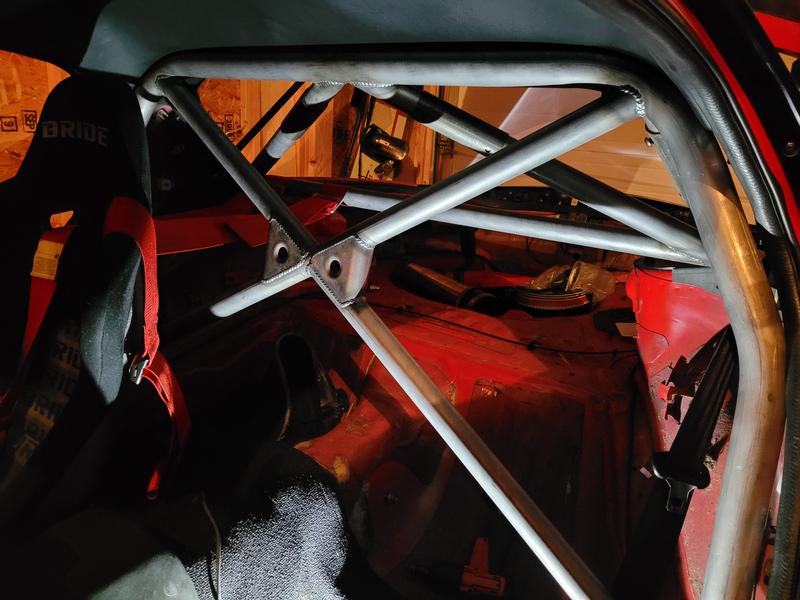
Roll bar fitted, Recaro RMS enroute to replace the Bride
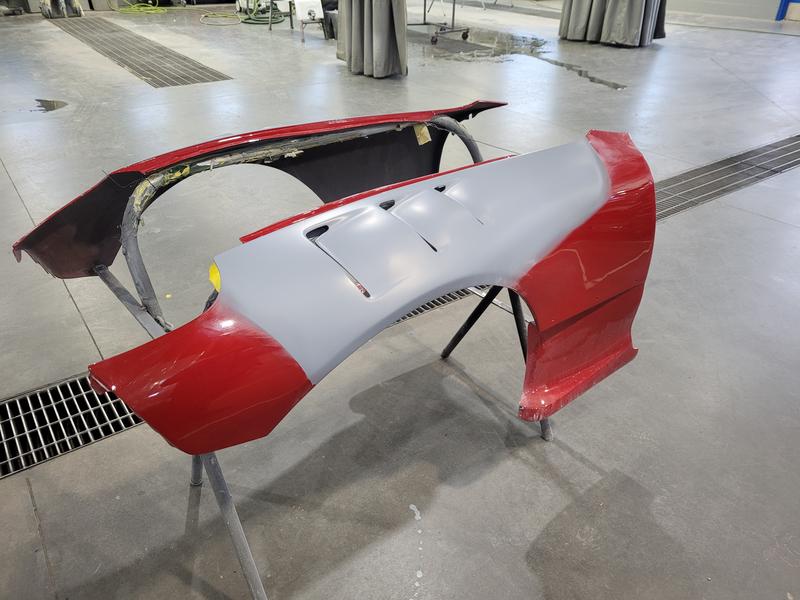
I got them from a friend in Yokohama, but RHD or any other broker should be able to procure them. They are meant to work with any stock curvature fender, although as is the case with any race style FRP part, professional install is recommended.
With all the work you have put into such a simple task...
Have you seen the zero gap sideseal design? The simplist version is just a notched leading side corner seal that the sideseal slots into and then you buy the extra long uncut sideseal part #.
Advantages-
1) No gas seal gap at low temperatures.
2) You can cut an even more aggressive streetport timing because the tip of the sideseals are further out.
3) You cant overheat your sideseals and overexpand them into cracking your cornerseals (common with detonation heat and strong apex seals).
or the more simple
With the more advanced notched cornerseal and notched sideseal design you can go wild with the early streetport opening. That and bevelled rotor edge would be a nice combo.
Thanks Blue. I've seen the "gapless" side seals done a couple different ways but I won't be using them for a couple different reasons. I built my first engine 7 years ago I think and it's spent days and probably 150 pulls on the dyno, road trips, daily useage in summer, track days, drag racing, one significant coolant event, three different ECUs, etc and it's still pulling 125psi. Given my extremely limited personal rotary experience (my personal car is the only RX7 I work on), I'm not in a big rush to mess with what has worked for me.
More directly, they aren't really gapless, and I don't think I have the machinery to perform the modifications in an accurate manner without annealing or compromising parts of the corner seal.
If side seals work in the same way that every gas-pressurized dynamic seal works, the gas that activates the seal comes not from the gap at the end of the seal, but the clearance along the entire length of the seal. The slot cut in the corner seal must be wider than the slot in the rotor as the corner seal must be free to rotate and expand in the rotor. If this is the case, what is to stop the combustion gas continuing into the slot made in the corner seal and through the new gap? If you further increase side/corner seal clearance to prevent corner seal cracking, again, you are just creating a larger gap that the combustion pressure will still reach.
The only difference I see between a conventional and "gapless" side seal clearance from a sealing standpoint is the absence of a direct leakage path.
Consider that when the rotor is assembled in the engine, the side seal is located almost completely in the rotor (dR+dH min is ~0.13mm). This means that the total area in a 2 rotor for direct combustion leakage is 0.16mm^2 using a 0.10mm corner seal clearance. While not a direct comparison, Hot Rod Magazine tested gapless rings by swapping a V8 with total .40mm^2 leakage area to true gapless top rings and picked up 10hp on a 450hp engine.
Long story short, I'm not willing to take a cut-off disc to my corner seals for 4hp 😂. The sideport implications are interesting but I'm staying Bridgeport. I did end up getting RX8 based seals to allow for a little more area on the main aperture but Max isn't too keen on removing material from the bridge.
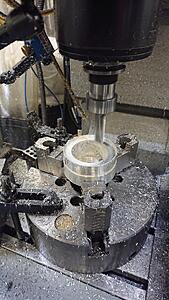
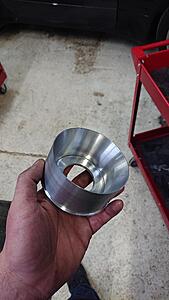
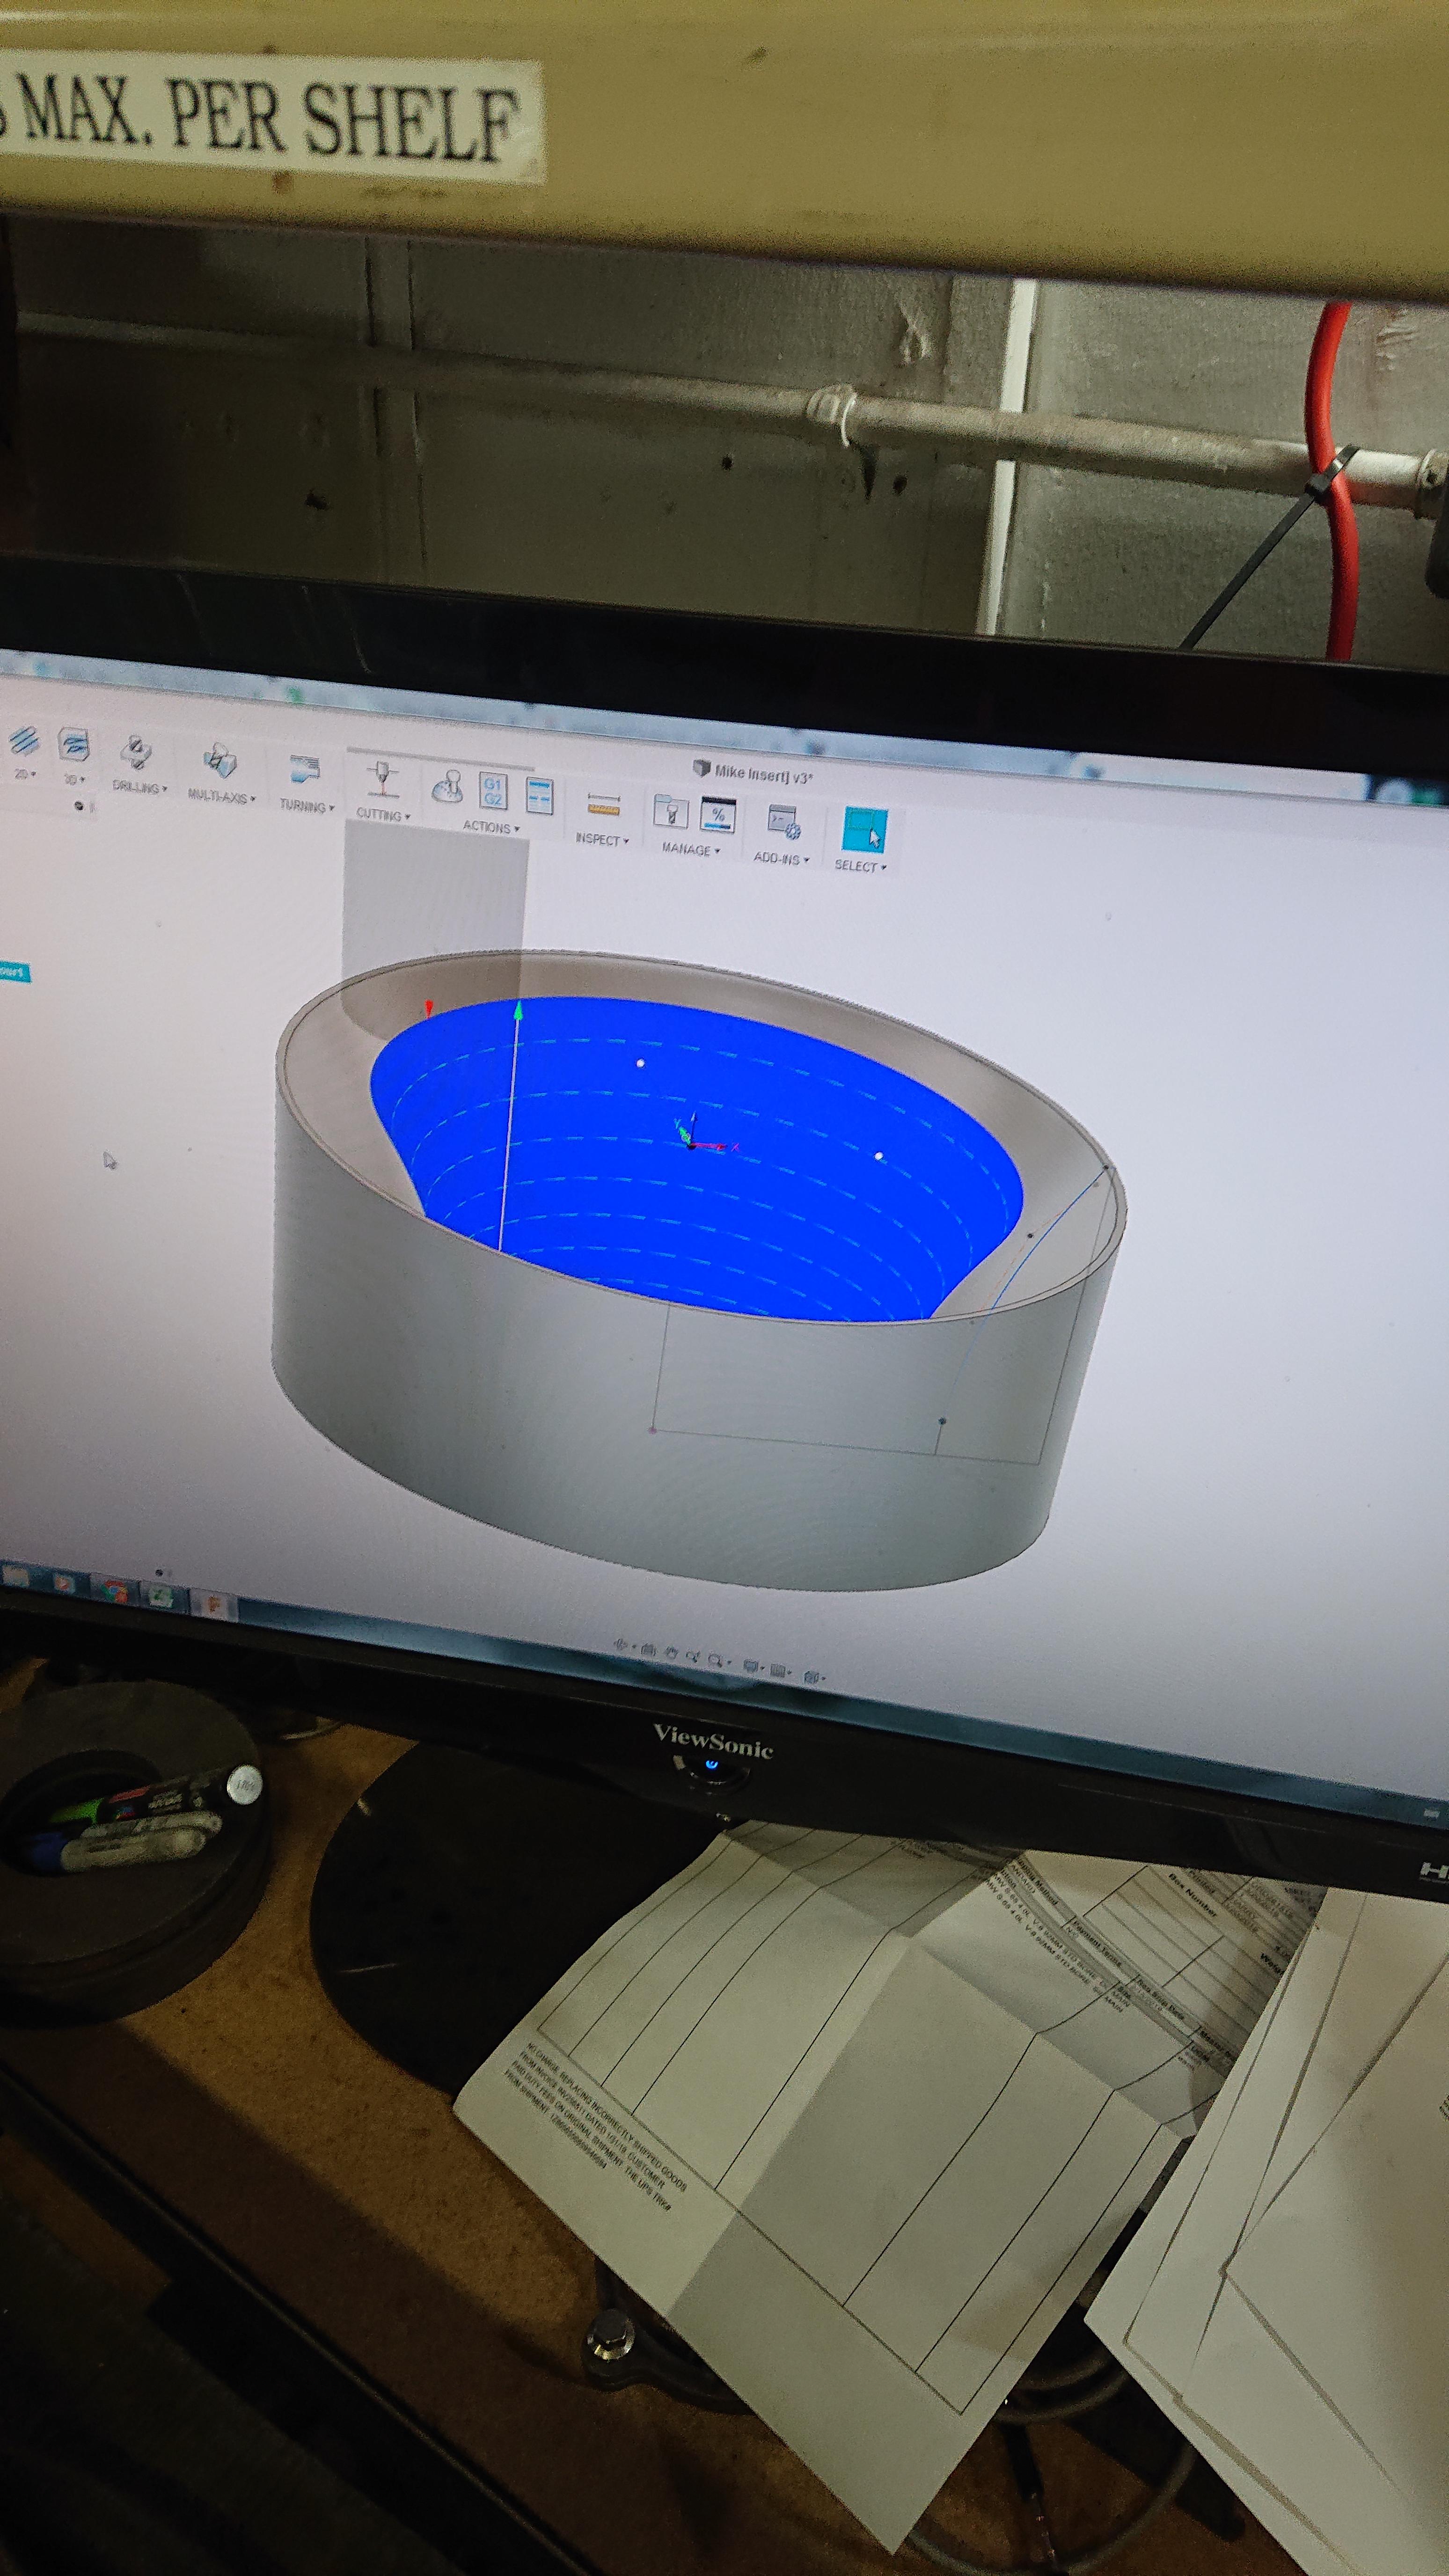
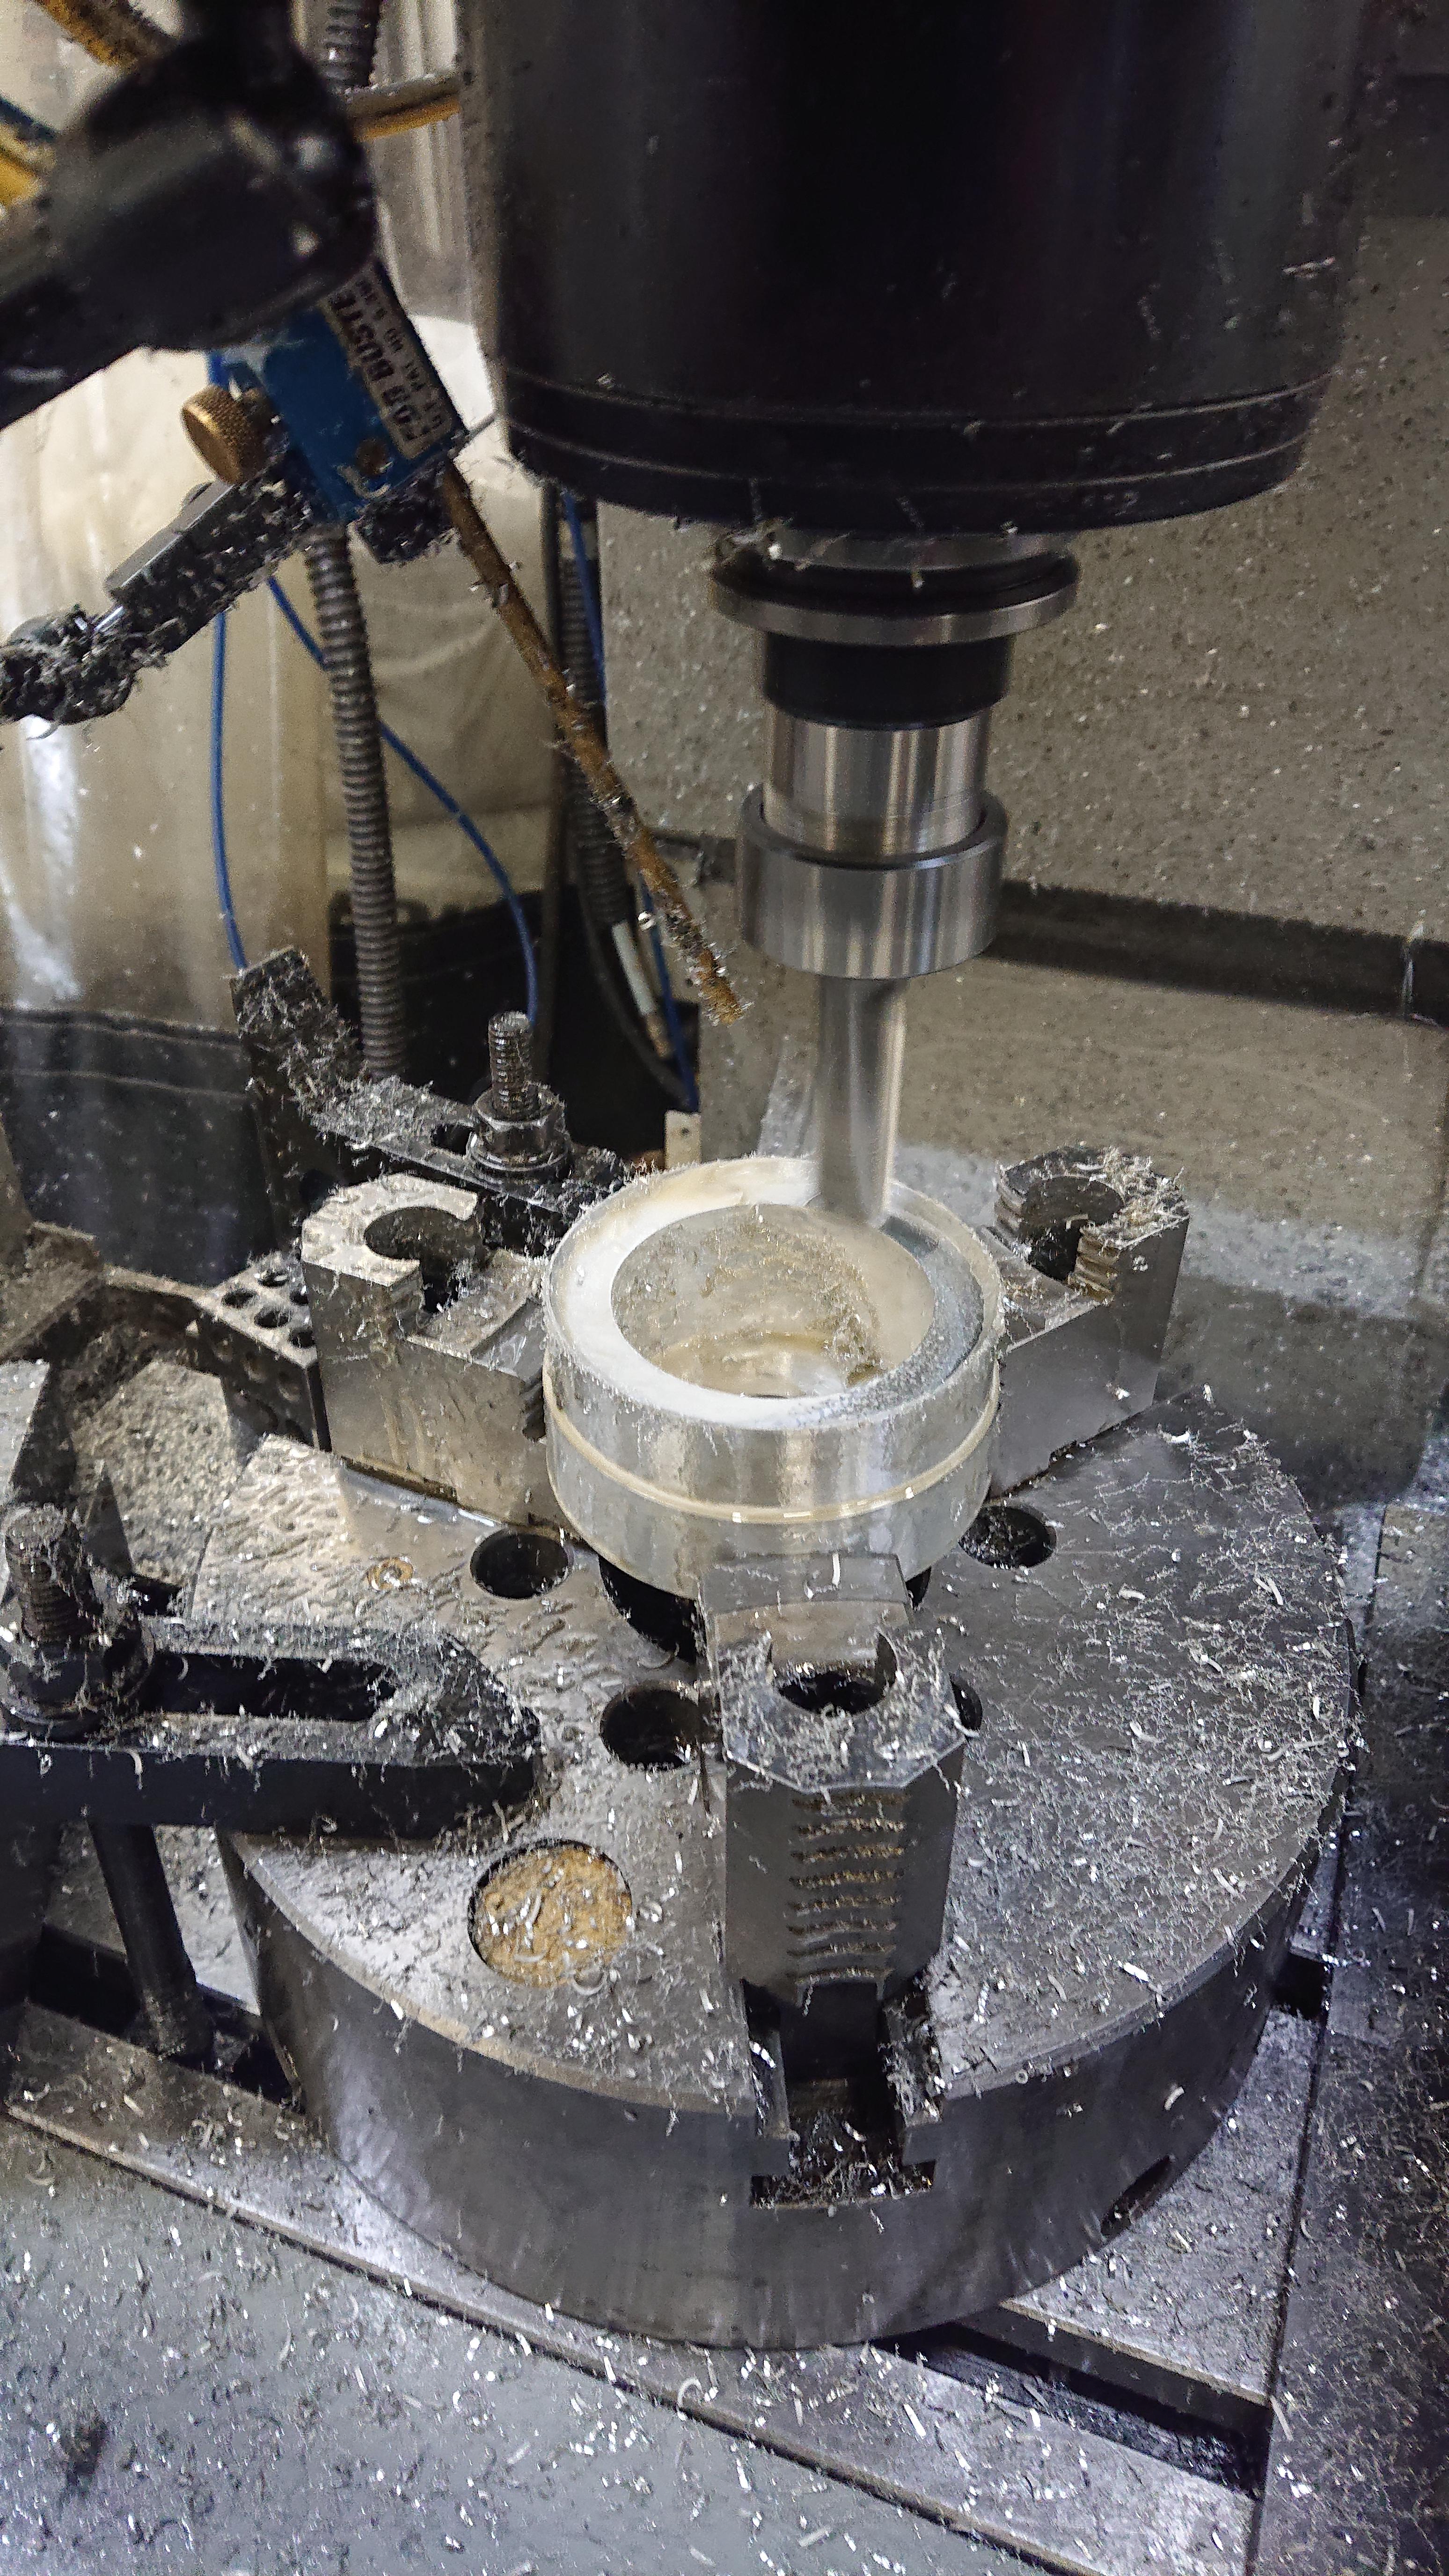
Put an absolute buttload of time into making these. Resin infusion carbon liners, plugs were taken from virgin liners I ran on track to see exactly what material would survive.
First drive went well, another round of bleeding is required as the entire system was open or replaced. I also need to make a new master brace. A new Tilke circuit is being built ~45 minutes from my house so I'm saving all my bullets for when that opens in August, won't have a proper assessment before then. That being said, I found out I'm not the only one that is using Evo masters: RX-7ƒuƒŒ[ƒLƒp[ƒc - ALTEX
They sell a complete kit with late spec booster as well as a barebones kit with lines, pushrod, etc. Wish I'd found that first, would have saved me a lot of time.