
Bubbles Build Thread


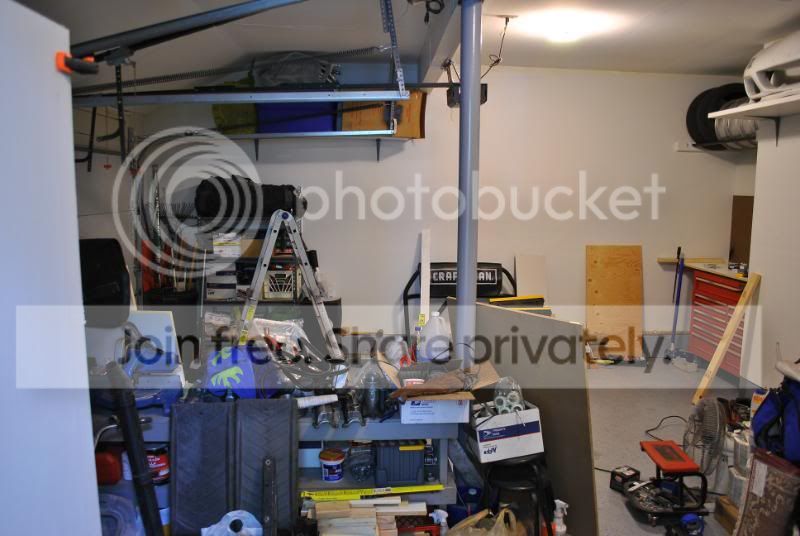
a little update... pretty much done with the garage.. just need to screw the walls and ceiling on the spray booth and add another shelf or two, and change the lights..
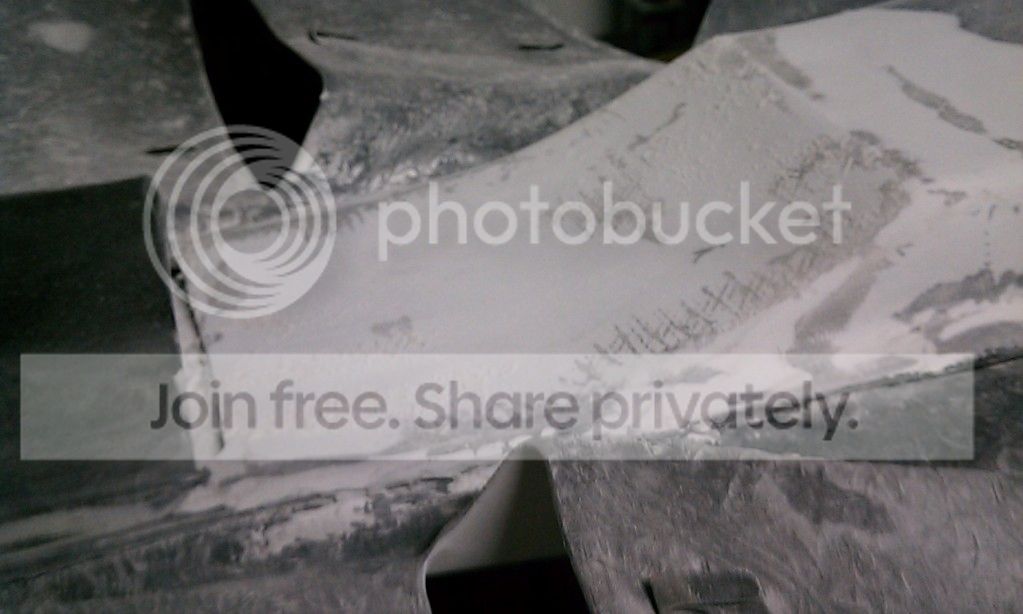
first off sorry for the shitty pics i was in manual mode and forgot to change all my settings plus it being freezing cold out i didnt care...
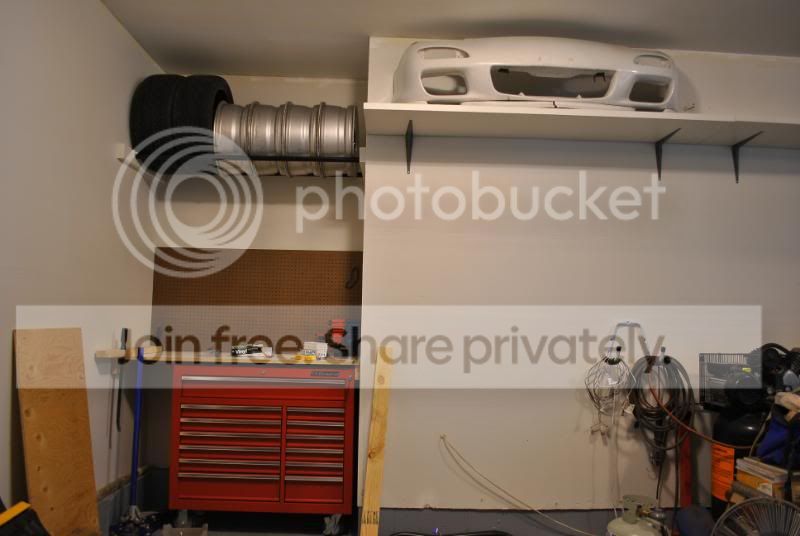
a little teaser of whats "planned" for next year...
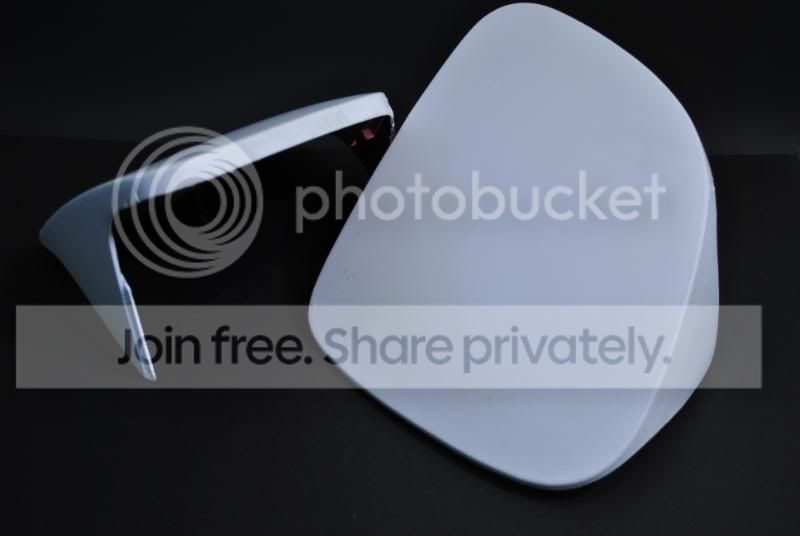

you can also see a sample piece on the door....

and the garageee!

first off sorry for the shitty pics i was in manual mode and forgot to change all my settings plus it being freezing cold out i didnt care...
a little teaser of whats "planned" for next year...
you can also see a sample piece on the door....
and the garageee!
:p
I read just about the whole thread. It's like a soap opera - up's, down's, motivation, demotivation, happiness, tears and fighting. All we need now is for someone to say they're pregnant but don't know who the father is lol
I'd rather keep out of it tbh
Think of me like Kramer - bursting through the door, asking something then leaving
I would still like to know the wheel/tire specs if Bubbles would be so kind though
17x9 +17 all around
f toyo r888 235
r toyo r888 255

ahhahah and a revive post lol
thanks
hahha s'all good, muri's my not-so-local troll  hes just bustin your chops
f toyo r888 235
r toyo r888 255
ahhahah and a revive post lol
thanks
:p
I read just about the whole thread. It's like a soap opera - up's, down's, motivation, demotivation, happiness, tears and fighting. All we need now is for someone to say they're pregnant but don't know who the father is lol
I'd rather keep out of it tbh
Think of me like Kramer - bursting through the door, asking something then leaving
I would still like to know the wheel/tire specs if Bubbles would be so kind though
I read just about the whole thread. It's like a soap opera - up's, down's, motivation, demotivation, happiness, tears and fighting. All we need now is for someone to say they're pregnant but don't know who the father is lol
I'd rather keep out of it tbh
Think of me like Kramer - bursting through the door, asking something then leaving
I would still like to know the wheel/tire specs if Bubbles would be so kind though
hes just bustin your chops
[QUOTE=muibubbles;10995175]17x9 +17 all around
f toyo r888 235
r toyo r888 255
Awesome. Thank you
They look more like 18's. Though maybe that's just because of the style of wheel, the dimensions of the FD, or maybe my spatial skills are out of whack lol.
Are you expecting major rubbing if/when you drop the car a bit? Or do you think you'll just get away with just a fender roll?
Joined: Aug 2008
Posts: 721
Likes: 1
From: near phoenix....kinda...
too true.. its only cause i love coming to this thread. but 235/40 shouldn't rub at all on a 17x9.. unless spacers come into play.

[QUOTE=destro76;10995196]
nope, def 17, im too cheap to get 18's tires are soooooo expensive lol
in the pic they the are on stock struts with tein s-tech springs. i just did a roll and there is no rubbing.
you have to also remember they are R-compounds (semi slicks) so the sidewall is more squared vs a street tire. im planning on running 255's all around in the next few weeks. i dont think ill have a rubbing issue. I did also upgrade to stance coilovers so worse comes to worse i can just raise the car a bit. but i doubt it. i wanna slam it some more
hahah ahh tools. its a war in my wallet. tools or car parts 
17x9 +17 all around
f toyo r888 235
r toyo r888 255
Awesome. Thank you
They look more like 18's. Though maybe that's just because of the style of wheel, the dimensions of the FD, or maybe my spatial skills are out of whack lol.
Are you expecting major rubbing if/when you drop the car a bit? Or do you think you'll just get away with just a fender roll?
in the pic they the are on stock struts with tein s-tech springs. i just did a roll and there is no rubbing.
you have to also remember they are R-compounds (semi slicks) so the sidewall is more squared vs a street tire. im planning on running 255's all around in the next few weeks. i dont think ill have a rubbing issue. I did also upgrade to stance coilovers so worse comes to worse i can just raise the car a bit. but i doubt it. i wanna slam it some more
So a mini update Rear bumper > My life. i couldnt figure it out and wasted vinyl. not too big of a deal as i expected the bumpers would be the hardest and worse case i would get it done professionally. (i think i can do the front so the rear is the only issue right now)
sooo, today i got some quotes. ranging anywhere from 200-350 WITHOUT MATERIAL. crazy. For that amount, i can mess up about 10 times and it will cost the same.... so im going to leave the rear bumper for last and see how i feel about it.. i looked up some more videos and found some helpful 3m ones so i think i MIGHT be okay to give it another go.
Status on parts...
Hood (FG is drying now)
-sand
-body fill
-sand
-paint underside
-re prep top
-vinyl
Hatch
-paint underside
-prep top
-paint
Doors
-sand bondo from around mirror area
body
-finish filling antenna hole (sand body filler)
-sand door jams
-paint
Windshield will need new weather stripping, not sure if i will replace the glass yet.. TBD
Side skirts -complete
fenders- complete
Headlight covers- 50% complete
side fender vents- need to wrap
front bumper- needs a little more FG work on the flange part (where it bolts to the frame)
Parts still needed.
aerocatch hood latches
tires
Other
Tune
finish installing BC
finish installing Water meth
Hide wires of HU (gps, mic, etc)
Install quick release
install steering wheel
make sub box
make rear diffuser
paint roll bar
re powder coat all engine bay parts
PC rims
#255/1000
Joined: Oct 2010
Posts: 64
Likes: 0
From: New Jersey
Where is this place exactly? ive been curious to see if my fat *** can fit in some different buckets.
Hatch- what a huge disappointment. I did a FLAWLESS job in under and hour except for this one spot that had cottage cheese. I thought it was dust since i was doing this in my living room on carpet. i flipped but i progressed. i was finishing up and tucking the vinyl under the weather stripping and it got INSANELY worse. turns out there was still DIRT under one section of the weather stripping. FKCEKGASGI. 60 bucks of vinyl down the drain. Idk how it happened since i wiped down the hatch MULTIPLE times as well moved it back and forth and no dirt ever came out..
FAIL.
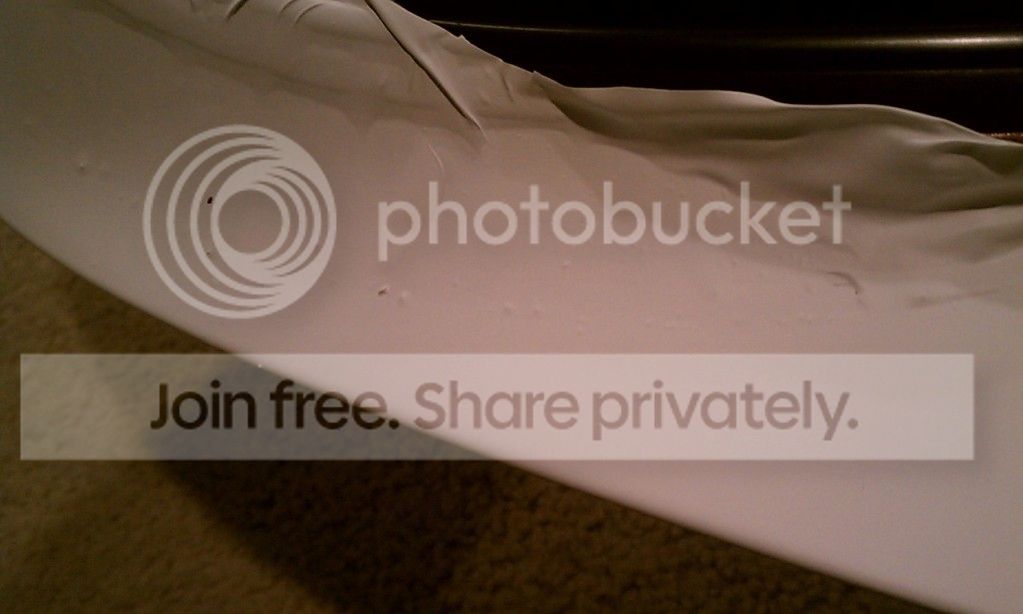
Pissed off i left it alone... then i said fck it and gave it another go... this time i had my friend help me. ironicly the 2nd time took twice as long, with two ppl vs me alone the first time and doing it in an hour......
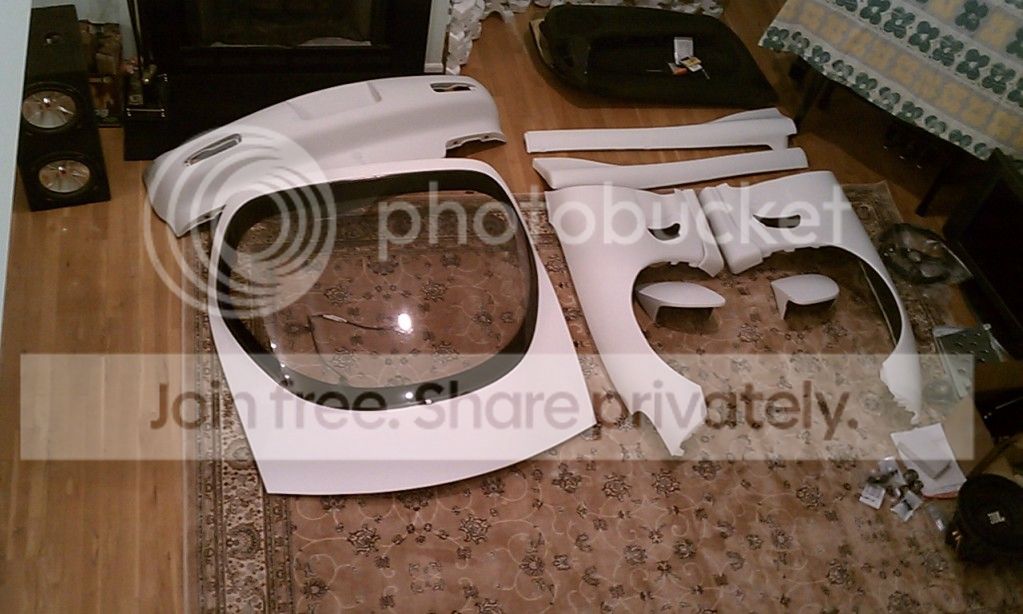
yay perfect hatch!
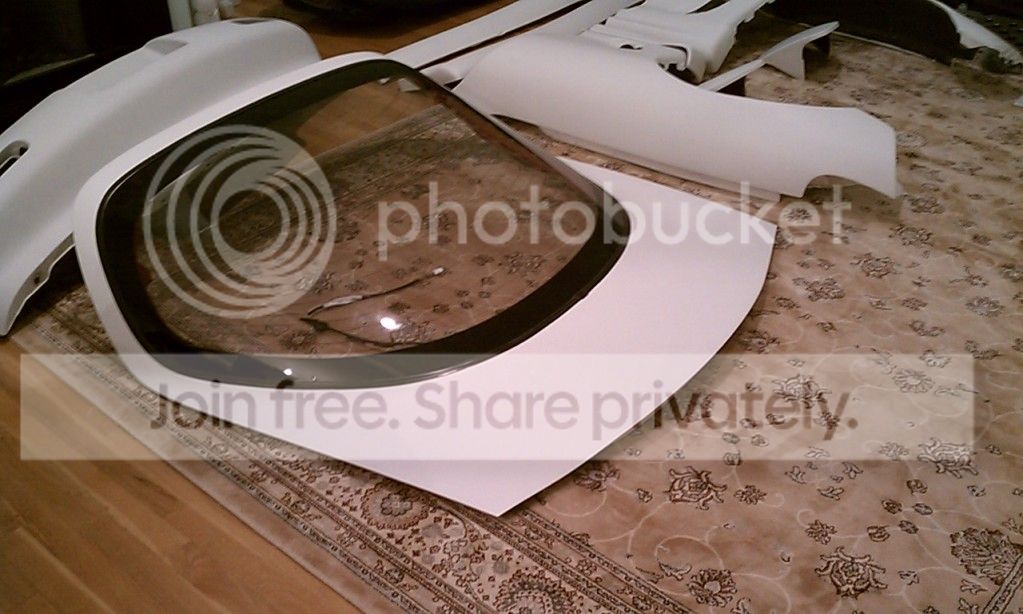
collection of parts stored in my living room/entrance to my house loll... (rear bumper isnt wrapped)
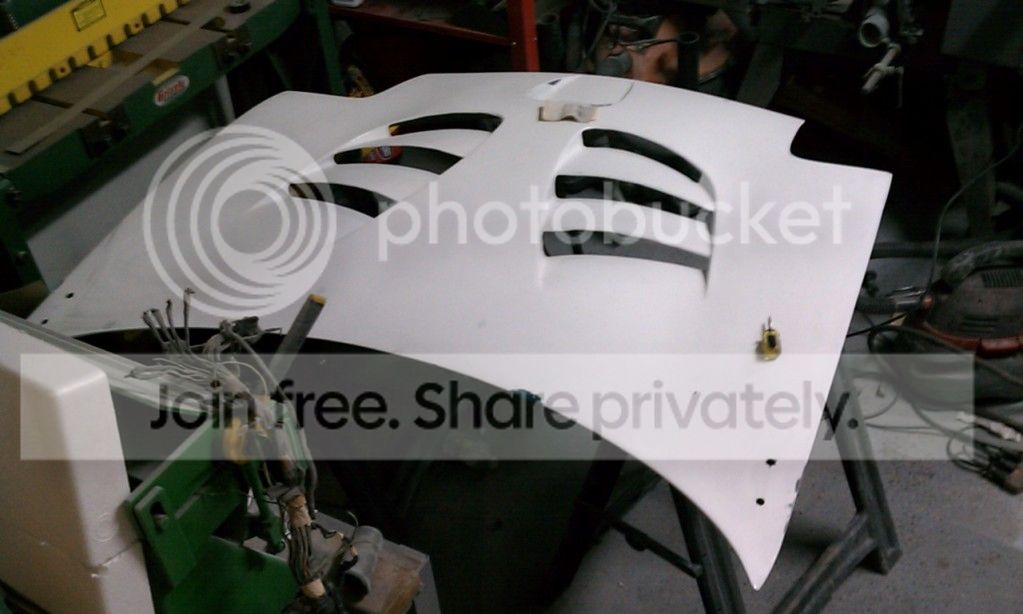
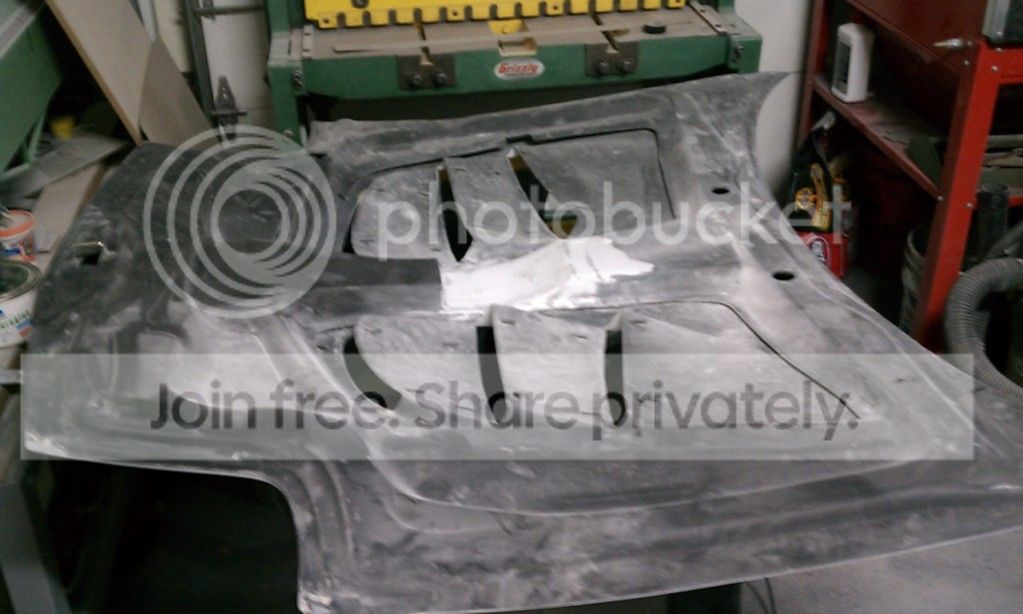
Got some work done on the hood.. I only need to sand down 2 spots then paint the underside then its time for vinyl. hopefully tomorrow..
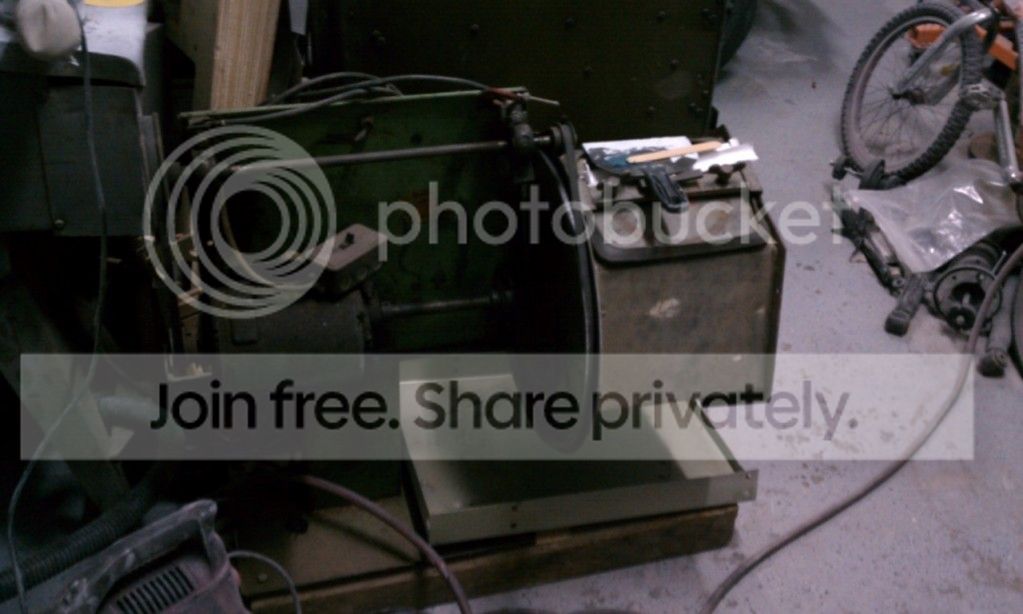
new toy i picked up... MUCH bigger tumbler for parts =) needs a little work to make it shine but functions okay for now
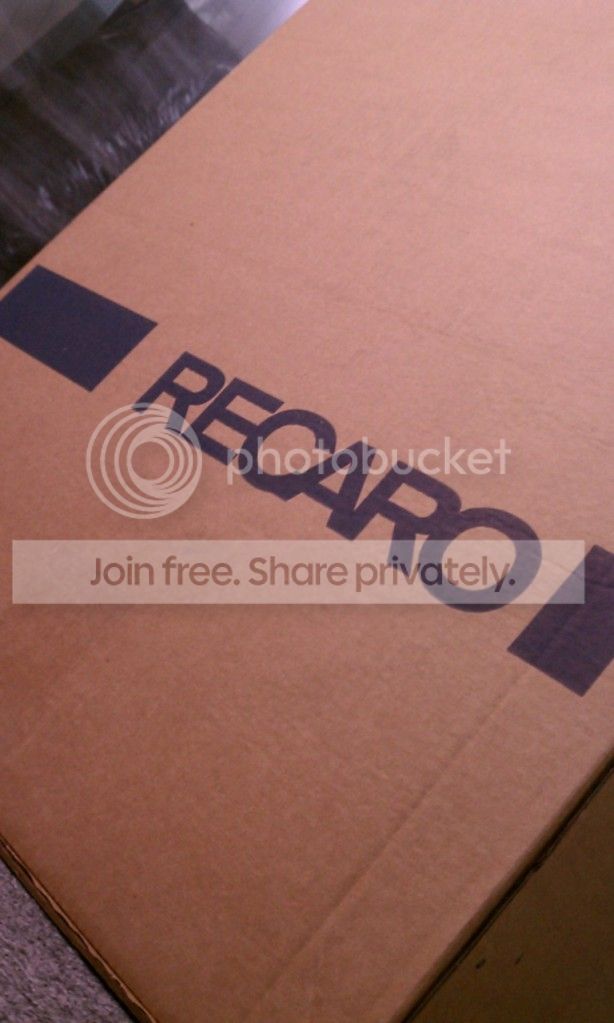
andddddddddd picked this up =) to make the trip to deals a little more comfortable for my back =)
FAIL.
Pissed off i left it alone... then i said fck it and gave it another go... this time i had my friend help me. ironicly the 2nd time took twice as long, with two ppl vs me alone the first time and doing it in an hour......
yay perfect hatch!
collection of parts stored in my living room/entrance to my house loll... (rear bumper isnt wrapped)
Got some work done on the hood.. I only need to sand down 2 spots then paint the underside then its time for vinyl. hopefully tomorrow..
new toy i picked up... MUCH bigger tumbler for parts =) needs a little work to make it shine but functions okay for now
andddddddddd picked this up =) to make the trip to deals a little more comfortable for my back =)
dude love whats going on here... but looking at the struggles with the wrap is giving me hesitations on my car. I did the Interior pieces and they came out ok but that was small. but regardless your car is coming out great dude! keep it up!
ive obviously did it the hardest way for myself. first this is my first attempt ever, i took panels off the car which make it harder, im doing majority of this by MYSELF, so holding parts while stretching the vinyl is very difficult (the part moves a lot) and im tucking the vinyl around the edges where as most people cut at the seam and set it.
IMO, buy like 5 feet, try the fender a head light cover and see how you fair out. the headlight cover with 2 people should only take 5 minutes if youre good.
heres a tip that helped me A LOT. too bad i didnt come across this til after i blew $35 worth of vinyl on the rear bumper lol
http://www.youtube.com/watch?v=yOGwl...eature=related
hahah nothing special just a pole position. emphasis on the singular term since i didnt have enough to purchase another seat ahha (actually i do the second seat isnt priority at this time)
I ended up working on dennis' car (sinned2545) doing the secondary fuel rails/fpr on sunday so no further progress
yeah man, I know its not super hard as long as your not affraid of it. lol. my biggest concern is the front bumper really! since it has the most curves, I noticed doing the AC panel and the center piece that the hardest parts is where the material needs to wrap inward and through a hole! lol. I use a blow dryer though since I don't have a heat gun. and one thing I learned later on in my testing is that I started using a microfiber glove on one hand to smooth out the top parts without scratches and then my other hand for pulling the material so it stayed clean. worst thing I did was edging and seams with a credit card! pretty much cut the vinyl. but maybe I will wait to see how your car turns out before I start sanding down my car and stuff.
credit card is a no no lol its too sharp and dirty, the plastic applicator? blade for vinyl is what you need. im not worried about the front bumper at all i think it will be okay. i think the rear is more difficult. i was quoted 200-350 to wrap the rear bumper + material. So the way i see it is if you buy vinyl, wrap the car yourself and get someone to do the rear bumper, youre still making out with a "new paint job" for about 1 grand...
credit card is a no no lol its too sharp and dirty, the plastic applicator? blade for vinyl is what you need. im not worried about the front bumper at all i think it will be okay. i think the rear is more difficult. i was quoted 200-350 to wrap the rear bumper + material. So the way i see it is if you buy vinyl, wrap the car yourself and get someone to do the rear bumper, youre still making out with a "new paint job" for about 1 grand...
yeah I know its no good. Thats all I had in the house though, I wrapped a napkin around it to soften it up and it worked fine for the first 20 minutes, then it started to rip the paper and I did not notice and I cut the vinyl.
really the back is harder you think! I don't know I thought that would be a little easier (minus the license plate indent)

well to me the front is overall a convex shape aka just stretch the material back. for the rear you have a convex to a concave, so essentially you have to stretch it over the hump, which means excess material, then shrink to do the perpendicular portion... idk i think it might be A LOT easier now that ive seen the video i posted. i understand more how to shrink/get creases out better..
well to me the front is overall a convex shape aka just stretch the material back. for the rear you have a convex to a concave, so essentially you have to stretch it over the hump, which means excess material, then shrink to do the perpendicular portion... idk i think it might be A LOT easier now that ive seen the video i posted. i understand more how to shrink/get creases out better..
well, if you leave it to last and try it and mess it up you can take it in and get it done. and all you would lose is the material but since the rest of the car would be done you know your ok... or run kamikaze style and run no bumper! haha

http://www.autovinylsolutions.com/
Idk. from what ive heard, it wont stick well to primer....... 1-10 headlight covers are like a 2. they should be VERY easy if you understand how the vinyl works. if you are doing an experiment to try and see if you feel confident enough to do the whole car i would try a fender.. while its not hard either, it gives you more of and idea what to expect..
Idk. from what ive heard, it wont stick well to primer....... 1-10 headlight covers are like a 2. they should be VERY easy if you understand how the vinyl works. if you are doing an experiment to try and see if you feel confident enough to do the whole car i would try a fender.. while its not hard either, it gives you more of and idea what to expect..