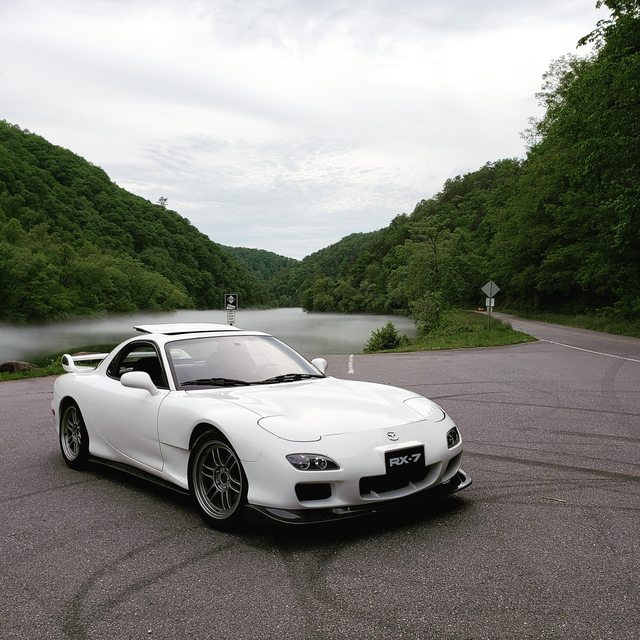
94 CW PEP - Build #3


The following users liked this post:
SpeedCrazie (10-08-19)
 10-28-19, 07:54 PM
#58
Had an annoying oil leak so I bought a new oil pan and IRP brace. While the car was up decided to add Banzai-Racing trans brace. With work, school and golf, I didn't have time to install so i asked my buddy Erich to install for me.
Need to install
- AutoExe carbon intake
- New OEM rearview mirror
Waiting on
- Red spirit R key from garage alpha and new floor mats
Need to install
- AutoExe carbon intake
- New OEM rearview mirror
Waiting on
- Red spirit R key from garage alpha and new floor mats

The following 3 users liked this post by Johnny Kommavongsa:
02-15-20, 06:50 AM
#60
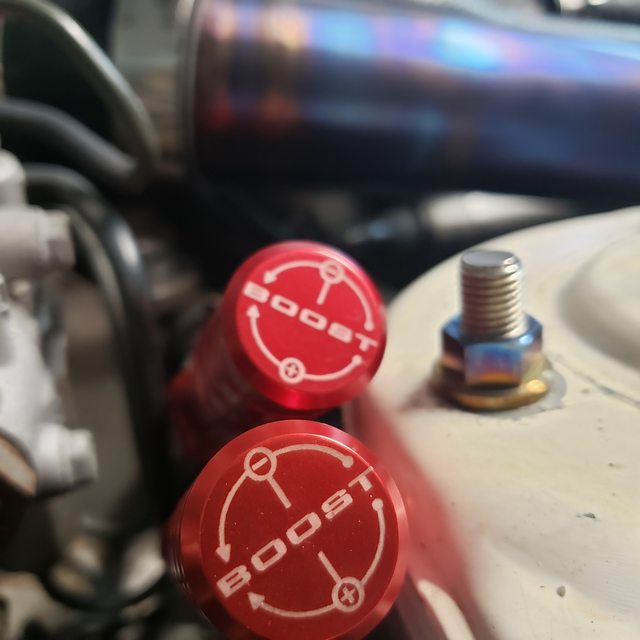
Decide to add Hallman MBC

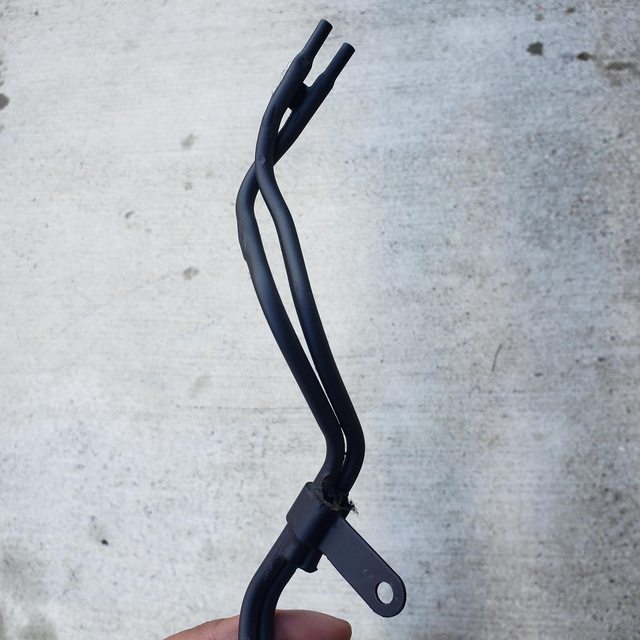
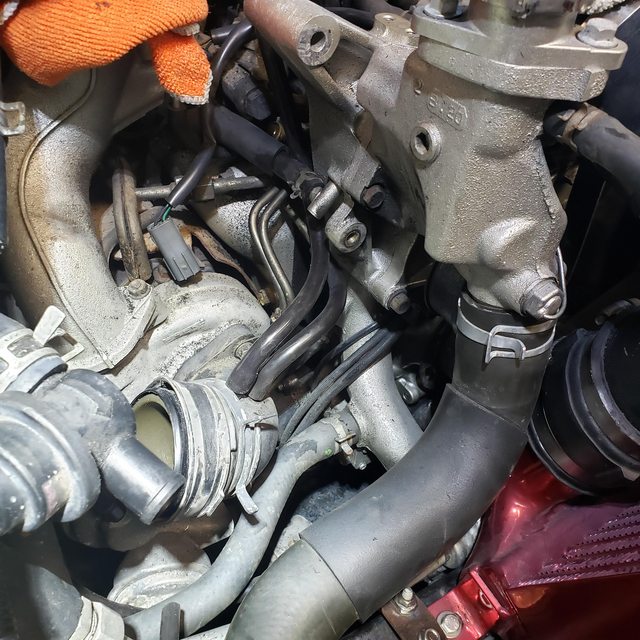
During the process I noticed the vacuum hose from top of the engine to the turbo actuator were two different sizes. Instead of using a reducer, I decide to use the stock hard vacuum line but modified it. I removed the hard lines that I didn't need.


Next up finish AEM WI install and set boost to 12 psi on each turbo
During the process I noticed the vacuum hose from top of the engine to the turbo actuator were two different sizes. Instead of using a reducer, I decide to use the stock hard vacuum line but modified it. I removed the hard lines that I didn't need.
Next up finish AEM WI install and set boost to 12 psi on each turbo
06-02-20, 10:23 AM
#61
Been awhile since I posted. Finished up the WI install and the car is solid.
Used the car to mock up the Turbo Jeff 51 battery tray that I got from Garage Alpha to mount in the rear. Had to make a few modifications and decided to do a short video on the battery tray and the other products Garage Alpha offers.
I will be using the battery tray in the rear of my my CYM with an antigravity battery.
The following users liked this post:
estevan62274 (01-12-24)
01-12-24, 12:41 PM
#64
In the last video, I saw he was trying to get accessories to fit under the hood and contemplating lowering the rack or a different subframe. My Ronin subframe is at Defined in case you want them to take some measurements for you relative to the custom oil pan. I think your best bet is to get the excessive 20b kit's steering rack modification for your stock frame because that would have little chance of interfering with the custom oil pan you already have.
And to make everything easier, EWP with a low profile filler neck (if keeping the water pump housing) will help you. Becomes even easier if you go EWP and delete the water pump housing. Downside to that is then you lose the mount for the alternator, but I'm actually in the process of making a fix for that. Happy to chat if helpful.
And to make everything easier, EWP with a low profile filler neck (if keeping the water pump housing) will help you. Becomes even easier if you go EWP and delete the water pump housing. Downside to that is then you lose the mount for the alternator, but I'm actually in the process of making a fix for that. Happy to chat if helpful.
The following users liked this post:
scotty305 (03-21-24)
03-26-24, 09:15 AM
#67
2024 Updates
Jan
- Mocked up engine using OEM subframe
- Decided to use Ronin subframe and Full Function Engineering mounts
- Able to use OEM style radiator with aftermarket slim fans
Feb
- Ordered the following
- Ordered Nexus R3 ECU and wiring harness
Mar
- Test fitted header
- Made exhaust (3.5 inch with two mufflers)
- Painted engine bay
- Installed Sakebomb Smart Oil Cooler kit
April Plans
- Hopefully install intake
- Wiring
- Oil and fuel plumbing
- Have it running for DGRR on 4/10
Here is a video that talks about the OEM subframe vs the Ronin.
Jan
- Mocked up engine using OEM subframe
- Decided to use Ronin subframe and Full Function Engineering mounts
- Able to use OEM style radiator with aftermarket slim fans
Feb
- Ordered the following
- Injector Block off Center Iron
- Fuel Function Engineering Fuel Rails, Fuel Pressure Regulator, Fuel Pulsation Damper,
- Radium Fittings
- Coolant Fill Port from Champion
- Billet Coolant Plate from Banzai Racing
- Ordered Nexus R3 ECU and wiring harness
Mar
- Test fitted header
- Made exhaust (3.5 inch with two mufflers)
- Painted engine bay
- Installed Sakebomb Smart Oil Cooler kit
April Plans
- Hopefully install intake
- Wiring
- Oil and fuel plumbing
- Have it running for DGRR on 4/10
Here is a video that talks about the OEM subframe vs the Ronin.
The following 2 users liked this post by Johnny Kommavongsa:
estevan62274 (03-26-24),
gracer7-rx7 (03-26-24)

The following 3 users liked this post by Johnny Kommavongsa:
 04-09-24, 02:01 PM
#71
^ thanks. Some of the items that we had to work through
Intake
ECU and Wiring
Intake
- Slide throttle interfered with the alternator, this was resolved by cutting the intake runners from the LIM, adding some new runners and tilting the runners towards the firewall.
- During the slide throttle modification the flange got a little warped which created gaps between the slide throttle and intake manifold. This was resolved with paper gaskets
- Didn’t realized pilot bearing wasn’t in the engine until we went to align the clutch. Luckily my buddy remember that he had a new spare pilot bearing.
ECU and Wiring
- Using a Nexus R3, some of the wires that you will need from the OEM engine harness includes, transmission wires and inside temp gauge. Also had to wire in some relays for the IGN1 coils.


The following users liked this post:
gracer7-rx7 (04-09-24)

Thread
Thread Starter
Forum
Replies
Last Post