
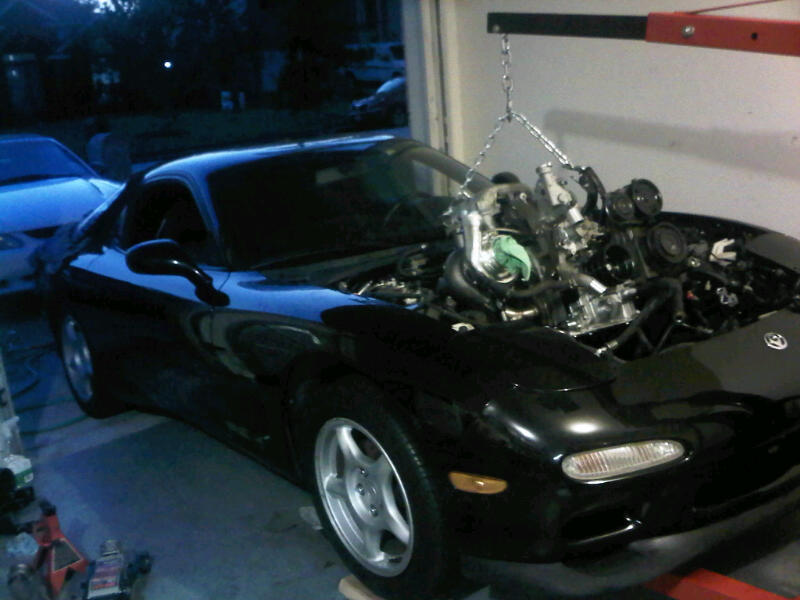
1994 R2 build - Lots of big pics - build is evolving

Right now my absolute number 1 holdback is the damn Texas heat. My garage is constantly in the 110f range. I get 1 hour of work in and I am ready to pass out.
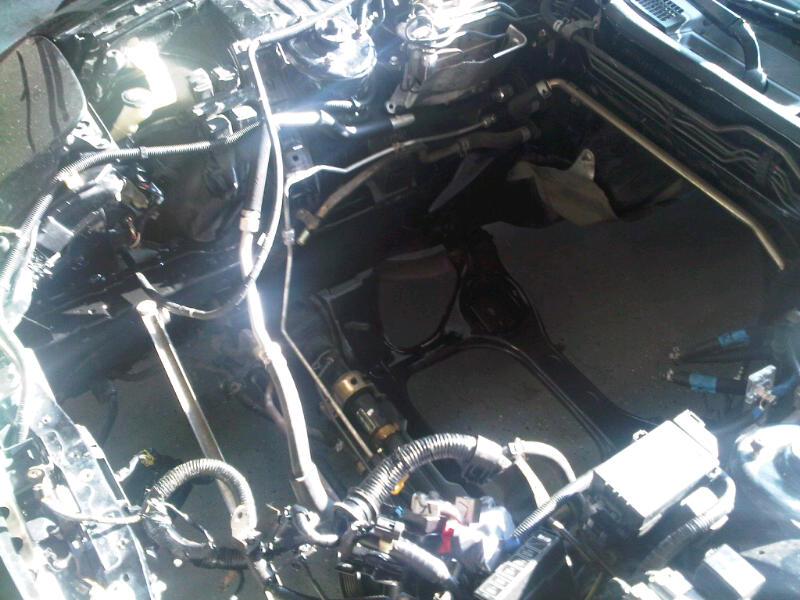
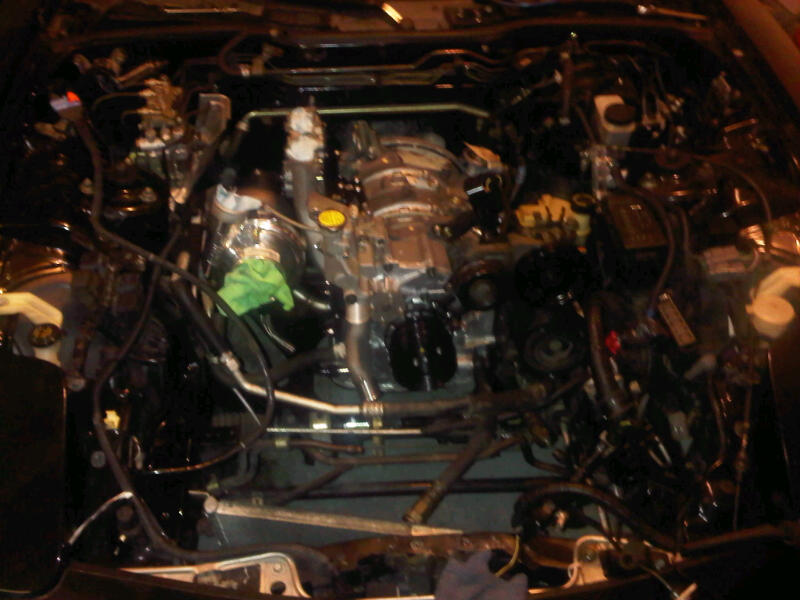
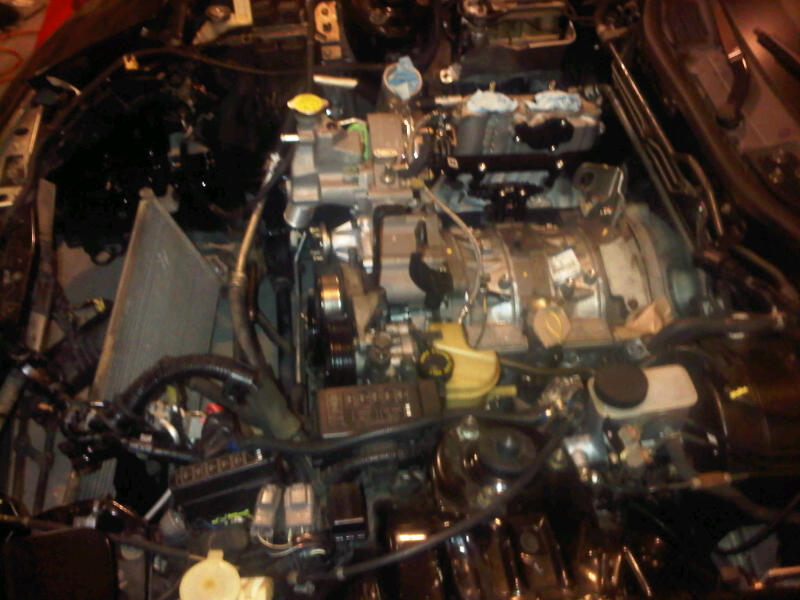
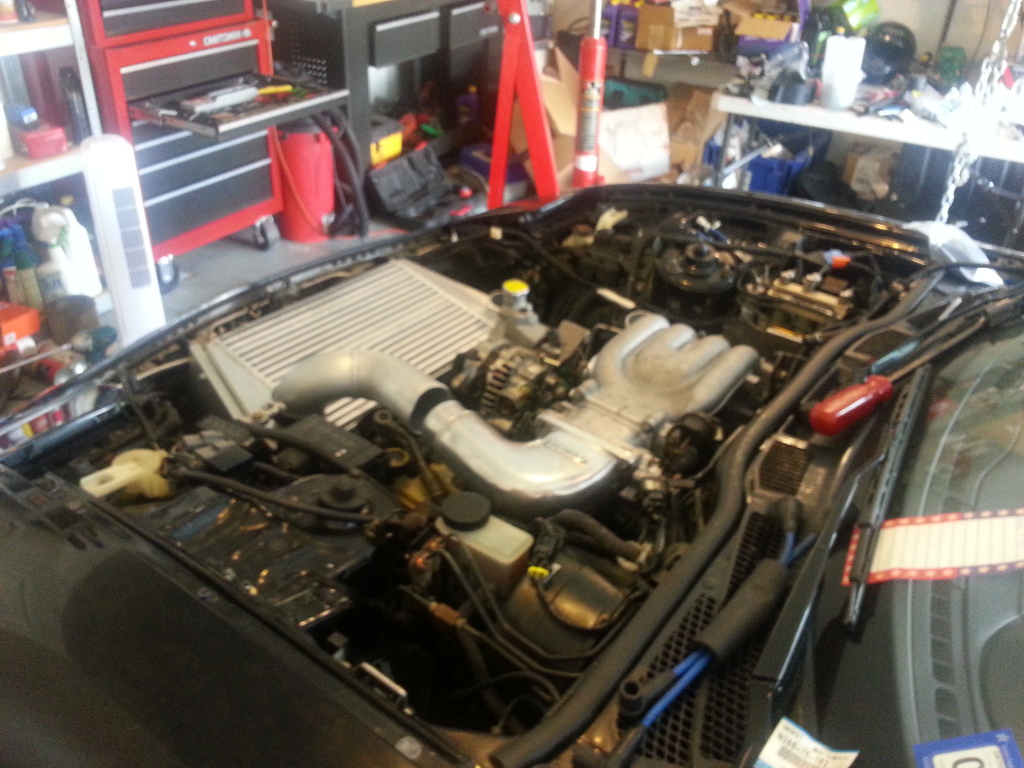
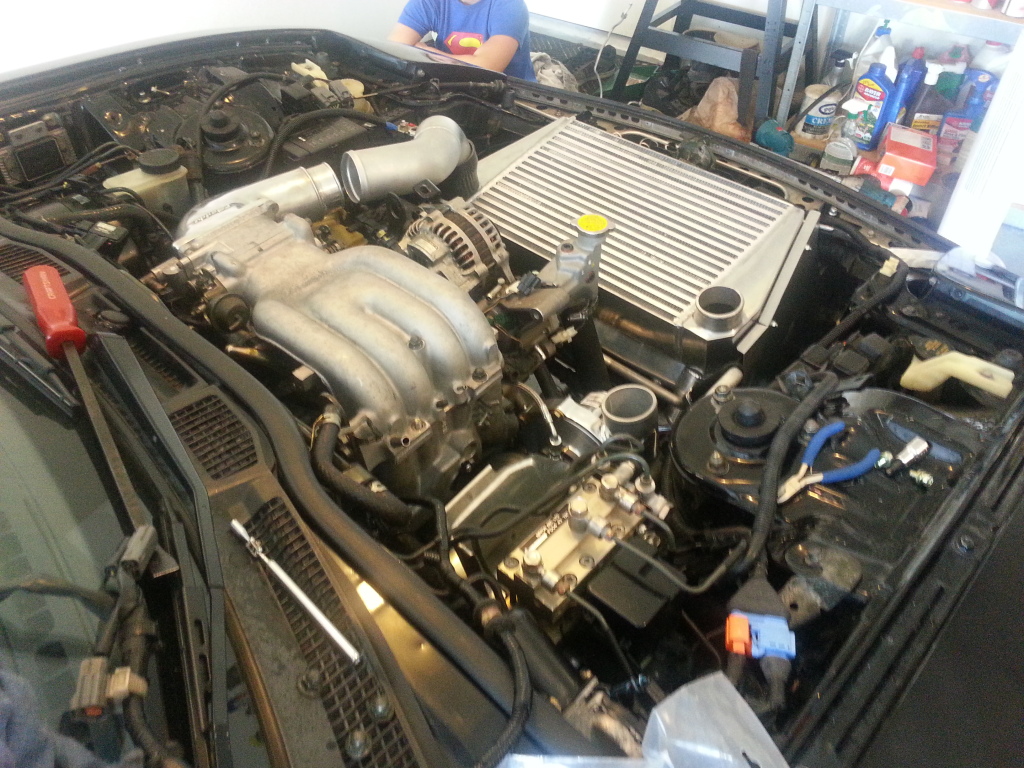
Ive done some cleaning. Degreased and Pressure washed the engine bay and some other parts.
Stock sequentials have been real and have been fun... But I have decided it is time for more air flow... Going to start converting my wiring harness and simplify the engine bay a little. More parts are on the way. More pictures to come soon.
Finally got some more parts I have been waiting on:
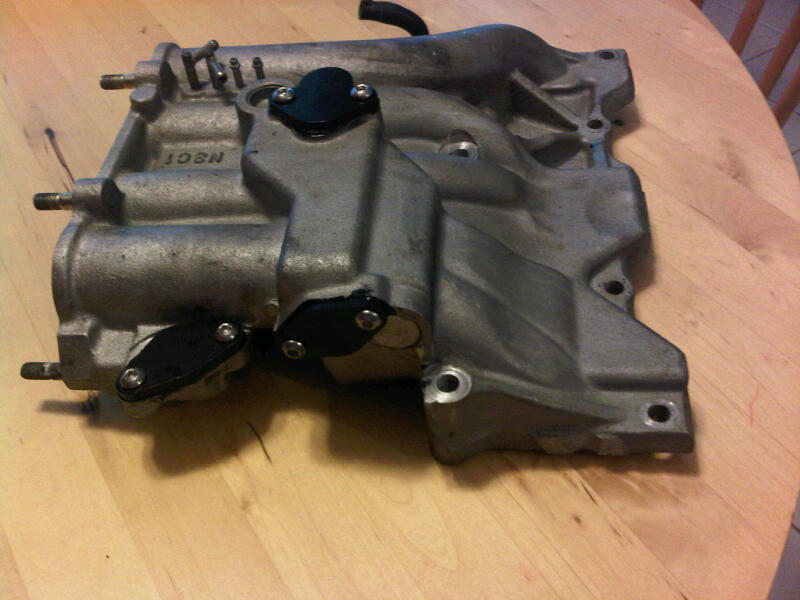
A-spec manifold. Bungs are welded in for the dual EGT kit. Crappy cell phone pics, it looks better in person. Is that surface rust? If I don't coat these parts, are they going to rust up?


And matching downpipe with wastegate reroute:


More pics to come tonight or tomorrow. I am debating having some parts coated right now.
A-spec manifold. Bungs are welded in for the dual EGT kit. Crappy cell phone pics, it looks better in person. Is that surface rust? If I don't coat these parts, are they going to rust up?
And matching downpipe with wastegate reroute:
More pics to come tonight or tomorrow. I am debating having some parts coated right now.
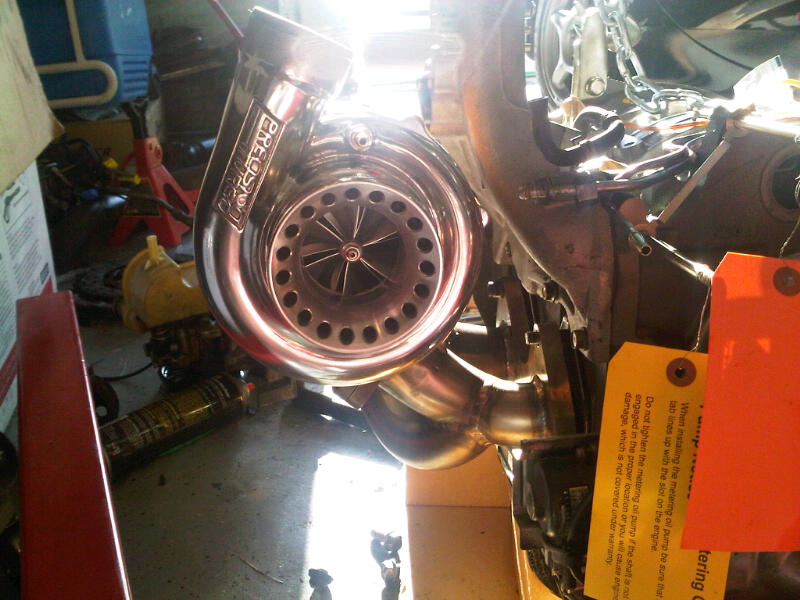
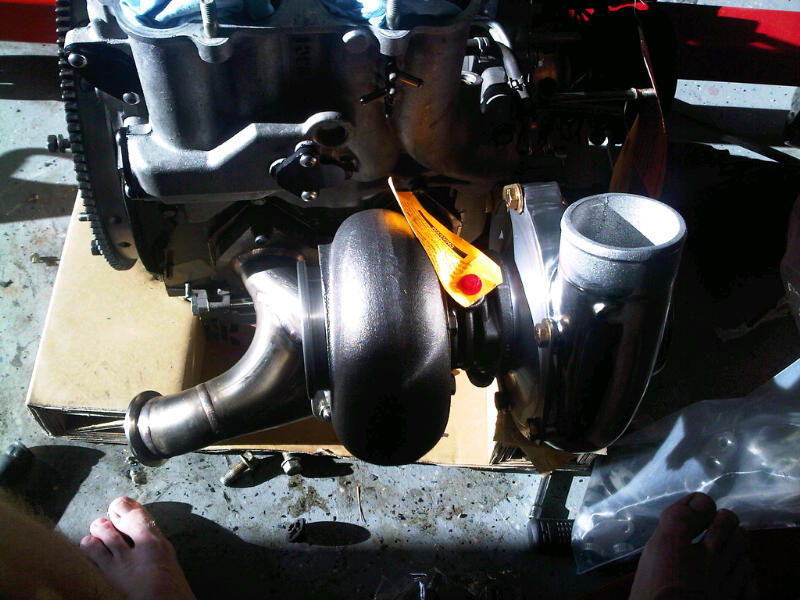
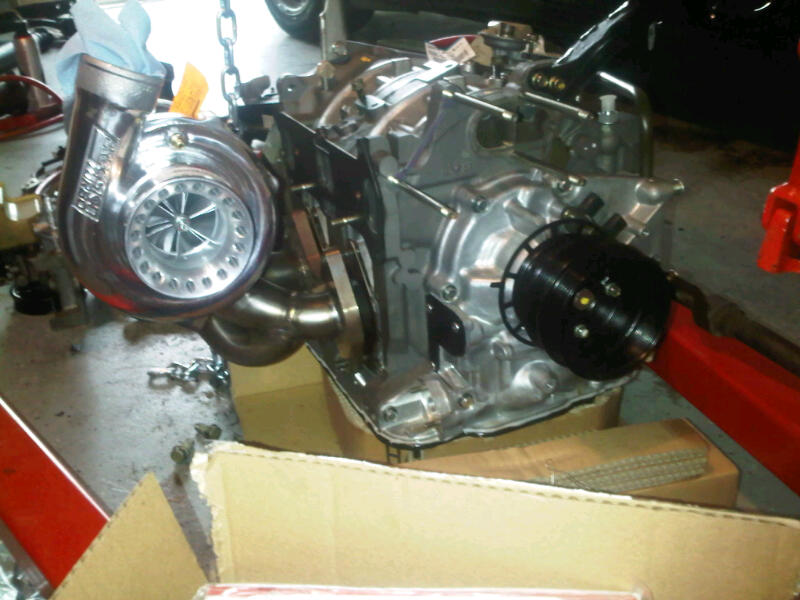
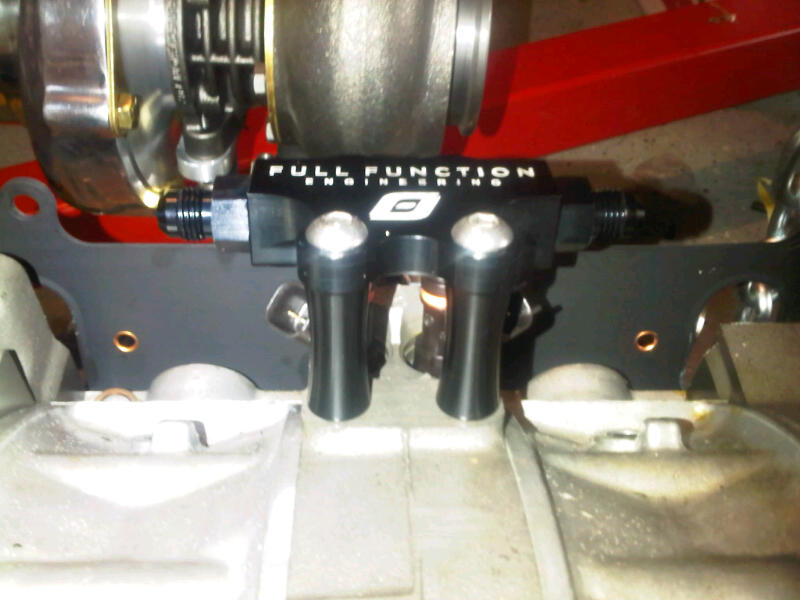
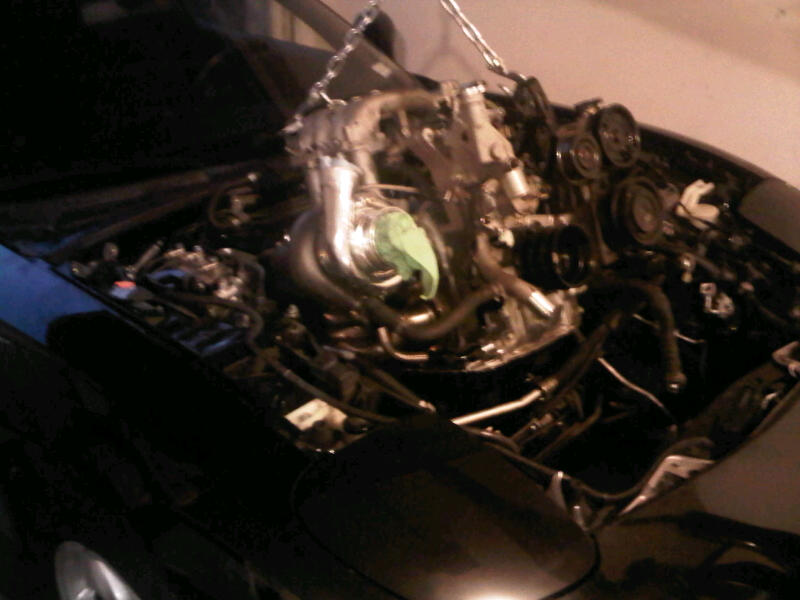
Got my emissions stuff removed and installed the block off kit. Turbo temporarily mounted so I could clock it the way I want it. This weekend I plan to get the fuel system installed and the clutch.
Does anybody know what size socket to remove the flywheel? It is huge.
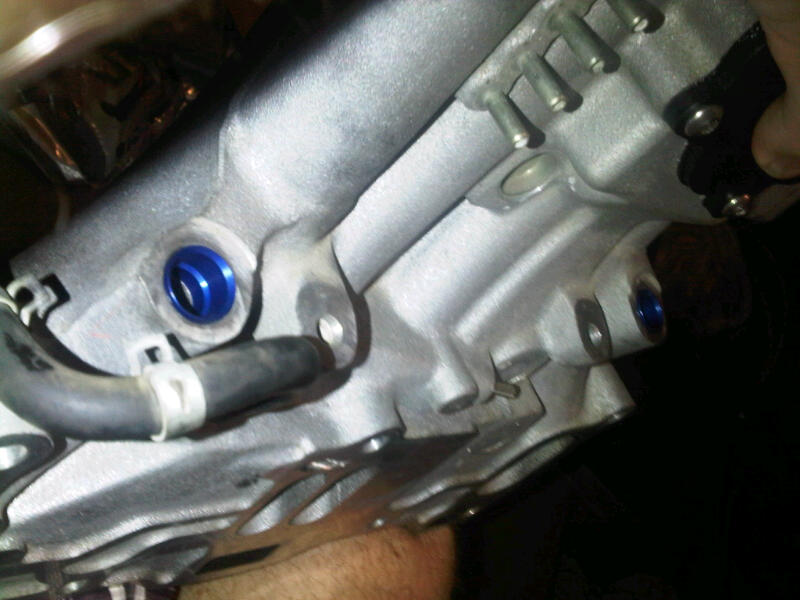
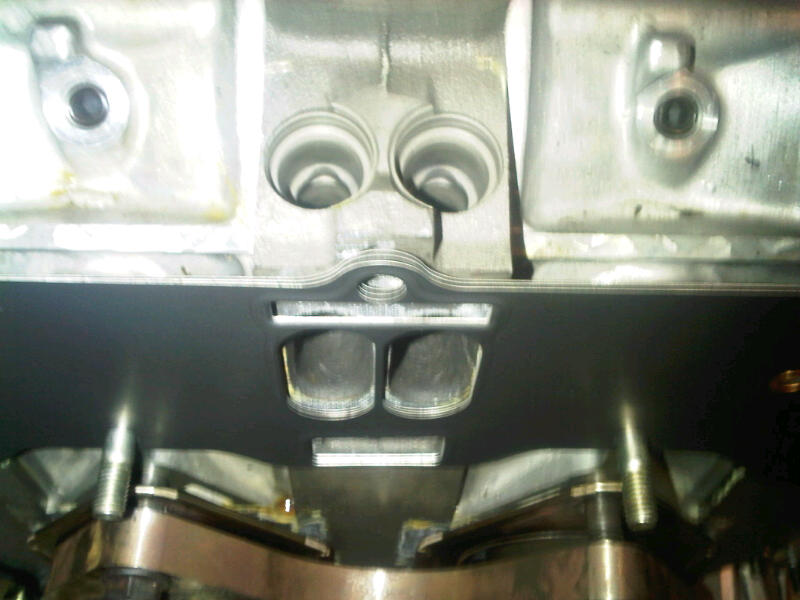
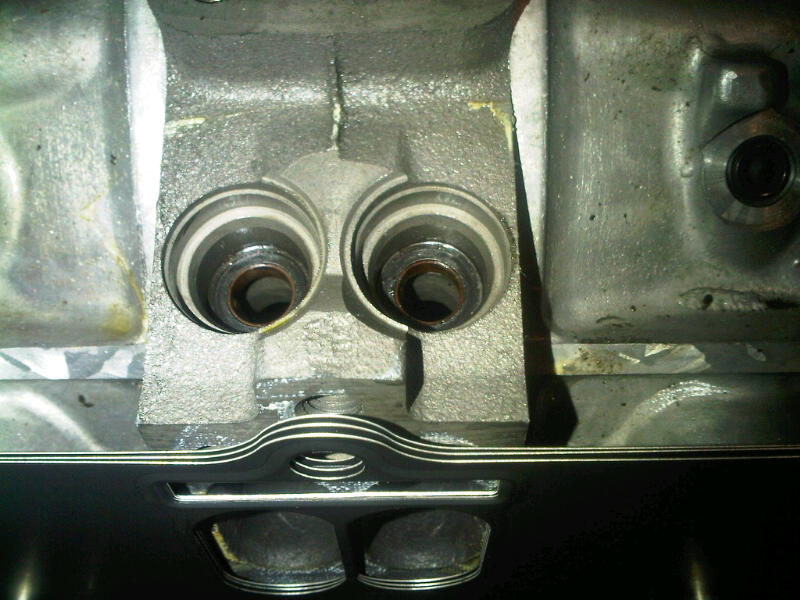
FFE block off plates:
Precision PT6266 air cooled dual ceramic ball bearing full T4 divided .84

Build is going slow, spending most my free time in the sky and building the car on rainy days. But she is getting there.

Does anybody know what size socket to remove the flywheel? It is huge.
FFE block off plates:
Precision PT6266 air cooled dual ceramic ball bearing full T4 divided .84
Build is going slow, spending most my free time in the sky and building the car on rainy days. But she is getting there.


Nice looking build. What DZ do you go to most of the time? I live in the area and really enjoyed skydiving the few times I did it and have been debating going again, perhaps to get my license and such. Good luck with your build.
Skydiving is good for the soul.
Skydive Spaceland is where I used to jump from as well, the few times I went....it was a great experience. My wife hated it, I though it was enjoyable, just never took all the classes to get my license, I passed the exam, but did not finish the 20+ required jumps. I have since moved from Pearland to Katy, so it's a bit of a haul to go over there now.
Skydive Spaceland is where I used to jump from as well, the few times I went....it was a great experience. My wife hated it, I though it was enjoyable, just never took all the classes to get my license, I passed the exam, but did not finish the 20+ required jumps. I have since moved from Pearland to Katy, so it's a bit of a haul to go over there now.
At least you got to experience it. Most people don't. I drive a 3+ hour round trip and I do it every chance i get.
Here I was hanging off the wing of a Cesan 182 @ 12,000 ft:

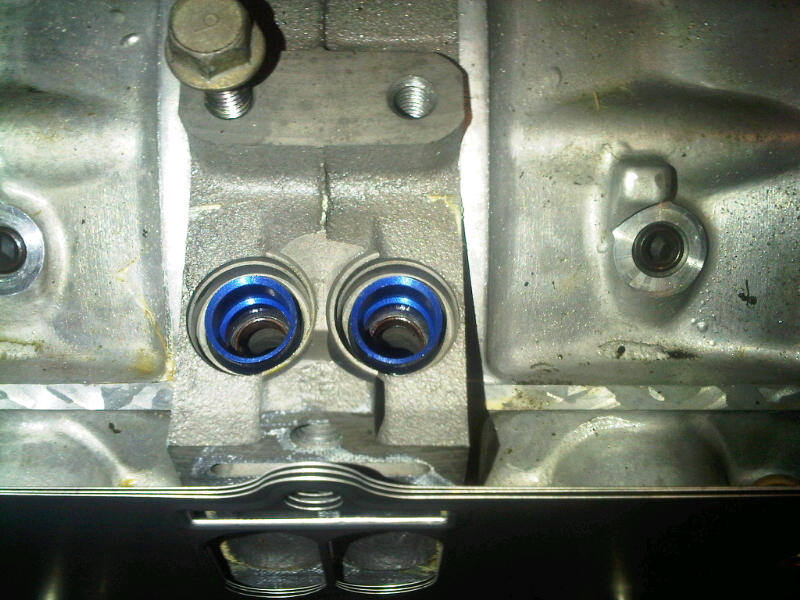
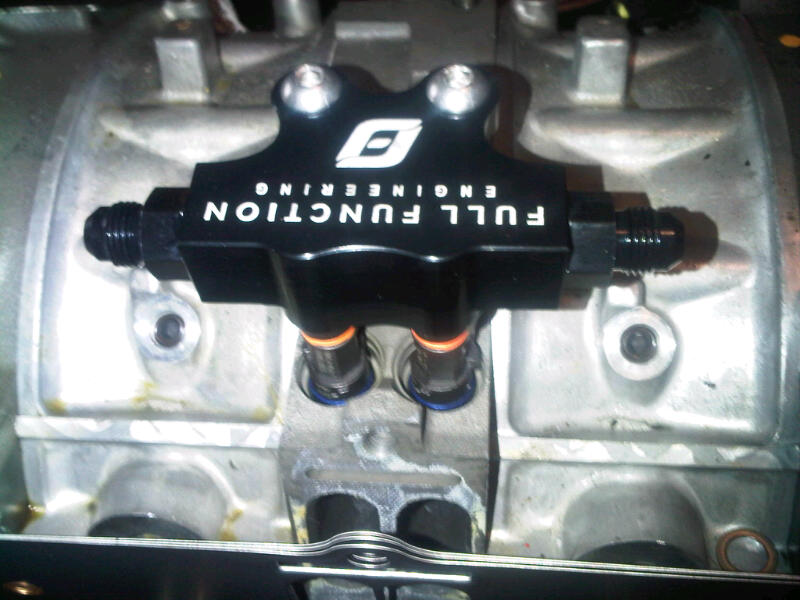
Ok, I got the fuel injectors/rails installed. Man, they are nice. Look great, fit perfect. I got all the options (injector cups, o-ring'd fittings, etc. ID2000 secondary and ID725 primary... Plenty of room to grow in power! Step by step of the install:

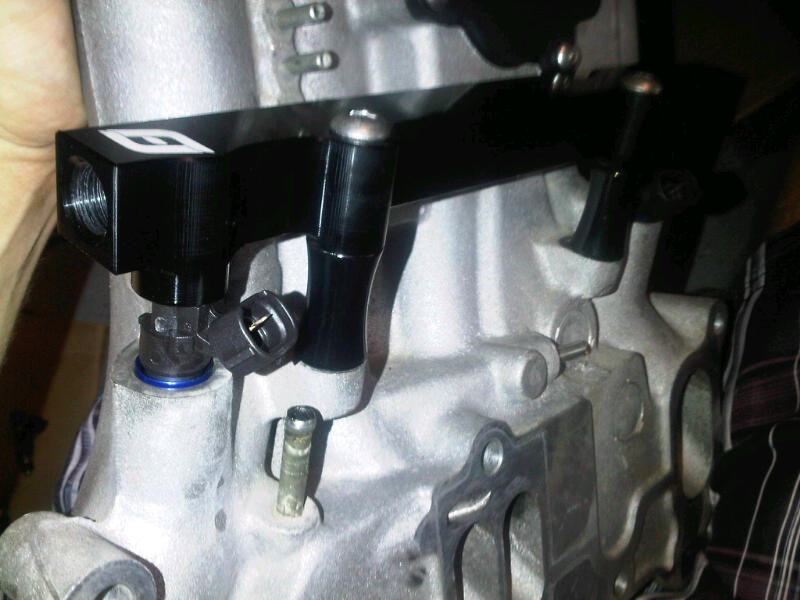

They are designed to use the diffuser in the primary but not the secondary

I started stripping my engine harness to clean it up for the single turbo / emissions delete. What a pain in the ***. I spent 2 hours just removing tape so far. I am waiting for some nuts and bolts to arrive to finish assembling the engine.

Joined: Oct 2001
Posts: 4,772
Likes: 2
From: My 350Z Roadster kicks my RX7's butt
Those rails are sweet! I wouldn't have had to modify my OEM rails to keep side fee injectors with those. Are you using their injectors? I wish I would have bought a new engine instead of two Mazdatrix ones.
I decided to delete the OMP and will premix. Much though went into it... ideally I think both omp/premix is great. But if the OMP ever fails, you wouldn't know it until you lost your engine. No CEL with the PFC. So premix it is!
*****If anybody can answer this question, please chime in*********
I am in the middle of my simplified wiring harness mod. So far I have removed all of the rats nest wires and most of the OMP wires. Can I tie all the left over ground wires together? If the answer is no, please explain.
Also, is there any benefit in adding another chassis ground? Or did the factory do a good enough job?
Thanks!
Full Member
Joined: Oct 2003
Posts: 83
Likes: 0
From: WA
There is a special tool you can purchase from Mazdatrix, PN# 49-22000 that is made for this if you don't have an impact wrench, it's about $41.00. If you've got an impact wrench that's 350+ ft-lbs capable, then I'd go that route. It's a 54mm or 2 1/8" socket btw, wowza! Great build, very clean and well planned out, keep up the great work!
Joined: Oct 2001
Posts: 4,772
Likes: 2
From: My 350Z Roadster kicks my RX7's butt
Oh I thought those were side feed. Are the plugs the same? That's the main reason top feed turned me off as I don't want to cut and splice wires, especially close to fuel.
I thought the socket was 2&1/4"? I would have to check in the garage. I got mine at sears but Stanley used to make one. This issue is the red loctite as I could not remove with 3/4" gun. My fabricator used nitrous powered 1" gun and it easily spun off.
Thank you. I have a CPR engine now, so that's the least of my concerns.
I don't know if they are the same or not. Splicing wires is no big deal, just wrap/protect them well. The entire factory harness is full of spliced wires with tape and plastic covering it.
I really wanted Howard to build my engine for me. I had several conversations with him. The ONLY reason I didn't is because I had a strong feeling it would have cost me quite a bit more than my brand new engine. Being that my motor was locked up, I could have needed a lot of replacement parts.
Honestly, I debated sending him my brand new engine so he could work his magic on it, but I am already over my budget as it is.
Anybody looking for new exhaust nuts... I bought a pack of 25 off ebay ... including shipping it was cheaper than 2 from the dealership. They are nice, copper, locking, etc. Looks like same thing some other vendors sell:

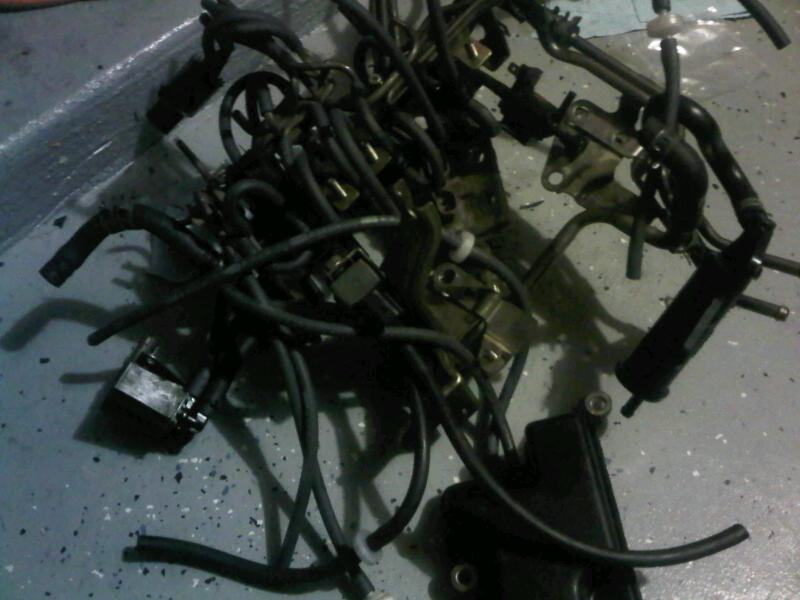
And here is the mess of a wiring harness I am currently cleaning up:


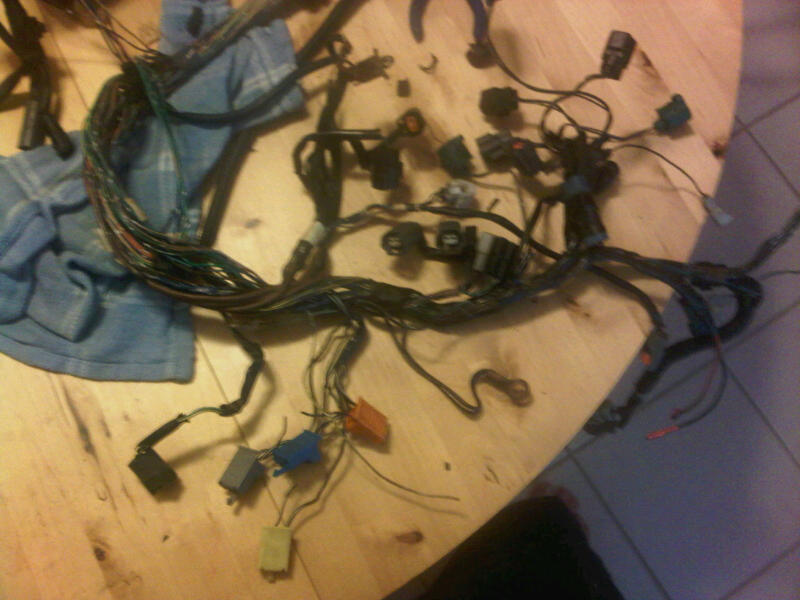
Rats nest is out of here. Glad its not going back in
And here is the mess of a wiring harness I am currently cleaning up:
Rats nest is out of here. Glad its not going back in
Engine to left fender wiring harness bracket that goes between the engine and the AC/power steering bracket.
1993 Body Parts PDF, physical page nbr is 77, page number is 3-F 8, part number is 67-BTX.
1993 Body Parts PDF, physical page nbr is 77, page number is 3-F 8, part number is 67-BTX.
Got some more work done over the weekend. Thank you Travis (don't know your screen name) for selling me your spare motor mount arm... I was able to mount the engine and transmission. And Chuck W for some good tips along the way.
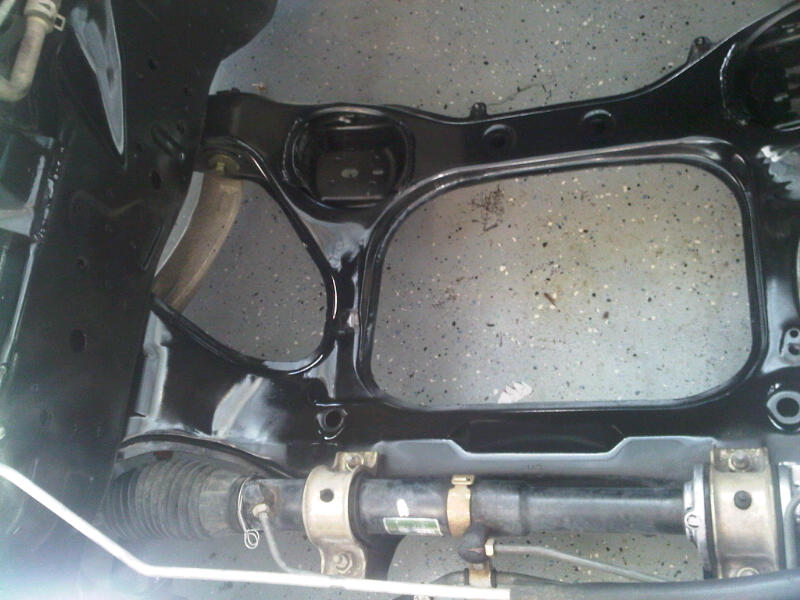
I did a minor touch up paint job one the engine bay. Before, the paint was rubbed and/or wore off in multiple areas:
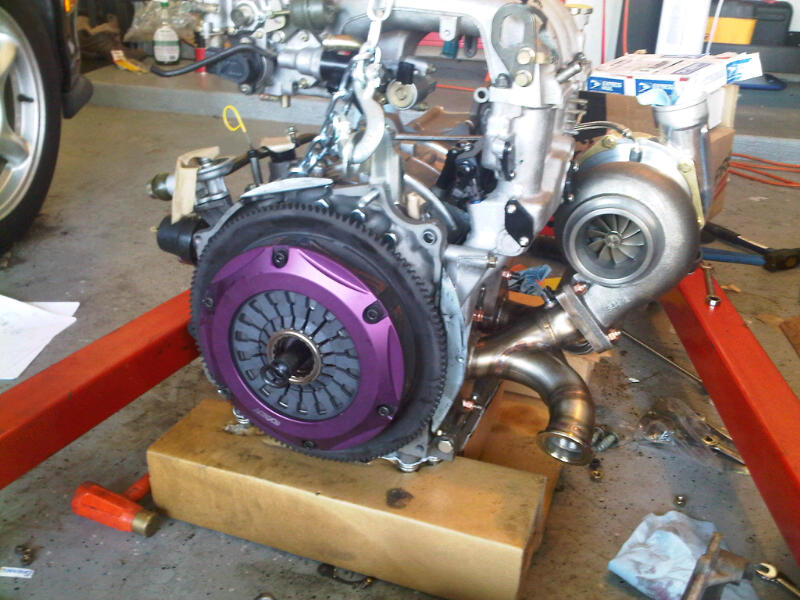
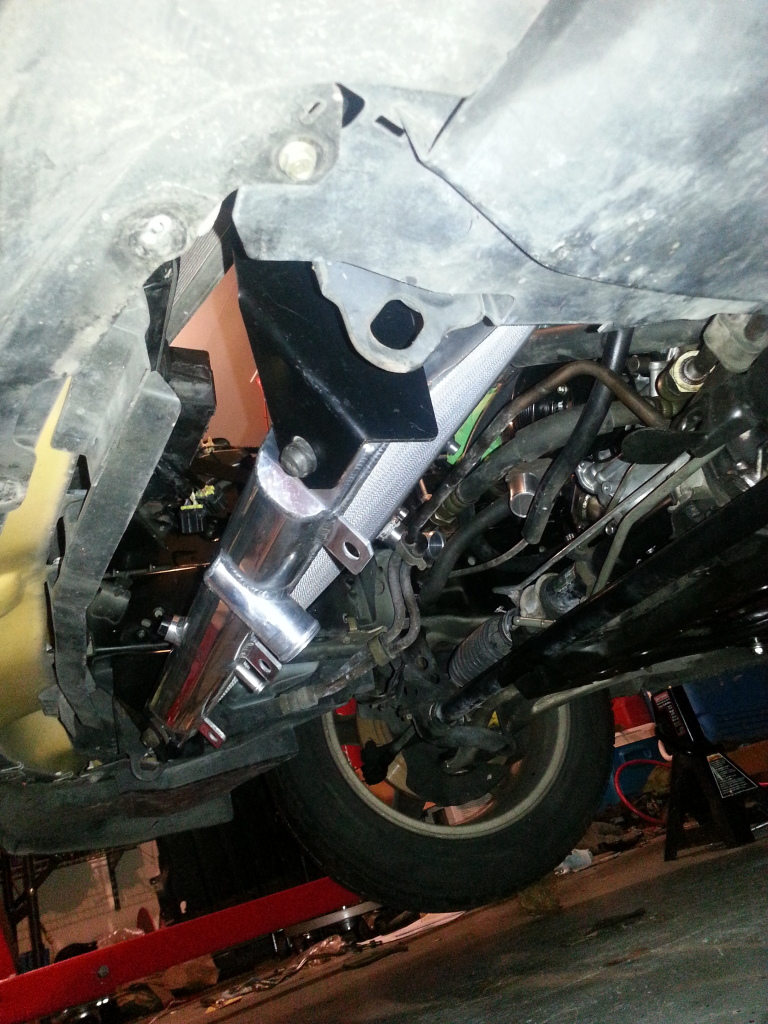
Clutch installed. New aftermarket Derlin engine mounts. I also decided to install the complete turbo kit, power steering pump, etc outside of the car and then drop it all in at once (transmission too). It was a pain in the ***, but I got it done thanks to my girlfriend helping with the hoist while i was under the car guiding everything into place:


Next on the list: hook up all the lines (oil coolers, coolant, steering, etc. Find a location for my fast acting IAT sensor and finish my wiring harness.
*********I need to source a part I cant find, please let me know if you have the answer**********
My greddy boost control solenoid. I bought it used and the previous owner lost the 3 vacuum ports for it. They have threads (approx 1/8") that screw into the solenoid, then a vacuum nipple on the other side. I have been to local speed shop, ACE, Home Depot, Lowes, Orielly, Autozone ... I can not find the right size.
Thanks in advance.
I finished my wiring harness mods. All the emissions are deleted along with omp. Crimped and soldered the connectors for the new injectors. I'm at that point where I just need to get our running. Been down too long now and the texas weather is so nice right now.
Seems like every day I work on the car, I find another little part I need to order. Got some more work done over the weekend... getting so close now.
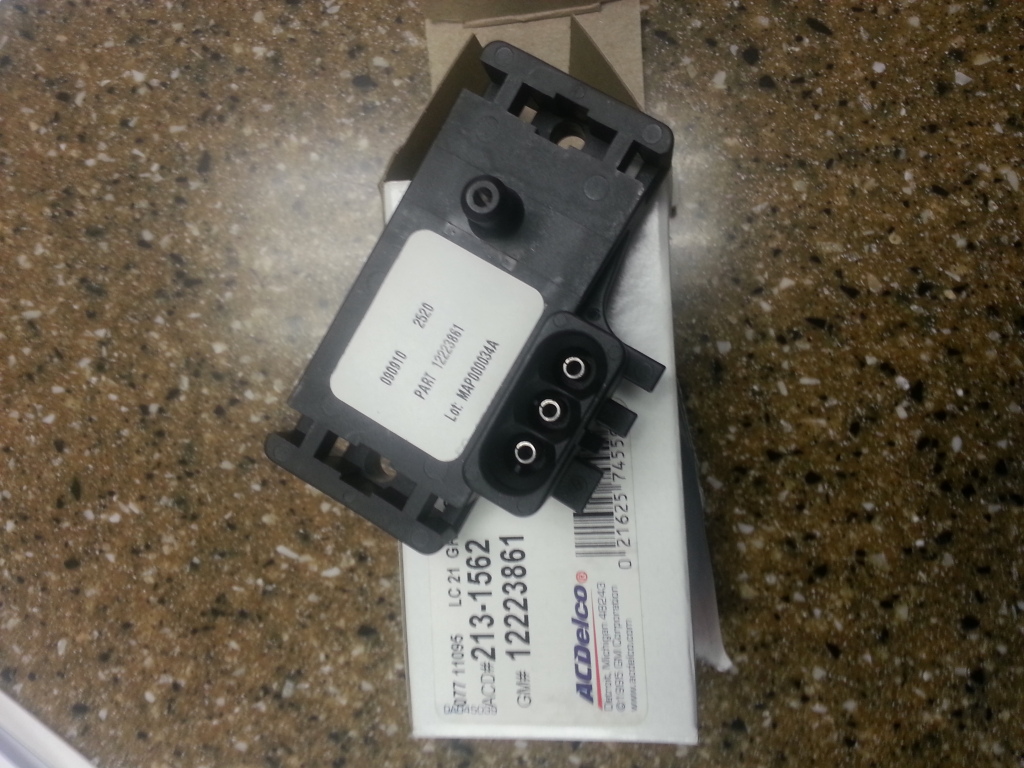
OEM GM map sensor to go with my SakeBomb plug/play harness/mount:
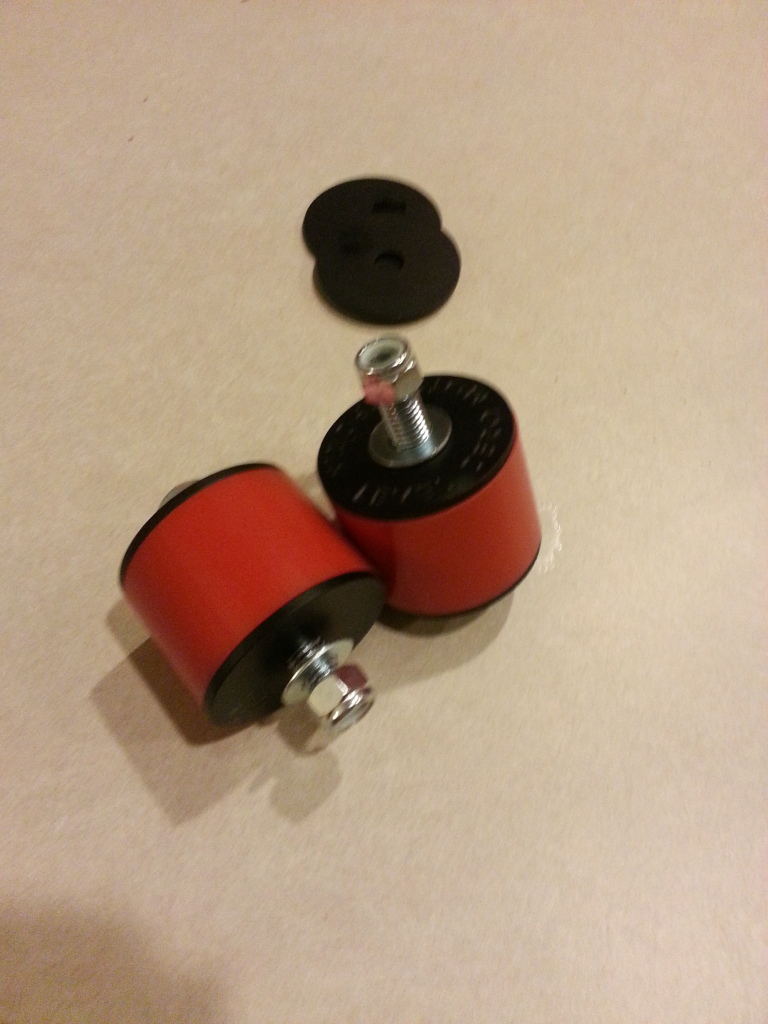
Poly motor mounts
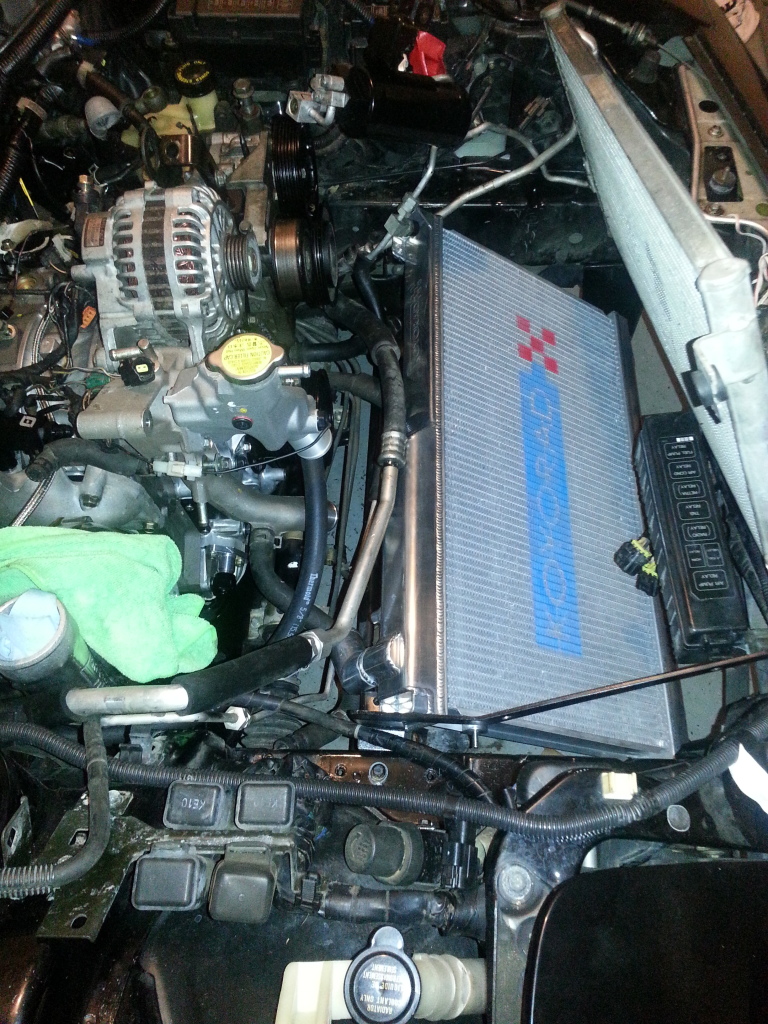
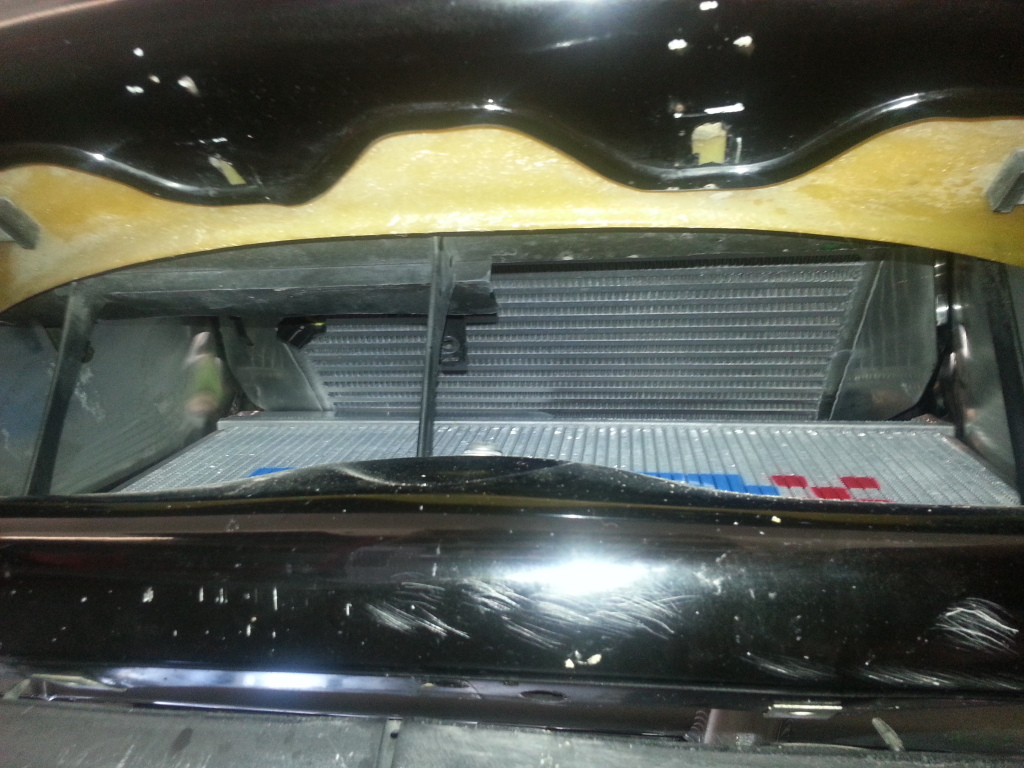
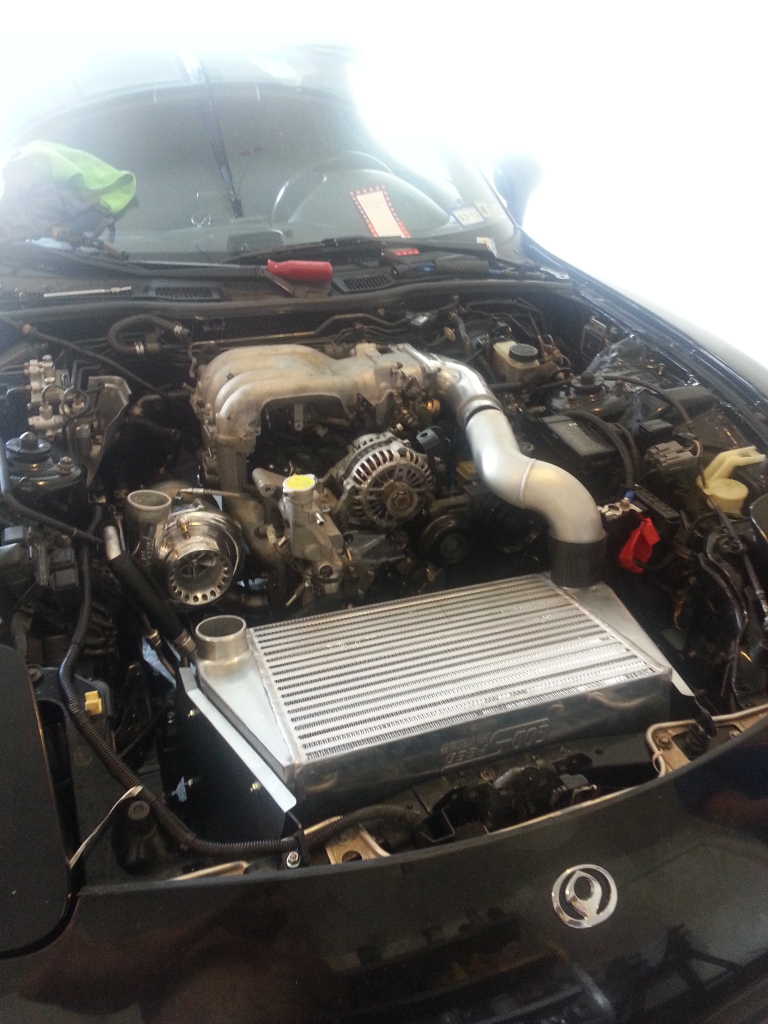
And V-mount. I ended up breaking my AC condenser while trying to bend the lines to work with the VMIC. Its cool enough here where I won't need AC for a while so I am going to button the car up without it. But as soon as she is running, that is the very next thing I will fix. Likely with an aftermarket condenser, custom mounts and custom lines. It took a lot of work, but I was able to retain the factory powersteering cooler and the OEM fans/shroud assembly with this vmount.
Plenty of room for an air filter, but no room for a custom cold air intake:


Still need fuel lines, battery for the rear bin, etc. Slow but steady.
OEM GM map sensor to go with my SakeBomb plug/play harness/mount:
Poly motor mounts
And V-mount. I ended up breaking my AC condenser while trying to bend the lines to work with the VMIC. Its cool enough here where I won't need AC for a while so I am going to button the car up without it. But as soon as she is running, that is the very next thing I will fix. Likely with an aftermarket condenser, custom mounts and custom lines. It took a lot of work, but I was able to retain the factory powersteering cooler and the OEM fans/shroud assembly with this vmount.
Plenty of room for an air filter, but no room for a custom cold air intake:
Still need fuel lines, battery for the rear bin, etc. Slow but steady.
New motor is very nice looking. Should be fun to follow your build.
I wish you knew what blew your stocker. I'm running a (new to me) FD and would like to keep it intact if at all possible.
I wish you knew what blew your stocker. I'm running a (new to me) FD and would like to keep it intact if at all possible.