1993 rx-7 r1


 07-19-13, 08:03 PM
#28
FD & FE - Rotary Nut
Thread Starter
iTrader: (2)
Join Date: Dec 2007
Location: PA/MD
Posts: 29
Likes: 0
Received 0 Likes
on
0 Posts
Thanks everyone, slow progress but I want to do it right. Well as right as I can do it hahah.
In the end I probably spent around $550 for the rebuild, but if it works I should have a near new transmission. I bought a bearing rebuild kit off ebay (verified bearings prior to ordering, and forgot about Ray when I ordered or I would have gone to him). I ordered a few needle bearings, snap rings, and spacers off Ray (good guy!). Few other OEM items I found really cheap on ebay. I also lapped the new synchros onto the gear bub to remove the 'glazed' finish.
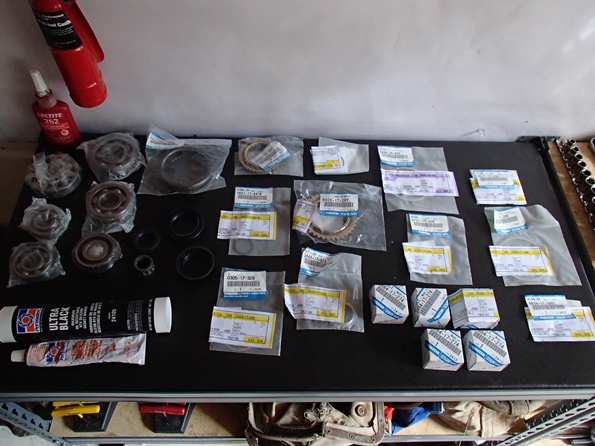

New: Bearings, synchros, spacers, 5th clutch sleeve, snap/retain ring, lock nuts
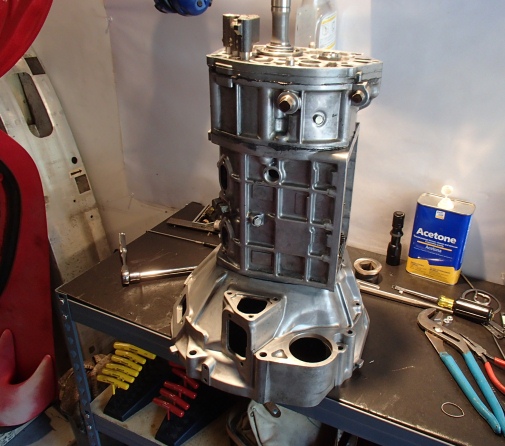
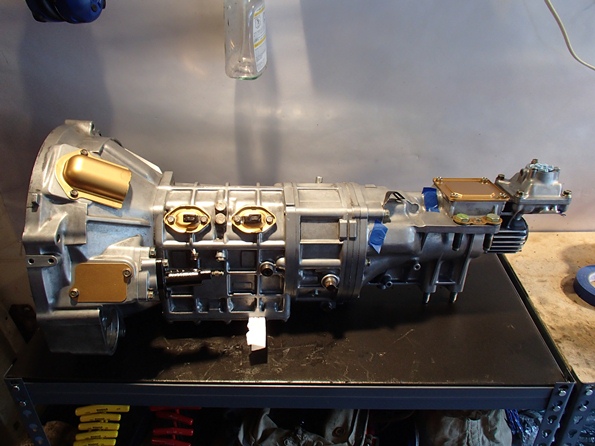
The bronze painted covers are temporary. I will be getting them yellow zinc coated to replace the already flaking paint. It spins freely and shifts into each gear smoothly, have to wait until the cars done to see if it does so at speed...finger crossed. Overall it wasn't bad, just make sure you take your time and stay RELAXED no matter how tedious some little takes can be.
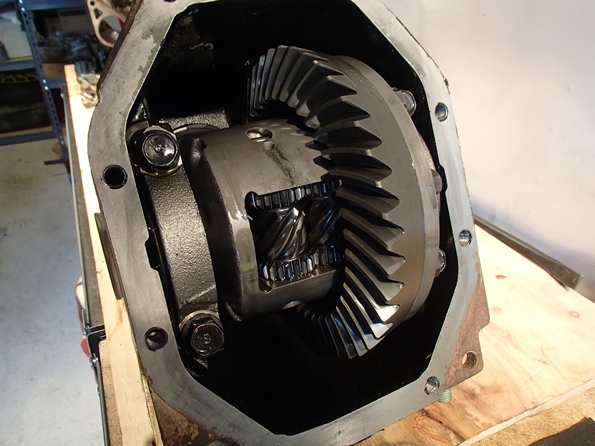
Diff looked good, no chips or rust. I am going to replace all the bearings while I have it out of the car. Waiting to order a powder coating kit to repaint the housing black.
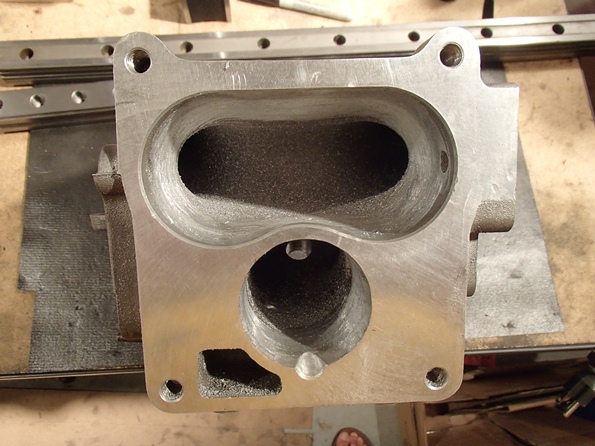
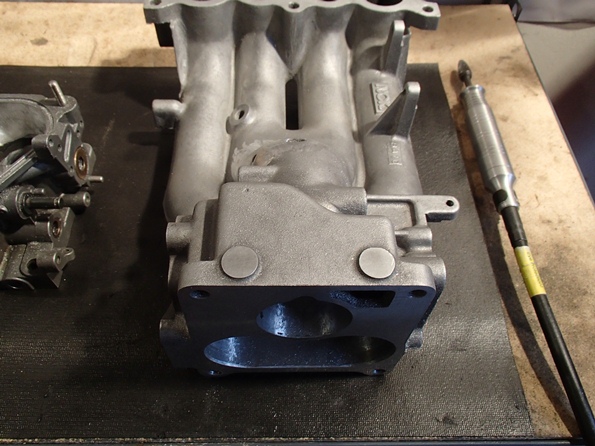
UIM modifications:
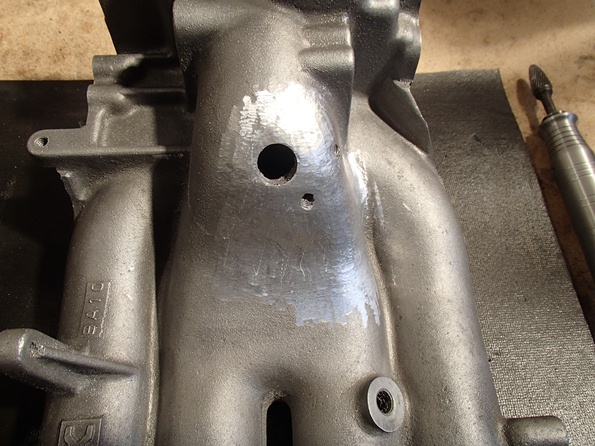
Removed warm up dual throttle (smart enough not to rev a cold engine), remove center bridge, 'port' match throttle body and UIM, remove EGR ports. The interior EGR bulges in the primary runners will also be ground smooth so both front and rear runners get equal air flow. The ground down EGR area will be sand blasted to match cast finish and the entire until will be powder coated or some type of thermal coating. Not sure if the thermal is worth it since the UIM heat soaks via conduction anyway. I bought a flexible ball hone to see if I can smooth the intake runners, report on outcome after it comes in. I also stole PandazRx-7's idea and removed the bridge between the primary runners opening up a slot.
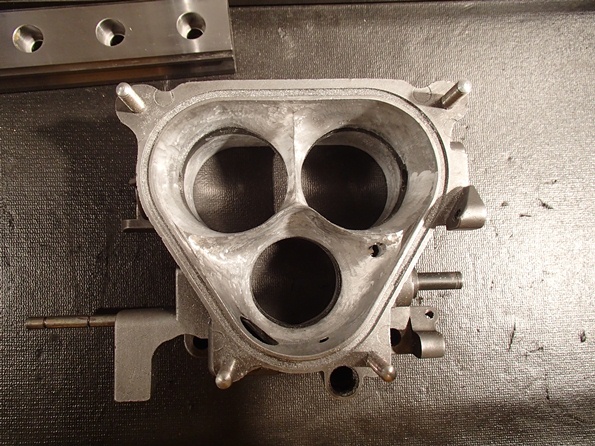
Throttle Body:
Ported to smooth out airflow (actual throttle plate diameter unchanged). Remove throttle coolant bulge, will be filling in with Devcon F aluminum epoxy. Knife edge all previously dull edges. I still need to sand and buff the finish.
In the end I probably spent around $550 for the rebuild, but if it works I should have a near new transmission. I bought a bearing rebuild kit off ebay (verified bearings prior to ordering, and forgot about Ray when I ordered or I would have gone to him). I ordered a few needle bearings, snap rings, and spacers off Ray (good guy!). Few other OEM items I found really cheap on ebay. I also lapped the new synchros onto the gear bub to remove the 'glazed' finish.


New: Bearings, synchros, spacers, 5th clutch sleeve, snap/retain ring, lock nuts
The bronze painted covers are temporary. I will be getting them yellow zinc coated to replace the already flaking paint. It spins freely and shifts into each gear smoothly, have to wait until the cars done to see if it does so at speed...finger crossed. Overall it wasn't bad, just make sure you take your time and stay RELAXED no matter how tedious some little takes can be.
Diff looked good, no chips or rust. I am going to replace all the bearings while I have it out of the car. Waiting to order a powder coating kit to repaint the housing black.

UIM modifications:
Removed warm up dual throttle (smart enough not to rev a cold engine), remove center bridge, 'port' match throttle body and UIM, remove EGR ports. The interior EGR bulges in the primary runners will also be ground smooth so both front and rear runners get equal air flow. The ground down EGR area will be sand blasted to match cast finish and the entire until will be powder coated or some type of thermal coating. Not sure if the thermal is worth it since the UIM heat soaks via conduction anyway. I bought a flexible ball hone to see if I can smooth the intake runners, report on outcome after it comes in. I also stole PandazRx-7's idea and removed the bridge between the primary runners opening up a slot.


Throttle Body:
Ported to smooth out airflow (actual throttle plate diameter unchanged). Remove throttle coolant bulge, will be filling in with Devcon F aluminum epoxy. Knife edge all previously dull edges. I still need to sand and buff the finish.

 01-24-14, 10:17 AM
#32
FD & FE - Rotary Nut
Thread Starter
iTrader: (2)
Join Date: Dec 2007
Location: PA/MD
Posts: 29
Likes: 0
Received 0 Likes
on
0 Posts
Sadly not really any updates, I have the attention span of a 5yr old when it comes to projects. I got myself tied up in an XS650 build...
Now, back to the car:
My goal for for the end of the summer is to get a roll bar installed and car painted (interior and exterior). I am looking for suggestions on the roll bar I sketched up below. I am trying to have it meet SCCA and NASA specs, should I decide to get competitive down the road so that it can be converted into a full cage. Might seems like I'm jumping the gun, but its hard to beat having the car completely stripped down to work on the design
As of right now it will just be used for open track days. I will be doing the tube bending and tack welding, but will take it to a professional welder to complete (peace of mind). I would like to start on a PVC mock-up which will be used to transfer the cuts to the steel tubing.
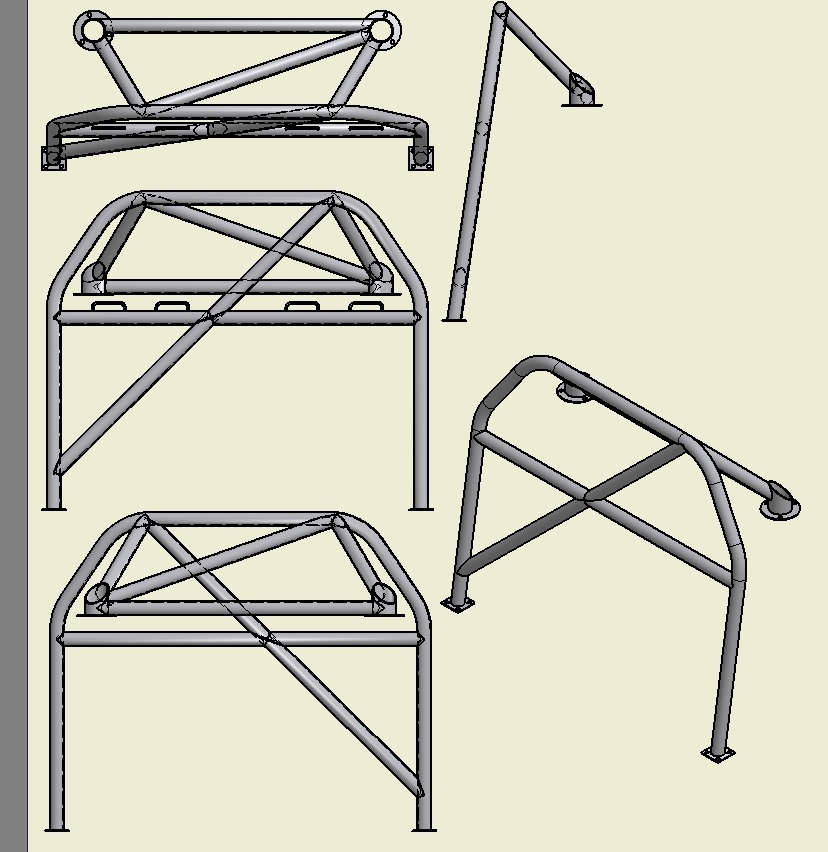
1.75" x .095"
5.5-7" Bend Radius (min 3 x dia)
Main Hoop - Rear Brace Ang ~50*
Main Hoop - Vertical ~8*-9*
Diag & Rear Braces >50% Width
Diag >75% Height
I am determined to keep interior modifications to a minimum. Its designed to mount between the seats/rear bins and the rear towers. The towers mounts are 3" dia to allow adjustment of the shock with the roll bar installed. I am 5' 11'' so I have enough seat adjustment with this setup.
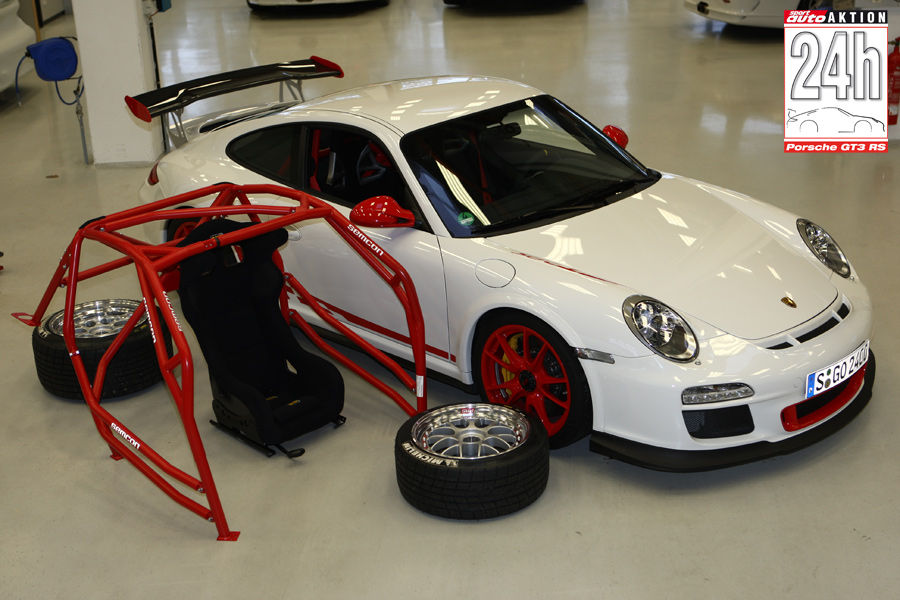
I am going to have it be a weld-in/bolt-in hybrid similar to Porsche GT3's. A mounting plate will be welded into the car and the cage will bolt to that.

I would also like to make it a 6pt roll bar for right now with removable door bars for the minimal street use it will see. To meet SCCA/NASA requirements can anyone provide feedback on these joints. I think for SCCA I will have to use 8" telescoping joints, but figured it cant hurt to check?

Now, back to the car:
My goal for for the end of the summer is to get a roll bar installed and car painted (interior and exterior). I am looking for suggestions on the roll bar I sketched up below. I am trying to have it meet SCCA and NASA specs, should I decide to get competitive down the road so that it can be converted into a full cage. Might seems like I'm jumping the gun, but its hard to beat having the car completely stripped down to work on the design
As of right now it will just be used for open track days. I will be doing the tube bending and tack welding, but will take it to a professional welder to complete (peace of mind). I would like to start on a PVC mock-up which will be used to transfer the cuts to the steel tubing.

1.75" x .095"
5.5-7" Bend Radius (min 3 x dia)
Main Hoop - Rear Brace Ang ~50*
Main Hoop - Vertical ~8*-9*
Diag & Rear Braces >50% Width
Diag >75% Height
I am determined to keep interior modifications to a minimum. Its designed to mount between the seats/rear bins and the rear towers. The towers mounts are 3" dia to allow adjustment of the shock with the roll bar installed. I am 5' 11'' so I have enough seat adjustment with this setup.
I am going to have it be a weld-in/bolt-in hybrid similar to Porsche GT3's. A mounting plate will be welded into the car and the cage will bolt to that.

I would also like to make it a 6pt roll bar for right now with removable door bars for the minimal street use it will see. To meet SCCA/NASA requirements can anyone provide feedback on these joints. I think for SCCA I will have to use 8" telescoping joints, but figured it cant hurt to check?


Thread
Thread Starter
Forum
Replies
Last Post