
Winter FD mock up with pics/step by step

Thread Starter
Sir Braps A lot
Joined: Jul 2006
Posts: 2,001
Likes: 1
From: Hilliard, OHIO
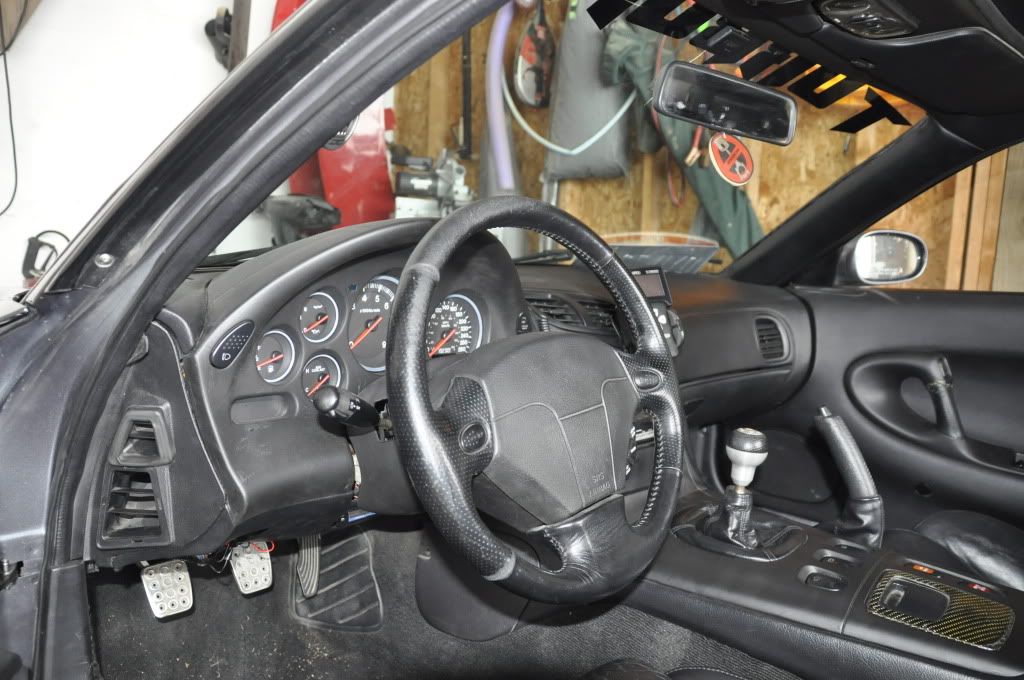
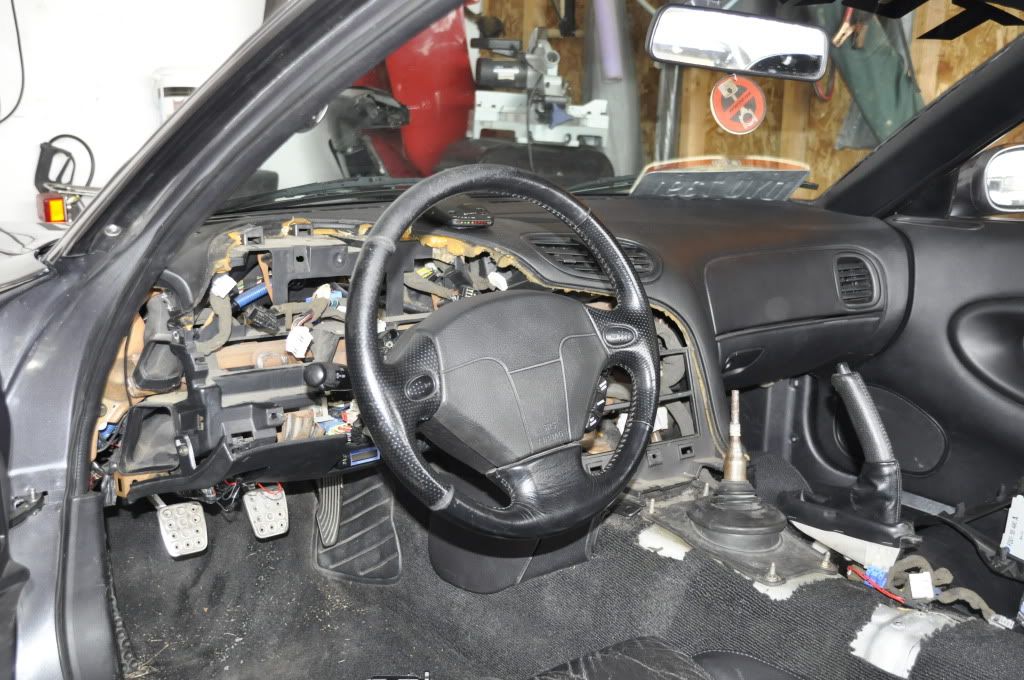
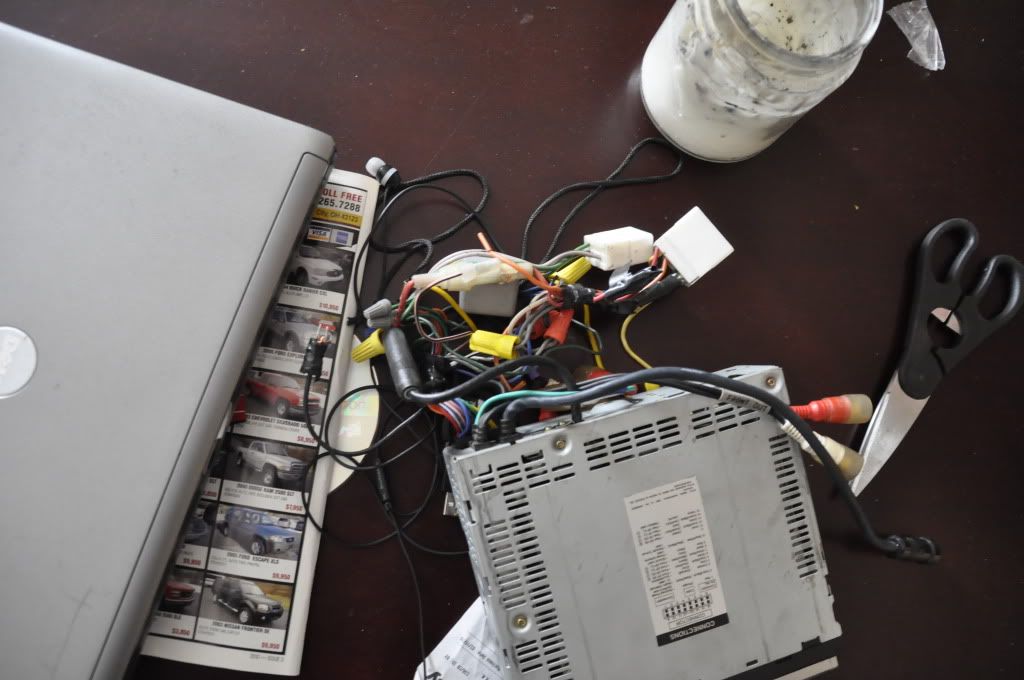
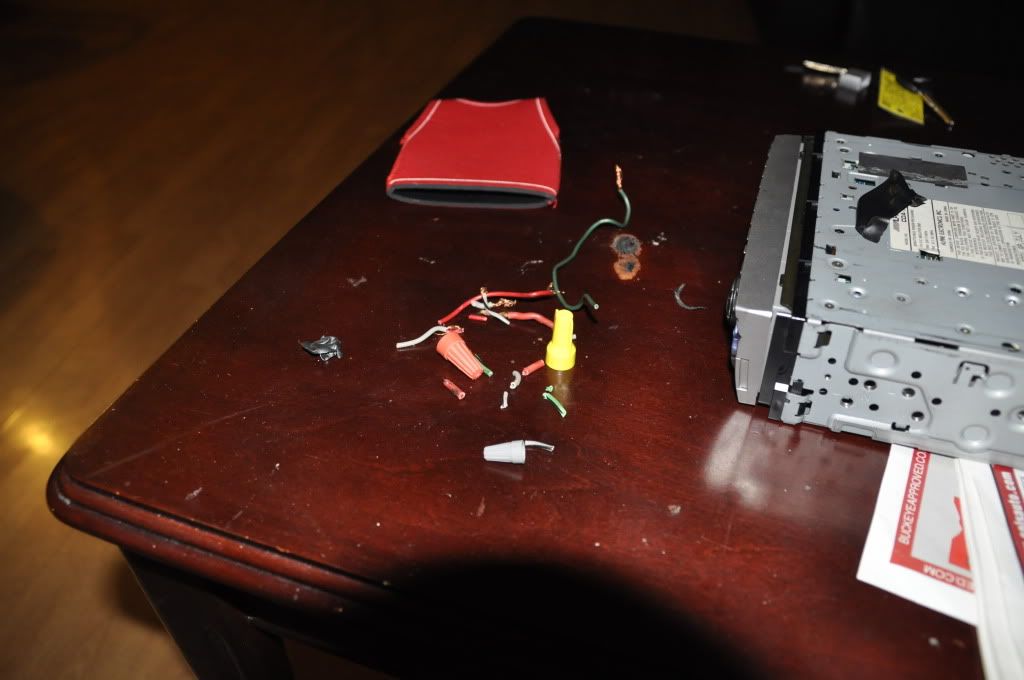
with it being winter and with 2ft of snow outside i figured i would pull my interior and repaint the interior that i did this summer as it started to bubble so its time to do it over better, also i had wires hanging under the dash that i had to do something about. My radio was also a mess so i cut what was not needed and taped it all up, the seat is going to get recovered in a few weeks.
now this is going to take about a week or 2 being that its 20degrees outside and its being done after classes, also does anyone know where i can get led bulbs for my cluster any help would be great. i am also very open to suggestions so here are some pics as of now i am pulling all the plastics apart and will be sanding tomorrow.
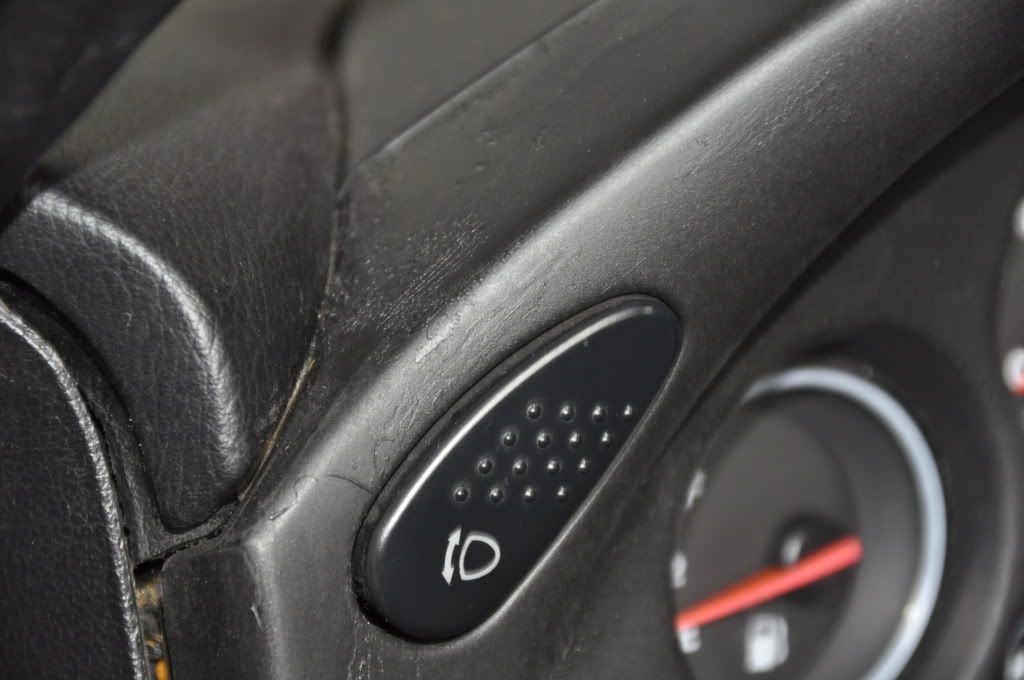
bubble in the drivers door
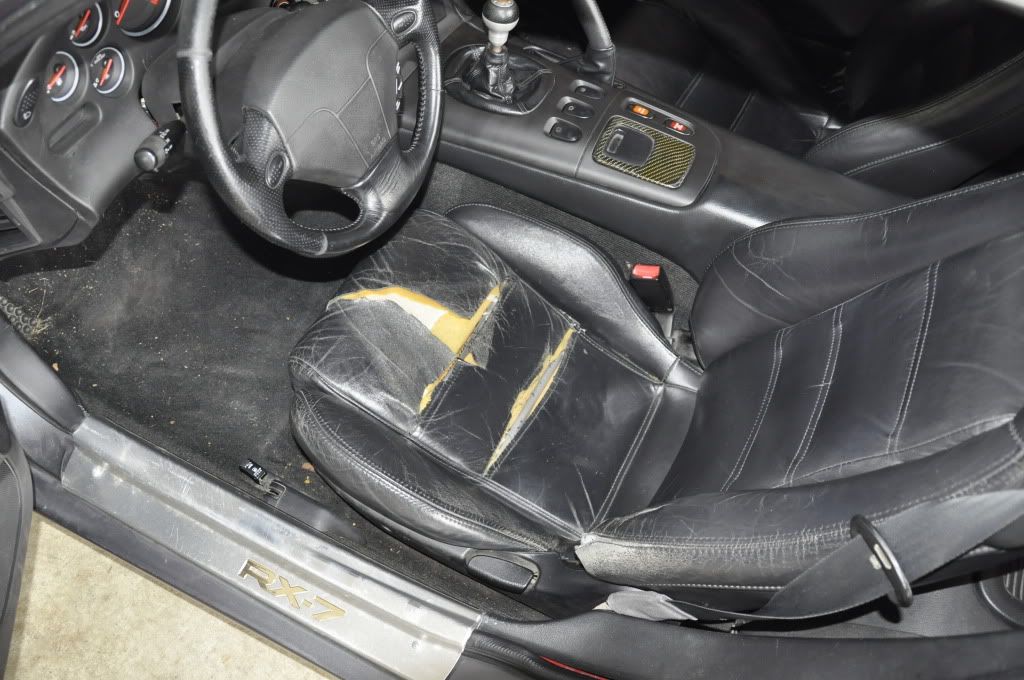
my seat
all out
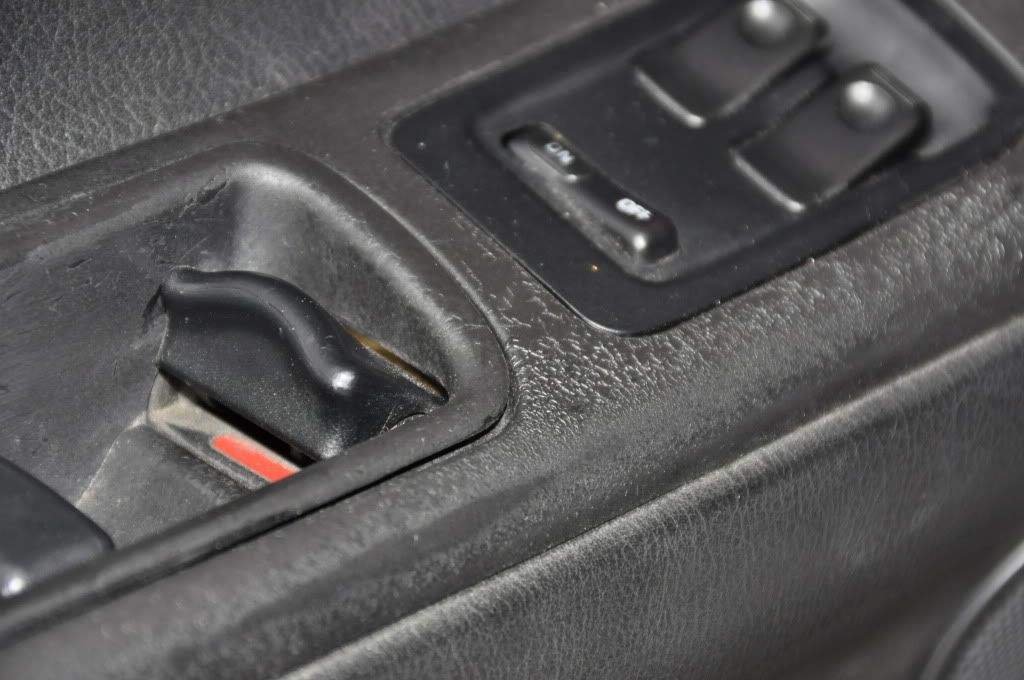
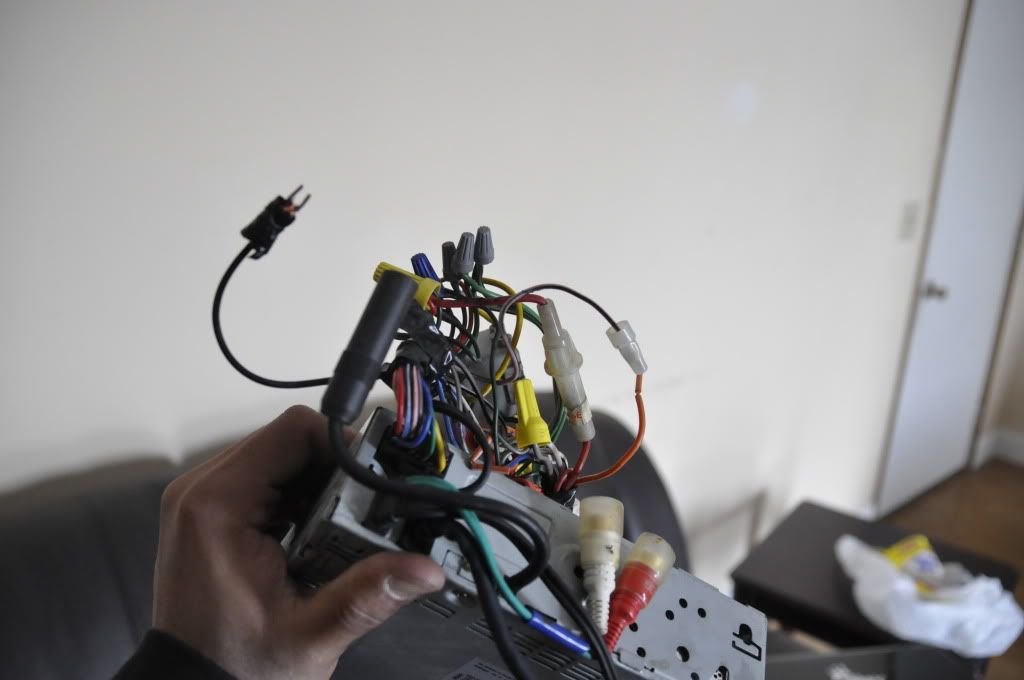
so many long unneeded wires
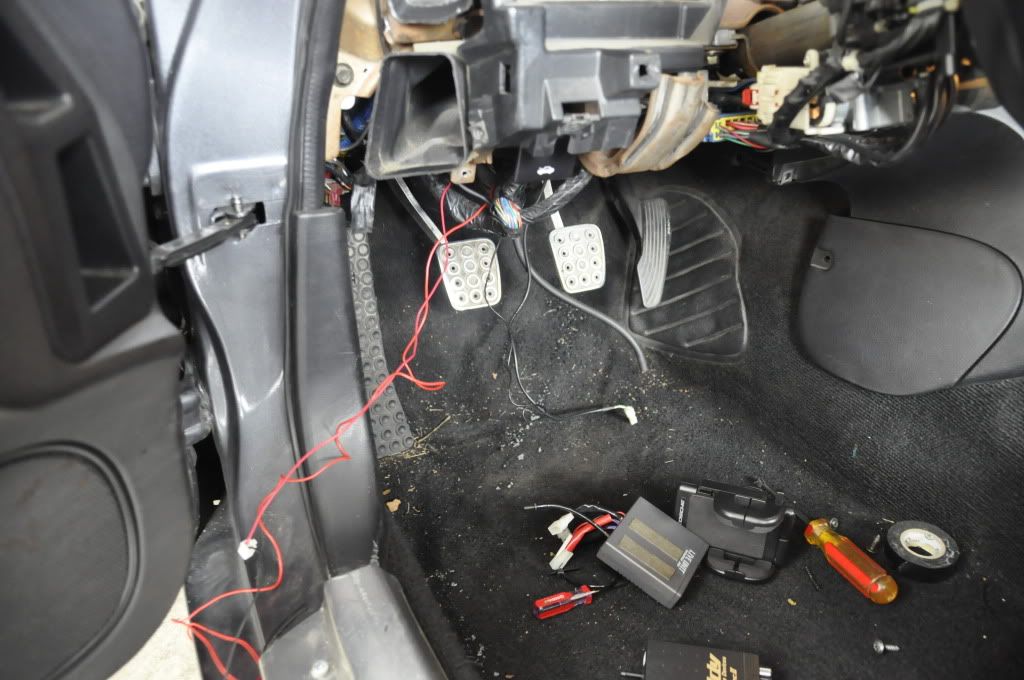
wires cut and taped for easy tucking
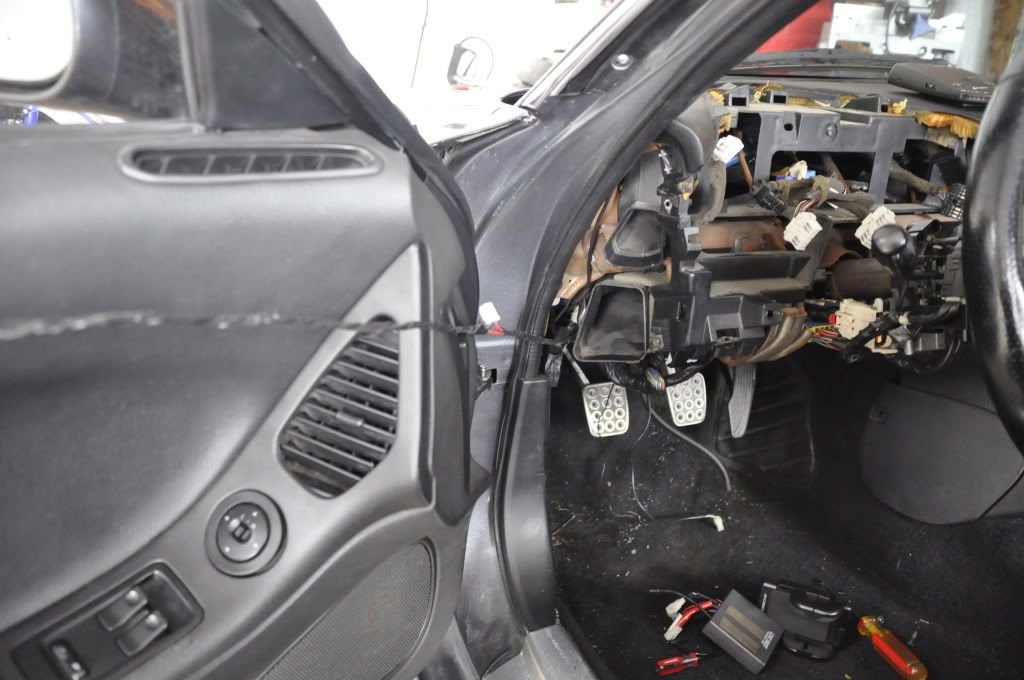
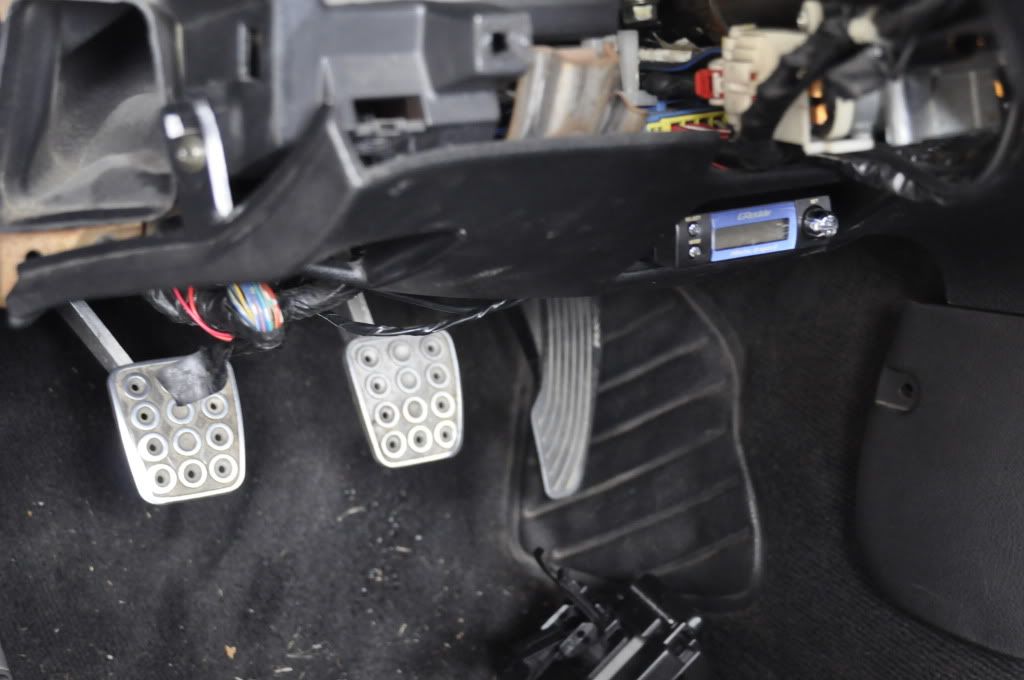
back together Greddy boost controller all nice and neat.
i hate wires
now this is going to take about a week or 2 being that its 20degrees outside and its being done after classes, also does anyone know where i can get led bulbs for my cluster any help would be great. i am also very open to suggestions so here are some pics as of now i am pulling all the plastics apart and will be sanding tomorrow.
bubble in the drivers door
my seat
all out
so many long unneeded wires
wires cut and taped for easy tucking
back together Greddy boost controller all nice and neat.
i hate wires
Thread Starter
Sir Braps A lot
Joined: Jul 2006
Posts: 2,001
Likes: 1
From: Hilliard, OHIO
a total mess is an understatement lol, the sad thing is its so bad that i can hardly fix it so i did my best pics up after work.


Wow, I see a WIRE NUT on the stereo harness! That needs ta GO!
When I put my current stereo in I spent about an hour on the radio harness. Looks totally OEM. Cut the wires to a reasonable length, soldered it into the harness to plug into the stock harness, wrapped with Nylon wire loom and tape. Made a sub-harness coming off of it that the gauges draw power from, looks VERY clean.
So many times aftermarket wiring is done as fast as possible. Shops are the worst, they're trying to hurry up and get the job out the door, and doing wiring clean and OEM looking takes double the time.
Dale

Thread Starter
Sir Braps A lot
Joined: Jul 2006
Posts: 2,001
Likes: 1
From: Hilliard, OHIO
im repainting them flat black, but this time im doing it right. As i am sanding them back down laying a primer then paint as for the wire nuts im taking them off as i type this, pics later
Trending Topics
Thread Starter
Sir Braps A lot
Joined: Jul 2006
Posts: 2,001
Likes: 1
From: Hilliard, OHIO
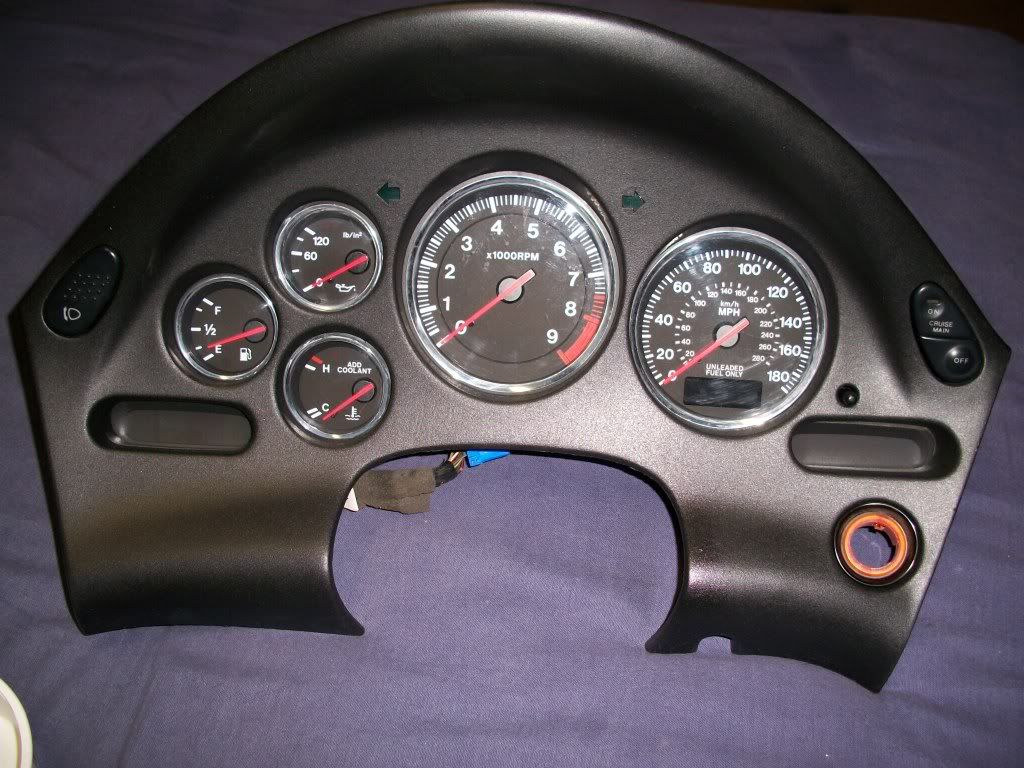
picture update, i did the best i could with the mess looks a million times better IMO,
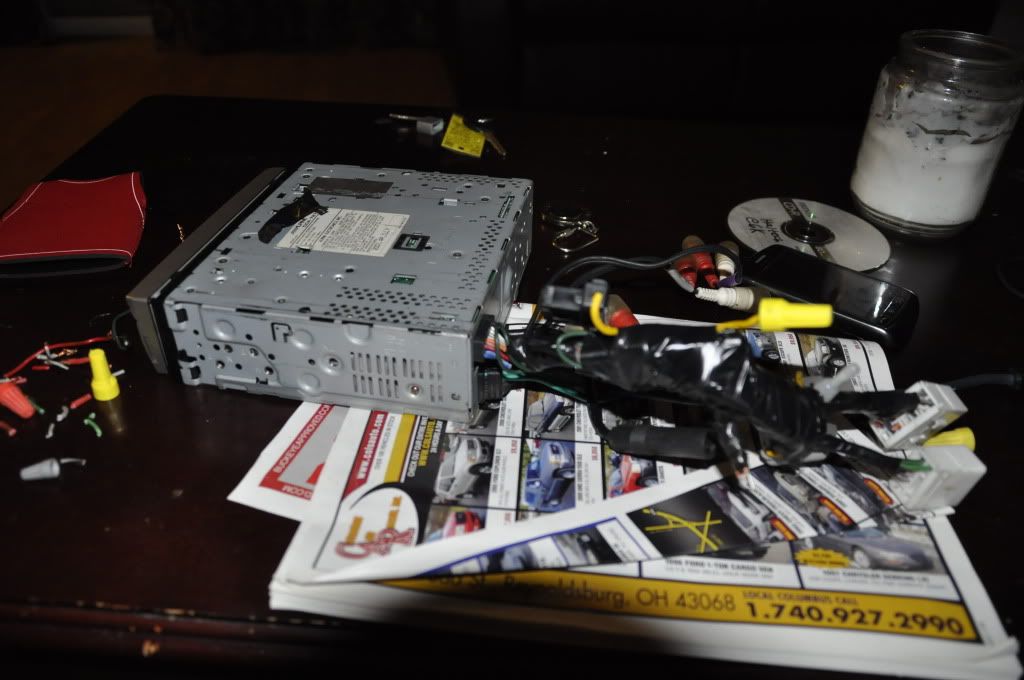
i know there is a wire nut but i couldnt get the wires to stay together with tape so i said F it its just one nut.
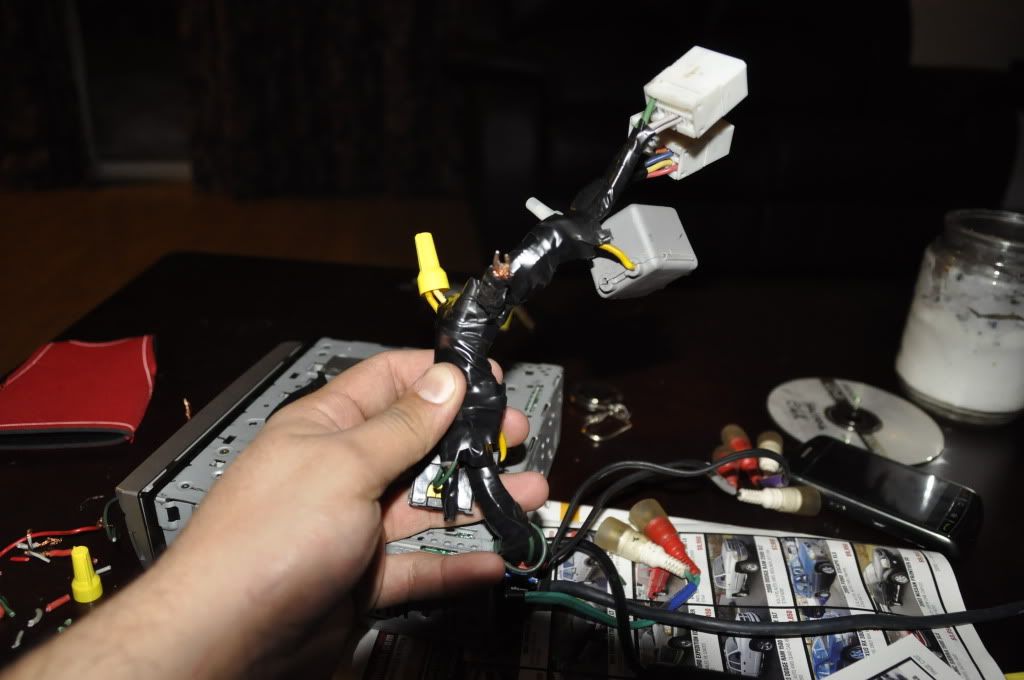
some excess junk
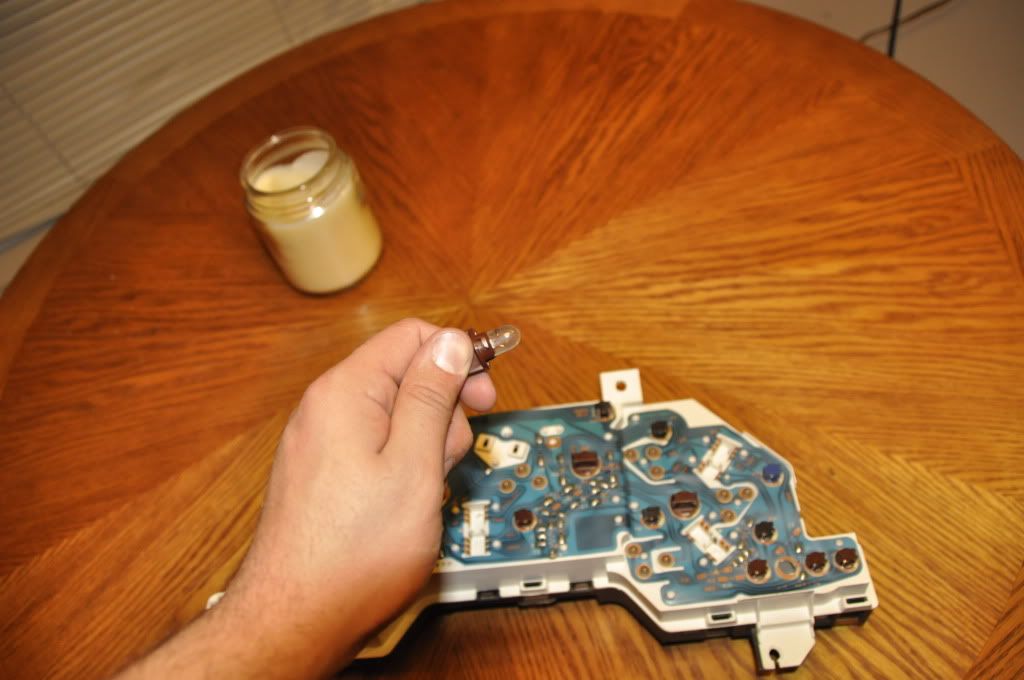
anyone know how i can re chrome my gauge rings?
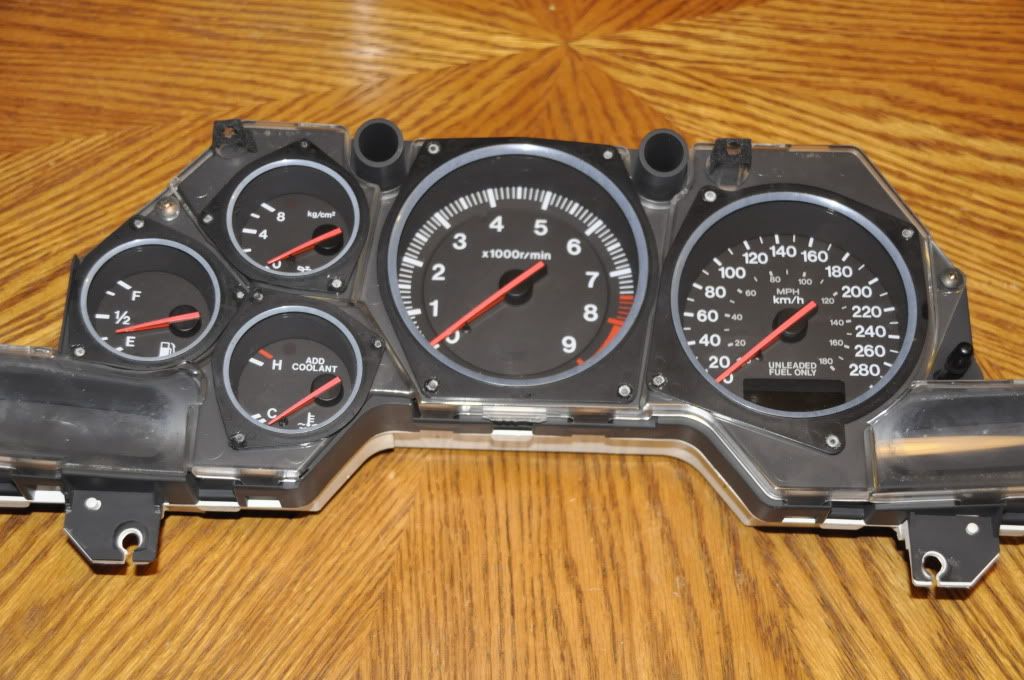
where can i find these replacement bulbs in LEDS?
i know there is a wire nut but i couldnt get the wires to stay together with tape so i said F it its just one nut.
some excess junk
anyone know how i can re chrome my gauge rings?
where can i find these replacement bulbs in LEDS?
I'm also painting my plastics. Forget about standard primer. Just go with a paint that bonds to plastic.
You definitely want to sand, wash, then wipe down with mineral spirits or something similar.
Then just spray lots of light coats, I'll be doing 6 coats.
I went to true value and got a few cans of Krylon brand Fusion. Fusion is their line that bonds to plastic. Rustoleum also has their own version.
I can't give you actual results, but its what I'm using.
You shouldn't be taping any wires together other than to hold them in a bundle. Make sure you are using some kind of crimp connector, then feel free to tape them together.
and here is a link to everything you could dream of about LED's and mods to your gauge cluster
and here is a link to everything you could dream of about LED's and mods to your gauge cluster
On the fasttrack!
iTrader: (22)
Joined: Oct 2006
Posts: 2,494
Likes: 2
From: virginia beach, virginia
wait, you rewired the radio? thats the worse redo ive ever seen.
those caps are to never be used in automotive wiring, they are for home wiring, they dont stand up to vibration.
i really hope that you spliced the wires properly, soldered, then used heat shrink.
this link explains with pictures how to properly do it.
http://www.mmxpress.com/technical/connections.htm
Lloyd

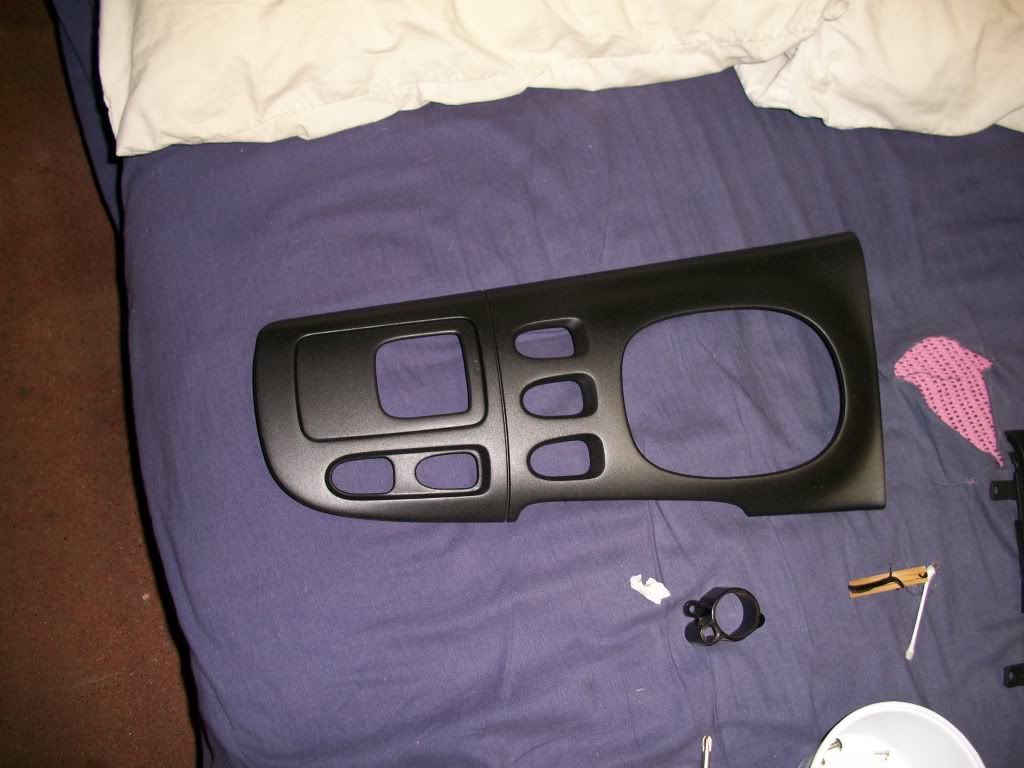
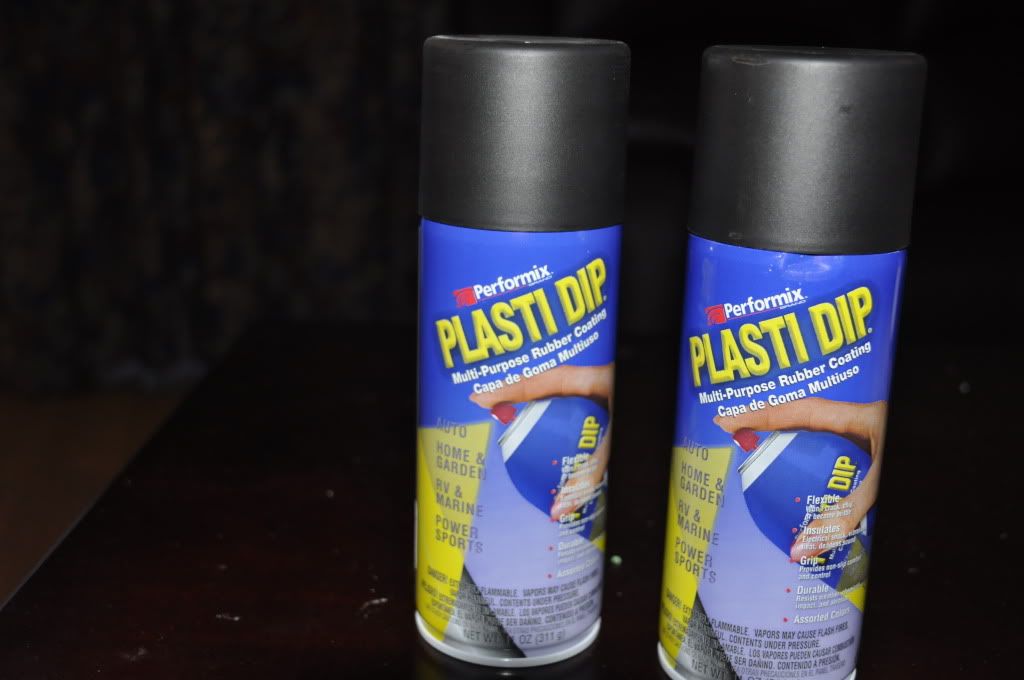
I tried using trim paint, and bumper paint. but the main thing with these plastics is that your arm regularly rests and brushes up against them. And the other paints failed the light "fingernail in the finish test" to see if they would be worth installing, or if I would have to rip them out in a week and recoat them. I decided I needed to look for something else and remembered seeing this "plasti dip" used on a paintball mask. its almost like a rubber wrapping after its finished.
anyways. I used a duplicolor prep wipe, and duplicolor sandable primer. sand all the rough spots out using around a 400 grit, then go over the entire piece with 800. USE A PREP WIPE! armor all or any other product you used to clean your interior will make it bubble like crazy (even after using a 300 grit sandpaper vigrously) spray the primer on, then you can eyeball and bubbles or lowspots. if it looks good go ahead and use the plasti dip (home depot/lowes) when using plasti dip spray MORE then what looks like enough, its designed to be layed on thick. let it dry, I used a heat gun to graze over the top to make sure I didnt miss spot or get any runs. do about 5 heavy coats. let it dry overnight, and carefully assemble everything back together. remember, these plastics are on average 17+ .
you can STILL scratch plasti dip, but its a lot more beefier then trim paint/bumper coating. the finish is rough like in my pictures, so it looks more like the 94 finish.
Thread Starter
Sir Braps A lot
Joined: Jul 2006
Posts: 2,001
Likes: 1
From: Hilliard, OHIO
I tried using trim paint, and bumper paint. but the main thing with these plastics is that your arm regularly rests and brushes up against them. And the other paints failed the light "fingernail in the finish test" to see if they would be worth installing, or if I would have to rip them out in a week and recoat them. I decided I needed to look for something else and remembered seeing this "plasti dip" used on a paintball mask. its almost like a rubber wrapping after its finished.
anyways. I used a duplicolor prep wipe, and duplicolor sandable primer. sand all the rough spots out using around a 400 grit, then go over the entire piece with 800. USE A PREP WIPE! armor all or any other product you used to clean your interior will make it bubble like crazy (even after using a 300 grit sandpaper vigrously) spray the primer on, then you can eyeball and bubbles or lowspots. if it looks good go ahead and use the plasti dip (home depot/lowes) when using plasti dip spray MORE then what looks like enough, its designed to be layed on thick. let it dry, I used a heat gun to graze over the top to make sure I didnt miss spot or get any runs. do about 5 heavy coats. let it dry overnight, and carefully assemble everything back together. remember, these plastics are on average 17+ .
you can STILL scratch plasti dip, but its a lot more beefier then trim paint/bumper coating. the finish is rough like in my pictures, so it looks more like the 94 finish.
anyways. I used a duplicolor prep wipe, and duplicolor sandable primer. sand all the rough spots out using around a 400 grit, then go over the entire piece with 800. USE A PREP WIPE! armor all or any other product you used to clean your interior will make it bubble like crazy (even after using a 300 grit sandpaper vigrously) spray the primer on, then you can eyeball and bubbles or lowspots. if it looks good go ahead and use the plasti dip (home depot/lowes) when using plasti dip spray MORE then what looks like enough, its designed to be layed on thick. let it dry, I used a heat gun to graze over the top to make sure I didnt miss spot or get any runs. do about 5 heavy coats. let it dry overnight, and carefully assemble everything back together. remember, these plastics are on average 17+ .
you can STILL scratch plasti dip, but its a lot more beefier then trim paint/bumper coating. the finish is rough like in my pictures, so it looks more like the 94 finish.
 time to spend some cash.
nice work!
the key to getting the matte finish on interior pieces is spray distance. do several light coats from further away. totally worth it. just did this to my car and need to work on the interior and exterior door handles next.
the key to getting the matte finish on interior pieces is spray distance. do several light coats from further away. totally worth it. just did this to my car and need to work on the interior and exterior door handles next.
Thread Starter
Sir Braps A lot
Joined: Jul 2006
Posts: 2,001
Likes: 1
From: Hilliard, OHIO
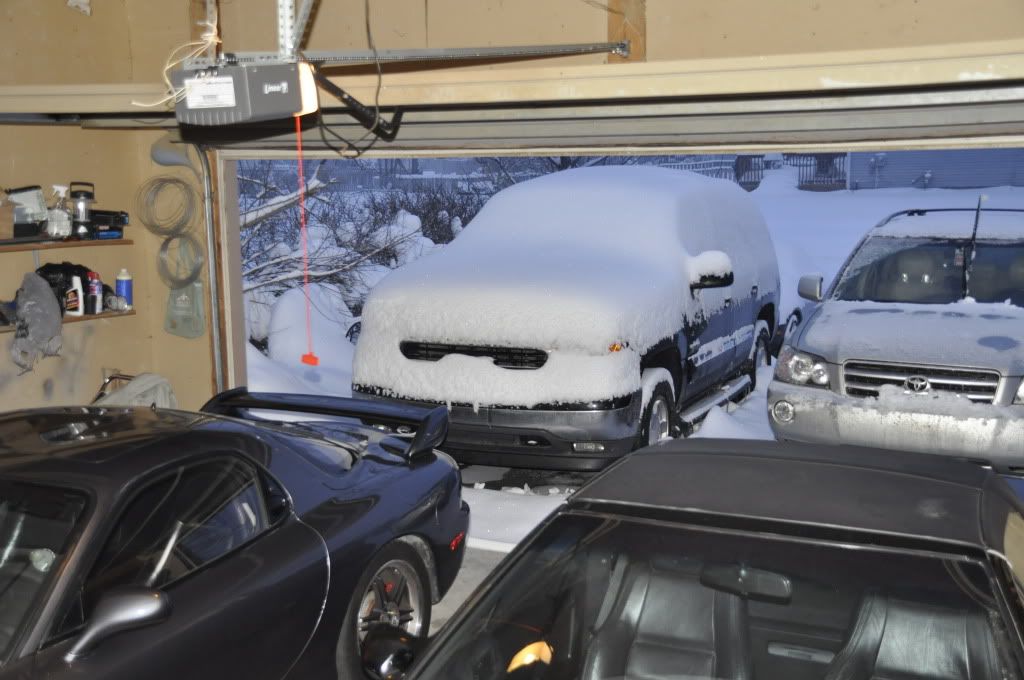
going to the hardware store today got caught up on a ton of work this weekend, also working on a 10 page paper for college sucks the time right out of you lol. hopefully i get snowed in so i have nothing else to do but fix up the FD
Thread Starter
Sir Braps A lot
Joined: Jul 2006
Posts: 2,001
Likes: 1
From: Hilliard, OHIO
since it looks like this outside the rest of the panels are being worked into tomorrow will be painting also...... hopefully

one trip to the hardware store
220 Dry sand
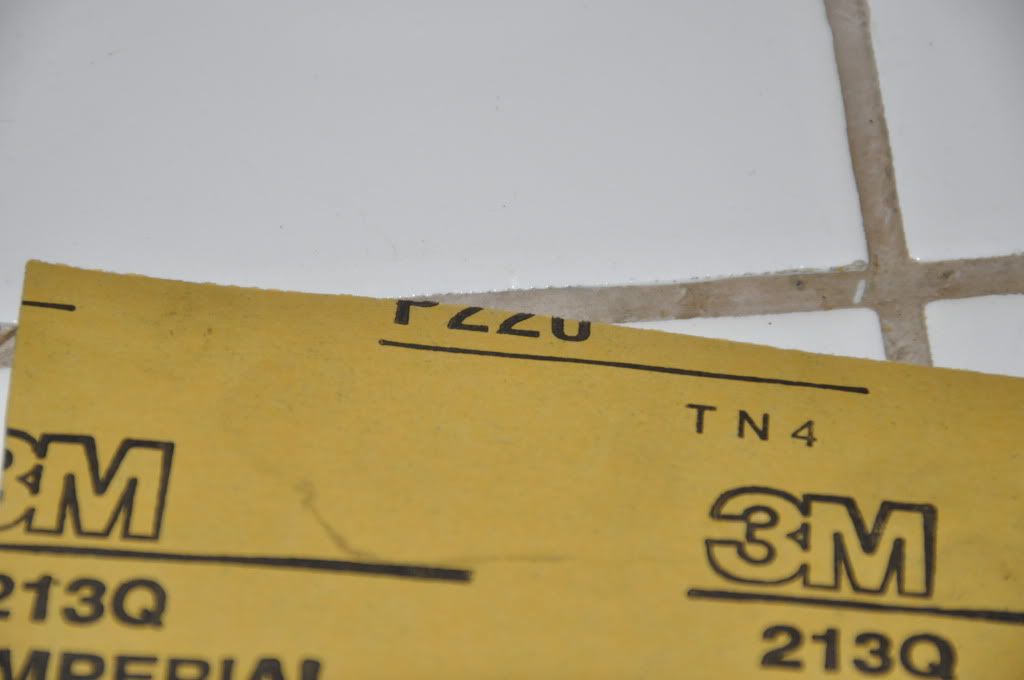
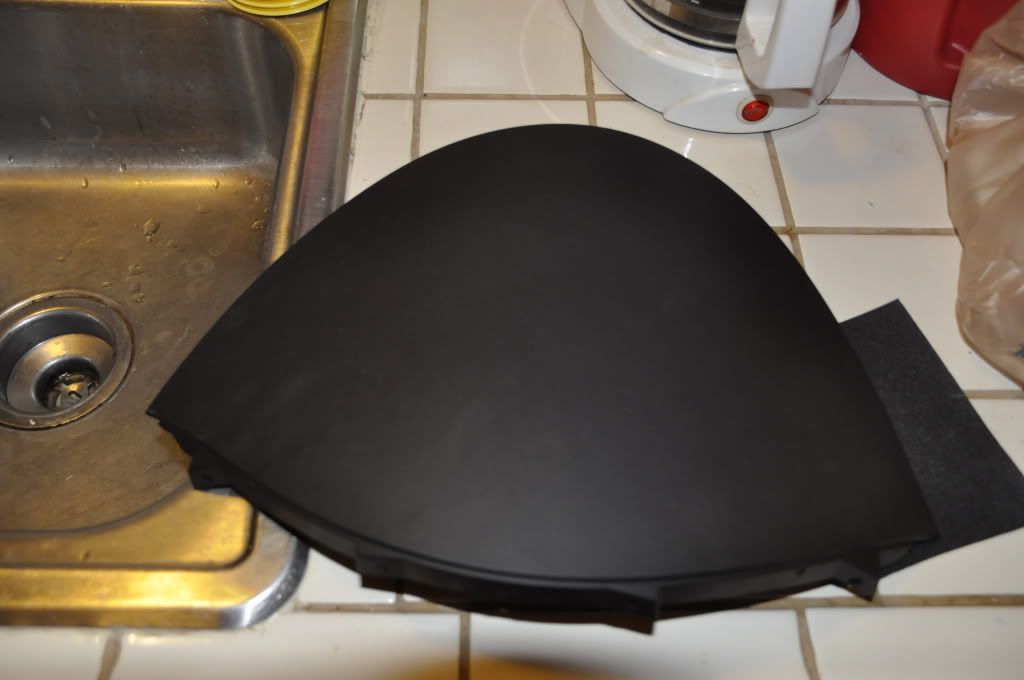
before sanding
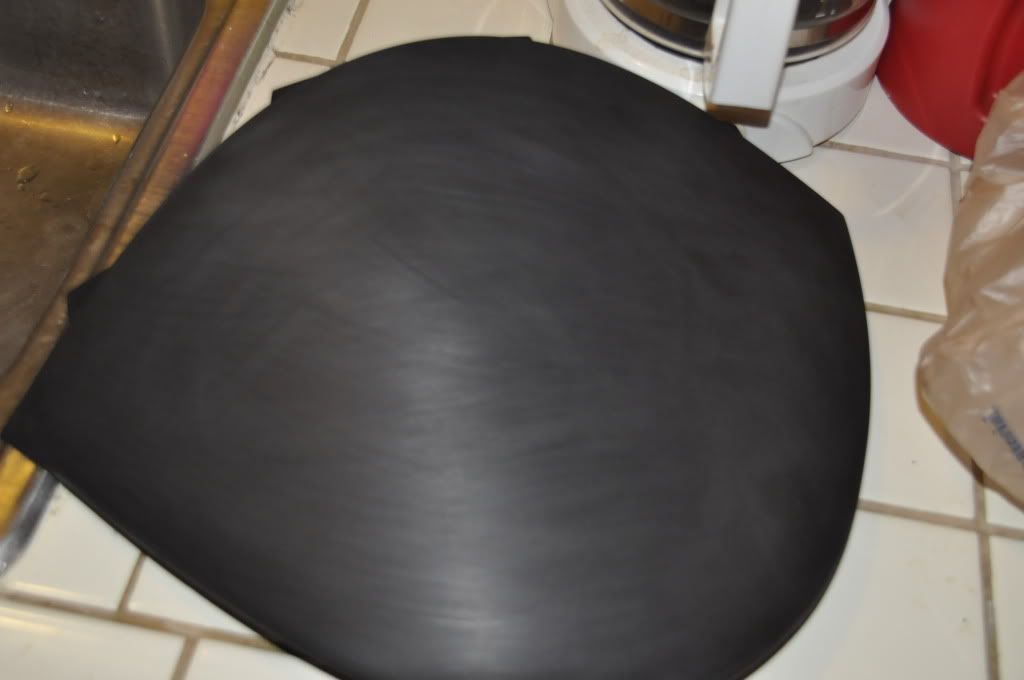
after 220
400 dry
after 400
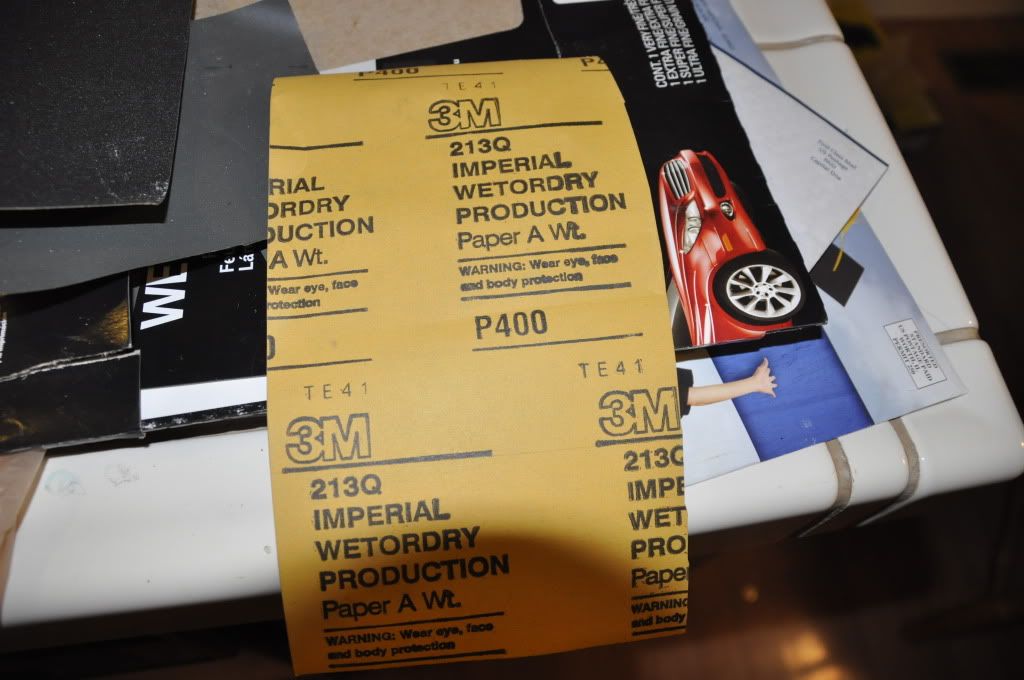
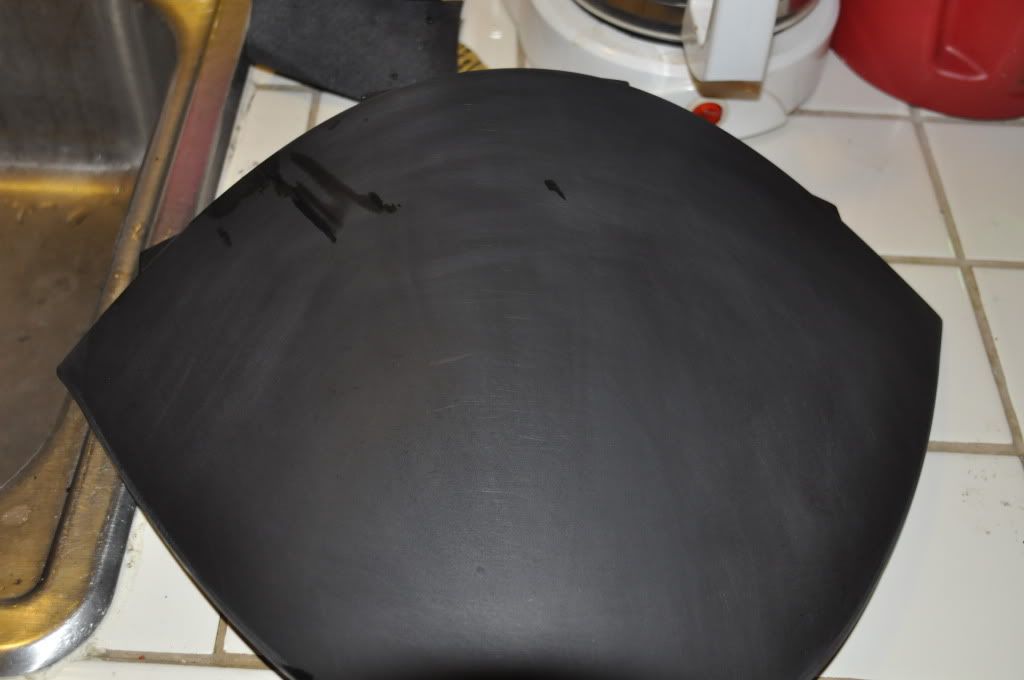
1000 used wet
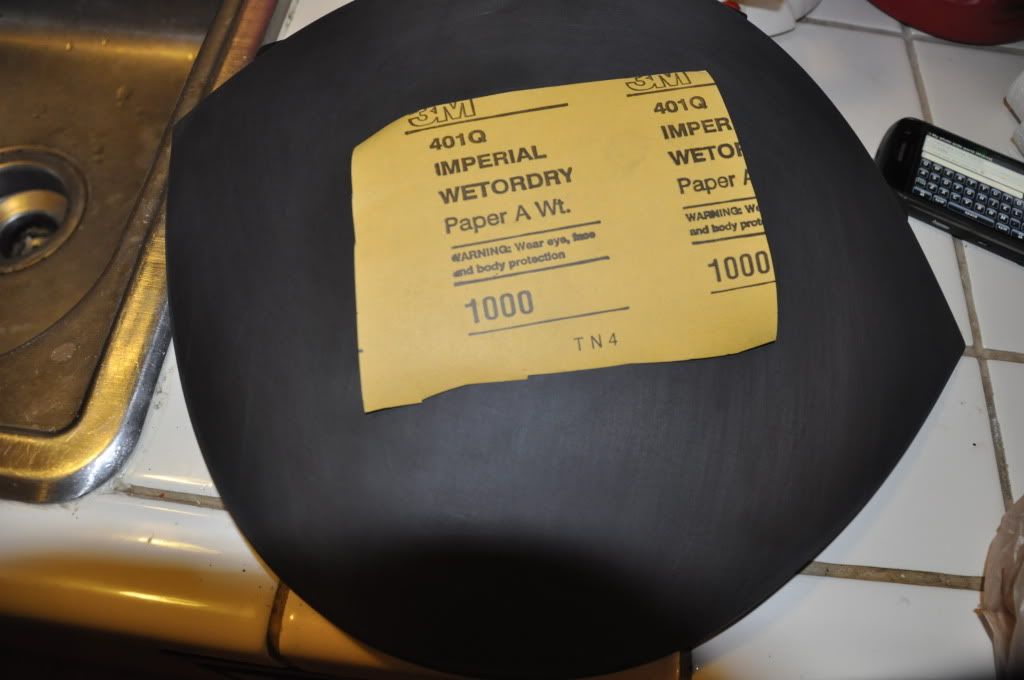
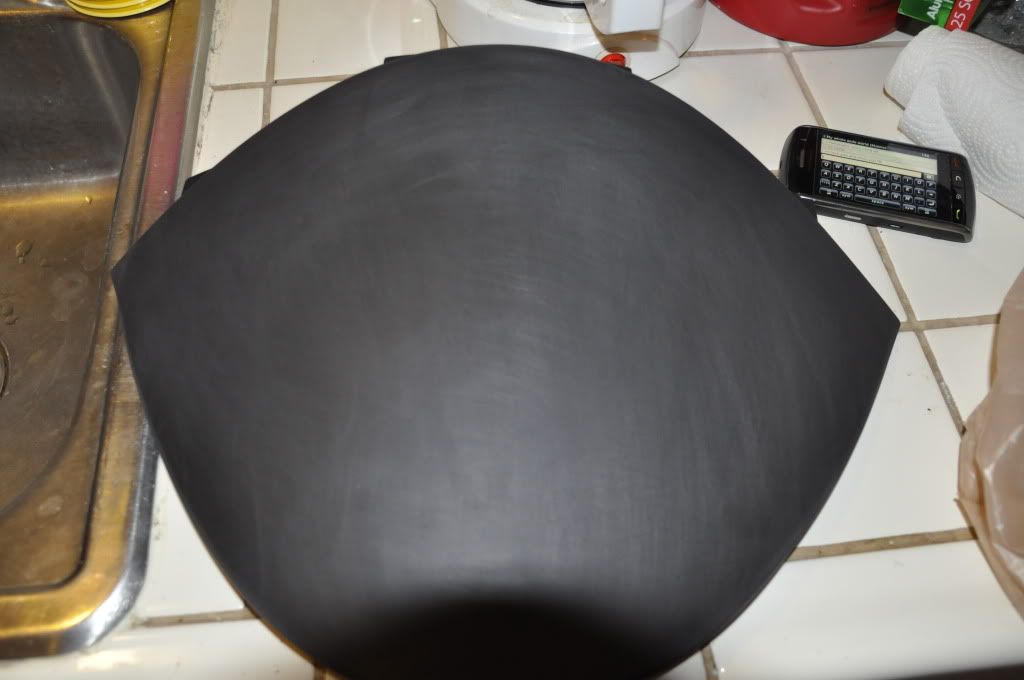
after 1000 grit
one trip to the hardware store
220 Dry sand
before sanding
after 220
400 dry
after 400
1000 used wet
after 1000 grit