
Pictures from my 99 tails conversion

Pictures from my 99 tails conversion
I didnt really feel like dropping 500 dollars on the tail lights but i really wanted the look from the 99..... so i made my own, and i really didnt realize there was a COMPLETE write up on this untill halfway through the project, about the point of taking the covers off with the heat gun.... well heres the pics... let me know what u think.
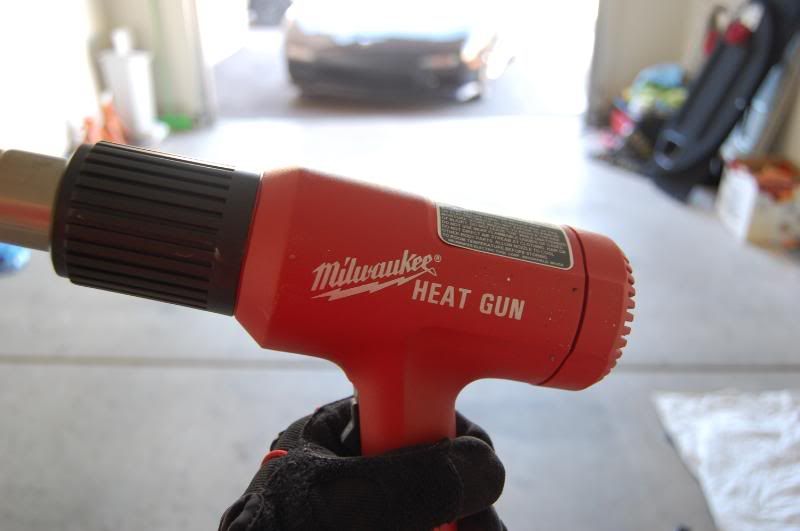
start out with that and a philips screw driver and a flat head
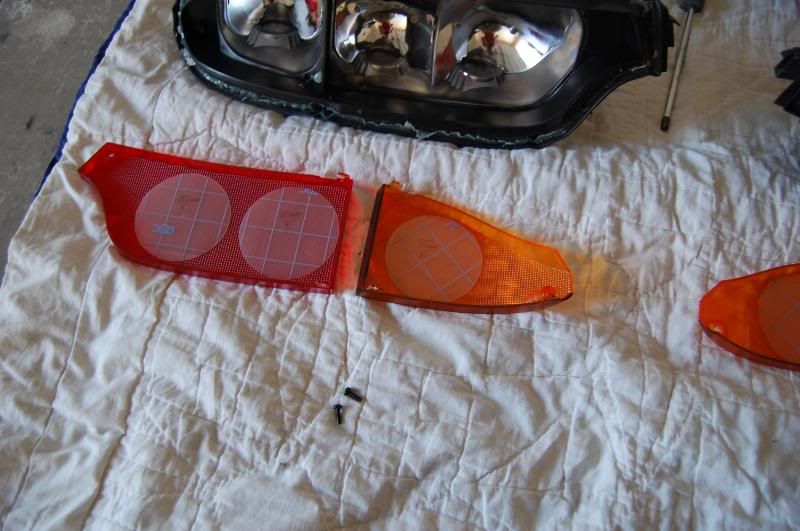
and use four 80mm templates for brakes
and use two 75mm templates for the signals
as for the placement of the templates i kinda eyed it myself the best i could while looking at pictures of 99 tails
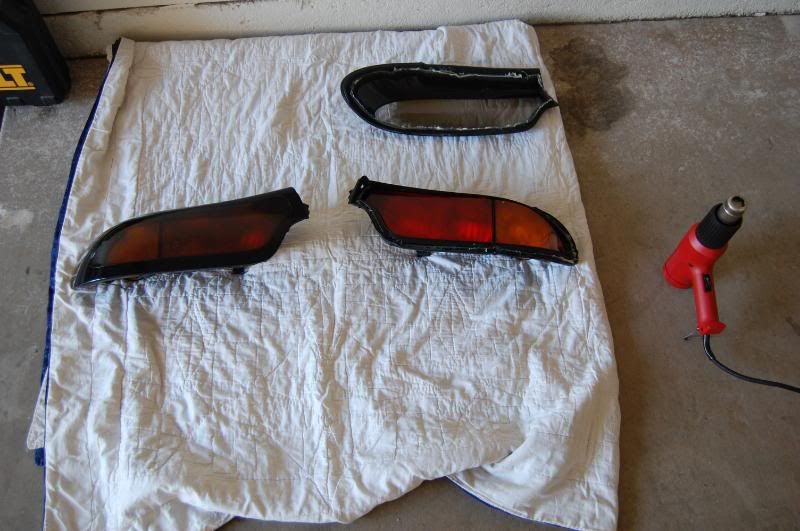
just apply heat around the edges after removing the screws, and the smoked cover should pull off very easily
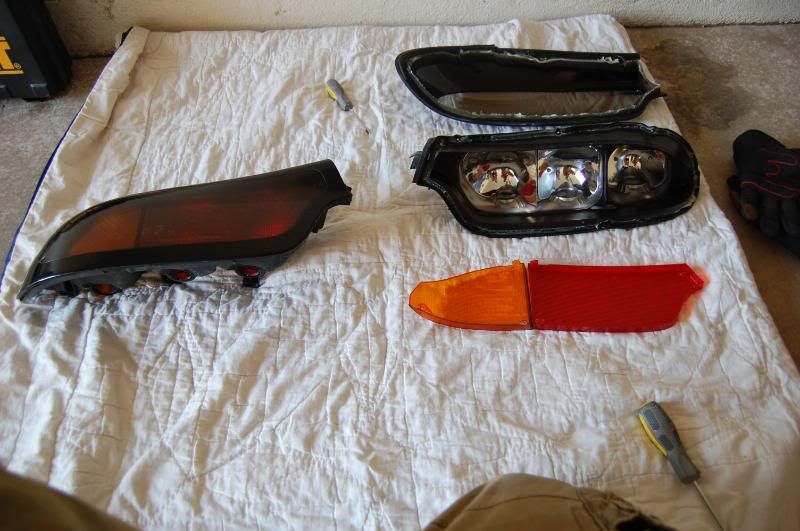
when you pull the colored covers off there is a little tab at the top holding them in plus 1 screw for each cover. when your taking them off after you get the screw out and push the tab, it seems hard to pull it out but it has glue on it, just apply a little bit of heat and it comes out really easy.
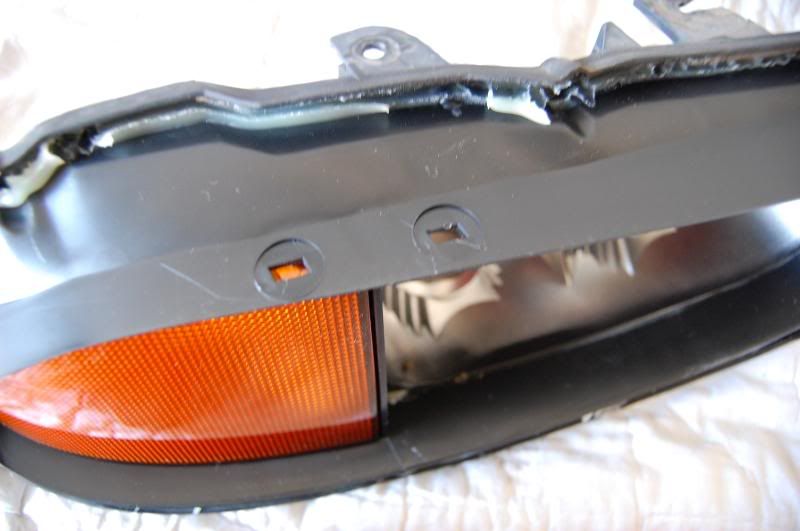
there is the tabs i was talking about
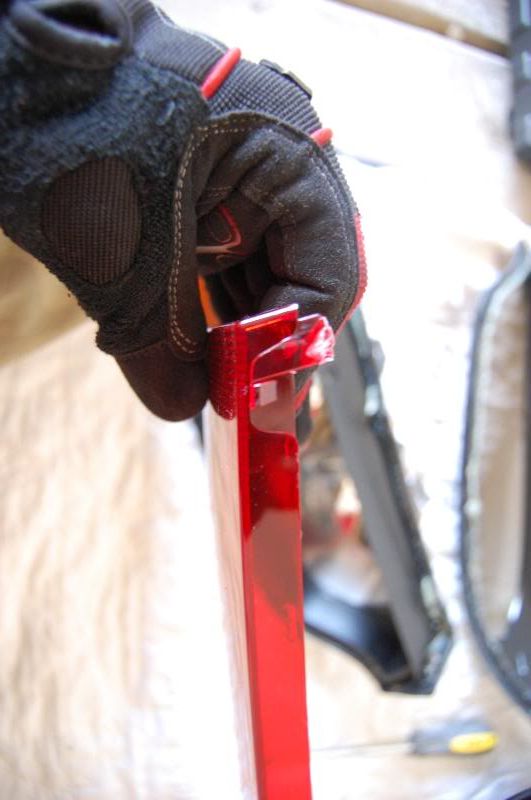
you can see the white glue on the back of the tab sticking out
just used contact paper for the template
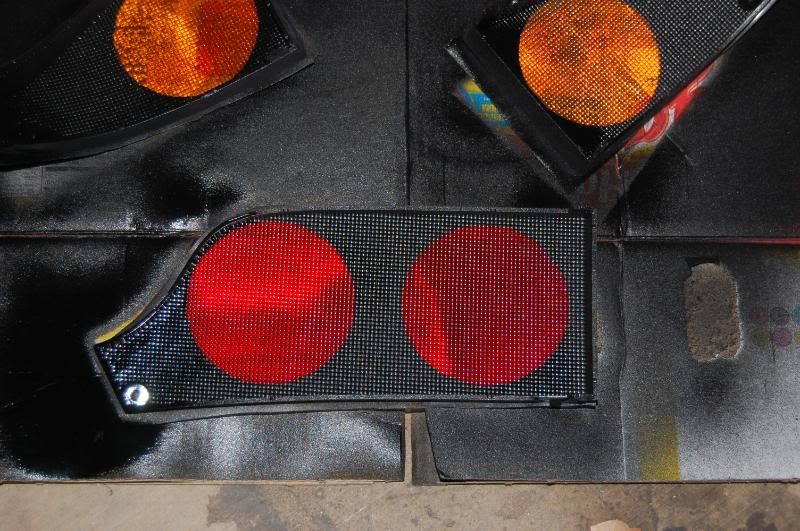
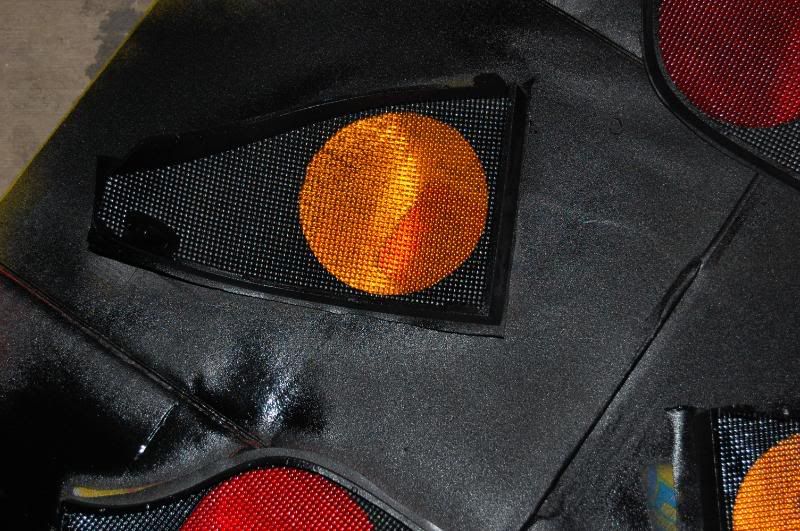
after the paint ( i used rustoleum black laquer)
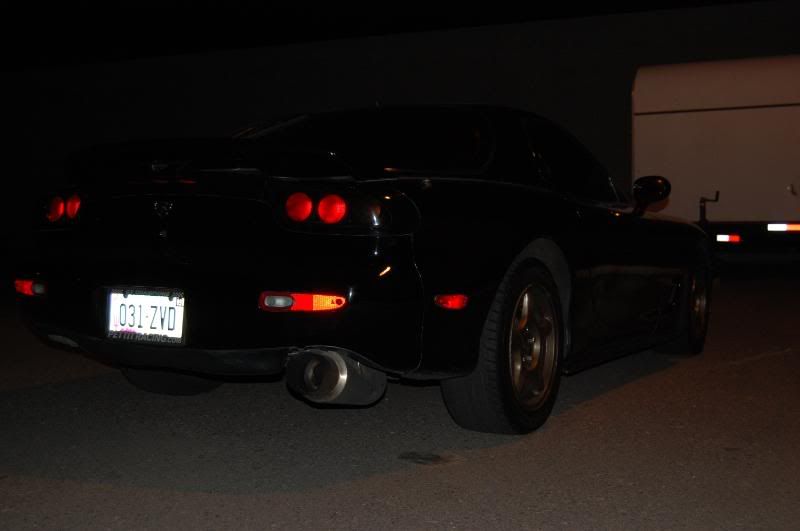
finished product night time
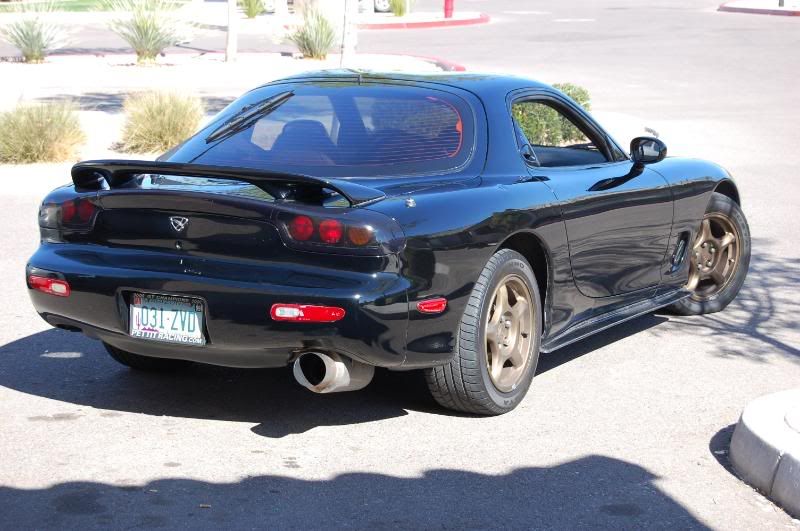
finished product daytime (took that picture about 30 minutes before my fuel pump wiring went out this morning)
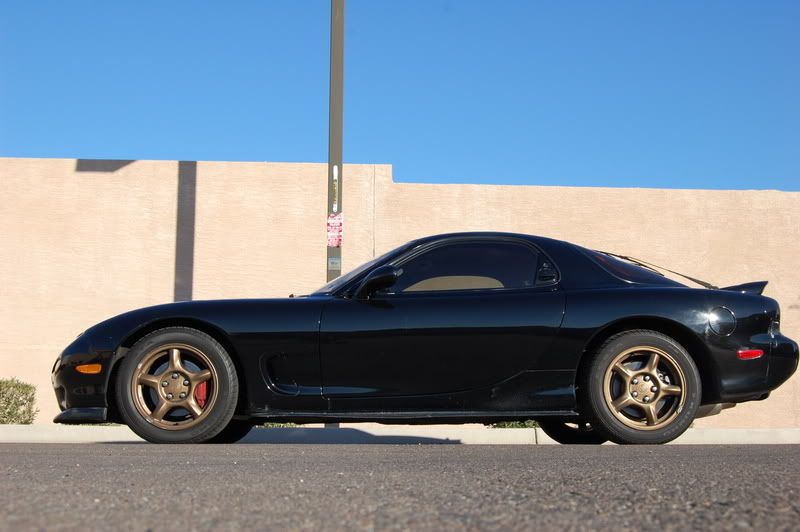
and the car that the tails belong to...
opinions on the conversion please
start out with that and a philips screw driver and a flat head
and use four 80mm templates for brakes
and use two 75mm templates for the signals
as for the placement of the templates i kinda eyed it myself the best i could while looking at pictures of 99 tails
just apply heat around the edges after removing the screws, and the smoked cover should pull off very easily
when you pull the colored covers off there is a little tab at the top holding them in plus 1 screw for each cover. when your taking them off after you get the screw out and push the tab, it seems hard to pull it out but it has glue on it, just apply a little bit of heat and it comes out really easy.
there is the tabs i was talking about
you can see the white glue on the back of the tab sticking out
just used contact paper for the template
after the paint ( i used rustoleum black laquer)
finished product night time
finished product daytime (took that picture about 30 minutes before my fuel pump wiring went out this morning)
and the car that the tails belong to...
opinions on the conversion please

lights look good, painting the rear texture side is a nice touch. i was wondering a few days ago how that would look. do you have a close up/macro shot of the lens.
and lower your car
and lower your car
Trending Topics


thanks guys, i actually didnt think about painting the outside of the second cover, never really crossed my mind, but im happy with how it turned out, and as for being a brave man... i thought the same thing, i was kinda worried about having messed up paint dripping to the circles, but it all worked out. and no i dont have a close up/macro shot, cuz i dont even know what that is.
Rotary Freak
Joined: Dec 2001
Posts: 1,803
Likes: 0
From: Macungie, Pennsylvania
They look very nice but is it me or did you paint the inside of the lense? If you did, why? This would make things a little bit more difficult seeing that the inside has ridges and the material that you used for the circles will not make a good seal on the lense. This would allow paint to seep inside the circle. The ones I've done have been painted on the smoothe side, this is how the originals have been made. If I'm seeing wrong, ignore all after they look very nice.
no i painted the inside, ive seen ones where the outside was done, and i wanted to see if it had any effect or difference in the light, and guess what... it doesnt, but now i know, and im happy it turned out great
thanks for the positive guys it makes my almost scary endevour on my only pair of tail lights worth it
thanks for the positive guys it makes my almost scary endevour on my only pair of tail lights worth it
p.s. if anyone wants this done and doesnt want to do this themselves now that i know how to do this... and do it well, i can perform the conversion for you, as long as you pay for shipping, and 60 labor, the project takes about 3-4 hours including drying time so i think thats a fair price. better than buying a heat gun for 80 plus the accesories involved. saves on 480 dollar true 99's and look just as good. let me know. and now that i know there is no difference in the lighting from inside or outside, ill spray all of the paint on the outside of the colored plastic. My name is Mike... just shoot me a PM
just let me know if your interested and ill PM you my address
i would start the project the day after i receive the lights and ship out the day after i do the conversion, possibly same day if i receive the lights in the morning
i would start the project the day after i receive the lights and ship out the day after i do the conversion, possibly same day if i receive the lights in the morning


You can get used REAL 99 tails for under 300 bucks if you shop around.
I dont like the look of converted stock tails to 99. Unless you do it PERFECTLY, the circles look blotchy (when lit up at night). Like water got into the lense or something.
But yours came out pretty good. Congrats on the conversion, at least you saved money.
I dont like the look of converted stock tails to 99. Unless you do it PERFECTLY, the circles look blotchy (when lit up at night). Like water got into the lense or something.
But yours came out pretty good. Congrats on the conversion, at least you saved money.