
my first brew rebuild

Thread Starter
On the fasttrack!
iTrader: (22)
Joined: Oct 2006
Posts: 2,494
Likes: 2
From: virginia beach, virginia
ya well, w/e lol.
now, the irons are done. finally got everything done and now were just waiting on him to get the parts for the rebuild and then we can move forward from there.
now for the pictures
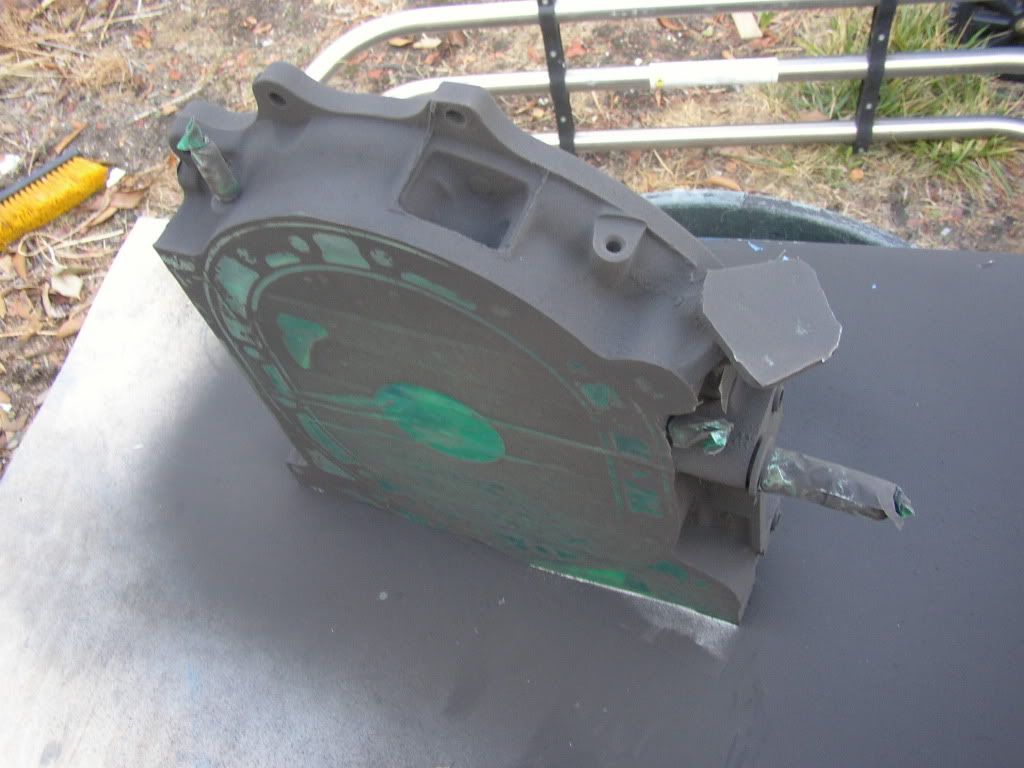
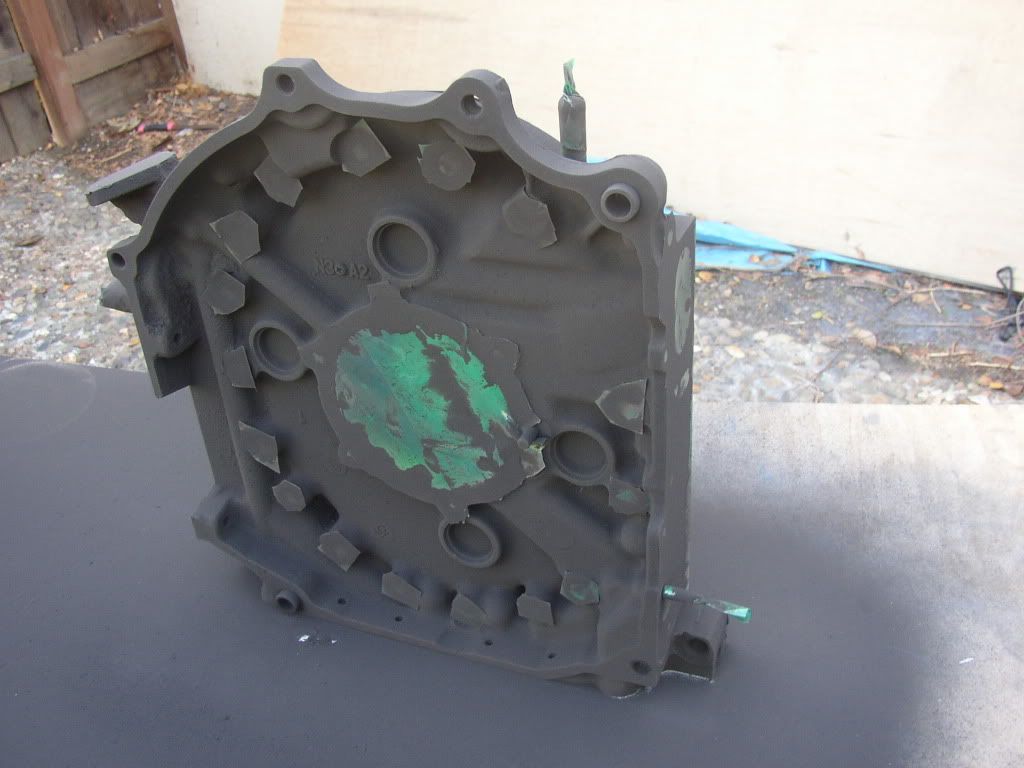
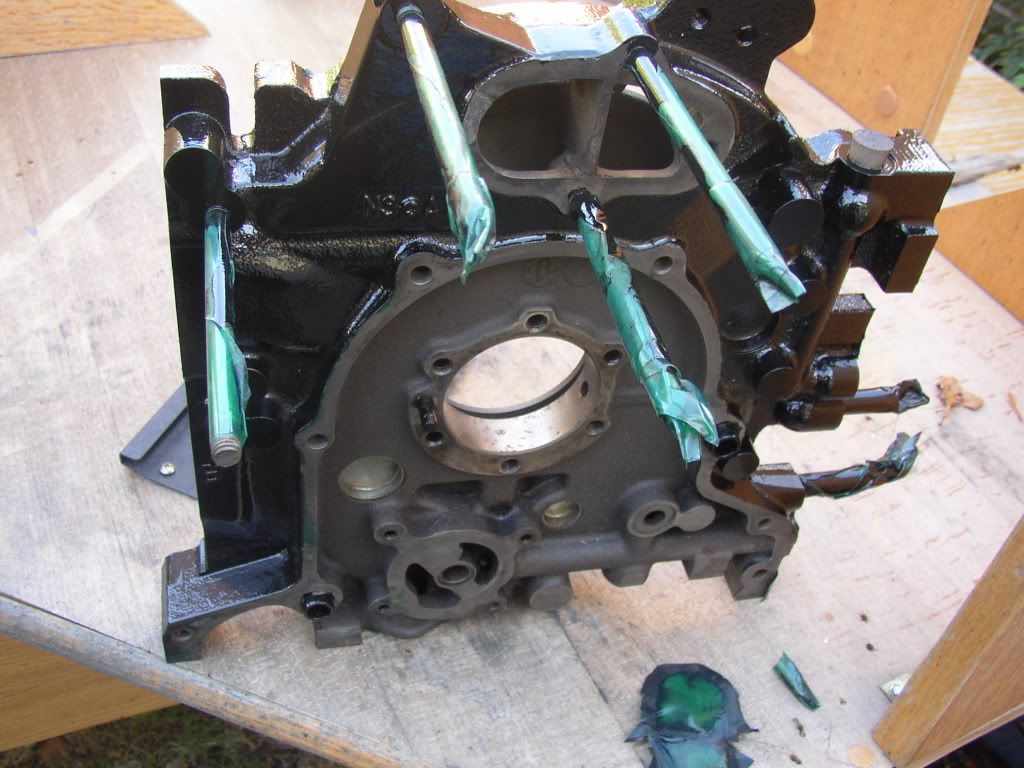
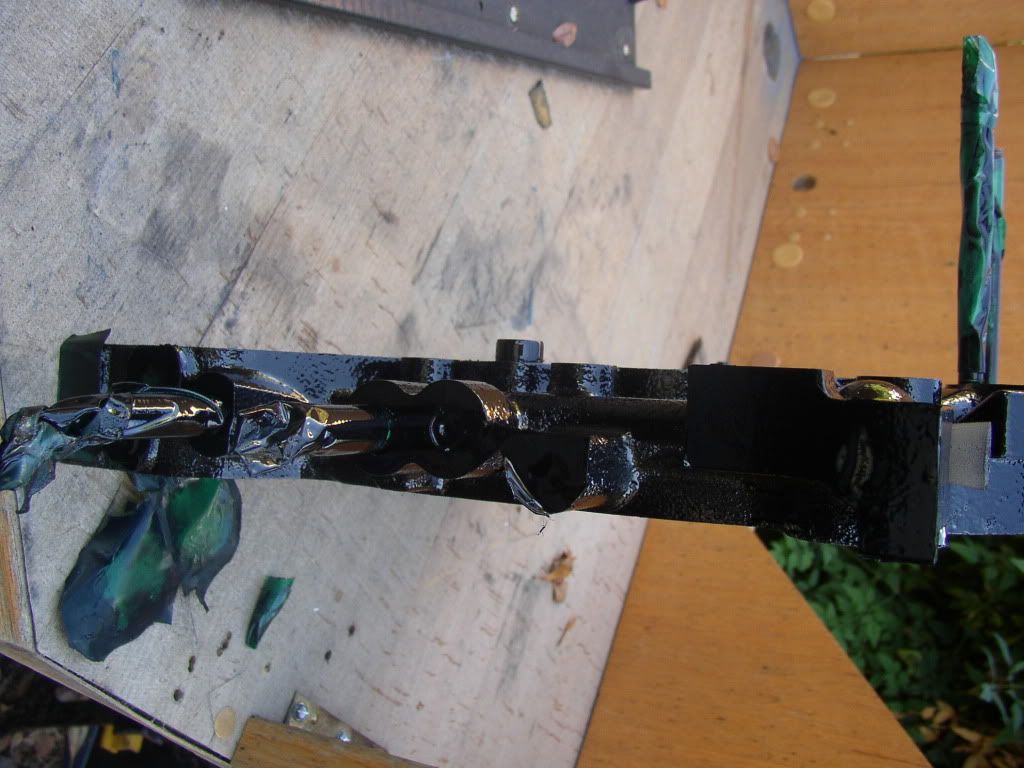
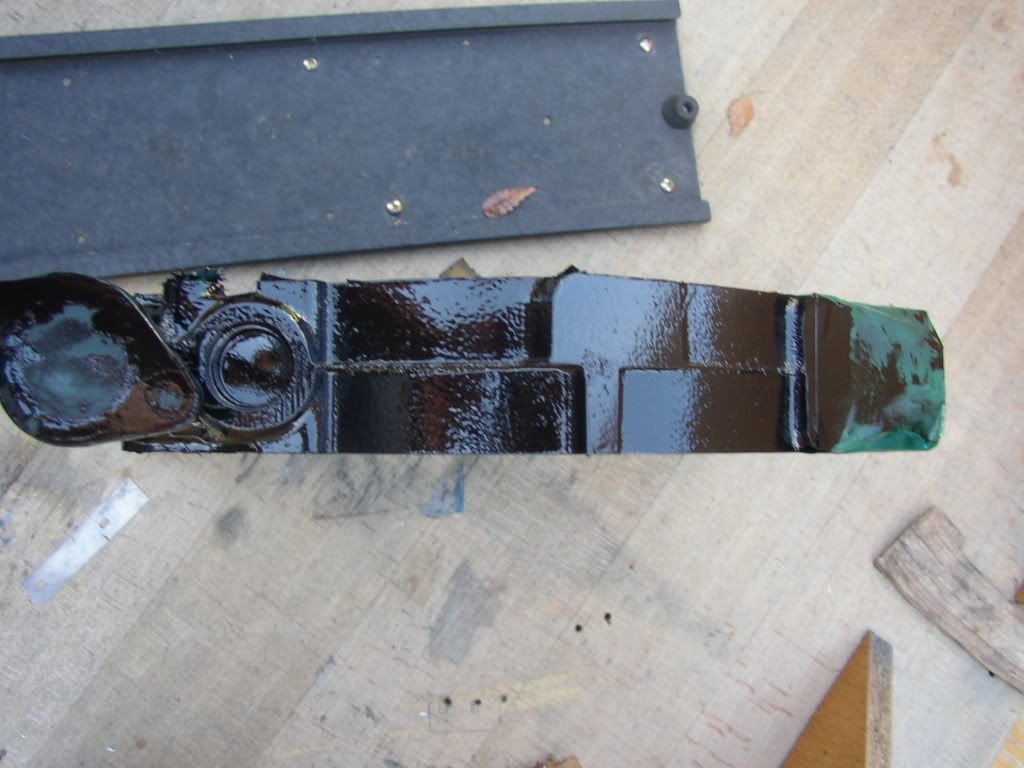
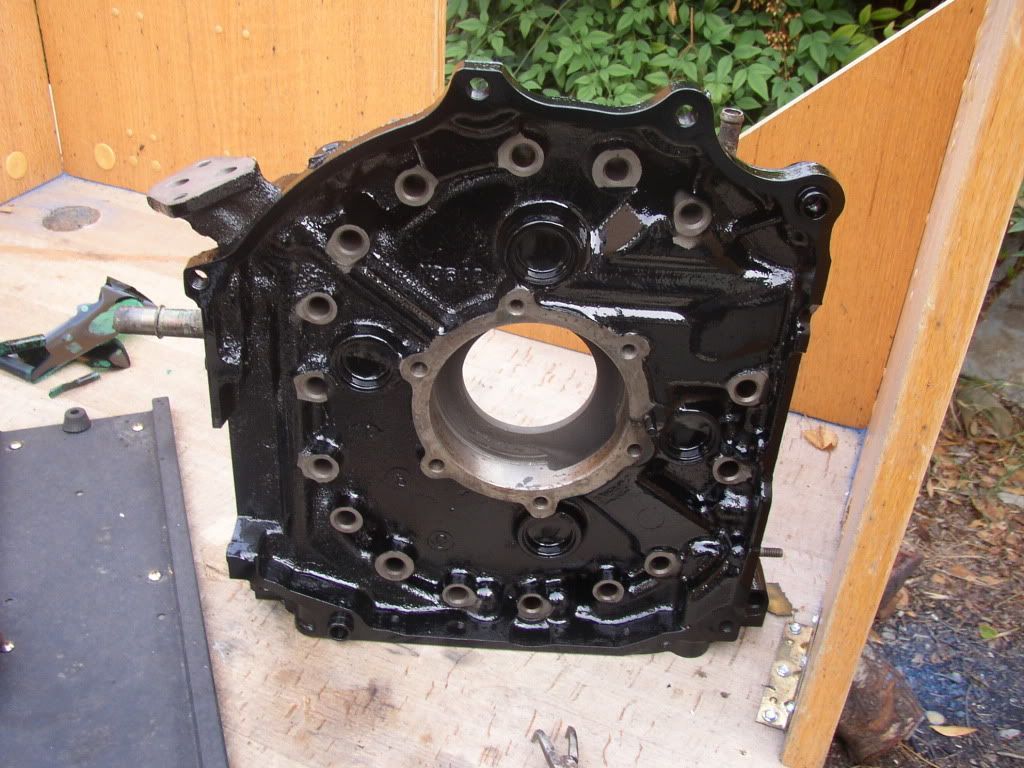
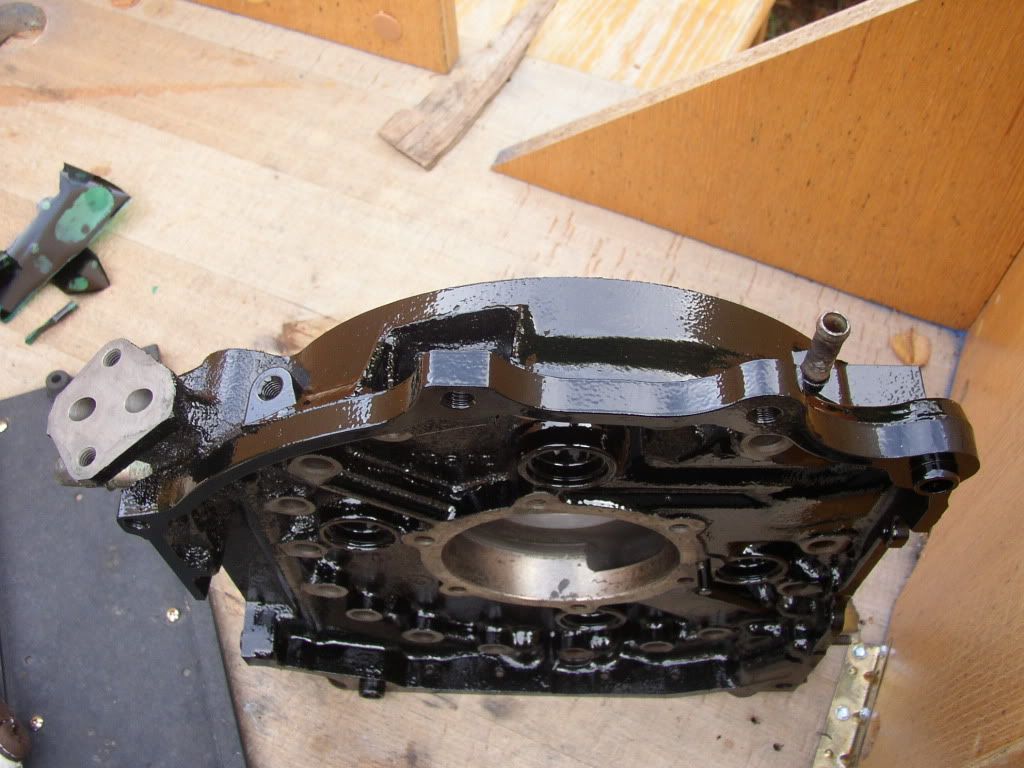
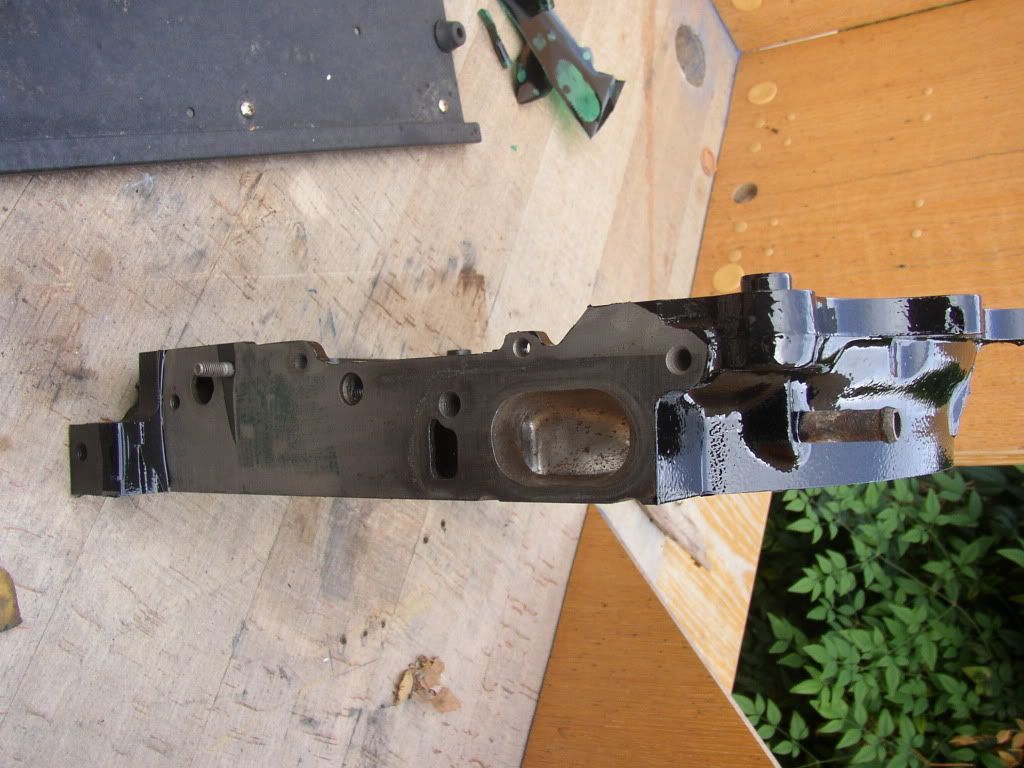
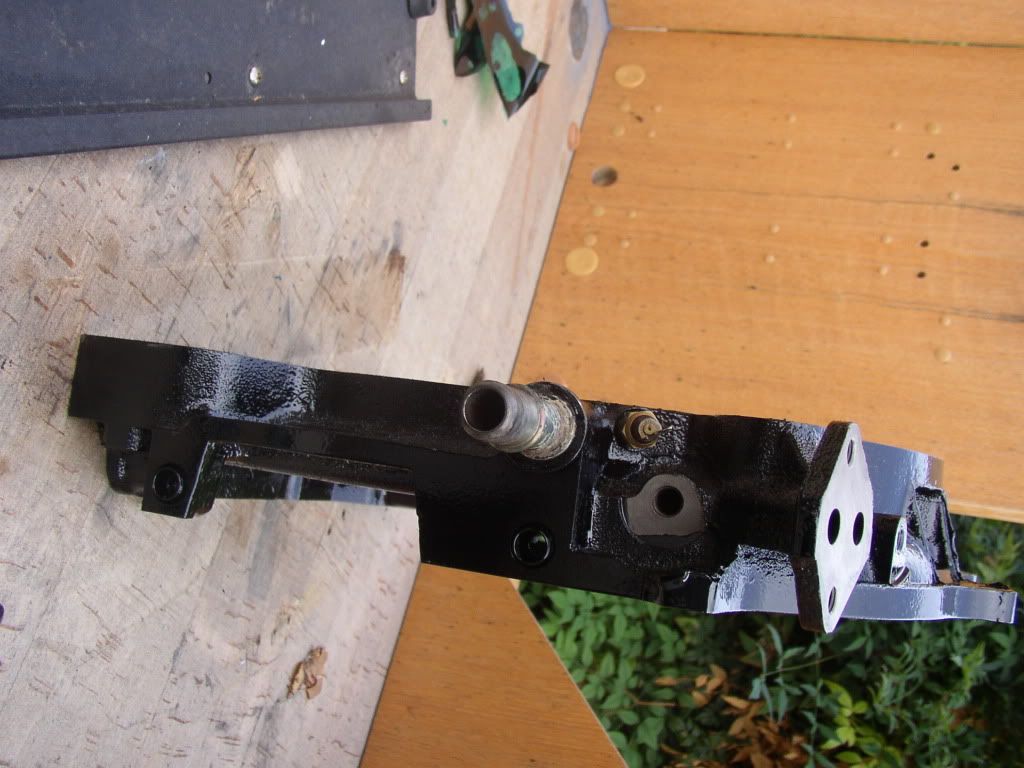
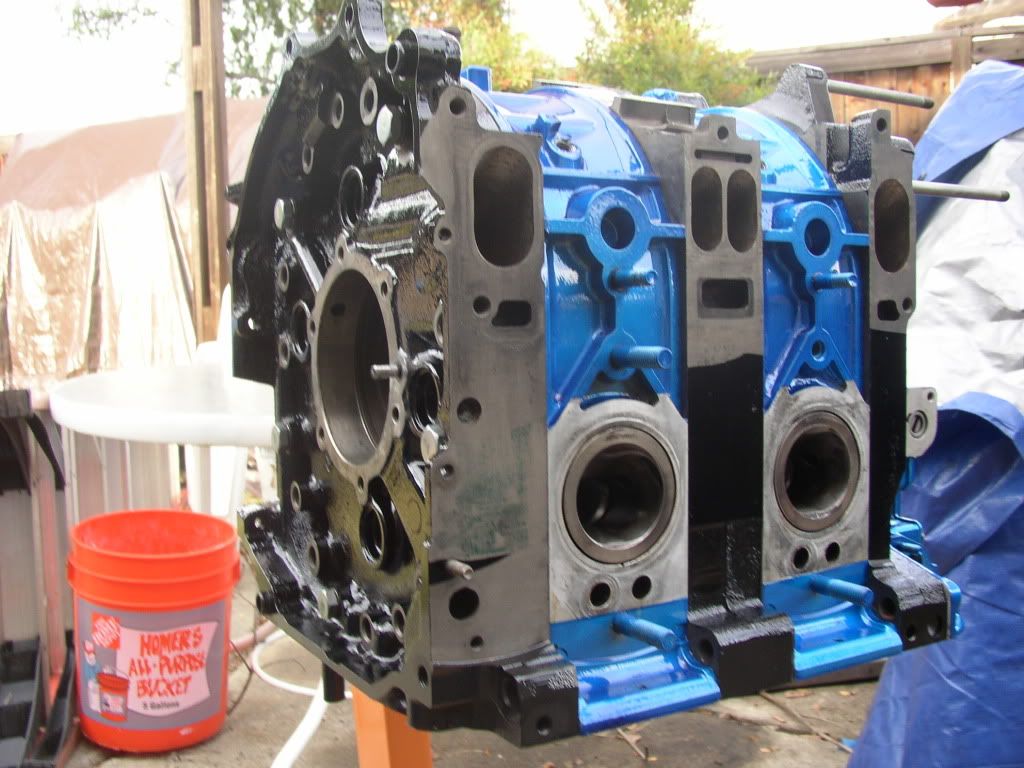
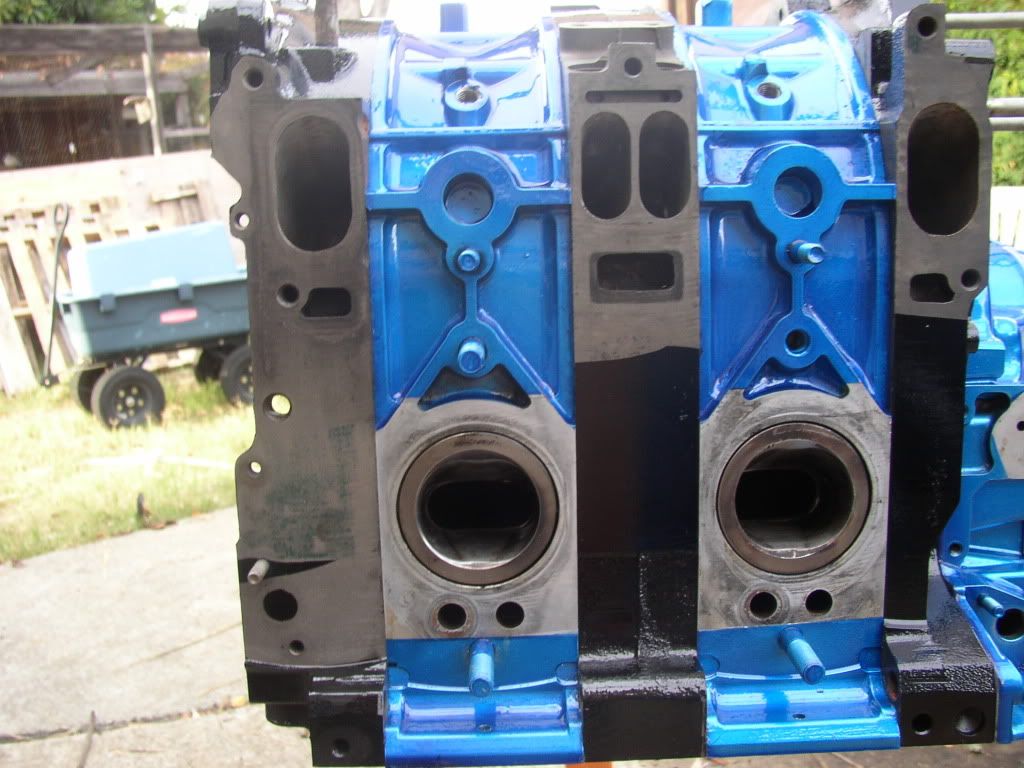
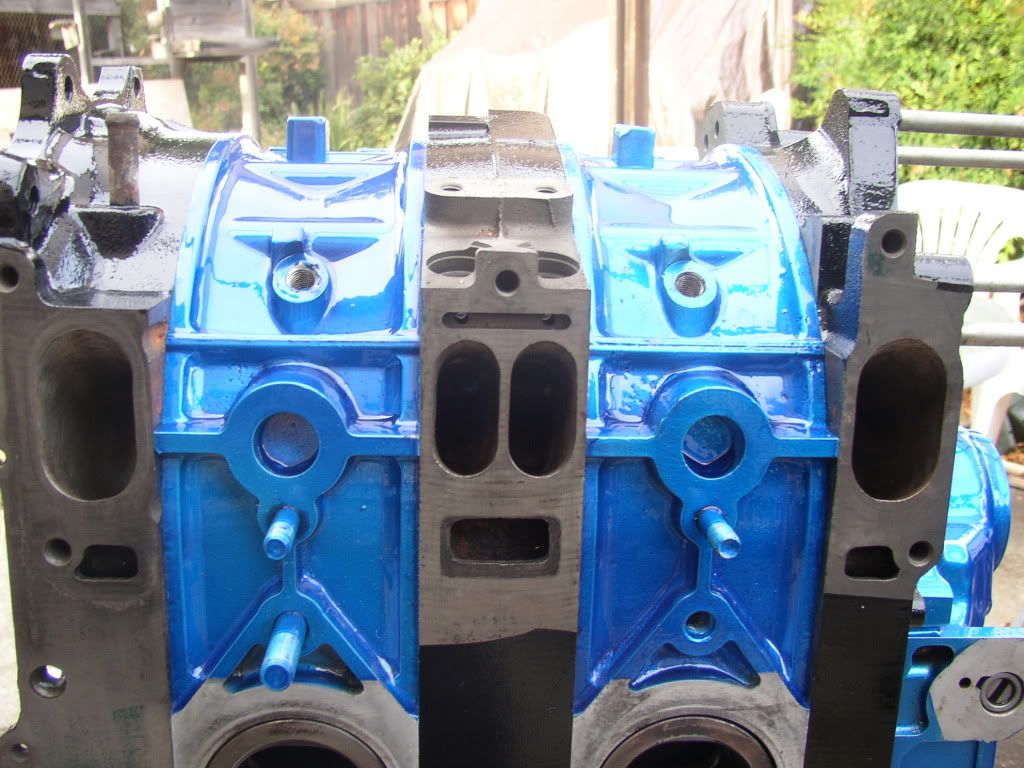
heres some of the pics of the wet black in powder and fresh out the oven.

now, the irons are done. finally got everything done and now were just waiting on him to get the parts for the rebuild and then we can move forward from there.
now for the pictures
heres some of the pics of the wet black in powder and fresh out the oven.
Thread Starter
On the fasttrack!
iTrader: (22)
Joined: Oct 2006
Posts: 2,494
Likes: 2
From: virginia beach, virginia
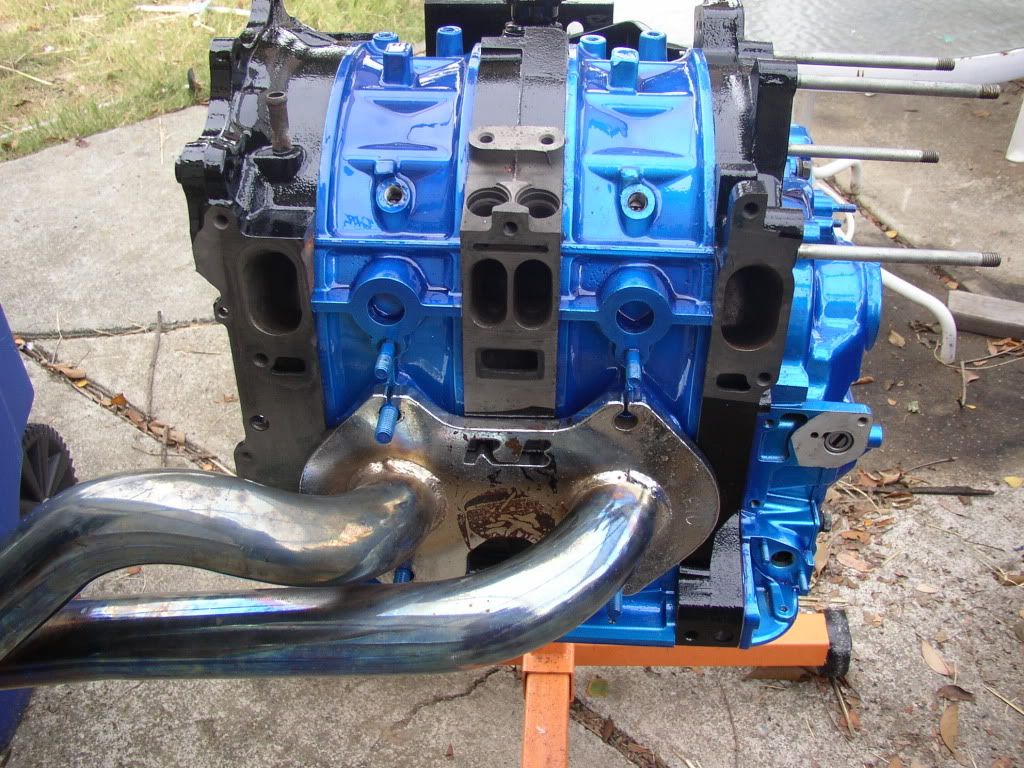
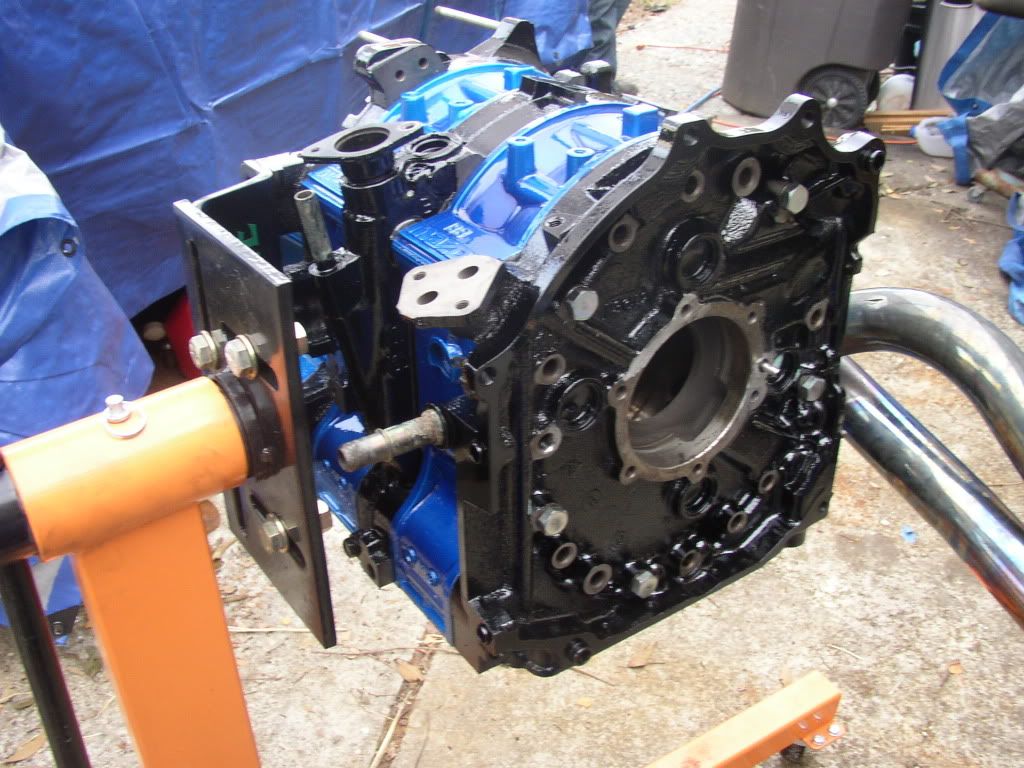
and now it all together.
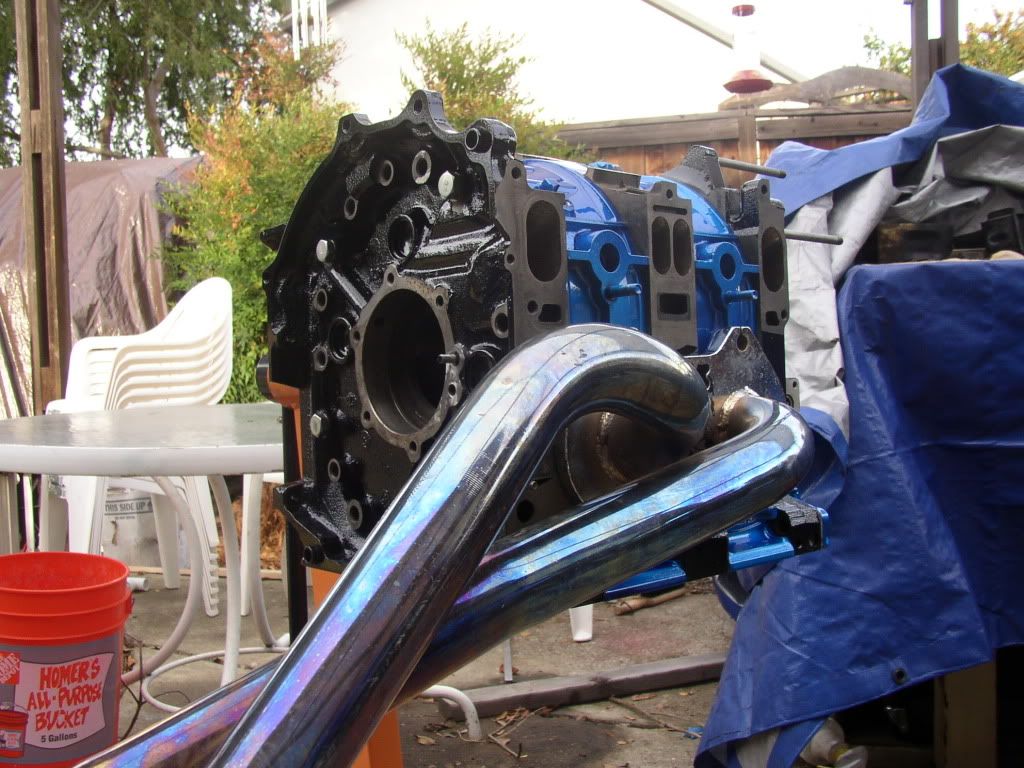
nevermind the exhaust manifold, its mine, i just wanted to see how it looked against a clean *** engine.
DUN DUN DUN!!!!!!!!!!!!!!!!!!!!!!!!!!!!!!!!!!!!
so, thats if for now until he can get the superseals and the other stuff.
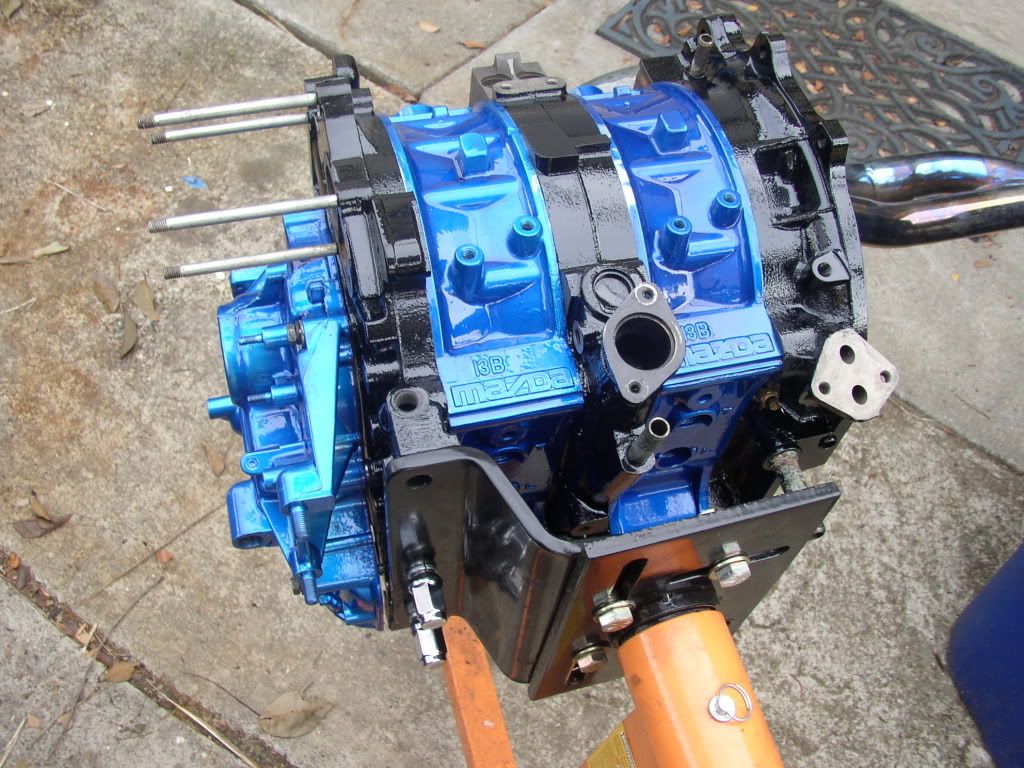
ill tell you what, its almost a shame to build this engine. its so clean, and so nice, you could almost lick the engine.
anyways, ill be posting further when he gets the ****
Lloyd
nevermind the exhaust manifold, its mine, i just wanted to see how it looked against a clean *** engine.
DUN DUN DUN!!!!!!!!!!!!!!!!!!!!!!!!!!!!!!!!!!!!
so, thats if for now until he can get the superseals and the other stuff.
ill tell you what, its almost a shame to build this engine. its so clean, and so nice, you could almost lick the engine.
anyways, ill be posting further when he gets the ****
Lloyd
Thread Starter
On the fasttrack!
iTrader: (22)
Joined: Oct 2006
Posts: 2,494
Likes: 2
From: virginia beach, virginia
i dont really know what hes planning on doing. all i know is he said he wants to run super seals, but i think the rest of the stuff is going to be oem seals. im not terribly sure
ill have to ask him next time i see him
Lloyd
ill have to ask him next time i see him
Lloyd

^^The chrome is a basecoat for the blue...
Those housings look great!! I am looking forward to seeing pics of this installed in a car.
If I was your friend I would just use oem apex seals...
Those housings look great!! I am looking forward to seeing pics of this installed in a car.
If I was your friend I would just use oem apex seals...
looks awesome.
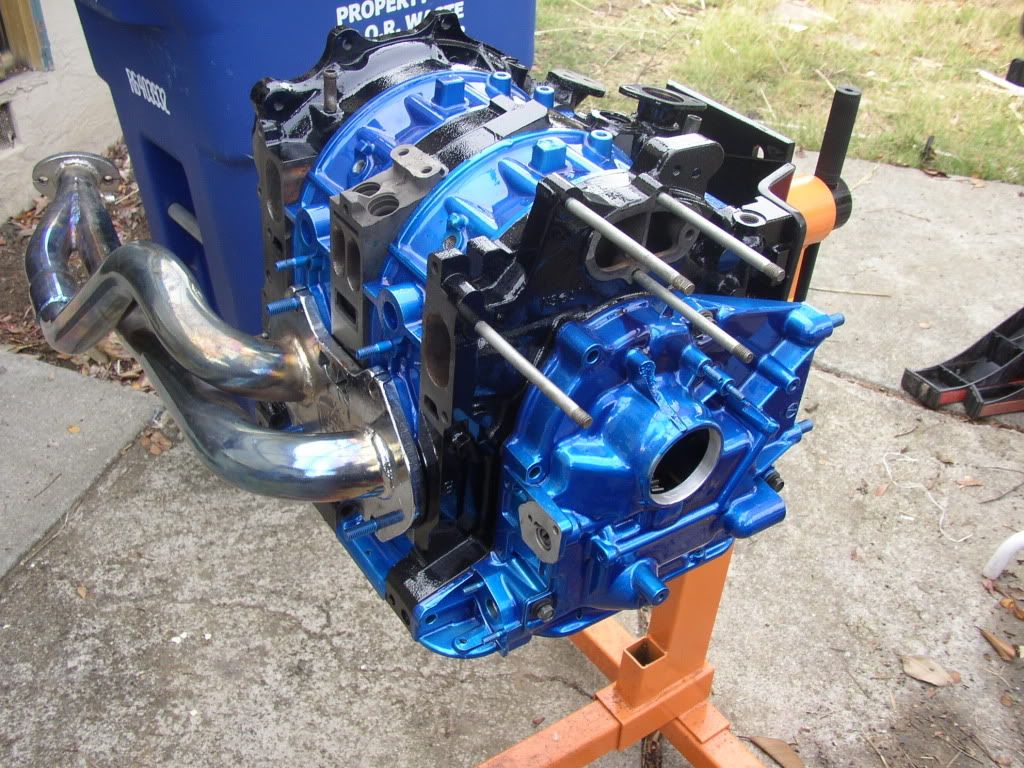
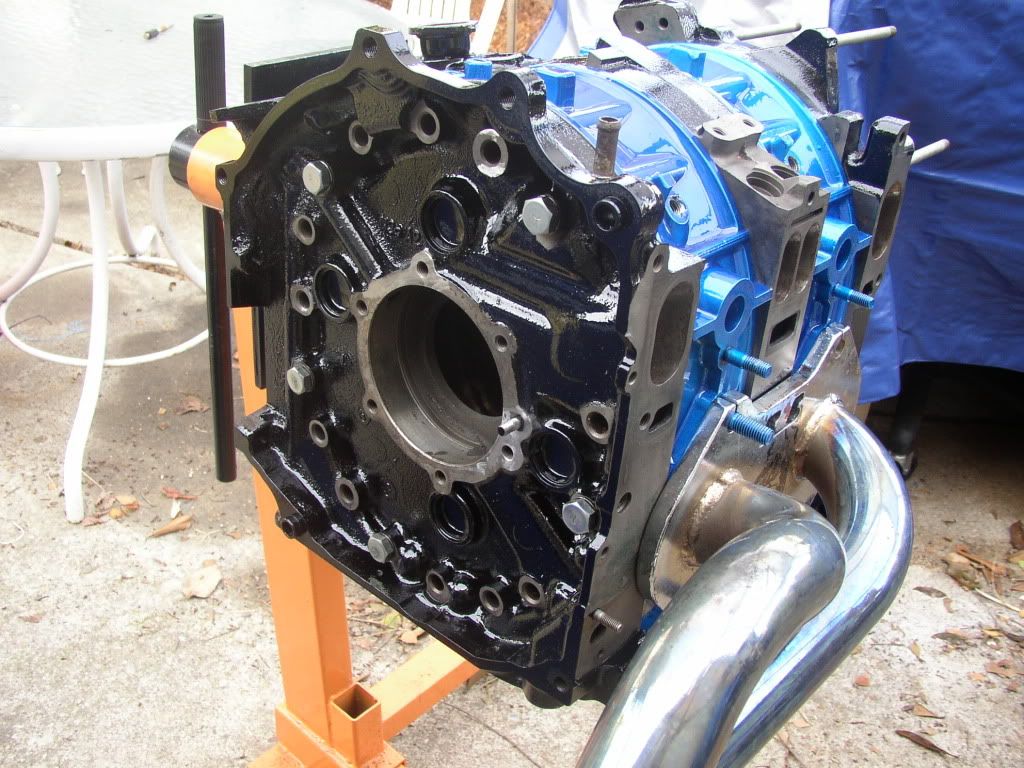
I wouldn't have coated those front cover dowels or as much of the gasket surfaces as you did though. Coating at the studs raises the manifolds away from the mating surface a bit and creates uneven compression of the gasket. Not sure if it'll end up causing gasket failure, but it's something to think about.
I wouldn't have coated those front cover dowels or as much of the gasket surfaces as you did though. Coating at the studs raises the manifolds away from the mating surface a bit and creates uneven compression of the gasket. Not sure if it'll end up causing gasket failure, but it's something to think about.
Thread Starter
On the fasttrack!
iTrader: (22)
Joined: Oct 2006
Posts: 2,494
Likes: 2
From: virginia beach, virginia
and thank you, it will be a while until the engine is done
looks awesome.
I wouldn't have coated those front cover dowels or as much of the gasket surfaces as you did though. Coating at the studs raises the manifolds away from the mating surface a bit and creates uneven compression of the gasket. Not sure if it'll end up causing gasket failure, but it's something to think about.
I wouldn't have coated those front cover dowels or as much of the gasket surfaces as you did though. Coating at the studs raises the manifolds away from the mating surface a bit and creates uneven compression of the gasket. Not sure if it'll end up causing gasket failure, but it's something to think about.
any other questions? lol
Lloyd
about the front bolt removal methods... the boys in Japan seem to have it figured out.
http://www.youtube.com/profile?user=...12/QMRszpqmKRg
http://www.youtube.com/profile?user=...12/QMRszpqmKRg
Thread Starter
On the fasttrack!
iTrader: (22)
Joined: Oct 2006
Posts: 2,494
Likes: 2
From: virginia beach, virginia
hm, its seems as though there was a tiny amount of black rtv. see, thats not the 6 oz of rtv red that was there. trust me, if it were THAT easy, i wouldent have mentioned it.
see, i like to use my snap-on mt725 impact on the flywheel nut, the front was impossible.
im 280, 6'4, we had 4 feet of pipe on a short impact socket and me jumping on it.......do the math, WAY over a ton of pressure
Lloyd
see, i like to use my snap-on mt725 impact on the flywheel nut, the front was impossible.
im 280, 6'4, we had 4 feet of pipe on a short impact socket and me jumping on it.......do the math, WAY over a ton of pressure
Lloyd
about the front bolt removal methods... the boys in Japan seem to have it figured out.
http://www.youtube.com/profile?user=...12/QMRszpqmKRg
http://www.youtube.com/profile?user=...12/QMRszpqmKRg
Thread Starter
On the fasttrack!
iTrader: (22)
Joined: Oct 2006
Posts: 2,494
Likes: 2
From: virginia beach, virginia
now, as soon as my friend gets a job again (everyone we know got fired over like 3 months from the same pep boys) then we will move forward. its sitting at his house collecting dust...........plus, we need to get his FD from the ATL, the car will be nice when were done with it...............one day.
Lloyd
Lloyd

BTW, on the front pulley bolt, Mazda does say to use RTV on it in the shop manual. The FC's use a copper crush washer on the front pulley to prevent an oil leak, on the FD you use RTV instead. The RTV doesn't make the bolt harder to remove, but the FD's front pulley bolt is torqued tighter than the FC and, of course, you have a good 2" bolt slathered in "don't remove me" Loctite.
The front pulley bolt is always a chore to remove. You pretty much have to have the engine secure (like on an engine stand) and the engine locked to keep it from moving. You can either use the flywheel lock tool or do what I do, bolt a chain to the rear iron then to the flywheel, works great and is quite simple to do. Then get a BIG damn breaker bar and put all your weight on it.
To do it with an impact gun you'd need some sort of he-man gun, like a 1" drive gun or something absurd. I've yet to see an impact gun that can EASILY get the front pulley bolt. Instead of dorking around with heating it and working the gun for an hour, get a breaker bar and be done in 2 minutes.
Anyhow, good luck with the motor!
Dale
I had 2 engines I tore down, even took one of the bastards out to the Mazda dealership to have them hit it with their big bertha air gun and it wouldn't budge it. Brought it home and did the old heat and freeze on the bolt and it spun right off.