When you click on links to various merchants on this site and make a purchase, this can result in this site earning a commission. Affiliate programs and affiliations include, but are not limited to, the eBay Partner Network.
First, there was copious amounts of research. I started with the FSM, which actually outlines this entire thing pretty well. Seeking a little "between the lines" information, I found a few good resources. They explained what the orange and red grease is that comes with the rebuild kit. One particular Ford Mustang forum thread was very helpful, and the brakes being rebuilt are alomst identical to the '93 rear brakes: Complete Disassembly of Rear Calipers (w/ integrated parking brake)... - Ford Mustang Forums : Corral.net Mustang Forum It's actually nearly spot-on and you realy could just use it alone. I'll go into a little more detail, and my write-up will began with the rear brakes completely removed from the car and throuoghly cleaned...
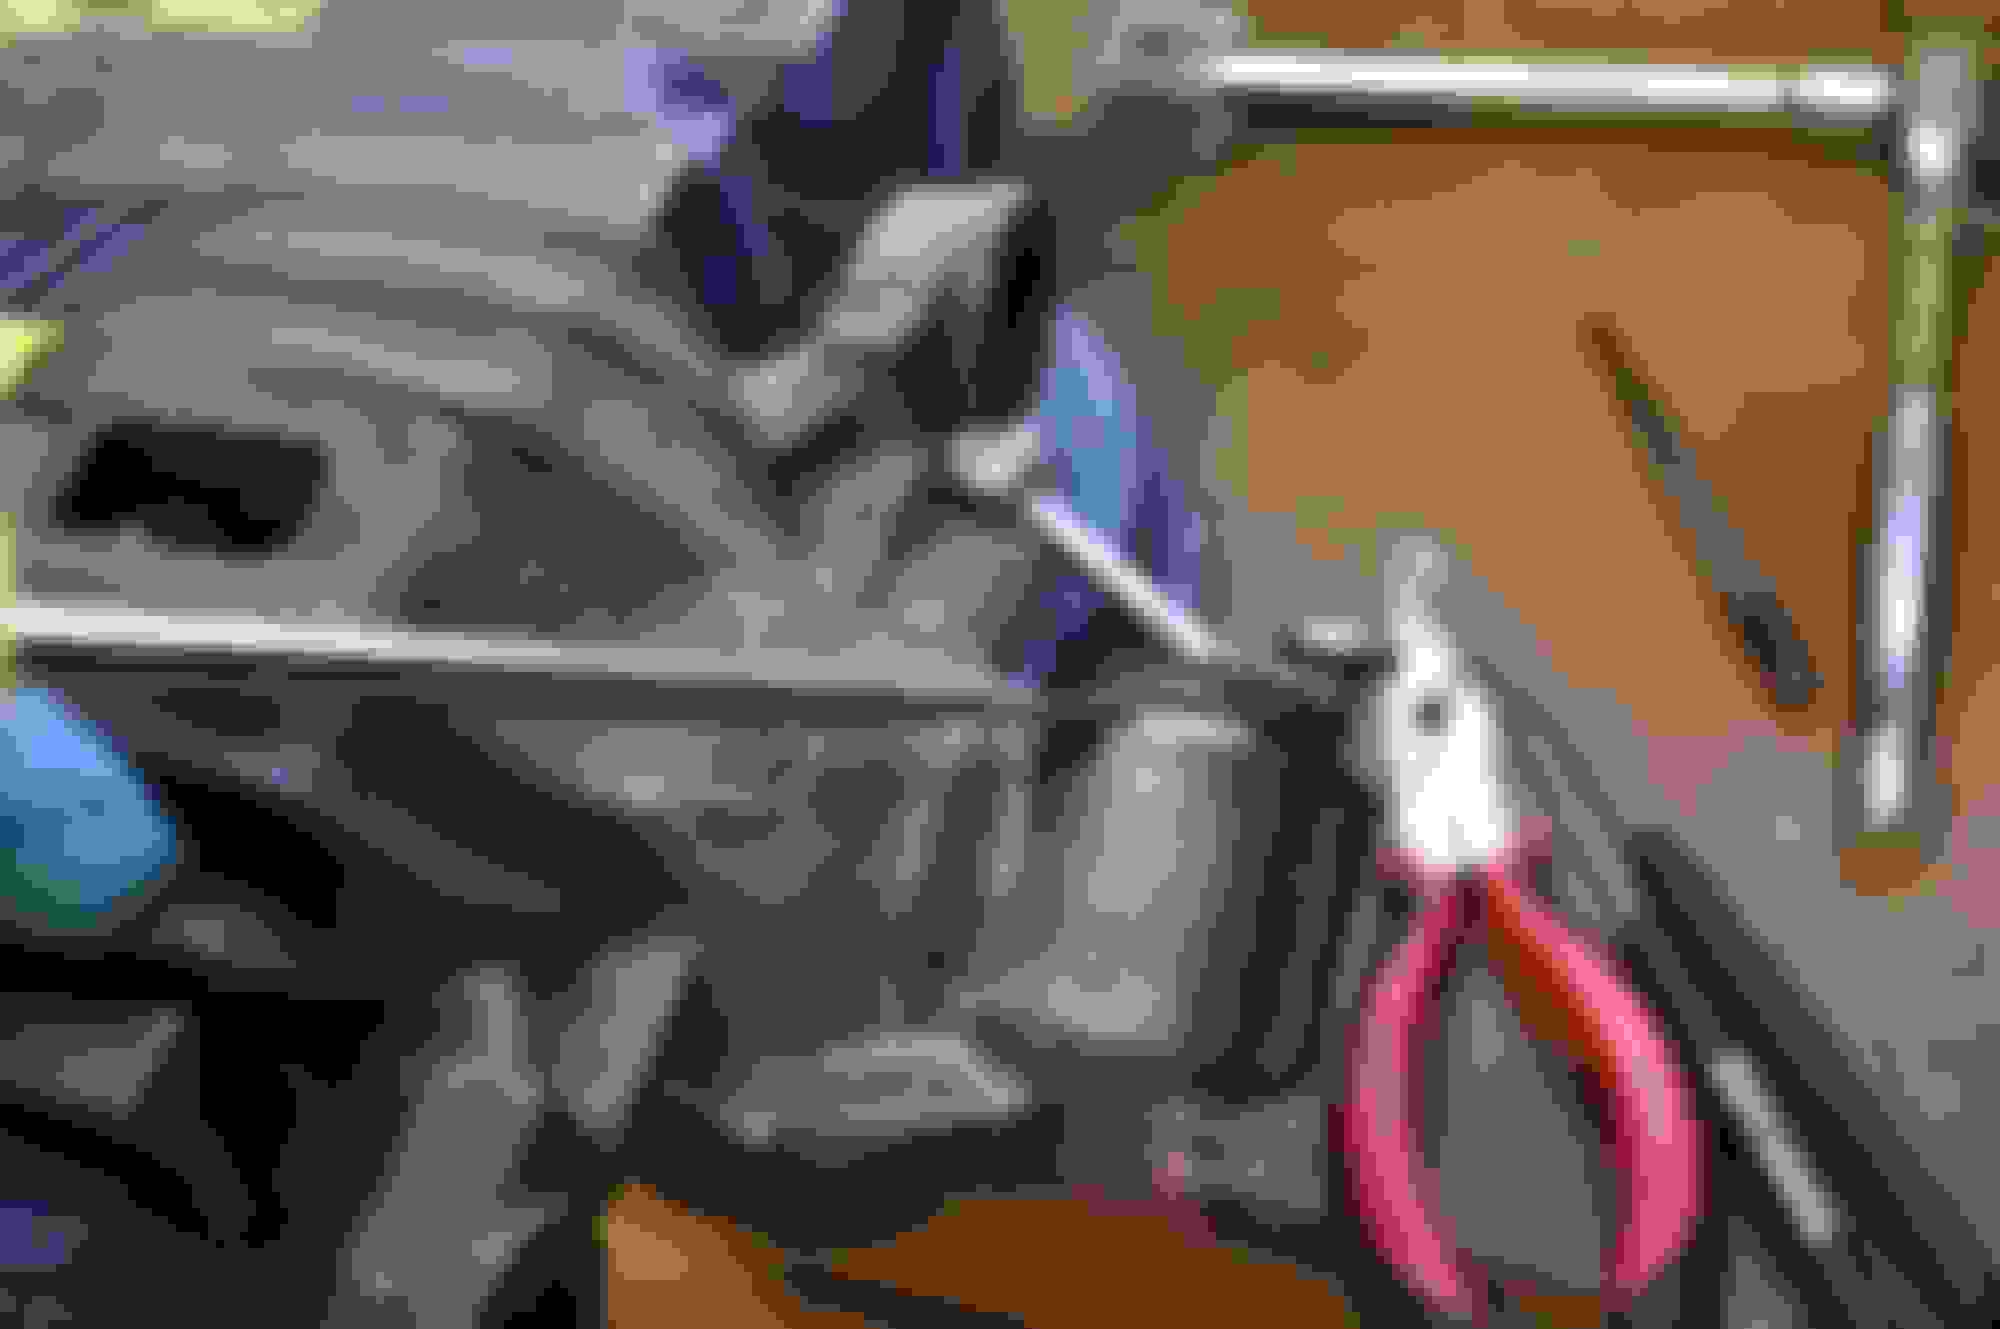
-- Tools you will need:
The Mazda rebuild kit (obviously) PN: FDY1-26-462, a brake piston socket tool, to unscrew the piston (Got mine at the 'Zone for about 12 bucks.: OEM/Rear disc brake cube for use with 3/8 in. drive tool 25071 - Read 8 Reviews on OEM #25071 ), a set of dental-style tool pics, 8mm wrench, deep sockets (I'll explain later), plenty of 7mil thick gloves from Harbor Freight, SAFETY GLASSES, a "bag-o-rags" ( I got mine at Lowe's for 12 bucks, and I think it will last forever: Shop ProLine ProLine 8 Pound Bag of Rags at Lowes.com ), a little telescoping pen magnet thing, some jewler's polish or valve grinding compound, maybe a miscellaneous small flat-tip screwdriver or two, and THE MOST IMPORTANT tool - these "master cylinder snap ring pliers" (
). A note about the pliers: Unless you have a similar tool, or some other device that you know works for removing the snap ring inside the bore, get or borrow these! Doing this without them will be either a nightmare, or impossible. Beg, borrow, or steal, but get them.
First, you will need to unscrew the piston with the piston tool. I feel this is pretty self-explanatory. When the piston no longer moves from being turned, it's time to remove the outer dust boot. You can do this one of two ways. You can start pulling at it, or you can pull the piston through it and pull it out of its groove then. Either way works. Just make sure you don't leave the retaining ring in there. With the piston removed, you can now get to the internals and the seal. This is what you'll see:
You'll need those snap ring pliers at this point. If you try to use a pick, and "walk" the ring out, be careful as the collar that the ring retains is spring loaded. I've found that the pliers make this a safer and more predictable process. Either way, wear those safety glasses. After the retaining clip is out, use your pick(s) to remove the spring, collar, and washers at the very bottom of the bore. If you have a magnet tool, that works well for getting those last two washers out.
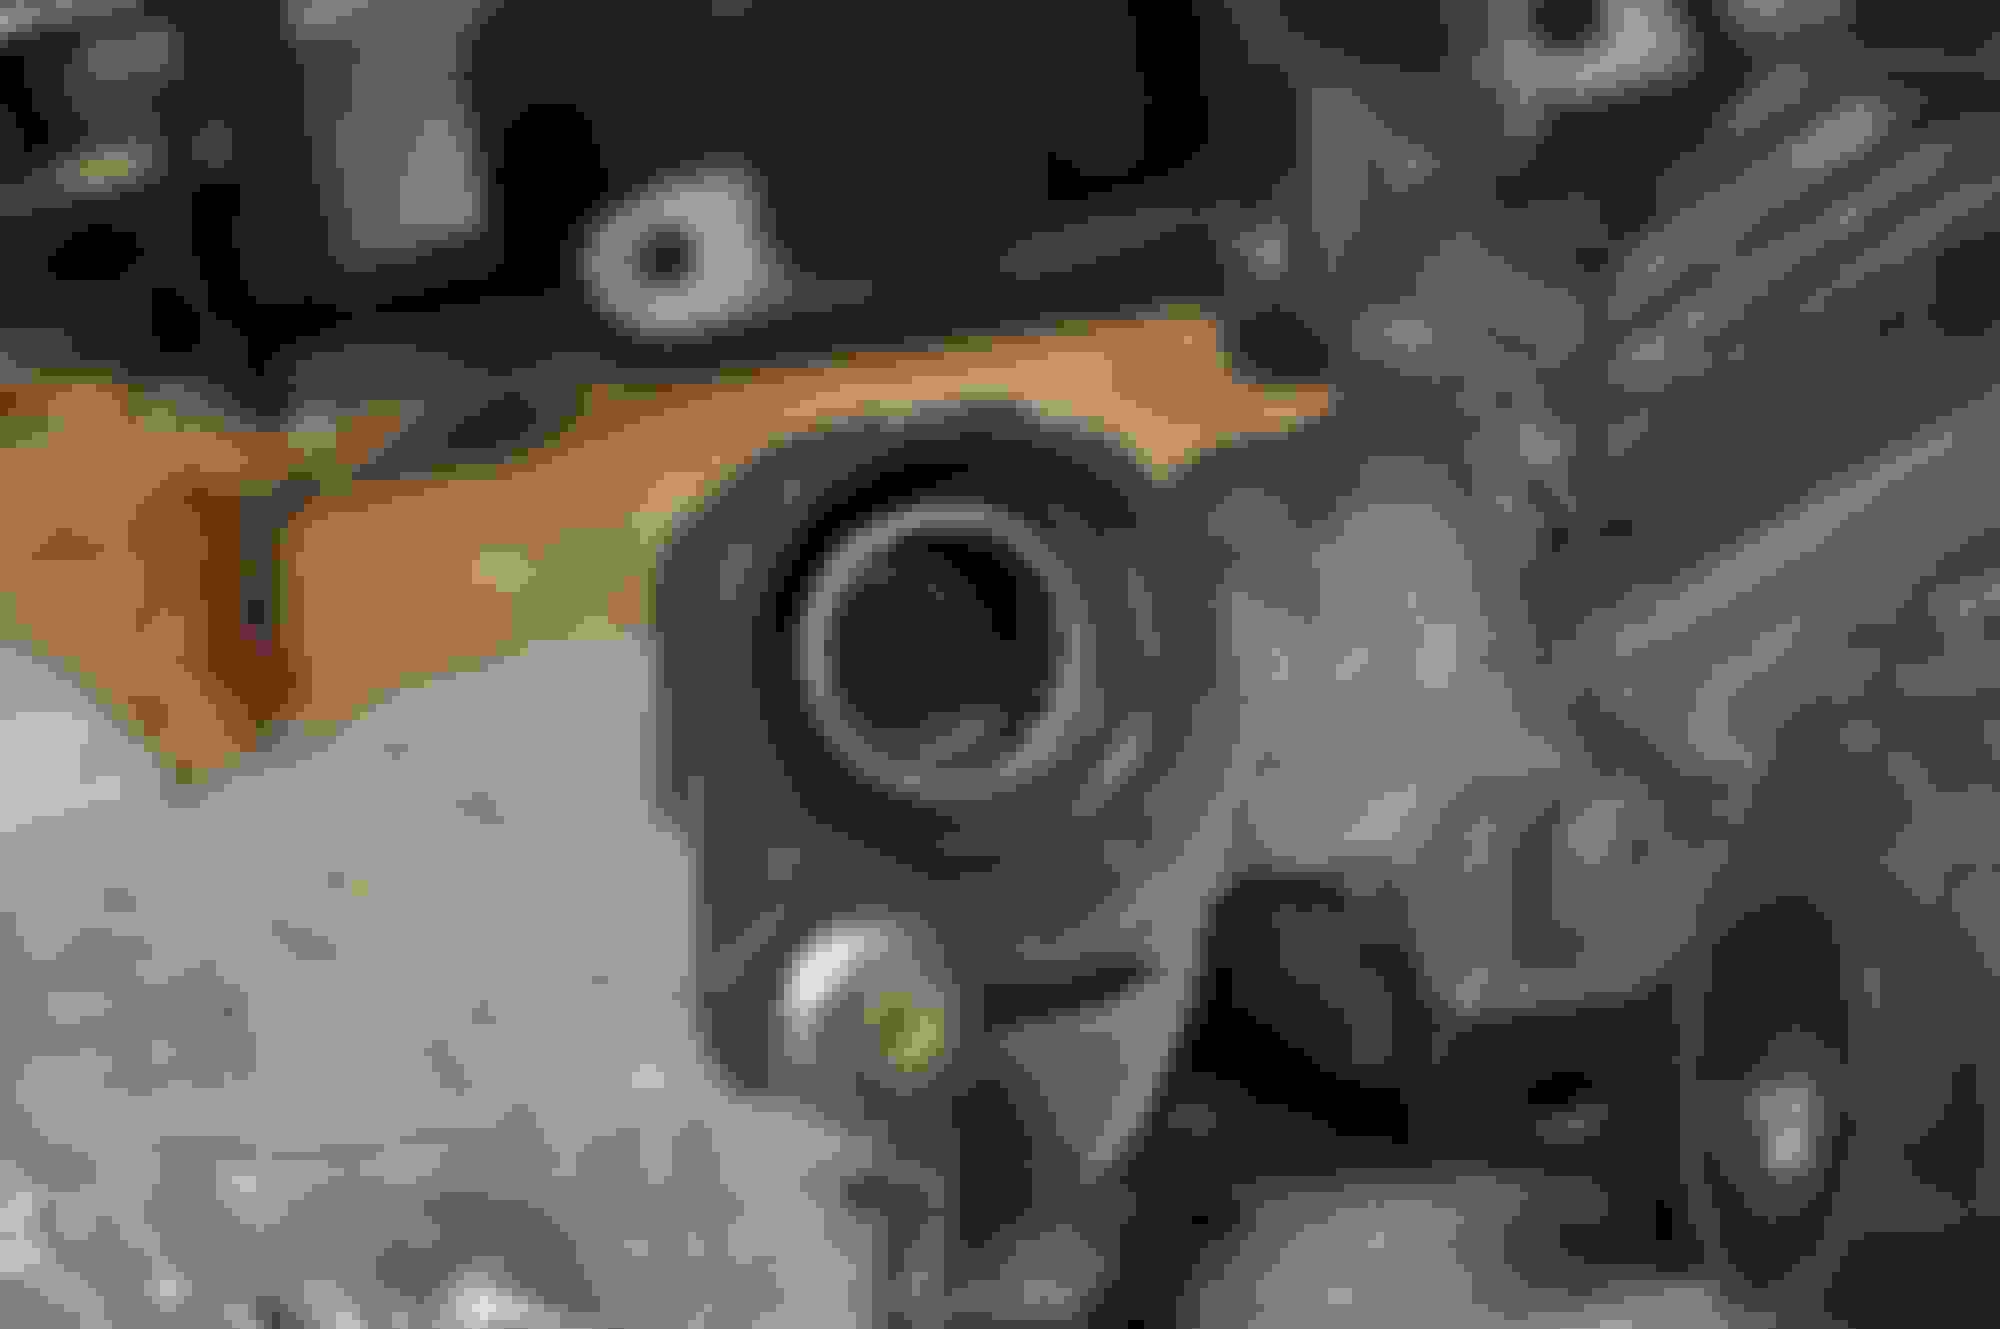
With all the washers out that surround the the threaded rod in the center of the bore, now it's time to remove the threaded rod. Once the retaining clip, spring, collar, and washers are out of the way, the rod just needs to be pulled out. All the grease in there makes it a little tough to pull, but there isn't anything really holding it in place. I found that screwing the piston back on a little gives a little leverage, but feel free to do this however you want. Also, wiggling the parking brake claw end might help as you pull on the threaded rod. Once out, you should have a full access to the entire bore. It will look like this:
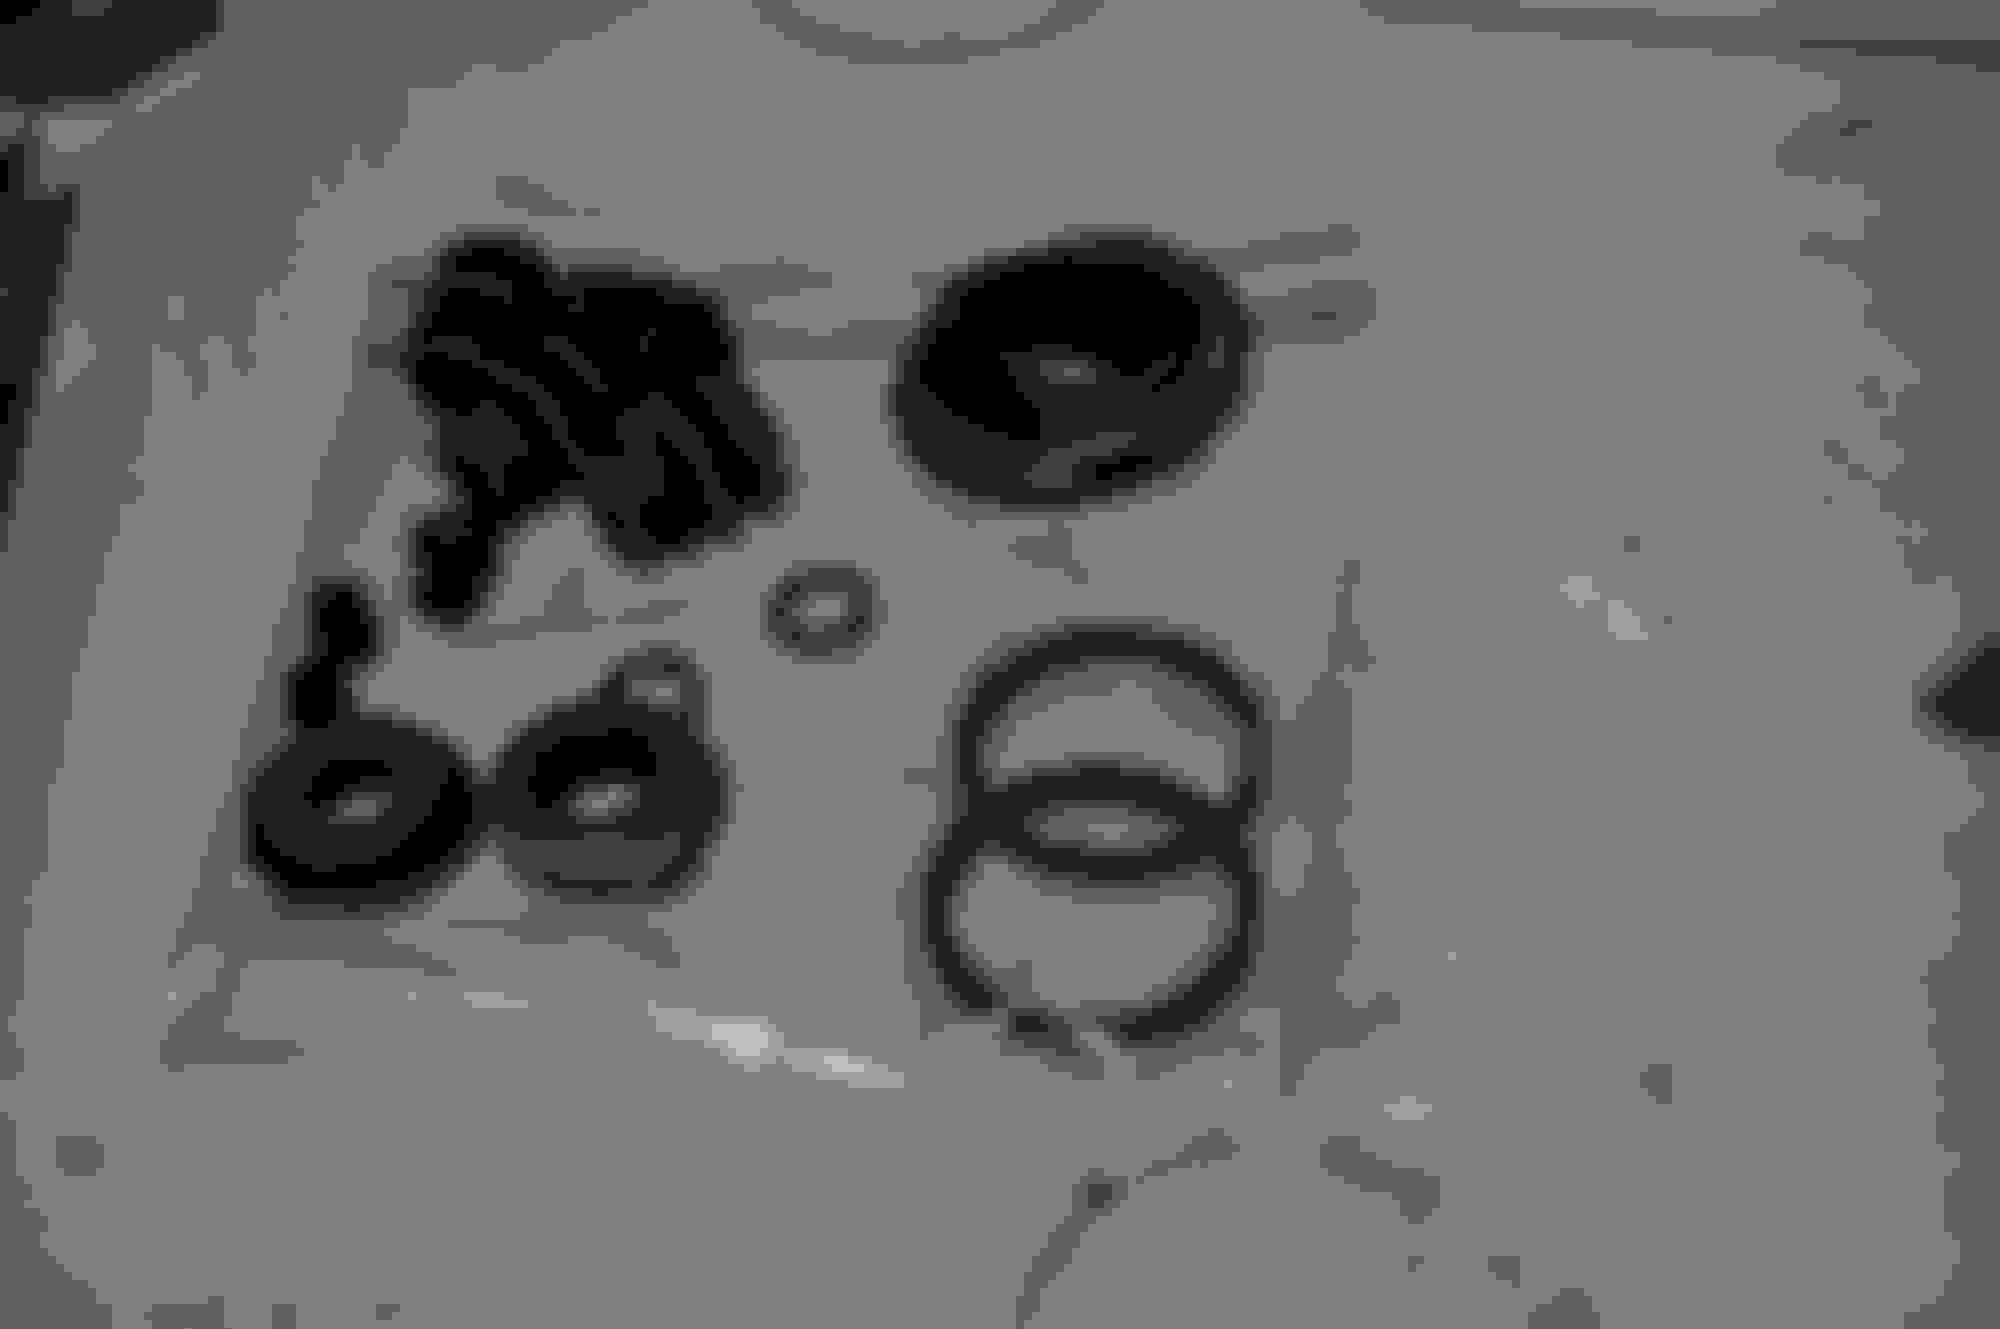
Take a note, as the reassembly requires that the threaded rod needs to be in a particular position so that the washer you see above can fit into the 2 small grooves at the bottom of the bore. When you pull the threaded rod out, you will also have access to the short pill-shaped "connecting rod" between the bottom of the threaded rod and the parking brake adjusting shaft. All pulled, the parts will look like this (in this order):
Clean everything off reall well, scrub the bore, and clean the piston. Use your polish (or valve grinding compound) to get any corrosion or anything off of the piston as you would with any brake rebuild. The next hing is the parking brake adjuster. If you haven't alreasy, remove the large spring, and remove the nut and washer it covered.
Now you can remove the parking brake adjustment shaft. The brake rebuild kit will come with a new seal for this shaft. After removing the shaft, you will need to remove the seal that surrounds the shaft opening. I just used a small crappy screwdriver and a hammer to pry it out:
Once the seal is removed, you now have access to the parking brake adjustment shaft needle bearing collar:
I found that this area really isn't that dirty. I just shoved a towel in there to get all the grease out, hit it with a little brake cleaner, and ran the towel back in.
Finally, I removed the brake bleeder screw, and wire-brushed the corrosion off of it, and hit that bore with some brake cleaner. I put the bleeder screw back in after that, and tightened with the 8mm wrench.
Your brake kit will include all necessary parts and lubes. There will always be a debate on whether to use brake fluid, or the supplied greases. I will not go in to that here, as I will be using the supplied greases. Here are the parts shaken out:
You will have 3 packets of orange grease, and one red. The red grease is strictly for the piston, piston seal o-ring, and outer dust boot. The orange stuff is for the parking brake adjustment shaft, corresponding needle bearing collar, and bracket sliding pins.
There is also some small bottle of oil, but I didn't use it. I think it's brake fluid.
That being said, I forgot to taske pictures of the bracket assembly. I think this is the easiest part of the rebuild, and I think anyone can figure it out pretty easily. Just don't forget to put the pins in the correct holes into the bracket. The rebuild kit containsall of the rubber boots as well as the rubber seals on the corresponding "L" pins. Clean, lube with the orange grease, and replace. Pretty simple. Back to the calipers.
Now at this point, with the brackets done (or not), you should be ready to reassemble everything. BE SURE TO START WITH THE PARKING BRAKE ADJUSTMENT SHAFT! Use a liberal amount of the orange grease, and "repack" the needle bearing collar it slides into. After that, you will notice a wierd indentation in the shaft:
Fill it with orange grease. Make sure the opening in the needle bearing collar is aligned with the bore, and slide the p-brake adj. shaft assembly back in. After that, you can press the new shaft gasket back into place. I used a large socket that fit over the rubber part, and a mallet:
It pressed/hammered in rather easily. Now, you can slide the p-brake adj. shaft back into its bore. You may need to rotate it a little for it to fit into place.
Finally, you will be down to the bore internals. The FSM doesn't say to lube any of that stuff, so I didn't. The only thing I did was lube the threaded rod where the o-ring goes, and fill the end of the rod so that the pill-shaped "connecting rod" sticks to it to make assembly easy. You just push the threaded rod into place, making sure you align the flat spots to that the first thick odd-shaped washer fits in the bore correctly. After that, drop the small washer onto the rod, follow it with the spring and collar, and you should be ready for the next step.
At this point, you will need something to hold the spring-loaded collar down while you get the retaining clip into it's groove. This is where a deep socket (or some other homemade device or your choosing) will come in handy. There are a million ways to skin that cat, I'm just mentioning how I did it. Unfortunately, I don't have any pictures of this part because I was using both hands. If you used the pliers to remove the clip, this is just a reversal of that process with the added aggravation of having to hold against the spring pressure.
Finally, it comes down to putting the piston bore o-ring piston, and outer dust cover back on. While I don't have any pictures of this, the Mustang thread I referenced at the beginning does have sonme good detail. Basically, install in this order:
-Apply red grease to o-ring and shove it into position
-Apply red grease to piston
-Apply red grease all over outer rubber dust cover
-Fit the dust cover to the corresponding groove of the piston
-Screw piston back onto threaded shaft until dust cover can be shoved into the corresponding bore groove.
**Be sure to insert the wire clip into the outer dust boot as you shove it into the groove. It's easier than it sounds, and it went pretty smoothly for me.
-Screw the piston down fully, and make sure it is alligned as suggested in the FSM:
Finally, just make sure all the brackets are back where they belong, and tightened. That shoud be it. Good luck!
I just rebuilt mine last weekend. To replace that snap ring I used a deep socket, a short extension and a spanner wrench to depress the spring and seat. I then dropped the snap ring in there and popped it into place with two long skinny flat heads. Worked perfectly.
First, thanks for the DIY, very detailed.
Second, not to knock your contribution, but I checked the price for the Overhaul kit, it's $35 seals + $32 boots = $67.
Two new rear calipers are $172.
So, I decided to keep my hands kind of clean on this project, not spend too much time doing it and save the risk of not doing it right.
DIY saves you $105, but with the amount I have spent in this car for the last 18 years, it's nothing. LOL
I was actually tempted to make step 1 as, "Buy rebuilt calipers online." Haha! I actually considered buying rebuilt calipers, as I was at my wit's end with the damn snap ring in the bore before I found the pliers I recommended.
It was tedious work, but my goal here was to do this myself - for myself. I enjoy doing the work on my own car (especially stuff I've never done before including this), and I like to know exactly what goes into everything as a "quality control" measure. I guess this write-up is more for the crazies like myself.
I thought the same thing, but some day rebuilt calipers might not be available. Also, this is a good thing to know if you just need to take apart to fix one small thing on the caliper and don't need a whole new one.
FYI, my rear passenger caliper leaked MANY years ago. Bought a Mazda reman rear caliper, still on there with zero problems.
I was actually tempted to make step 1 as, "Buy rebuilt calipers online." Haha! I actually considered buying rebuilt calipers, as I was at my wit's end with the damn snap ring in the bore before I found the pliers I recommended.
I got to that exact point and went for the rebuilt calipers. Not expensive at all, I have no regrets. It's nice to see there IS a way to get that stupid snap ring.
+2 on the reman calipers. I got a rear one from Ray probably 6 or 7 years ago for a frozen e-brake. I'd have to check, but I don't think I had to send back the core, so I probably still have it somewhere in a bag on the shelf if I ever get ambitious.
Regardless, good thread. Thanks to the OP for posting.
Rebuilt calipers will only get more expensive over time, until the disappear completely and require us to send them in for rebuild services. I imagine that will be quite awhile from now. Does anyone know if the FD shared rear calipers with any other models??
Rebuilt calipers will only get more expensive over time, until the disappear completely and require us to send them in for rebuild services. I imagine that will be quite awhile from now. Does anyone know if the FD shared rear calipers with any other models??
the casting is probably unique to the FD, but the mechanism is similar to the FC, and probably many other period Mazdas, maybe even the Rx8. don't forget Sumitomo Bank owns a big chunk of Mazda, so most Mazda's have Sumitomo brakes, along with some Nissans and probably other stuff as well
I just rebuilt mine last weekend. To replace that snap ring I used a deep socket, a short extension and a spanner wrench to depress the spring and seat. I then dropped the snap ring in there and popped it into place with two long skinny flat heads. Worked perfectly.
Good job otherwise!
Matt
Any write ups, photos or even a video on how to get the snap ring back in place will be awesome. I am planning on rebuilding my front and rear calipers soon, and I feel that the only challenge will be to get the snap ring back in place.
Nonetheless, this is some great information! Kudos to the OP
Any write ups, photos or even a video on how to get the snap ring back in place will be awesome. I am planning on rebuilding my front and rear calipers soon, and I feel that the only challenge will be to get the snap ring back in place.
Nonetheless, this is some great information! Kudos to the OP
Thanks!
Using the pliers I link in the initial post makes it a breeze. Have fun!
I just noticed my ebrake actuator seal is leaking. I rebuilt the calipers earlier this year except for replacing those seals. Is there a way to pull that linkage out without removing the piston? It doesn't turn far enough to get out past the retaining pin.