When you click on links to various merchants on this site and make a purchase, this can result in this site earning a commission. Affiliate programs and affiliations include, but are not limited to, the eBay Partner Network.
I am currently trying to rebuild my engine and upgrade to a big single turbo setup and I am having trouble removing my HKS GD PRO Twin Plate clutch and I cannot figure out how to remove it from the transmission as it is not the same as the stock clutch. I have the block and tranny out of the car right now and still cant see how to remove it.Anybody done this before? Thanks,
are you having trouble removing the transmission from the engine? like it cracks about a half inch but no further?
Then the clutch is still engaged. Its a pull type clutch, meaning the throw out bearing "pulls" the clutch to disengage it. open the access port with 2 10mm screws and stick a long flathead screwdriver in. Pry a small flat ring away from the engine with the screwdriver. it should pop right out.
Be careful with the pilot bearing as well.
Heres a quick vid i made about the type of clutch in the RX7. if yours is radically different, bummer.
That is exactly the problem, I cannot get enough leverage on the ring to "pop" it off so I am going to have to modify a screwdriver. I thought there might be a special trick for these aftermarket clutches as it is much thicker than the stock one. Thanks for your help and I will post up the results when I try it again.
///from an earlier thread... pasted here for your help.///
i have successfully built my own engines, my own twin TO4 turbosystems etc etc but i must admit i generally bat around 50% when attempting to separate the clutch from the flywheel so as to remove the XXX trans.... i have garfed up throw-out bearings from various screwdrivers, hammers and i now have a collection of weird wide tools bought so as to increase my leverage to separate the collar from the throwout bearing. many wasted hours and broken parts.
oh how i hated to give up and unscrew the pressure plate from the flywheel. embarassing and tedious.
so today i had to do the "job." i reviewed old threads which all just seemed to say put the screwdriver in such and such a spot and twist it and it will magically pop free. i have a wedge ring or what's left of it that says otherwise. i even managed to brutalize a throwout bearing.
i finally downloaded Wargasm's video prior to getting at it and BINGO... it all became clear. thanks Wargasm. i am sure your video has helped lots of people get it done.
i thought it would be helpful to pass on the video content in post-form and add some additional key items.
remove clutch slave cylinder. remove all the inspection plates. remove all bellhousing bolts. move trans rearward one inch as per Exedy service bulletin. shine a light into the collar area. mover the throwout arm (clutch fork arm) outer end rearward. up to this point most of the previous posts have it covered...
NOW for the KEY. look at the brass collar protruding from the center of the clutch diaphragm. it will probably be a quarter inch or so from being flush to the diaphragm (clutch spring fingers). with a screwdriver gently position it so it is FLUSH on the diaphragm. NOW put your screwdriver blade on the brass collar and the throwout bearing and twist. POP.
if the throwout bearing doesn't pop out of the collar EASILY. repeat EASILY then the collar has moved from it's flush against the diaphragm position. force will do no good. if the collar is flush (as far as it can go forward) then the locking ring will easily slide out. so you don't need, as i thought so often, a bigger hammer.
i hope this helps and again thanks to Wargasm. it is all in the collar position and not in force.
here's hoping you hear a "pop."
case closed.
howard coleman
Last edited by Howard Coleman; Dec 31, 2009 at 09:30 AM.
yes, brians - wargasms video was a huge inspiration for me to start collecting diagrams and stuff on the car. I spent about 10 minutes prying the transmission from the engine. i stopped, watched the video, released the clutch. I then spent another hour prying the transmission from the engine as my pilot bearing had seized.
the ring is much thicker than the oem one? that sucks
Today I finally released the throw out bearing from the clutch. It is not like the stock "ring" that sits in the throw out bearing groove but more like a collar with a split on it that needs to be opened before you can pry it out of the groove(stainless steel collar about 1\4" thick). I figured this out by un bolting the clutch cover, pulling the tranny off the engine, then unbolting the clutch fork(real fun with the clutch cover still in place) and then removed the clutch cover with the throw out bearing still in it and then you can get at this "collar". I dont know how you would do this any other way because you cannot get at the back side while everything is connected. I hope this helps anybody that has to do this in the future....******* HKS, beautiful clutch but a bitch to pull apart lol.
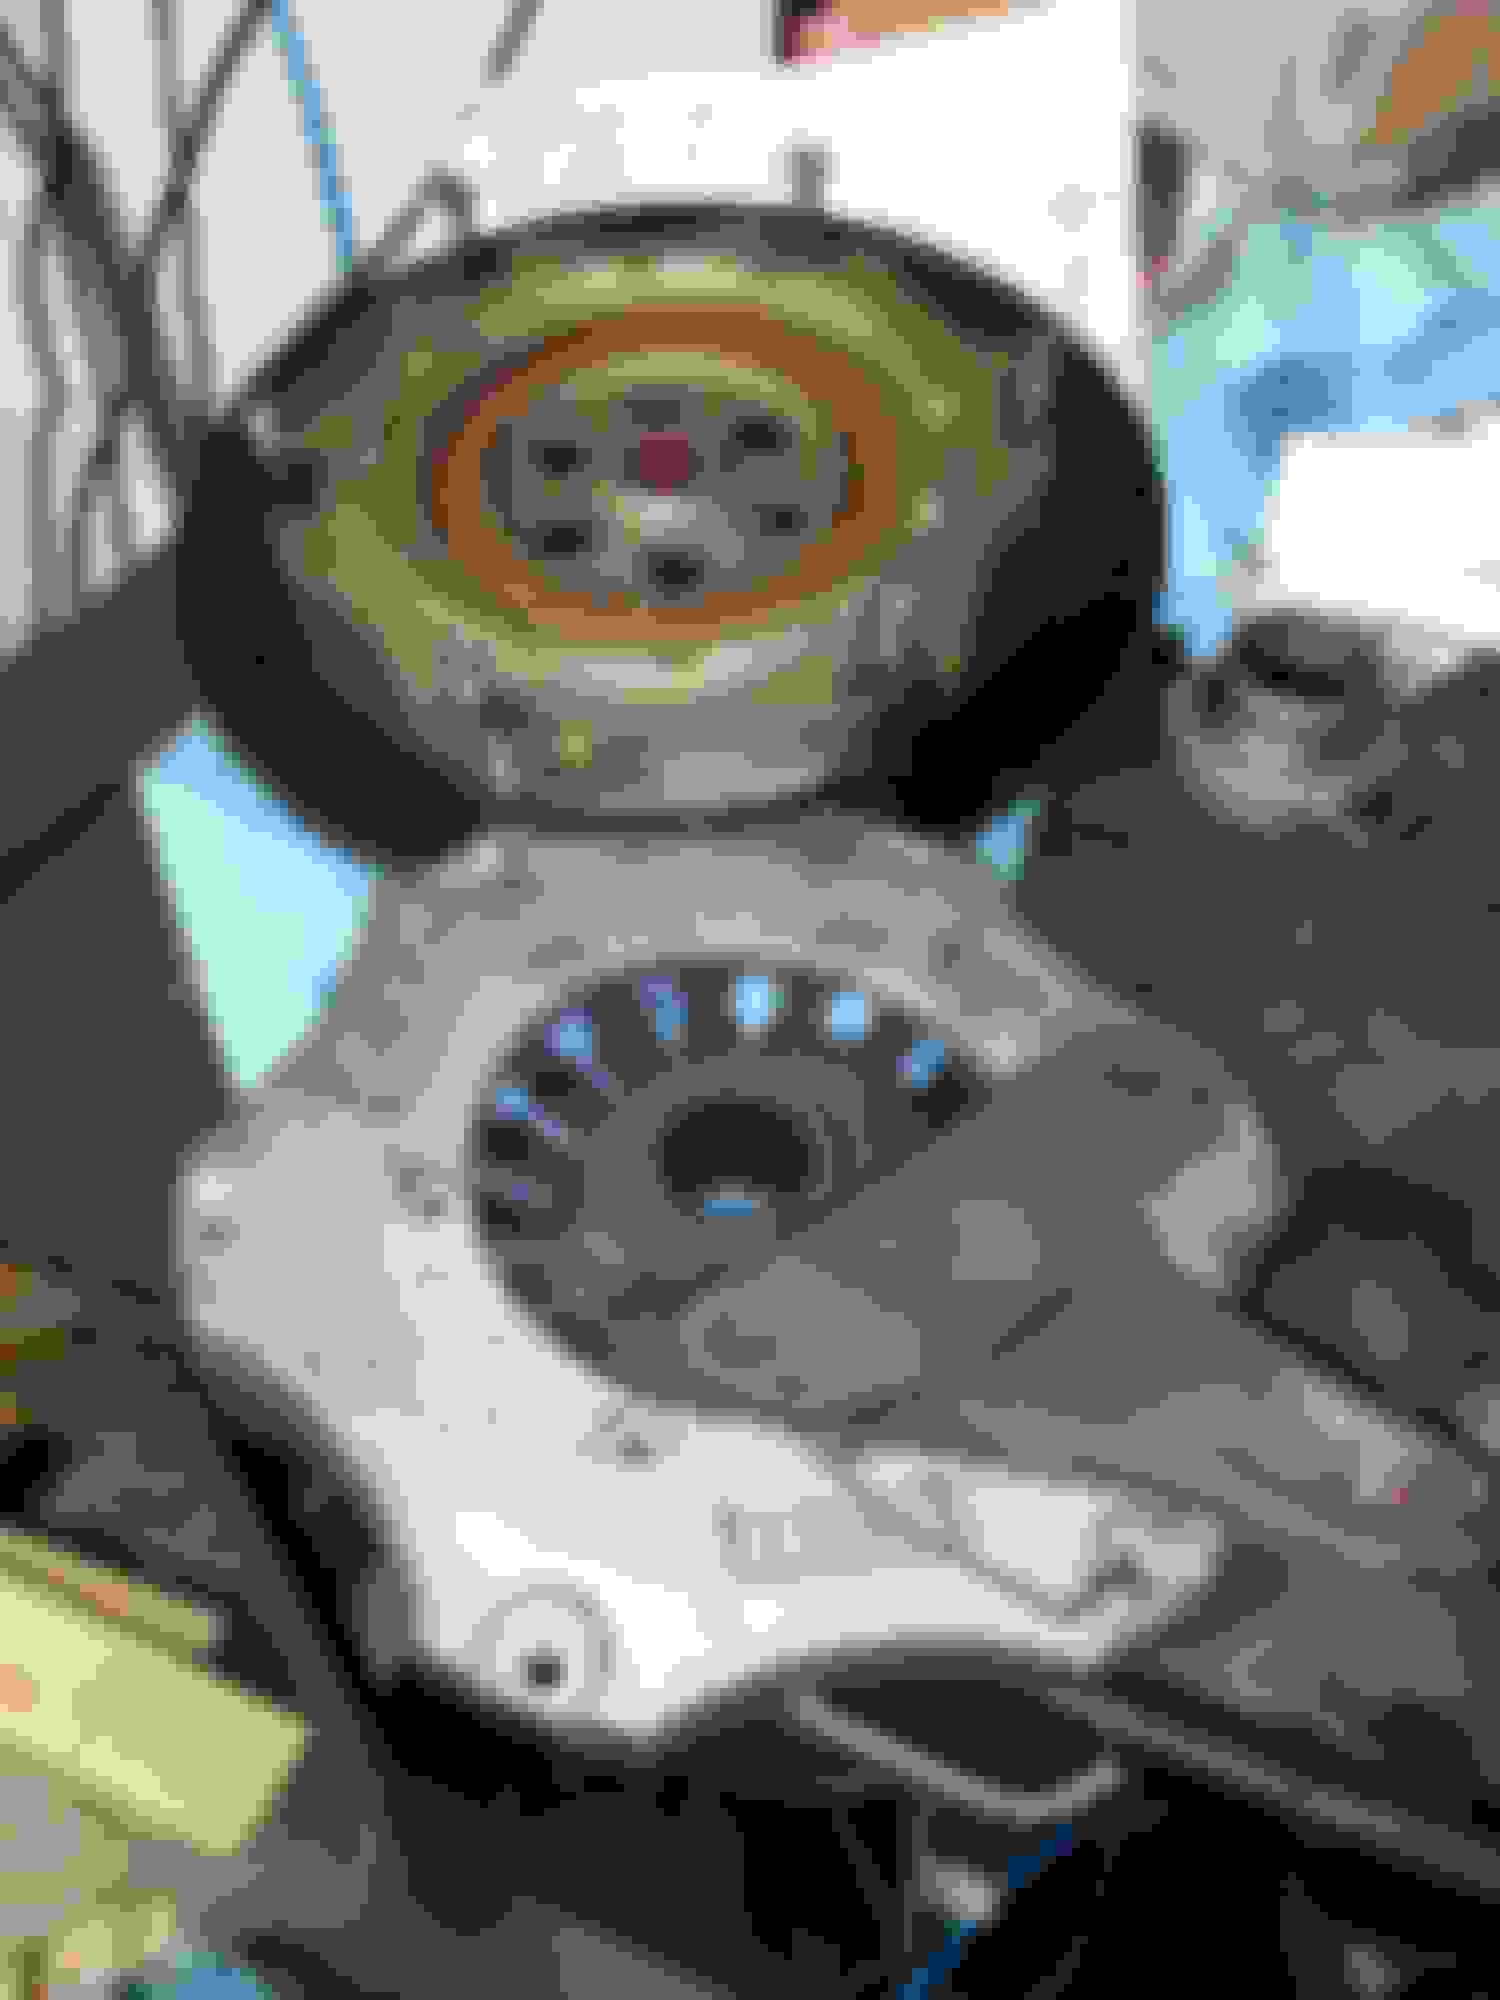
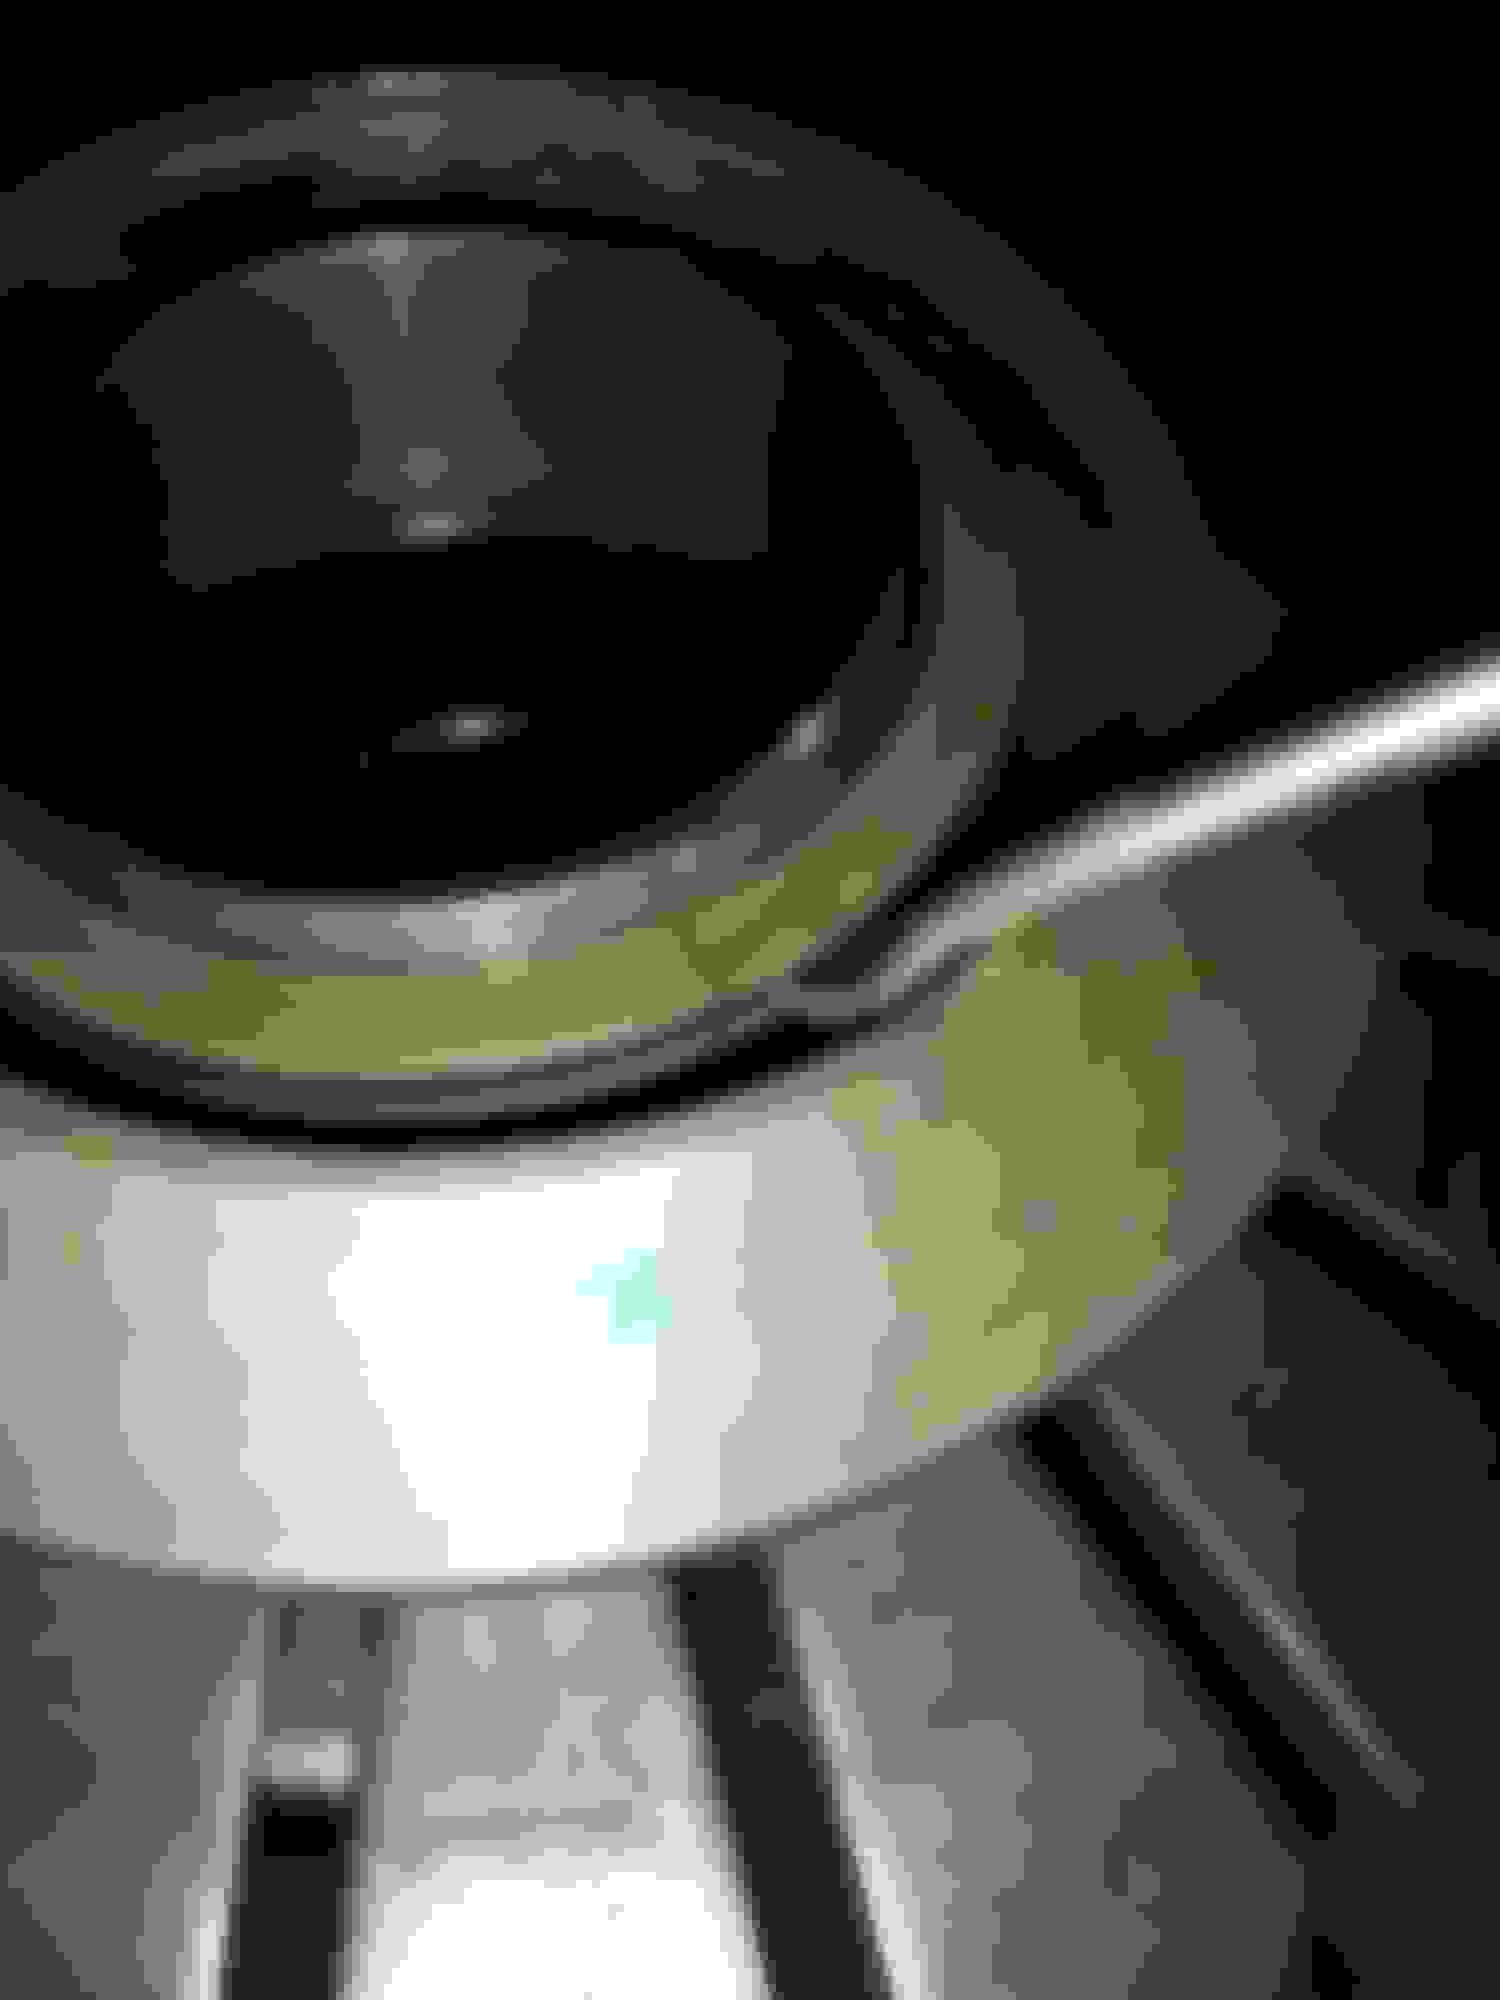
Here's the front of the pressure plate where it is held onto the throw out bearing
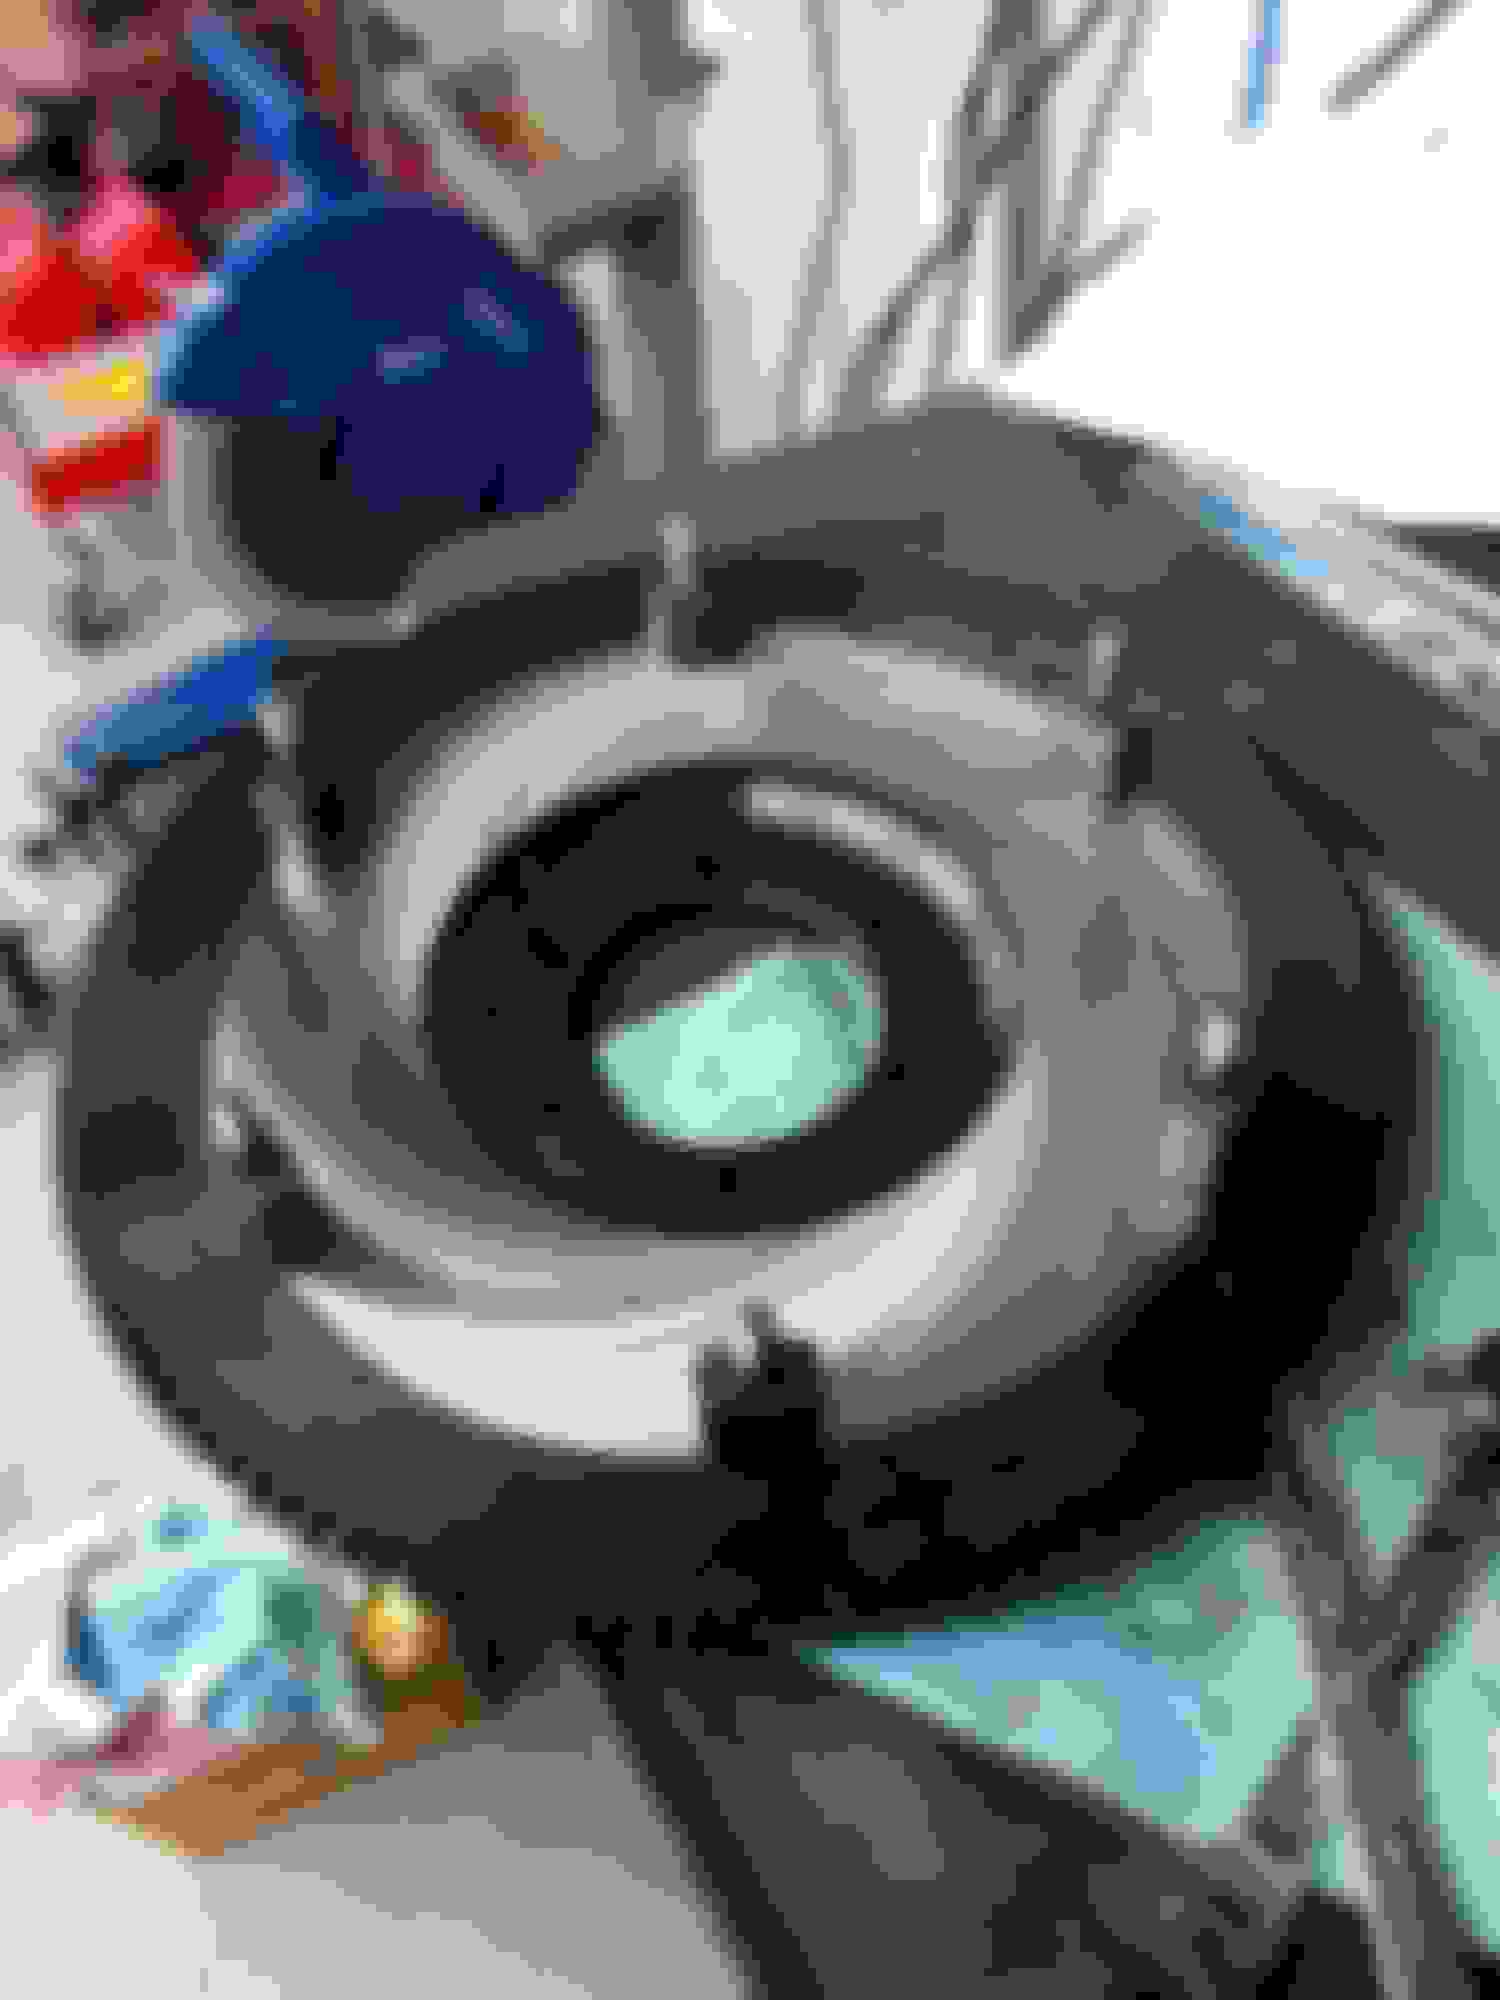
To remove the pressure plate you need to get a tool in there to turn the spring ring to align with one of the splits on the segment ring. Continue to next picture if confused.
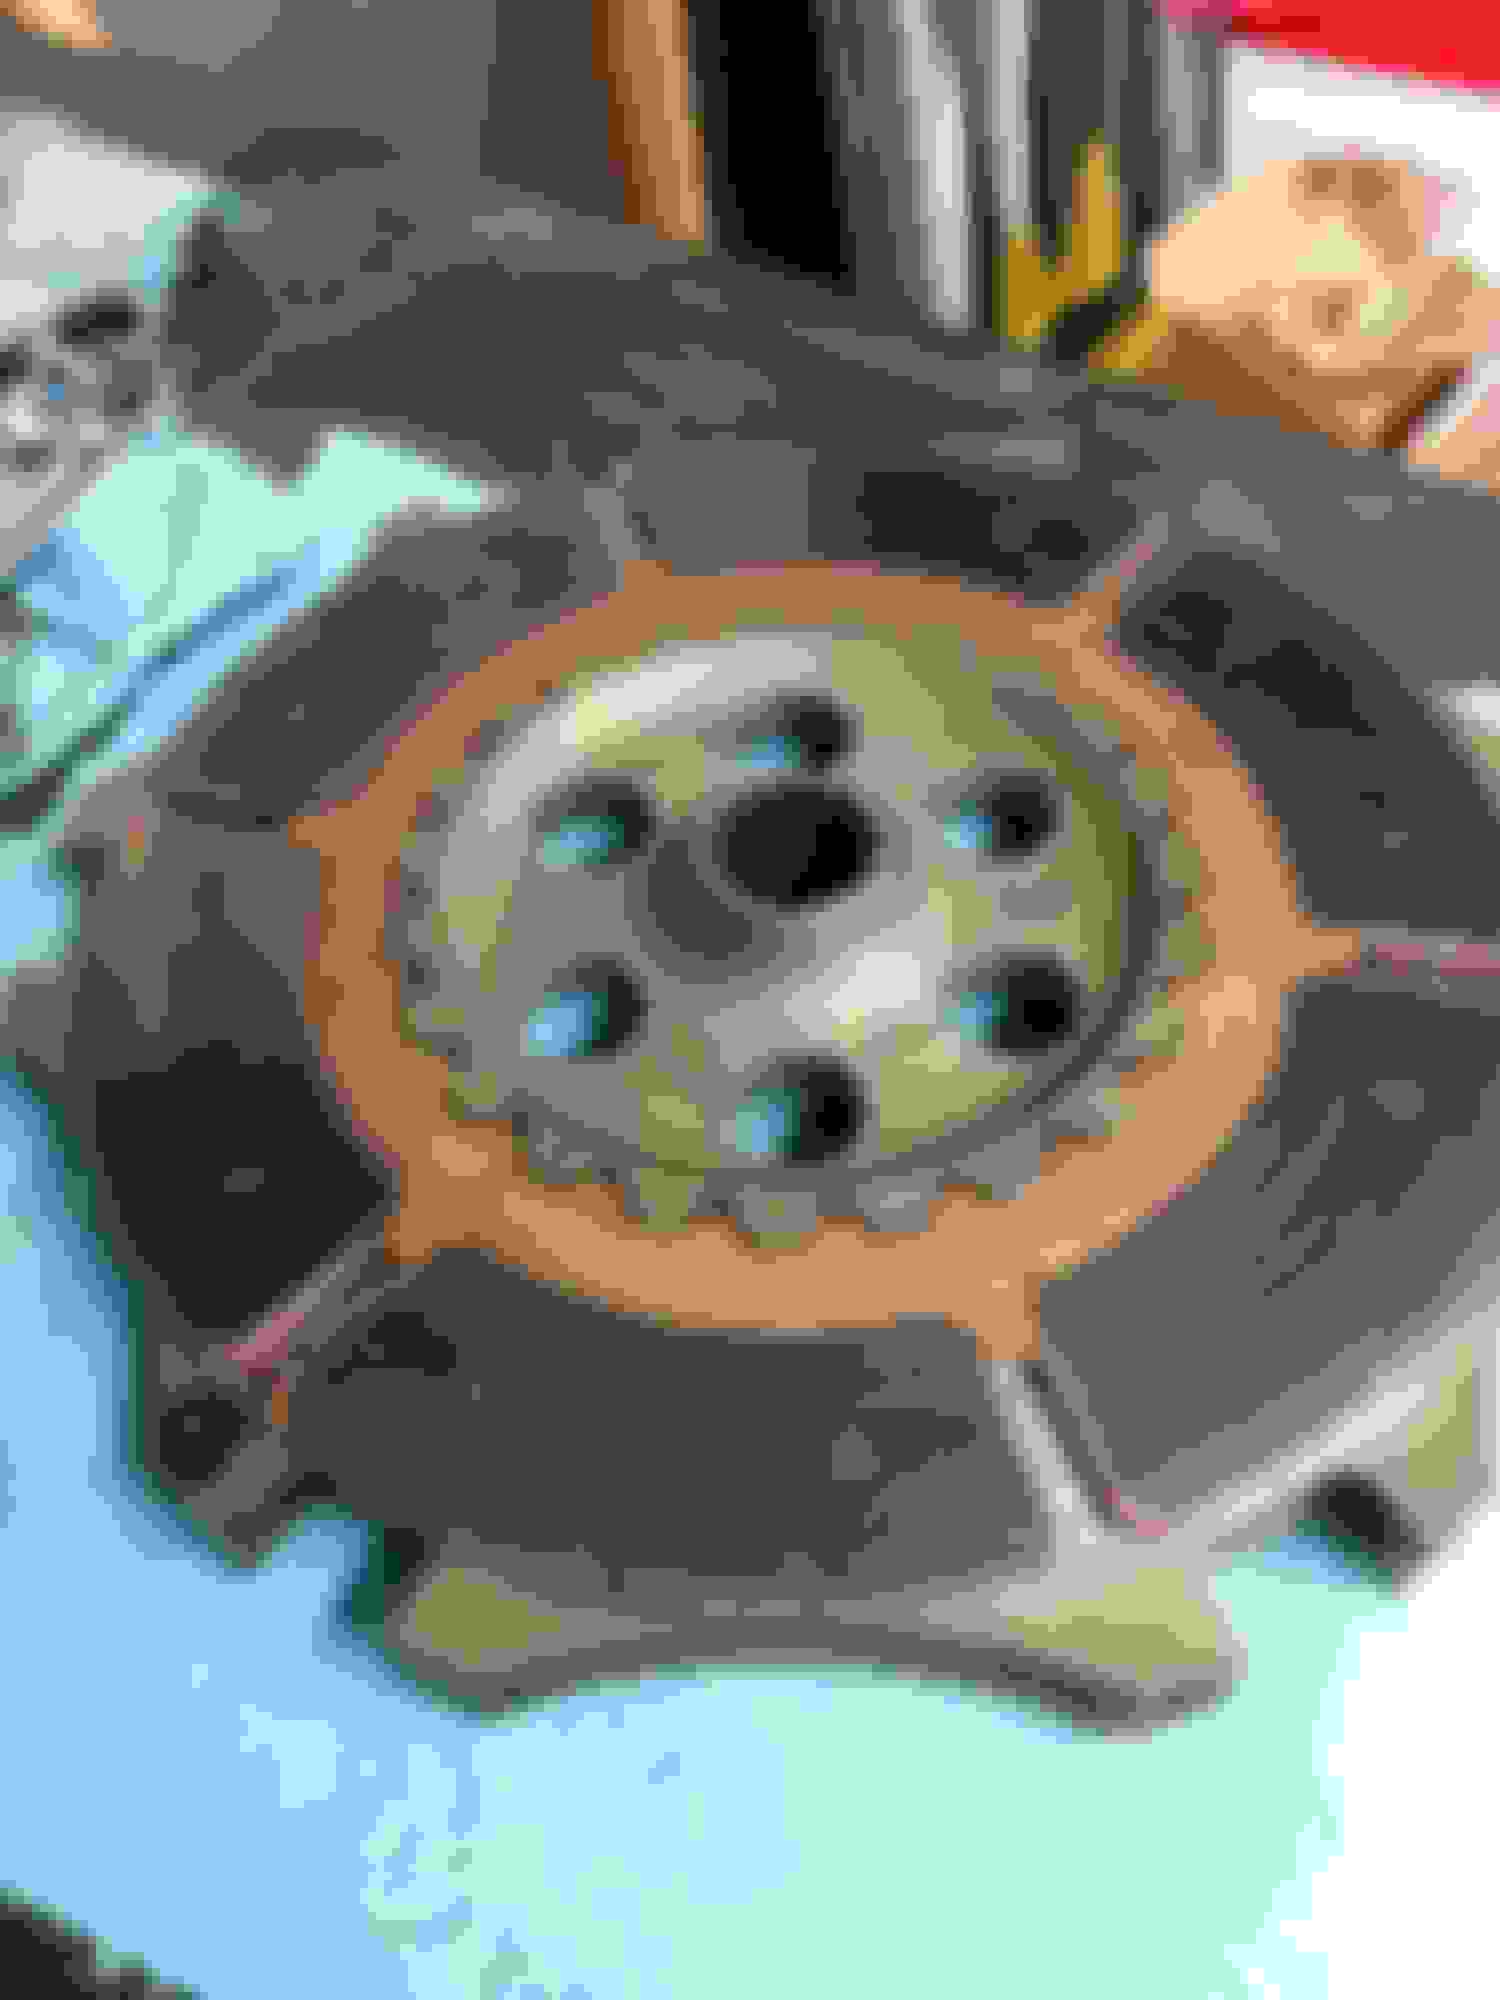
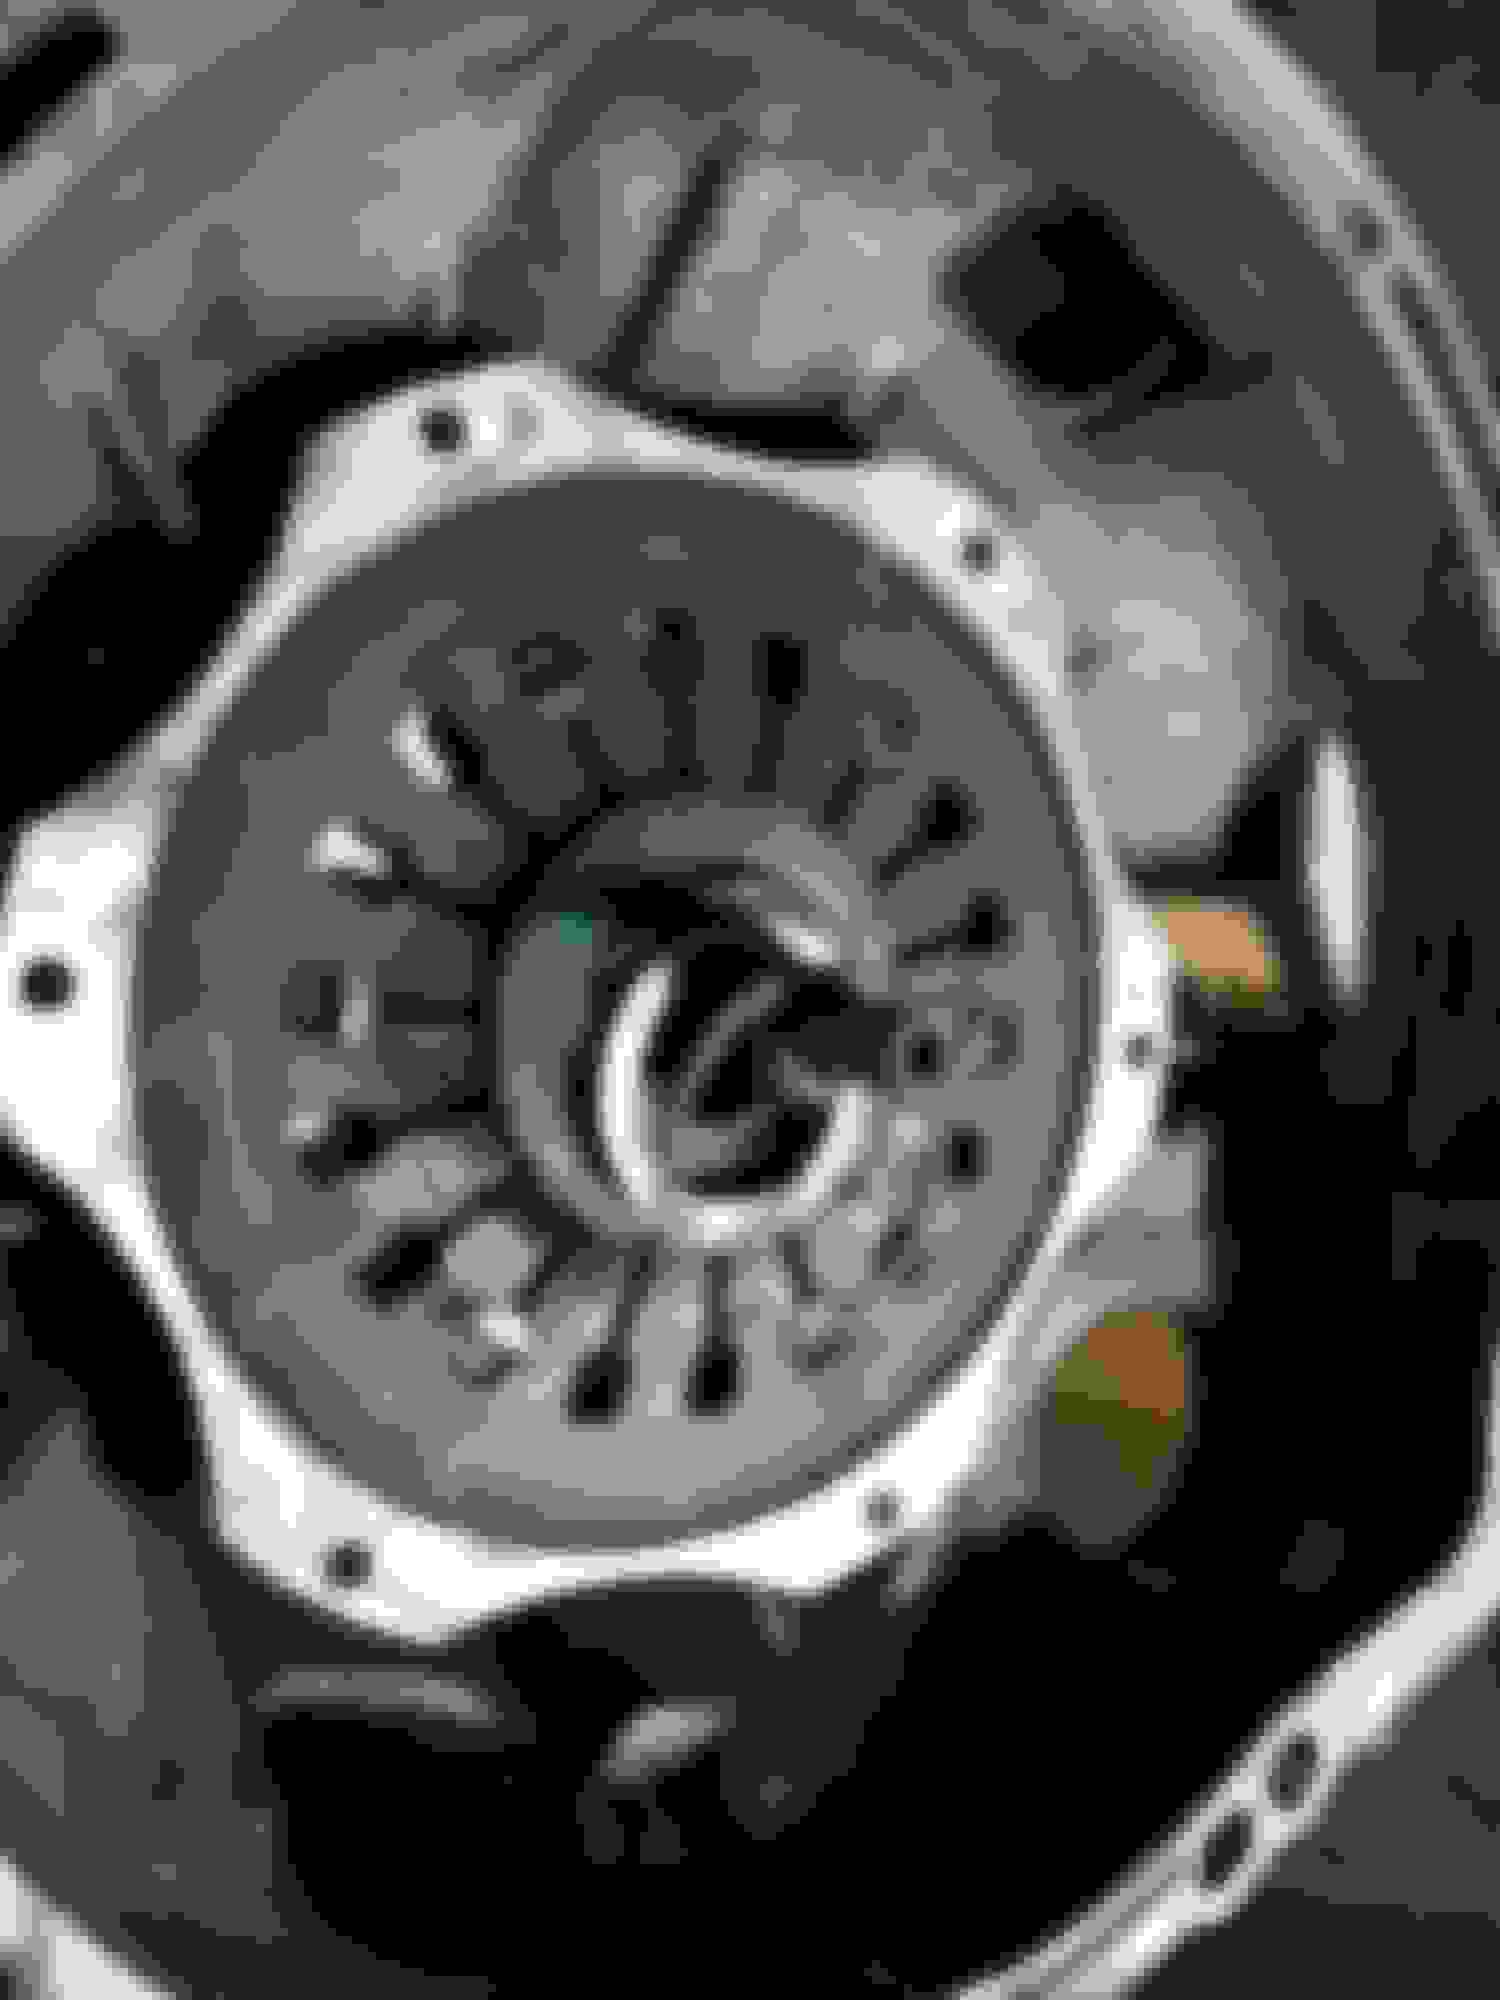
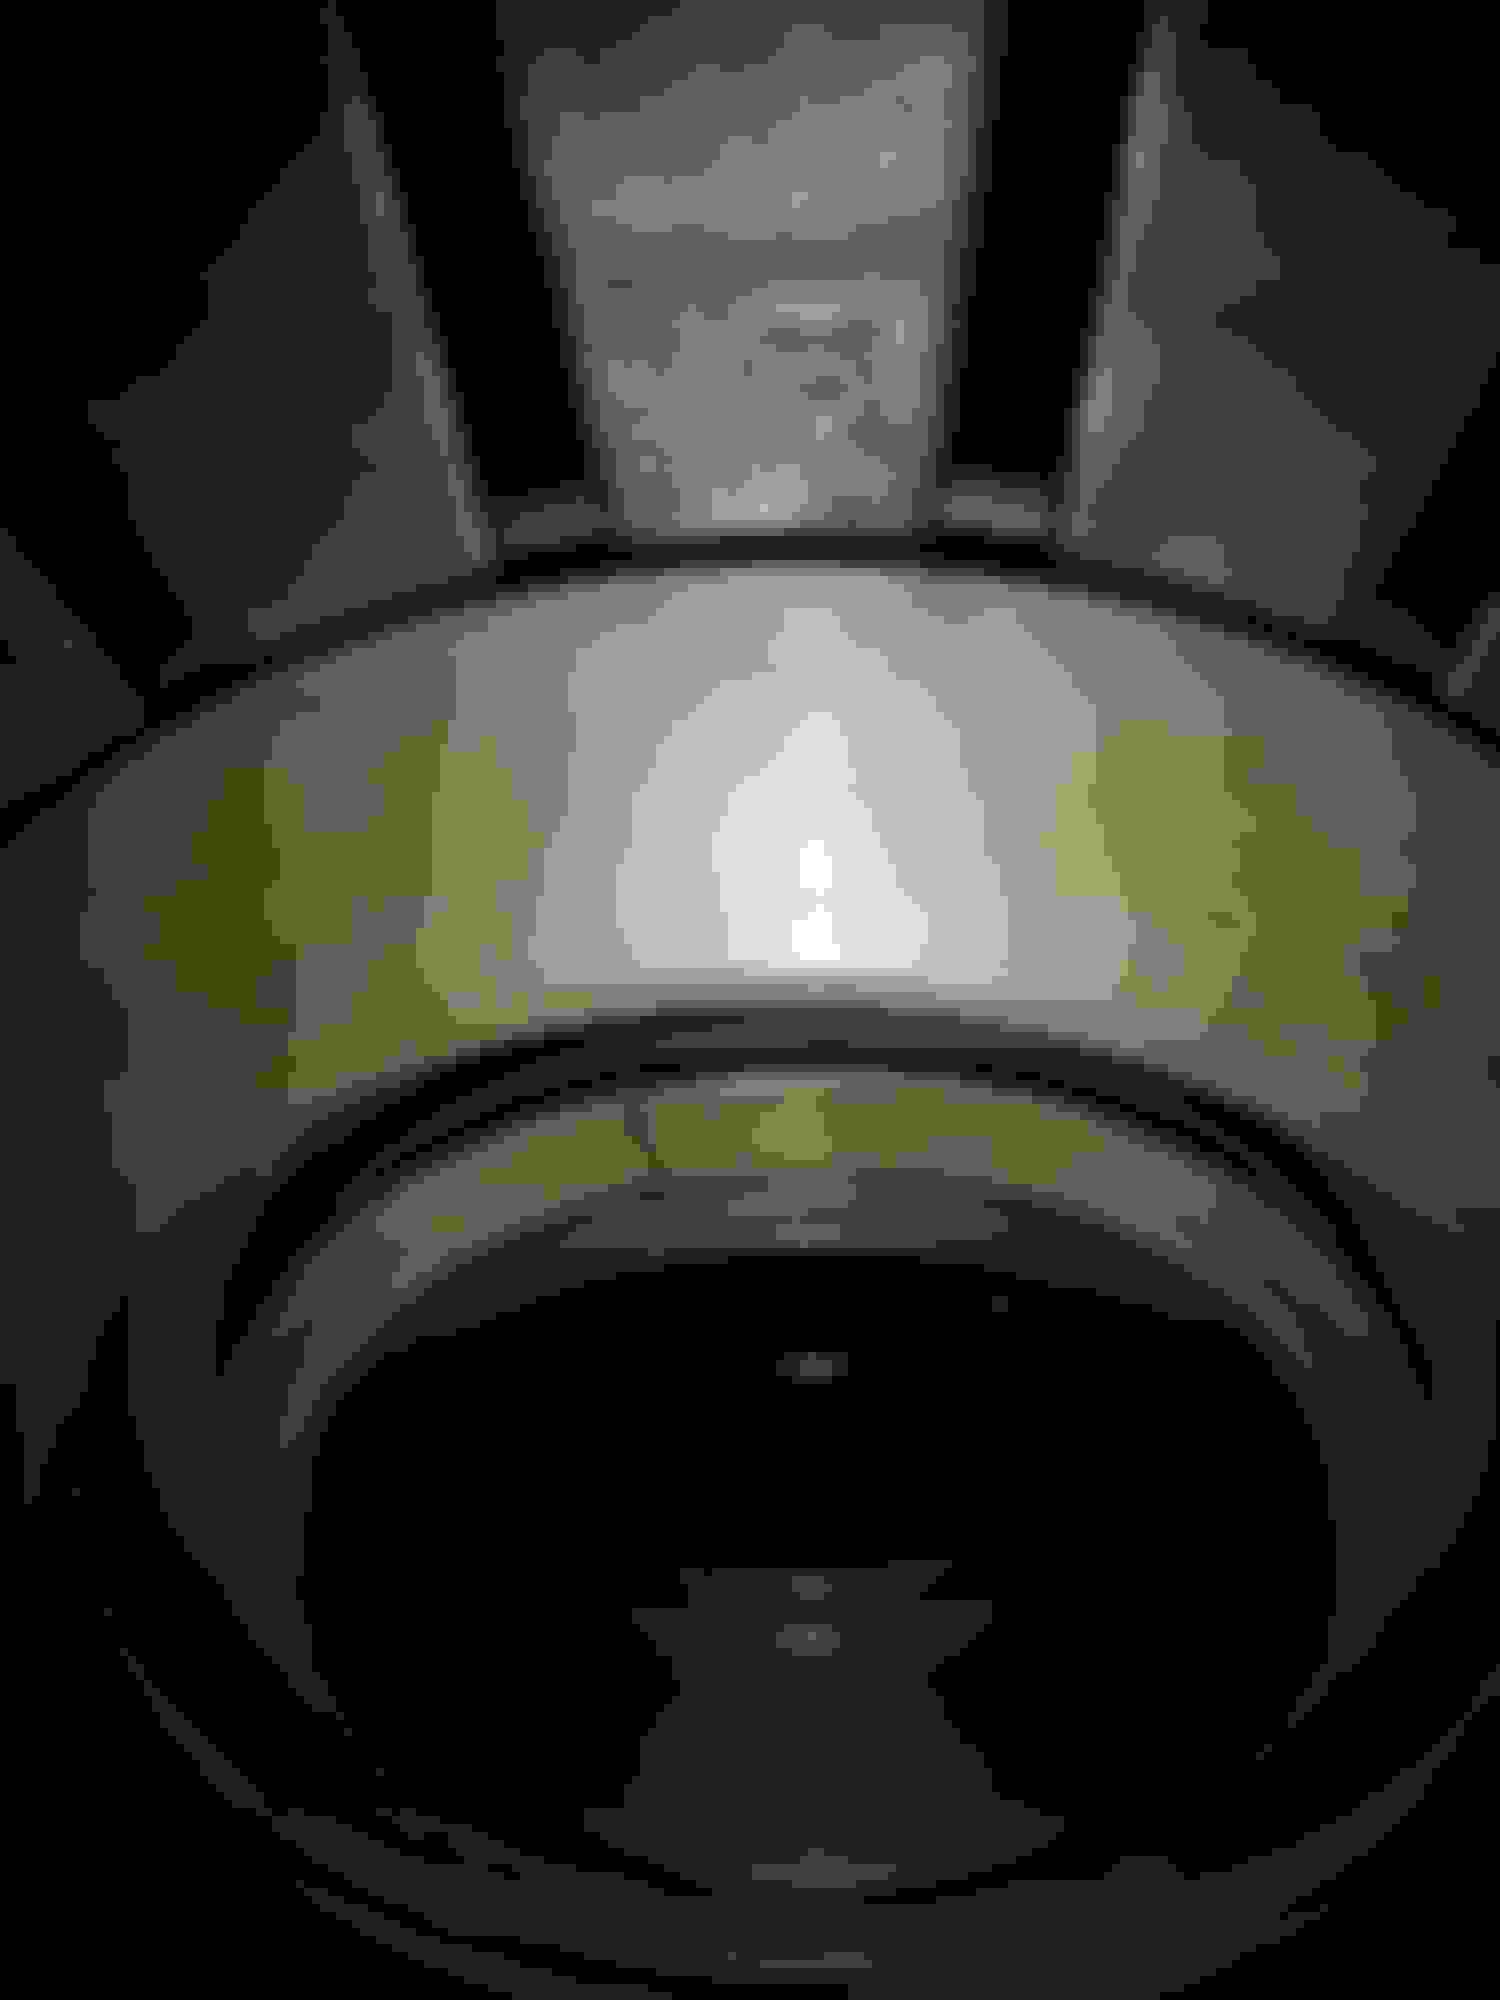
Once you have the opening in the spring ring aligned with one of the segments, you should be able to open the assembly and it will release the throw out bearing.
At this point it becomes a 'normal' clutch job... FYI
It actually wouldn't be too bad knowing what I know now haha no need to undo the release fork with the pressure plate attached like the OP said. Might take a couple hours more than a stock clutch to do.
Maybe you're right haha can't seem to get this thing on. Anybody installed a twin/triple disk that has some tips for me? I can't get it lined up properly, tried putting the disks on the flywheel and also putting them on the input shaft and neither is letting me line up the input shaft properly. Almost ready to give up and install this exedy single, unless anyone has suggestions..?