When you click on links to various merchants on this site and make a purchase, this can result in this site earning a commission. Affiliate programs and affiliations include, but are not limited to, the eBay Partner Network.
Definitely not bolt-on, but after a couple hours of installation and trimming, and with the top painted in Black, it looks exactly like I wanted : stock-ish 😀
^ I agree, it was kinda a PITA to install. Wished I like the way the PFS intercooler looks. It looks like it would be easier to install.
Like Banzai said, you absolutely need to retain a duct for the SMIC!!! If you don't have one specifically for this IC then you'll need to trim the factory one to fit. Without a duct your IC is only going to get as cold as the spent air from the radiator being blown up by the fans.
Alright, thanks guys! Definitely makes sense. I thought the aluminum part was actually the ducting, but I guess it's actually a heat shield.
I know it won't be easy to fit the oem ducting here, but I'll try my best with it or I'll make one from scratch.
Anyway, there's still a lot of work down there 😄
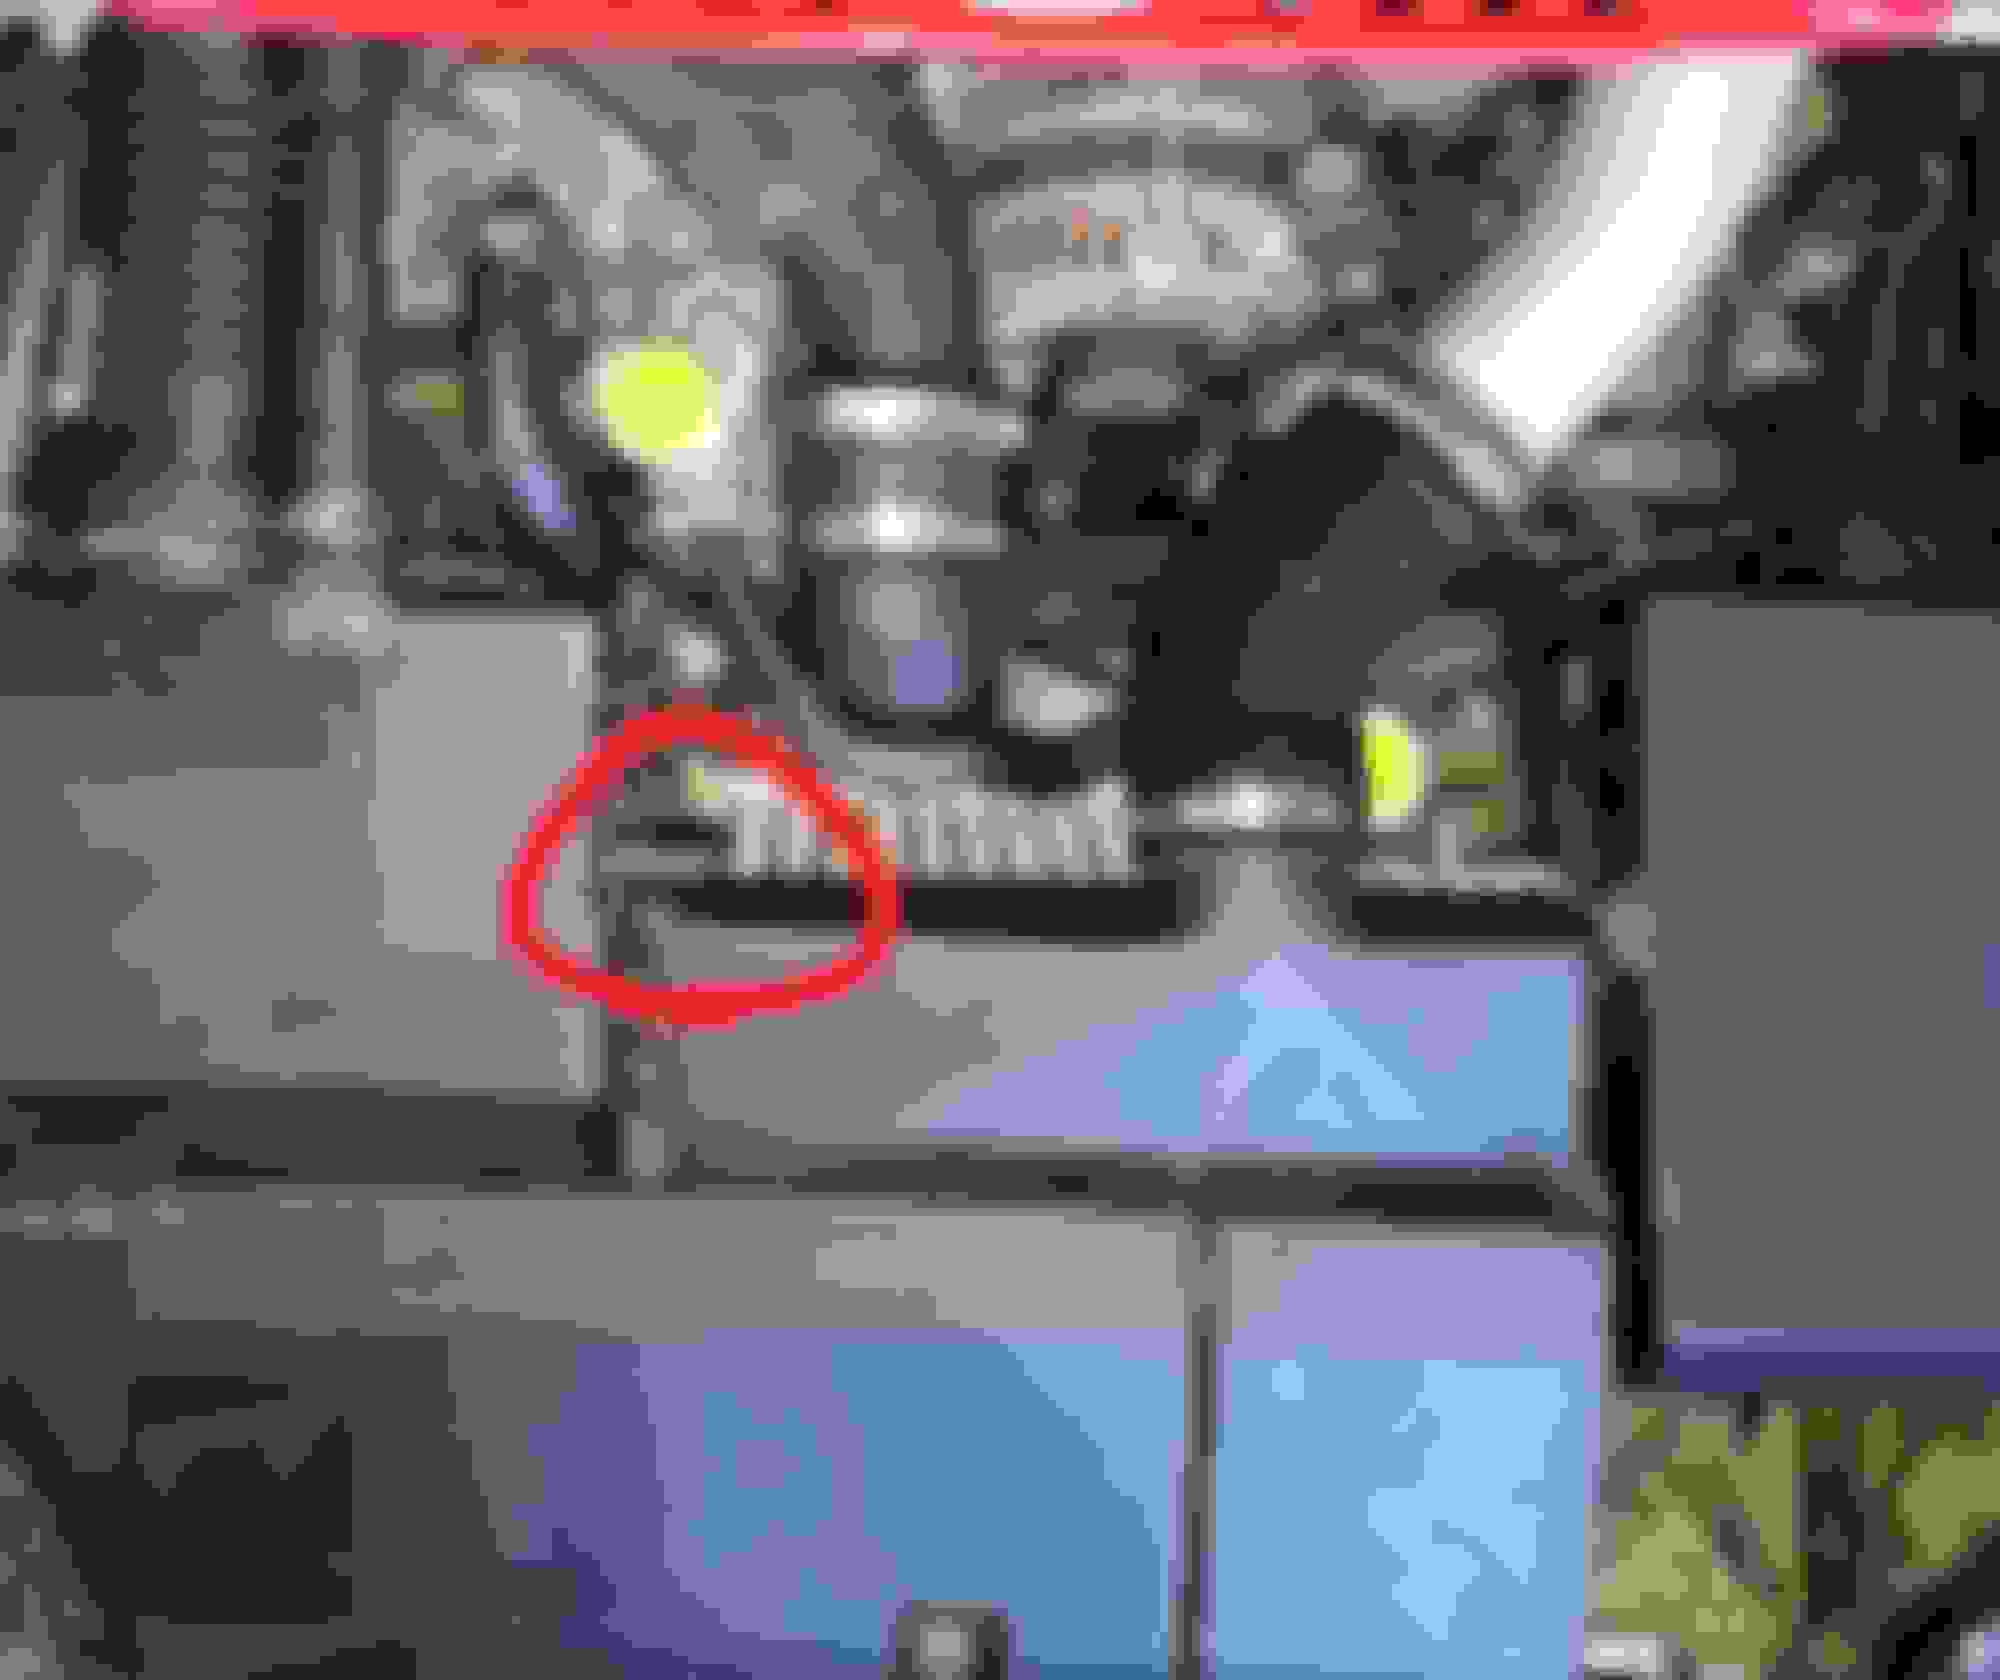
By the way, I removed the little hose going from the air box to behind the IC (unplugged), so now I've this open nipple on the air box... Should I plug it? I don't even know what's its function. (I got a dump valve, so maybe it's not necessary any more?)
I left my unplugged and interesting that you have a broken piece on top of your airbox. I broke mine on the CW in the same spot.
Ahah, this is pretty weird indeed. As I was looking for another box to replace mine, I found one that looked perfect but when I went to collect it, it was also broken and repaired at the same spot !! I've no idea why this nipple breaks and not the others...
Anyway, after some additional hours of work under the hood, I've positioned the oem ducting in front of the IC.
I also adjusted my licence plate at bit upper, so it doesn't obstruct the airflow at all now.
I test-drived it since, and that's cool. Even after several boosts and gears, I was stabilized in the 47�C, when the car is moving at a decent speed. Not exceptional, but I guess it's ok for a twin 'almost' stock setup.
How did you get the stock intake cover back on? I've had no luck with it as the IC top tank is in the way. Using the standard Greddy mounting hardware. Greddy intercooler fd3s
By the way, I removed the little hose going from the air box to behind the IC (unplugged), so now I've this open nipple on the air box... Should I plug it? I don't even know what's its function. (I got a dump valve, so maybe it's not necessary any more?)
That hose is part of sound muffling system for air pump and ACV. It is OK to leave it open, but not good to plug.
Originally Posted by PeloNZ
How did you get the stock intake cover back on? I've had no luck with it as the IC top tank is in the way. Using the standard Greddy mounting hardware.
You will likely have to trim the intake cover. It is useless/purely-aesthetic now, since its job is to feed the intake air from the intercooler duct (which is now covered by the greddy duct cover). You should use a cheap-bastard style intake modification so that the intake can source cold air from somewhere else.
In my case, I installed the IC the most backward as I could, trimming a little the aluminum duct (I added 1cm, but 1,5 would be better), in order to let enough space for the stock air cover to take place. It was pretty tricky to adjust this, and I still need some tweaking to make it fine. I also did cut the aluminum IC duct to keep the oem fresh air intake setup. Maybe it's better to have a better IC duct than more fresh intake air, I don't know...
Just a little update here,
I wasn't satisfied with the small oem plastic ducting wich doesn't fit this IC. I believed most of the air was escaping before passing by the IC itself.
So I decided I'll craft a perfectly adjusted ducting, with glass fiber.
I started from the oem plastic one, cutted some pieces and added new shapes in order to match perfectly with the IC (added rubber gasket so the air can't escape), I made an aluminum support bracket so the IC is well fixed, I eventually added a longer 'nose' so it swallows a lot more air from the front bumper... added some black paint and voil� ! it was a real PITA to make all those tiny adjustments, because there is absolutely no room at all from the battery side or the air box side, it took me days but it's really worth it. The other day, even under hard boost, I never exceeded 19�C... what an improvement when before I was in the 45�C-ish !
Last edited by tomatoto; Oct 29, 2020 at 04:12 AM.
Just a little update here,
I wasn't satisfied with the small oem plastic ducting wich doesn't fit this IC. I believed most of the air was escaping before passing by the IC itself.
So I decided I'll craft a perfectly adjusted ducting, with glass fiber.
I started from the oem plastic one, cutted some pieces and added new shapes in order to match perfectly with the IC (added rubber gasket so the air can't escape), I made an aluminum support bracket so the IC is well fixed, I eventually added a longer 'nose' so it swallows a lot more air from the front bumper... added some black paint and voil� ! it was a real PITA to make all those tiny adjustments, because there is absolutely no room at all from the battery side or the air box side, it took me days but it's really worth it. The other day, even under hard boost, I never exceeded 19�C... what an improvement when before I was in the 45�C-ish !
Nice! I've considered doing some minor 'glass work myself. Now all you need to do is smooth it out