
Finished fuse box relocations

Thread Starter
Joined: Nov 2005
Posts: 1,319
Likes: 1
From: New Bern, NC
Finished fuse box relocations
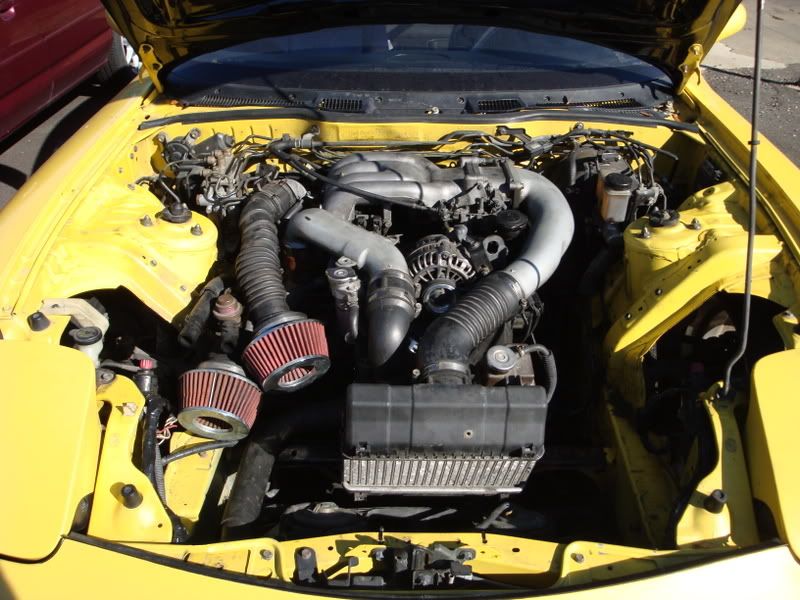
here are some pics after i completed the fuse box relocations; forgive me for the filthy engine bay, another thing to do when i get the time.
i also pointed out where i'm going to relocate my solenoids and how they look right now before i make the bracket.


here is also a nice dirty picture of her; i think this is the worst she's ever been


and here are the solenoids; i still need to make the U brackets but i just cut off the ends of the stock rack


i also pointed out where i'm going to relocate my solenoids and how they look right now before i make the bracket.


here is also a nice dirty picture of her; i think this is the worst she's ever been

and here are the solenoids; i still need to make the U brackets but i just cut off the ends of the stock rack


Thread Starter
Joined: Nov 2005
Posts: 1,319
Likes: 1
From: New Bern, NC
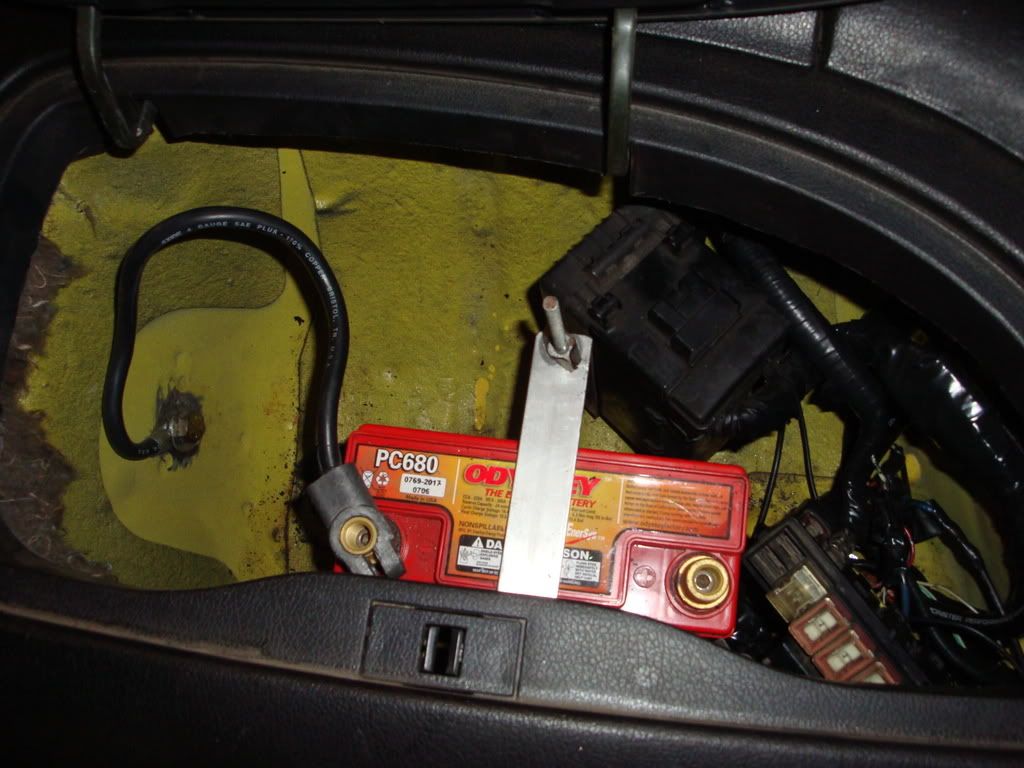
i relocated the battery to inside the drivers side bin; that was one of the first mods i did to the car when i got it back in 2005, i completely remove the bin though so there is enough space for the fuse boxes.
basically i just cut the main fuse block, ran one wire at a time
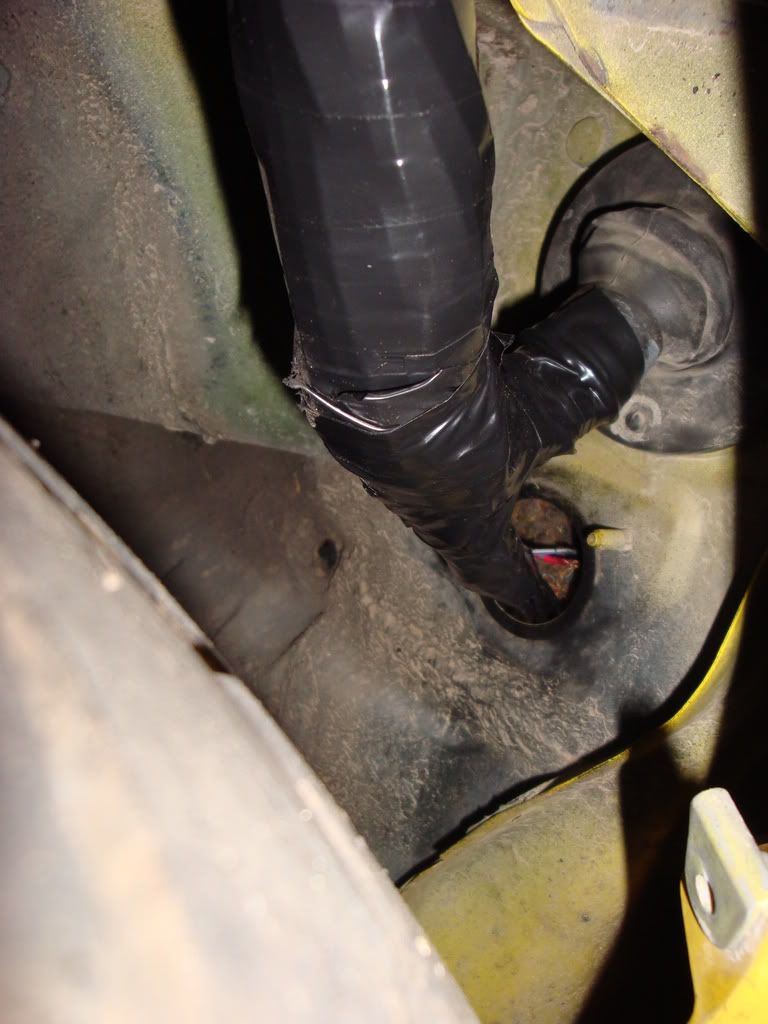
if you look at your FD, there is an unused hole behind the splash guard right below where the front harness comes through; i used that hole to run the wires through the firewall and under the drivers side carpet/side sill.
i completely unwrapped the front harness to the point where it was completely bare; with that done it is easy to cut and run the wires.
i did the same thing for the drivers side engine harness connectors, cut and spliced and ran the up throught the hole by the igniter.
the front relay box i just put right behind the bumper b/c i only use maybe 3 relays in that box, i might relocate it to a better place but that was the easiest at the moment.
the cooling relays i actually hid inside the frame under the fender, there's a hole in the fender that fits them perfectly. i felt pretty clever doing that.
the thing that i felt was completely ridiculous was the airbag sensor wire ran right through the engine bay; i didn't even have to splice to relocate that wire, i just ran it through and up along the fender like the rest of the front harness and the other airbag sensors are.
after doing all that splicing, it's more tedious work than it is difficult because it's so redundant, i rewrapped the whole front harness and used zipties to connect it evenly throughout the frame.
the most difficult parts were some of the factory splices, you have to pay attention to what you are doing and i mean it when i say; DO IT ONE WIRE AT A TIME
you will also need to go to an audio store to pick up some cable for the starter and alternator
the alternator is 2 8G wires, i bought 30 ft of it
the starter wire was 4G wire, i bought i think 12 ft
then you need the rings that go on the end of them
for these i had to hole saw a hole in the bottom of the bin about 1 1/2" D to get them through.
it took me about 16 hours of absolute work to do it but it was totally worth it.
i'll see if i can post some pics tomorrow.
basically i just cut the main fuse block, ran one wire at a time
if you look at your FD, there is an unused hole behind the splash guard right below where the front harness comes through; i used that hole to run the wires through the firewall and under the drivers side carpet/side sill.
i completely unwrapped the front harness to the point where it was completely bare; with that done it is easy to cut and run the wires.
i did the same thing for the drivers side engine harness connectors, cut and spliced and ran the up throught the hole by the igniter.
the front relay box i just put right behind the bumper b/c i only use maybe 3 relays in that box, i might relocate it to a better place but that was the easiest at the moment.
the cooling relays i actually hid inside the frame under the fender, there's a hole in the fender that fits them perfectly. i felt pretty clever doing that.
the thing that i felt was completely ridiculous was the airbag sensor wire ran right through the engine bay; i didn't even have to splice to relocate that wire, i just ran it through and up along the fender like the rest of the front harness and the other airbag sensors are.
after doing all that splicing, it's more tedious work than it is difficult because it's so redundant, i rewrapped the whole front harness and used zipties to connect it evenly throughout the frame.
the most difficult parts were some of the factory splices, you have to pay attention to what you are doing and i mean it when i say; DO IT ONE WIRE AT A TIME
you will also need to go to an audio store to pick up some cable for the starter and alternator
the alternator is 2 8G wires, i bought 30 ft of it
the starter wire was 4G wire, i bought i think 12 ft
then you need the rings that go on the end of them
for these i had to hole saw a hole in the bottom of the bin about 1 1/2" D to get them through.
it took me about 16 hours of absolute work to do it but it was totally worth it.
i'll see if i can post some pics tomorrow.
Last edited by tt7hvn; Oct 22, 2008 at 03:23 PM.


Thread Starter
Joined: Nov 2005
Posts: 1,319
Likes: 1
From: New Bern, NC
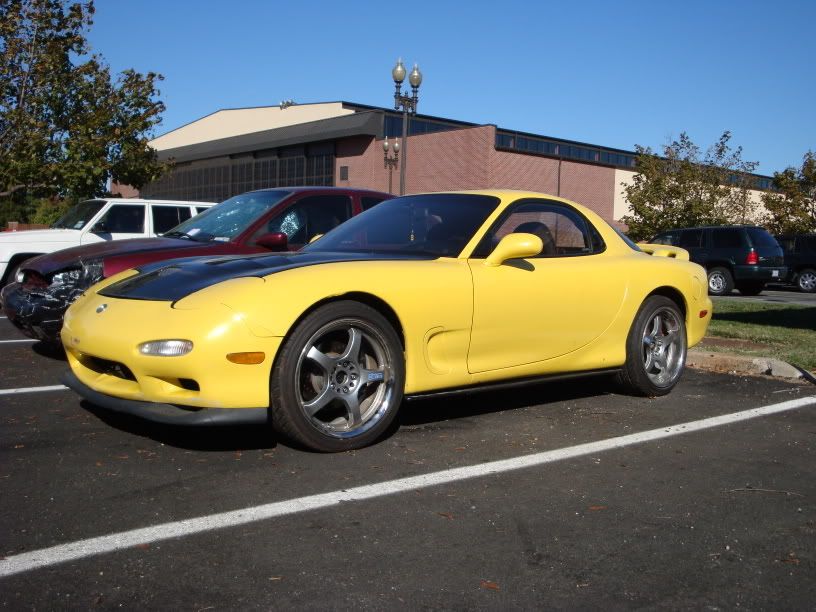
they are gram lights, it took me 6 months to get those wheels b/c i had a "strange" offset and a C-dish in the rear
they are 18x10 +35 rear 18x8 +35 front
if i had a choice to do it again, i would have gotten 17" and C-dish up front too
they are 18x10 +35 rear 18x8 +35 front
if i had a choice to do it again, i would have gotten 17" and C-dish up front too
Last edited by tt7hvn; Oct 22, 2008 at 03:34 PM.
Trending Topics

Engine bay looks so much cleaner with them fuse boxes and wires removed,, this has been on the cards for me for a while. when you chopped out the wires 1 by one did you replace that section of wire with same colour code, say if the wire was white and black you put in a white and black wire???, or did you not go to such lengths.
Thread Starter
Joined: Nov 2005
Posts: 1,319
Likes: 1
From: New Bern, NC
it would have been very expensive to do that; color code each wire....i did not have the resources or even the inclination to do that.
i don't even know where i could get each color wire, especially in the matching gauge.
i pretty much used all black wire, but if there's a problem a simple continuity test will do the trick but i put forth the effort to do the splices right
if you take your time like i did, everything will work in the end
Thread Starter
Joined: Nov 2005
Posts: 1,319
Likes: 1
From: New Bern, NC
i'm going to relocate the solenoids to the area in blue
i put pretty much everything you don't see in the bin behind the drivers seat
the relay box that's attached to the front of the car i just put right behind the bumper b/c i don't want and FMIC, i'm going large v-mount
i put pretty much everything you don't see in the bin behind the drivers seat
the relay box that's attached to the front of the car i just put right behind the bumper b/c i don't want and FMIC, i'm going large v-mount
Thread Starter
Joined: Nov 2005
Posts: 1,319
Likes: 1
From: New Bern, NC
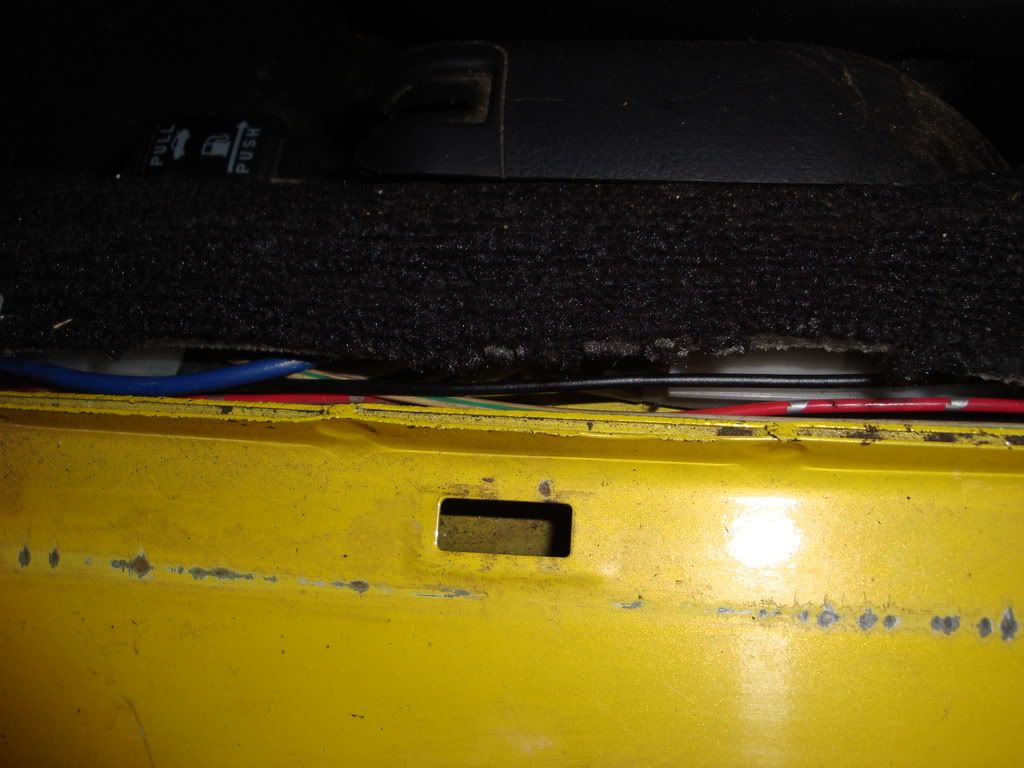
here's some more pics of how i did it:
THIS IS A PIC OF THE REAR BIN BEHIND THE DRIVERS SIDE SEAT
HERE IS A PIC OF WHERE I RAN THE WIRES FROM THE FENDER WELL
sorry guys, these are the only pics i have cuz when i did it i didn't have a digital camera and i just bought my new one yesterday.
THIS IS A PIC OF THE REAR BIN BEHIND THE DRIVERS SIDE SEAT
HERE IS A PIC OF WHERE I RAN THE WIRES FROM THE FENDER WELL
sorry guys, these are the only pics i have cuz when i did it i didn't have a digital camera and i just bought my new one yesterday.
I have a full size battery in that bin behind the seat, i did exactly like you and cut out the bottom of the bin. Just incase anyone wants a good idea, i noticed that the original battery tray from under the bonnet seems to sit perfectly on the floor under that bin. All i had to do was drill 3 small boles and bolt it to the floor, that way i used a full size battery and could still use the original clamps to hold the battery down. perfect.
Thread Starter
Joined: Nov 2005
Posts: 1,319
Likes: 1
From: New Bern, NC
the reason i didn't use a full size battery is b/c of WEIGHT...as we all like to cut that down on our cars
all in all i think it was like +/- 50 wires which is so double that for splices
mind you, i didn't relocate the diagnostics connector, i just kinda hid that.
all in all i think it was like +/- 50 wires which is so double that for splices
mind you, i didn't relocate the diagnostics connector, i just kinda hid that.
All this just to clean up the engine bay? You also may have introduced some failure points in the electrical system depending on how you've connected the wires, what kind of wire you've used, and how you've protected it all.
Thread Starter
Joined: Nov 2005
Posts: 1,319
Likes: 1
From: New Bern, NC
^ it's most likely but considering i did it myself i'm pretty confident on the quality of the work and know how i did everything; it would be different if someone else did it.
i did this after looking at scrub's writeup on how he did and pretty much followed suit
it looks nice but it was a lot of work
the only reason i did it is because i have some downtime while i'm waiting on parts and stuff, it wasn't that expensive to do so it was worth it.
i did this after looking at scrub's writeup on how he did and pretty much followed suit
it looks nice but it was a lot of work
the only reason i did it is because i have some downtime while i'm waiting on parts and stuff, it wasn't that expensive to do so it was worth it.

Thread
Thread Starter
Forum
Replies
Last Post
[For Sale] Scratch & Dent, Used, and Open-Box Sale!
SakeBomb Garage
Vendor Classifieds
5
Aug 9, 2018 05:54 PM