When you click on links to various merchants on this site and make a purchase, this can result in this site earning a commission. Affiliate programs and affiliations include, but are not limited to, the eBay Partner Network.
As the age of these cars keeps climbing, so does the deteriorating of the various components. The throttle body see�s a fair amount of wear and tear. Imagine that every time you move the little pedal you�re moving the butterfly and associated components. Now how many times do you move that during just one drive? A few I�m sure. Now as time passes these components will eventually need to be repaired or replaced. One of the issues with the Fd Tb is purely age. It�s a fairly robust unit. I�ve come to see that while the tps, linkage, de-accelerator and thermo advance are pretty easy to replace. The shaft seals... not so much. You could acquire a good low mileage used one, but chances are they will leak down the road as well. This refurbish is pretty involved, but not difficult to accomplish. While I was restoring the last Tb I grabbed some pictures and will walk you through the process. You will need a few hand tools and a small impact driver.
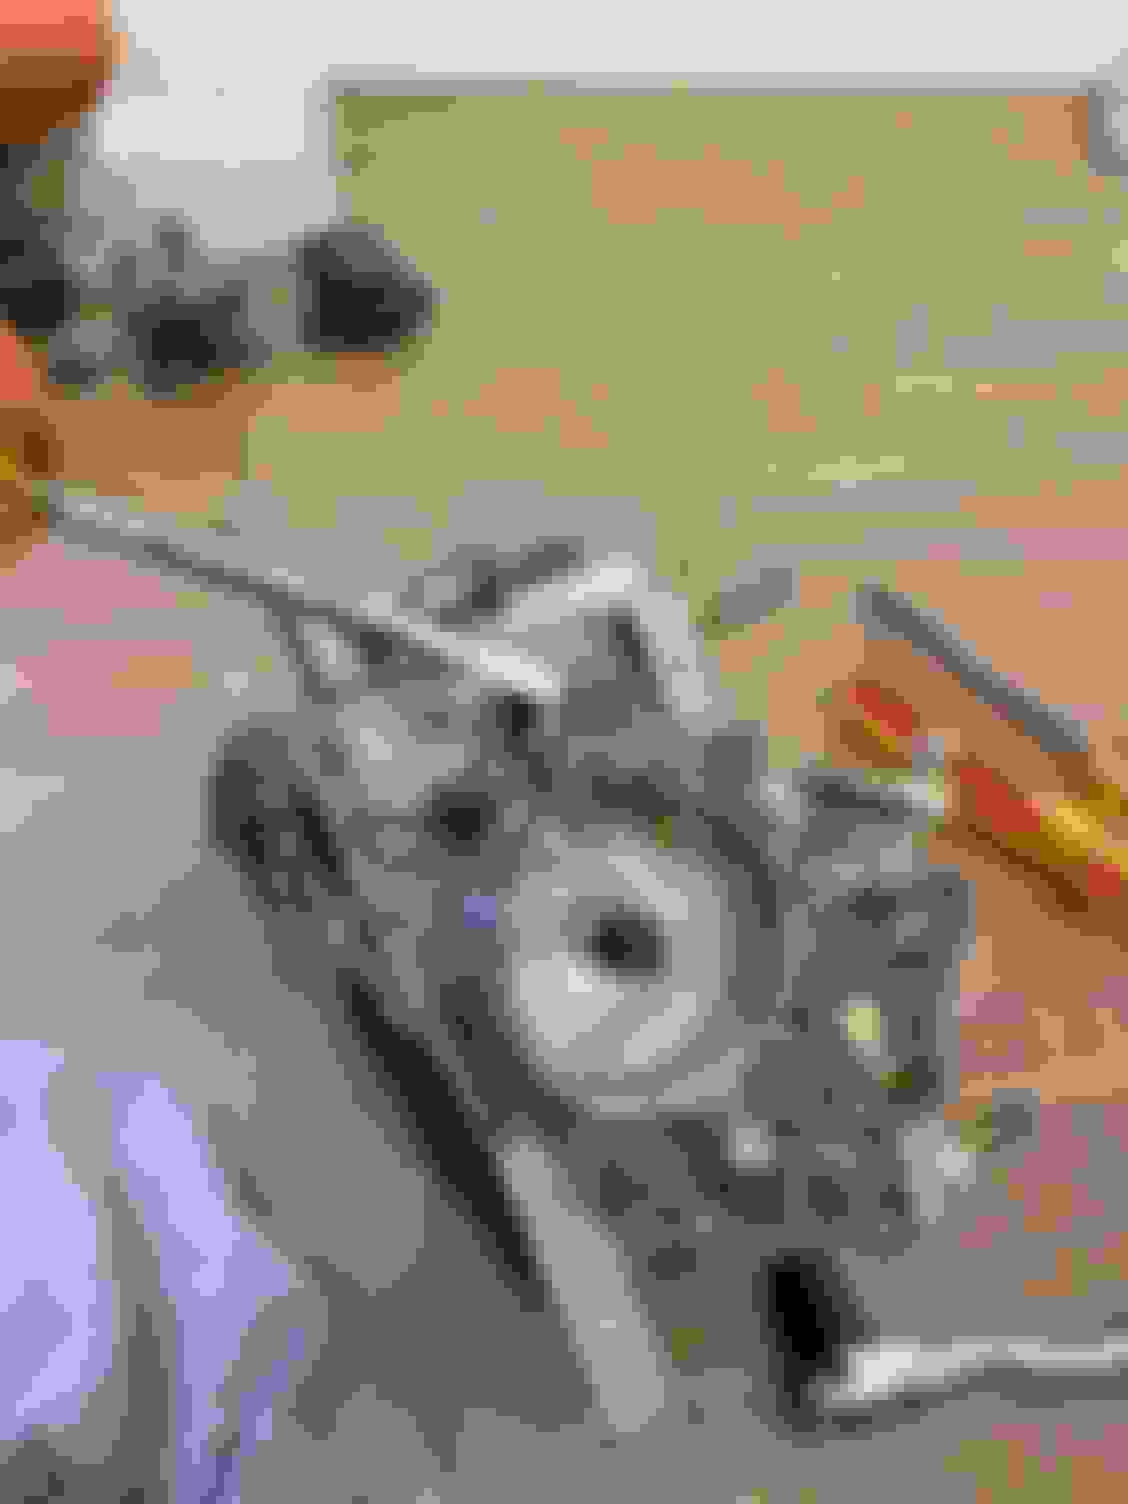
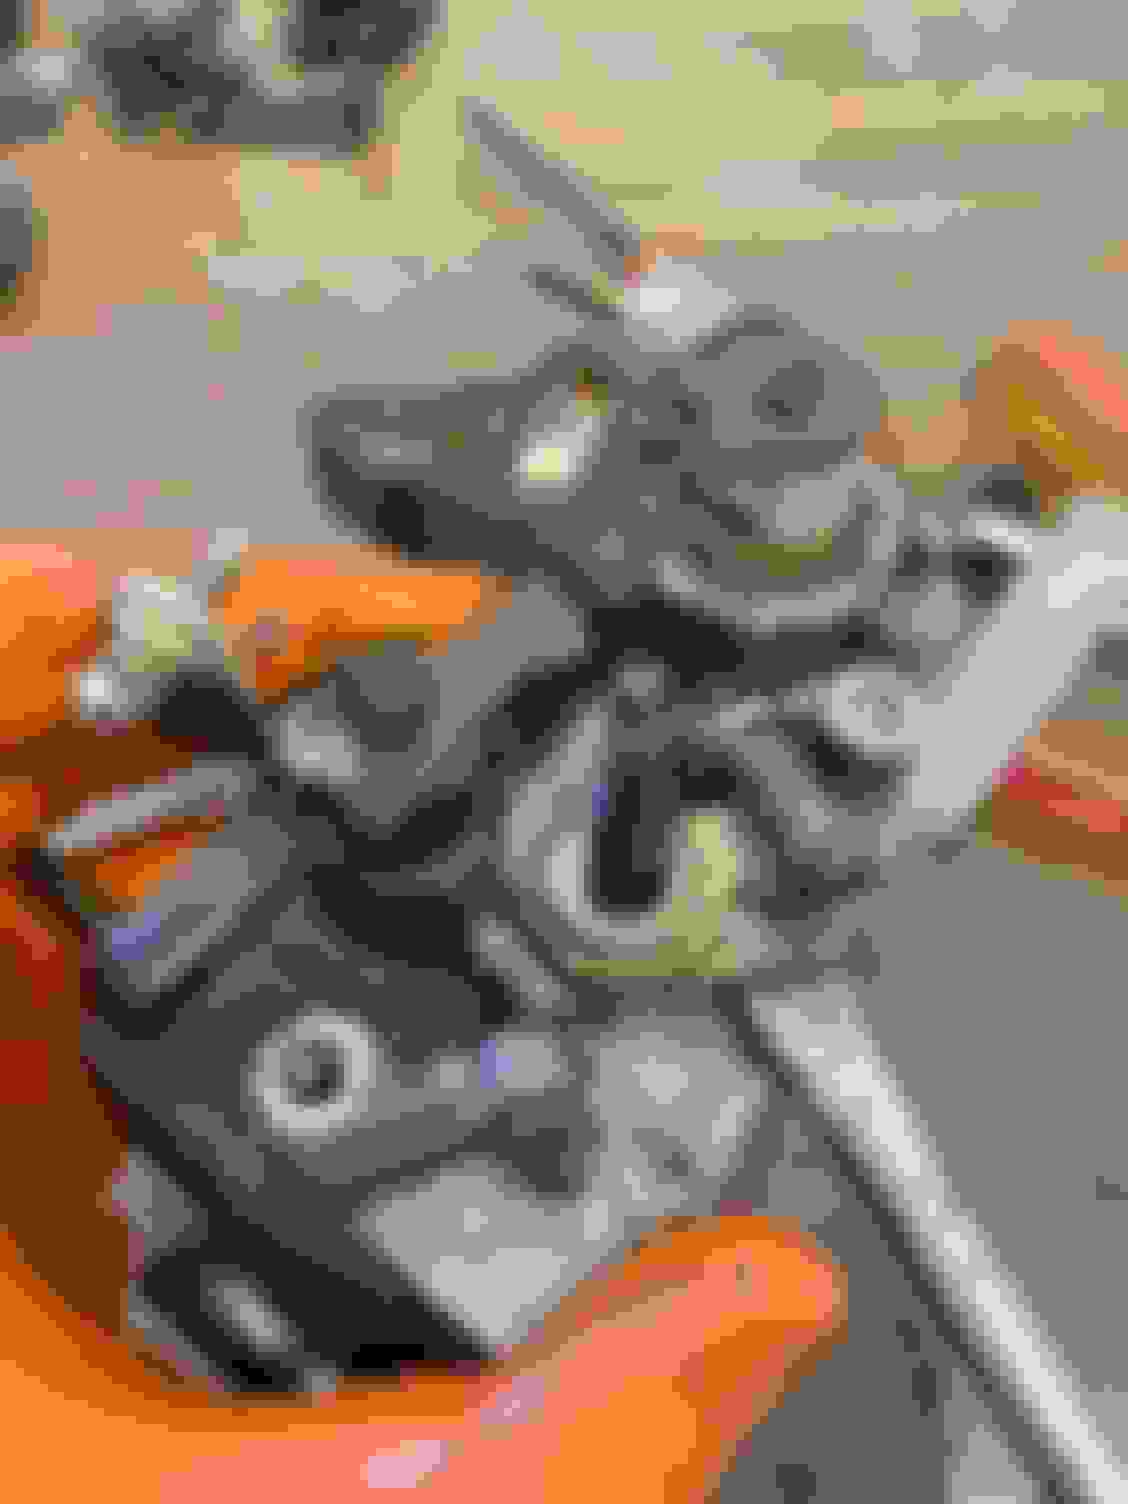
Start off by getting your area cleared since you�ll need some room to lay out all the parts. Workbench, pop up table, kitchen table if you�re brave enough. My suggestion is to get familiar with how the Tb operates. You will need five (5) X~rings or Quad rings as they are commonly called. A #2 Phillips ( I use an impact ), a few different metric wrenches and sockets. Take some pictures as reference in case you get confused. Here is a few.
Start off by removing the de~accelerator with a 17mm open end wrench. Remove the three Phillips screws that hold the thermo advance in place. Some gentle taps will help remover it from the Tb. The gasket has a tendency to hold it in place. Also remove the tps at this time as well and set it aside.
NOTE ~ The retaining hardware on most of the Tb�s I have encountered can be tough to remove. A penetrating lubricant with a little heat and a new #2 Philips bit goes a long way. I use an impact driver to remove them. I�ve found it�s the easiest way with the least risk. But a regular screwdriver with firm down pressure will accomplish the job.
Now remove the tps lever arm nut with a 12mm socket, lock washer and lever arm. Then remove the two screws that�s hold the tps housing onto the Tb. Note the orientation of the housing, the bottom will have two slots at the bottom to allow air circulation and drainage. When you remove it you will notice a spacer that will likely come off with it. Don�t drop this by accident. The first quad ring you replace is actually in the tps housing. Set these item aside by themselves.
FYI the reason you and so many others have had heartache with the screws on the TB and various other components is because they're not Phillips...they're JIS fasteners. A Phillips bit cams out and rounds the fastener due to the improper fit. A Vessel JIS bit/screwdriver will make removal/installation of these fasteners a breeze.
After you have that squared away, let�s disassemble the thermo advance linkage adjustment. In between the tps shaft space is another space washer. Note where it is in line with the other components. Now remove the tps linkage. At the very bottom is a plastic spacer that sandwich�s in between the linkage and the Tb. The secondary butterfly spring return will need to be relaxed on this side in preparation for removal. Remove the cir clip with a set of cir clip pliers and remove the thermo advance adjustment. Do not get strong with the clip. Only open it the minimal amount so it can slide over the shaft. Set this all aside in the order it was removed.
Continuing on, flip the Tb over and remove the secondary butterfly shaft nut and set that along with the linkage aside. You will not be able to remove the linkage that ties together the primary and secondary butterfly yet. Now remove the throttle cable bracket nuts and the first section of the primary linkage. You will see that they�re is a spacer between the two sections. Don�t loose its place. Finally, slide off the remaining spring linkage which also ties together with the secondary butterflies.
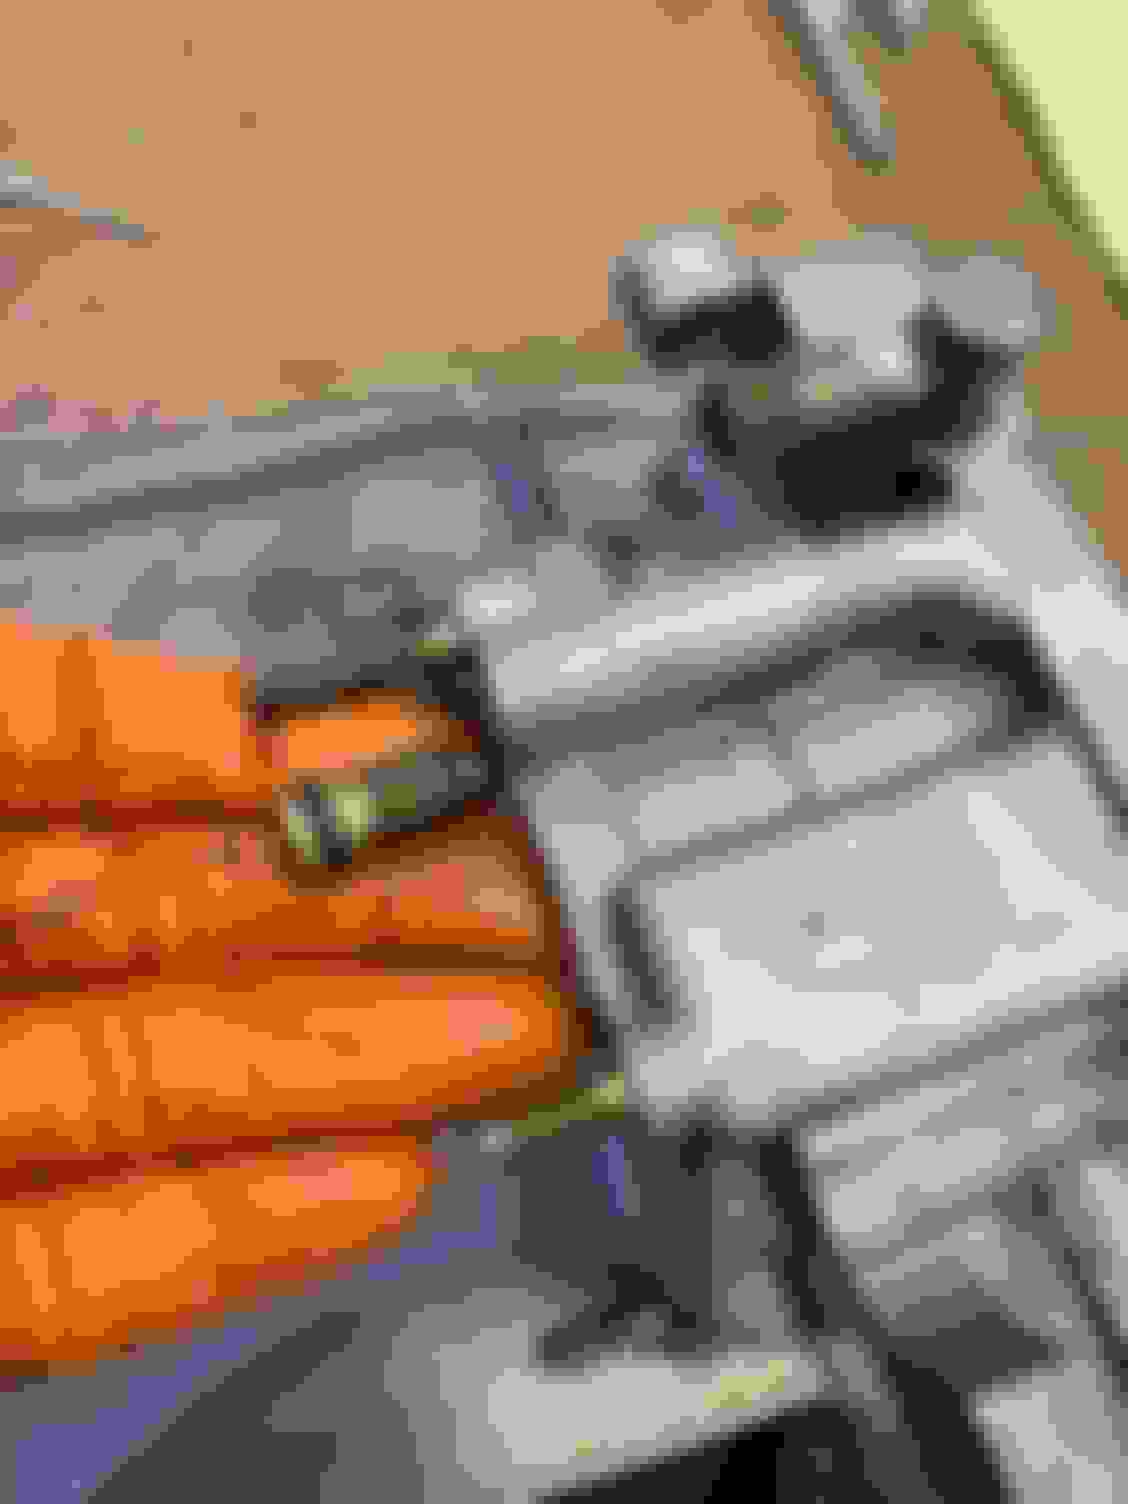
Now, remove the de~accelerator bracket. Turn the Tb so that it facing you. Notice how my fingers hold the butterfly�s in place while I remove the retaining screws. I have heard mimicked around here that the butterfly screws are staked. I�ve done quite a few of these now and have not seen one set that has been. Are use the impact with firm down pressure and remove all six screws. I prefer to push the butterflies out from the top to the bottom this seems to be the easiest way. Note the orientation of the butterflies to their respective holes. The two larger number seven stamped ones are easy to remember generally I will mark the primary. These have a cut tapered edge to seal and cannot be installed backwards. Now you can slide the two shafts out of the Tb. Laying out all you components in order makes for easy reassembly.
Alright, now you�re ready to remove the four ( 4 ) quad rings that seal the upper and lower shafts. Using a pic, remove them from the brass machined plug. Now the only remaining thing to disassemble is the idle air adjustment screw. Turn the screw counter clockwise until it detaches from the threads. It will not come out because there is an O-ring attached at the end to seal. The easiest way I found to remove this, is to use compressed air and pressurize the office. Now you�ve got the Tb disassemble.
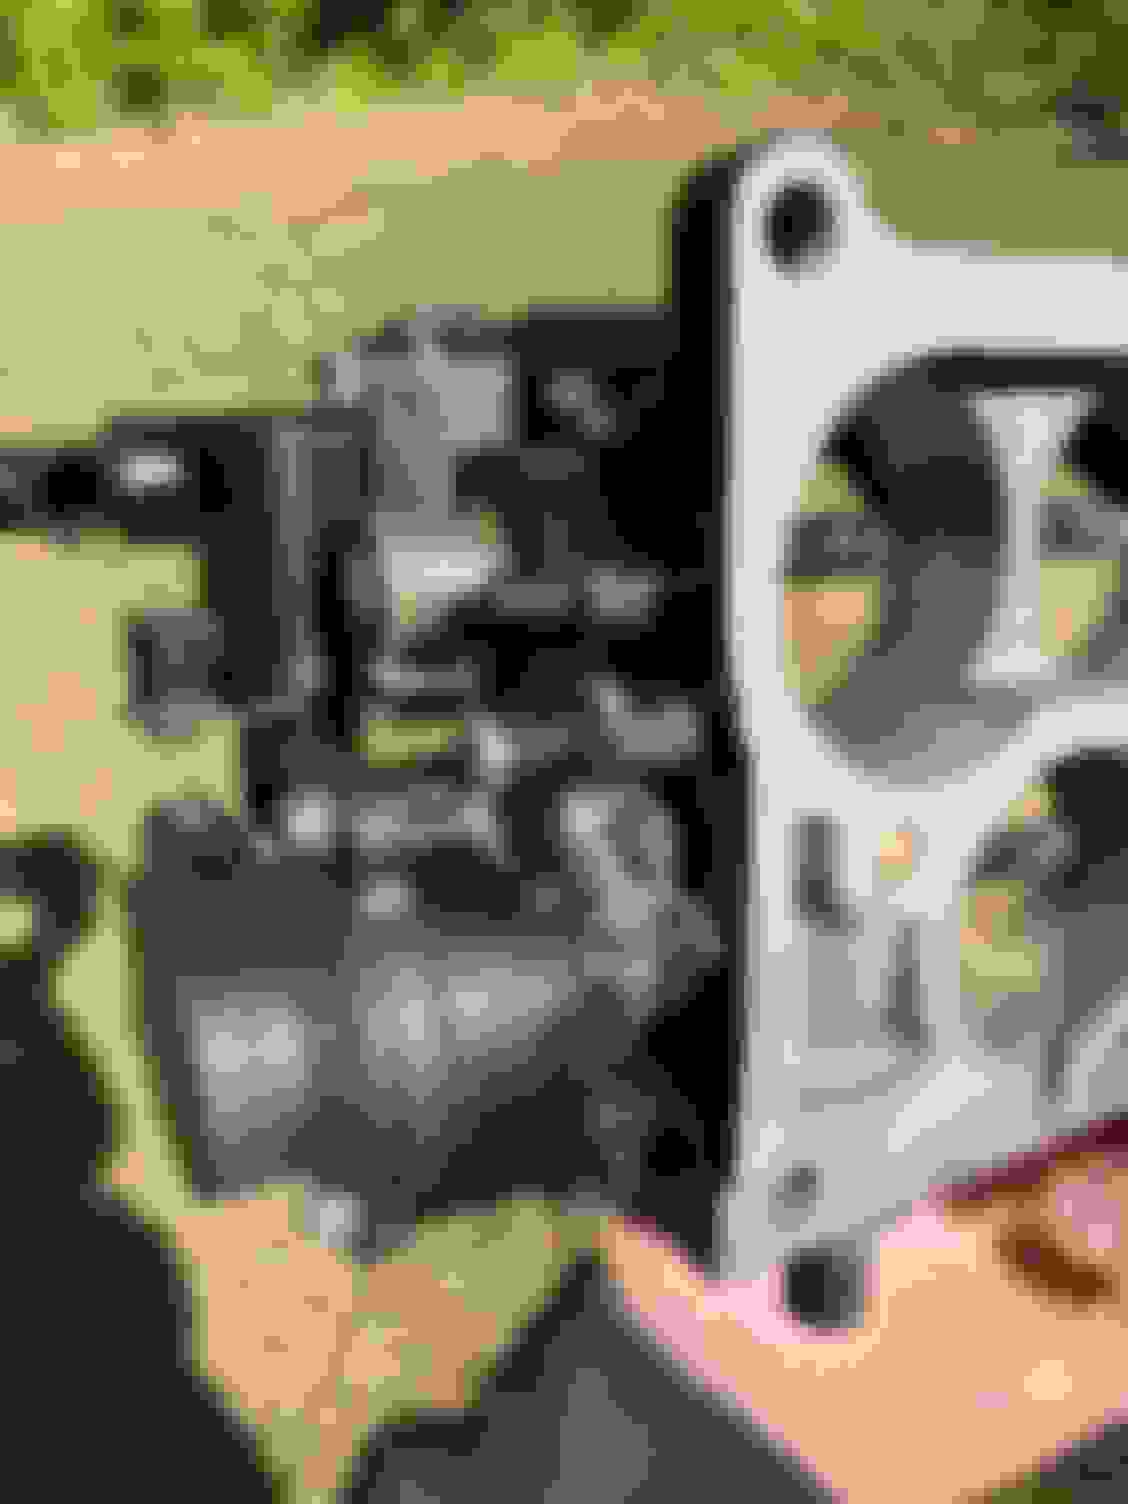
Now that the Tb is disassembled, you can thoroughly clean the whole assembly including all the components. Now is also the time if you choose to coat the throttlebody such as powder coat, cerakote or polish. Choice is yours. Now all you have to do is reassemble the unit in the reverse order. I use white lithium grease on all the quad rings and linkage areas that need some sort of lubricant. Here is a couple shots of the completed unit.
Note ~ feel free to add pertinent information to this thread. Keeping all of this info in one area helps others in the future. Enjoy!
FYI the reason you and so many others have had heartache with the screws on the TB and various other components is because they're not Phillips...they're JIS fasteners. A Phillips bit cams out and rounds the fastener due to the improper fit. A Vessel JIS bit/screwdriver will make removal/installation of these fasteners a breeze.
In case anyone missed this~ excellent information on the fasteners. I haven�t had too much trouble personally, but I�ll definitely pick up a set of them for the future.
Also, One thing I�d like to note about the butterfly screws. I use loctite #680 retaining compound ( green ) when I reinstall them. One of them working their way loose could be catastrophic.
Note~ This throttlebody refurbishing is done at your own risk.
Also, to adjust the de-accelerator or dashpot as it�s called, you hold the engine rpm to 3,000 rpm and adjust the tit till it touches the linkage arm. This is covered in the fms- F-133
fast idle cam adjustment fms ~F-79
Another trick I forgot To mention is the idle air adjustment screw that�s under the throttlebody. You should count the amount of turns it takes clockwise to close before removing it. This will allow you to return to that setting when you reinstall it.
Alright, now you’re ready to remove the four ( 4 ) quad rings that seal the upper and lower shafts. Using a pic, remove them from the brass machined plug. Now the only remaining thing to disassemble is the idle air adjustment screw. Turn the screw counter clockwise until it detaches from the threads. It will not come out because there is an O-ring attached at the end to seal. The easiest way I found to remove this, is to use compressed air and pressurize the office. Now you’ve got the Tb disassemble.
Something I do to prevent scratching O-ring / quad-ring / square-seal grooves when removing the seals is to use a wooden probe/pick instead of a metal one.
From looking at it I don't think there's a way to do this without removing the throttle blades and shaft which sucks. The factory mushrooms the back end of the screws to lock them in place and that would be pretty hard to replicate at home. Loctite is an option but it's one of those things you want 100% insurance that it's not coming loose. I guess you may be able to use a punch and hammer to mushroom them from the back.
The throttle blade screws will almost certainly need an impact screwdriver to remove. May also be worth figuring out a replacement source for those screws so new ones can be installed and locked in place.
All that said this is amazing info!
Dale
Dale, you�re welcome. I�ve had the spare time. As you said, you absolutely can not replace them without removing the butterfly�s. An to remove the butterfly�s, you must completely disassemble it. I�ve not had any issue with removing the screws, but you are correct and certainly need an impact. The sleeve retaining loctite I use is pretty great for applications like this. I mentioned it further back. Re-mushrooming them could be performed. You would just have to make a special tool that slipped in the bore to support the shaft.
I want to just state for the record for others reading this thread -
At this point we don't really know if this is a common problem or not, and if it is how much it will affect how the car runs. This is NOT a project for a novice, this is VERY involved and you can easily end up with a throttle body that won't properly work, will stick or bind, or worst case stick open when it shouldn't.
A sticking throttle body can lead to runaway acceleration which could result in an accident.
I had that happen on my old FC back in the day after I monkeyed with the throttle body. Fortunately I noticed it close to home and was able to get the car home safely and the problem wasn't hard to remedy.
Again, I am VERY grateful you documented this but I don't want people thinking this is easy. This is a VERY complex job.
the 13-W69 O Ring is N390-13-W69
the 13-W89 Gasket between the Thermal Wax and the Throttle Housing is N3A1-13-W89A
the 13-W87 Wax Pellet is N3A1-13-W87
the 13-W8Y Complete Thermal Wax Housing is N3A1-13-W8Y
the Throttle Body to Intake Gasket is N3A1-13-655
the Hose from the Rear Engine Iron to the T/B is N3A1-13-681A
the Short Hose from the Vacuum Rack is N3A1-13-691A
the Water Hose clamps are 9928-61-400P
I want to just state for the record for others reading this thread -
At this point we don't really know if this is a common problem or not, and if it is how much it will affect how the car runs. This is NOT a project for a novice, this is VERY involved and you can easily end up with a throttle body that won't properly work, will stick or bind, or worst case stick open when it shouldn't.
A sticking throttle body can lead to runaway acceleration which could result in an accident.
I had that happen on my old FC back in the day after I monkeyed with the throttle body. Fortunately I noticed it close to home and was able to get the car home safely and the problem wasn't hard to remedy.
Again, I am VERY grateful you documented this but I don't want people thinking this is easy. This is a VERY complex job.
Dale
I will definitely agree that a novice should not undertake this. This is more for the seasoned individual. But I will say if you can assemble an entire short block correctly or rebuild a differential, this is in line with them . Having said that, short blocks and diffs are definitely outside the realm of a novice as well. If one does decide to undertake this, they do so at their own risk. I do feel this will be a more common issue in the future, even now I�m sure plenty of them are deteriorating without notice.
Originally Posted by j9fd3s
Part Numbers:
the 13-W69 O Ring is N390-13-W69
the 13-W89 Gasket between the Thermal Wax and the Throttle Housing is N3A1-13-W89A
the 13-W87 Wax Pellet is N3A1-13-W87
the 13-W8Y Complete Thermal Wax Housing is N3A1-13-W8Y
the Throttle Body to Intake Gasket is N3A1-13-655
the Hose from the Rear Engine Iron to the T/B is N3A1-13-681A
the Short Hose from the Vacuum Rack is N3A1-13-691A
the Water Hose clamps are 9928-61-400P
everything is available
Nice info here
Originally Posted by IRPerformance
Great info. I've had to rebuild a bunch of these and the pesky seals can be difficult to find.
Better stock up, it�s rumored they are discontinuing metric quad rings.
Originally Posted by gracer7-rx7
Great thread!
Added to FAQ
Thanks!
PS~ if you have pertinent information to throttlebody adjustment and or associated components to throttle bodies, post it.
A few years ago I bought some special-order metric EPDM quad-rings (they called them X-rings) for my racecar clutch slave cylinder from All-Seals, Inc. in California. They were very good and made me a low quantity for a reasonable price. My contact was Mike Leach. mleach@allsealsinc.com
All Seals Inc
20762 Linear Lane
Lake Forest Ca 92630
Maybe they could do the same for this application.
FYI the reason you and so many others have had heartache with the screws on the TB and various other components is because they're not Phillips...they're JIS fasteners. A Phillips bit cams out and rounds the fastener due to the improper fit. A Vessel JIS bit/screwdriver will make removal/installation of these fasteners a breeze.
Can not re-emphasize this enough. Get JIS drivers for your FD, and for your sanity.
A few years ago I bought some special-order metric EPDM quad-rings (they called them X-rings) for my racecar clutch slave cylinder from All-Seals, Inc. in California. They were very good and made me a low quantity for a reasonable price. My contact was Mike Leach. mleach@allsealsinc.com
All Seals Inc
20762 Linear Lane
Lake Forest Ca 92630
Maybe they could do the same for this application.
I grabbed some from metricsealsinc.com. They were the only one in stock a while back. I�ve heard rumored they�re discontinuing metric quad rings. So having a company like you�ve mentioned make a small quantity will probably be our only option in the not too distant future.
Originally Posted by Narfle
Can not re-emphasize this enough. Get JIS drivers for your FD, and for your sanity.
This one looks like a regular screwdriver but will twist when you hit the back with a hammer to dig in and loosen the screw. This should work REALLY well on doing the throttle body job.