
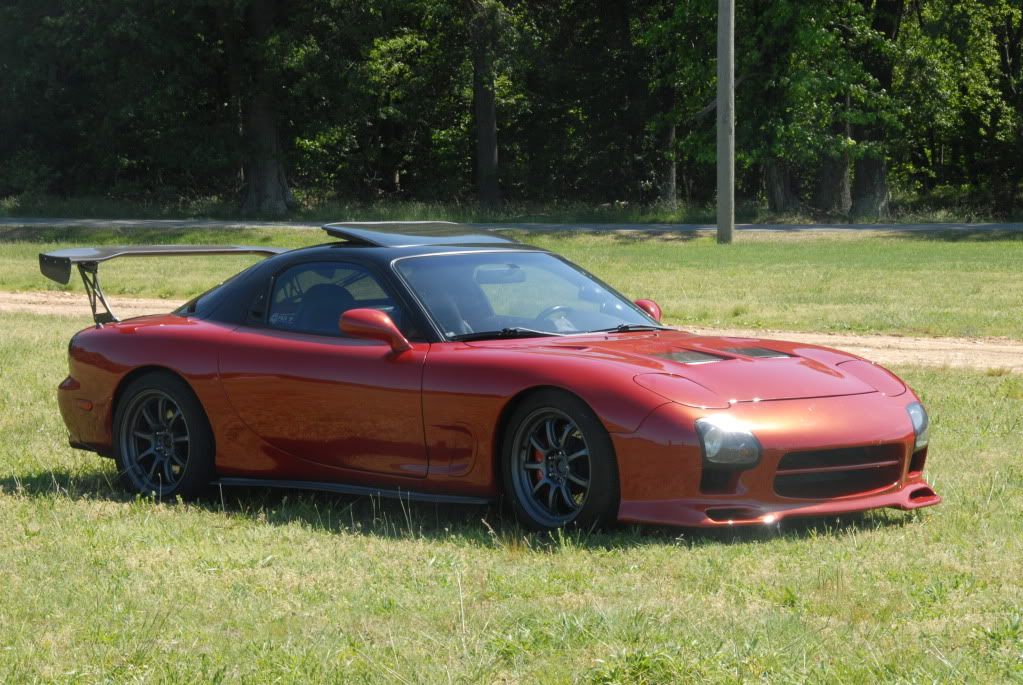
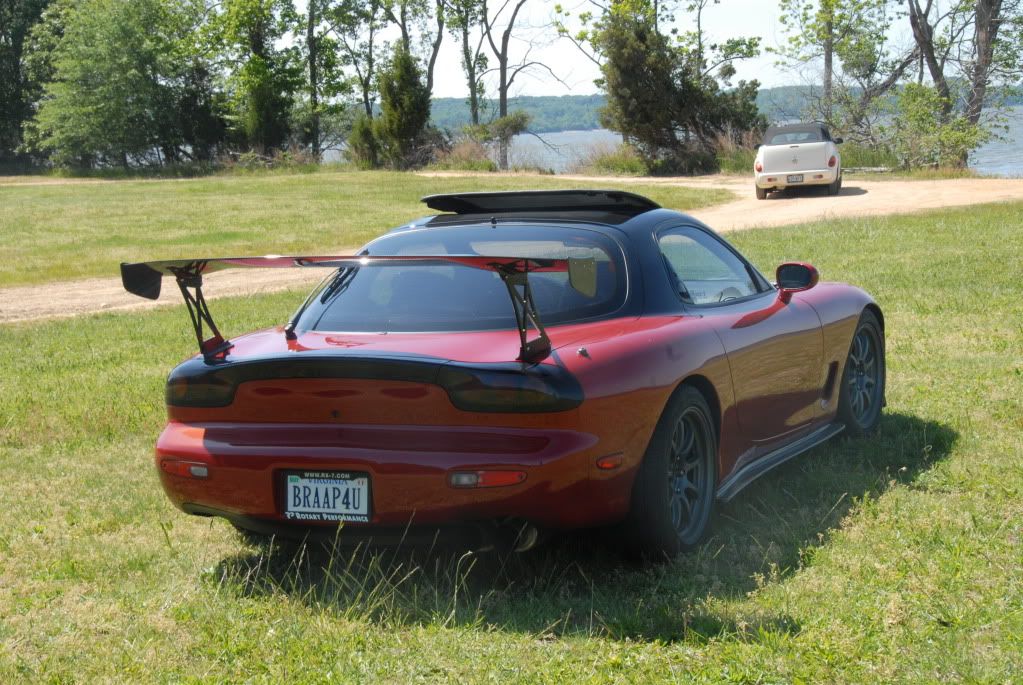
Post Some Pics of your FD! :D <- Pics of your car go in this thread!!


You should change it to NOW CLOSED! then. lol. That GB apon out of control.
I almost sent in the money until I went to remove the light and broke all the mounting tabs on the right side housing. I'm trying to see if I can source a '99 style light instead. They are becoming very rare.
 YES!
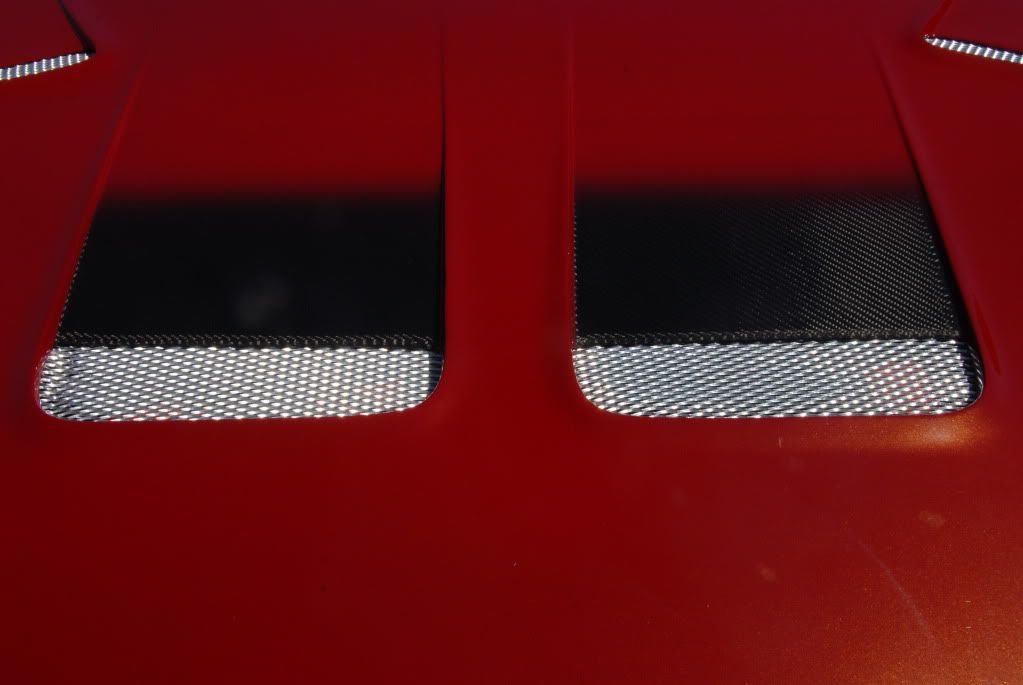
YES!Mega intake looked mega ugly and didn't help much with air temps I think, so he removed it

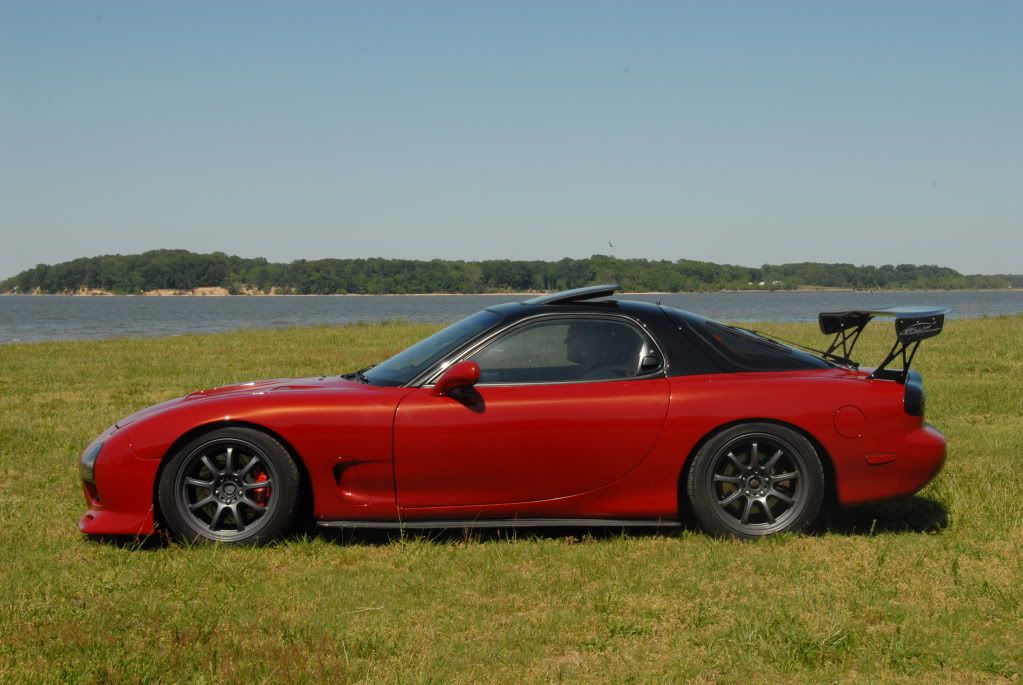
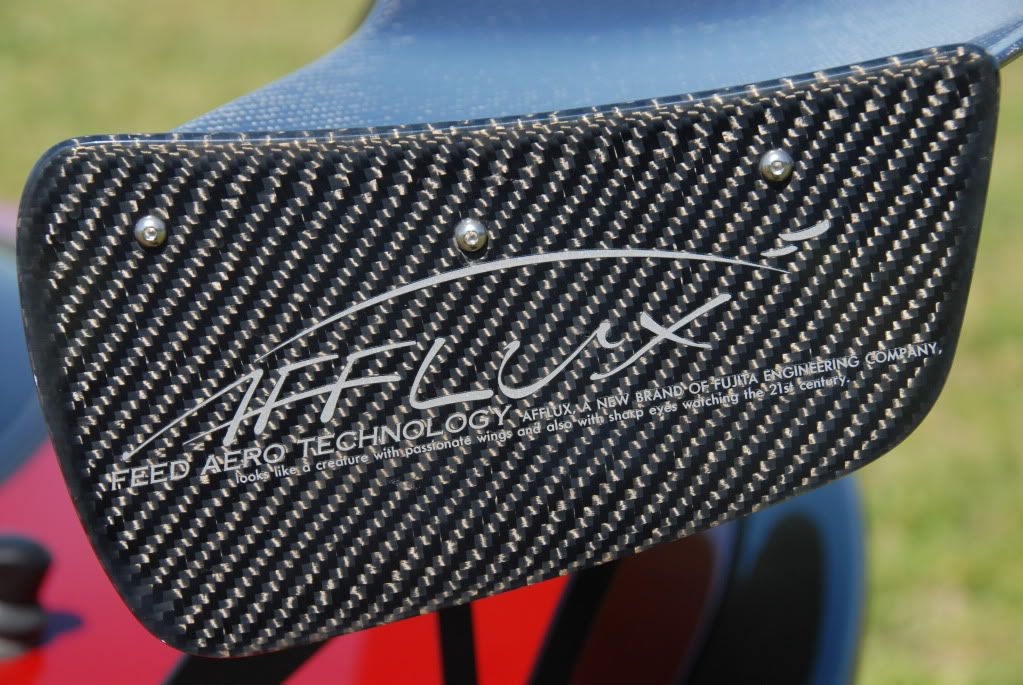
You don't want that wing... Sell it to me.

 lol, thanks Dan =P I take it you approve of it ;-)
Thank ya sir!
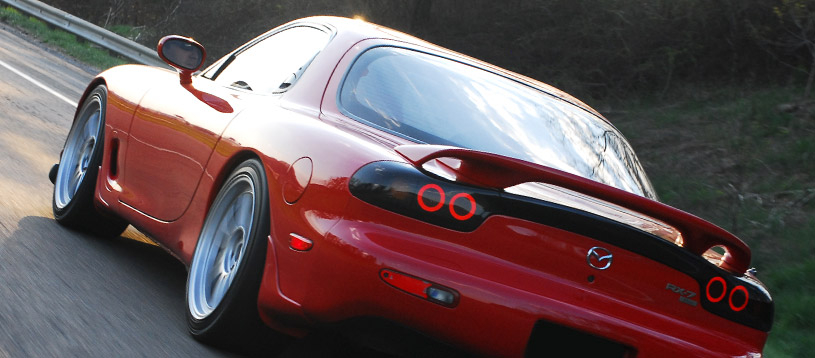
I'll post more pics after I've managed to get the diffuser (RE-Amemiya PRO) installed, should hopefully finish off the look... then I'll remove the wing for "daily" usage... hopefully it will help me avoid unnecessary police attention.

Joined: Mar 2001
Posts: 30,818
Likes: 656
From: FL-->NJ/NYC again!
I have a set of almost-new 99 spec lights that I may be selling once I get Tom's pimpin' setup in hand..... I also may just keep them due to the rarity factor you mentioned.


I like the look

Is photobucket not working or what? All I'm seeing are red x's?
Thanks for the compliments guys. I'm starting to like the white. The only thing I'd like to change are the wheels. Something timeless..
Thanks for the compliments guys. I'm starting to like the white. The only thing I'd like to change are the wheels. Something timeless..
Yeah, after 1 1/2 hour up on a lift with no headway on where to mount the forward most mounting points, no idea on where to reasonably attach the provided brackets, how to secure my screws into the square holes in the body behind the rear wheels and rampant uncertainty on what to do with the myriad screws, washers, nuts and bolts I called it... if the guys at RE-Amemiya had given instructions in English as well, or perhaps less faded pictures, than I would be good... but otherwise... lol, I just didn't wanna **** it up bad, and have it rip off on the highway or something!
Yeah, after 1 1/2 hour up on a lift with no headway on where to mount the forward most mounting points, no idea on where to reasonably attach the provided brackets, how to secure my screws into the square holes in the body behind the rear wheels and rampant uncertainty on what to do with the myriad screws, washers, nuts and bolts I called it... if the guys at RE-Amemiya had given instructions in English as well, or perhaps less faded pictures, than I would be good... but otherwise... lol, I just didn't wanna **** it up bad, and have it rip off on the highway or something!
On the front of the gas tank, there are two screws with nuts on them. Removed those nuts and a splash panel will come off, you'll then use the screws on the tank straps to mount to the front of the diffuser.....
Only 6 screws are required. Two of them require drilling new holes, which are located in the rear fender well. The remaining 4 use the stock holes on the back.
On the front of the gas tank, there are two screws with nuts on them. Removed those nuts and a splash panel will come off, you'll then use the screws on the tank straps to mount to the front of the diffuser.....
On the front of the gas tank, there are two screws with nuts on them. Removed those nuts and a splash panel will come off, you'll then use the screws on the tank straps to mount to the front of the diffuser.....
Lack of an installation guide didn't make matters easier! Lol.. oh well

