
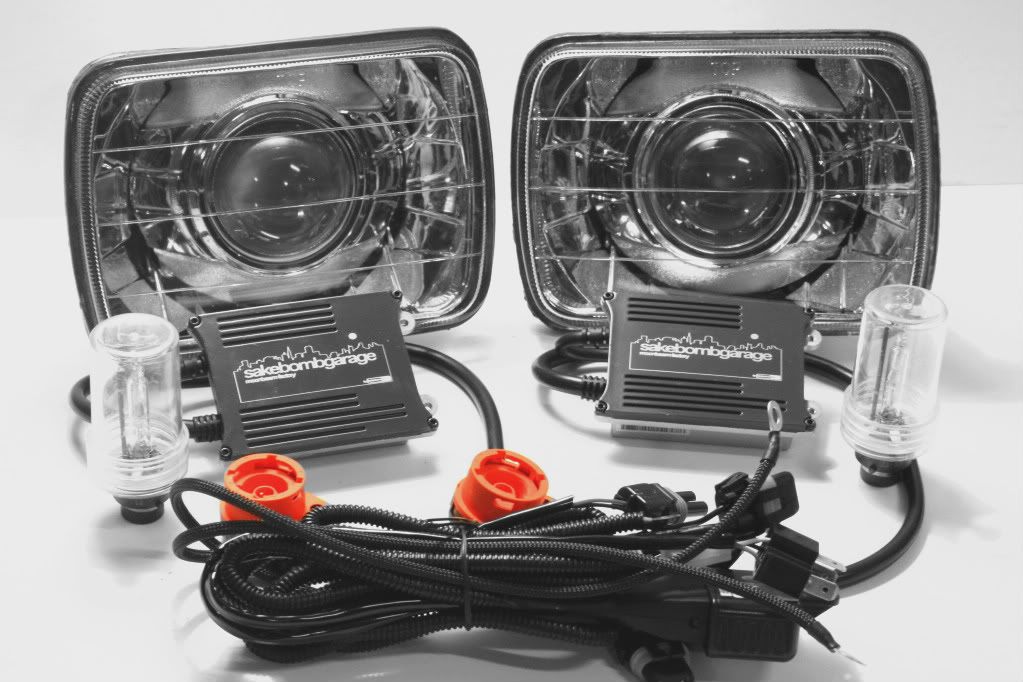
SBG FC Bi-Xenon HID Projector Install Guide... and review/pictures thread

Thread Starter
Joined: May 2003
Posts: 4,150
Likes: 0
From: CA (Bay Area)
For those who need it, here is a link to the install guide  . If you would like a PDF version please shoot me a PM. We'll try to get it posted on the website.
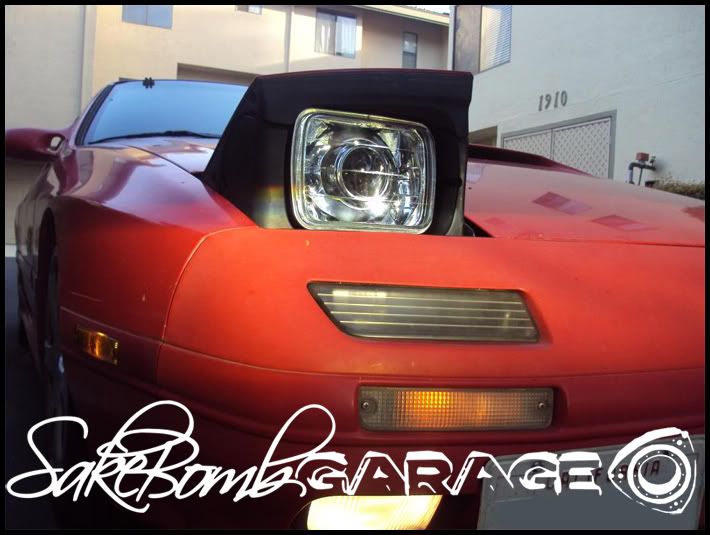
For anyone that's installing the headlights, post up some before/after pics in here, and lets hear your take on em. Hope the install goes relatively smoothly. If you have any questions about performance, operation, or other questions feel free to post in here.
Install Guide ===>> CLICK HERE

Welcome to the future
-Heath
. If you would like a PDF version please shoot me a PM. We'll try to get it posted on the website. For anyone that's installing the headlights, post up some before/after pics in here, and lets hear your take on em. Hope the install goes relatively smoothly. If you have any questions about performance, operation, or other questions feel free to post in here.
Install Guide ===>> CLICK HERE
Welcome to the future
-Heath

Too old for this
Joined: Oct 2009
Posts: 488
Likes: 0
From: Denver, CO
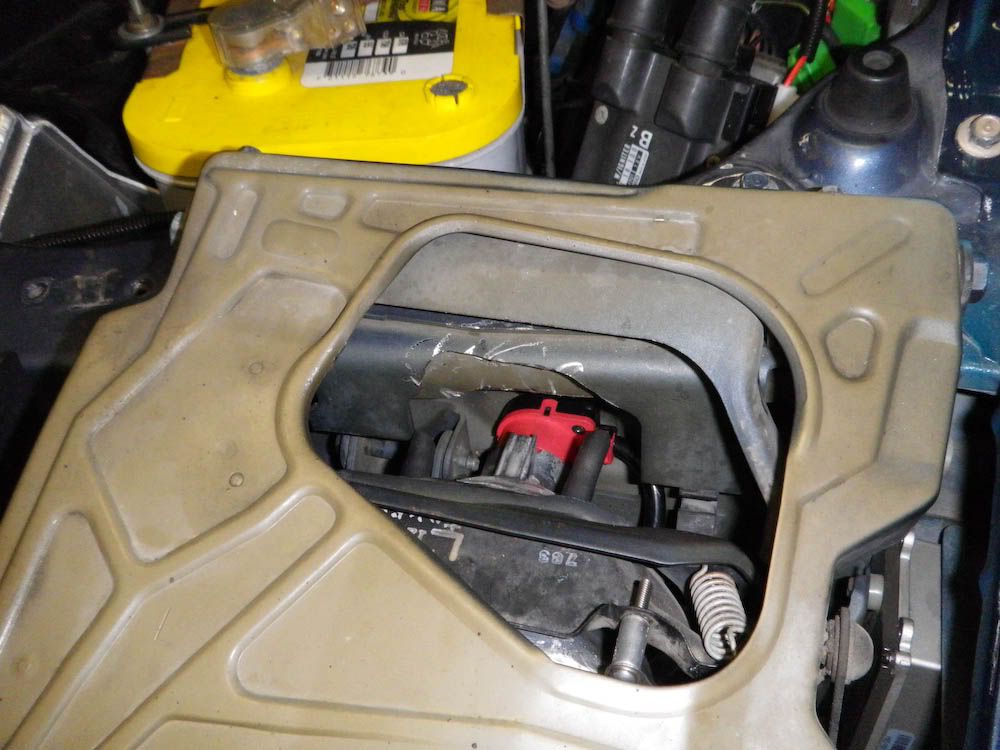
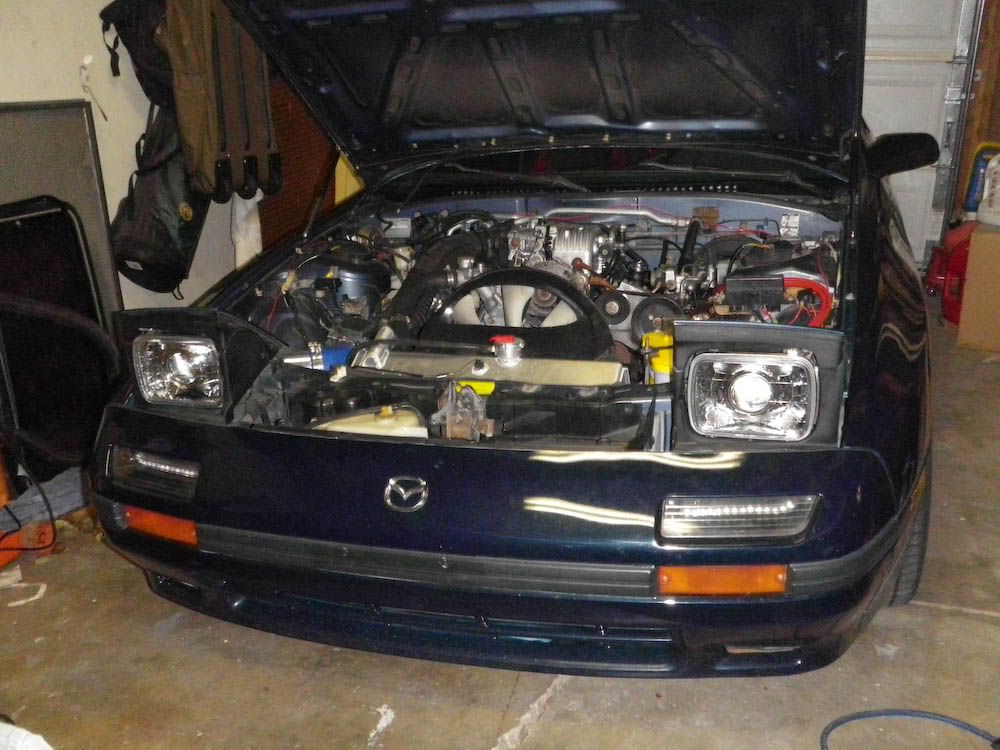
I used some .5" channel for side spacers and cut down the cylindrical spacers to fit. Ended up needing to hack the headlight bracket up, but hopefully I won't have to do anything to the plastic surrounds. Pics to come.
Thread Starter
Joined: May 2003
Posts: 4,150
Likes: 0
From: CA (Bay Area)
You may have to *slightly* notch the bottom of the shrouds, but that should be it  (well that and a little notch out of the inner bucket).
-Heath
Thread Starter
Joined: May 2003
Posts: 4,150
Likes: 0
From: CA (Bay Area)
BTW guys, the headlight alignment settings in the guide are the DOT standard, and hence are pretty damn conservative. That said, you can raise them up some... my litmus test is that if I'm going UP a hill the cutoff should never hit the eyes of the oncoming drivers (so lower windshield of a standard passenger car). Again I'm not *recommending* aiming them this way, but you know what i mean  .
.
Either way the high beams are unreal if you want more light, just make sure to respect other drivers with them, and flip down to low beams if anyone is coming. From their perspective, seeing your car cresting a hill with them on is probably like witnessing the blast from a nuclear explosion
. Either way the high beams are unreal if you want more light, just make sure to respect other drivers with them, and flip down to low beams if anyone is coming. From their perspective, seeing your car cresting a hill with them on is probably like witnessing the blast from a nuclear explosion
Trending Topics
Too old for this
Joined: Oct 2009
Posts: 488
Likes: 0
From: Denver, CO
Mission accomplished.
Half inch spacers mounted with double sided tape.
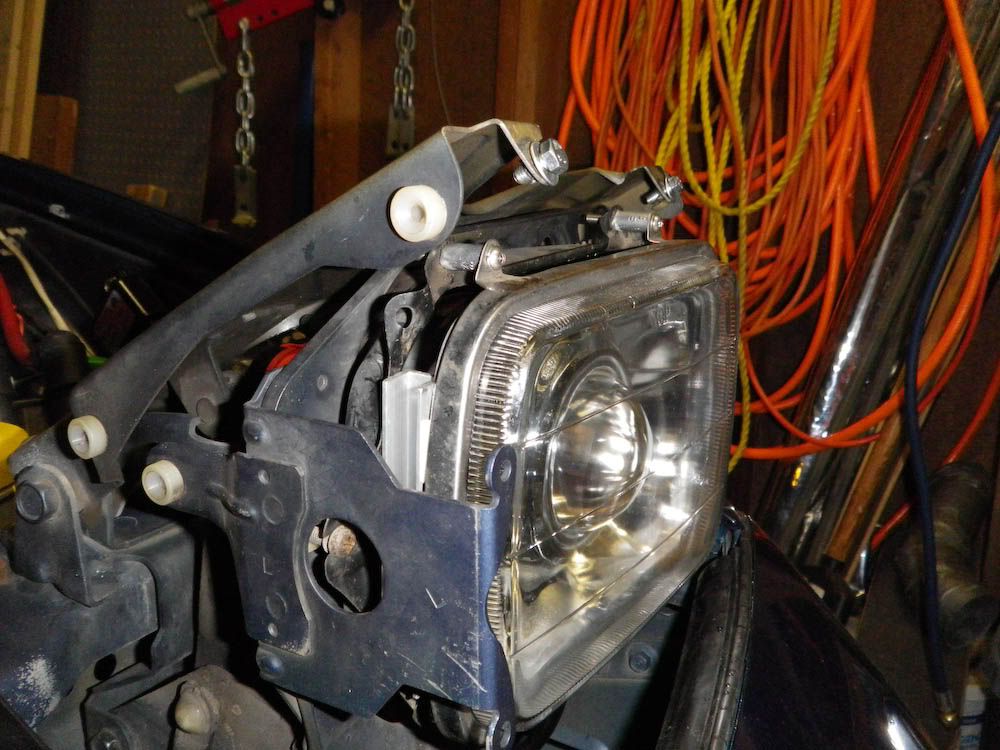
Cuts in the headlight bucket. I may have gotten a little excessive here, but like I said, shiny new die grinder.
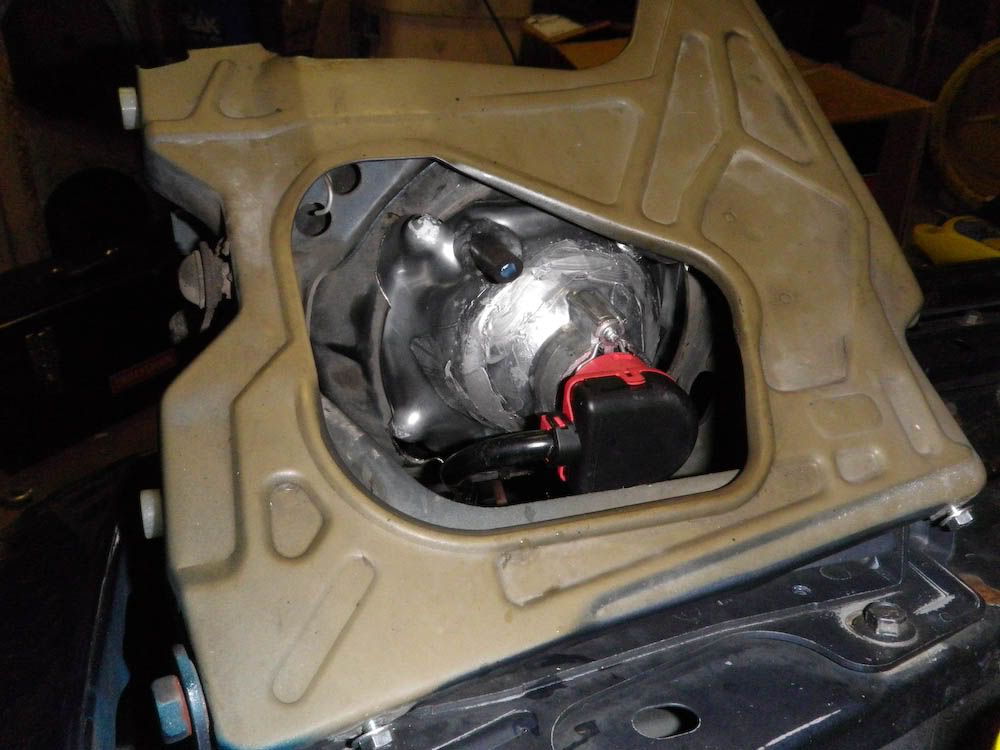
The only major cut.
The upper part of the plastic surround needed some trimming too, but nothing too major.
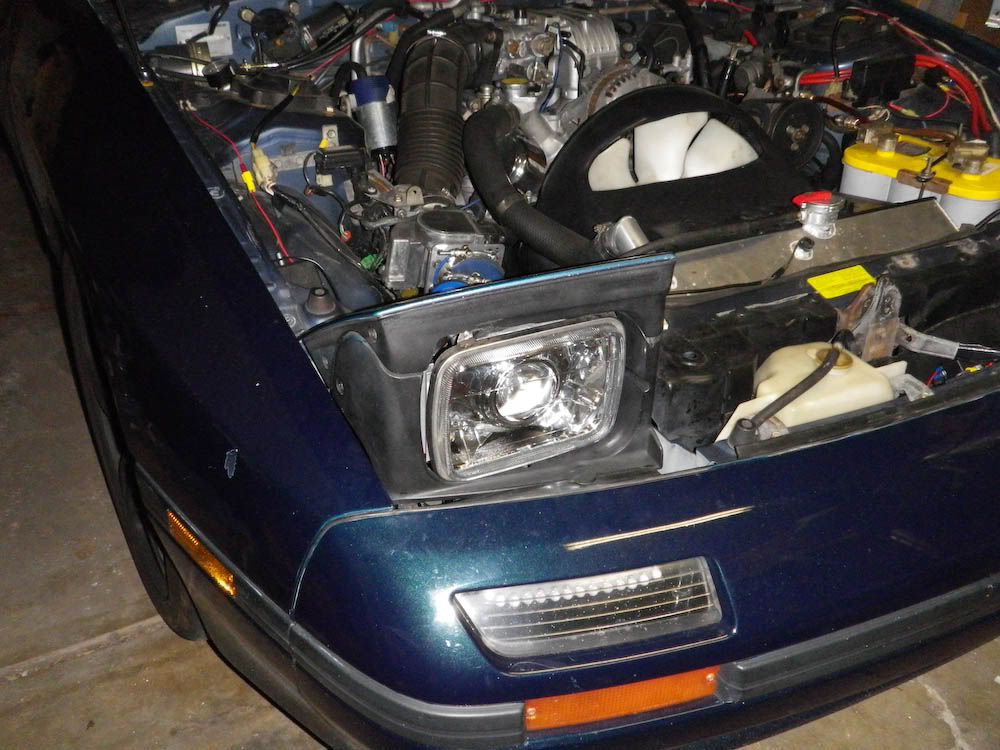
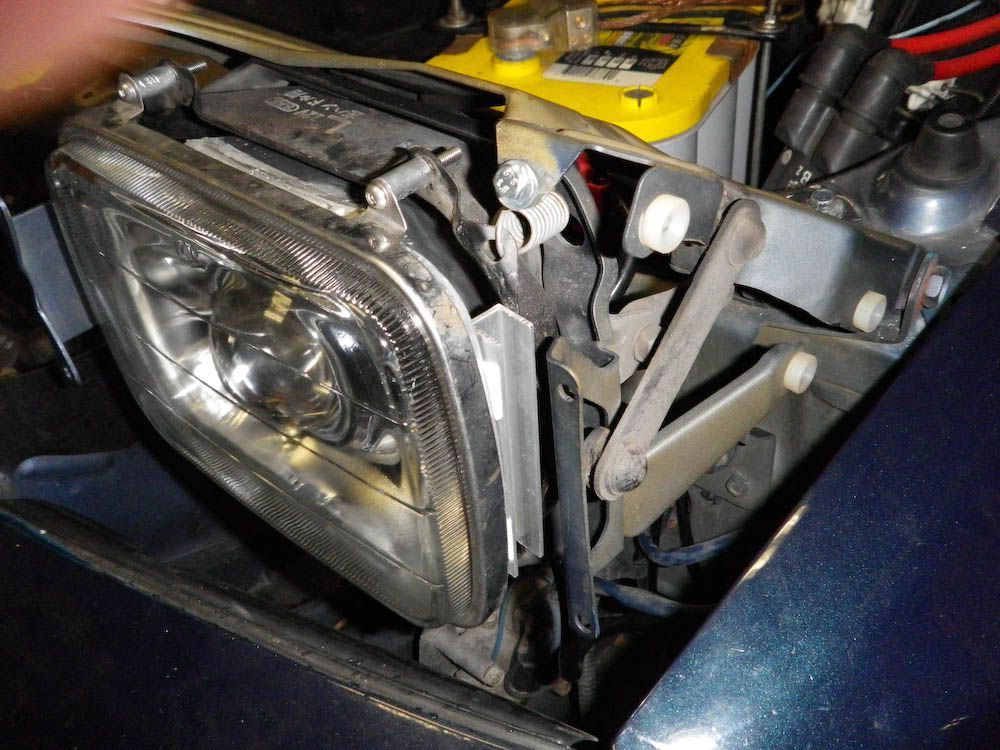
Shiny.
I can see!!!
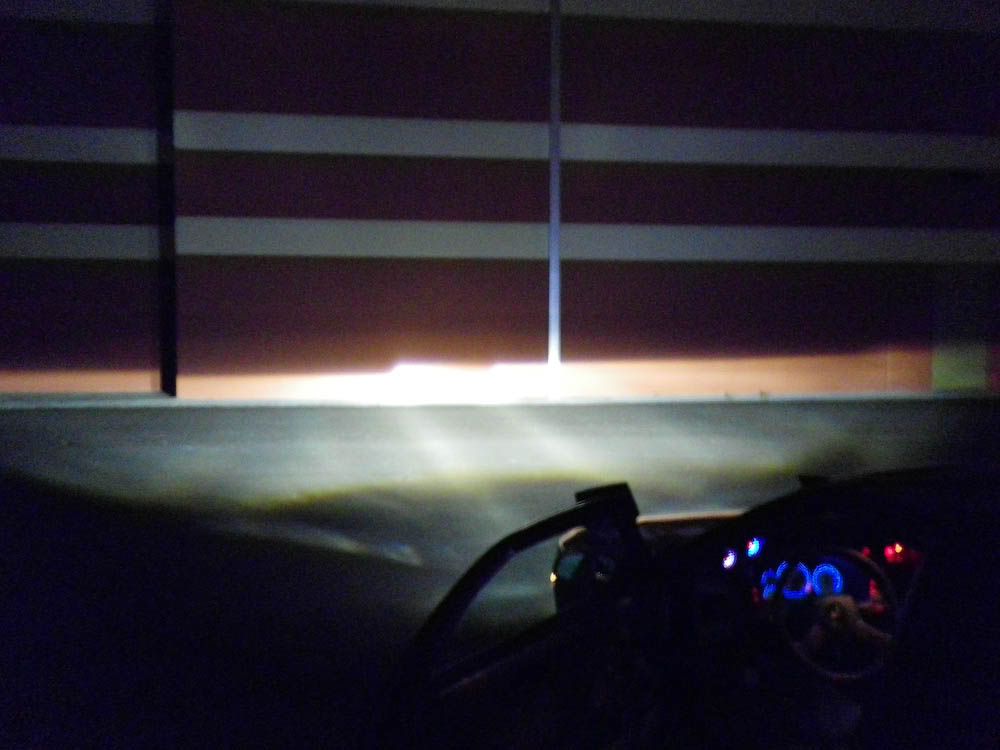
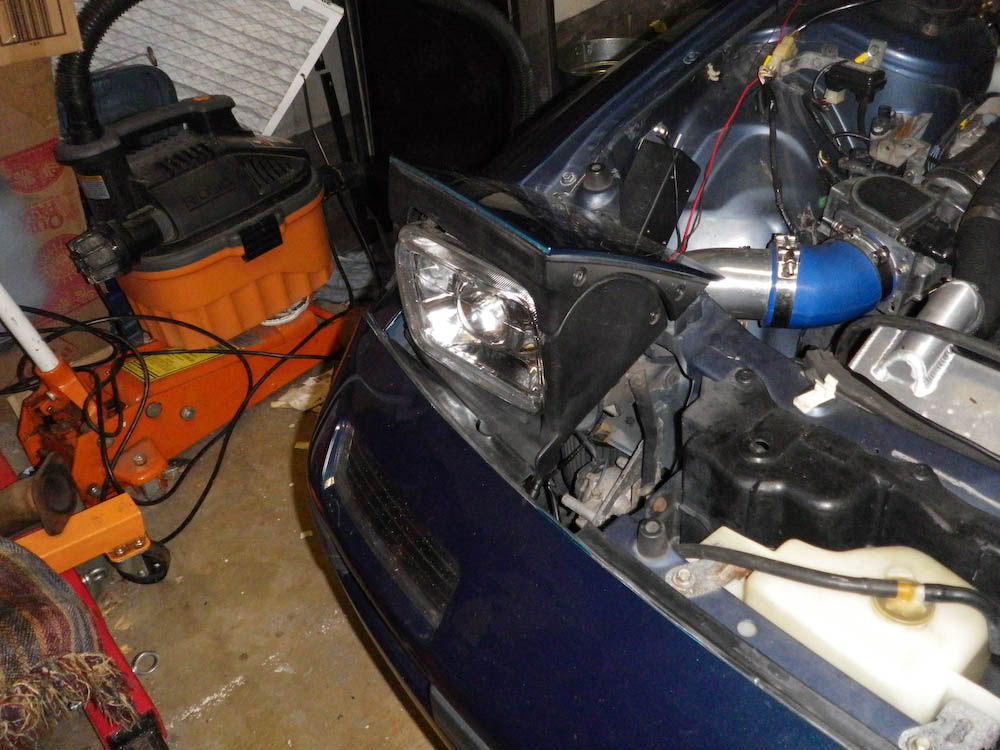
I aimed them on the wall behind my work. A little low for starters just to be safe. The last couple days it seems like the aim is wandering some. I'll keep correcting it and hopefully is will settle somewhere soon.
Half inch spacers mounted with double sided tape.
Cuts in the headlight bucket. I may have gotten a little excessive here, but like I said, shiny new die grinder.
The only major cut.
The upper part of the plastic surround needed some trimming too, but nothing too major.
Shiny.
I can see!!!
I aimed them on the wall behind my work. A little low for starters just to be safe. The last couple days it seems like the aim is wandering some. I'll keep correcting it and hopefully is will settle somewhere soon.

Too old for this
Joined: Oct 2009
Posts: 488
Likes: 0
From: Denver, CO
The thickness of the Ron Davis radiator pushed the shroud into the fan. That cutout is where the fan would be hitting the shroud. Even with that cutout though, the engine stays considerably cooler than it did with the stock radiator.
Thread Starter
Joined: May 2003
Posts: 4,150
Likes: 0
From: CA (Bay Area)
. These units stack up favorably to the headlights that come on brand new Mercedes off the showroom floor.... you'd be hard pressed to find anything better, period, let alone specifically for the FC. 
Thread
Thread Starter
Forum
Replies
Last Post
aiming, bi, bixenon, fc, guide, guides, headlights, hid, install, installation, projector, projectors, review, rx7, xenon