When you click on links to various merchants on this site and make a purchase, this can result in this site earning a commission. Affiliate programs and affiliations include, but are not limited to, the eBay Partner Network.
Have to work today, but I was up a bit earlier than anticipated, so I pulled out the flywheel/clutchdisc/pressureplate I got from the salvage yard as a whole.
Some of the markings are a bit concerning, then again it probably has sat on the shelf there for a decade or more.
Any idea on how to clean the dirt/imprints off the pressure plate and flywheel face?
Carb cleaner good?
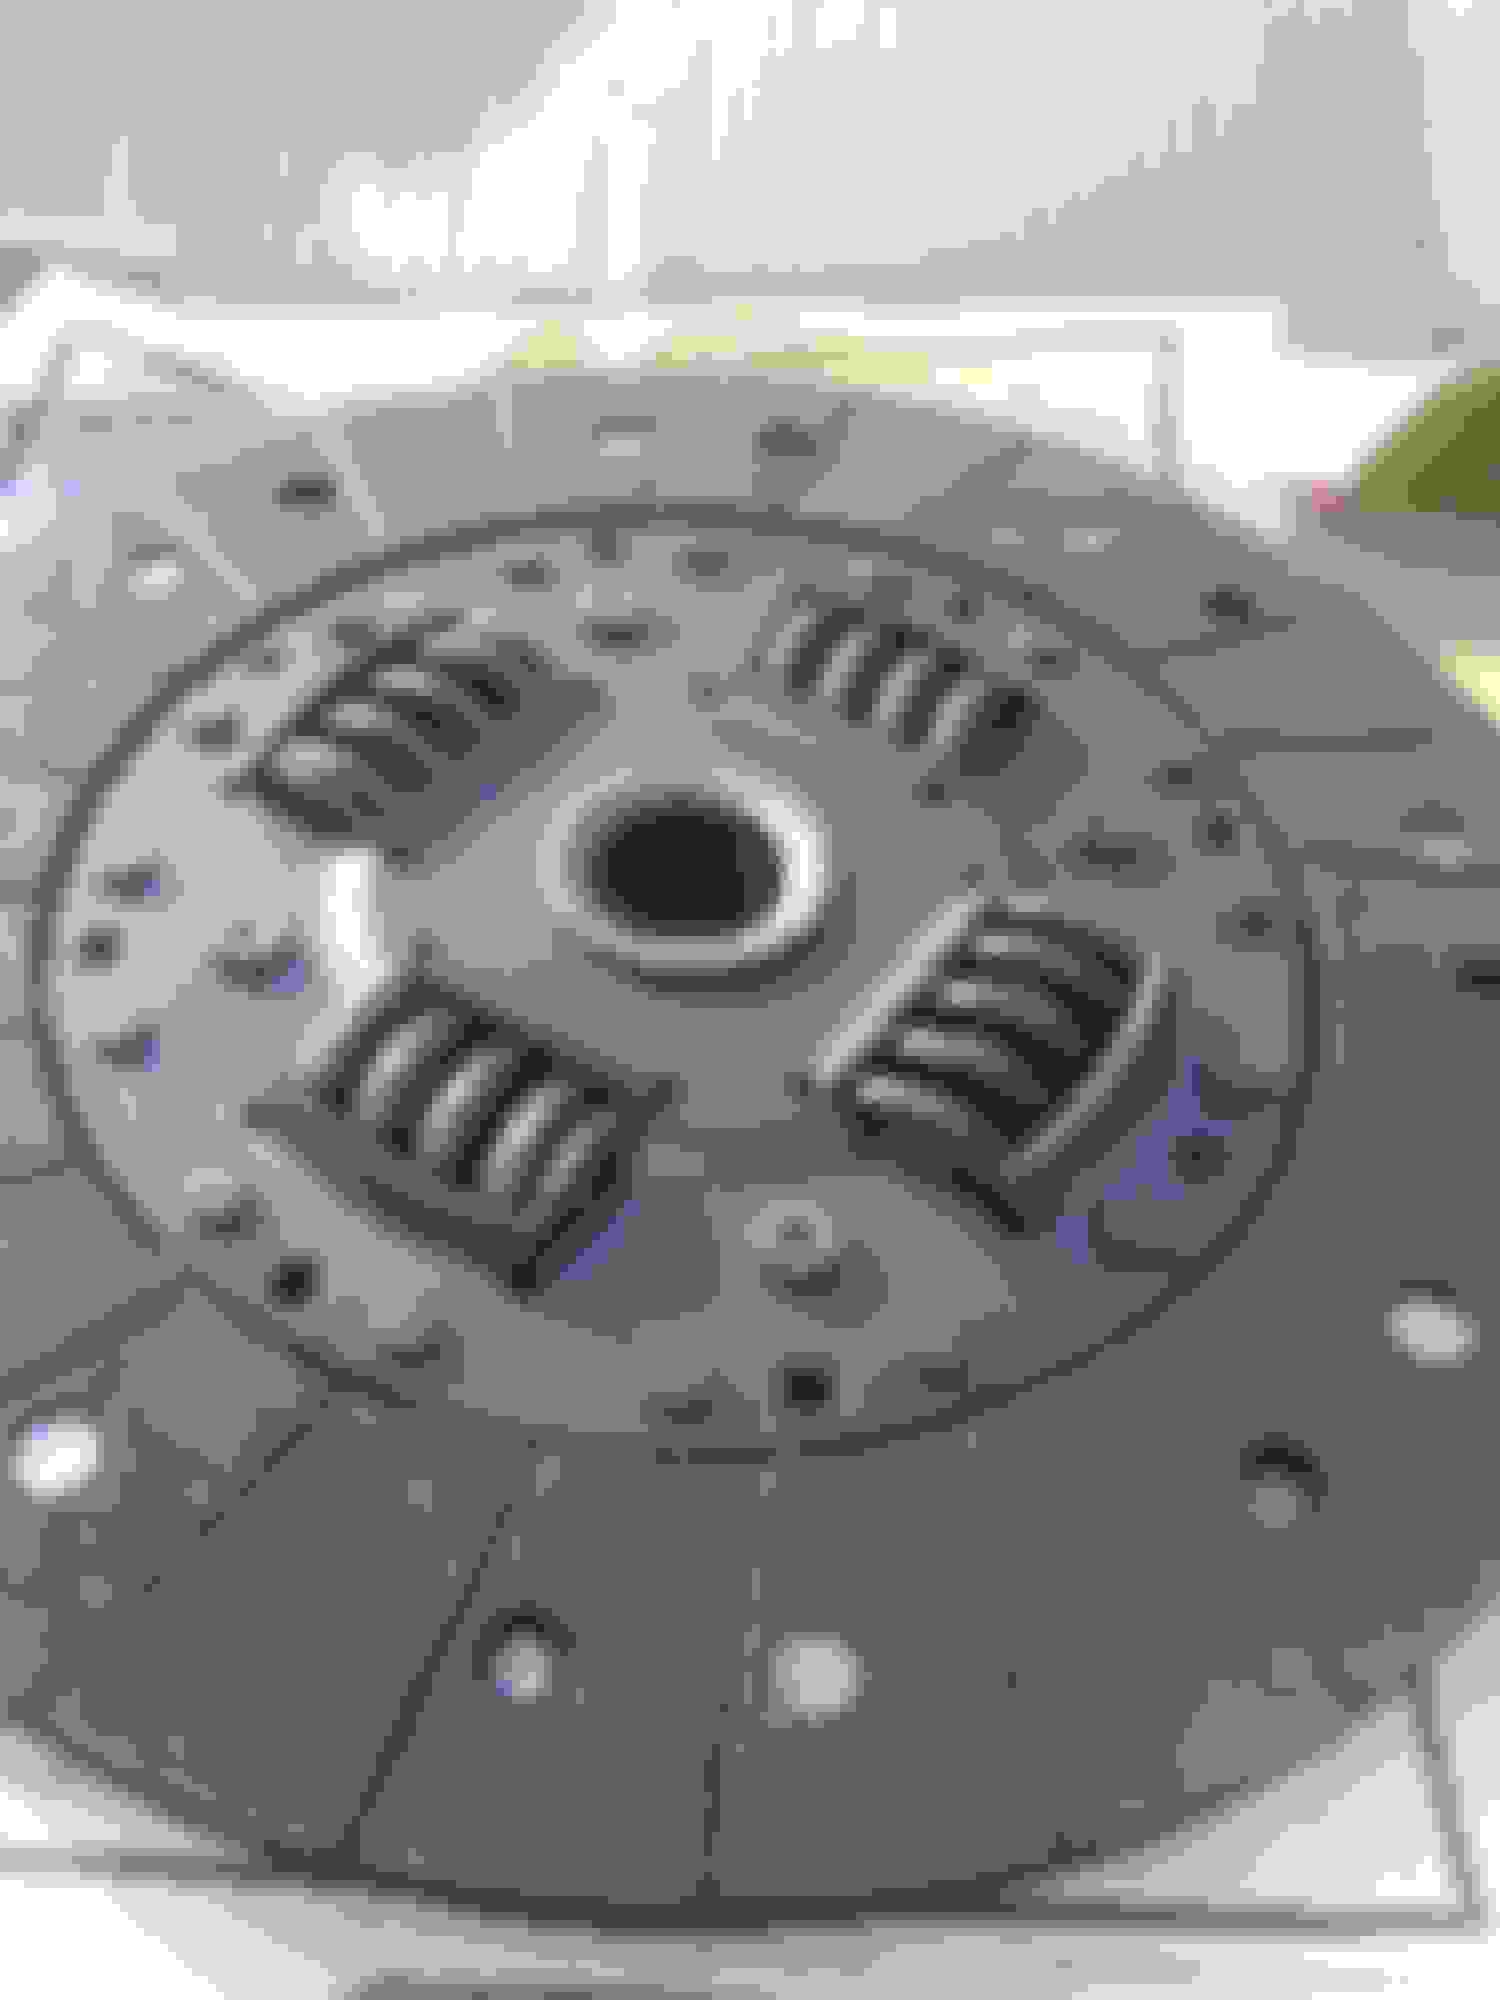
new clutch disc I bought, it doesnt specify which is the flywheel side or not. Side A
Other side of clutch disc, side B
Any idea which side is the flywheel side? I'm guessing side B
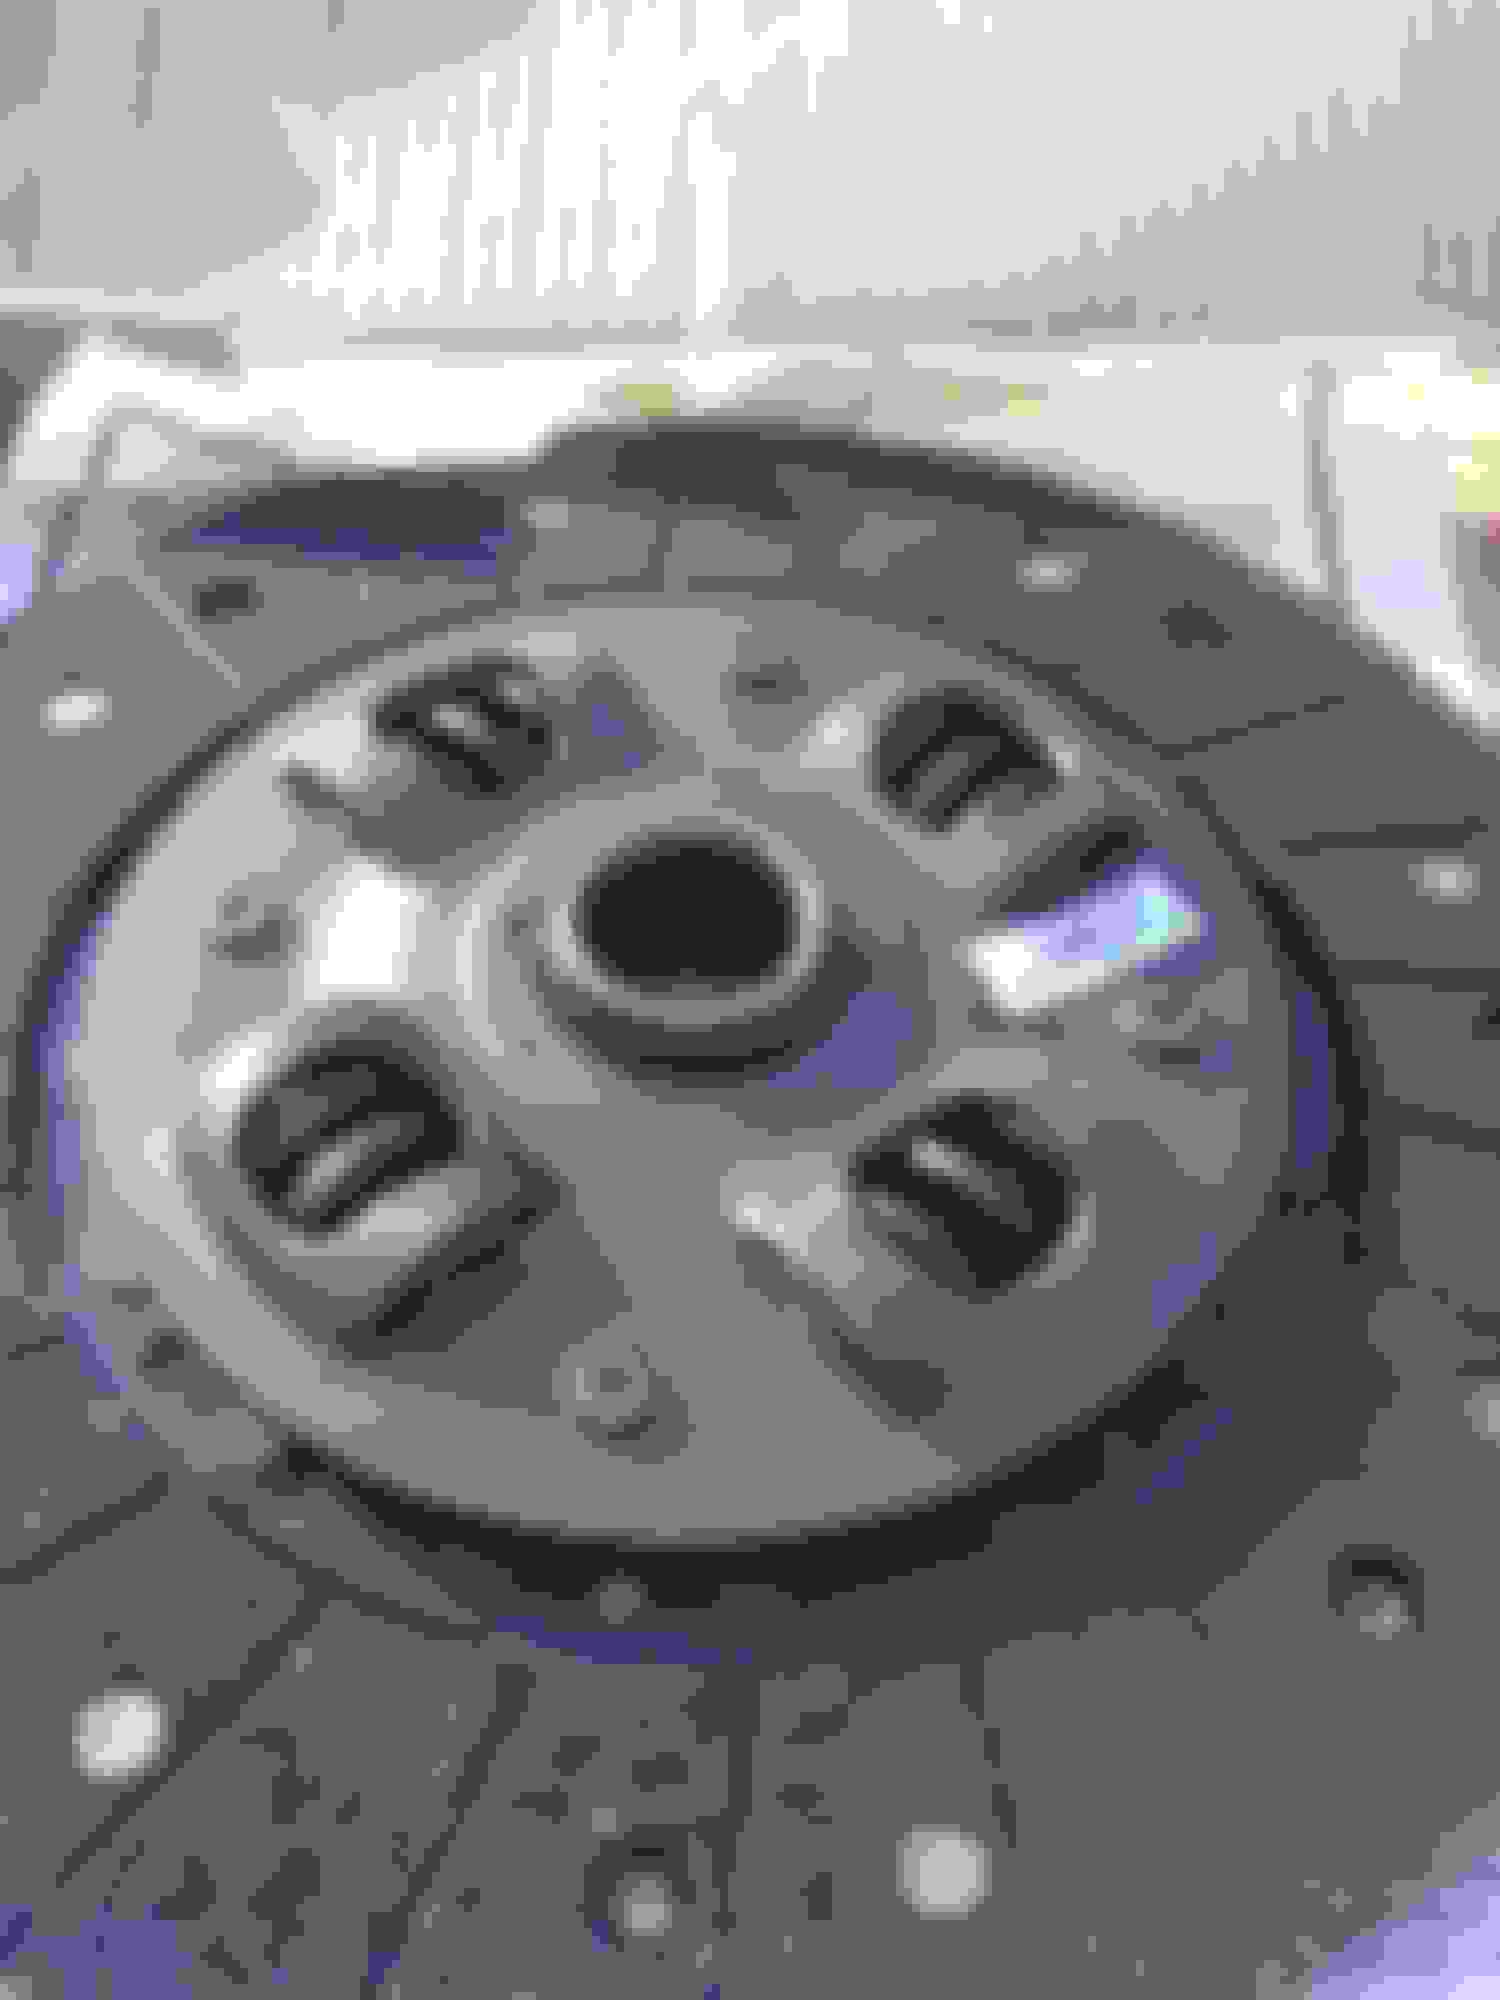
Pressure plate, dirty
old clutch disc laying on flywheel
Pressure plate face. note the dirt and imprint from being there so long lol
Well, Hoped to get the car fully swapped today but had some issues with availability with parts, but all is good now, I just need to go pickup the 54mm socket tomorrow and get that flexplate and counterweight off and the five speed stuff can start going in!
Rotaryevolution, I went to the local hardware store like you recommended (and btw, you were correct, 10x1.25) and purchased a bolt to try your removal technique for the counterweight. Heres a picture of the stock bolt next to the one I purchased. Too long? Too short? Just right?
Bolt i purchased at the local hardware store next to the factory counterweight bolts.
Also, idk if you would know about this or not, but, I had the machineshop follow rotaryresurrections guide for making the crossmember adapter..and...something just doesn't look right. He said he followed the directions, and I know its probably hard to tell, but by looking at it can you see if he drilled the holes wrong?
the adapter i couldn't tell ya, i only worked on one auto conversion and i welded in the proper manual mounts in front of the old autos.
So to recap, once the flywheel is off, just thread that longer bolt into any hole on the counterweight, tighten, whack, tighten a small bit more, whack, etc, until it comes off? exactly how much can i tighten this longer bolt down before I have to start worrying about damaging whatever it is threading into?
never really mangled a rear stat gear by that method and i do it with an impact gun. just be sure the large retaining nut is loose first. it really shouldn't take a ton of effort.
never really mangled a rear stat gear by that method and i do it with an impact gun. just be sure the large retaining nut is loose first. it really shouldn't take a ton of effort.
So, just to idiot proof myself again, by large retaining nut you mean the 54mm flywheel/flexplate nut?
Well, Had some success today, although not as much as I liked. Got the flexplate off with ease thanks to that harbor freight impact gun, and kudos to the counterweight trick, worked like a charm. Anyway, got the pilot bearing, flywheel, and clutch/pressureplate on.
Problem now is, the damn transmission will NOT go in all the way. I used a clutch alignment tool when installing the pressureplate, so that cant be it. the tranny feels like its completely mated on the bottom right hole, but everywhere else has a tiny gap.
Ive tried everything, had my friend rotate the crank bolt while i pushed and wiggled, no go. Pushed, pulled, nothing. It just will not go all the way on. Any suggestions?
make sure a wiring harness or hose hasn't managed to get caught between the bellhousing and engine.
will double check tomorrow when I have light. Also, I tried putting the shifter in (its an S4, tranny is S5, idk if that matters)
And it wont go in either, theres this stupid clip in the way..idk what to do about it. Do i just force the shifter down on top of the clip, pry the clip to one side?
I ask because alot of people have been saying put the driveshaft into the tranny, put tranny in gear, and rotate a bit to get it to align easier.
you can try putting some of the bolts into the bellhousing loosely, jack up the nose of the engine lightly and then jiggle the tranny and see if it pops in. using a driveshaft with the tranny in gear sometimes works too.
the shifter spring sits offset, you will need to carefully slide it in around the spring. that spring is for the 1/2 shift gate return to center and it breaks easily.
So, I have to push that spring to the side to clear the hole for the shifter to drop in? Thats a pretty narrow area to work with lol.. that is what you are saying right?
Btw, continued thanks for all of your advice, definitely giving credit on my build thread.
push it aside with the shifter itself while pushing the ball into the socket.
no worries.
Ended up dropping the under carriage, and using the C channel that i'm using for the transmission adapter to lift the engine back by the crank pulley, got back under the car, and in she went.
I still cannot for the LIFE of me get that damn shifter in, I have no idea how you guys push that clip aside and just pop it in, i have to be doing something wrong.
I must be doing something wrong. I absolutely cannot get the shifter to go in unless I take that top metal circular bushing out of the top of the shifter hole. Its the big thick one that fits right inside the circular area where the three bolt holes are. With that thing in, I cannot get the shifter to go in, no way.
Can someone clarify how to get the shifter in with this piece? I have it in without that part, and it feels like ***, lol.