When you click on links to various merchants on this site and make a purchase, this can result in this site earning a commission. Affiliate programs and affiliations include, but are not limited to, the eBay Partner Network.
This thread documents my repair effort on a Vert power antenna mast. Last week, the antenna mast’s nylon cable snapped near the base of the mast.I found an online warehouse that offers a suitable replacement for sale. The replacement antenna arrived yesterday so today was install day! All of today’s efforts proved successful but there were some hurdles that should be shared.
When the part arrived, I compared it to the original. The replacement mast measured 5/8” shorter than the original and the nylon cable measured 1” longer than the original. I contacted customer service for advice and they suggested using a bored out dowel at the base of the replacement mast. The length of the nylon cable was nothing to be worried about.
I found a suitable dowel at Home Depot for $0.76 (tax included). In fact, the dowel was a nylon spacer! It is found in the hardware isle in one of those big cabinets that store various screws, nuts, etc… It measured 3/8”x1” with a 5/32” hole in the center. Use Item Number 595 285. To ensure the nylon cable has sufficient room through the spacer, use a 13/64 drill bit to ream out the hole.
Next, measure the difference between the original antenna mast and the replacement. As mentioned earlier, my replacement measured about 5/8” shorter. Use a micrometer to measure the difference then mark up the nylon spacer. Cut it down to size, deburr, then check for proper fit.
Then install the nylon spacer through the cable. There is no need to glue it to the base of the antenna mast. Afterwards, feed the nylon cable through the power antenna base sleeve. The hardest part of the entire process was to coil the nylon cable into the drum. I chose to open the drum, removed an intermediate gear, extended the antenna, then fed the rest of the cable into the drum. Before the drum was buttoned up, the intermediate gear was reinstalled.
Finally, the entire unit was tested before it was secured to the car. The antenna was fully extended so when it was plugged into the car, the power unit automatically lowered the antenna. The key was not in the ignition and no power was applied to the car. I account for this movement because the drum was rotated outside of its parked position. Nonetheless, the antenna cycled a few times when the radio was turned on then off. Check out the video to see it in action!
To summarize:
1. Replacement antenna mast can be ordered through The Antenna Source, P/N: A251-81A-901.
2. Use nylon spacer from Home Depot, P/N: 595 285.
3. Drill the center of the spacer with a 13/64” drill bit.
4. Verify the length of spacer, cut it to size, deburr, then check for proper fit.
5. Install the spacer through the nylon cable.
6. Feed the nylon cable into the power unit base.
7. Reinstall fully assembled unit into car then check for proper operation.
Cheers,
George
P.S. They do not have a replacement for the FD antenna mast. I already asked!
The replacement antenna mast from The Antenna Source.
This is the overall size comparison of original (top) and replacement (bottom).
Fully collapsed antenna masts lined up. Original on top, replacement on bottom.
Note the size difference between the original (top) and replacement (bottom).
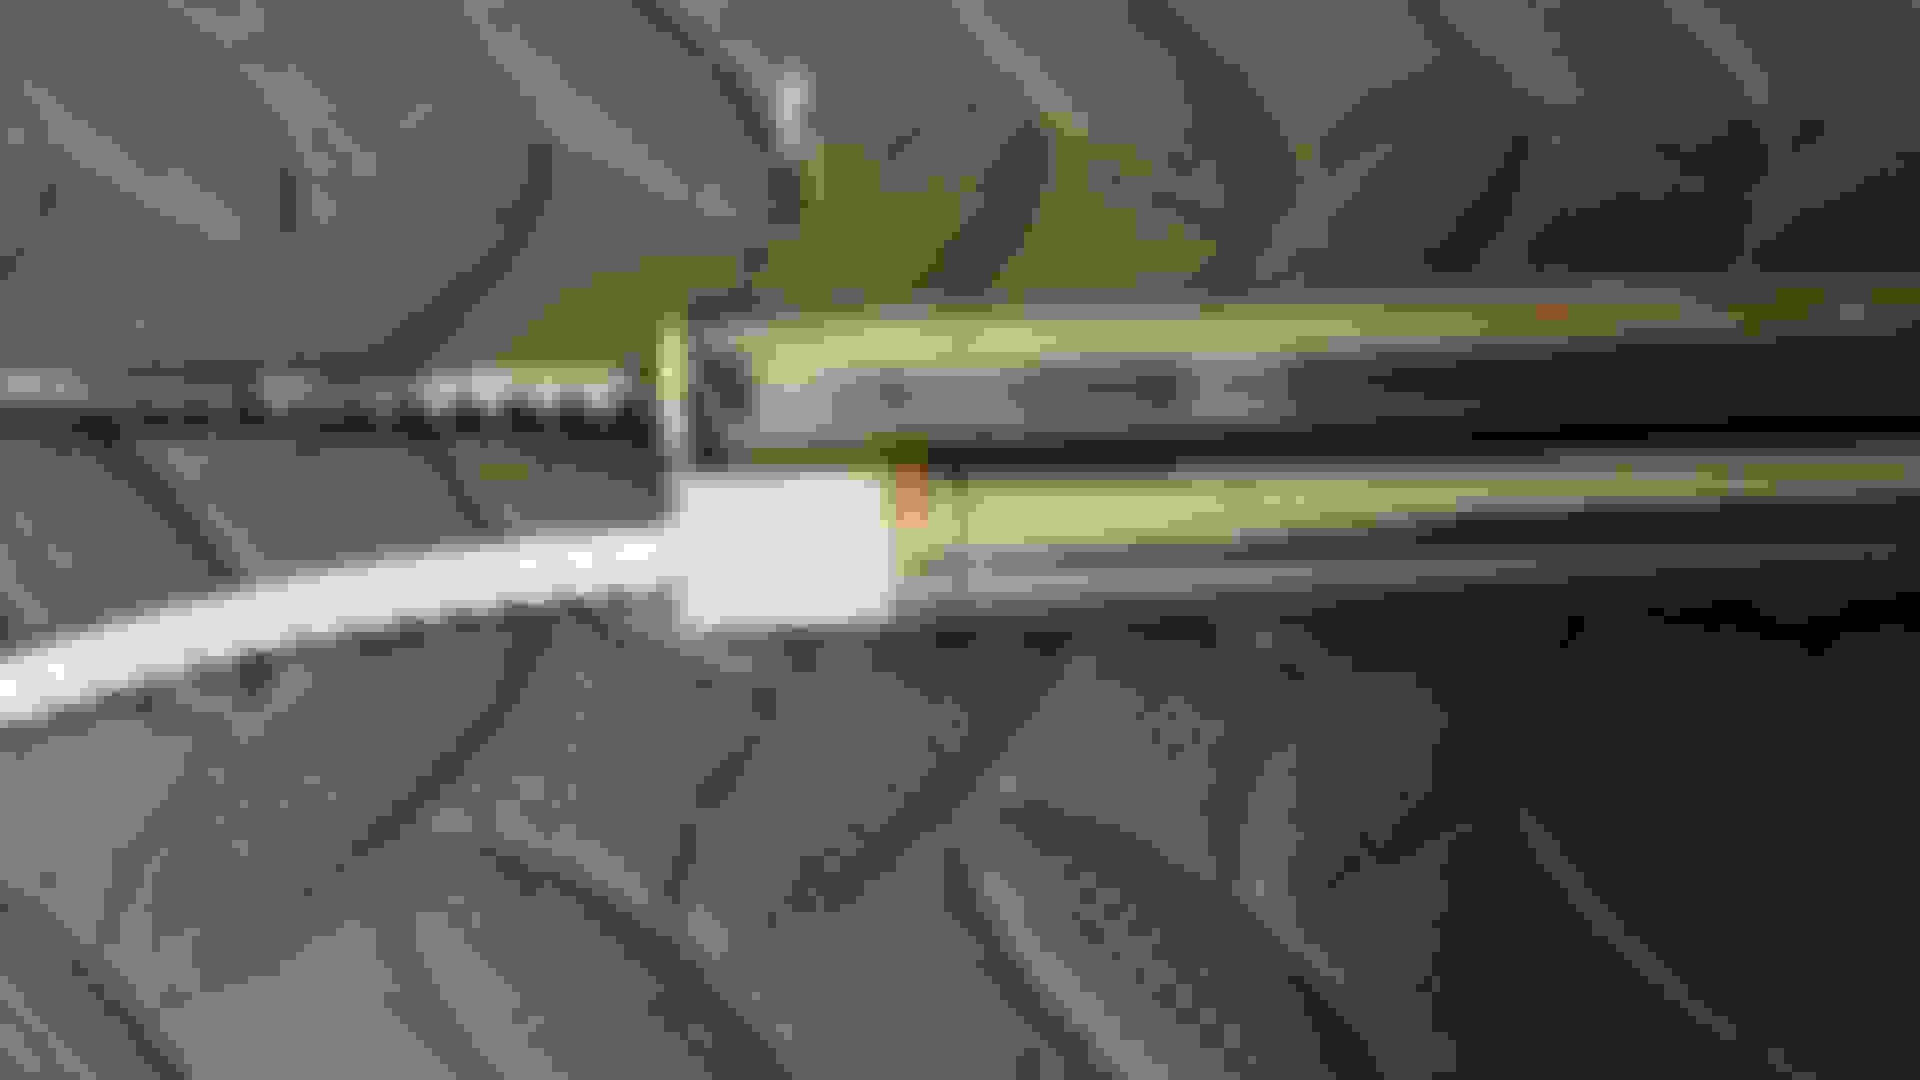
A micrometer to measure the difference.
The nylon spacer from Home Depot worked wonders!
Measure twice, cut once! The nylon spacer is aligned with the gap.
Nylon spacer inserted at the base of the replacement antenna mast. No glue was necessary and it aligns up well.