626 lip to S4 RX-7 lip writeup
 06-23-05, 05:31 PM
#1
Ban Peak
Thread Starter
iTrader: (49)

626 lip to S4 RX-7 lip writeup (56k noo)
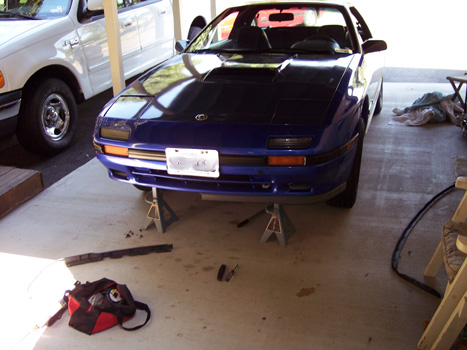
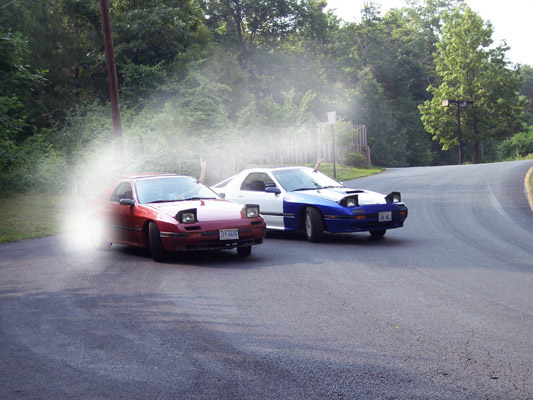
Sorry if I **** off everyone else with the 626 lip, but today I put the 626 lip on my car, and it was easy as hell. Other people have said it seems like it was meant for the car, and theyre right. I had to cut two places and just screw 4 bolts through the plastic, other than that it fit great.
Heres how:
Step 1: Go to your salvage yard and find an older 626, late 80's/ early 90's, mine came off of a 91. I got it for $15.75.
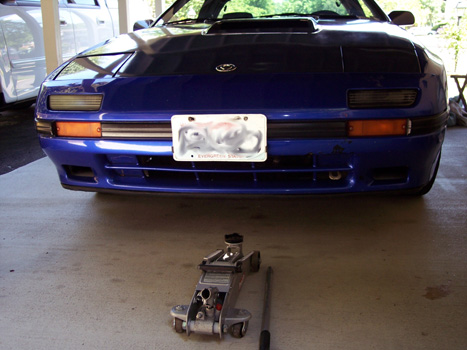
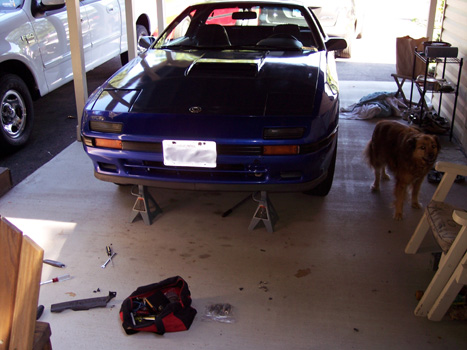
Step 2: Grab your tools, I needed a 1/4 drive screwdriver, a 1/4 drive 8mm socket, a 1/4 dirve 10 mmm socket, 10mm wrench, and a carpet knife. Now, look at your old lip then jack the car up. After that, set the new one under and do a mockup for fun.
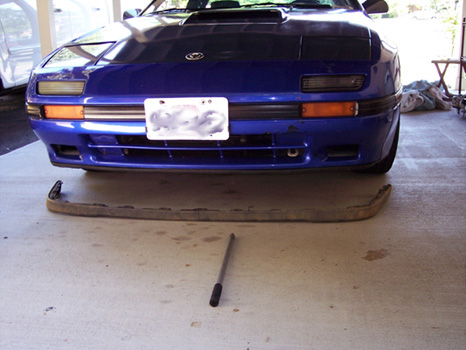
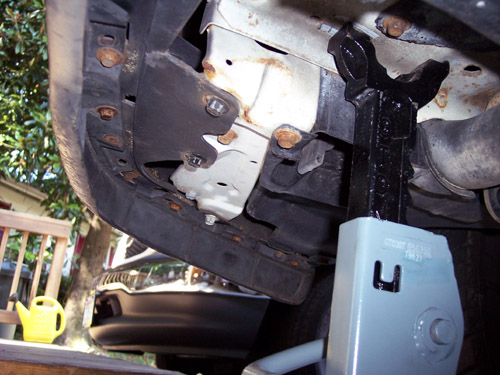
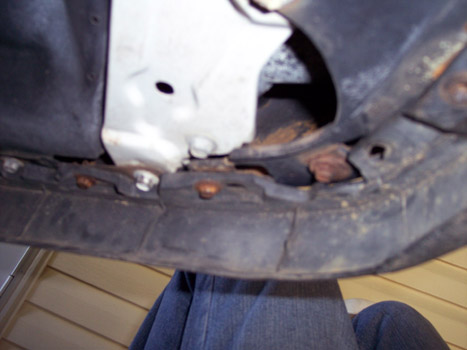
Step 3: Unbolt the old stock lip, and save the bolts! After that, center the new lip, and start mounting one side, you will need to cut once in each corner to clear a bolt(youll see in the following side pics). After that, line up the holes, with the middle of the 2 piece lip in the center, start bolting it on to your liking. then once you've got both side up, attach the middle together. I used a large washer and a spare 10mm bolt and 10mm nut. I pushed it through the holes in the lip and then set the wahser on top of the bumper hole and bolted it together.
Then you're done.
Optional step 4: Armorall the bitch and take the car out for a test drive!
Hope thats easy enough!
It took me about 30-45 minutes to put it on.
And yes, the car is 3 different colors, and yes, it's getting painted VERY soon.
-Ian
Heres how:
Step 1: Go to your salvage yard and find an older 626, late 80's/ early 90's, mine came off of a 91. I got it for $15.75.
Step 2: Grab your tools, I needed a 1/4 drive screwdriver, a 1/4 drive 8mm socket, a 1/4 dirve 10 mmm socket, 10mm wrench, and a carpet knife. Now, look at your old lip then jack the car up. After that, set the new one under and do a mockup for fun.
Step 3: Unbolt the old stock lip, and save the bolts! After that, center the new lip, and start mounting one side, you will need to cut once in each corner to clear a bolt(youll see in the following side pics). After that, line up the holes, with the middle of the 2 piece lip in the center, start bolting it on to your liking. then once you've got both side up, attach the middle together. I used a large washer and a spare 10mm bolt and 10mm nut. I pushed it through the holes in the lip and then set the wahser on top of the bumper hole and bolted it together.
Then you're done.
Optional step 4: Armorall the bitch and take the car out for a test drive!
Hope thats easy enough!
It took me about 30-45 minutes to put it on.
And yes, the car is 3 different colors, and yes, it's getting painted VERY soon.
-Ian
Last edited by Molotovman; 06-23-05 at 05:38 PM. Reason: To add pics

 06-23-05, 06:27 PM
#4
Ban Peak
Thread Starter
iTrader: (49)
It's plastic, but it's pretty flexible. My bumper and fender dont line up very well on the driverside of my car, it' bent aroudn it okay. I'd try it, for $15 I don't knwo what looks better.
06-23-05, 06:31 PM
#6
Ban Peak
Thread Starter
iTrader: (49)
Originally Posted by Digi7ech
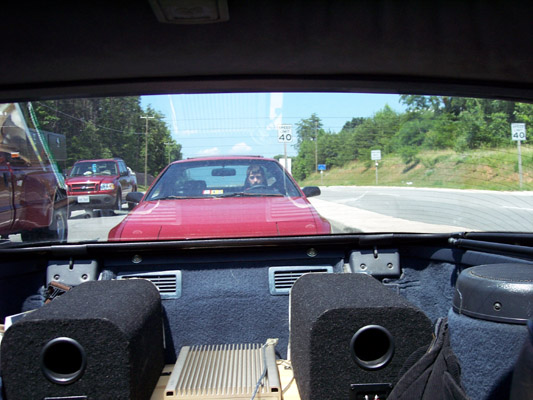
lol nice photochop drift.
Mines better though.

Mines better though.
Trending Topics
06-23-05, 07:24 PM
#8
Ban Peak
Thread Starter
iTrader: (49)
Originally Posted by owen is fat
wow man, the lip looks GREAT!
thanks for posting the info and pics, very cool.

thanks for posting the info and pics, very cool.
If you deicide to do it and have any questions, just PM me.
Thanks for the compliment,
-Ian
 06-23-05, 07:52 PM
#10
Ban Peak
Thread Starter
iTrader: (49)
Originally Posted by hondahater
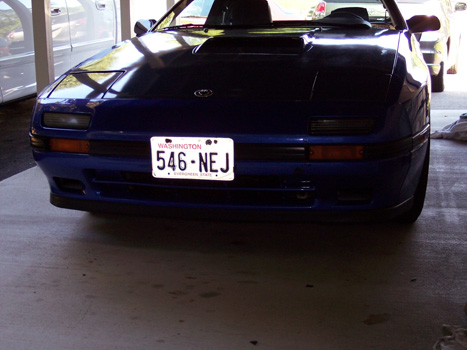
I like your license plate in the last pic good idea though, cool visual mod. You should also paint your car one color, lol.
good idea though, cool visual mod. You should also paint your car one color, lol.haha,
and I said, the cars getting painted soon
06-23-05, 09:25 PM
#12
Former Moderator. RIP Icemark.
yeah, the crappy final pictures make it impossible to see what it really looks like.
Perhaps a better picture in daylight, and one showing how it ends at the fender/wheel opening.
Perhaps a better picture in daylight, and one showing how it ends at the fender/wheel opening.
06-24-05, 03:35 AM
#14
Senior Member
Join Date: Aug 2002
Location: BC, Canada
Posts: 555
Likes: 0
Received 0 Likes
on
0 Posts
Pics don't really show how the lip comes short of meeting the fenders wheelwells.
If you cut the sides of the lip and make it gradually thin out I figured it might look good.
If you cut the sides of the lip and make it gradually thin out I figured it might look good.
06-24-05, 05:56 AM
#16
Junior Member
Join Date: Jul 2004
Location: Wellington, New Zealand
Posts: 9
Likes: 0
Received 0 Likes
on
0 Posts
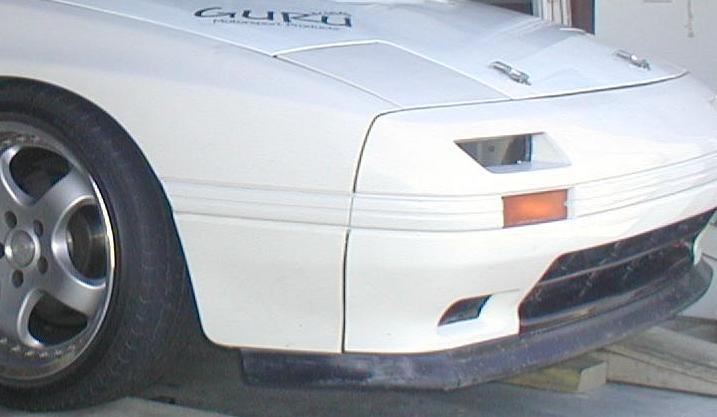
Hi, the front lip I used was off a Honda CRX (was a shame to mix brands, but couldn't find suitable 626 one). It angles out from the bumper at about 45degrees so hopefully scoops up a little air.
Same method to install thou'.
Well done
[IMG]S4 front lip image[/IMG]
Same method to install thou'.
Well done
[IMG]S4 front lip image[/IMG]
 07-03-05, 08:59 AM
#23
moon ******
Join Date: May 2005
Location: Jacksonville, Florida
Posts: 1,308
Likes: 0
Received 0 Likes
on
0 Posts
I now bring this thread back from the dead!
Um, do these have any tangible effect on the aerodynamics of the car or handle front lift any?
Or would it have to be much bigger...
Um, do these have any tangible effect on the aerodynamics of the car or handle front lift any?
Or would it have to be much bigger...
03-04-06, 07:36 PM
#24
Ban Peak
Thread Starter
iTrader: (49)
Heres some old, but new pics. All dont have that great of lighting. I saw that someone posted about the 626 lip, so im bumping it back up.
And yes, the one with the busted front end is the most recent .
.
And yes, the one with the busted front end is the most recent
.

 [/QUOTE]


