
ReSpeed Coilovers/Camber Plates (pics)

ReSpeed Coilovers/Camber Plates (pics)
I've recently done the ReSpeed Coilover and Camber Plate install. I thought I'd share some photos of the process. I did do one thing differently. Instead of using the supplied bracket which was welded on to the tube, I fabricated a different one out of thick walled pipe on a lathe. Also fabricated a top bushing which would allow the plate to travel better than the stock washer on the old system.
I also took the time to blast and paint everything I could. Please see below. If anyone would like a detailed DIY or has any questions, please let me know, I'll be glad to help.
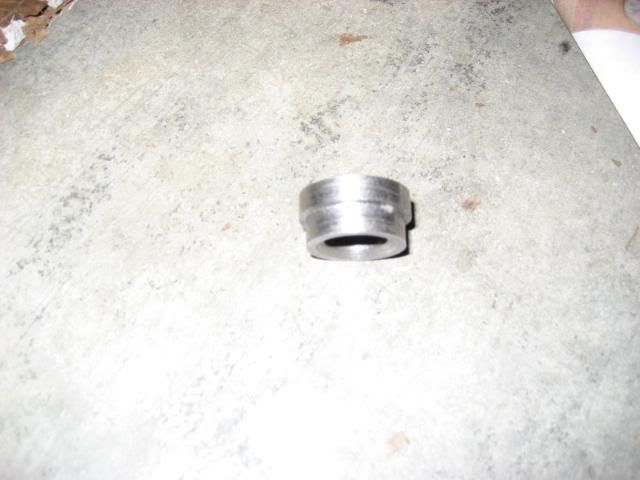
Fabricated this to go on top and allow full range of motion on the camber plates without any binding. The washer used in the stock setup was wide and would bind with the camber plate at full motion.
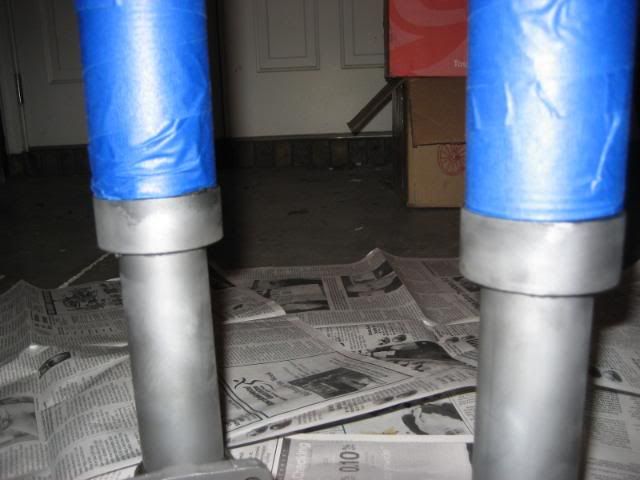
Bead blasted, taped, and ready for painting. Notice the bracket welded on.

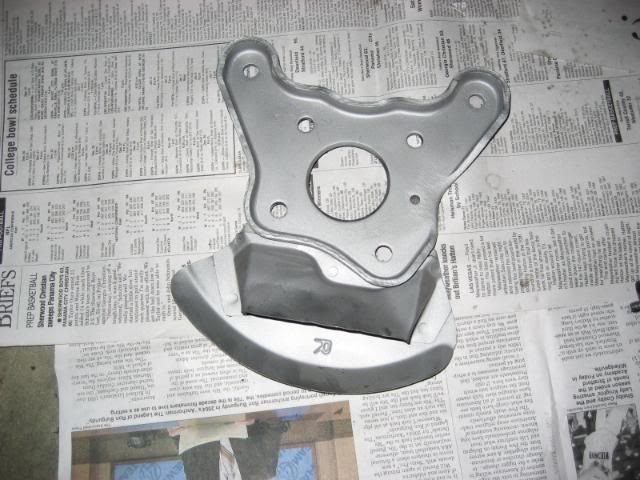
Also trimmed up the dust shields/caliper mounts and blasted them for painting.
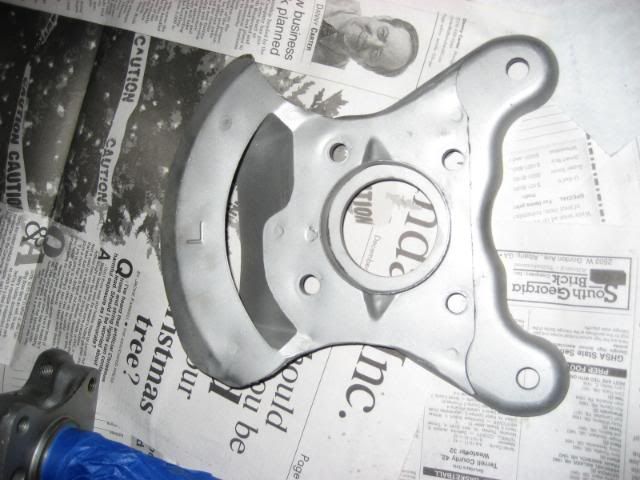
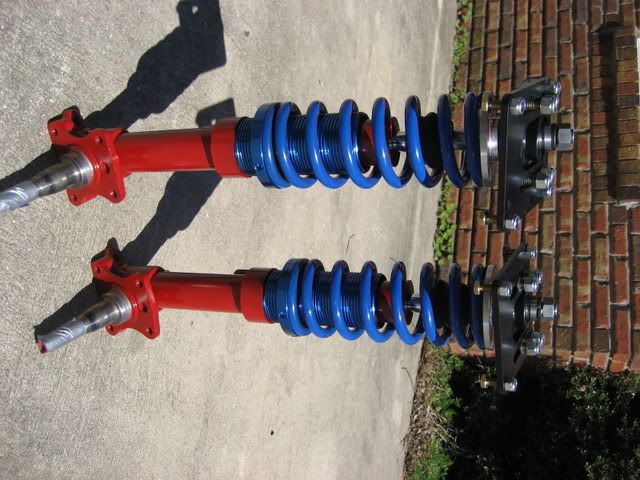
Once complete, this was the end result prior to installation of the plate, hub/rotor, and brakes.
I love the product. Billy did an excellent job and has excellent service. Thanks a lot!
I also took the time to blast and paint everything I could. Please see below. If anyone would like a detailed DIY or has any questions, please let me know, I'll be glad to help.
Fabricated this to go on top and allow full range of motion on the camber plates without any binding. The washer used in the stock setup was wide and would bind with the camber plate at full motion.
Bead blasted, taped, and ready for painting. Notice the bracket welded on.
Also trimmed up the dust shields/caliper mounts and blasted them for painting.
Once complete, this was the end result prior to installation of the plate, hub/rotor, and brakes.
I love the product. Billy did an excellent job and has excellent service. Thanks a lot!

Thread
Thread Starter
Forum
Replies
Last Post
83revival
New Member RX-7 Technical
4
Sep 3, 2015 10:42 PM