
My First Rebuild Thread '79 12A

Thread Starter
Full Member
Joined: Apr 2011
Posts: 46
Likes: 0
From: Bismarck
Well it all starts today fellas. I'm gonna attemp to overhaul the 12A in my newly purchased 79. I got a good couple months of fun in before the inevitable had to happen. I got my Haynes and Chilton manuals, as well as the atkins rotary dvd, youtube, and of course this wonderful rx7club site. Step one was a complete success; cracking a keystone light. I will probably be posting a lot of question in here as well as giving updates on how things are going. Time for step 2; tagging everything and pulling out the digital camera. Wish me luck!
Go for it!
Just re-assembled mine (80) using the MAZDATRIX video which is excellent. have the Atkins DVD too and it has some good tips. I got new info out of BOTH so its another $29 well spent for a "2nd Opinion" and more tips...

Big moment will come when you split the housings and see what shape the rotor housings are in...
'luck
Stu Aull
80GS
Alaska
Just re-assembled mine (80) using the MAZDATRIX video which is excellent. have the Atkins DVD too and it has some good tips. I got new info out of BOTH so its another $29 well spent for a "2nd Opinion" and more tips...
Big moment will come when you split the housings and see what shape the rotor housings are in...
'luck
Stu Aull
80GS
Alaska
Thread Starter
Full Member
Joined: Apr 2011
Posts: 46
Likes: 0
From: Bismarck
Go for it!
Just re-assembled mine (80) using the MAZDATRIX video which is excellent. have the Atkins DVD too and it has some good tips. I got new info out of BOTH so its another $29 well spent for a "2nd Opinion" and more tips...
Big moment will come when you split the housings and see what shape the rotor housings are in...
'luck
Stu Aull
80GS
Alaska
Thread Starter
Full Member
Joined: Apr 2011
Posts: 46
Likes: 0
From: Bismarck
I found that the FSM was more helpful than the Chilton or Haynes manuals. It's more detailed. The pictures were a little easier to understand as well the numbers pointing to things on the pics. I'm excited to see what the inside looks like. Motor has 155,000 so it could be interesting, although I don't know the history of it. Will keep you posted.
Couple of tips -
check out Pineapppleracing.com's site - they have a few videos (free on-line) that offer some good tips AND they have the necessary tools to
1) check that you have gotten your newly assembled engine sealed up properly (pressure-test valve attachment)
2) guage to measure the Dreaded End Float, which you will learn all about off the videos.
Stu Aull
80GS
Alaska
Trending Topics
Thread Starter
Full Member
Joined: Apr 2011
Posts: 46
Likes: 0
From: Bismarck
Well the motor is out and the external components removed. My flywheel stop should be here on Thursday so as soon as that arrives I will get to see the shape of the internals. The gaskets so far have been in very poor shape so it was definitely time to be gone through. Any thoughts on gasket kits? I was gonna go with the atkins. Price just jumped from $265 last week to $300 this week. I asked Dan if he would honor that price and he says he hasn't changed pricing in 8 weeks. My internet history begs to differ. Are there even any other options out there? I looked at Black Dragon but I like the Atkins kit A because it includes new springs. Looking forward to tearing in to it this weekend. Hopefully my parts washer arrives by then.

Last edited by JMB; Sep 7, 2011 at 10:59 AM. Reason: Embed Pic
Thread Starter
Full Member
Joined: Apr 2011
Posts: 46
Likes: 0
From: Bismarck
I got the engine tore down this evening. Everything looks good with the exception of the rear housing. All damage is on the bottom. If anyone has a rear rotor housing in decent shape please let me know.

Last edited by JMB; Sep 8, 2011 at 10:15 PM. Reason: Can't spell
that housing is done for unfortunately. Not sure on your budget but you can find a decent set on here for about 300-400 bucks. Or you can try and find someone that has a good running 12a thats going 13b and pick that up form them.
Thread Starter
Full Member
Joined: Apr 2011
Posts: 46
Likes: 0
From: Bismarck
Huge thanks to GySgtFrank who came came through for me on the rear housing.
I have the parts washer set up now. Questions though: Can I leave parts such as the housings in the solvent for a period of time? Will this hurt the chrome surfaces? There is a lot of build up so I thought it woud be good if I could let these parts soak overnight. Thanks
I have the parts washer set up now. Questions though: Can I leave parts such as the housings in the solvent for a period of time? Will this hurt the chrome surfaces? There is a lot of build up so I thought it woud be good if I could let these parts soak overnight. Thanks
Thread Starter
Full Member
Joined: Apr 2011
Posts: 46
Likes: 0
From: Bismarck
I got most of the parts cleaned up this past weekend. Took a lot longer than I thought it would. I ordered the rebuild Kit A from Atkins this morning. With any luck I will be putting things back together by the weekend. Here are some pics from last weekend.


Thread Starter
Full Member
Joined: Apr 2011
Posts: 46
Likes: 0
From: Bismarck
I'm kicking around the idea of painting the engine before I put it all back together. What are your guys' thoughts on that...pros/cons. If I do paint it I would like to take the parts down to Hedahls and have them blasted. Whats the best way to protect the chrome surfaces. I was thinking of using the blue painters tape and telling the guys to be extremely careful. I suppose I could even put a layer of duct tape over the blue tape. Any thoughts/comments are appreciated.
Unless you are talking some fancy paint work, I just rattle-canned mine (black, sue me for lack of imagination....). Frog-Tape (new green tape for masking sold at Lowes, etc) was great, with some newspaper to cover the combustion areas...
Stu Aull
80GS
Alaska
Stu Aull
80GS
Alaska
Thread Starter
Full Member
Joined: Apr 2011
Posts: 46
Likes: 0
From: Bismarck
Thanks Stu. Here is what I did last night. Two layers of the blue painters tape. I had an extra roll so that is what I went with. I'm gonna run to Hedahls after work and see what they can do. I just want to get the areas that are hard to get to with a brush cleaned out before I paint. Probably do a silver/black scheme.


Thread Starter
Full Member
Joined: Apr 2011
Posts: 46
Likes: 0
From: Bismarck
Thermal Reactor
I need some advice on the thermal reactor. It looks to be in tough shape and last night I noticed that one of the inserts(?) was broken. Where can a guy find replacement inserts. See pics below.


Joined: Apr 2006
Posts: 3,740
Likes: 6
From: Las Vegas, NV
Your still going to cover the coolant ports on the housings/irons right? You don't want paint in there. Just the outside of engine! Sorry I don't have any input on the thermal reactor.
Thread Starter
Full Member
Joined: Apr 2011
Posts: 46
Likes: 0
From: Bismarck
I did a little research on the thermal reactor and it looks like the easiest option is to ditch the unit and go to a header. I saw a couple different options available. One from racing beat and one from pacesetter. I know nothing about either company. Pacesetter looked to be a little more affordable. I am not into racing or anything. Would like to keep the car as close to stock as possible.


Thread Starter
Full Member
Joined: Apr 2011
Posts: 46
Likes: 0
From: Bismarck
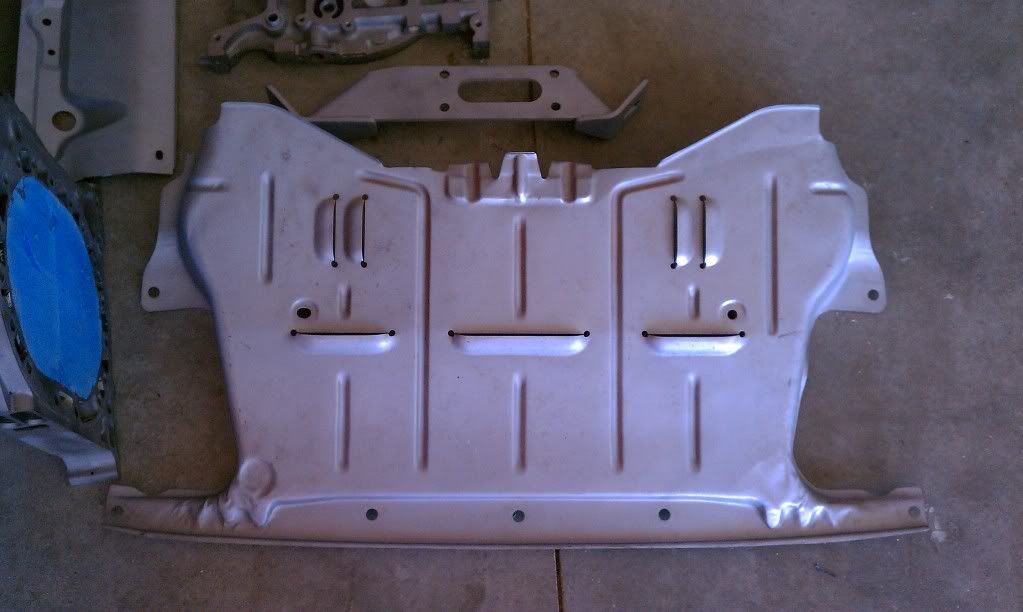
Picked up the parts this afternoon that I took down to get blasted. I was pretty happy with the work. Of course it took them longer than they expected. They guy who did the work used to have an rx so I was confident he wouldn't screw anything up. Here's what they look like:
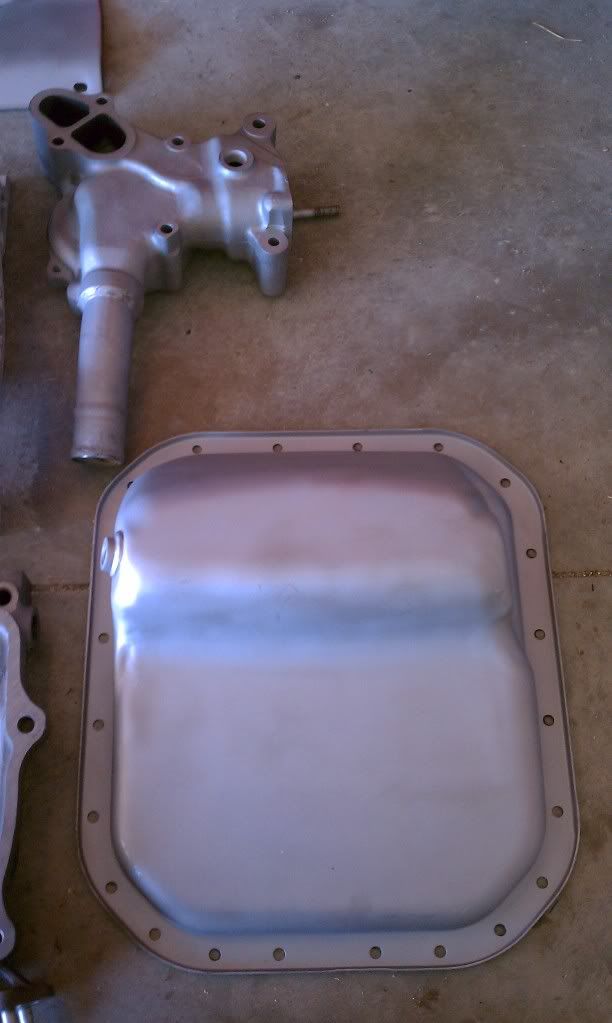


I noticed you had the irons blasted. Be very careful to ensure all the blast media is removed from every little area. I blasted my housing and irons and powercoated then only to find out I did not remove the blast media completly. The result was grit in the oil pan, brand new rotor bearings and stationary bearing ruined, and esentric shaft runied. I will never again media blast irons or housings. I found the best way to clwean them was a wire wheel. I thought I did a good job of getting the blast media out. I was wrong.