
Just Finished my new Tail Lights

Just Finished my new Tail Lights
Well, a couple weeks ago I broke my passenger side tailight. Being pretty hard to find one I decided to try and make a new lense for it.
I just finished them today. The drivers side came out pretty good, but the passenger side came out kind of rough. Along the top it could be cut a bit straighter, but at this point I just wanna take a break because it was a long pain in the ***.
I decided to do circles, so I know for the other circle masked tailight created by another member on the board he just painted over the reverse light, I decided to keep it and just put a smaller circle for it.
The smaller circle was pretty noticeable, but after my buddy suggested using vht nightshades on the outside and it covered it up pretty good.
Anyways here are some pics:
The start of forming and cutting the plexi

The plexi cut and formed, and the black outside frame wrapped around:


Circle masks cut and placed (no I wasnt drinking CM, I was using the for the masks)

Masks removed after painting (No vht painted on the outside yet)

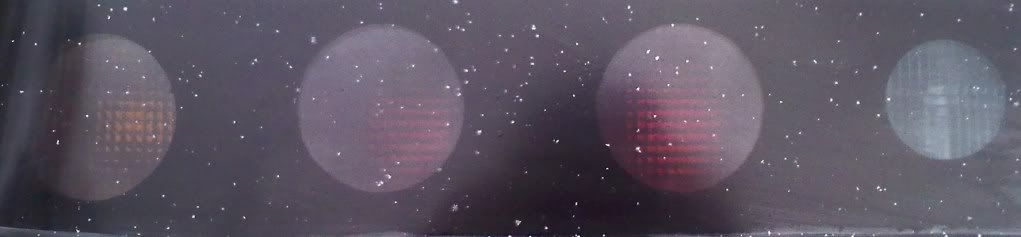
At night compared to stock:


VHT Prep

After VHT at night:

There not the best pics but theyll do, Ill post up tommorow a pic during the day.
I just finished them today. The drivers side came out pretty good, but the passenger side came out kind of rough. Along the top it could be cut a bit straighter, but at this point I just wanna take a break because it was a long pain in the ***.
I decided to do circles, so I know for the other circle masked tailight created by another member on the board he just painted over the reverse light, I decided to keep it and just put a smaller circle for it.
The smaller circle was pretty noticeable, but after my buddy suggested using vht nightshades on the outside and it covered it up pretty good.
Anyways here are some pics:
The start of forming and cutting the plexi
The plexi cut and formed, and the black outside frame wrapped around:
Circle masks cut and placed (no I wasnt drinking CM, I was using the for the masks)
Masks removed after painting (No vht painted on the outside yet)
At night compared to stock:
VHT Prep
After VHT at night:
There not the best pics but theyll do, Ill post up tommorow a pic during the day.
pretty cool ... way to go winnipeg 
hey , you could have made the middle circle rotor shaped.
you going to drive the 7 all winter ? maybe make a set that says "Back Off "
hey , you could have made the middle circle rotor shaped.
you going to drive the 7 all winter ? maybe make a set that says "Back Off "
I think I have had to honk so many more times then in my third gen, either idiot drivers are on the rise or there is no respect for the FB in winnipeg.
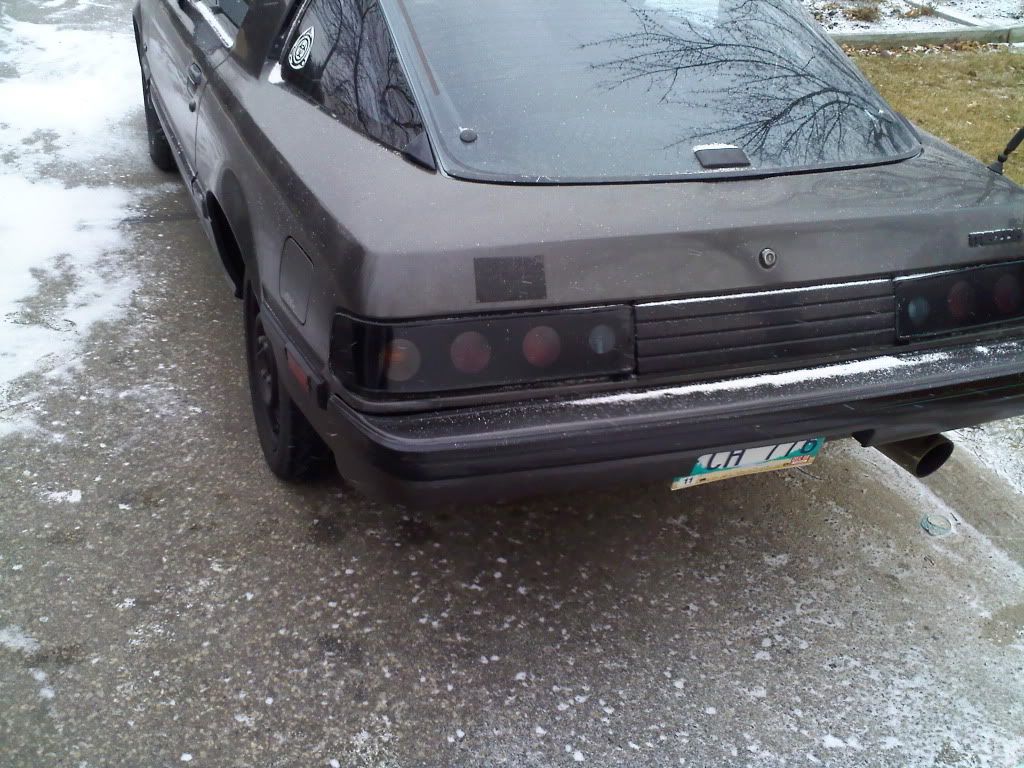
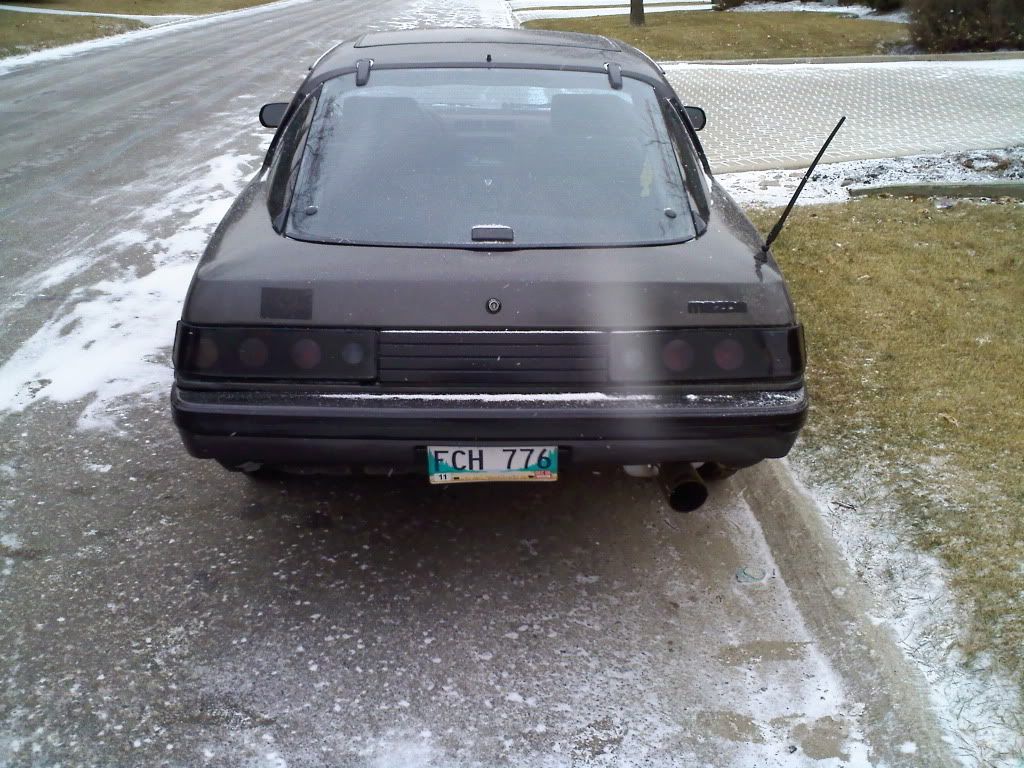
When I post up some daylight pics tommorow you can see the uneveness on the passenger side cover, which I will try to fix at a later time. Overall though im pretty happy with them.
I will also try and get the pictures less blurry so the circles dont seem to mix together like the last pic.
Ahh, I see what you mean. I originally though of doing it that way like when you do the 99 spec conversion on FD tail lights.
The reason why I painted the circles on the inside of the lens that I made as opposed to the colored lens itself was to disquise all the black silicone sealent I used. Doing it this way also then hid the 2 black plastic seperators between the reverse and brake and the brake and turn signal.
I also did smoke the outside of the lens as well. I gave it two coats of VHT and it blended the circles well and helped disquise the reverse light. It would have required alot of vht to cover the outside and not completely black out the circles (by masking them a couple shades in) in order to hide the silicone and the black seperators.
Trending Topics


I never thought of that, thats a great idea. Maybe even some of that spray can froster might be worth a shot. With all these ideas I might just have to make another set, possibly over christmas break.

Good job on the lights. I would agree that they need to have a design on them. I have a couple of rear lights that could use a new cover or two!
it's too bad you have to drive that car in winter. I have two FB's here and each one rotted out super fast when they were driven in winter.
it's too bad you have to drive that car in winter. I have two FB's here and each one rotted out super fast when they were driven in winter.


thanks guys, looks like ill definately have to re-visit this one as theres alot of support for a rotor design, anyways heres a couple daytime pics.
Probably good use some more tint.
Probably good use some more tint.
Dreamin of drivin my 7!
iTrader: (18)
Joined: Feb 2009
Posts: 1,073
Likes: 1
From: Seabeck, Washington
Nice! Everything is a learning process. I think for your first shot at it you did great. Gives me some ideas for mine! How did you bend the plexi? A heat gun? You could probably use an old tailight and make a cast/template and use clear liquid acrylic and end up with a perfect/factory fit. Good work.
Thanks I did gental forming with a heatgun to bend it, trying to both not crack it and distort the plastic at the same time from too much heat.
That an awesome idea about making a template. Definately would work alot better, as mine just sits on top of the housing, unlike the factory which has grooves that lock it into place. It would also provide a much more professional finish.
That an awesome idea about making a template. Definately would work alot better, as mine just sits on top of the housing, unlike the factory which has grooves that lock it into place. It would also provide a much more professional finish.

Thread
Thread Starter
Forum
Replies
Last Post