
How to properly fix tail lights?


Thread Starter
Banned. I got OWNED!!!
iTrader: (2)
Joined: Oct 2004
Posts: 6,122
Likes: 1
From: London, Ontario
How to properly fix tail lights?
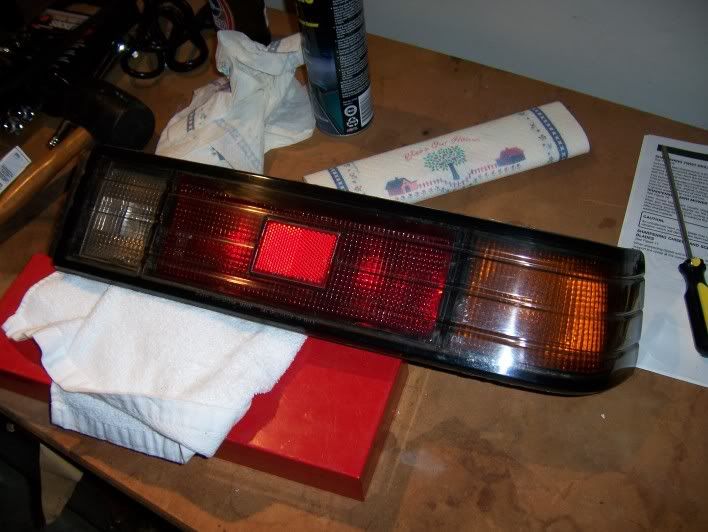
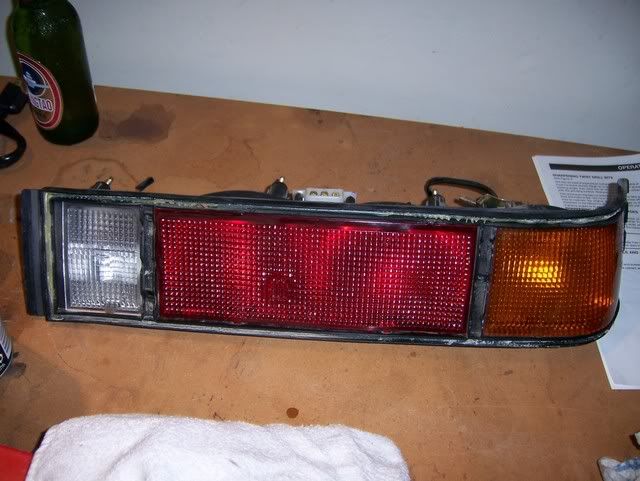
Alright, I'm pretty sure that alot of you guys have this problem since almost everycar that I see here has this problem. The outside lens of the tail lights start coming off from the bottom corner closest to the center black piece and allowing dirt and water to seep through. If anyone knows the best way, to safely fully remove the lens and then what adhesive to use to re-assemble the parts would be great. Thanks
Full Member
Joined: Apr 2003
Posts: 166
Likes: 0
From: Philly Pa.
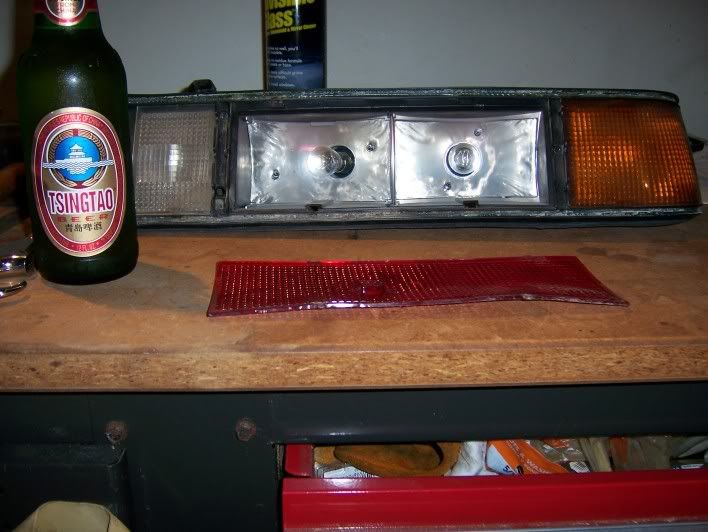
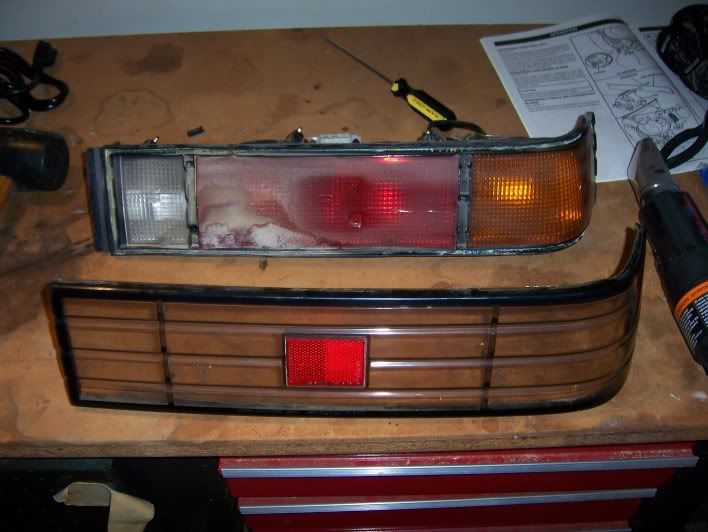
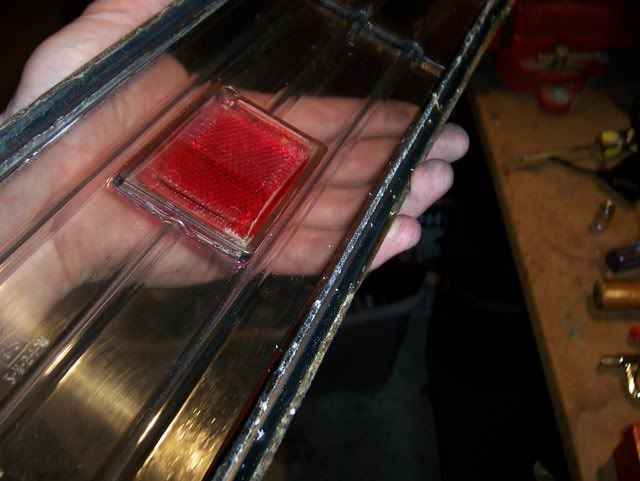
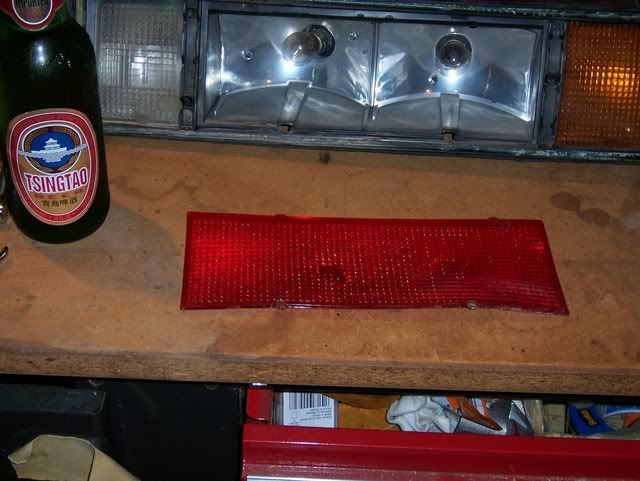
I used a heat gun and slowly worked my way around the lens seperating it..The key is patience, but it should only take 20 min per light tops to get it totally apart..Once you get it apart, clean it thoroughly, and remove as much as the stock sealer/adhesive as you can. When you are done, use some BLACK silicone to seal it back together..Even if they were as messed up as mine, they will look great when you are done..You can see how bad mine were when I got it apart, they now look like new..
If you do not have a heat gun, try the oven..Place a damp towel on a cookie sheet and face the light with lens down on top of it, let it in the oven at 325 for 15-20 min and take it out and seperate lens..Make sure to remove all bulbs, ect. before you place in oven though..Good luck and I hope theese pics help, I just did mine 2 weeks ago and they look like brand new..

If you do not have a heat gun, try the oven..Place a damp towel on a cookie sheet and face the light with lens down on top of it, let it in the oven at 325 for 15-20 min and take it out and seperate lens..Make sure to remove all bulbs, ect. before you place in oven though..Good luck and I hope theese pics help, I just did mine 2 weeks ago and they look like brand new..
If it's already coming apart it shouldn't take much to pull it the rest of the way. Just be careful and it'll come loose. I used seal all to put mine back together. It seals great and dries fast
Trending Topics
Thread Starter
Banned. I got OWNED!!!
iTrader: (2)
Joined: Oct 2004
Posts: 6,122
Likes: 1
From: London, Ontario
Hwy guys ... thanks for all the advice ... I have a heat gun .. I just need to buy silicone now. I should be takling this project this weekend or maybe tonight if I have time. Thanks.
Thread Starter
Banned. I got OWNED!!!
iTrader: (2)
Joined: Oct 2004
Posts: 6,122
Likes: 1
From: London, Ontario
not sure ... but i just did mine right now ... total project time 1 hour ... includes going to the store buying clear silicone ( I was going to use the balck one but then i saw that the stock stuff was clear so i decided to go that route.) They look alot better now. Heat gun does definatly help ... word of advise try not to point it too long in one spot though ... get rather sticky after a while. I've got some pics of the process which I'll add in a bit.
How dark of tinting would you go? I have some 5% vlt tint, but I dont know how well my brake lights would show up, which could be potentially dangerous. What do most people use 20%?
Too old to act my age
Joined: Feb 2005
Posts: 3,164
Likes: 0
From: Tulsa, Ok.
Originally Posted by zlyricist
are people having the same problem with sa tails?
Thread Starter
Banned. I got OWNED!!!
iTrader: (2)
Joined: Oct 2004
Posts: 6,122
Likes: 1
From: London, Ontario
Hey here's another question ... how could you make the outside look good ... it looks like its got small surface scratches and stuff on the outside that make it look not as clean as new ... is it possible to be sanding it with like 1,000 grit or maybe even higher sandpaper (wet sand obviously) to make it look better? Or maybe just simply taking a buffer with a buffing compound to clean it up?
Yes, wet sanding and polishing will work. If the scratches aren't deep, they can be polished out. Start with an automotive metal polishing compound. It that doesn't take it out, then wet/dry paper. I usually start fine, then use a coarser media if needed. By the time you get to 2000 grit, you cat begin the polishing steps.
There are compounds out there to remove the yellowing from headlight covers/lenses. Try that too.
There are compounds out there to remove the yellowing from headlight covers/lenses. Try that too.
Thread Starter
Banned. I got OWNED!!!
iTrader: (2)
Joined: Oct 2004
Posts: 6,122
Likes: 1
From: London, Ontario
Its not really yellowing ... it mostly list scarthces that are making it appear dull .. i've tried detailing claiy but that did nothing i thought it would be able to clean things up a little ... I will try to do the sanding tomorrow or monday ... should I be sanding them horizontally or vertically ? Also Metal polisher? LIke mothers rim polisher? or something like that?
The compounds that take the yellowing off of headlights are a heavier cut than Mothers, which is a finish polish. There are many different compounds and 'cuts'. Finishing clay is a final step, too fine to do any aggressive cutting.