1983 GSL - 20BPP Build
#26
Senior Member
very kool... 

#28
Junior Member
Thread Starter

Coolers look like they are in place and good to go
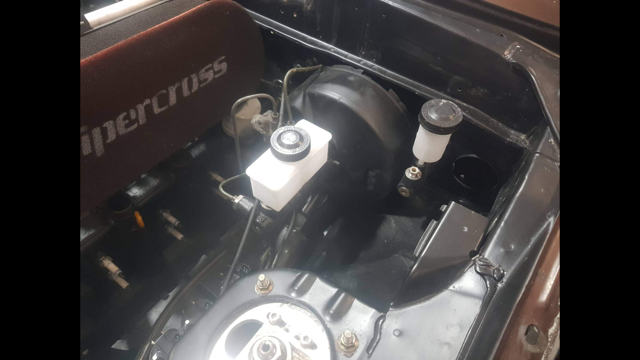
hydraulics all in place, just need filling and bleeding.
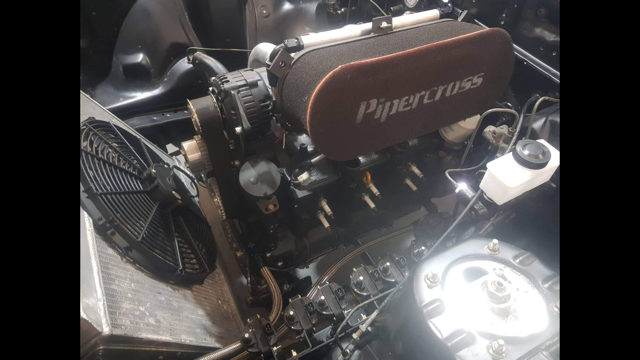
Almost all buttoned up and ready to start... once we sort the wiring out...
#35
Junior Member
Thread Starter
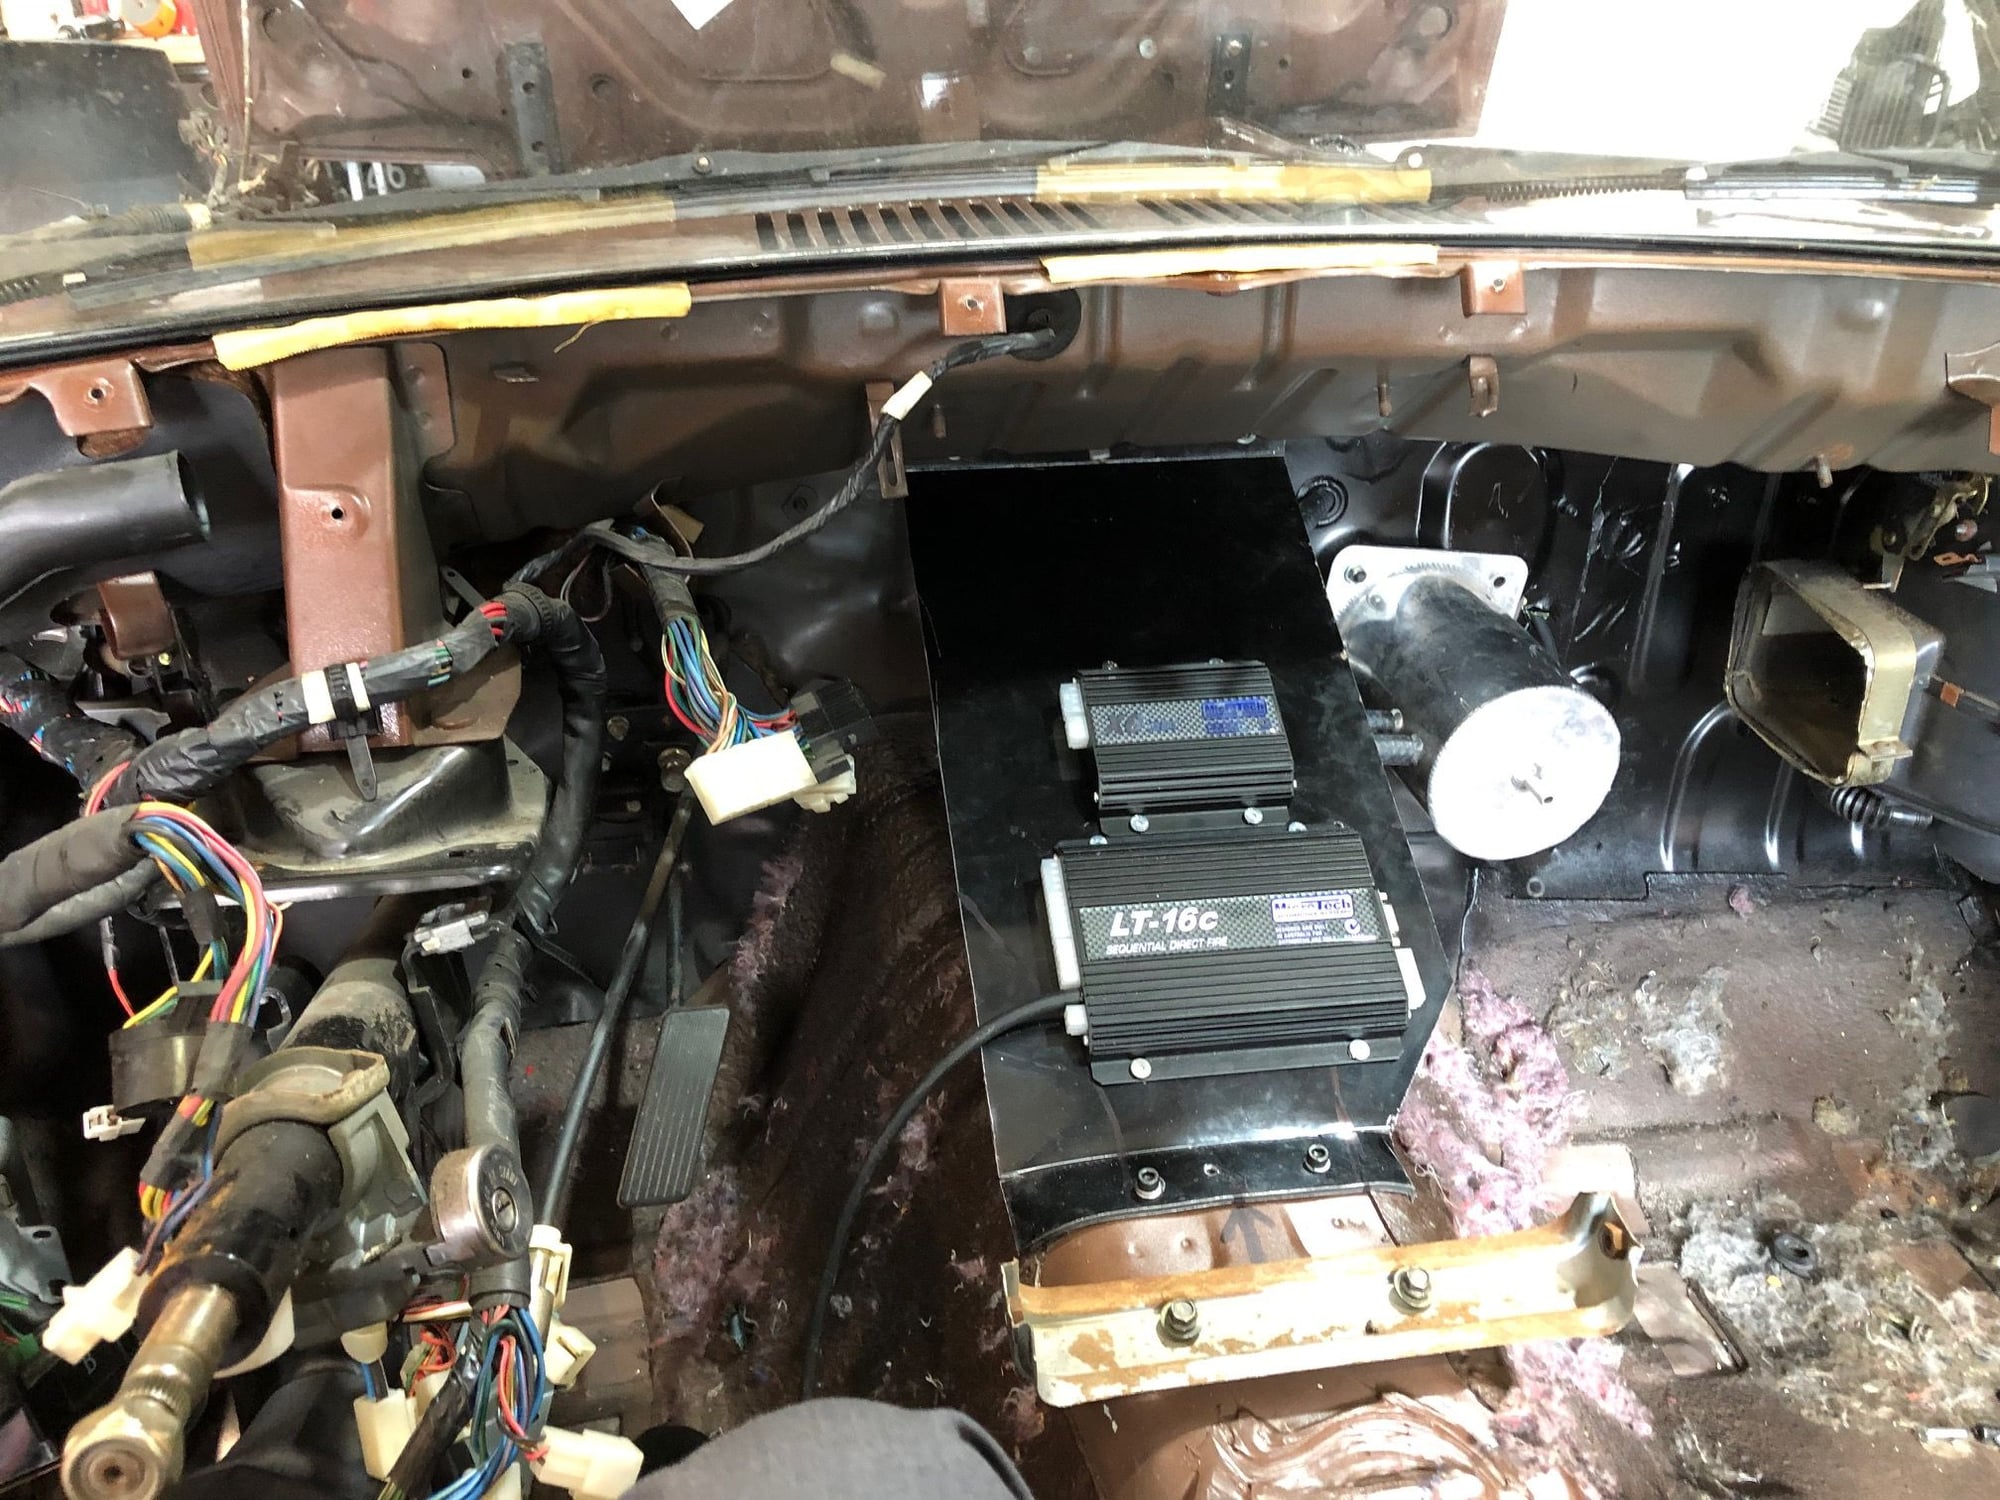
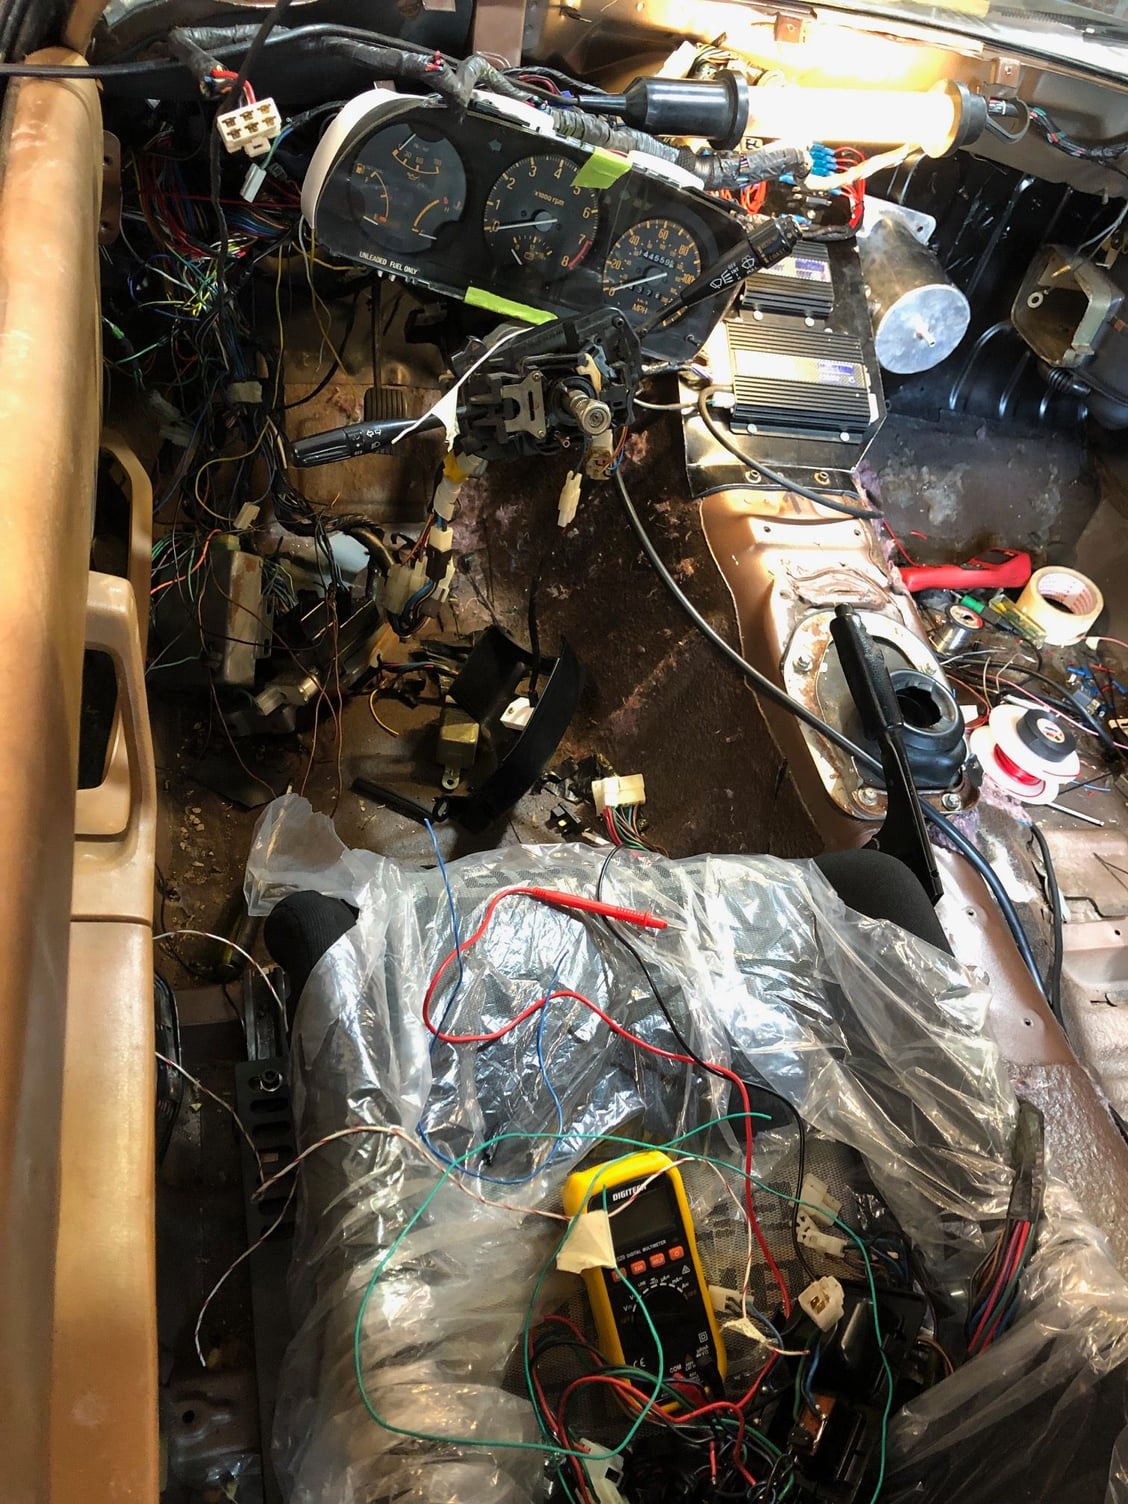
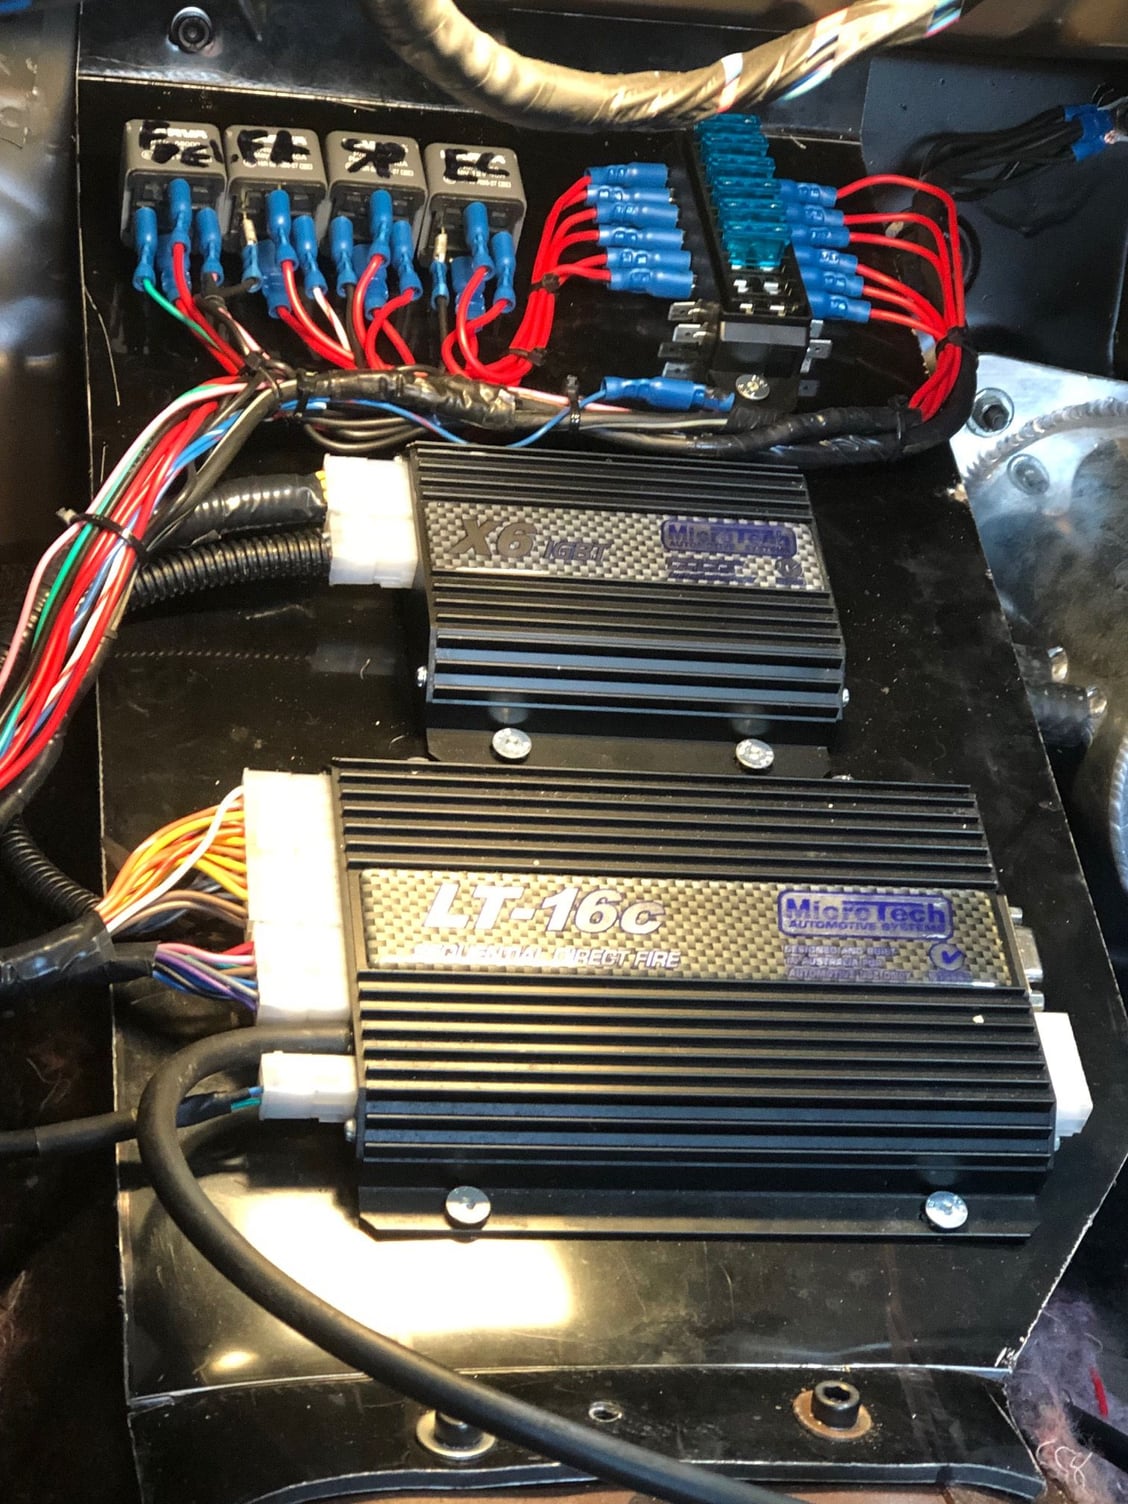
Pulled the dash to find a home for the computer, that surge tank is actually a vacuum tank for the brake booster and fuel reg, its not in its final spot, but bolted up to see if it will fit behind the dash when I put it back in. Will also do a cleansing of the loom as there are a lot of wires that wont be needed anymore. Aircon is gone, cruise control is gone etc etc.
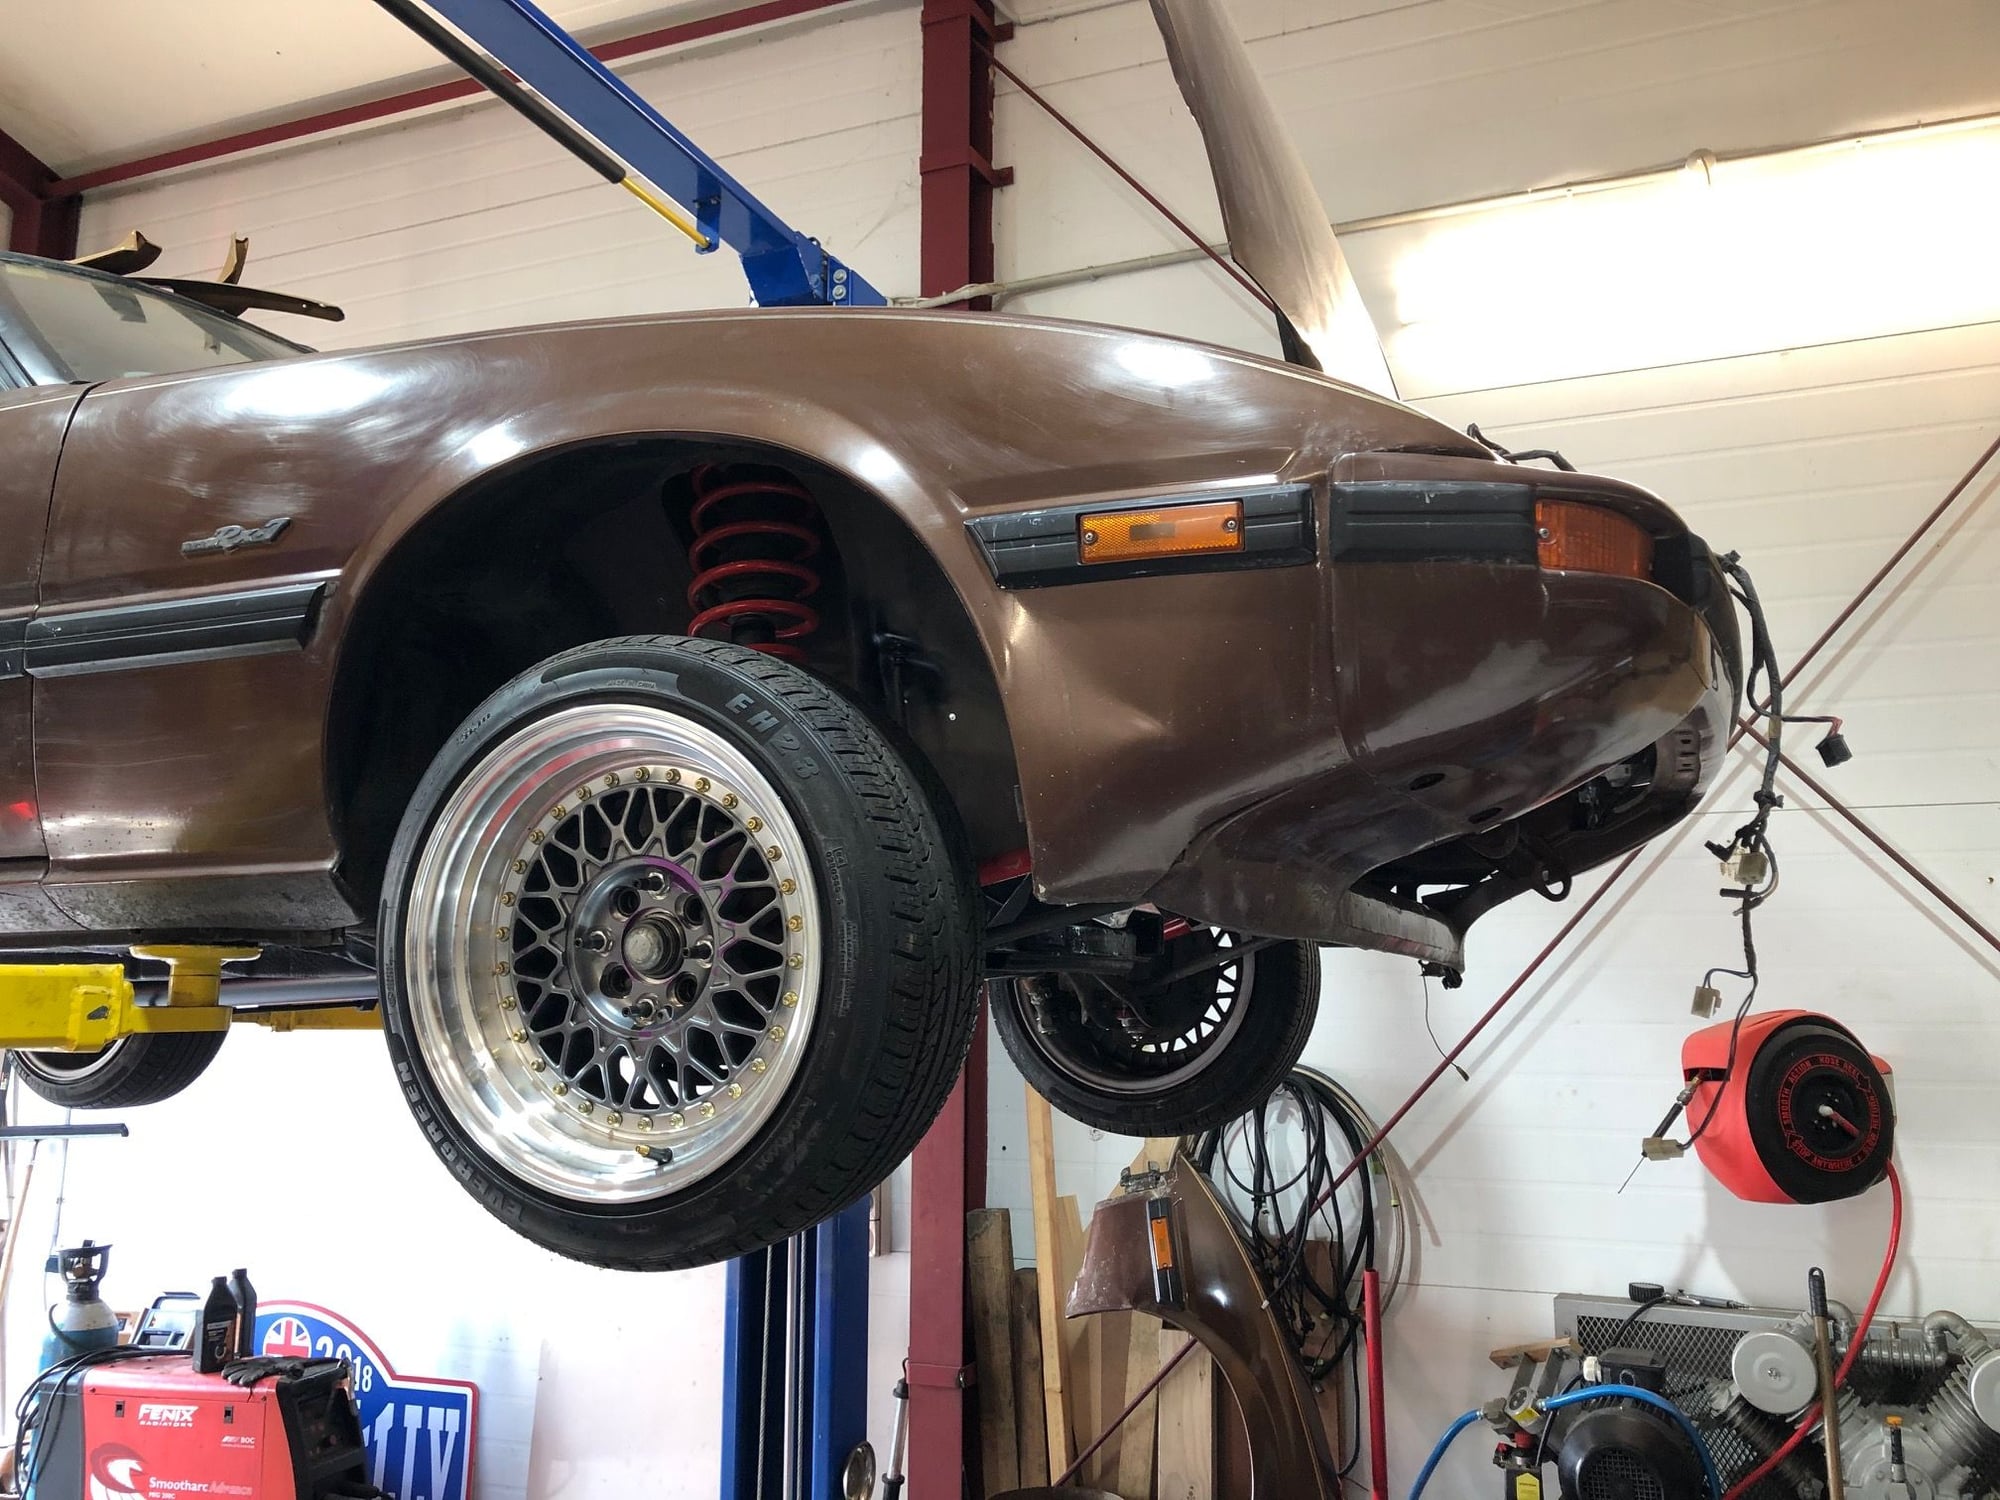
new shoes, got a cheap set and put on some cheap rubber, I dont expect the first set of tires to last too long, but also dont want anything sticky while running everything in, rather a tire slip than a clutch slip etc... after these wear out will go to a higher side wall and stickier rubber.
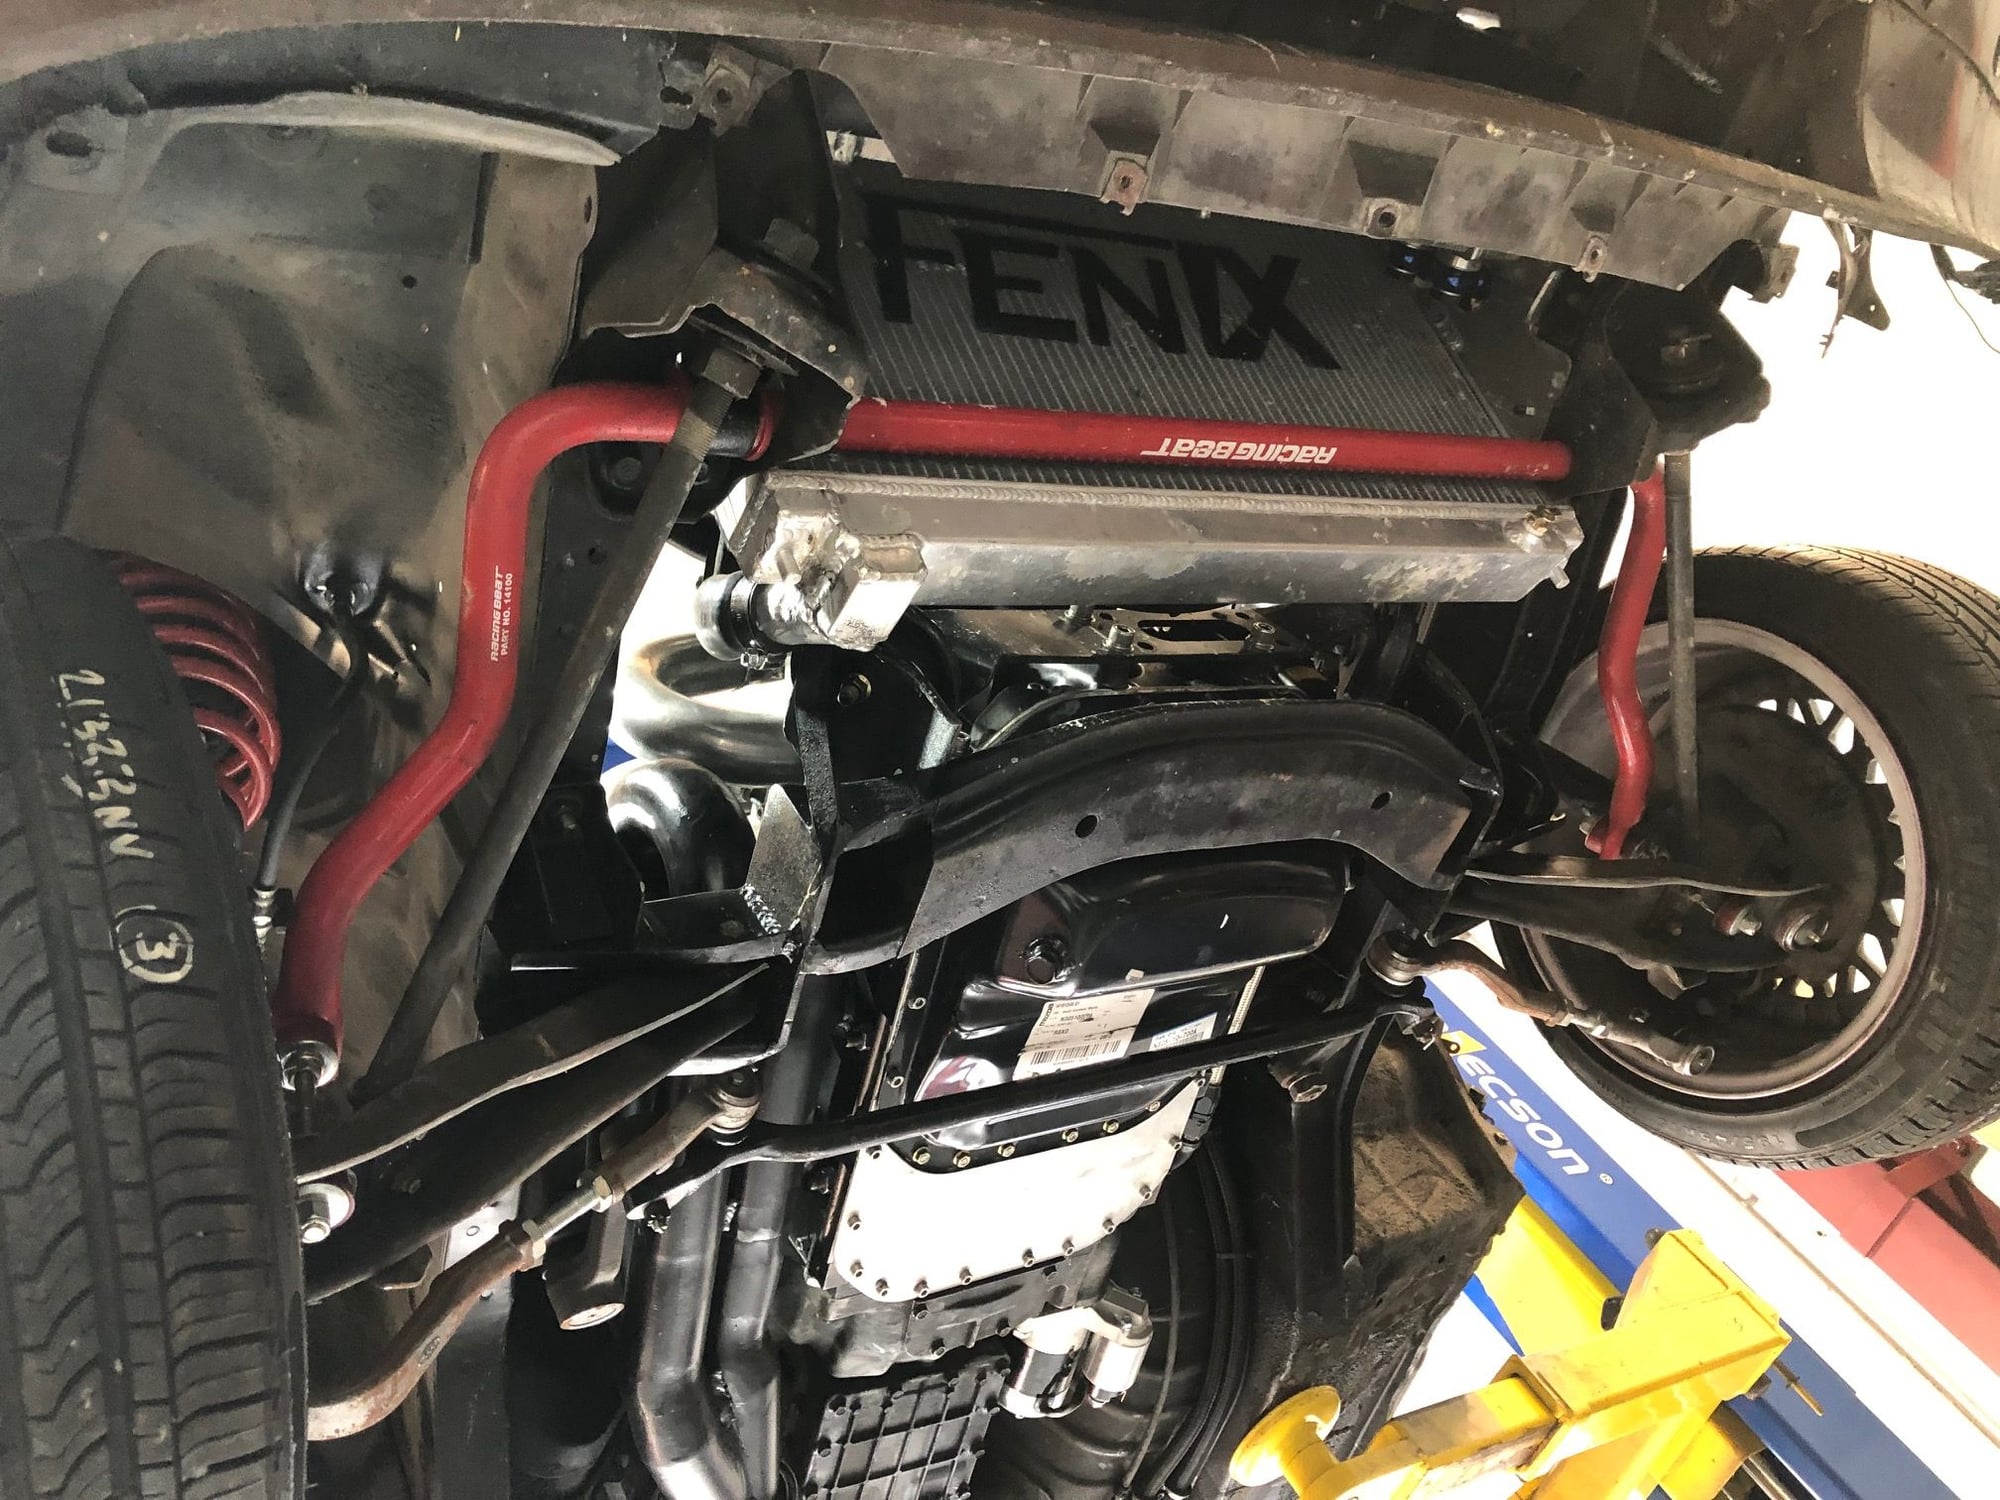
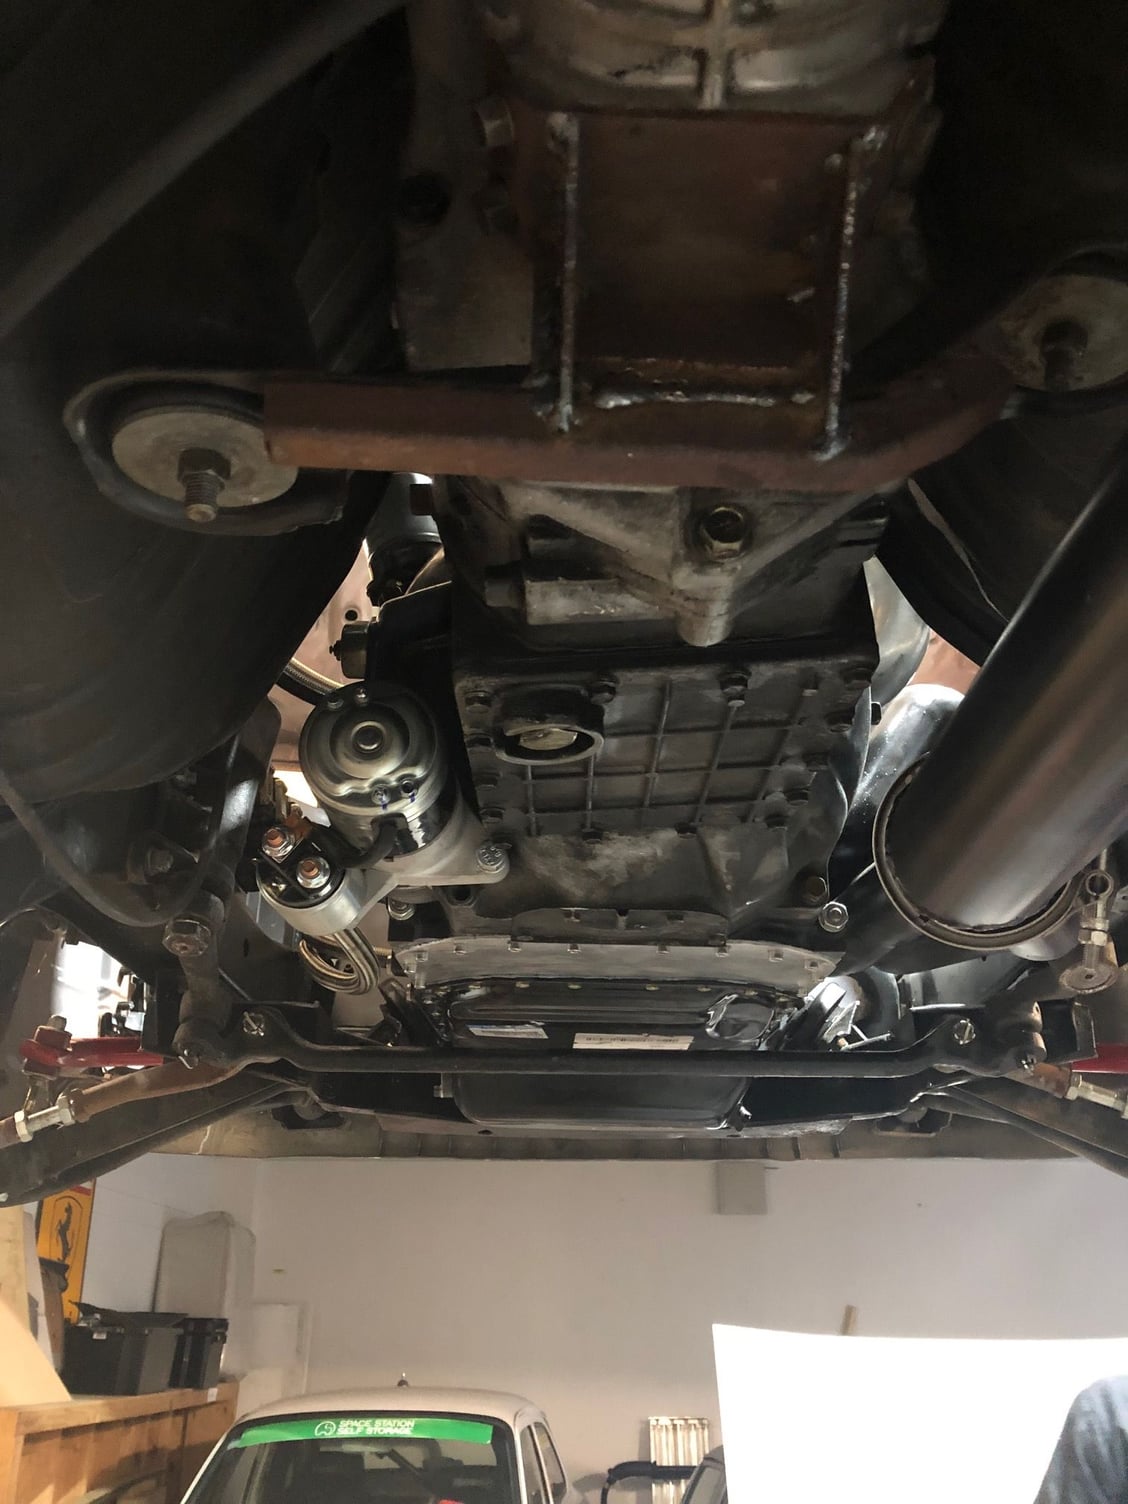
nice shot of the racing beat upgrades, Moog steering and wot not underneath
#36
Junior Member
Thread Starter
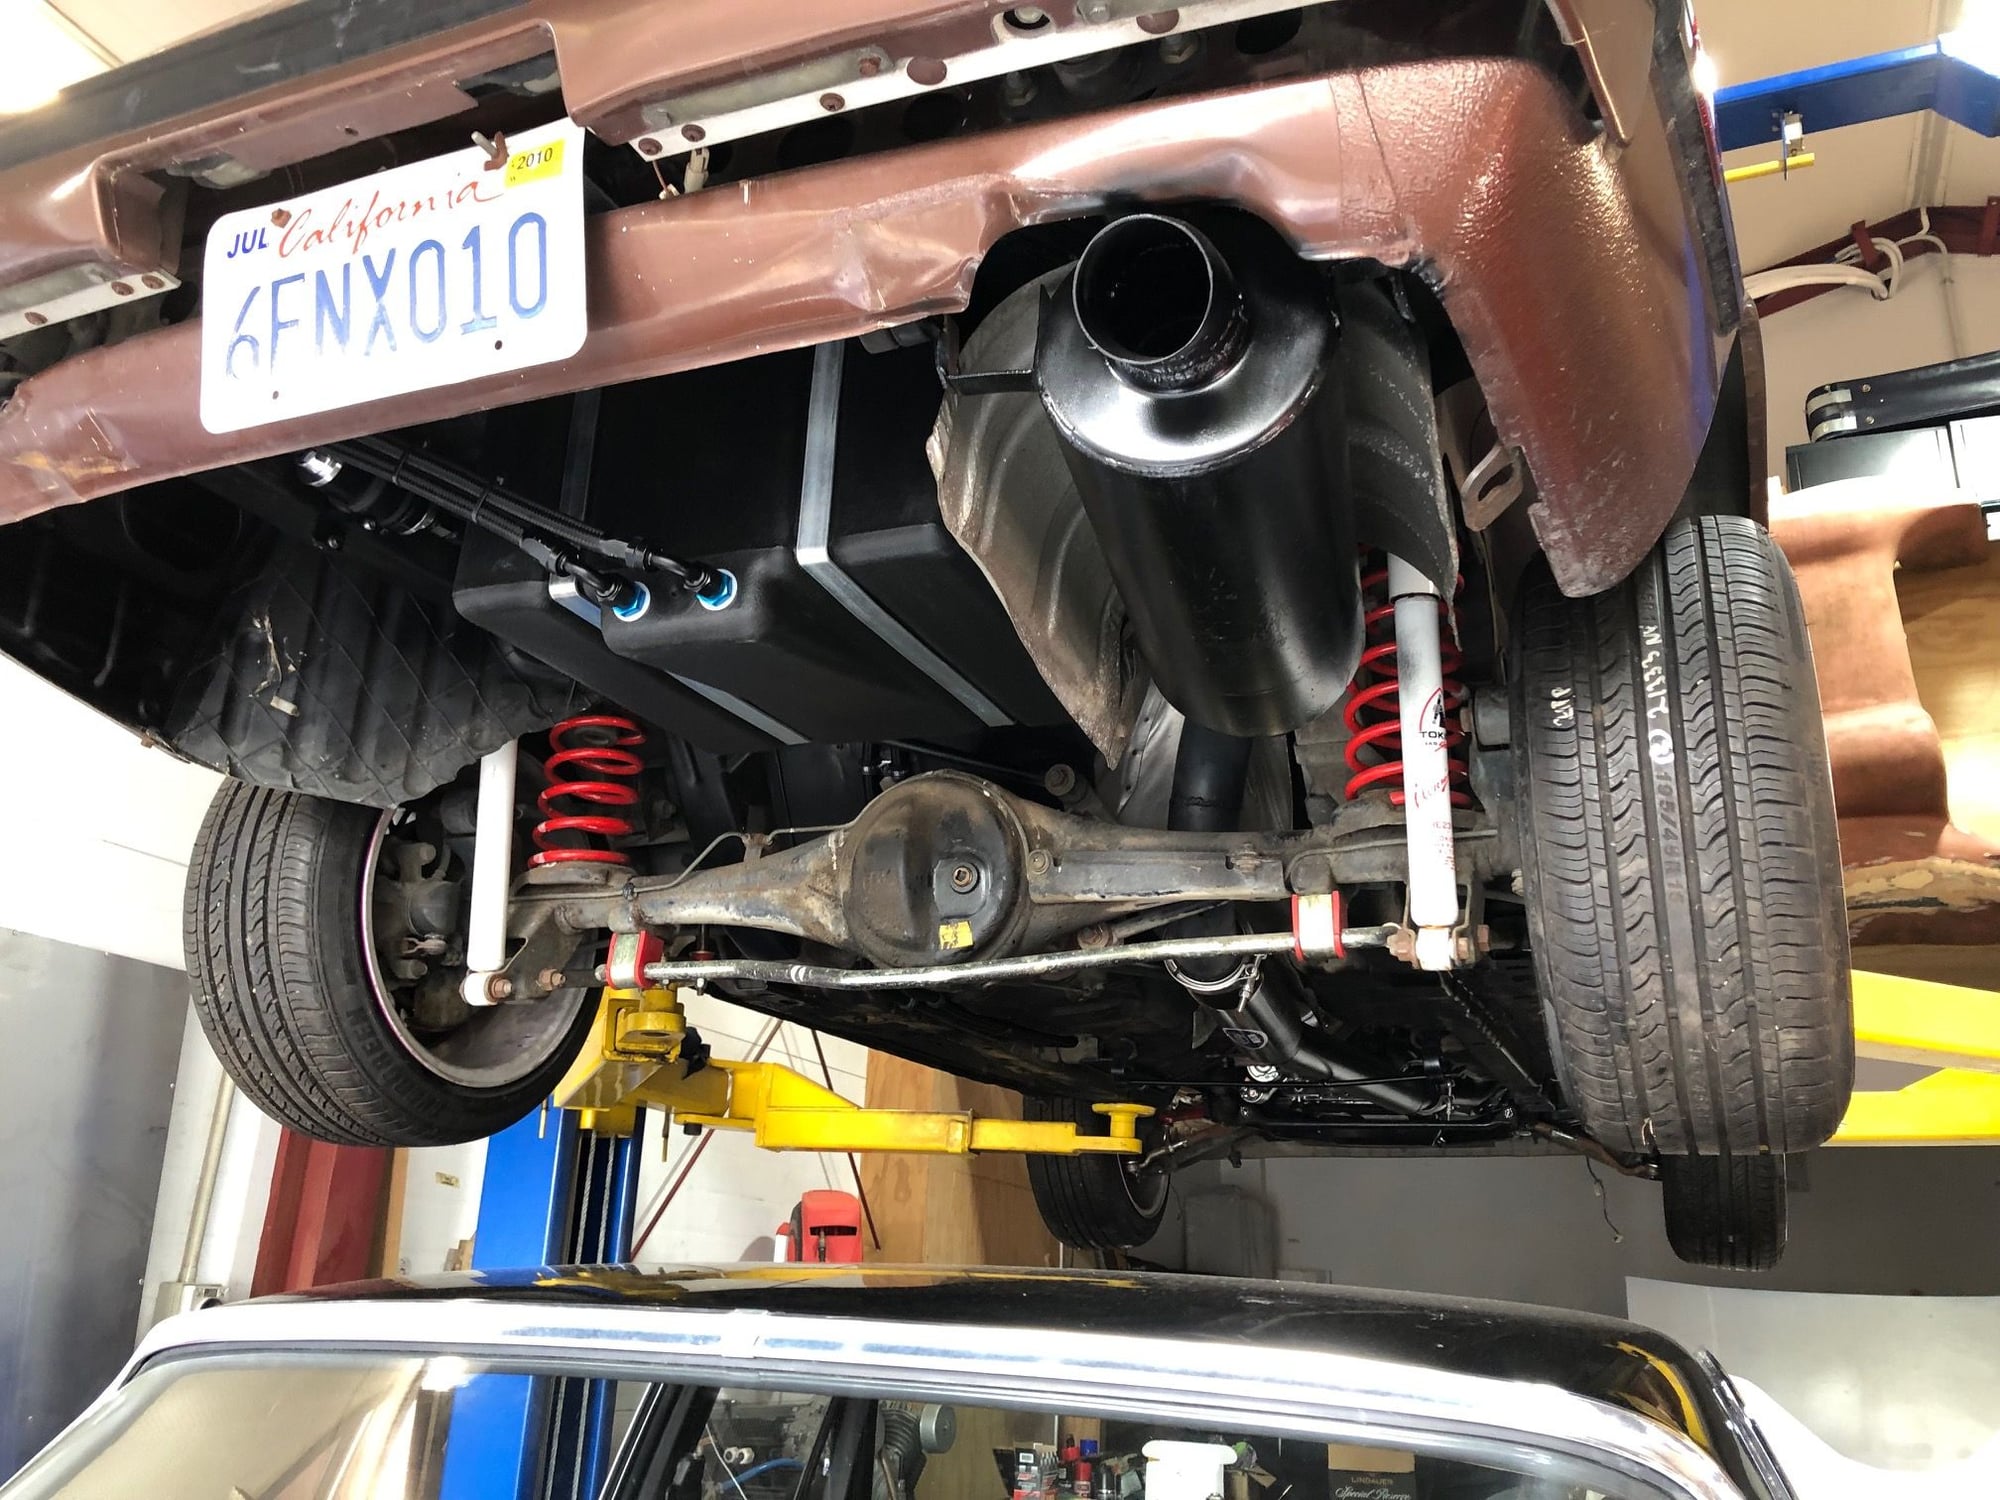
Need to get the rear valence sorted out, there is a paintless dent removal guy coming to look at it while its on the hoist. but back end looking quite light
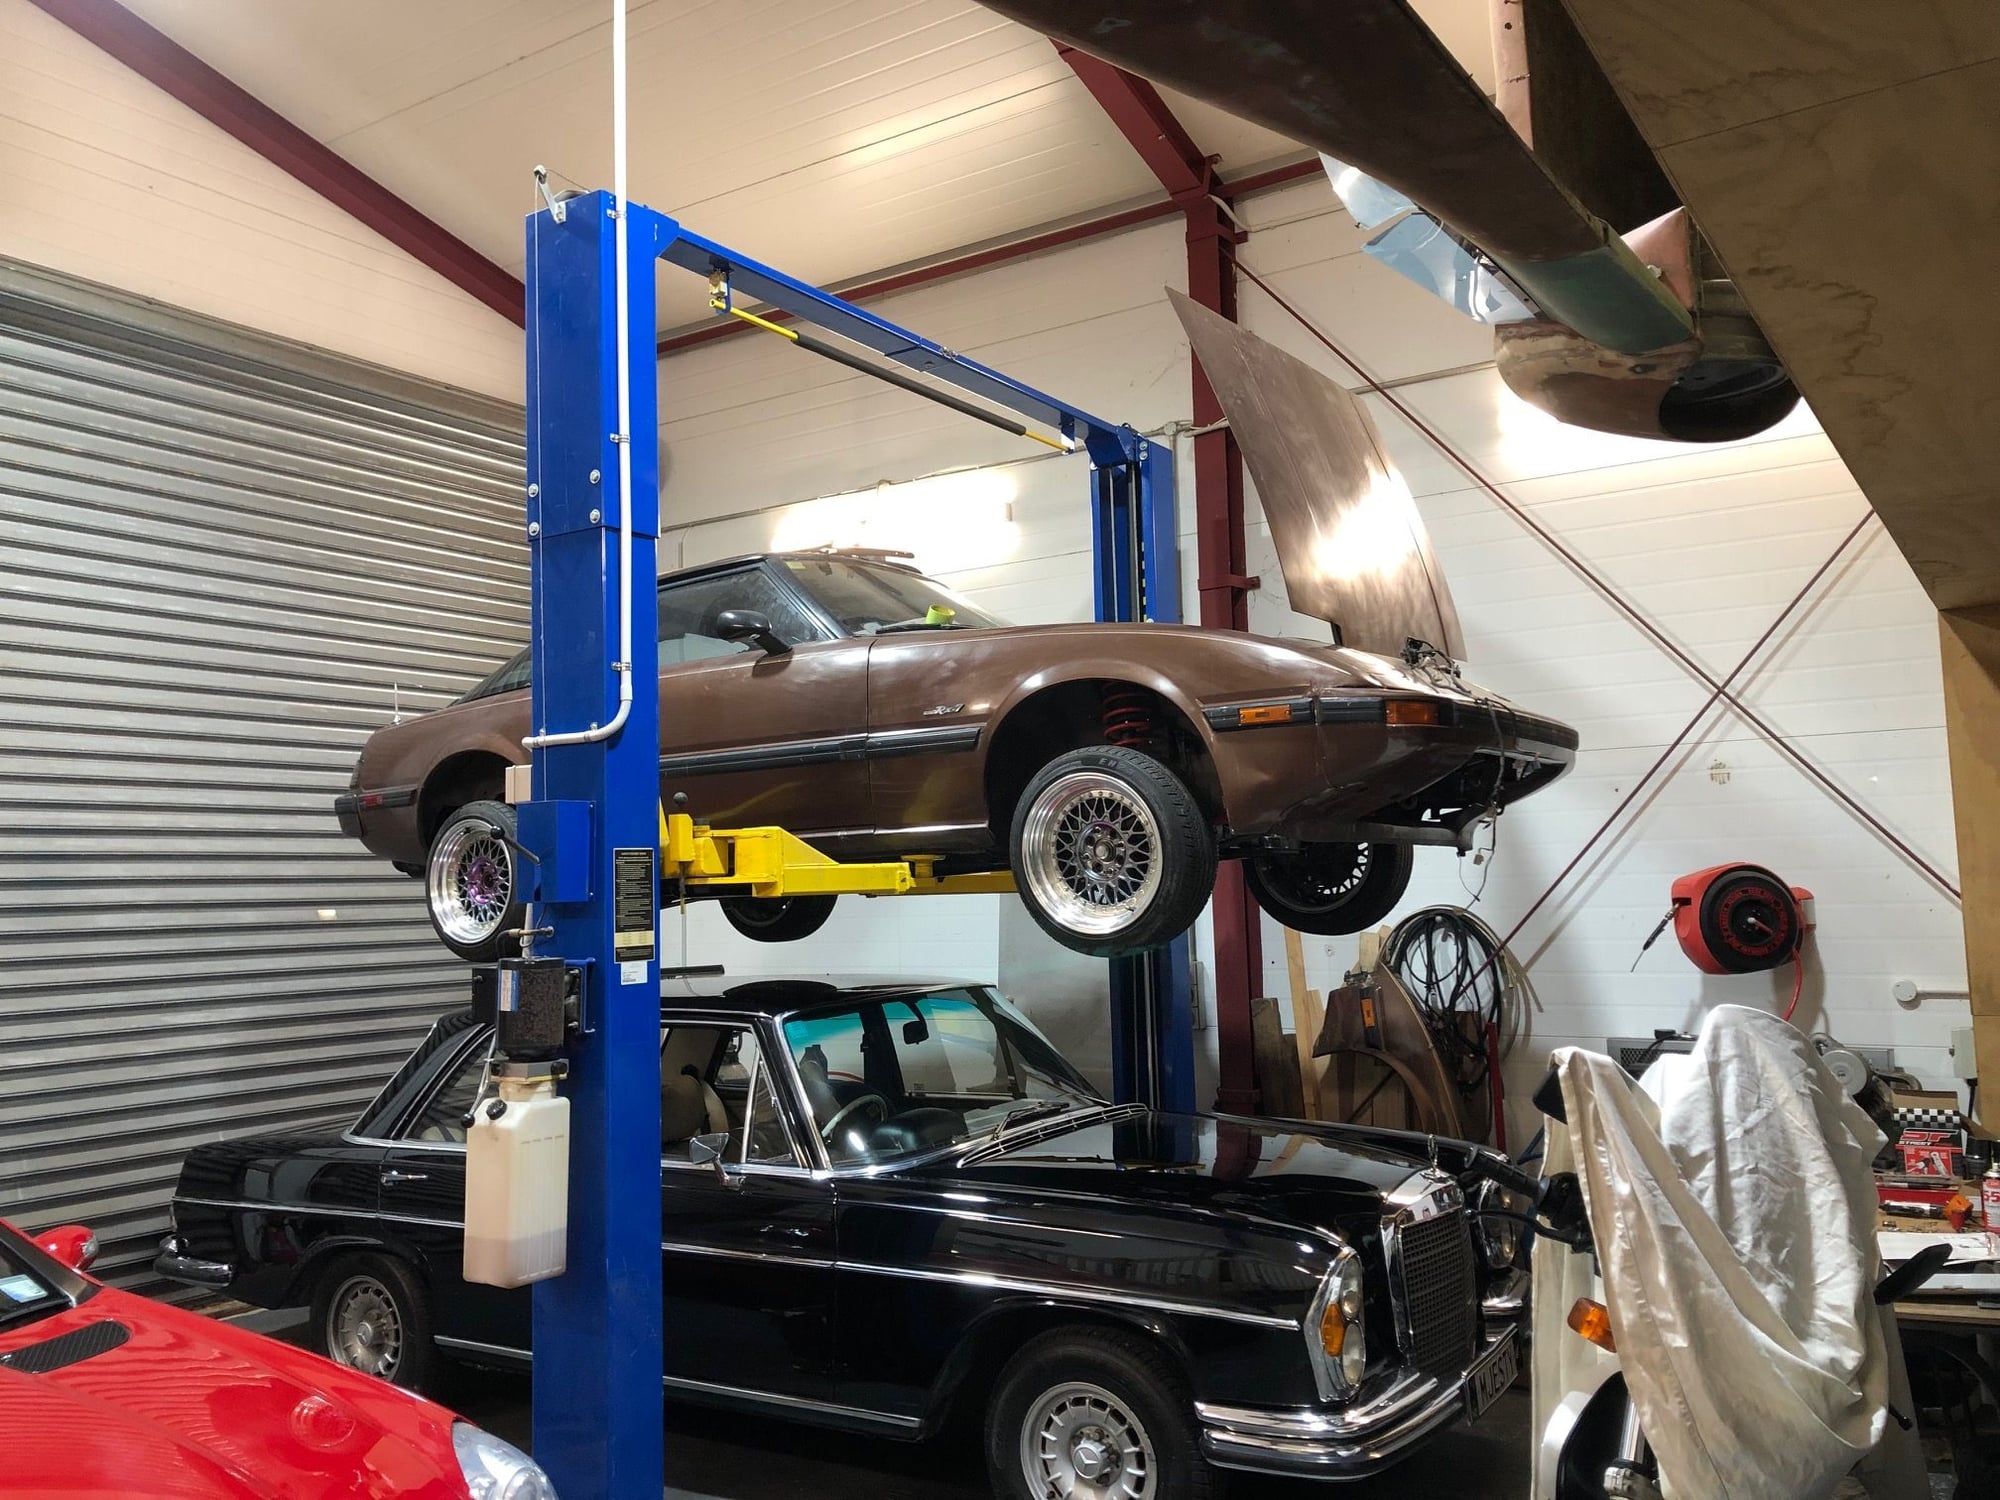
have taken the left front guard off to run the engine bay wiring up under the guard. can see the Right hand head light, indicator and light motor wiring here that needs to be extended and run around the front of the car... I was going to paint the car white but Havana Brown is really starting to appeal to me... I think Im going to go with a late 80's retro vibe with the looks of this car.
#37
Rotary Enthusiast
Need to get the rear valence sorted out, there is a paintless dent removal guy coming to look at it while its on the hoist. but back end looking quite light
have taken the left front guard off to run the engine bay wiring up under the guard. can see the Right hand head light, indicator and light motor wiring here that needs to be extended and run around the front of the car... I was going to paint the car white but Havana Brown is really starting to appeal to me... I think Im going to go with a late 80's retro vibe with the looks of this car.
have taken the left front guard off to run the engine bay wiring up under the guard. can see the Right hand head light, indicator and light motor wiring here that needs to be extended and run around the front of the car... I was going to paint the car white but Havana Brown is really starting to appeal to me... I think Im going to go with a late 80's retro vibe with the looks of this car.
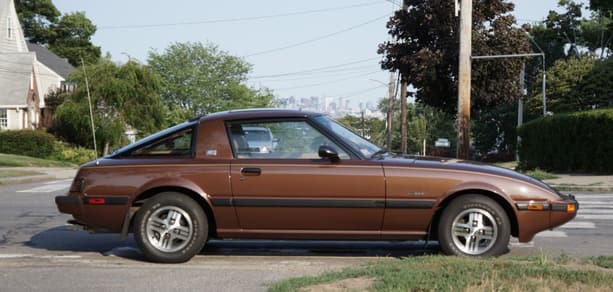
And yes, Havana Brown FTW!
#42
Junior Member
Thread Starter
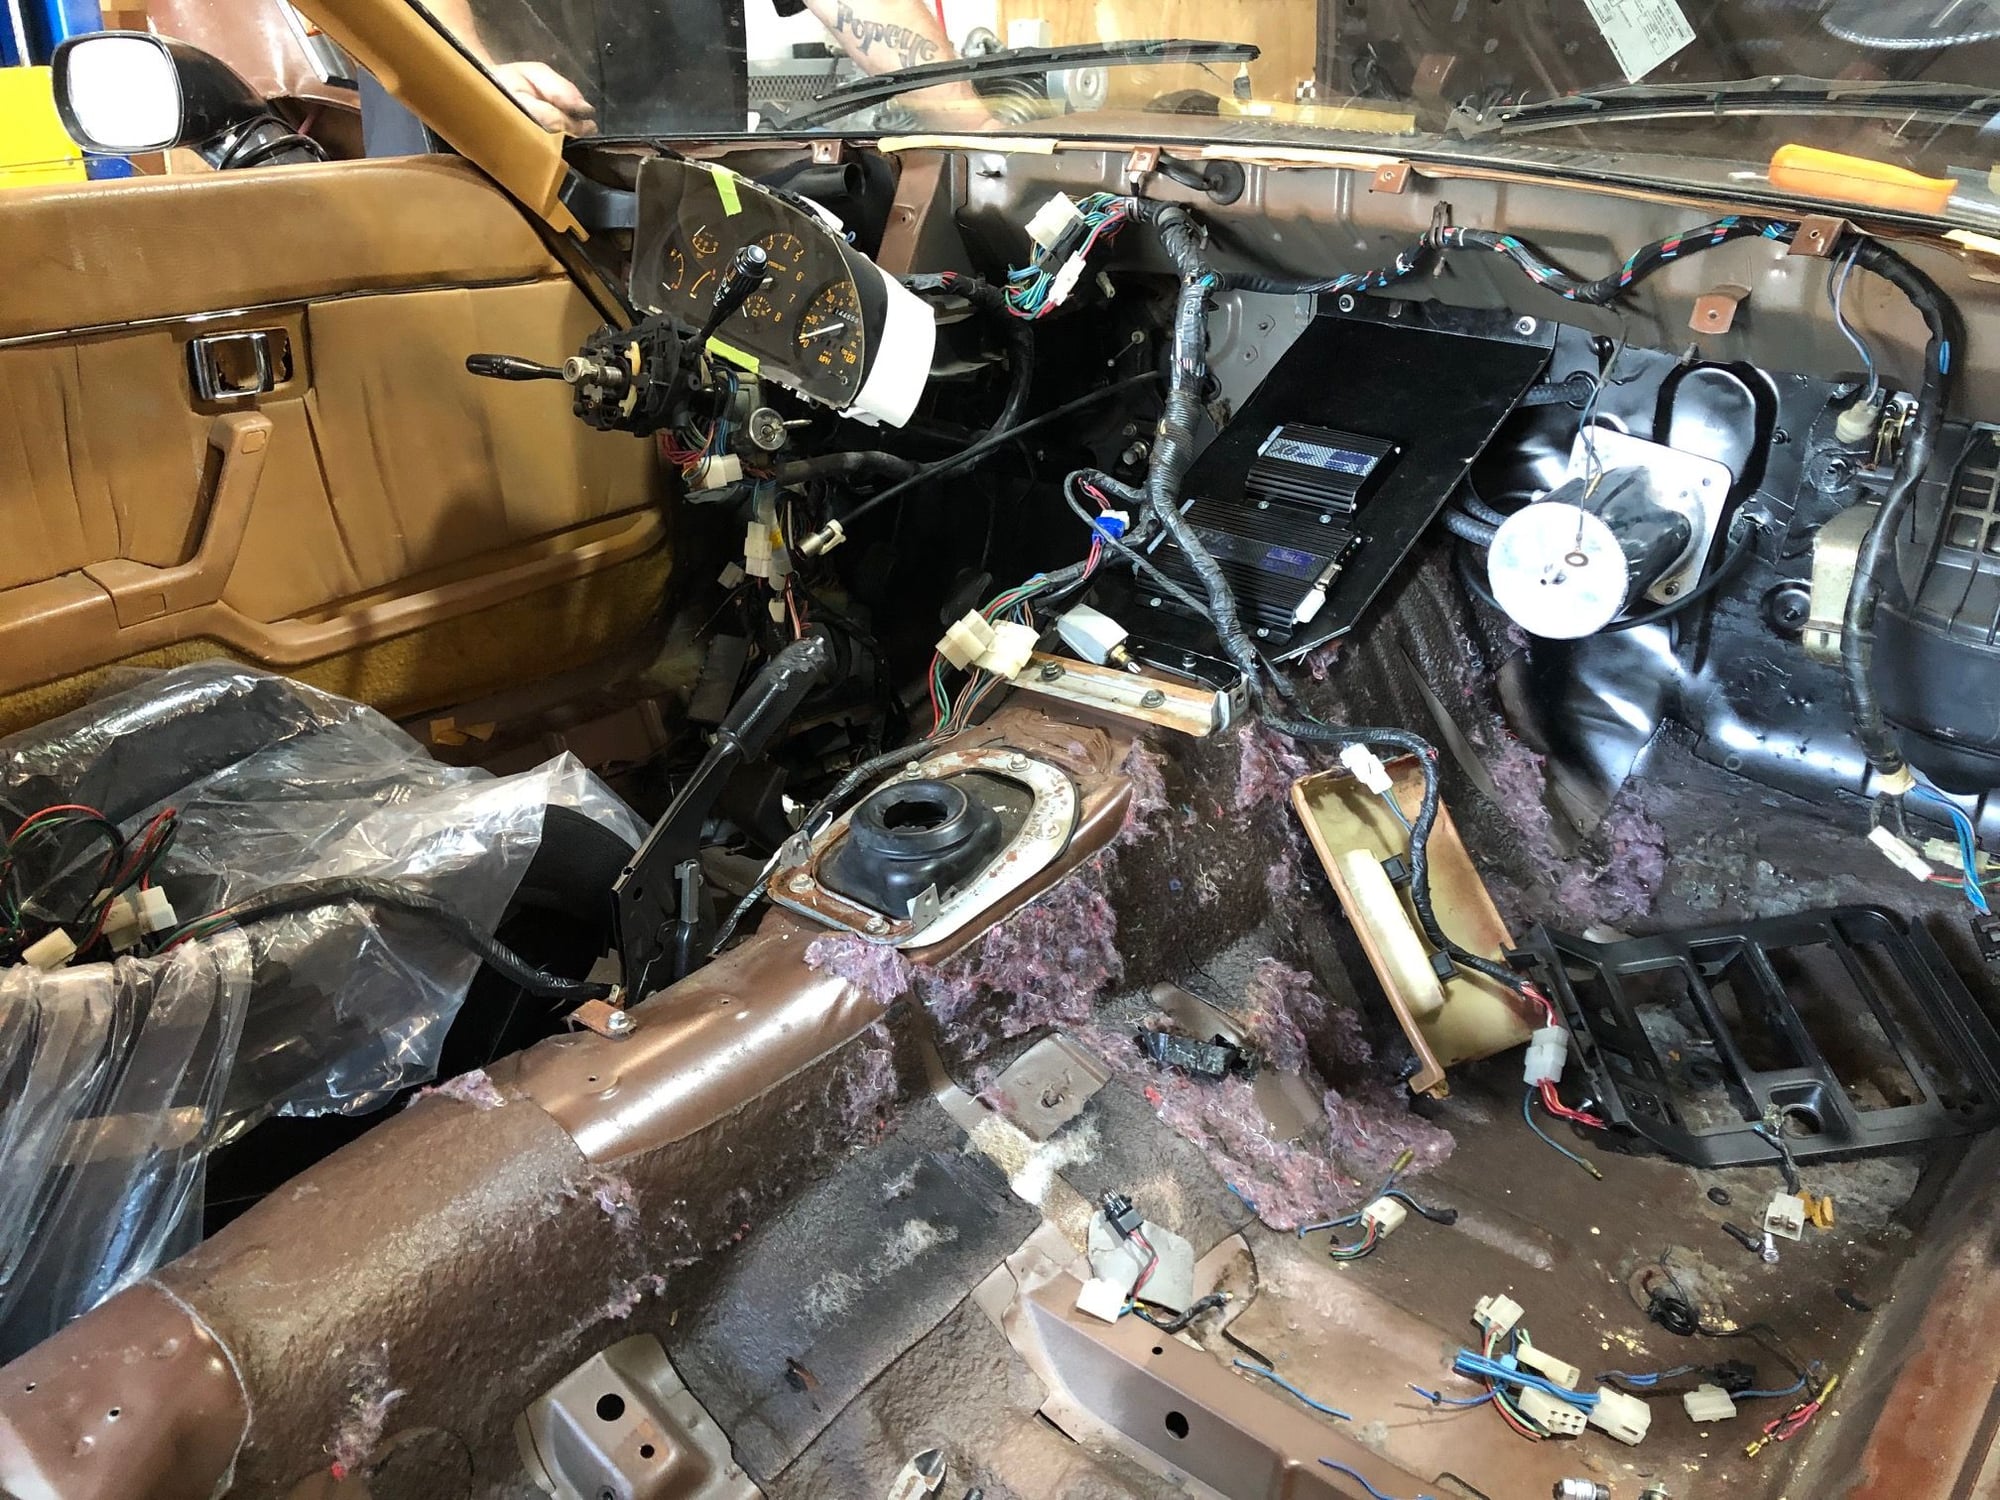
Stripping out the loom and making repairs on the fly (It has a rat or something chew through the rear harness at some point)
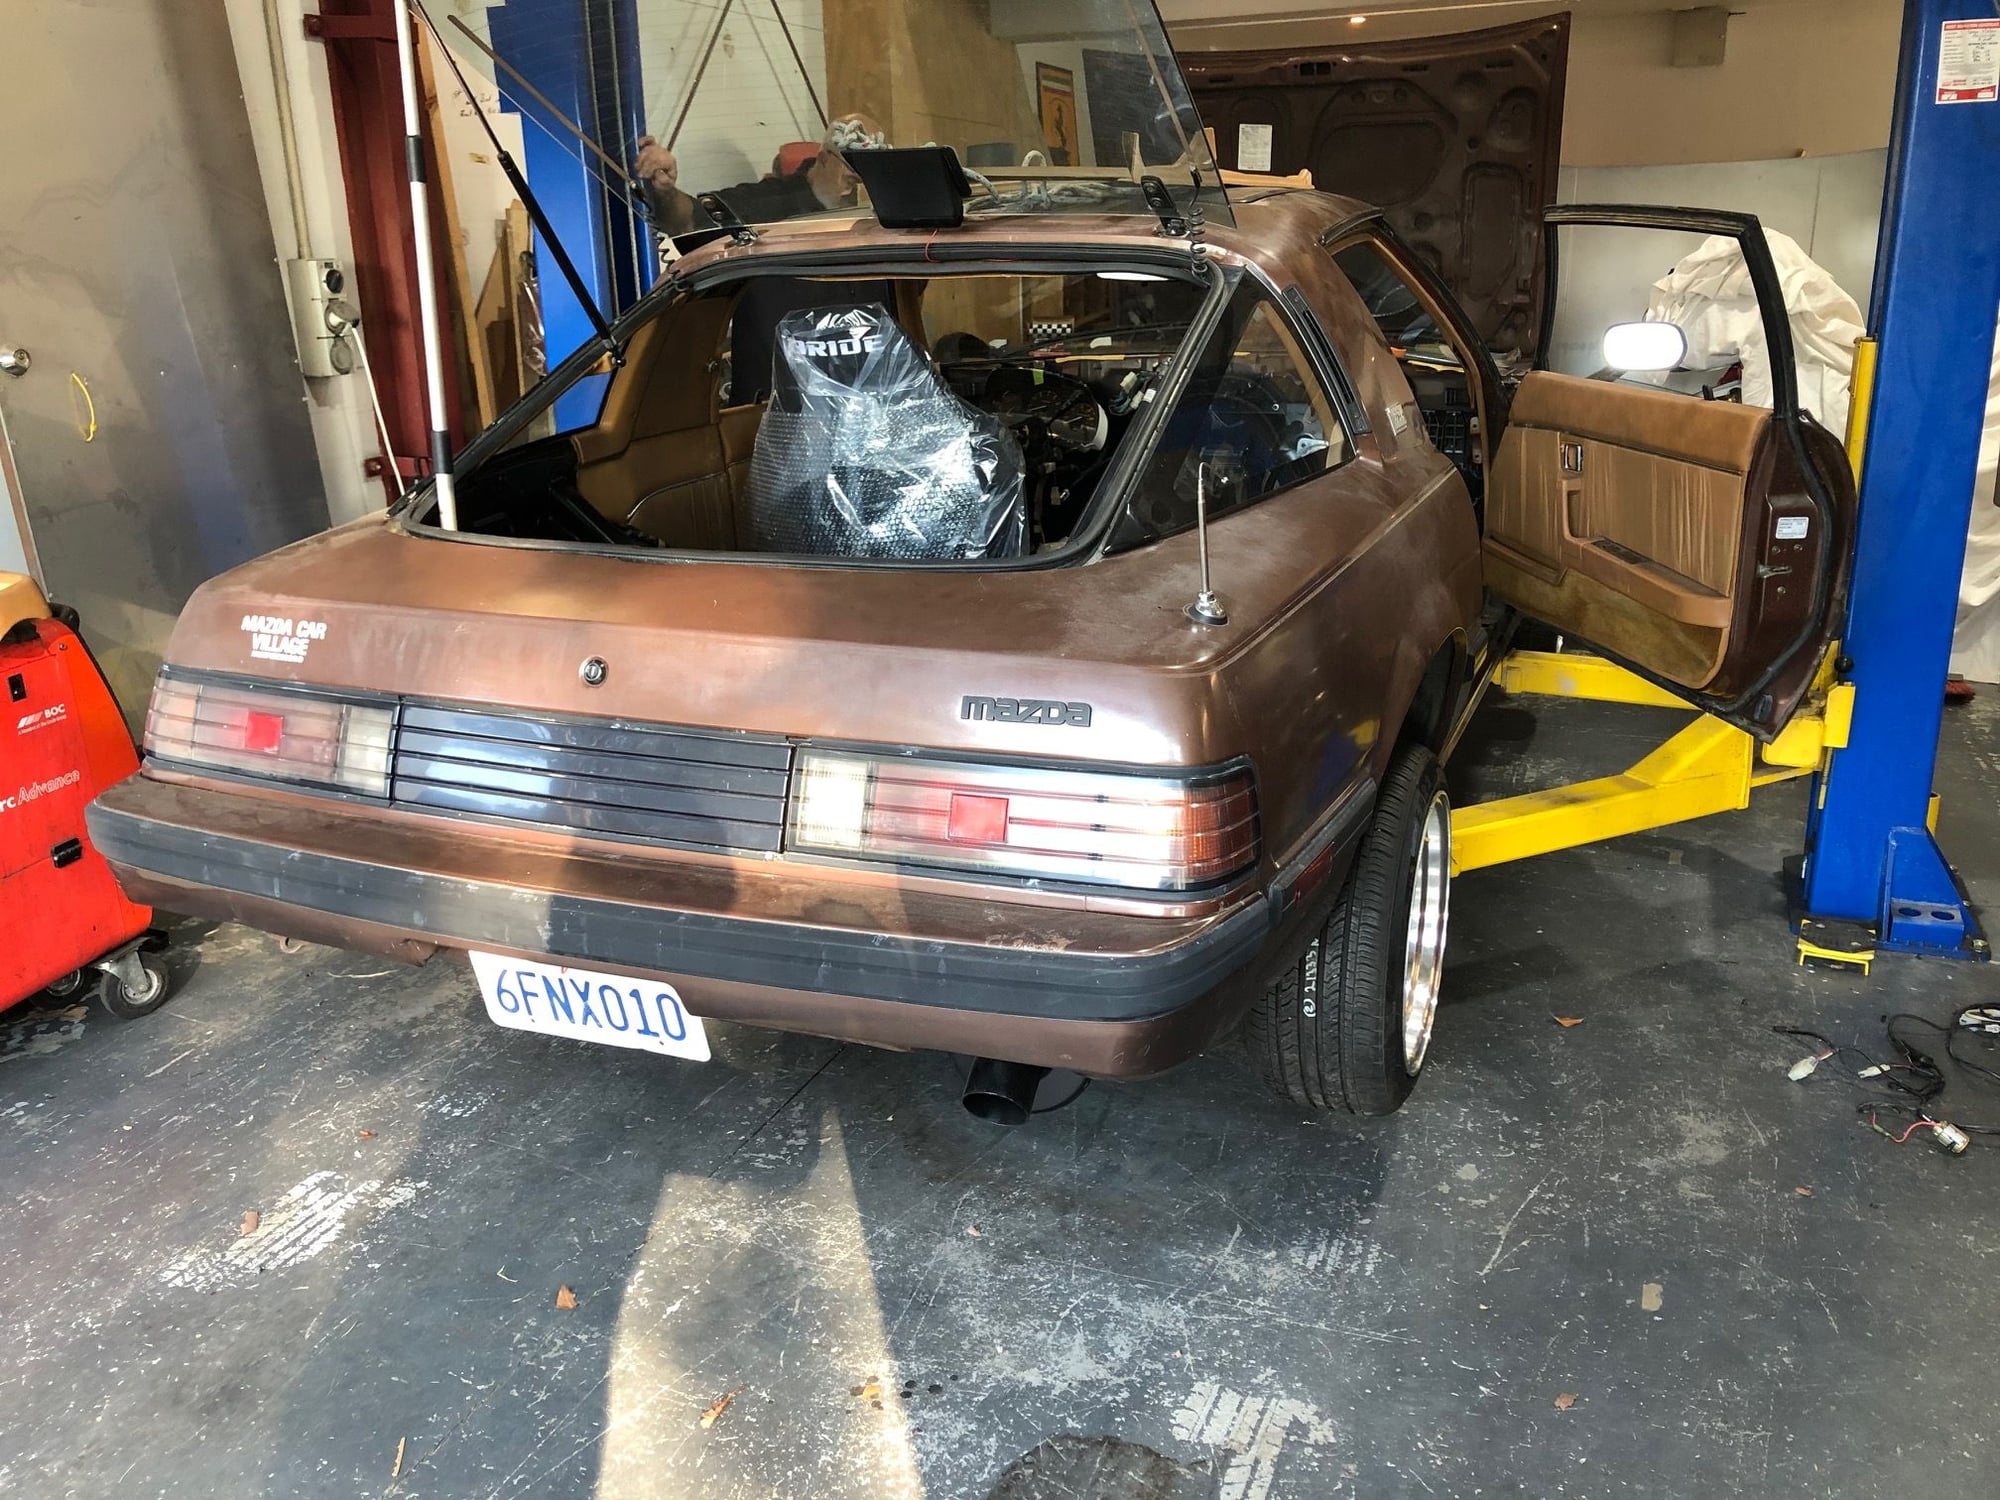
Dropped it down to see where it will sit on the new suspension... she is quite high... something to look at.
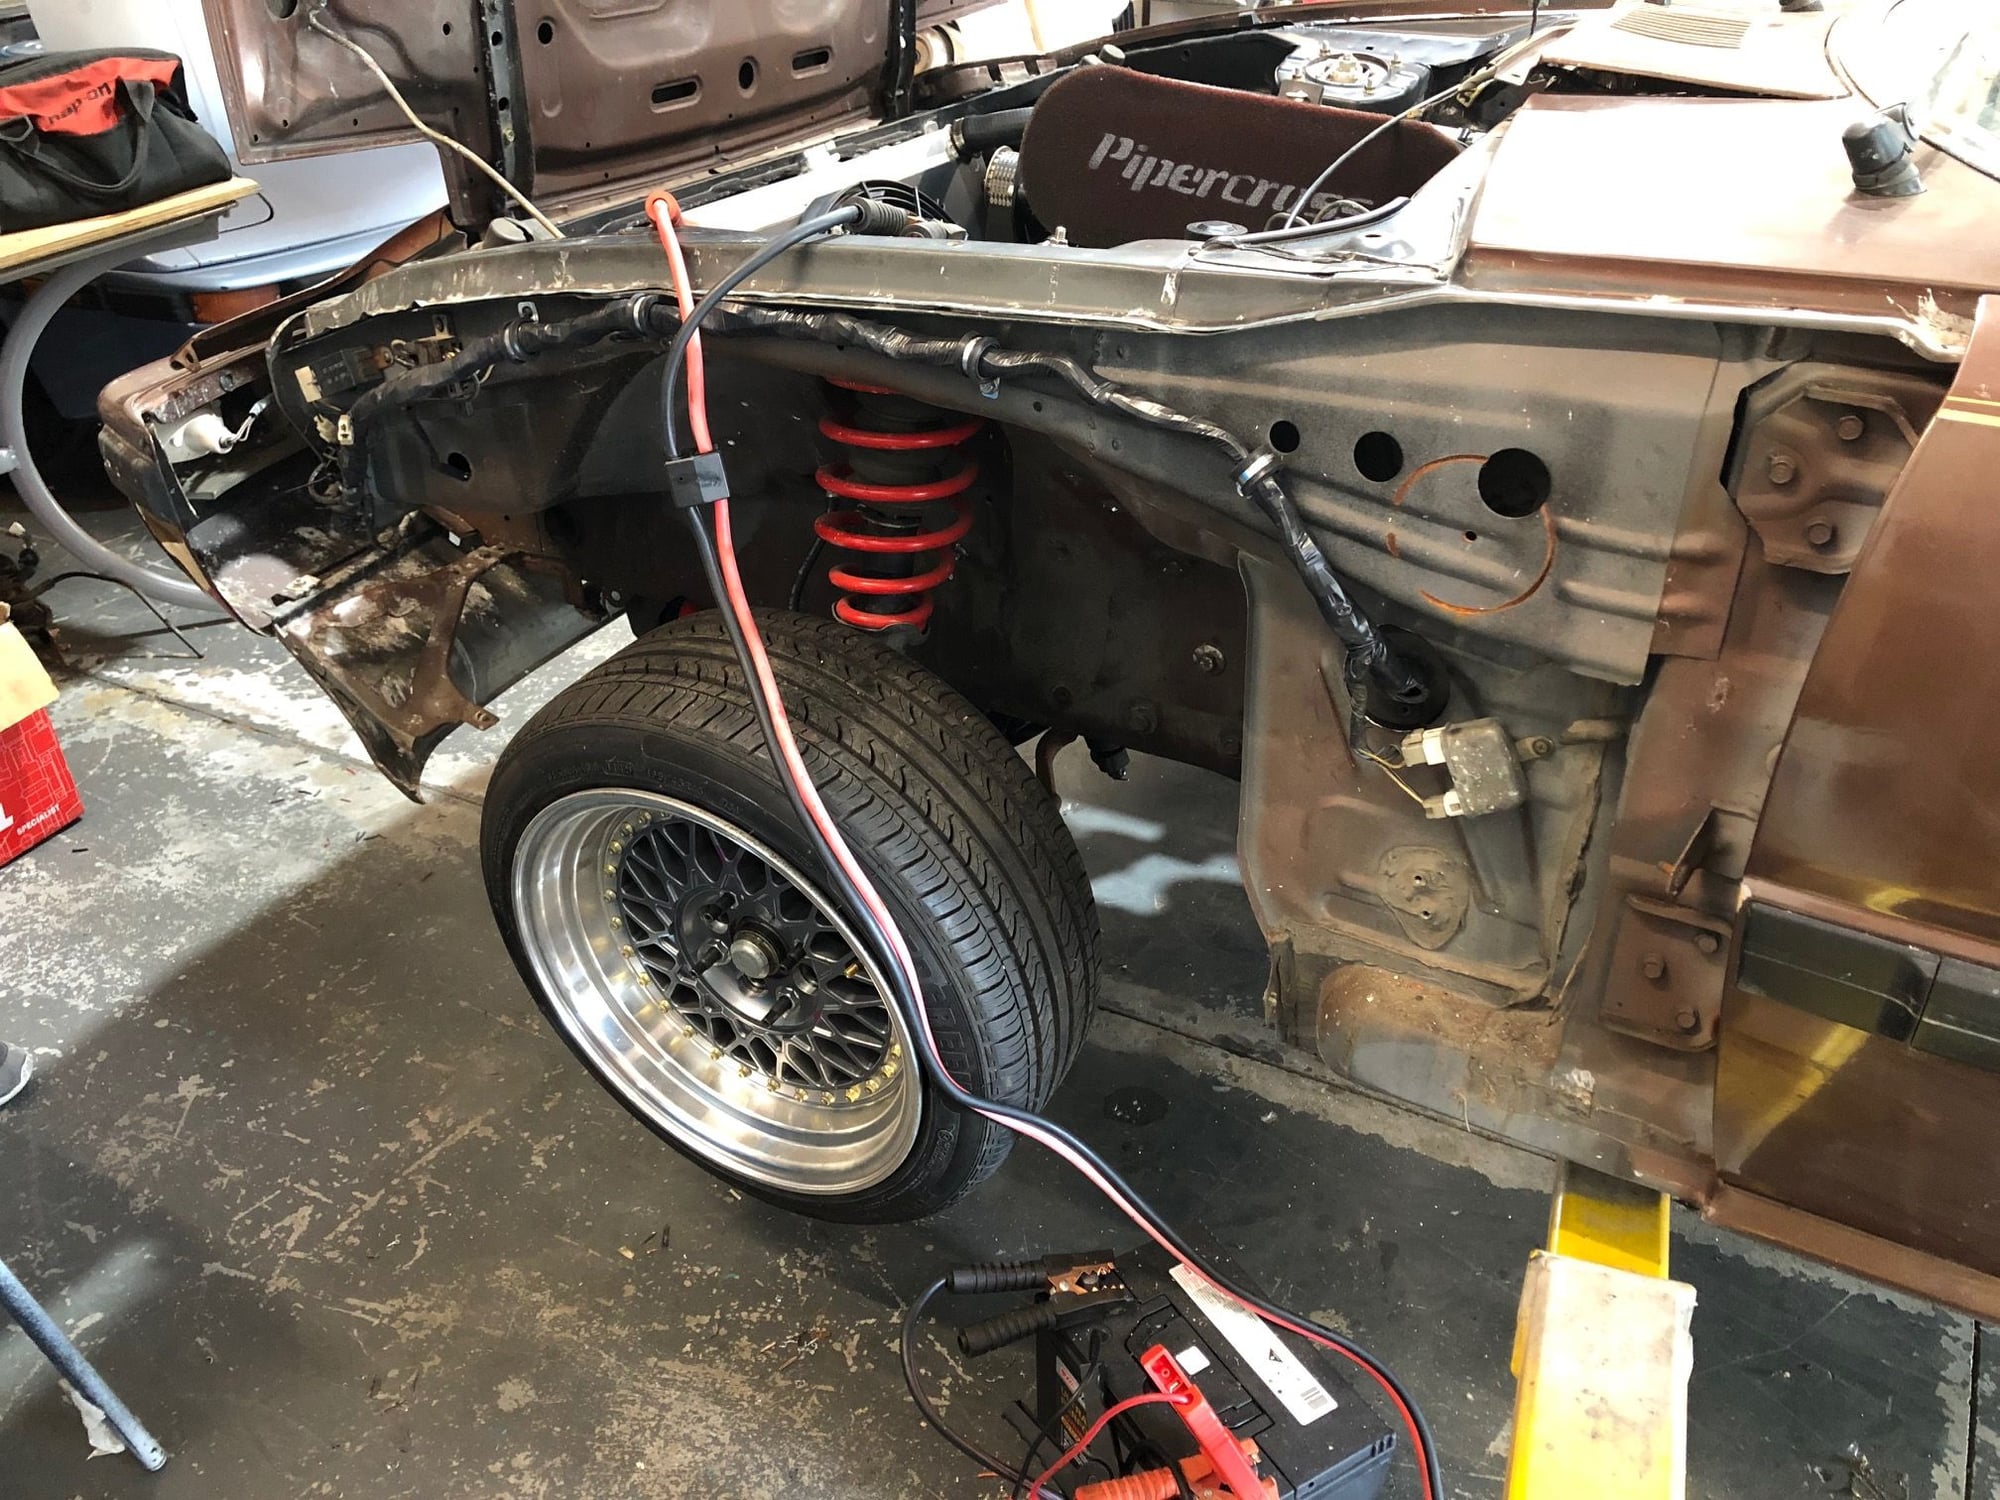
This is the engine bay loom wiring tuck... im sure many of you know how this works, easiest bay to tuck I have ever played with
#43
Junior Member
Thread Starter

More of the wiring tuck, this will obviously be covered by the guard and protected by the inner guard
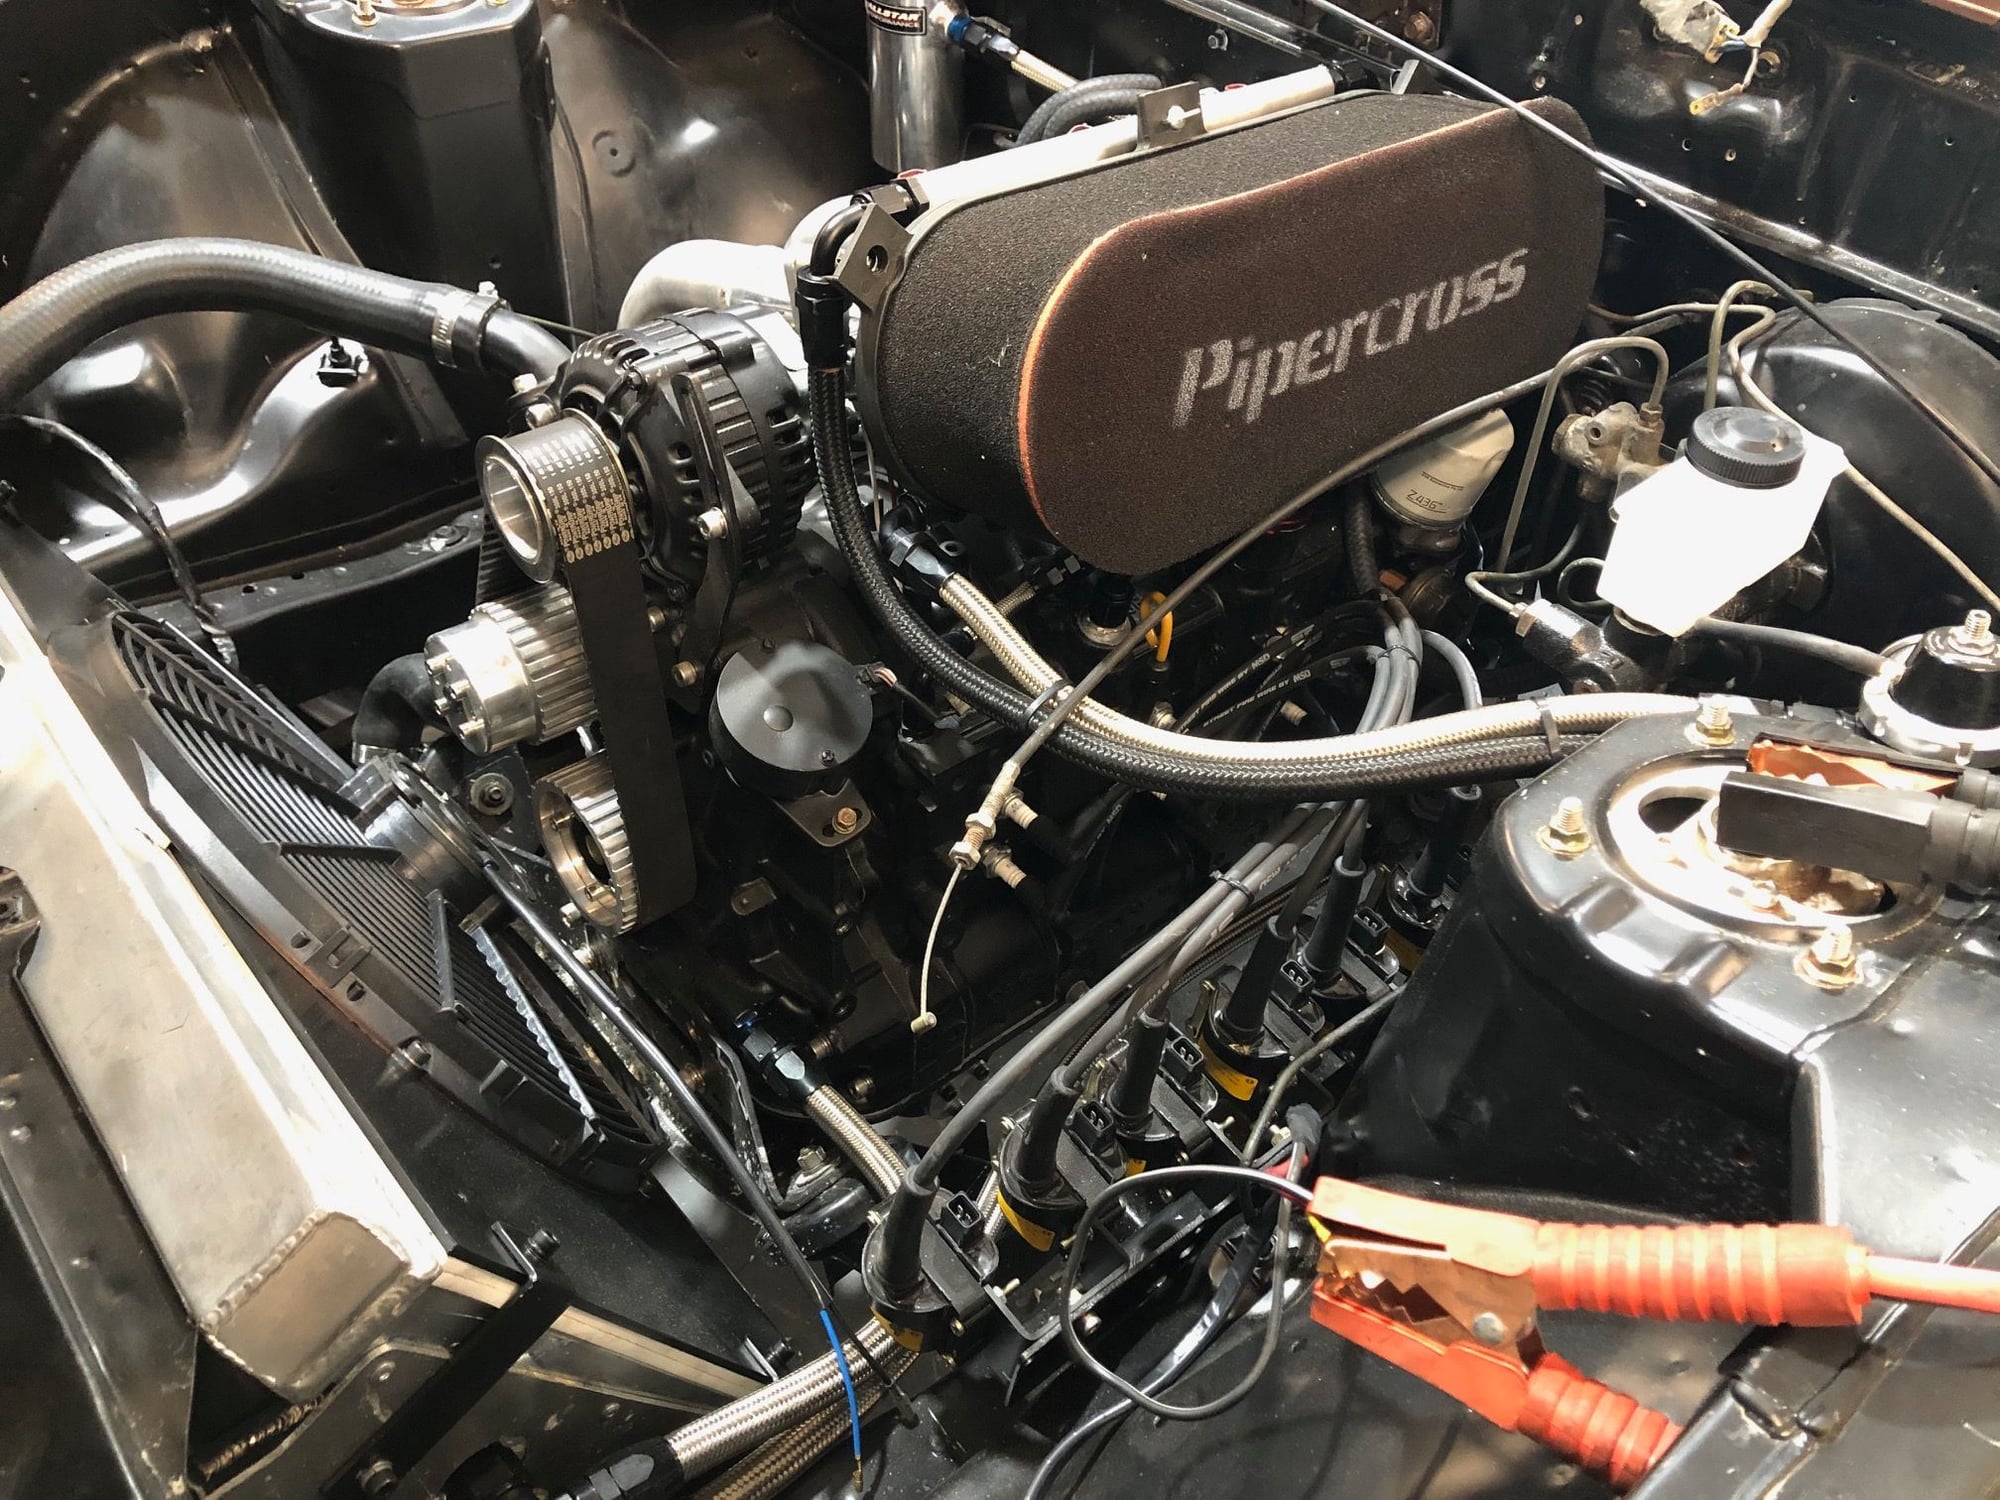
Wired the loom to a jump pack to test all the lights and indicators, pop up light motors etc. All work well
 now...
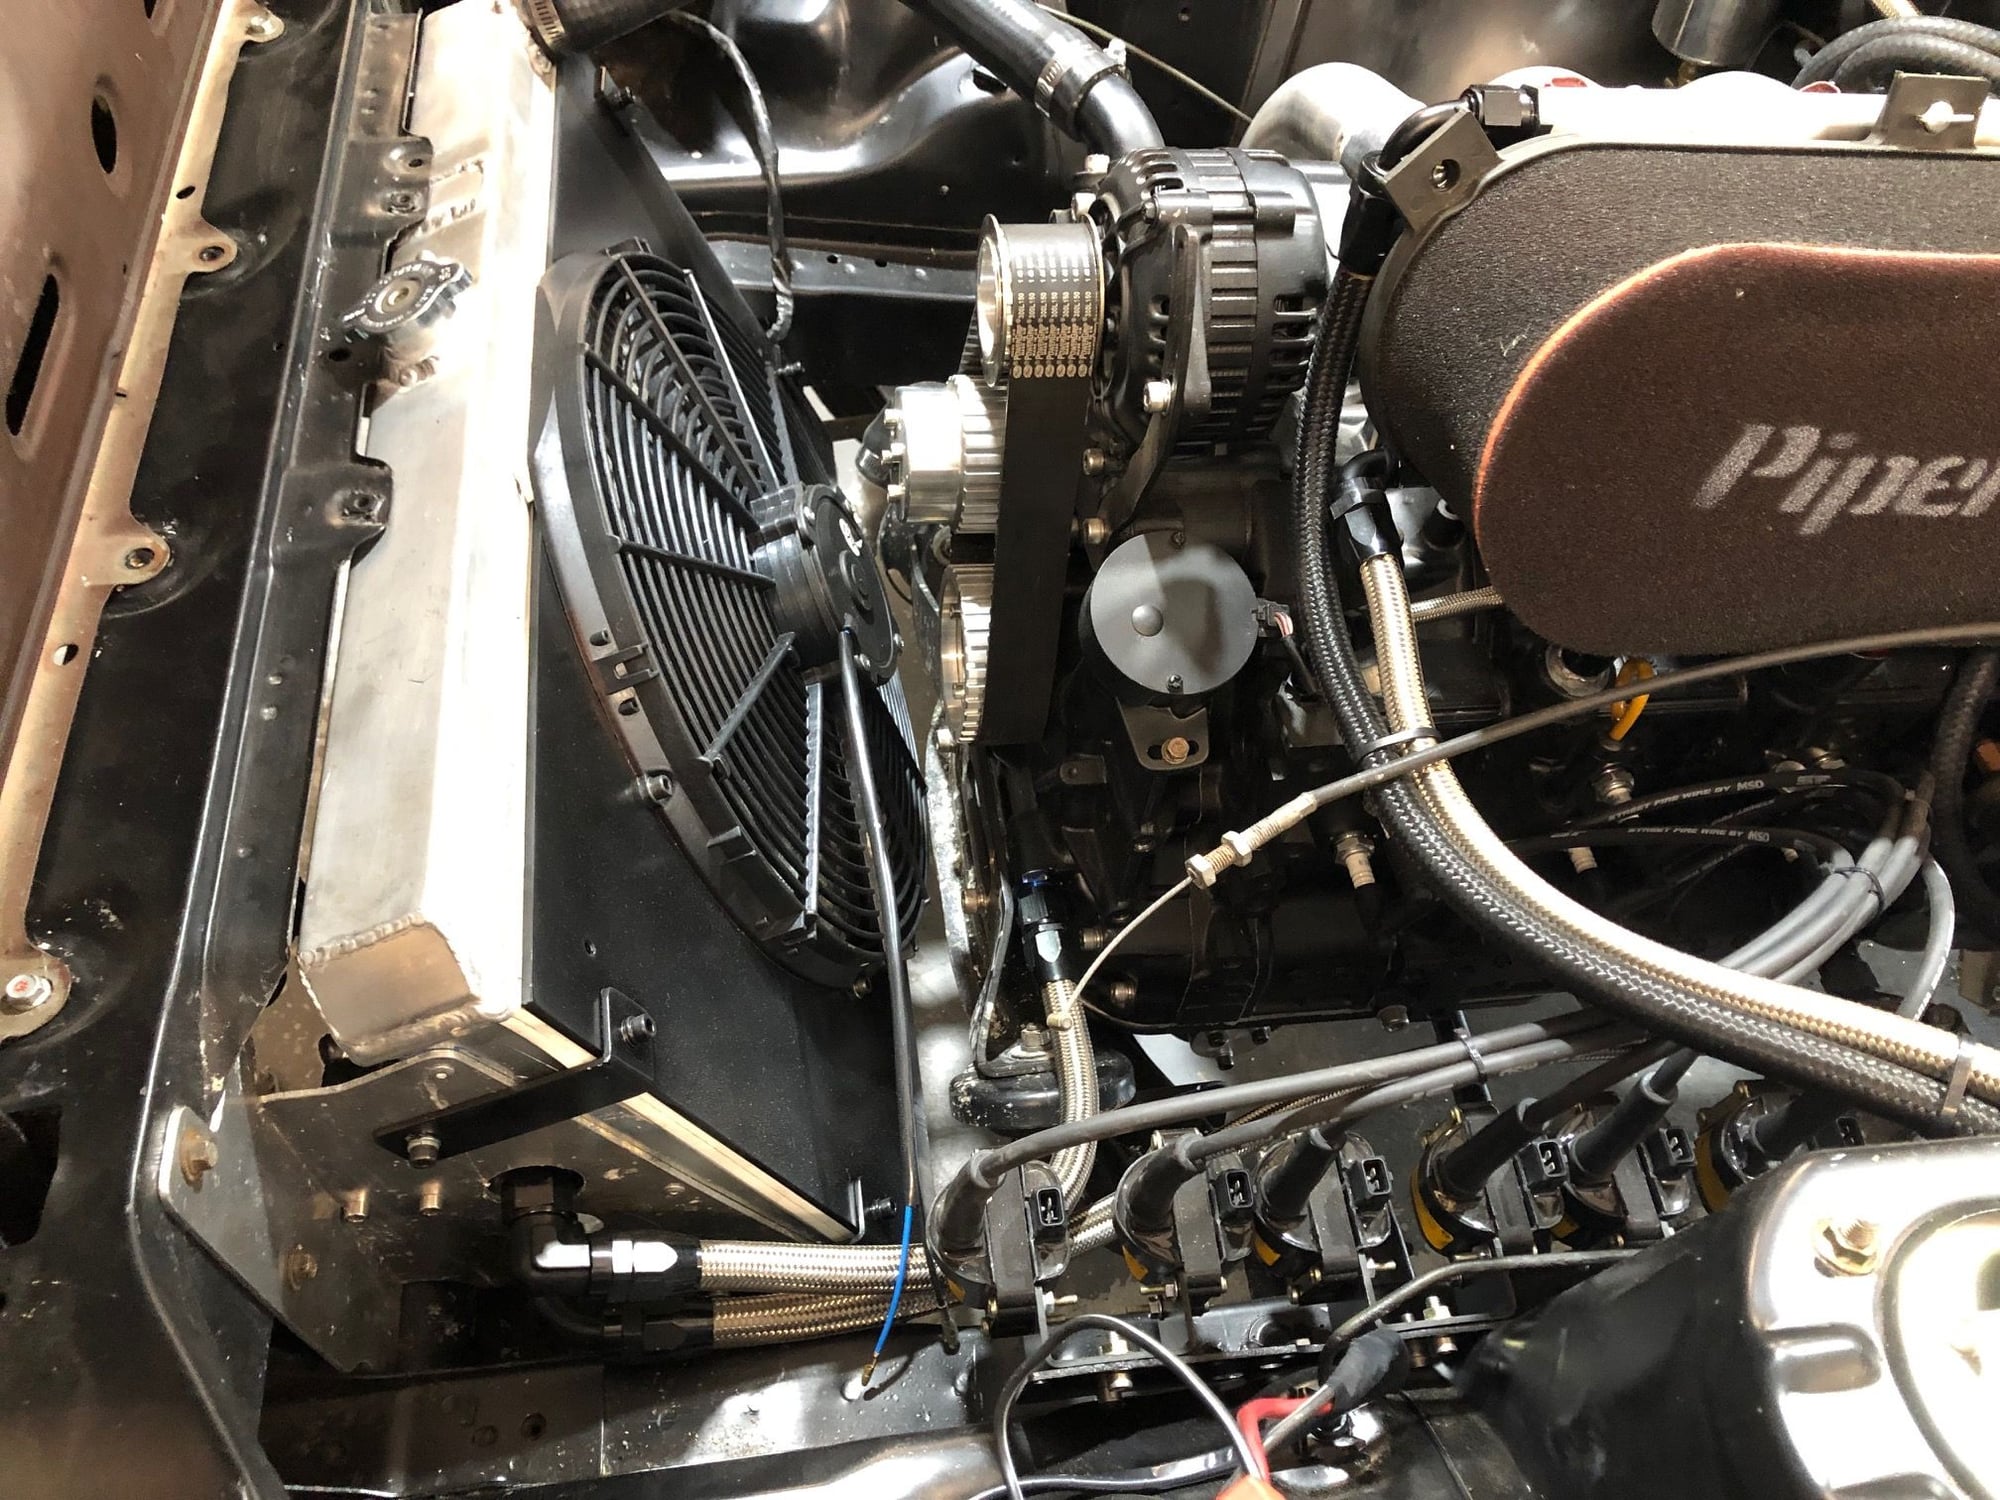
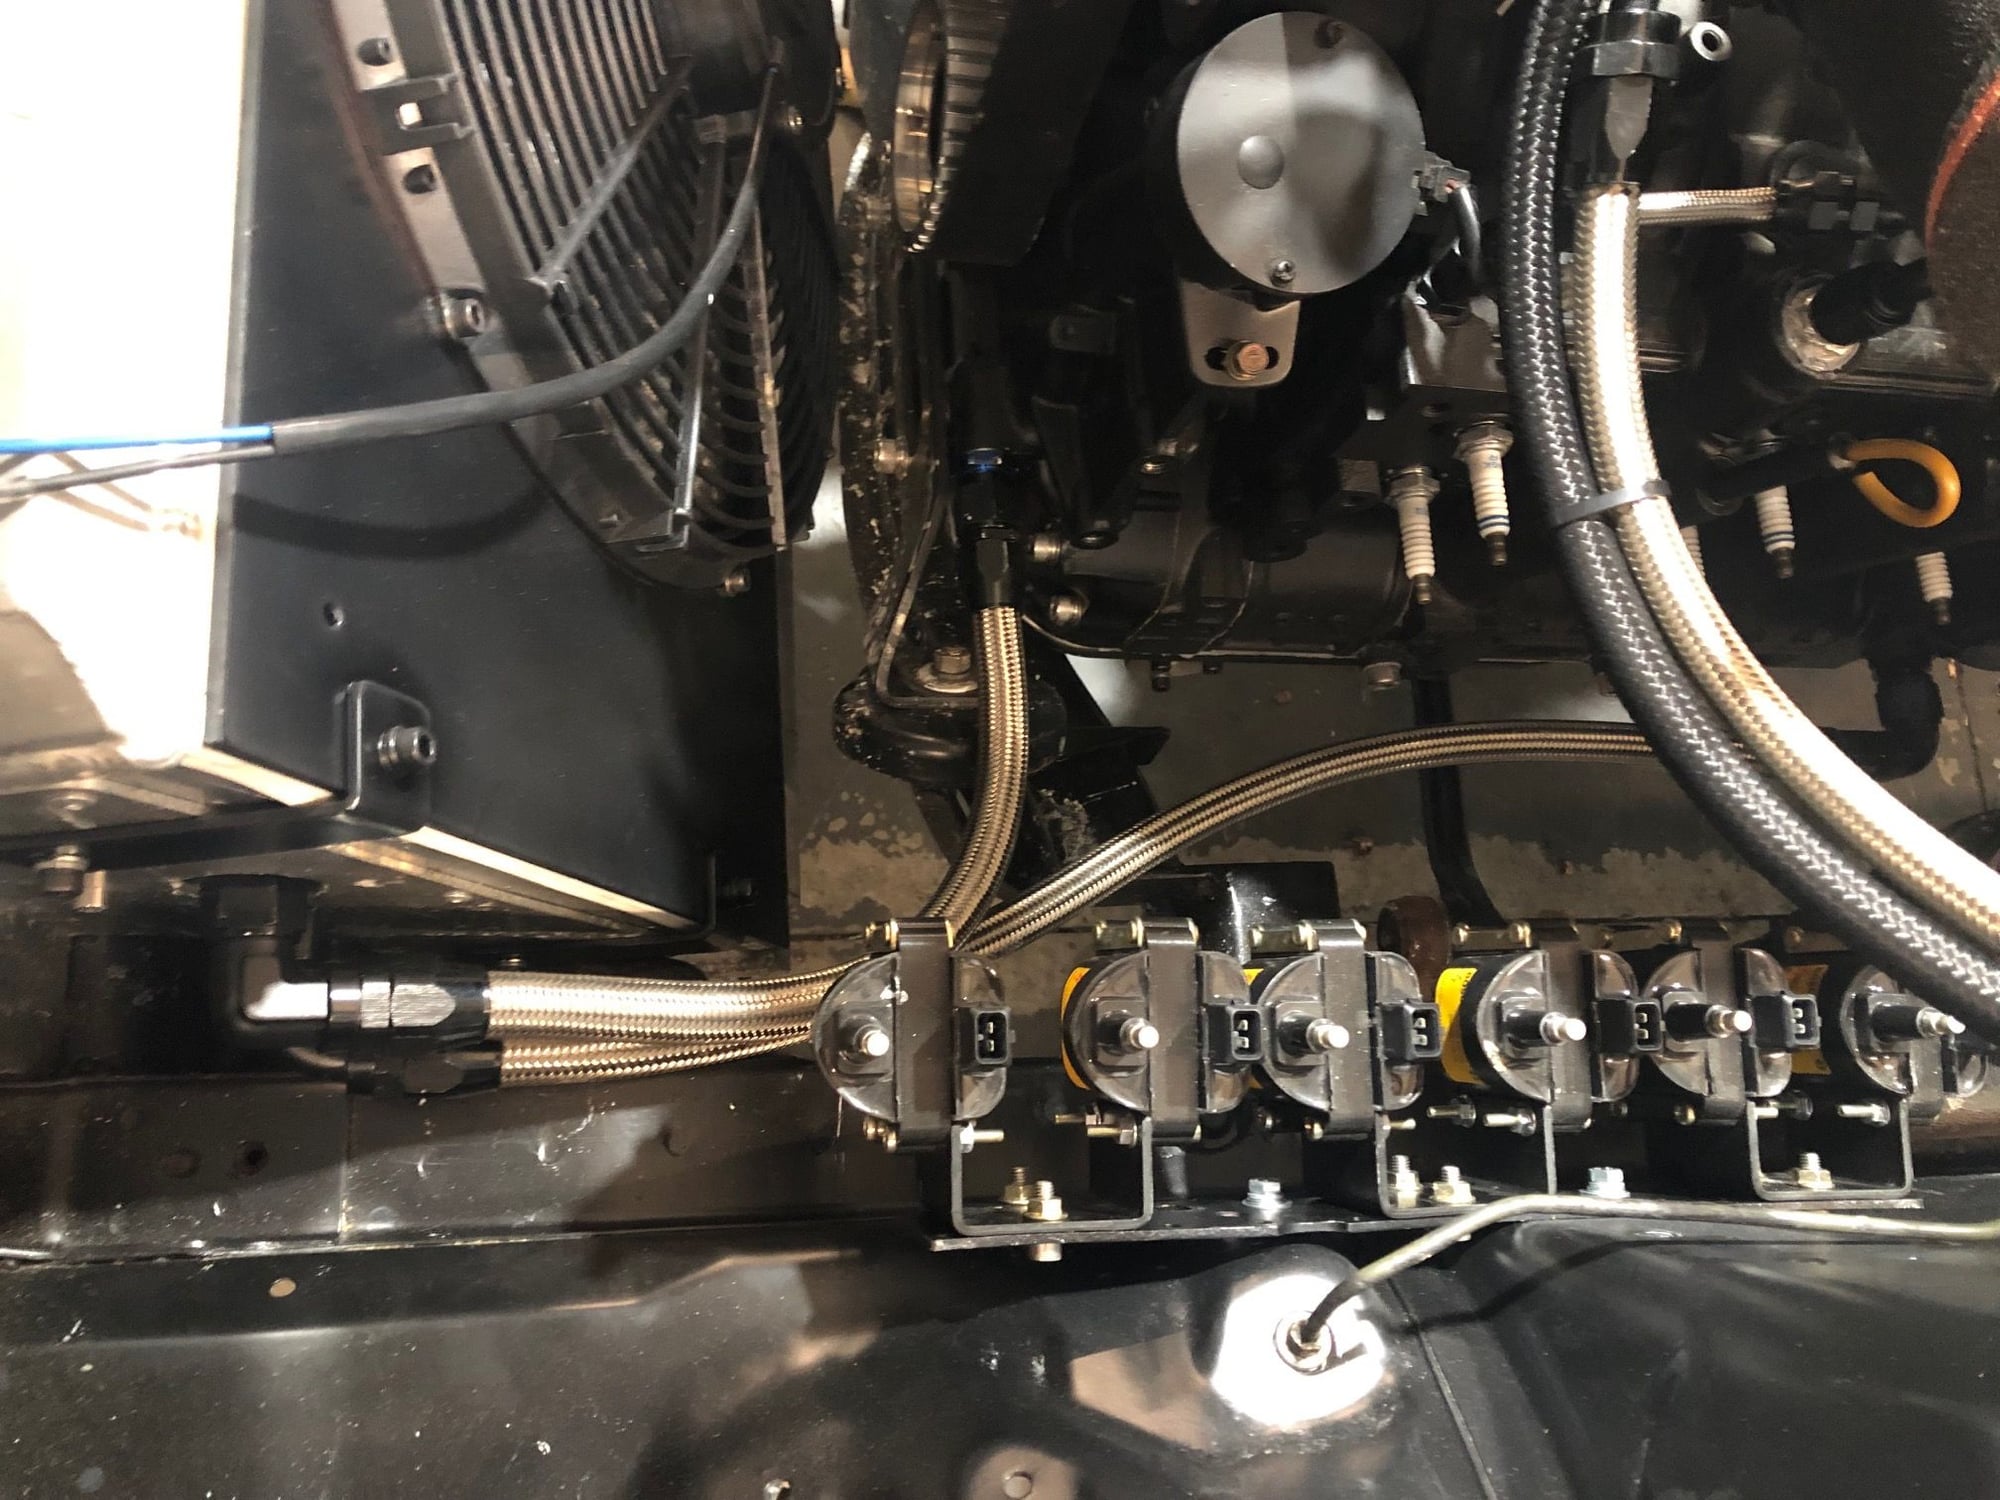
All the ignition leads made and installed now.
#44
Junior Member
Thread Starter
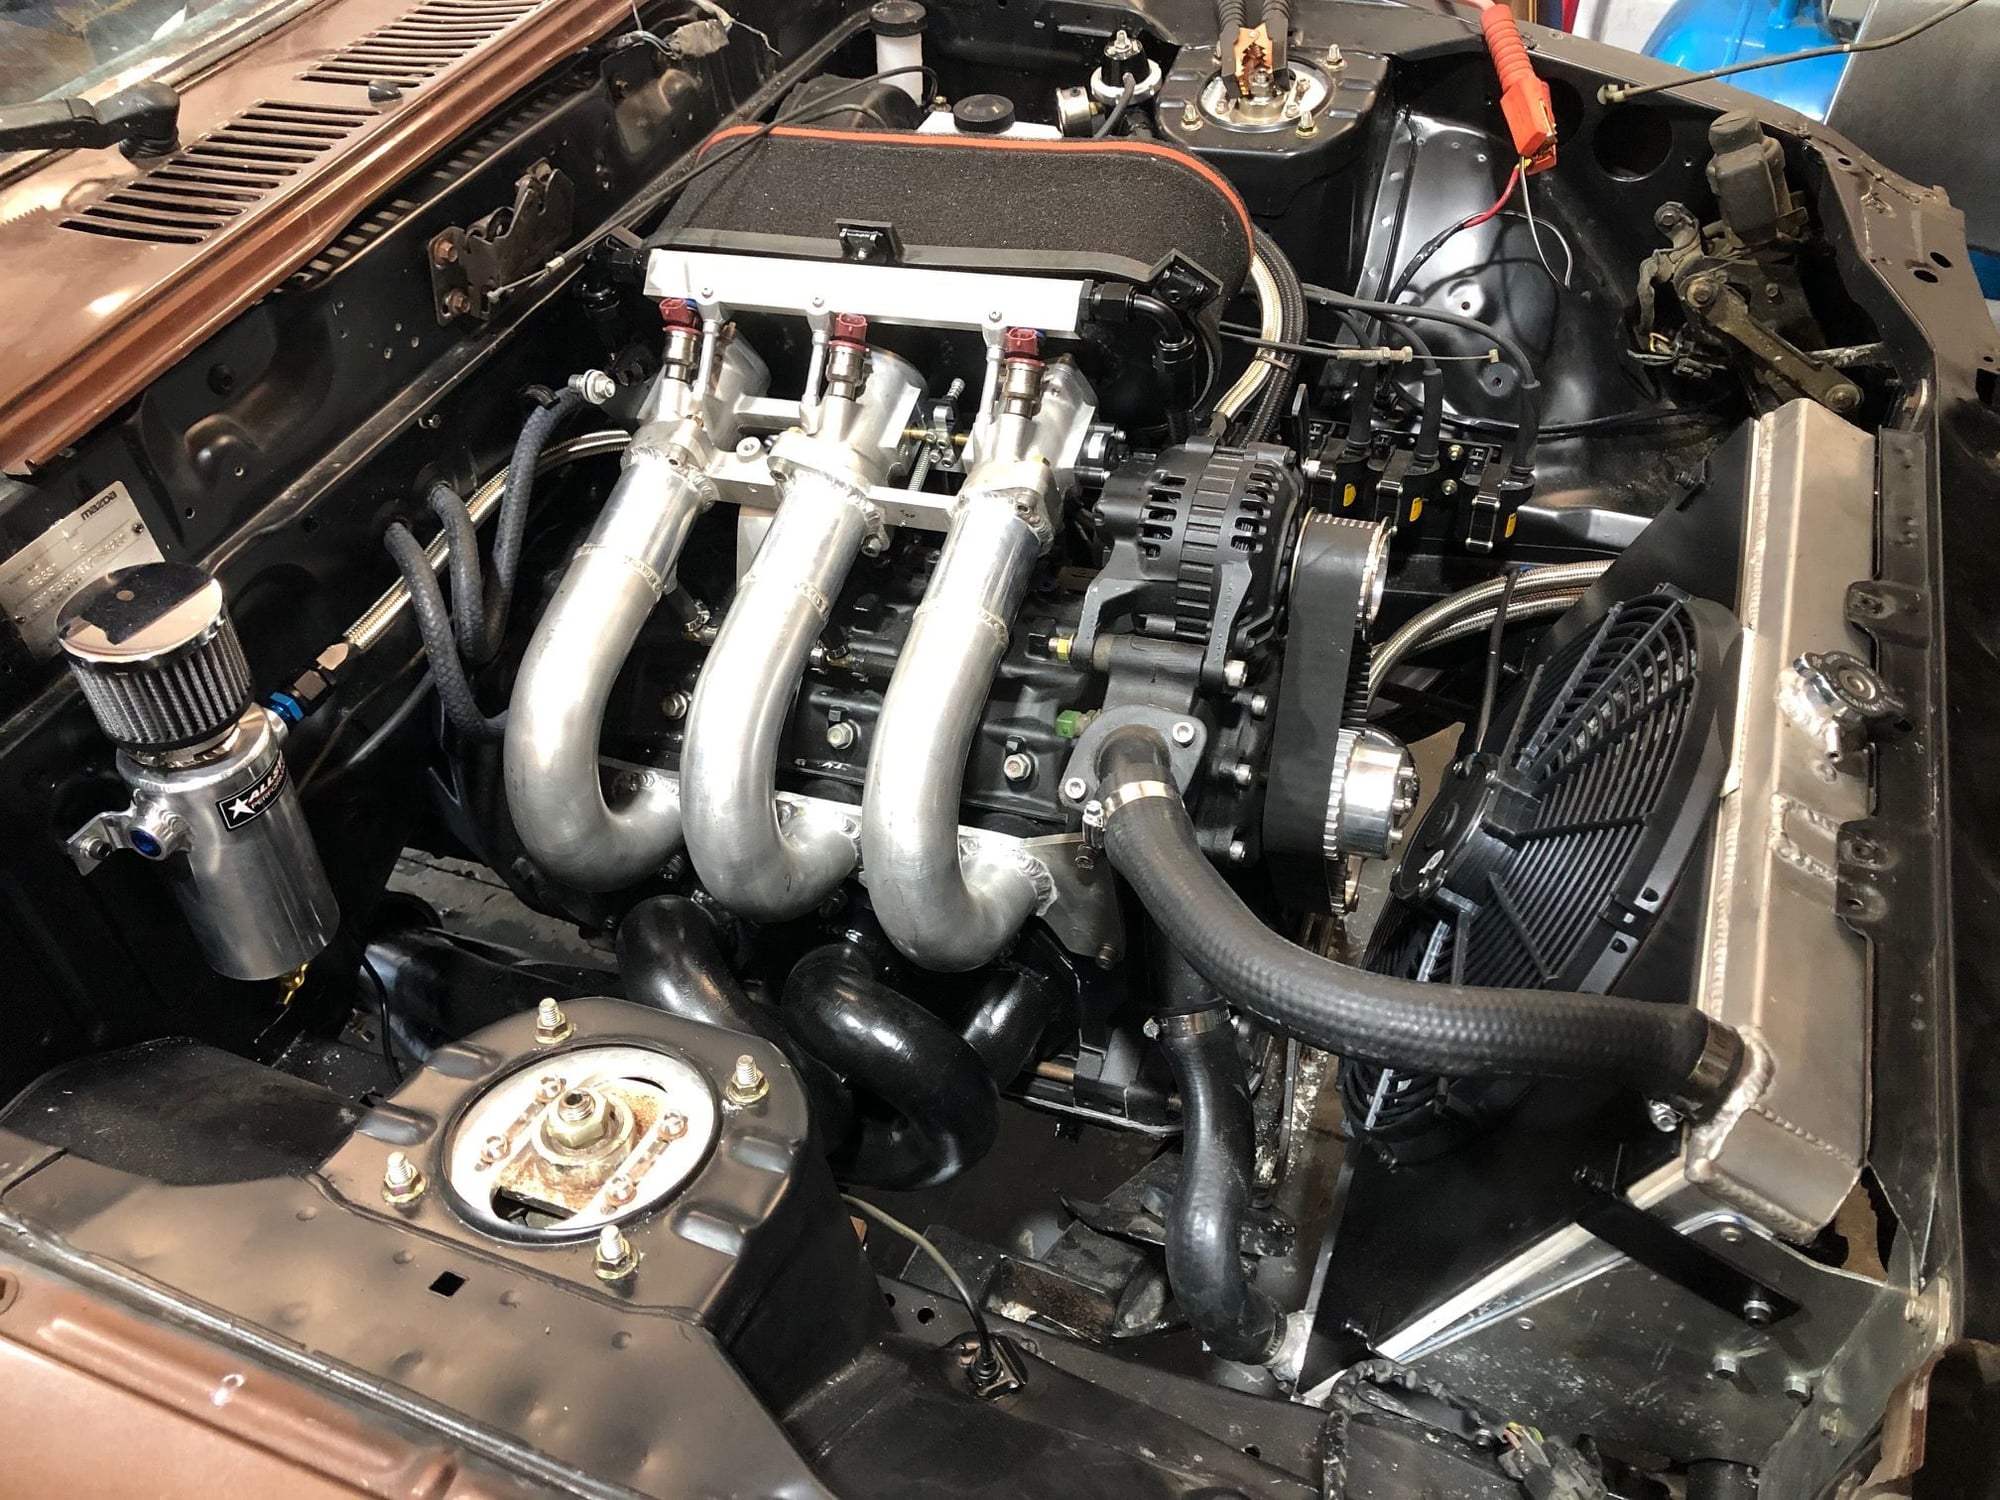
Getting there... all takes time
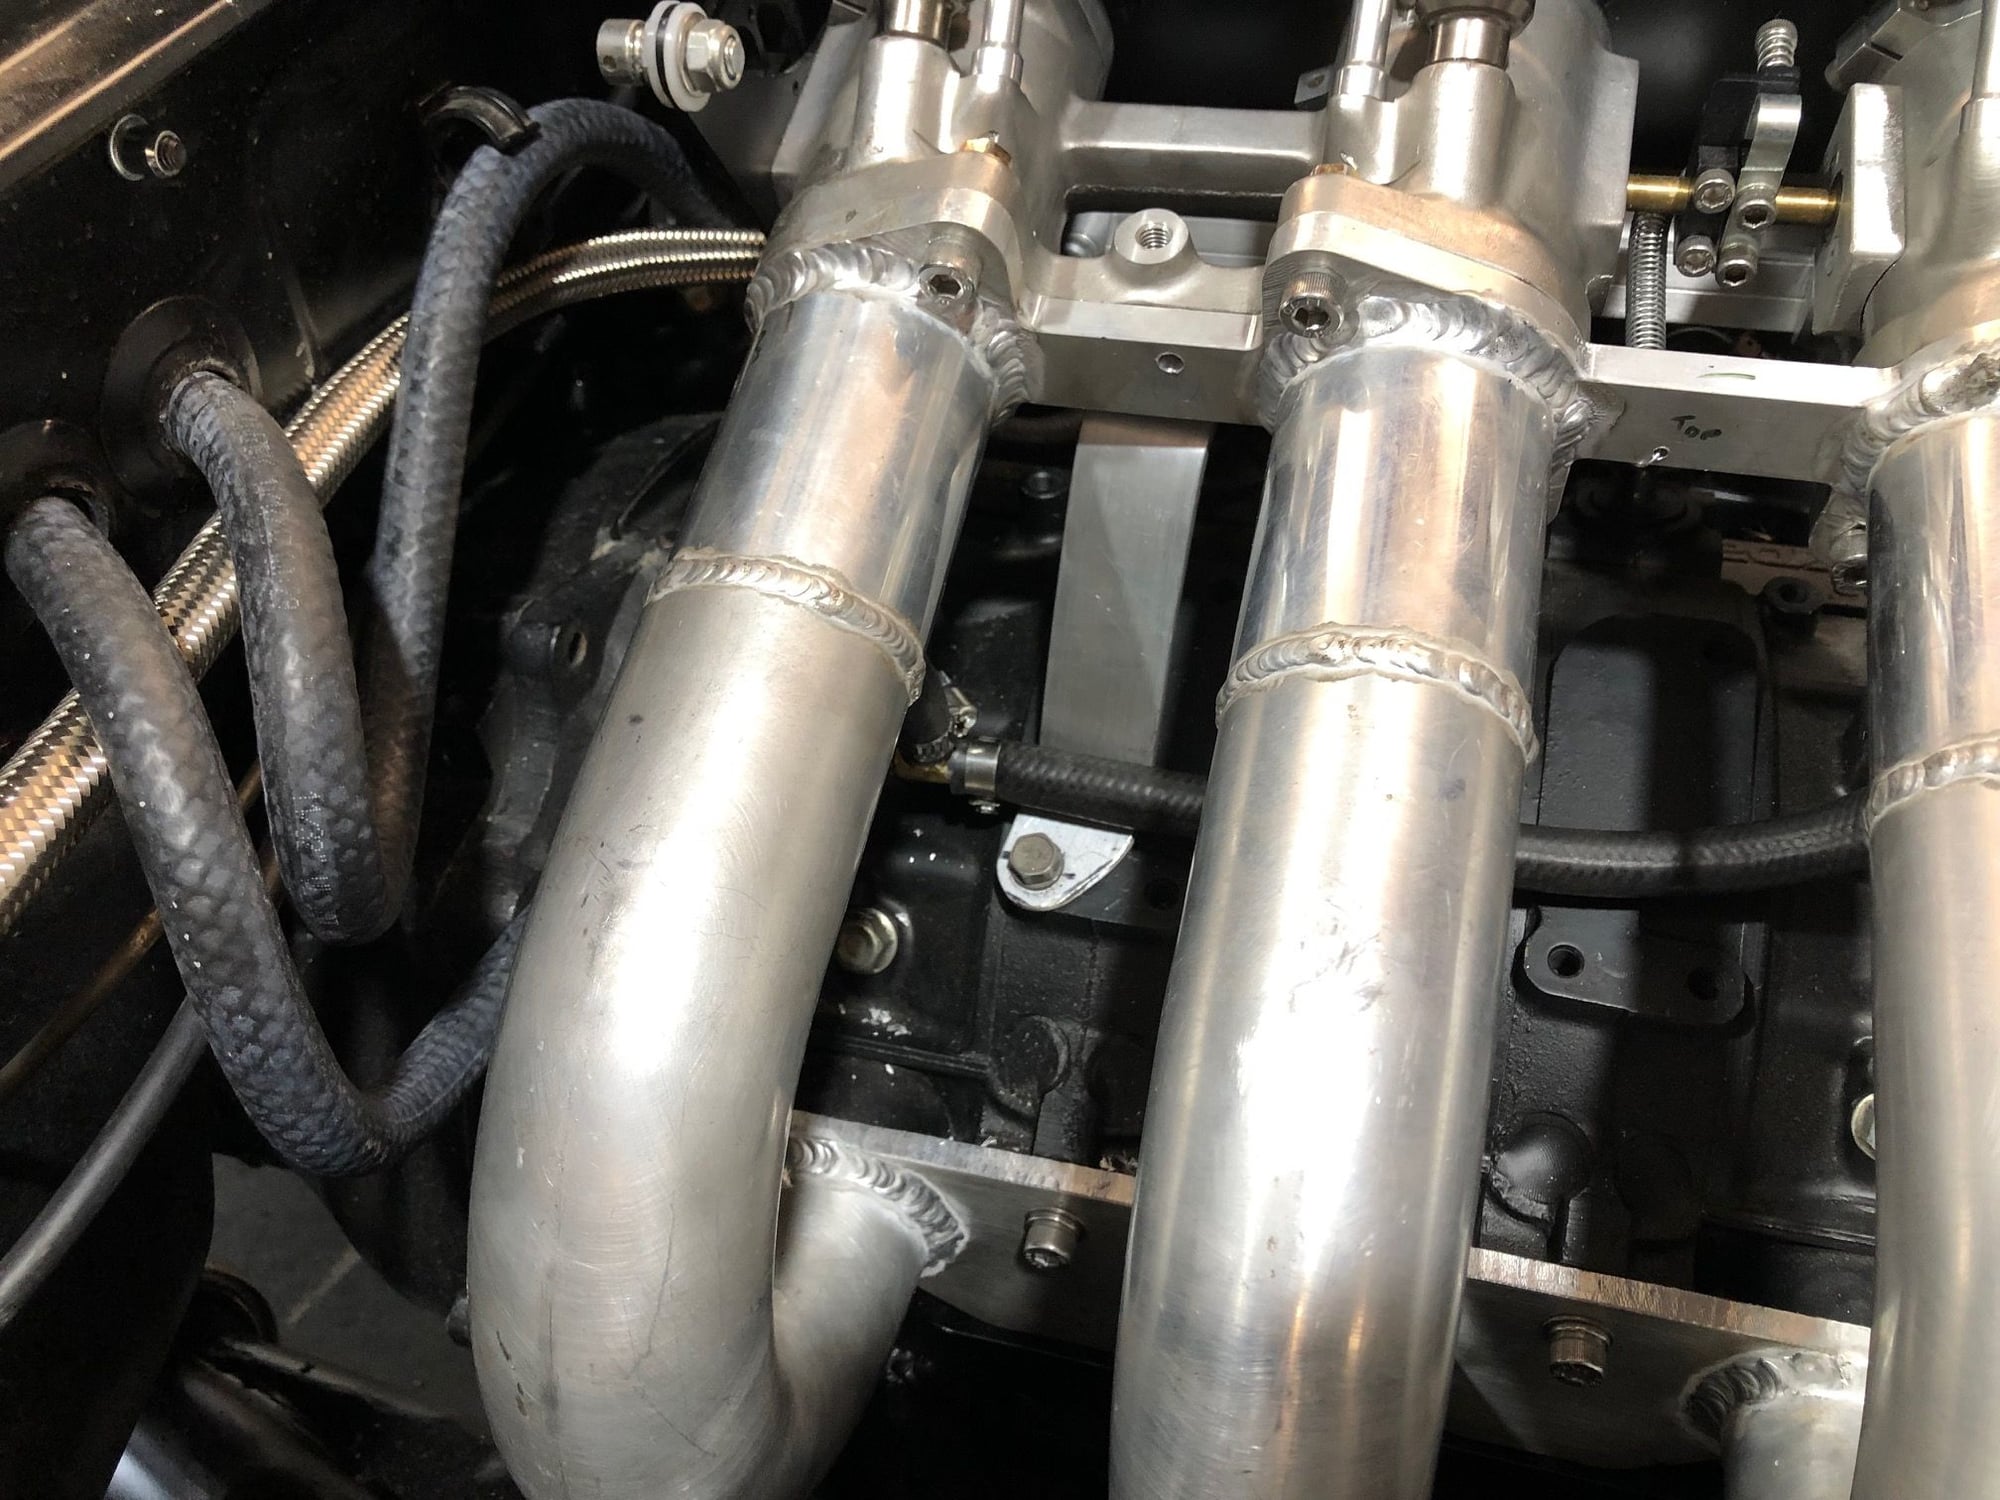
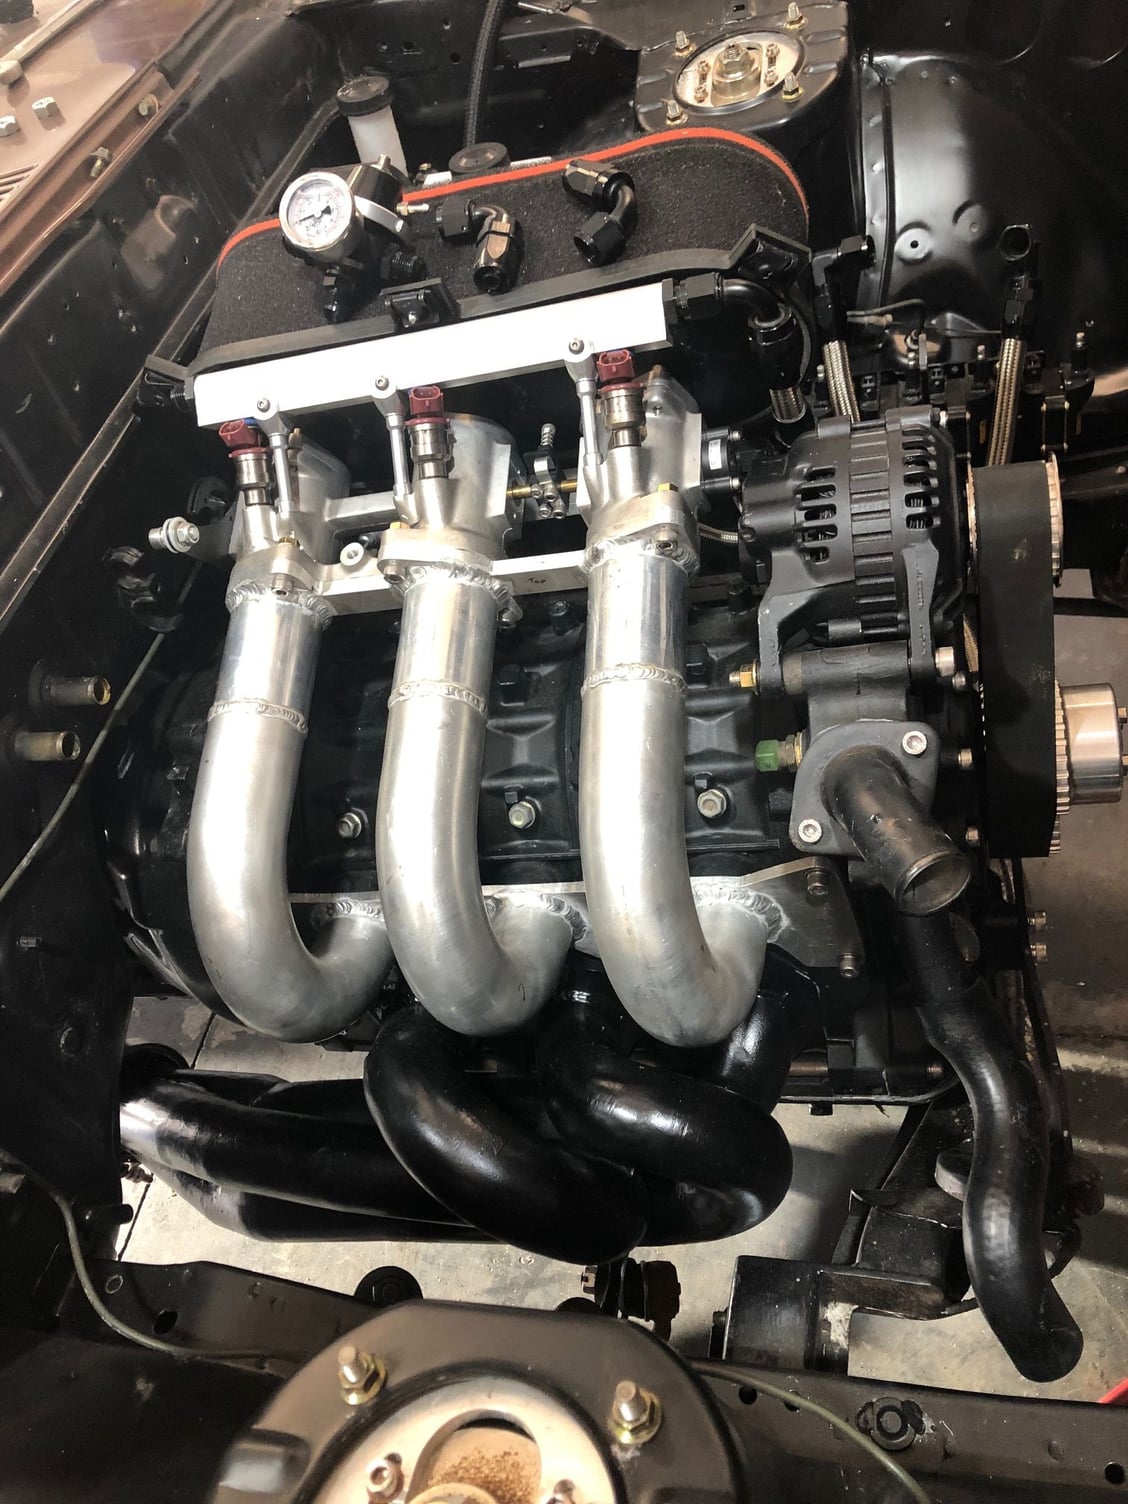
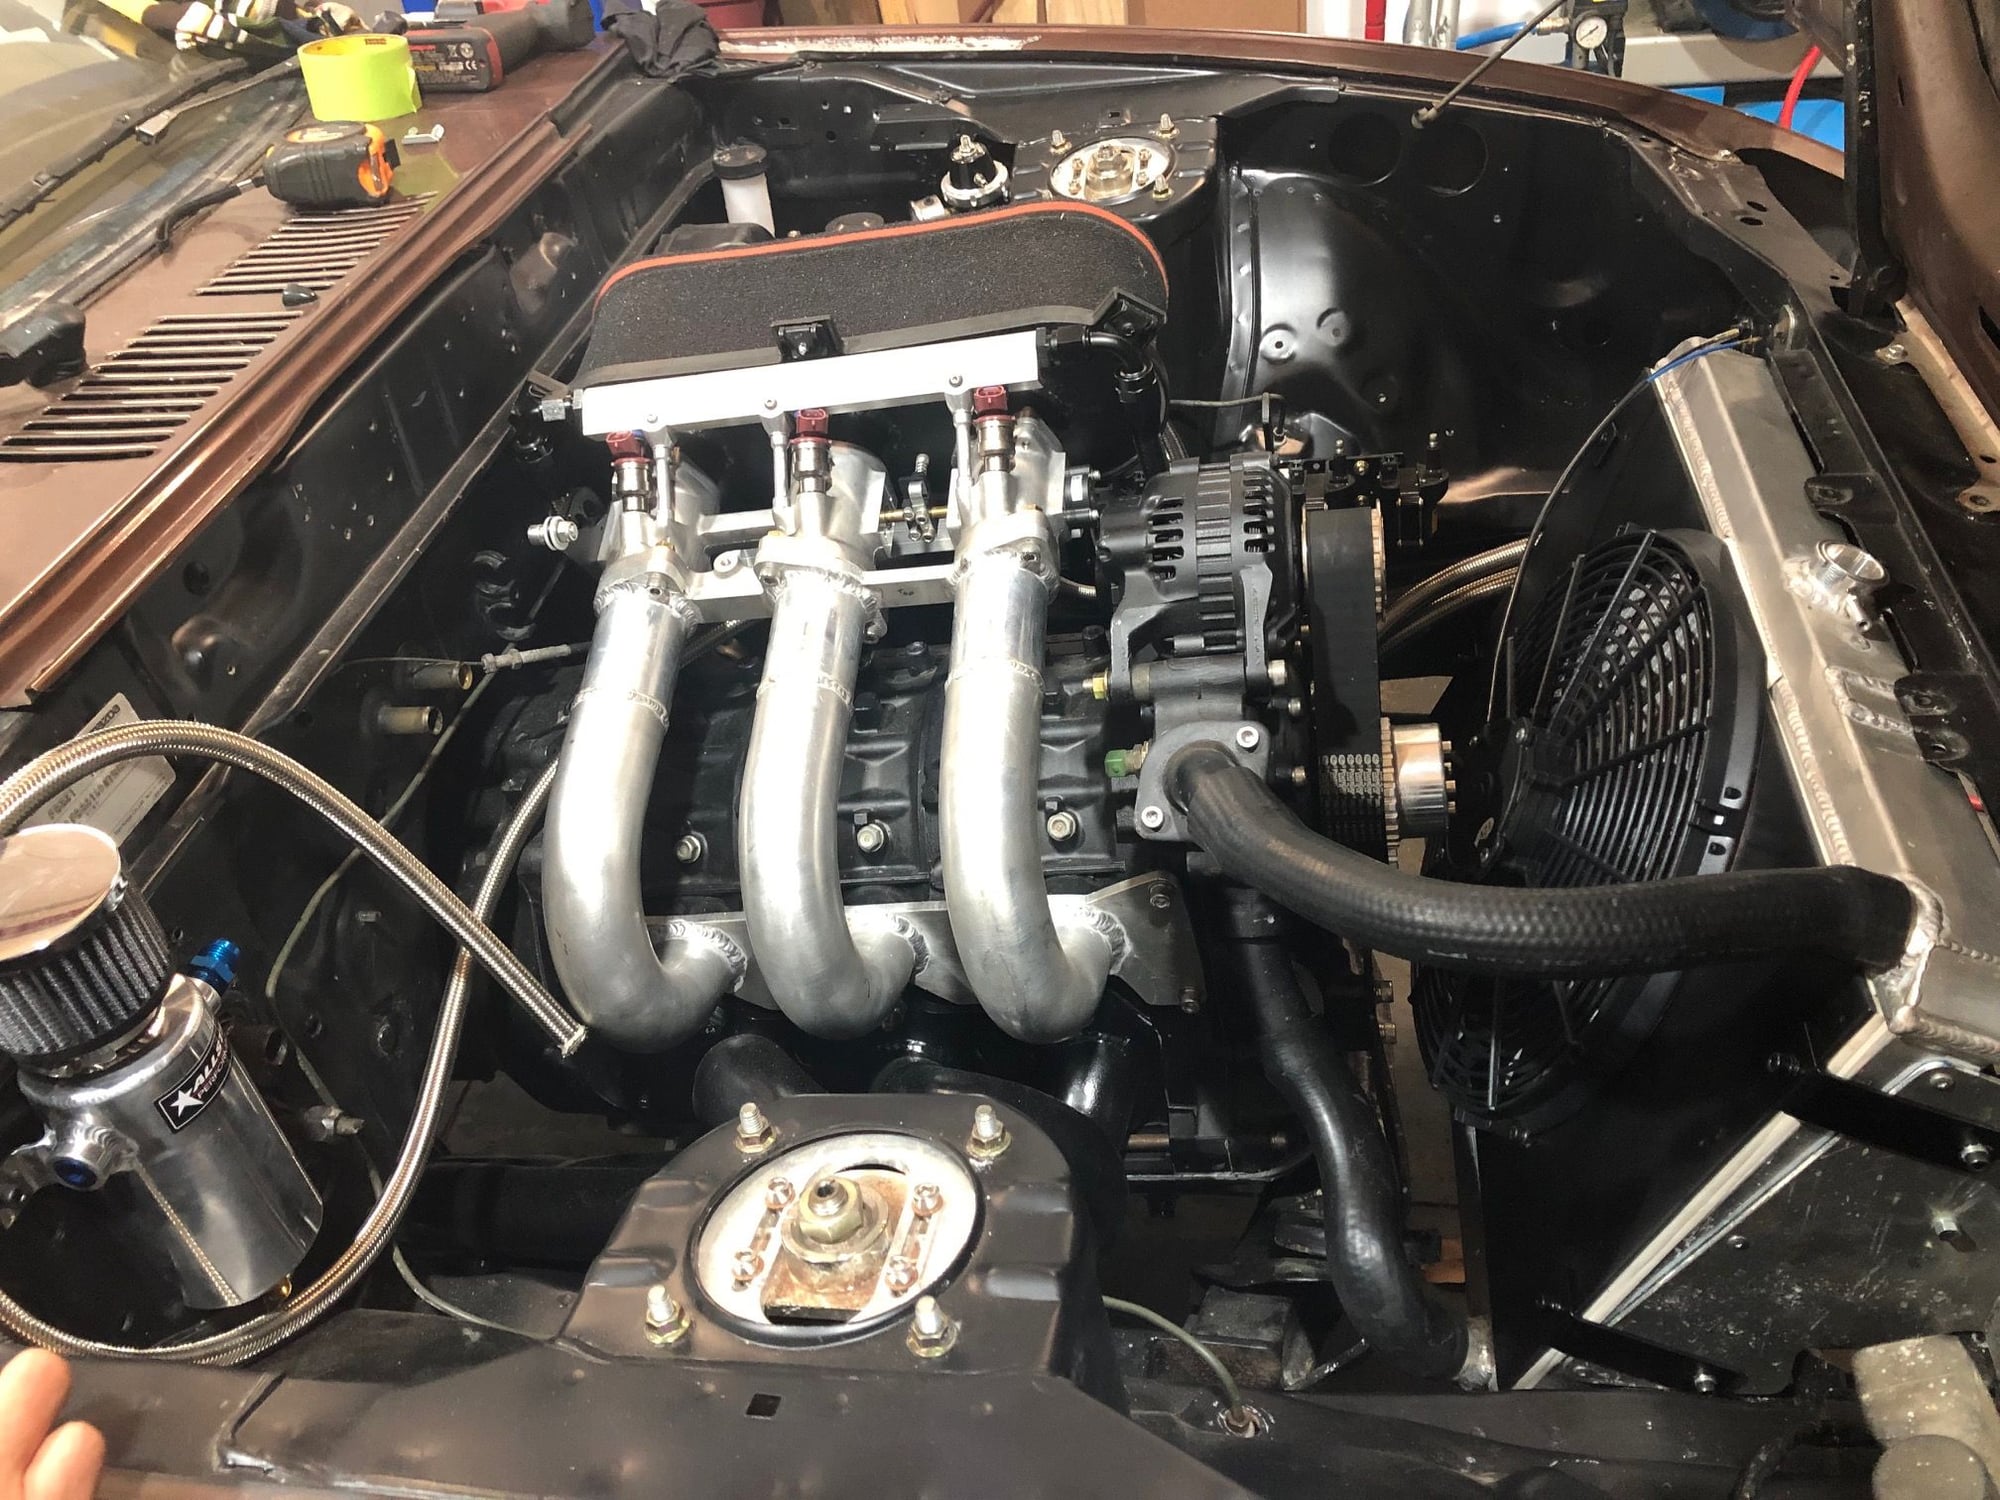
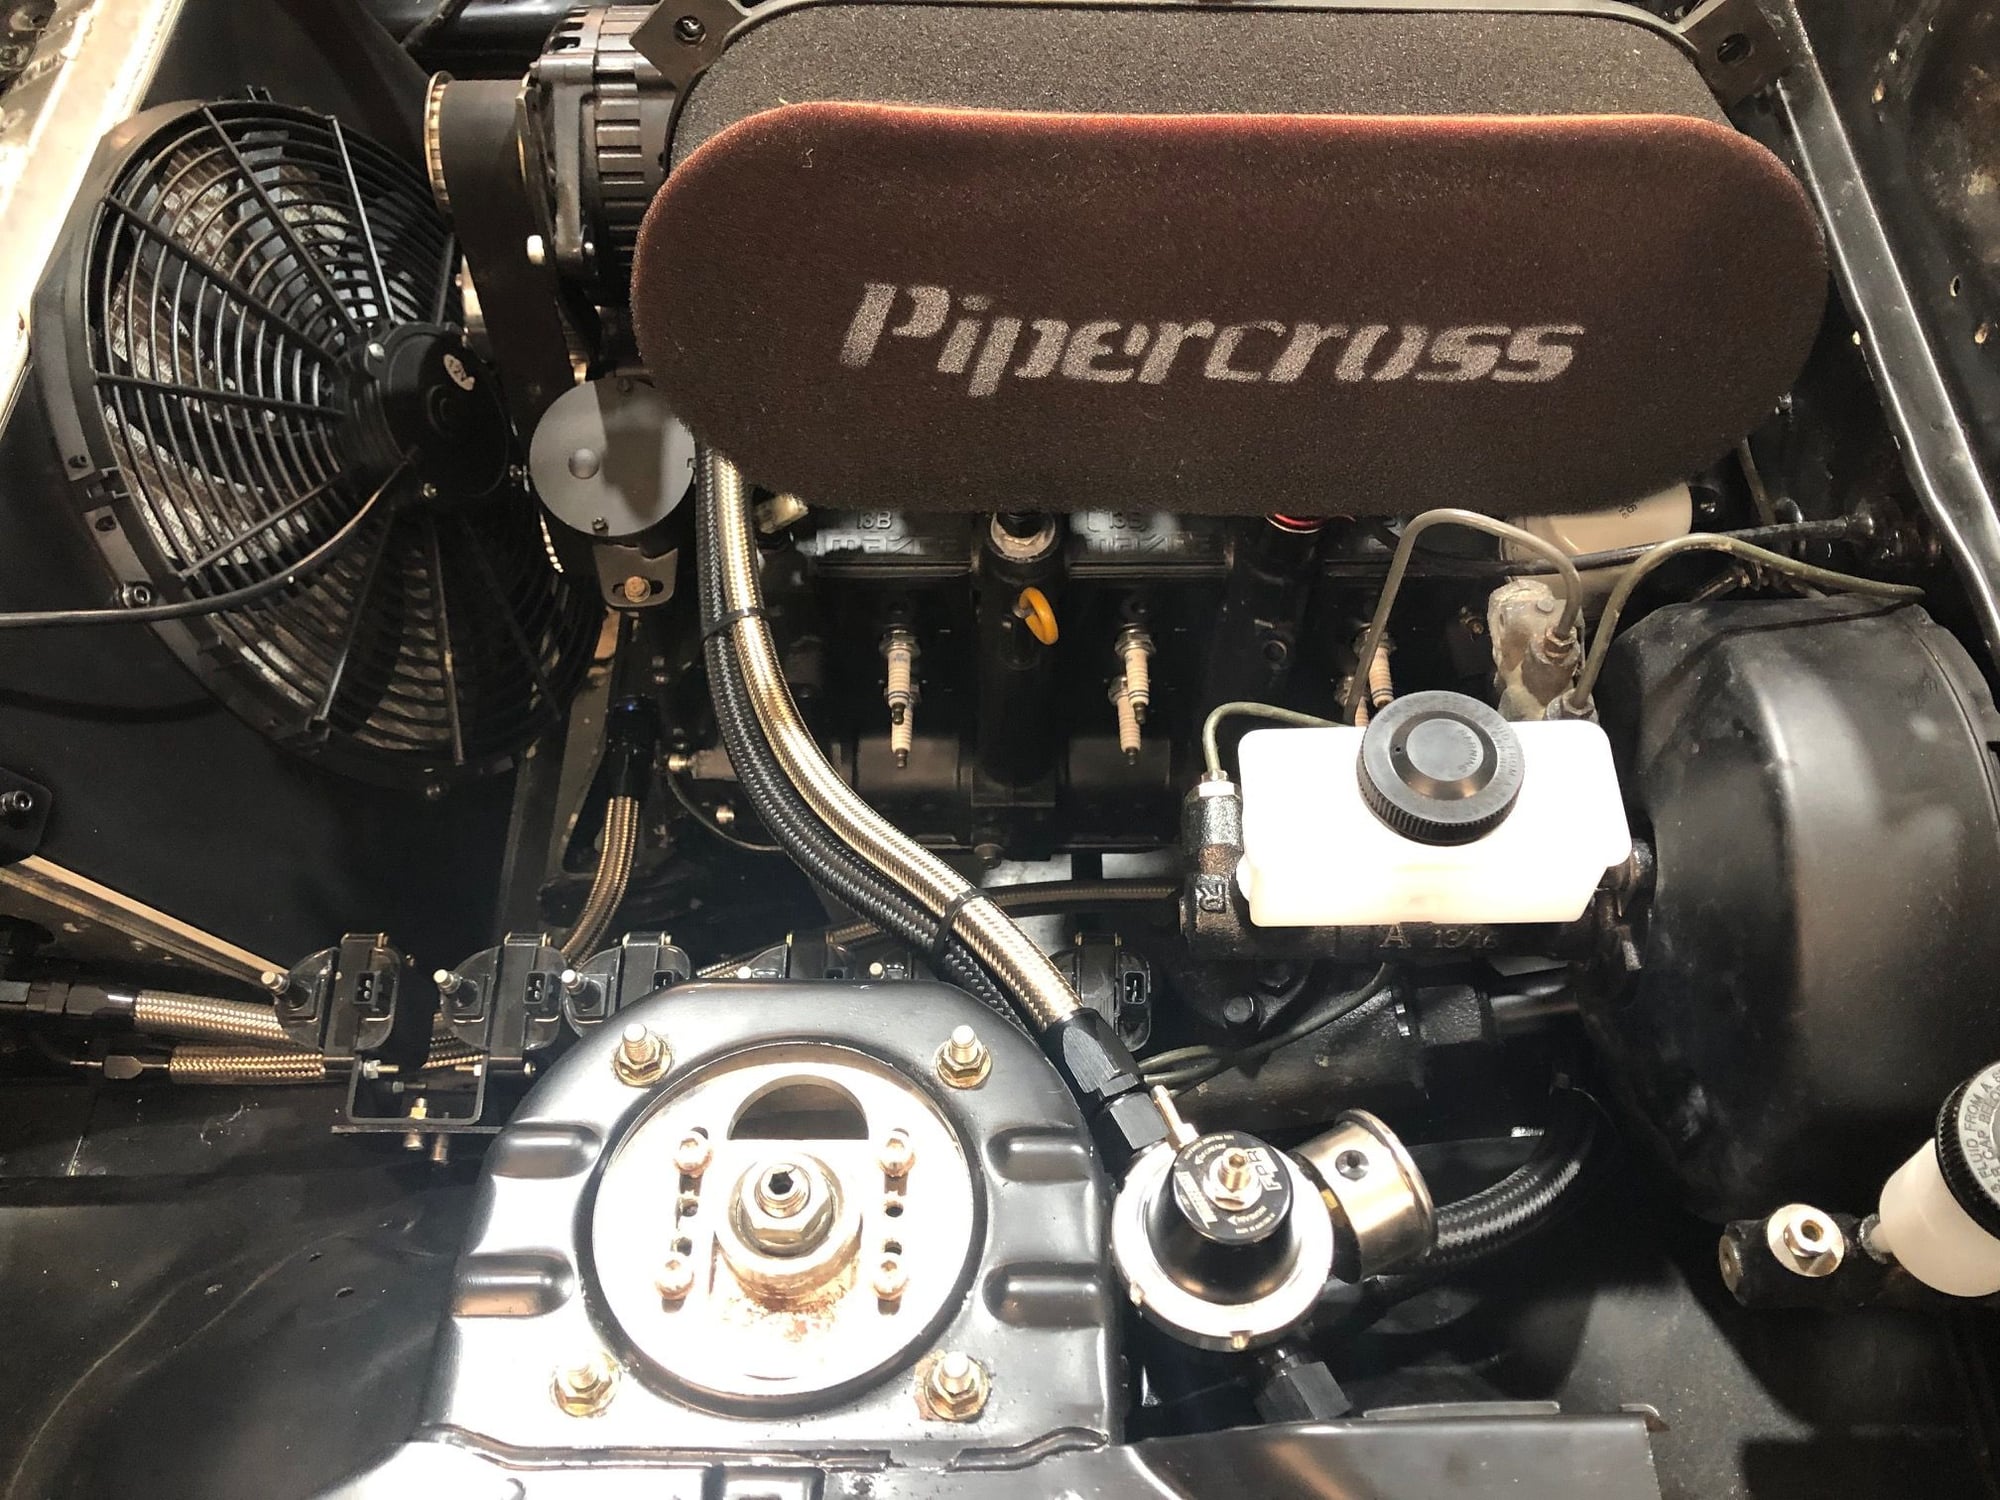
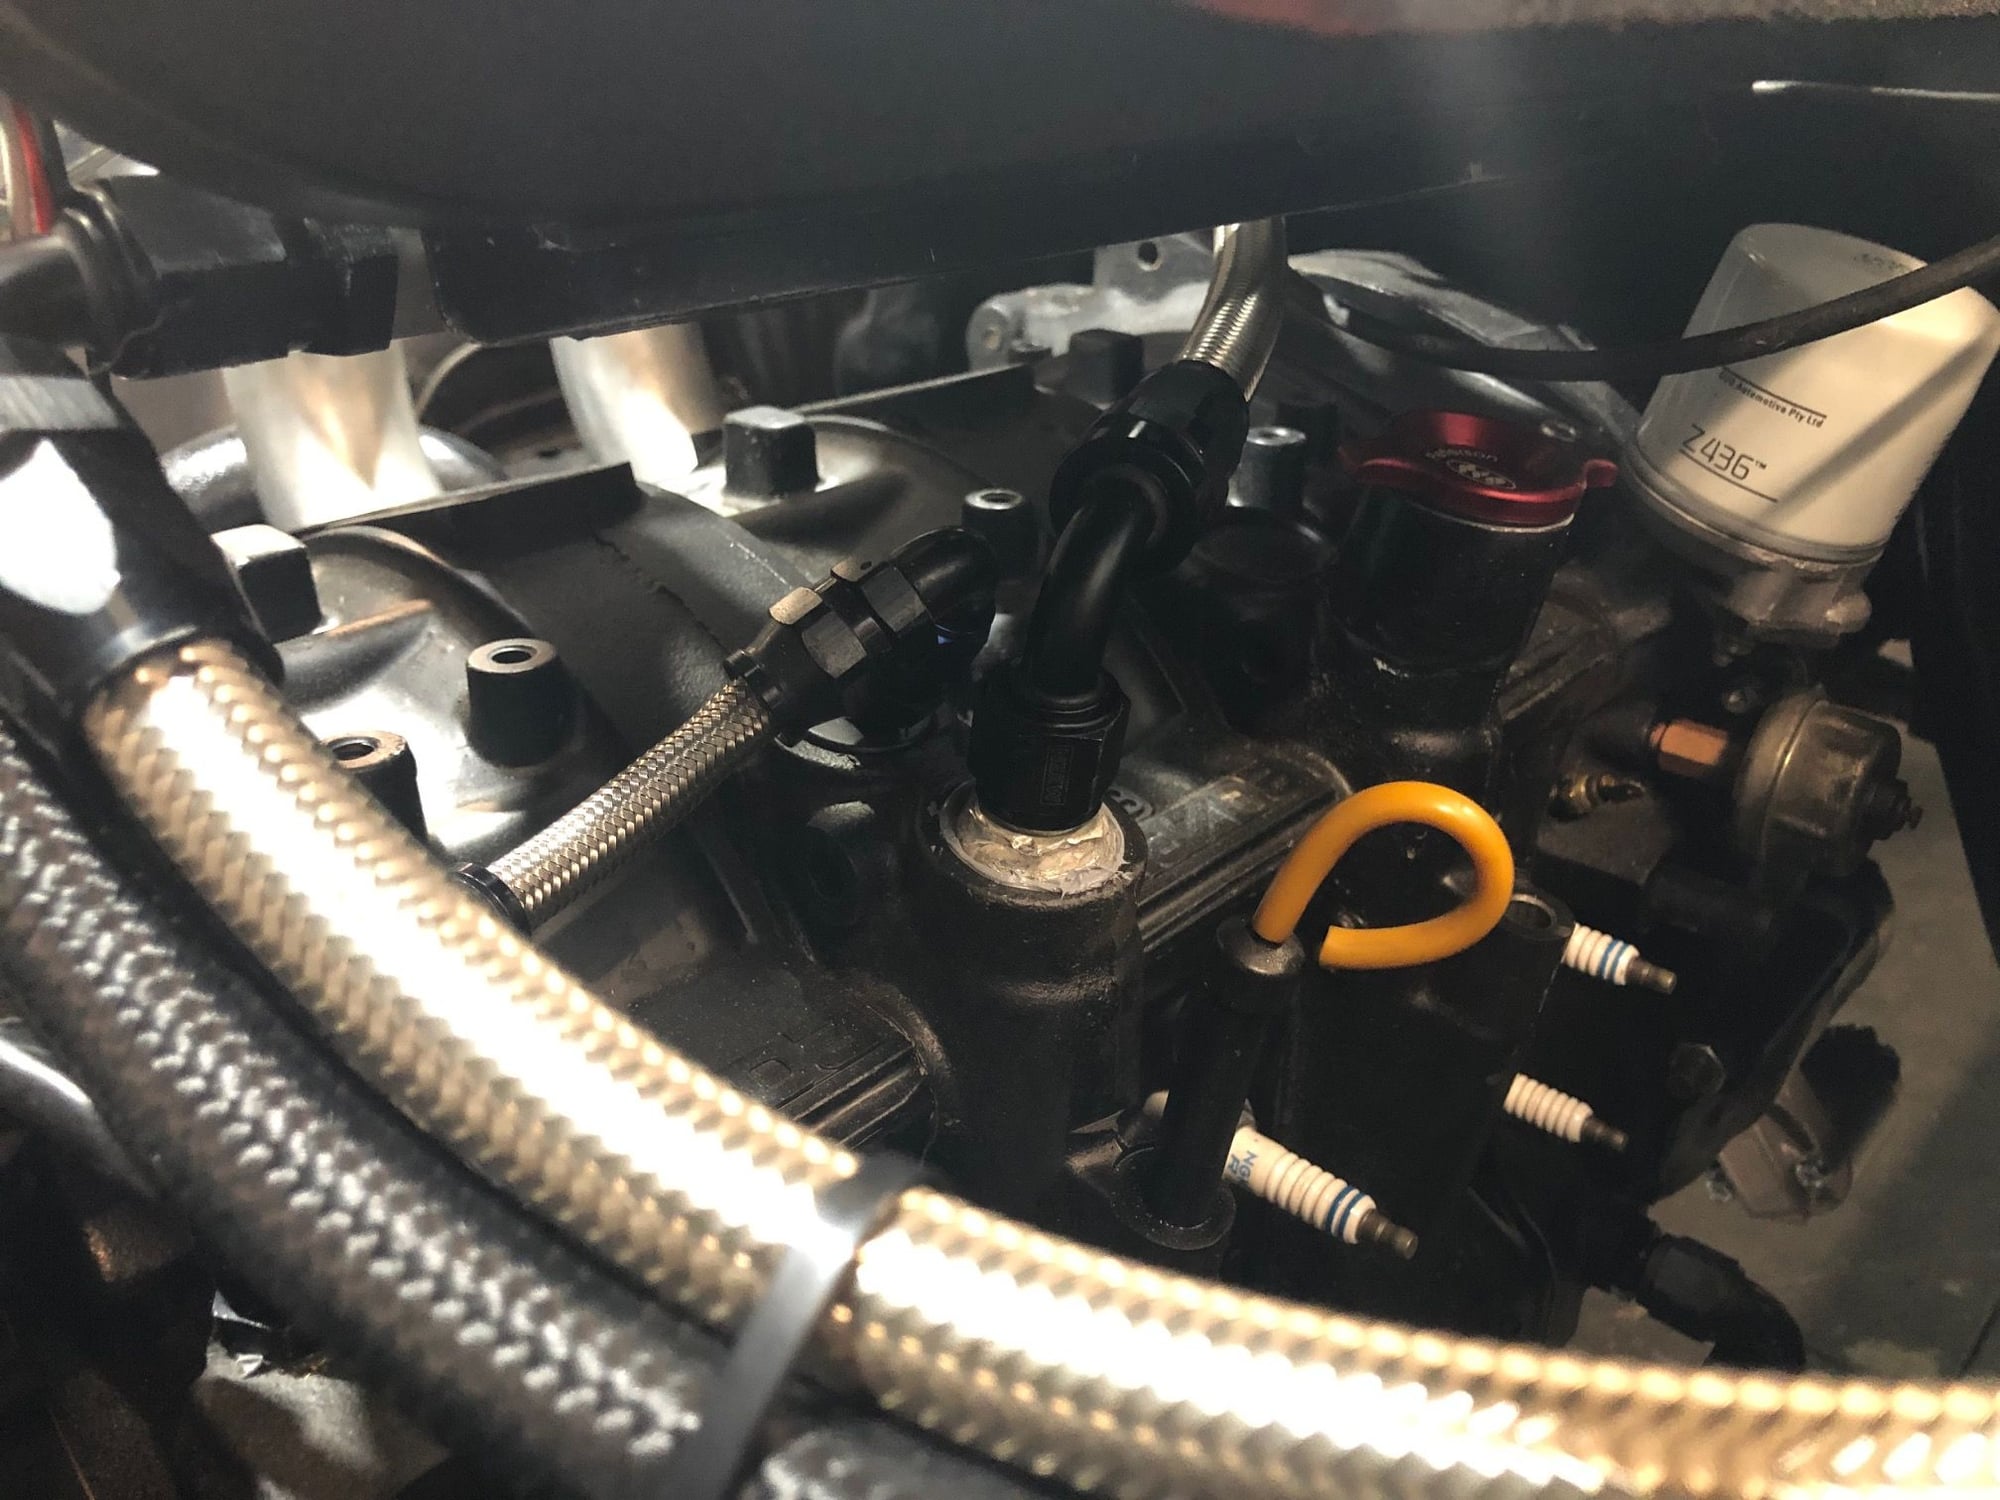
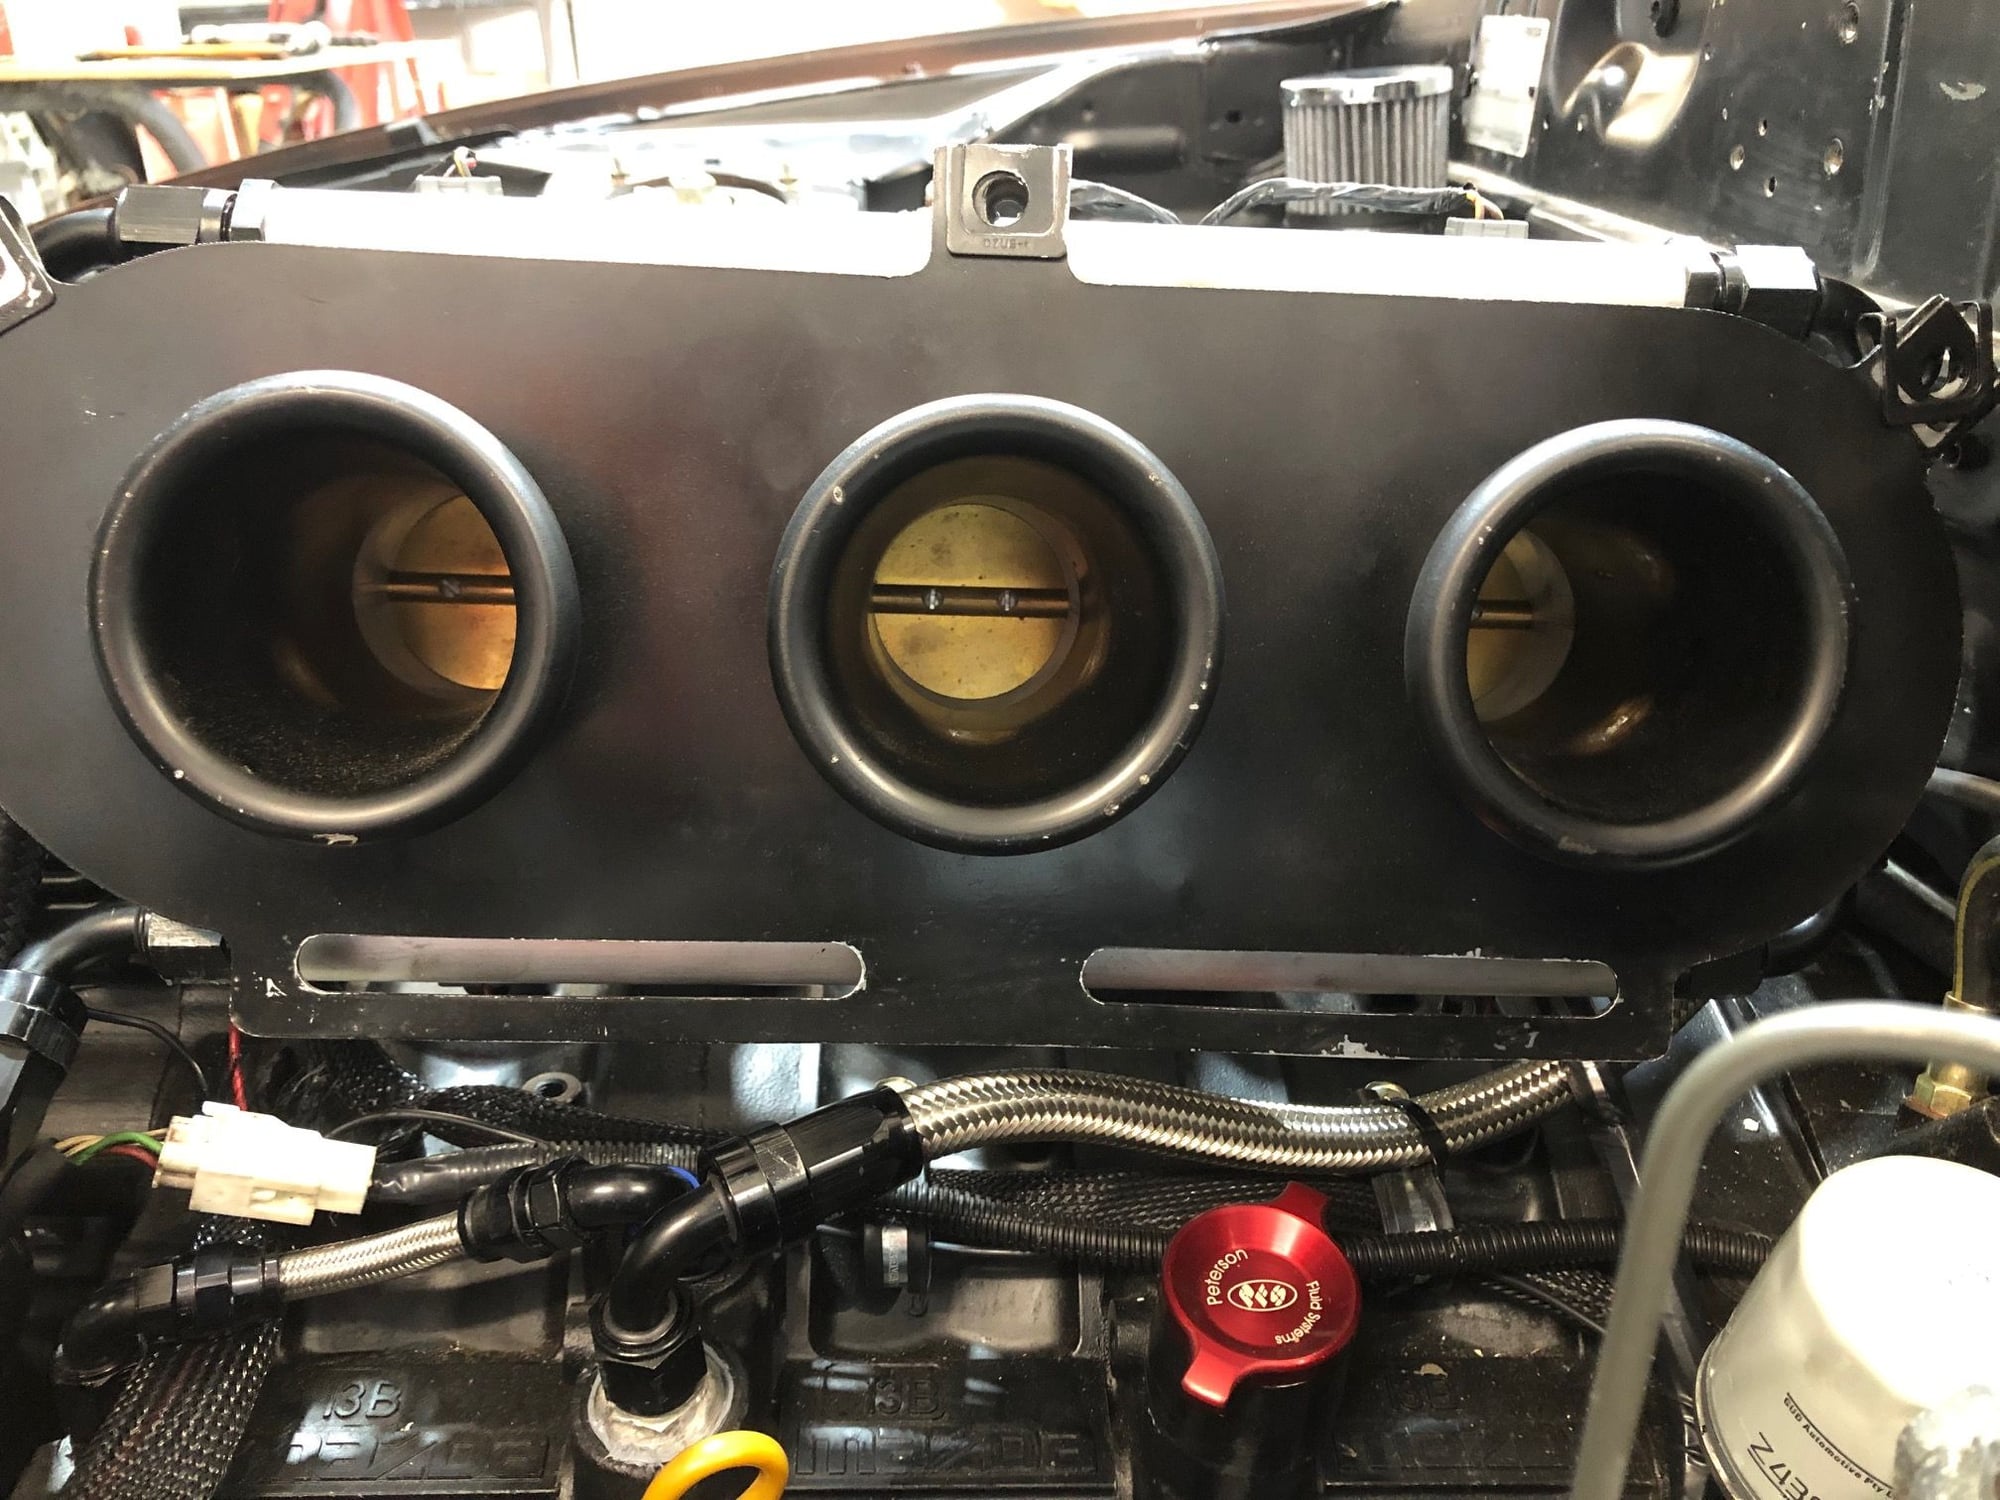
Looking closely this is the Vacuum lines tapped into the manifold and plumbed back through the heater core holes into the vacuum tank. this will then feed the brake booster and the FPR. The computer vacuum will run directly off the throttle bodies, so a step back and 2 sideways to go forward.
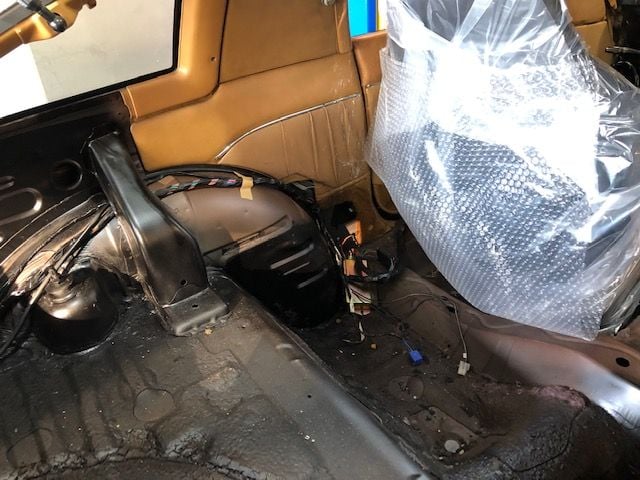
This is the wiring fix for what looked like a rats nest of crap
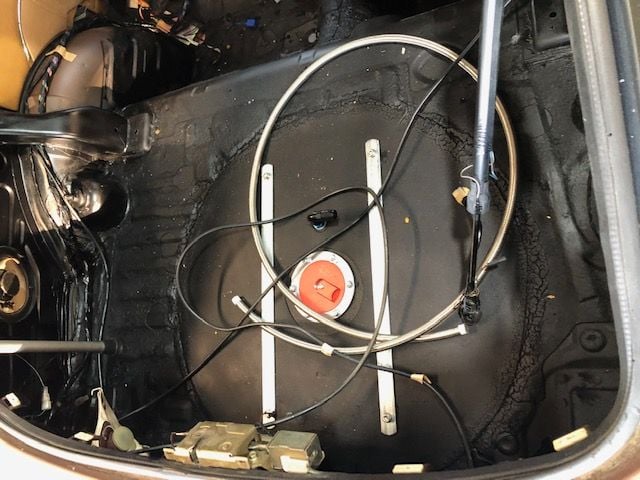
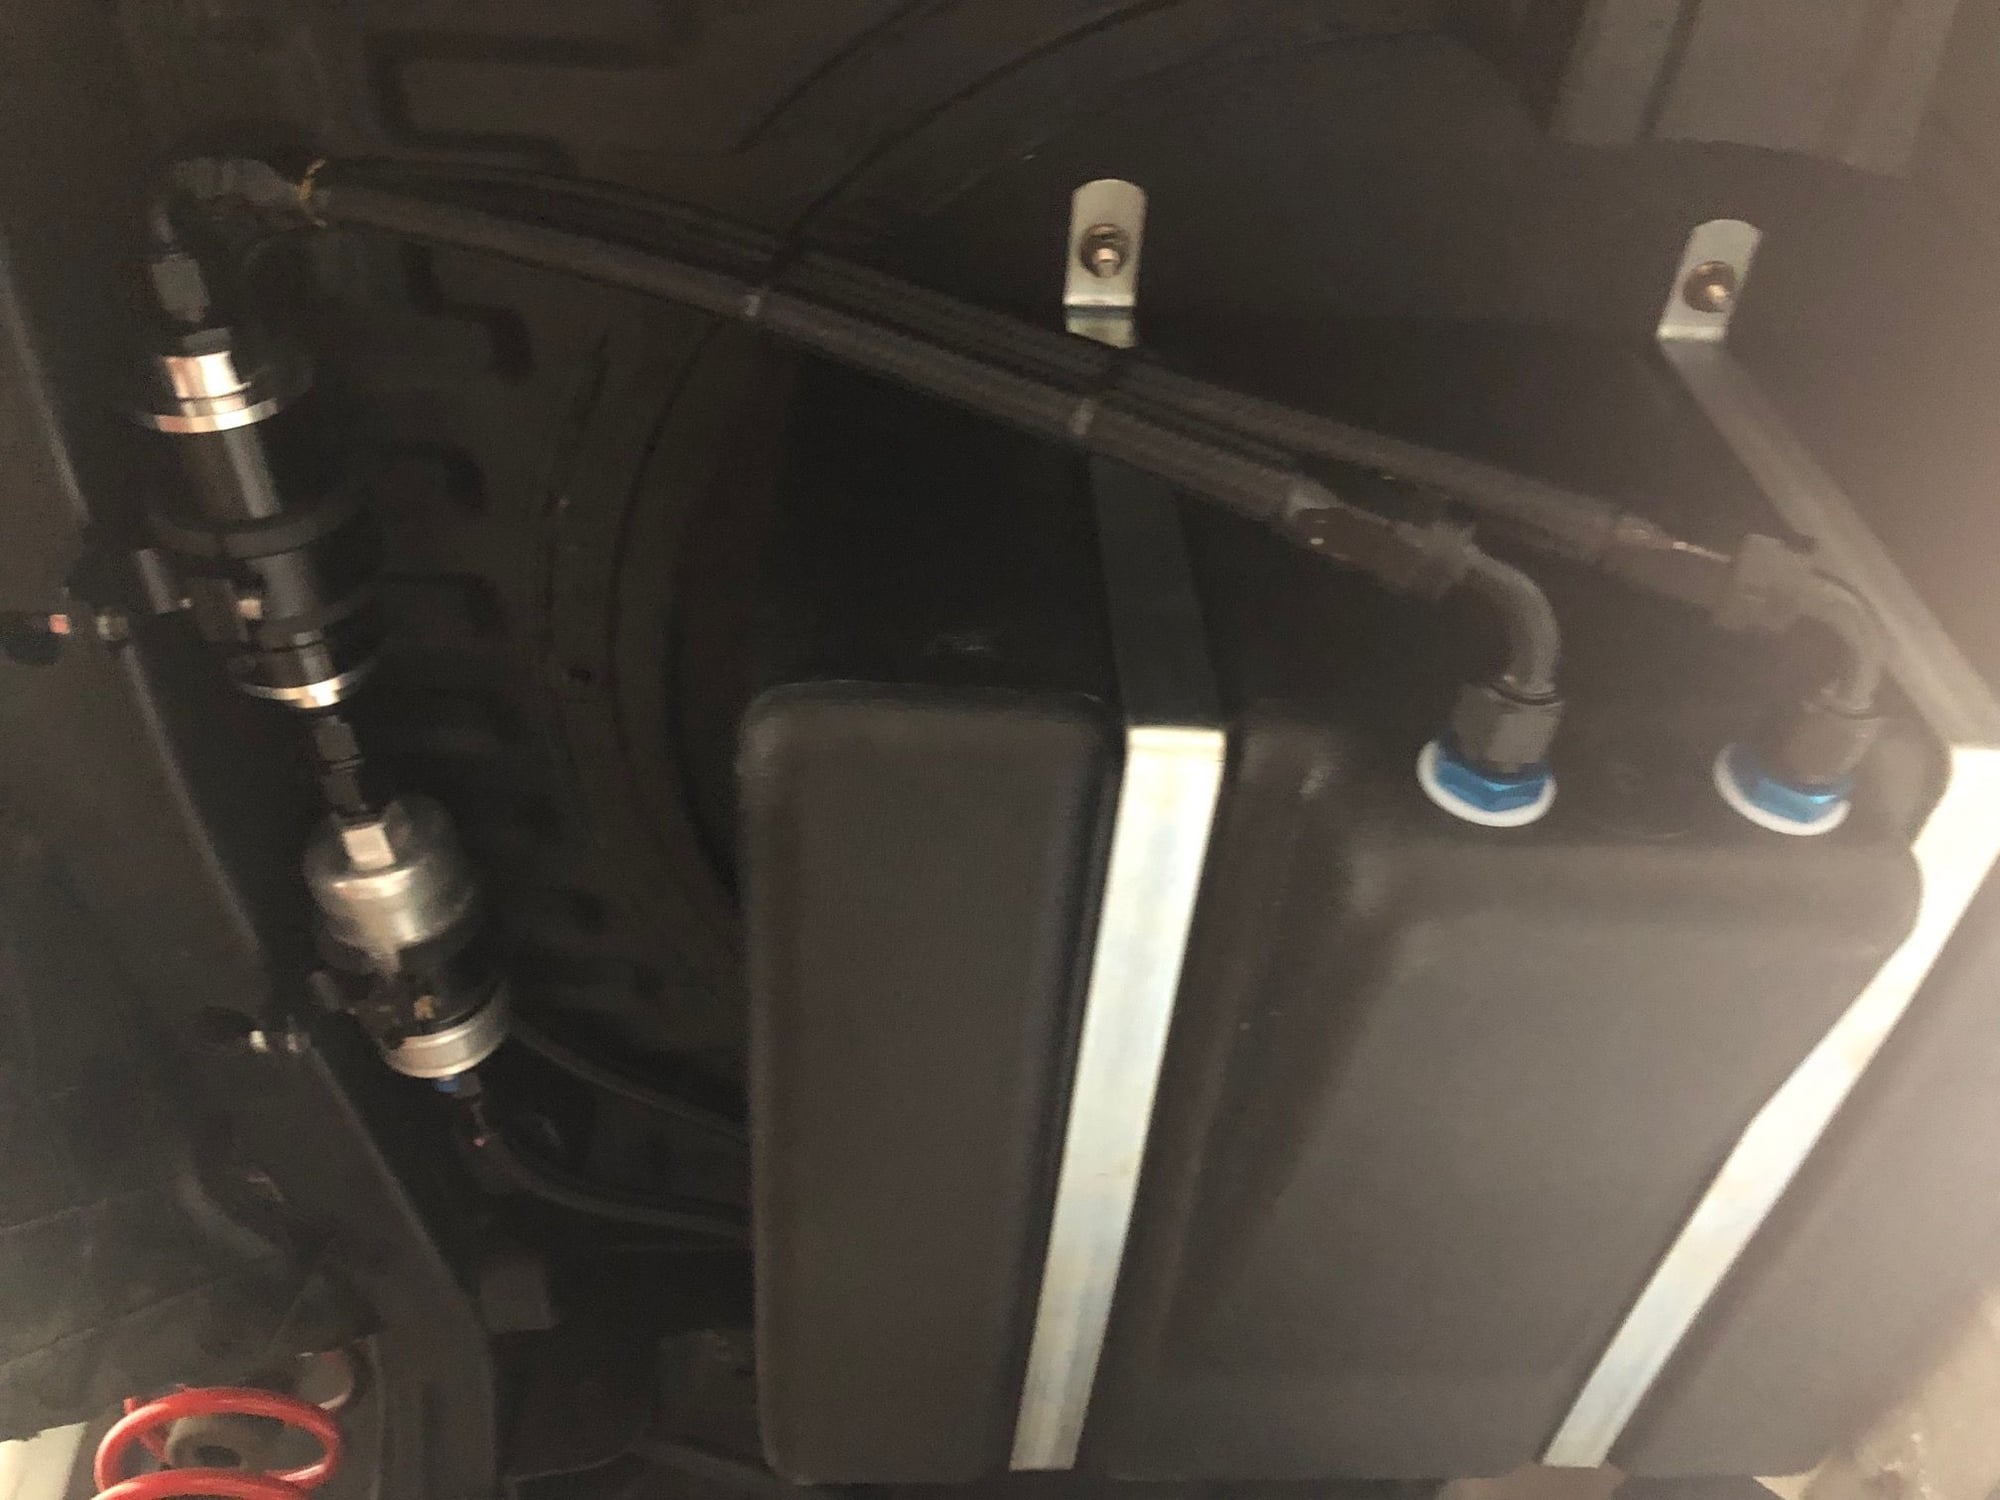
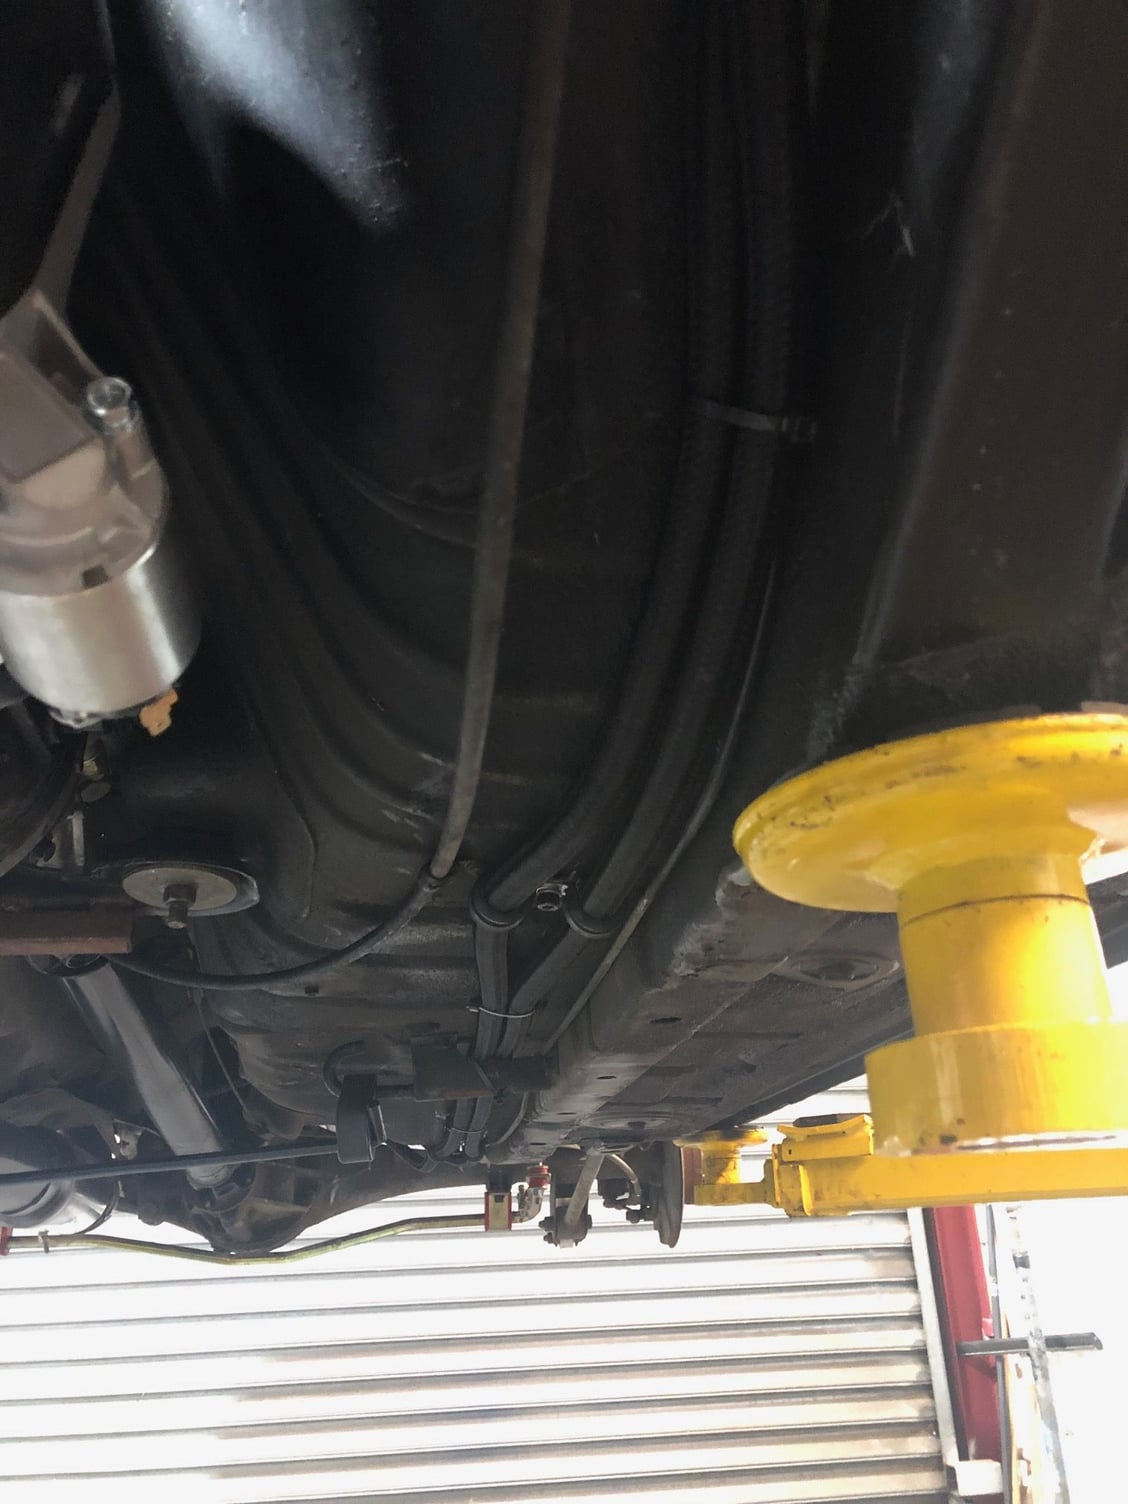
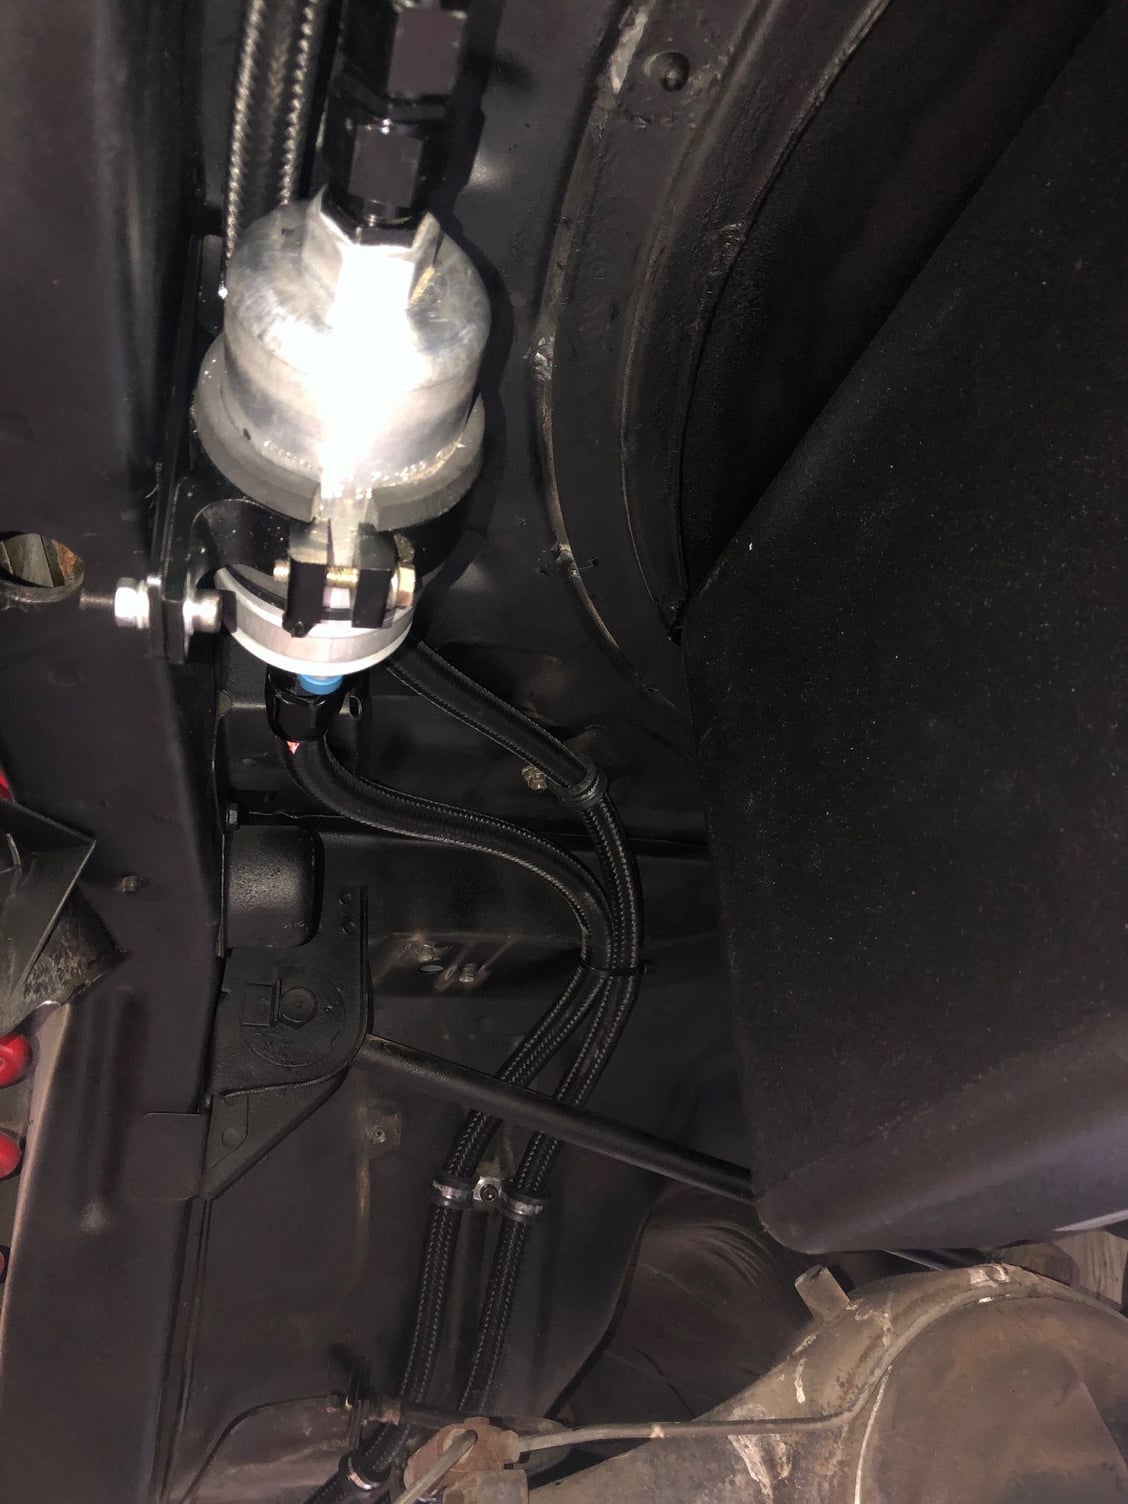
wiring to pump, and other lines all ready to place
#46
Junior Member
Thread Starter
Video
Also, This happened boys and girls... we were testing the fuel line pressures for leaks, and the oil pressure had been previously checked... wasnt 100% about the wiring but as it turned out she fired... so in an impromptu early celebration we rolled it over under video to see if she would start, and what do you know... it is an angry sounding wee beasty 
Enjoy... there will be more to come.

Enjoy... there will be more to come.
#50
Junior Member
Thread Starter
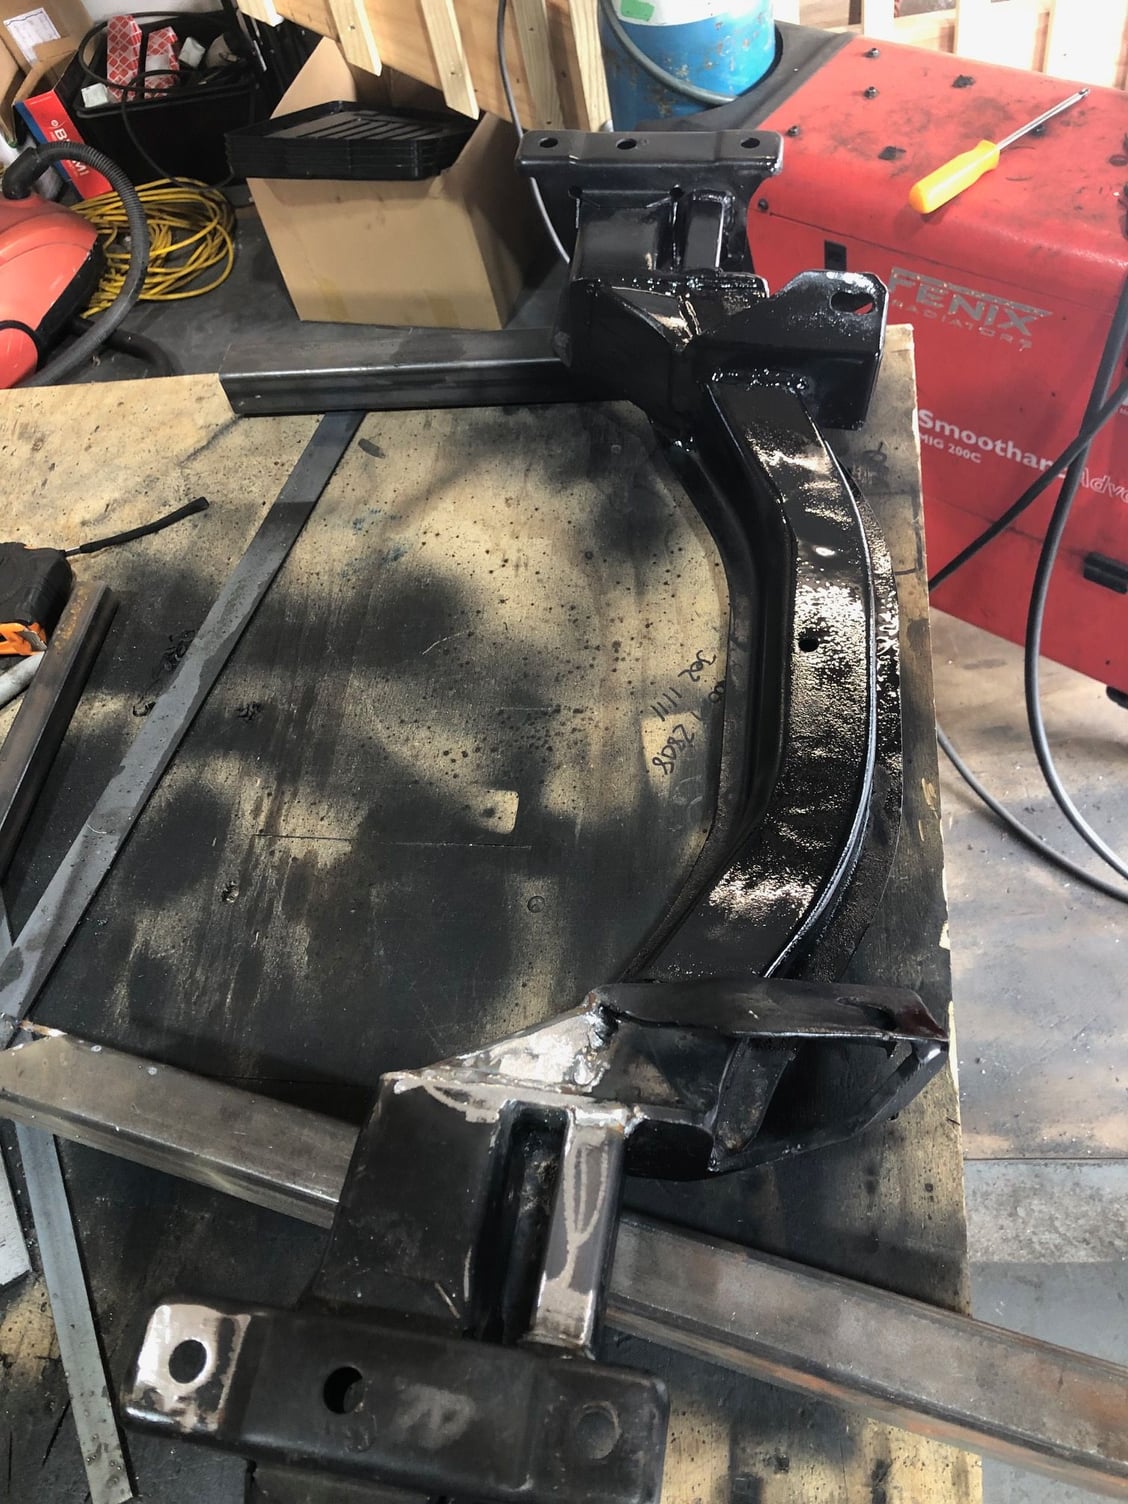
Took out the cross member to strengthen it up, gussets and wot not so it doesn't shake loose

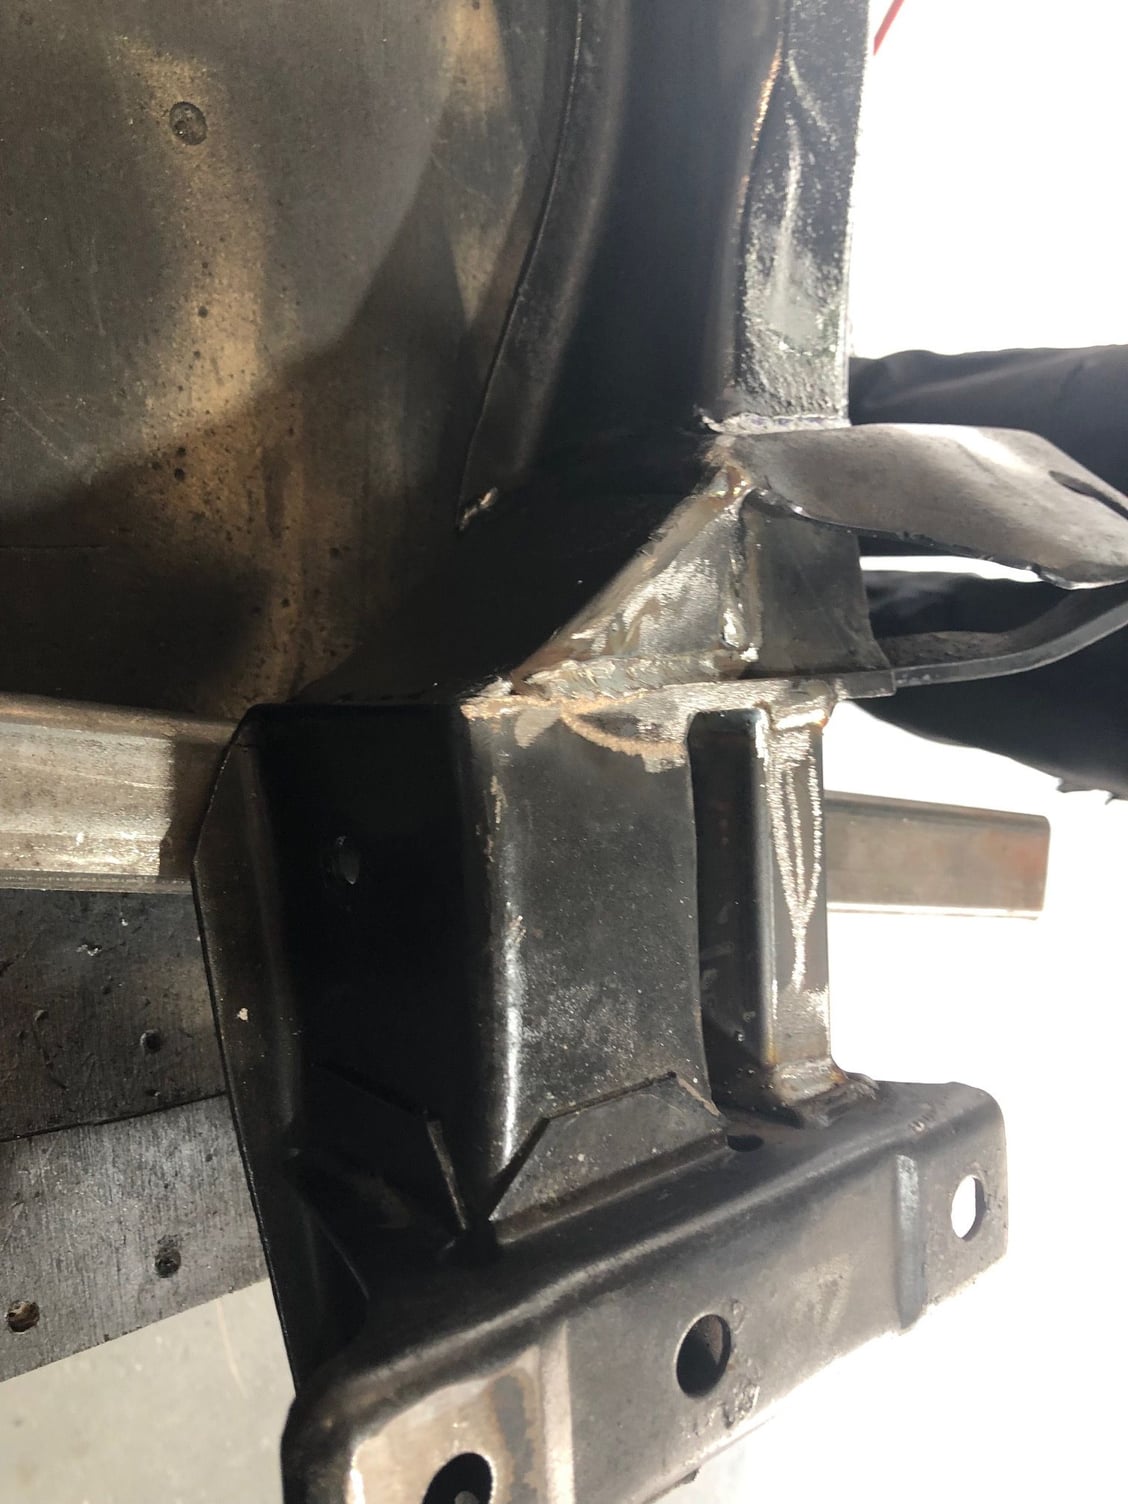
Bit closer up before the paint goes on
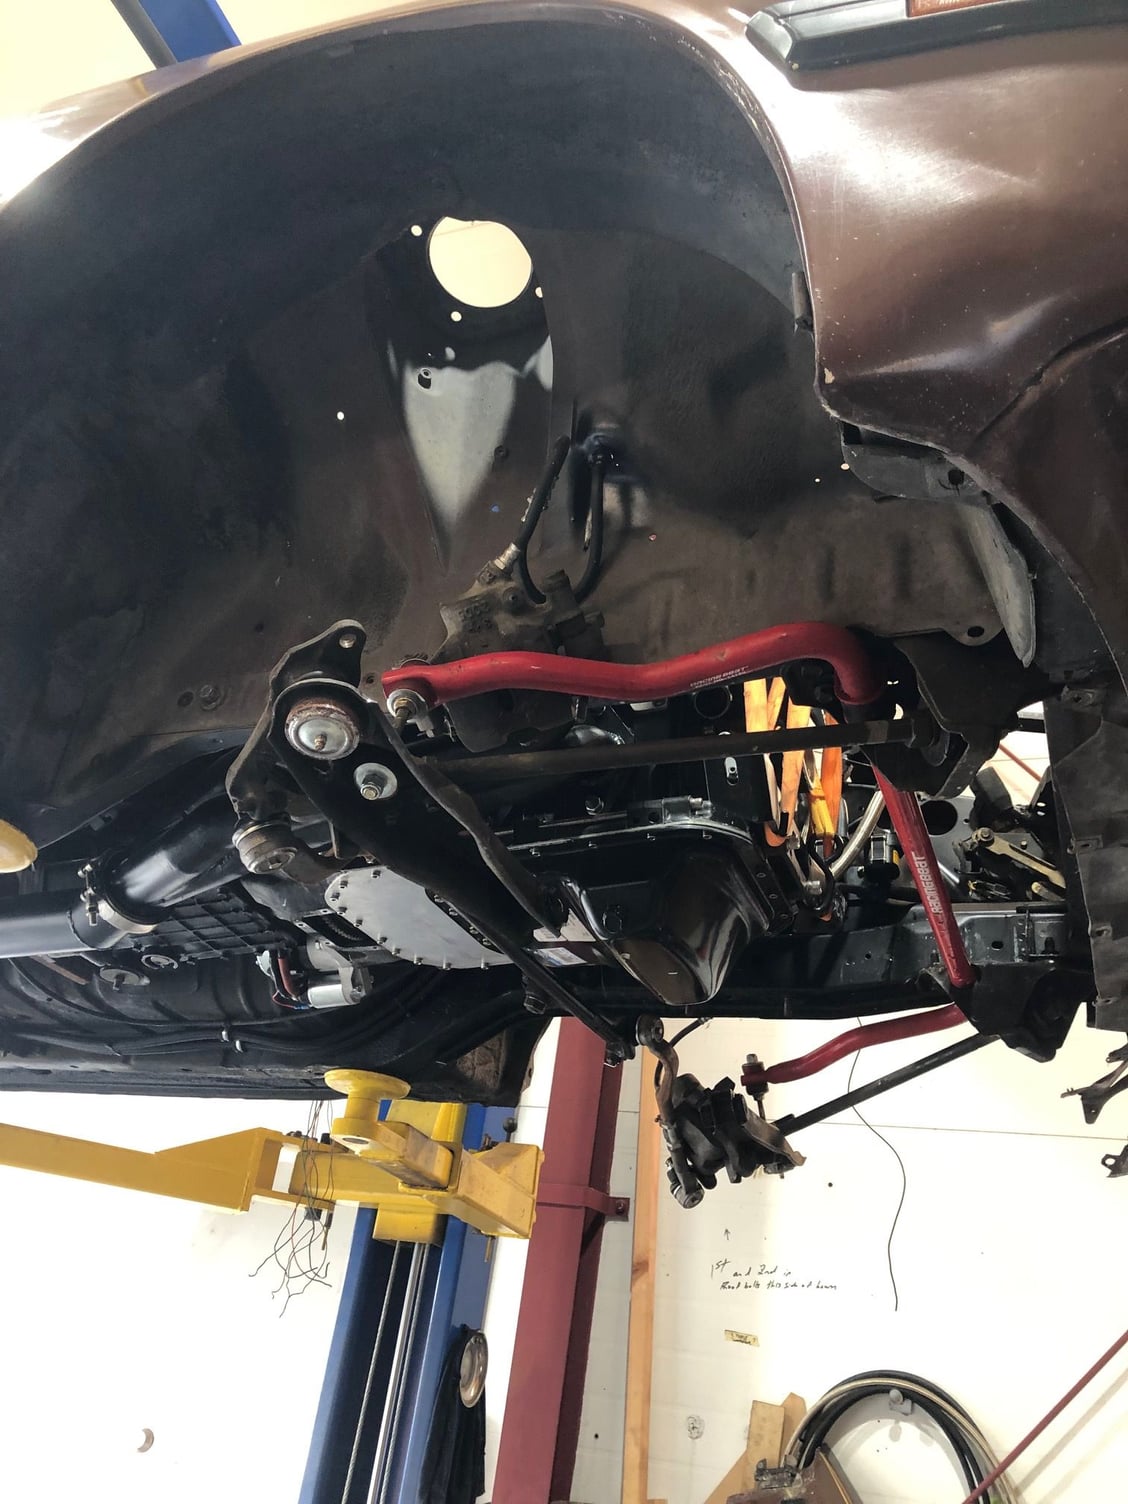
Well it was sitting way too high for my liking (See "looked like a 4x4 on road tires) so I have pulled all the shocks and spring to get them compressed which maintaining the spring rate, so hopefully all the goodness of Racing beat research and track testing but at a ride height I like


