
A Pillar Paint Problem

Thread Starter
Your Arch Enemy
Joined: Oct 2007
Posts: 701
Likes: 12
From: Under a Blue and Yellow Flag
A Pillar Paint Problem
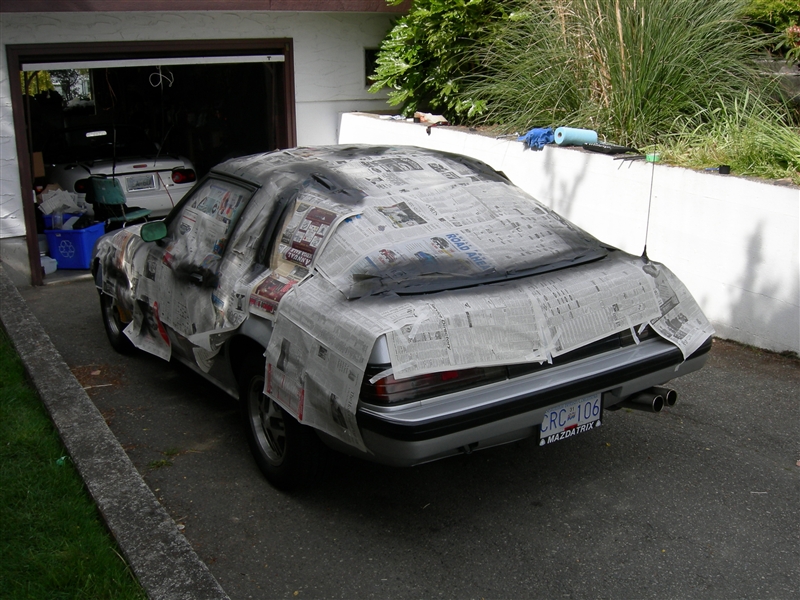
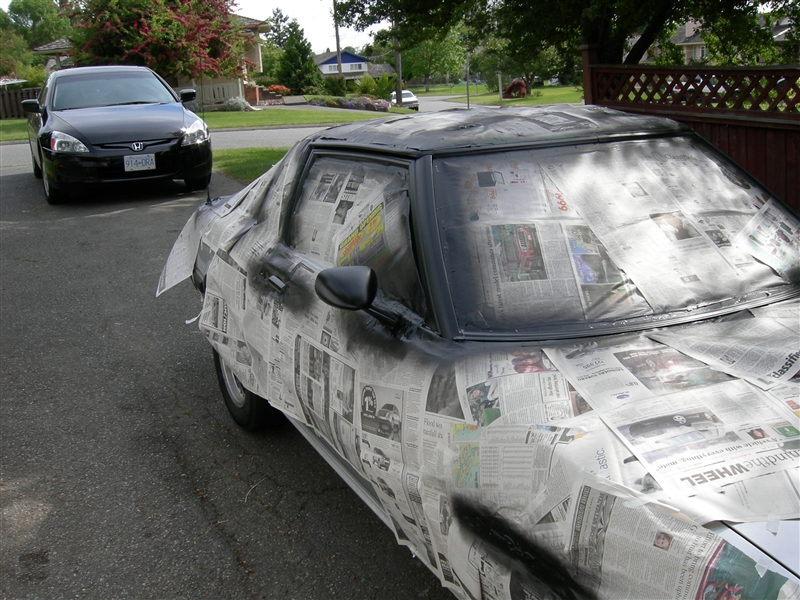
The black paint on my a pillar is peeling off and looks really junky. I've noticed that this is a common problem with many of our cars.
Any advice on the best way to remove this without scratching up the aluminum? Is there a reliable product that can replace the finish?
Any advice on the best way to remove this without scratching up the aluminum? Is there a reliable product that can replace the finish?
Seriously John? Your in India??
I had a glass shop pull all the windshield trim off, took the pieces to a local powdercoat shop. They media-blasted them clean then semi-gloss black. Looks factory and bullet-proof. Not cheap, mind you. Worth doing mirror bodies and wiper arms, etc at the same time...
Even if you decide to paint them yourself I would recommend the media-blast to remove old finish, but a medium grit sandpaper would probably work. You want something strong enough to pull the old paint but not deeply scratch the pieces. I think they are aluminum or similar soft metal. I think most standard paints will eventually fail due to impacts, which is what makes the powdercoat so nice.
NOTE:
1) you WILL destroy the trim retaining clips that hold the pieces to the window, so make sure you get a windshield "clip kit" for the re-install. About $15.
2) be careful you don't lose the small rubber and plastic MOLDINGS that fit between the body and the various pieces. These are NO LONGER AVAILABLE.
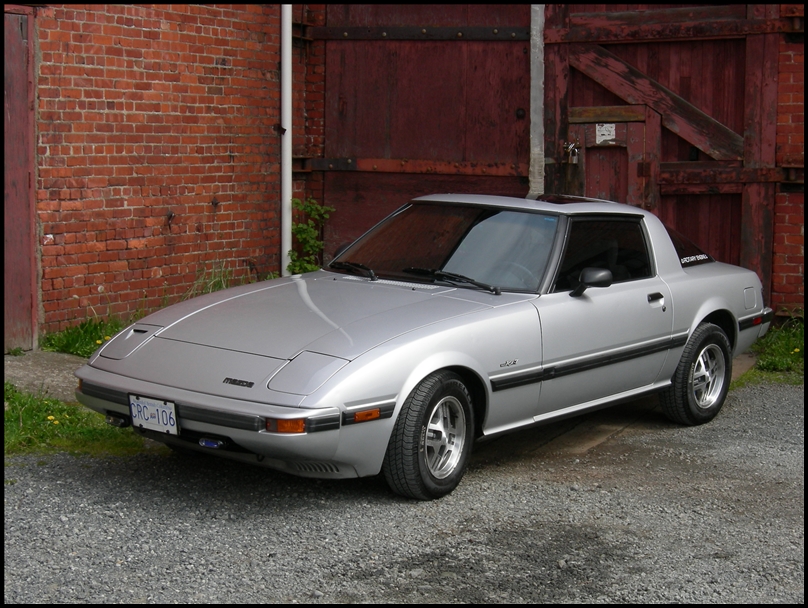
here's a pic of mine powdercoated. More of a beauty shot so not a lot of detail, sorry...
Stu Aull
80GS
Alaska
I had a glass shop pull all the windshield trim off, took the pieces to a local powdercoat shop. They media-blasted them clean then semi-gloss black. Looks factory and bullet-proof. Not cheap, mind you. Worth doing mirror bodies and wiper arms, etc at the same time...
Even if you decide to paint them yourself I would recommend the media-blast to remove old finish, but a medium grit sandpaper would probably work. You want something strong enough to pull the old paint but not deeply scratch the pieces. I think they are aluminum or similar soft metal. I think most standard paints will eventually fail due to impacts, which is what makes the powdercoat so nice.
NOTE:
1) you WILL destroy the trim retaining clips that hold the pieces to the window, so make sure you get a windshield "clip kit" for the re-install. About $15.
2) be careful you don't lose the small rubber and plastic MOLDINGS that fit between the body and the various pieces. These are NO LONGER AVAILABLE.
here's a pic of mine powdercoated. More of a beauty shot so not a lot of detail, sorry...
Stu Aull
80GS
Alaska
Thread Starter
Your Arch Enemy
Joined: Oct 2007
Posts: 701
Likes: 12
From: Under a Blue and Yellow Flag
Thanks alot Stu for the detailed description. Your results look great. Being a cheapskate, I will probably go the fine grit route and leave the bare aluminum for now.
Yes, I am living and working in New Delhi on a ten month contract. Can't wait to get back to my car in California.
Yes, I am living and working in New Delhi on a ten month contract. Can't wait to get back to my car in California.
Window trim is stainless steel, not aluminum. One of the few parts of our cars that doesn't rust. Masking it off, then sanding and painting it in place seems to work the easiest.
Joined: Jun 2008
Posts: 8,376
Likes: 30
From: Chino Hills, CA
Thread Starter
Your Arch Enemy
Joined: Oct 2007
Posts: 701
Likes: 12
From: Under a Blue and Yellow Flag
Trochoid, thanks. I think that will be the best option for me.
Sorry to be such a pain, but any tips on which grit to use? I am famous for starting with a big grit and scratching everything up.
Sorry to be such a pain, but any tips on which grit to use? I am famous for starting with a big grit and scratching everything up.
Trending Topics
Joined: Jun 2008
Posts: 8,376
Likes: 30
From: Chino Hills, CA
IIRC, I used 600 grit wet, and fininshed with 1200. Takes a while. Using the paper wet and keeping it rinsed increased the cut rate somewhat.
Hand work only. Resist the urge to grab the jitterbug.
Hand work only. Resist the urge to grab the jitterbug.
I'd start with 220 grit, then go to 400 wet/dry, an etching primer, then a very light sanding, tack rag the dust off and topcoat with a matte black. Hell even BBQ grill paint will work for window trim. I think I used Camo matte black on mine and it's still holding up after 3 years.
Ray Green is the man with the plan here:
https://www.rx7club.com/1st-generation-specific-1979-1985-18/i-painted-my-windshield-trim-777510/
https://www.rx7club.com/1st-generation-specific-1979-1985-18/i-painted-my-windshield-trim-777510/
Thread Starter
Your Arch Enemy
Joined: Oct 2007
Posts: 701
Likes: 12
From: Under a Blue and Yellow Flag

I cut and fit some white reverse lenses from a second gen into the running light area of the US spec turn signals. I also built a reflector to separate the two bulbs so it operates like the euro type.

Thread
Thread Starter
Forum
Replies
Last Post