
(INTERIOR) How to: Dye your interior parts.

Thread Starter
Joined: Sep 2002
Posts: 2,932
Likes: 6
From: Surrounded by Sebey parts, Rhode Island
(INTERIOR) How to: Dye your interior parts.
You can't do this:
https://www.rx7club.com/1st-generation-specific-1979-1985-18/how-re-upholster-your-doors-457740/
without changing the rest of the interior stuff.
So, without further ado, here's how you dye your interior parts.
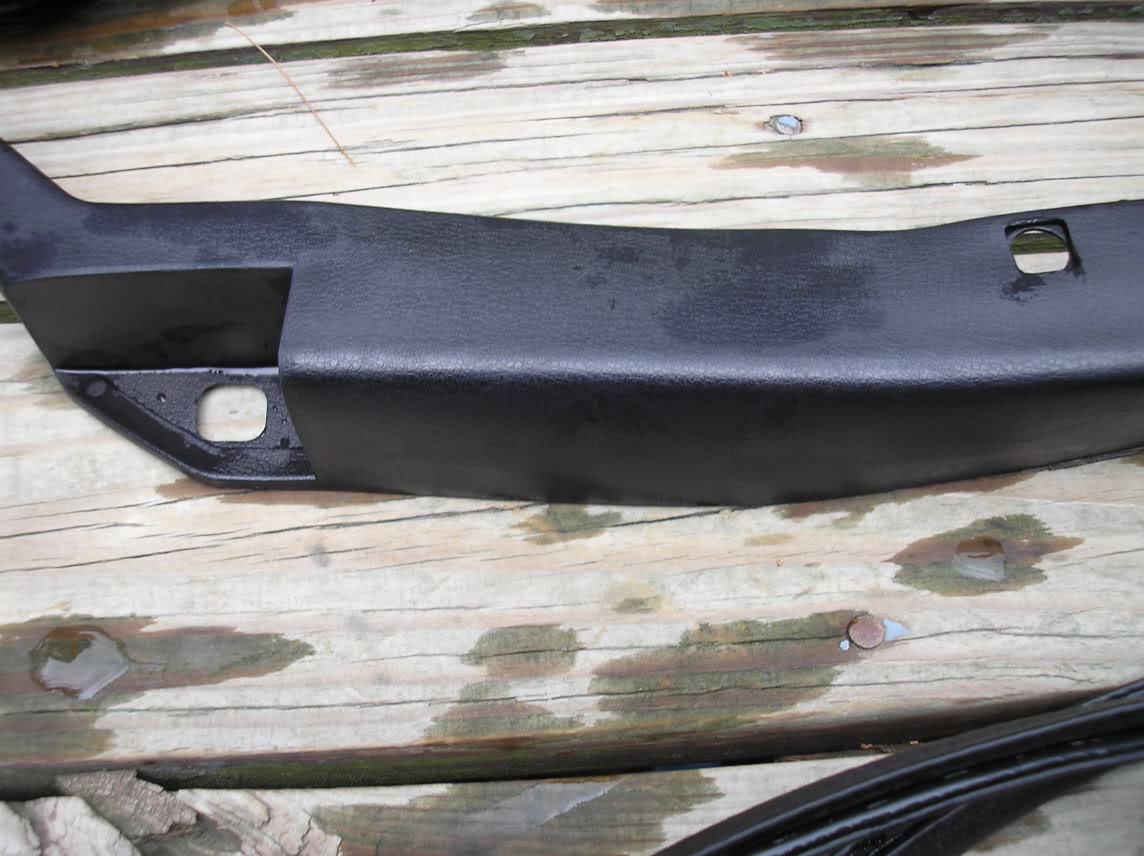
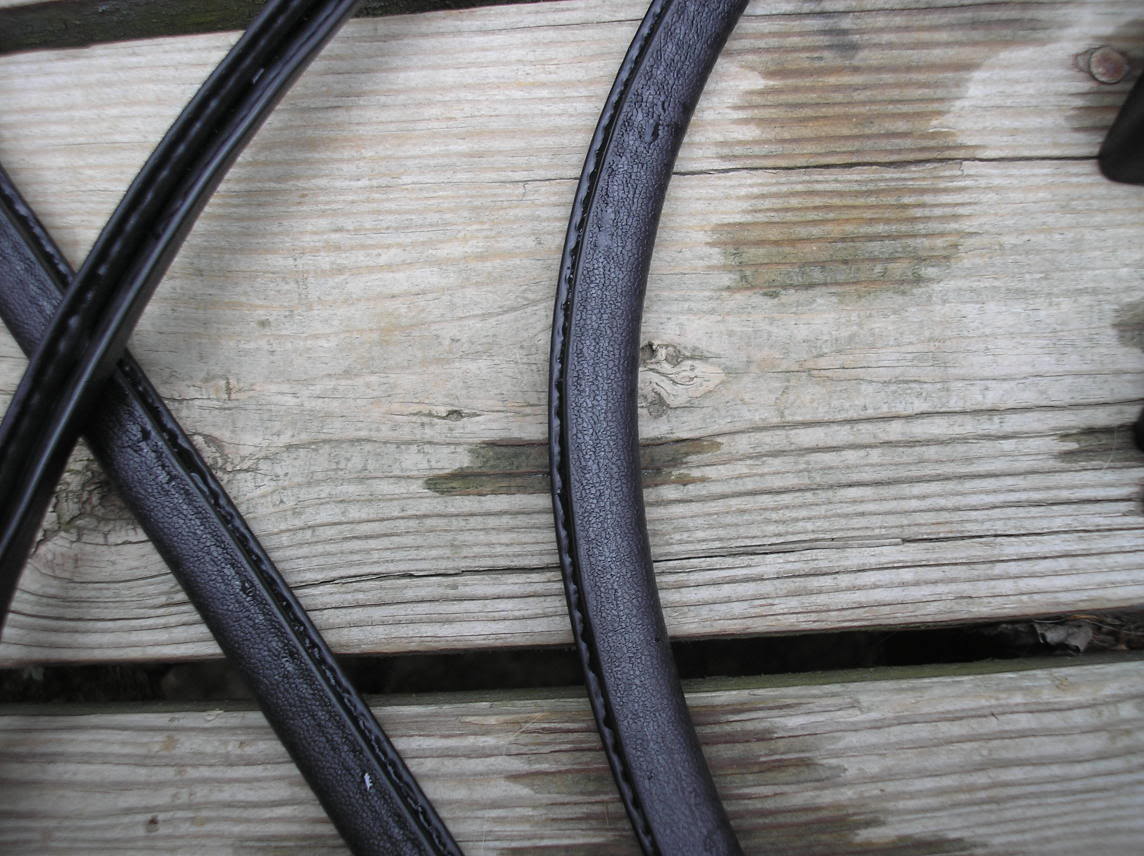
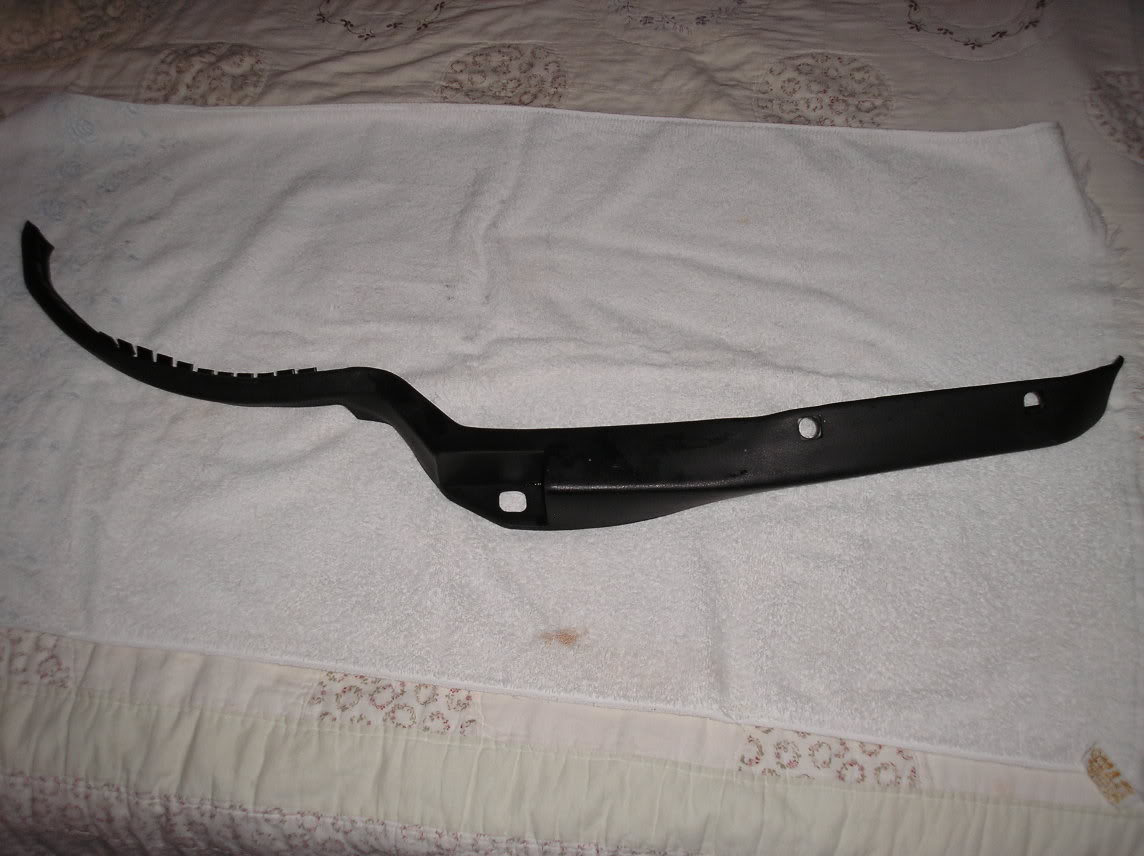
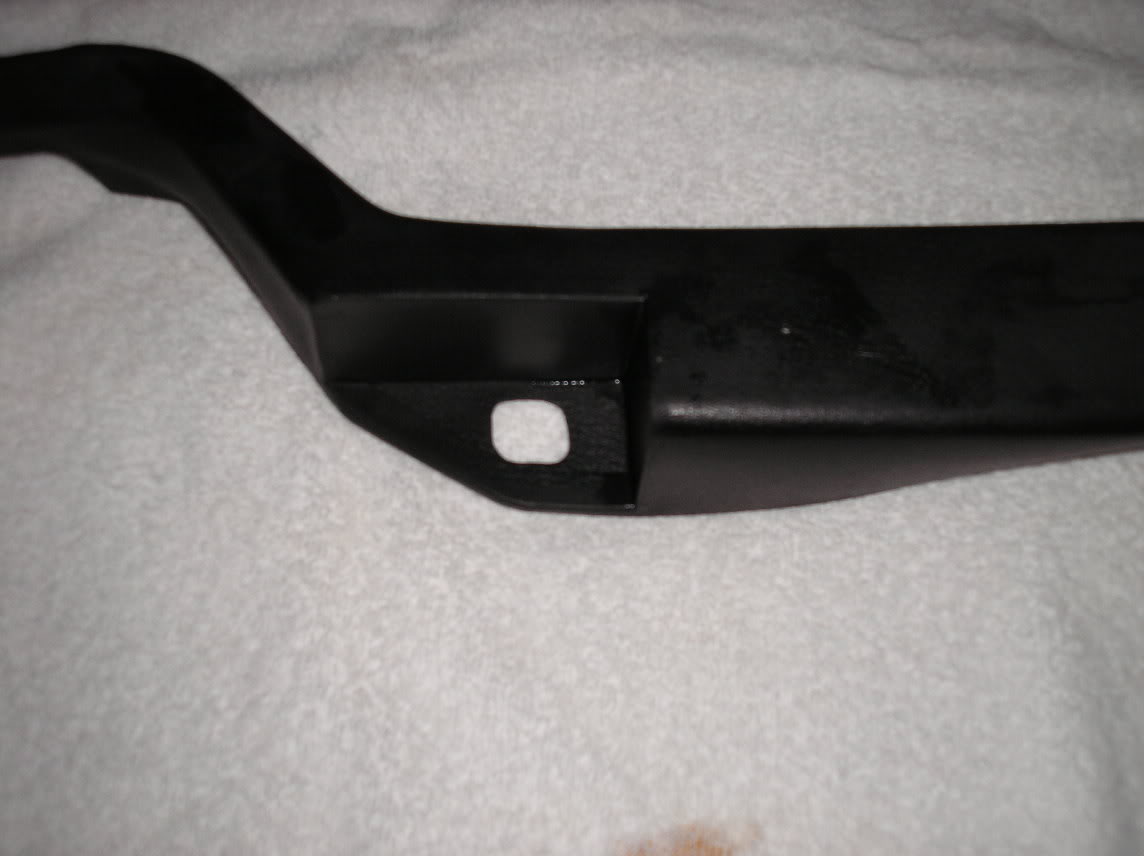
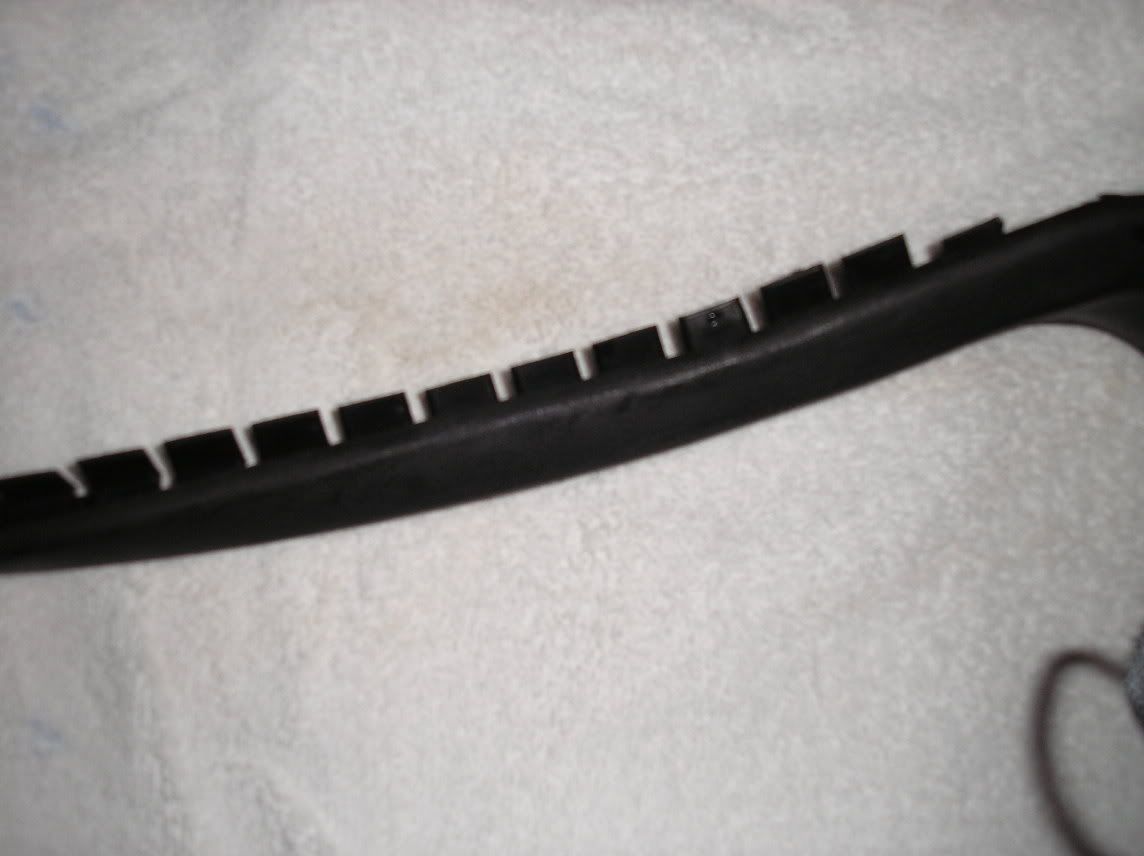
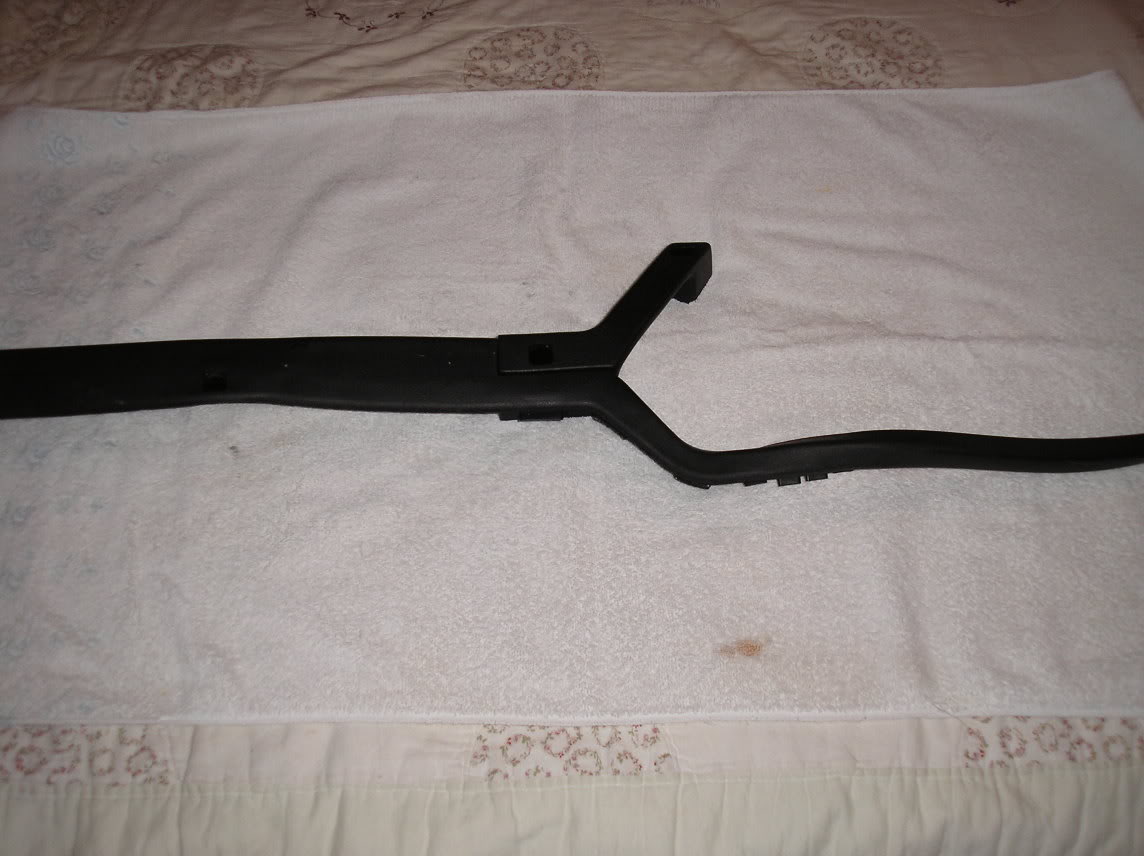
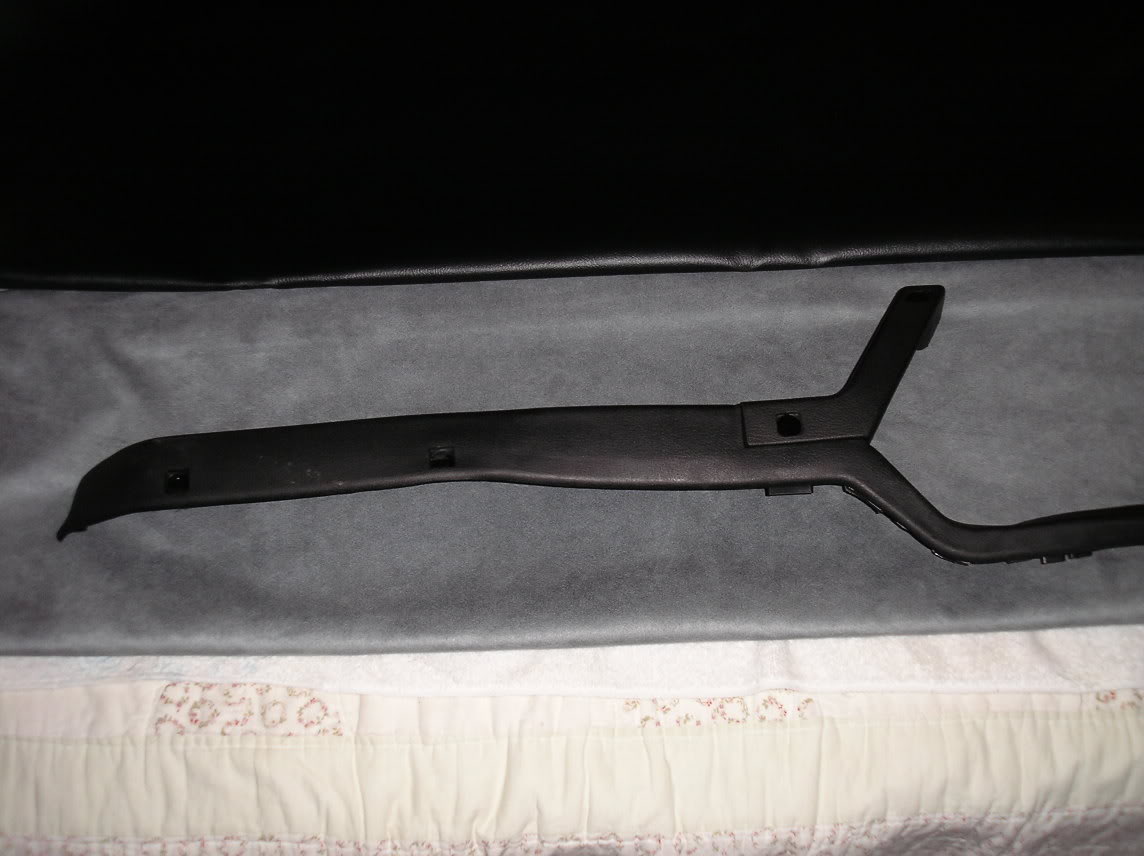
Step one is to obviously pick the parts you want to dye and wash them off. For the purposes of this exercise, we are going to dye the following: Both interior door handles, both arm rests, and both door surrounds (I don't know what else to call 'em. You'll know 'em when you see 'em.)
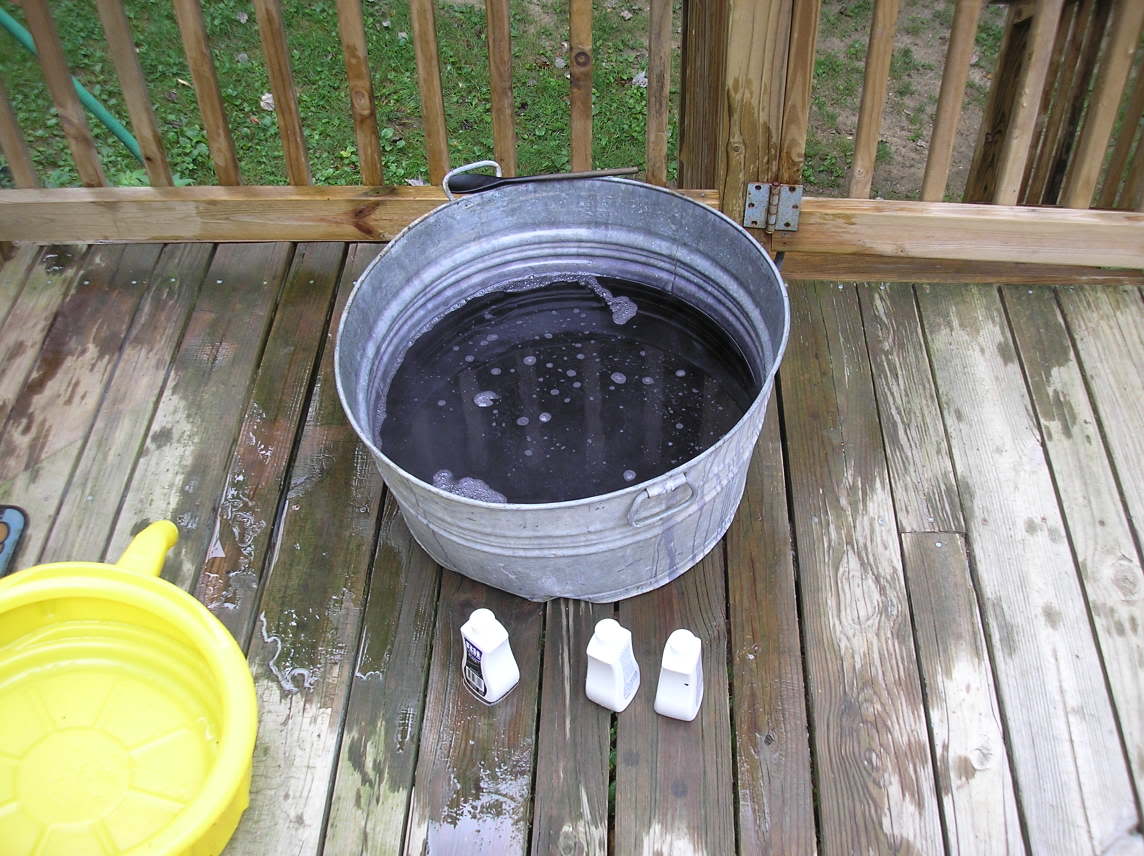
I went to Wal-Mart, and purchased the following: One package of RIT color remover (which is unnecessary... don't bother. I didn't know, so I bought it), 1 bottle of Navy Blue dye, and 4 bottles of Black dye. I had consulted with Wankleguy, and he suggested dying the maroon parts Navy Blue first, so that the red would get darkened up a bit first. I went with it.
Here's the pic from when I soaked it in the color remover:
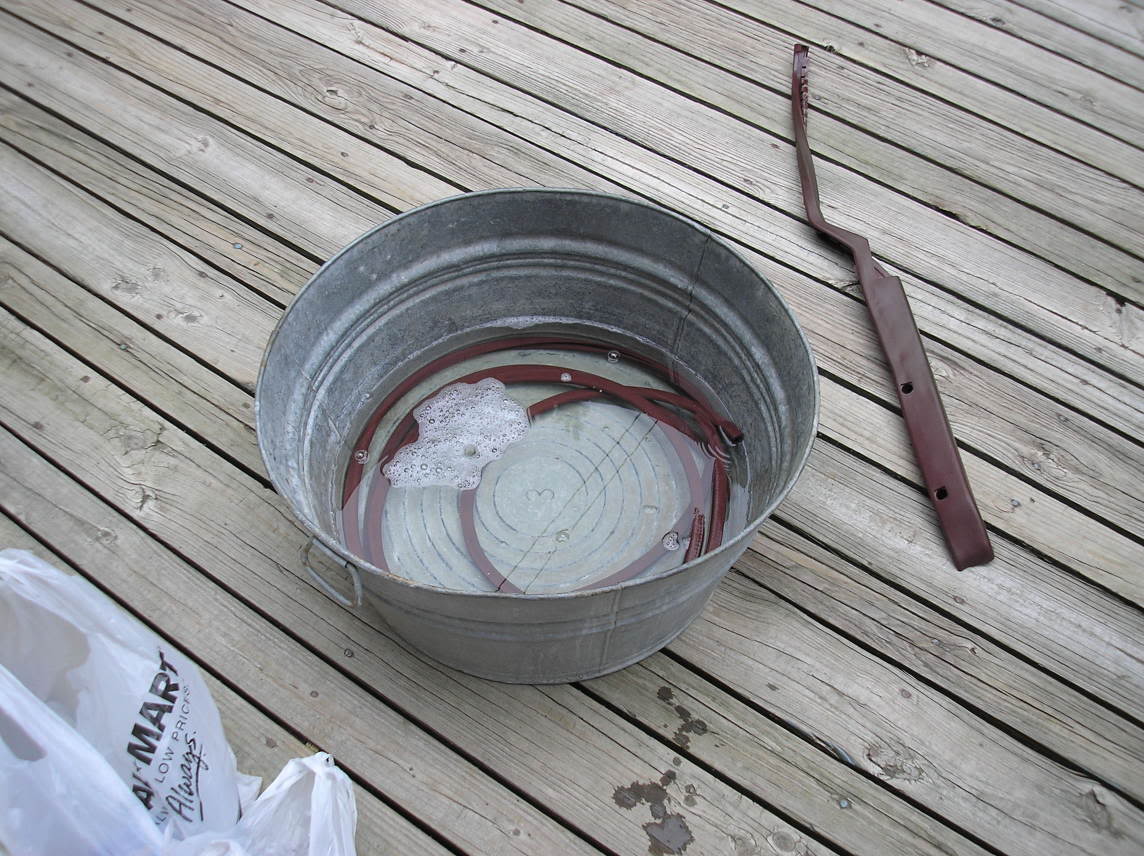
Notice I am using a metal washbin, and I'm doing it outside. Dye is stupid, boys and girls... It is going to dye EVERYTHING. You will spill dye. You will get it on your clothes and on yourself. Be prepared.
I let it soak in the color remover and some super hot water for about 20 minutes before I realized it wasn't doing jack ****.
Next, I rinsed off the parts and made up my first dye solution. The directions say 1/2 bottle per 3 gallons of water. Well, I'm not making tie-dye shirts, so **** that ****. We're going with about 2 1/2 gallons of water and the full bottle of Navy Blue dye. Get the water as hot as you can, that's key. I got about 1 1/2 gallons of hot tap water and boiled about a gallon, and yeah, it's hot. Mind you, my hot water at my house is hot enough to burn you, so if yours isn't that hot, I suggest boiling more.
Mmmm, soups on!!
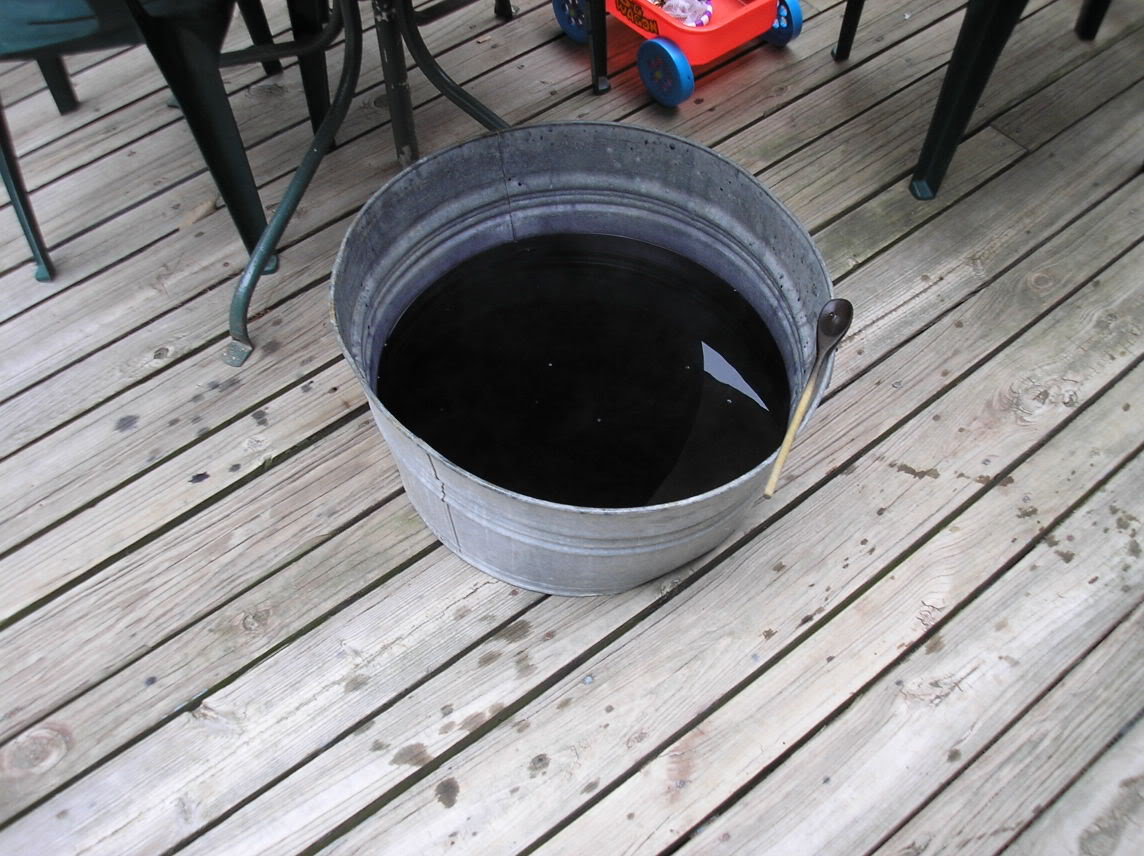
Next, place your parts in there. Mix well. Buy some wooden spoons at the store while you're getting your dye. They are cheap. And disposable. Good stuff.
The directions say to let it soak for half an hour... I gave it a full hour. And, at the half hour mark, I dumped in a bottle of black dye. Stir well!
At first, I was concerned it wouldn't pick up the dye. However, this pic is from 5 minutes in:
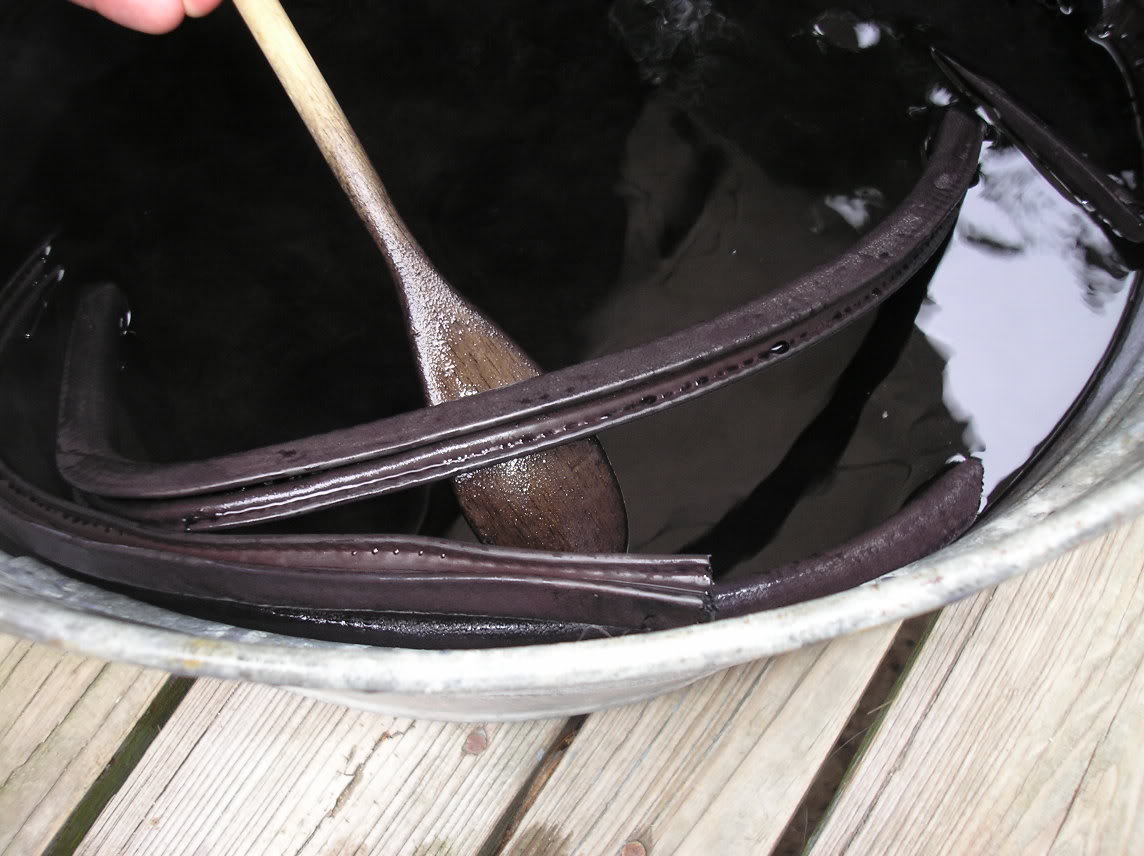
Lookin' good!
So now, after an hour has gone by, I took the parts out and gave 'em a quick rinse with the hose to see if the color was holding. Well, you tell me:
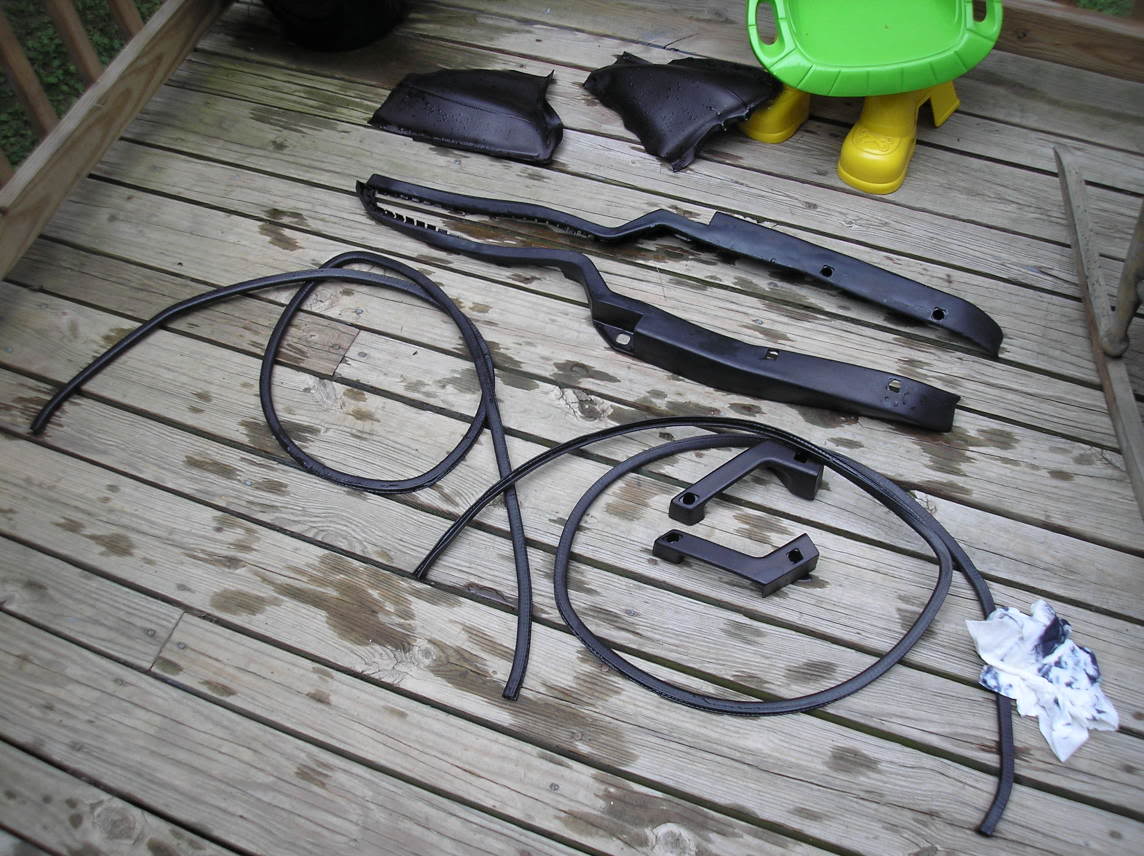
And that's just the Navy Blue/Black Dye combo.
Now, here's where I got nasty:
3 bottles of Black dye into 3 gallons of super hot water. The parts are in there right now as I'm doing this write up, and I'm going to let 'em soak for about 4 hours. Why? I have some errands to run, and I figure more is better! Finished pics tonight!
https://www.rx7club.com/1st-generation-specific-1979-1985-18/how-re-upholster-your-doors-457740/
without changing the rest of the interior stuff.
So, without further ado, here's how you dye your interior parts.
Step one is to obviously pick the parts you want to dye and wash them off. For the purposes of this exercise, we are going to dye the following: Both interior door handles, both arm rests, and both door surrounds (I don't know what else to call 'em. You'll know 'em when you see 'em.)
I went to Wal-Mart, and purchased the following: One package of RIT color remover (which is unnecessary... don't bother. I didn't know, so I bought it), 1 bottle of Navy Blue dye, and 4 bottles of Black dye. I had consulted with Wankleguy, and he suggested dying the maroon parts Navy Blue first, so that the red would get darkened up a bit first. I went with it.
Here's the pic from when I soaked it in the color remover:
Notice I am using a metal washbin, and I'm doing it outside. Dye is stupid, boys and girls... It is going to dye EVERYTHING. You will spill dye. You will get it on your clothes and on yourself. Be prepared.
I let it soak in the color remover and some super hot water for about 20 minutes before I realized it wasn't doing jack ****.
Next, I rinsed off the parts and made up my first dye solution. The directions say 1/2 bottle per 3 gallons of water. Well, I'm not making tie-dye shirts, so **** that ****. We're going with about 2 1/2 gallons of water and the full bottle of Navy Blue dye. Get the water as hot as you can, that's key. I got about 1 1/2 gallons of hot tap water and boiled about a gallon, and yeah, it's hot. Mind you, my hot water at my house is hot enough to burn you, so if yours isn't that hot, I suggest boiling more.
Mmmm, soups on!!
Next, place your parts in there. Mix well. Buy some wooden spoons at the store while you're getting your dye. They are cheap. And disposable. Good stuff.
The directions say to let it soak for half an hour... I gave it a full hour. And, at the half hour mark, I dumped in a bottle of black dye. Stir well!
At first, I was concerned it wouldn't pick up the dye. However, this pic is from 5 minutes in:
Lookin' good!
So now, after an hour has gone by, I took the parts out and gave 'em a quick rinse with the hose to see if the color was holding. Well, you tell me:
And that's just the Navy Blue/Black Dye combo.
Now, here's where I got nasty:
3 bottles of Black dye into 3 gallons of super hot water. The parts are in there right now as I'm doing this write up, and I'm going to let 'em soak for about 4 hours. Why? I have some errands to run, and I figure more is better! Finished pics tonight!

Thread Starter
Joined: Sep 2002
Posts: 2,932
Likes: 6
From: Surrounded by Sebey parts, Rhode Island
Note: Certain parts are NOT going to pick up the dye. I figured I would throw the wheel well covers in (the little vinyl flimsy ones, not the big speaker cover parts) and they barely took up the dye. I was planning on making new ones anyway, so it's no sweat off my nuts. I also threw in all the door plastics like the little screw hole covers, but I'm not planning on it being successful at all... Besides, they are cheap enough to just order new ones, or small enough that I can just paint 'em black.
Thread Starter
Joined: Sep 2002
Posts: 2,932
Likes: 6
From: Surrounded by Sebey parts, Rhode Island
Originally Posted by RotorMotorDriver
Looks good so far, hopefully it will hold up too 
~T.J.
~T.J.
Thread Starter
Joined: Sep 2002
Posts: 2,932
Likes: 6
From: Surrounded by Sebey parts, Rhode Island
Well, this is interesting.
The pieces that dyed well in the earlier pics dyed very, very well. They are pitch black now. I also decided to throw in some other pieces just to see what would happen, knowing that I would probably just be buying new black pieces anyway. Four pieces stand out: The two window cranks, and the covers that snap into them. They actually took the dye very well, which is surprising to say the least. I had no expectations of them absorbing any dye whatsoever, and now, it looks like I will be able to use them. Even the **** took the dye!
Here's pics of the 6 pieces I didn't think would dye well... As you can see, they went from maroon to perfect black:
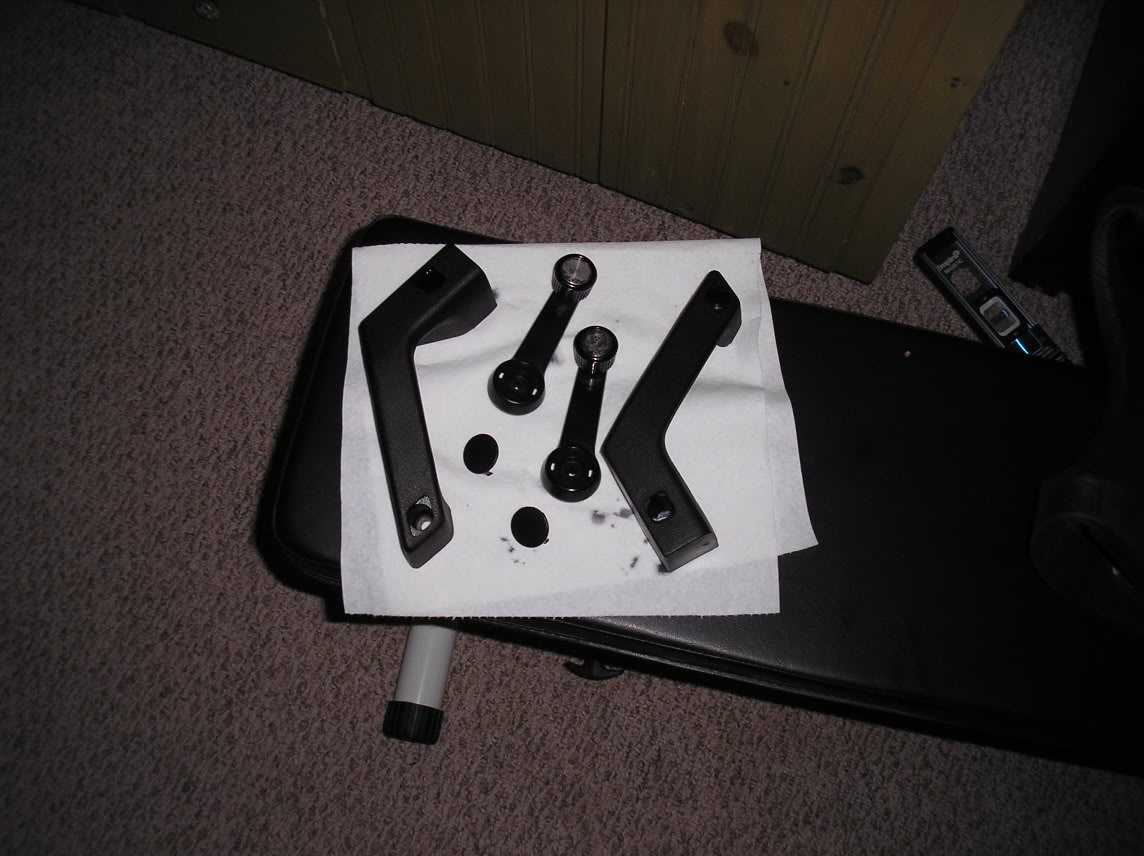
Best part of all? I tried rubbing the color off with my fingers... Nothing. You can't do that with paint. I'm waiting for the other pieces to dry, then I'll get pics of those, too.
The pieces that dyed well in the earlier pics dyed very, very well. They are pitch black now. I also decided to throw in some other pieces just to see what would happen, knowing that I would probably just be buying new black pieces anyway. Four pieces stand out: The two window cranks, and the covers that snap into them. They actually took the dye very well, which is surprising to say the least. I had no expectations of them absorbing any dye whatsoever, and now, it looks like I will be able to use them. Even the **** took the dye!
Here's pics of the 6 pieces I didn't think would dye well... As you can see, they went from maroon to perfect black:
Best part of all? I tried rubbing the color off with my fingers... Nothing. You can't do that with paint. I'm waiting for the other pieces to dry, then I'll get pics of those, too.
Trending Topics
Thread Starter
Joined: Sep 2002
Posts: 2,932
Likes: 6
From: Surrounded by Sebey parts, Rhode Island
The dye I used is regular clothing dye, I just made it a lot stronger. For the dash, I think I am going to use this dye as a base, and then use leather dye to make sure it's really dark.
Lives on the Forum
Joined: Jun 2004
Posts: 11,359
Likes: 14
From: Grand Rapids Michigan
We used to dye all of our plastic parts when building R/C cars years ago, using the same hot water strong dye mixture that has worked for you. I've been considering doing some items under the hood, like my e-fan blades and maybe some reseviors etc. Nice work man!
Turbo Wannabe
Joined: Jun 2004
Posts: 189
Likes: 0
From: Huntsville, AL
sounds good. We dyed my headliner and some other cloth parts black by spraying them with a really strong Dye to Hot water mix (it was the consistancy of paint) using a paint gun, and then coming back and spraying it with boiling water to "set" it
That worked pretty well so far. The car that the peices were installed in hasn't moved, but it's been outside in the Alabama sun for a couple months now. The dye hasn't faded out or turned purple so it looks like it should hold
That worked pretty well so far. The car that the peices were installed in hasn't moved, but it's been outside in the Alabama sun for a couple months now. The dye hasn't faded out or turned purple so it looks like it should hold
My FSP Fiesta eats Jettas
Joined: Aug 2002
Posts: 1,616
Likes: 3
Hey Kevin, glad I could help, looks like it turned out real nice.
I agree with using the leather dye on the dash, btw.
Just to clear one thing up, the blue is so that the final black color won't have a reddish cast, but rather a blue cast which actually makes the black look blacker. I learned that from dyeing the leather holsters that I make.
I see you were able to find another use for your cauldron.
REW'd FB
Joined: Dec 2004
Posts: 2,685
Likes: 1
From: WA
Hey looks really good. I always wondered why people painted when the option of dye was available. I have looked into rit dye before and actually used it to dye a white shirt black. It worked great and do this day has held color. I do not think that you will have any problems with this product. I am not sure what over exposure to sunlight will do though. But you can always re-dye it.
Do they make dark brown. The door handles on mine have got a could scuffs in them and are not up to my **** retnetive status.
Do they make dark brown. The door handles on mine have got a could scuffs in them and are not up to my **** retnetive status.
Thread Starter
Joined: Sep 2002
Posts: 2,932
Likes: 6
From: Surrounded by Sebey parts, Rhode Island
Originally Posted by Wankelguy
Hey Kevin, glad I could help, looks like it turned out real nice.
I agree with using the leather dye on the dash, btw.
Just to clear one thing up, the blue is so that the final black color won't have a reddish cast, but rather a blue cast which actually makes the black look blacker. I learned that from dyeing the leather holsters that I make.
I see you were able to find another use for your cauldron.
I agree with using the leather dye on the dash, btw.
Just to clear one thing up, the blue is so that the final black color won't have a reddish cast, but rather a blue cast which actually makes the black look blacker. I learned that from dyeing the leather holsters that I make.
I see you were able to find another use for your cauldron.
Thread Starter
Joined: Sep 2002
Posts: 2,932
Likes: 6
From: Surrounded by Sebey parts, Rhode Island
My FSP Fiesta eats Jettas
Joined: Aug 2002
Posts: 1,616
Likes: 3
Still a good price, I pay $4 for the 4 oz. bottles, but I'm able to buy 'em locally so no shipping cost.
You know not to re-use the applicators don't you?
If you re-use applicators the dye will oxidize on the surface which causes blue streaking (with black dye).
You know not to re-use the applicators don't you?
If you re-use applicators the dye will oxidize on the surface which causes blue streaking (with black dye).