When you click on links to various merchants on this site and make a purchase, this can result in this site earning a commission. Affiliate programs and affiliations include, but are not limited to, the eBay Partner Network.
I wanted to make this thread to chronicle my build and also provide info for V8 swaps in FBs, particularly LT1, this motor has lots of nuances that are not well detailed on the net.
I had originally bought this car with no intentions of swapping, but stumbled into an awesome deal on the motor and trans.
I have an 85 GSL, originally an auto and am putting an LT1 from a 94 caprice and T5 NWC in it. I probably will either build the T5 or go with a T56 eventually.
This is a rough list of the things I have done so far
-Granny's SBC swap kit
-Custom transmission crossmember
-5 lug turbo II hub and brake swap
-Custom front chassis spreader bar w/radiator mounts
-Granny's Radiator
-Steel wheels 15"x7" agressive offset
-AP Racing clutch MC
-Installed clutch pedal
-LT1 wiring harness modification
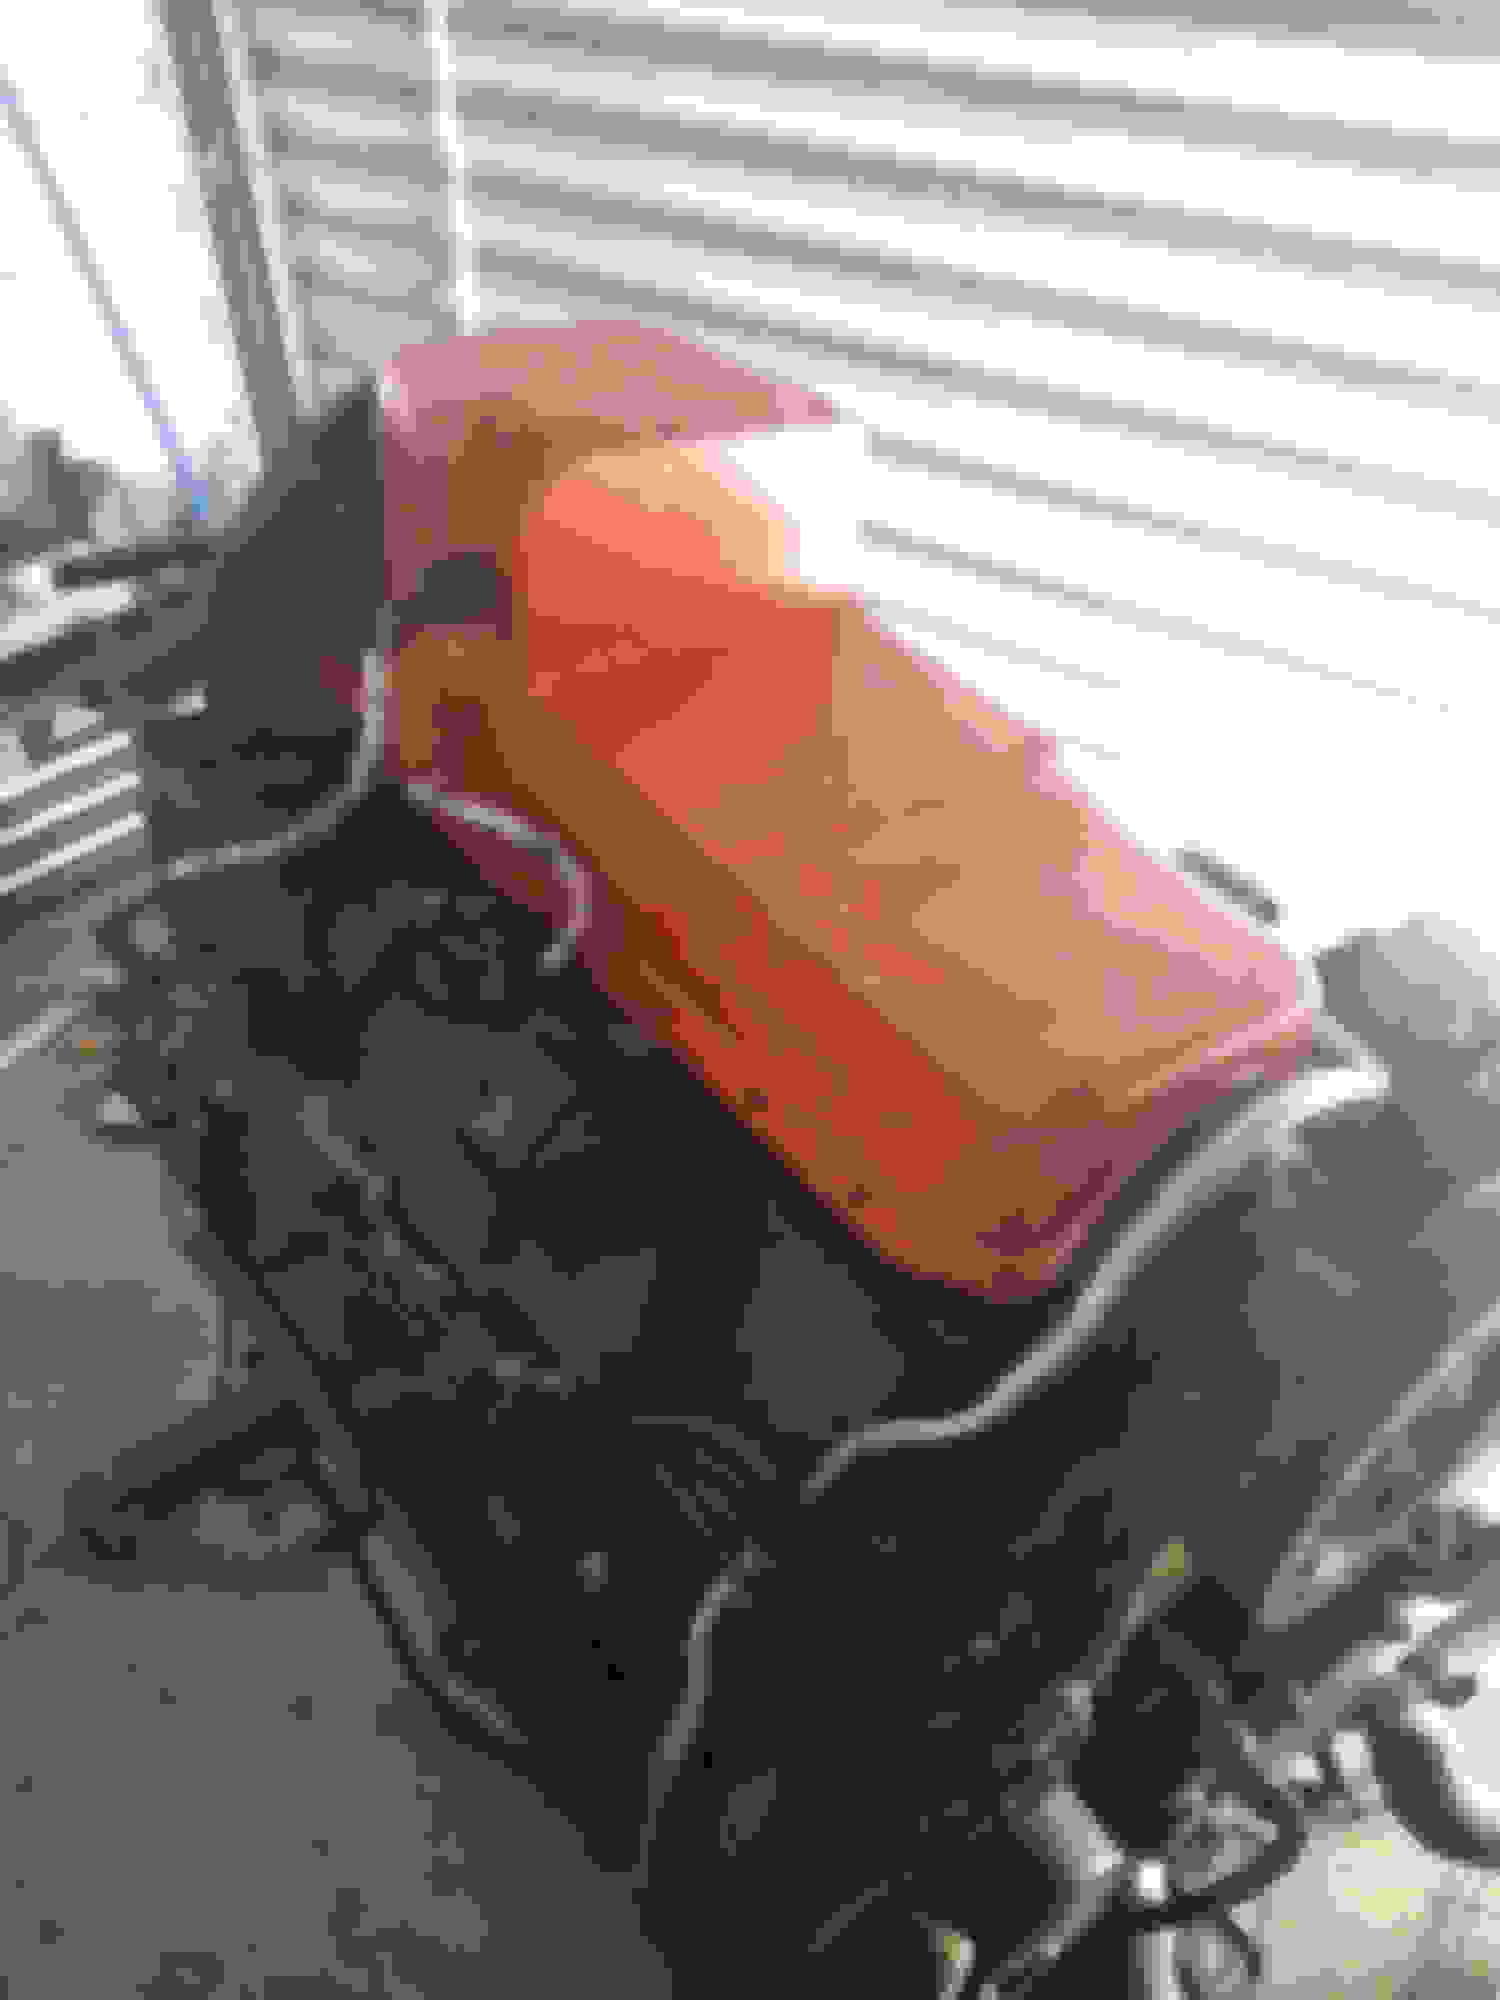
-Rear battery mounting in storage bin
-battery cut off switch
-VATS disable for LT1
-Rams horn exhaust manifolds
-Moved motor mounts back 1.5"
-Modified mustang short throw T5 shifter
-Speedo cable block off
-Bronze shifter bushing
To Do
-Exhaust system-side exit
-Air intake
-Custom gauges
-Relocate PCM for LT1
-finish energy suspension bushing install
-lower car with custom lowering spring and adjustable spring perch
-short stroke shocks
-Racing seat and harness install
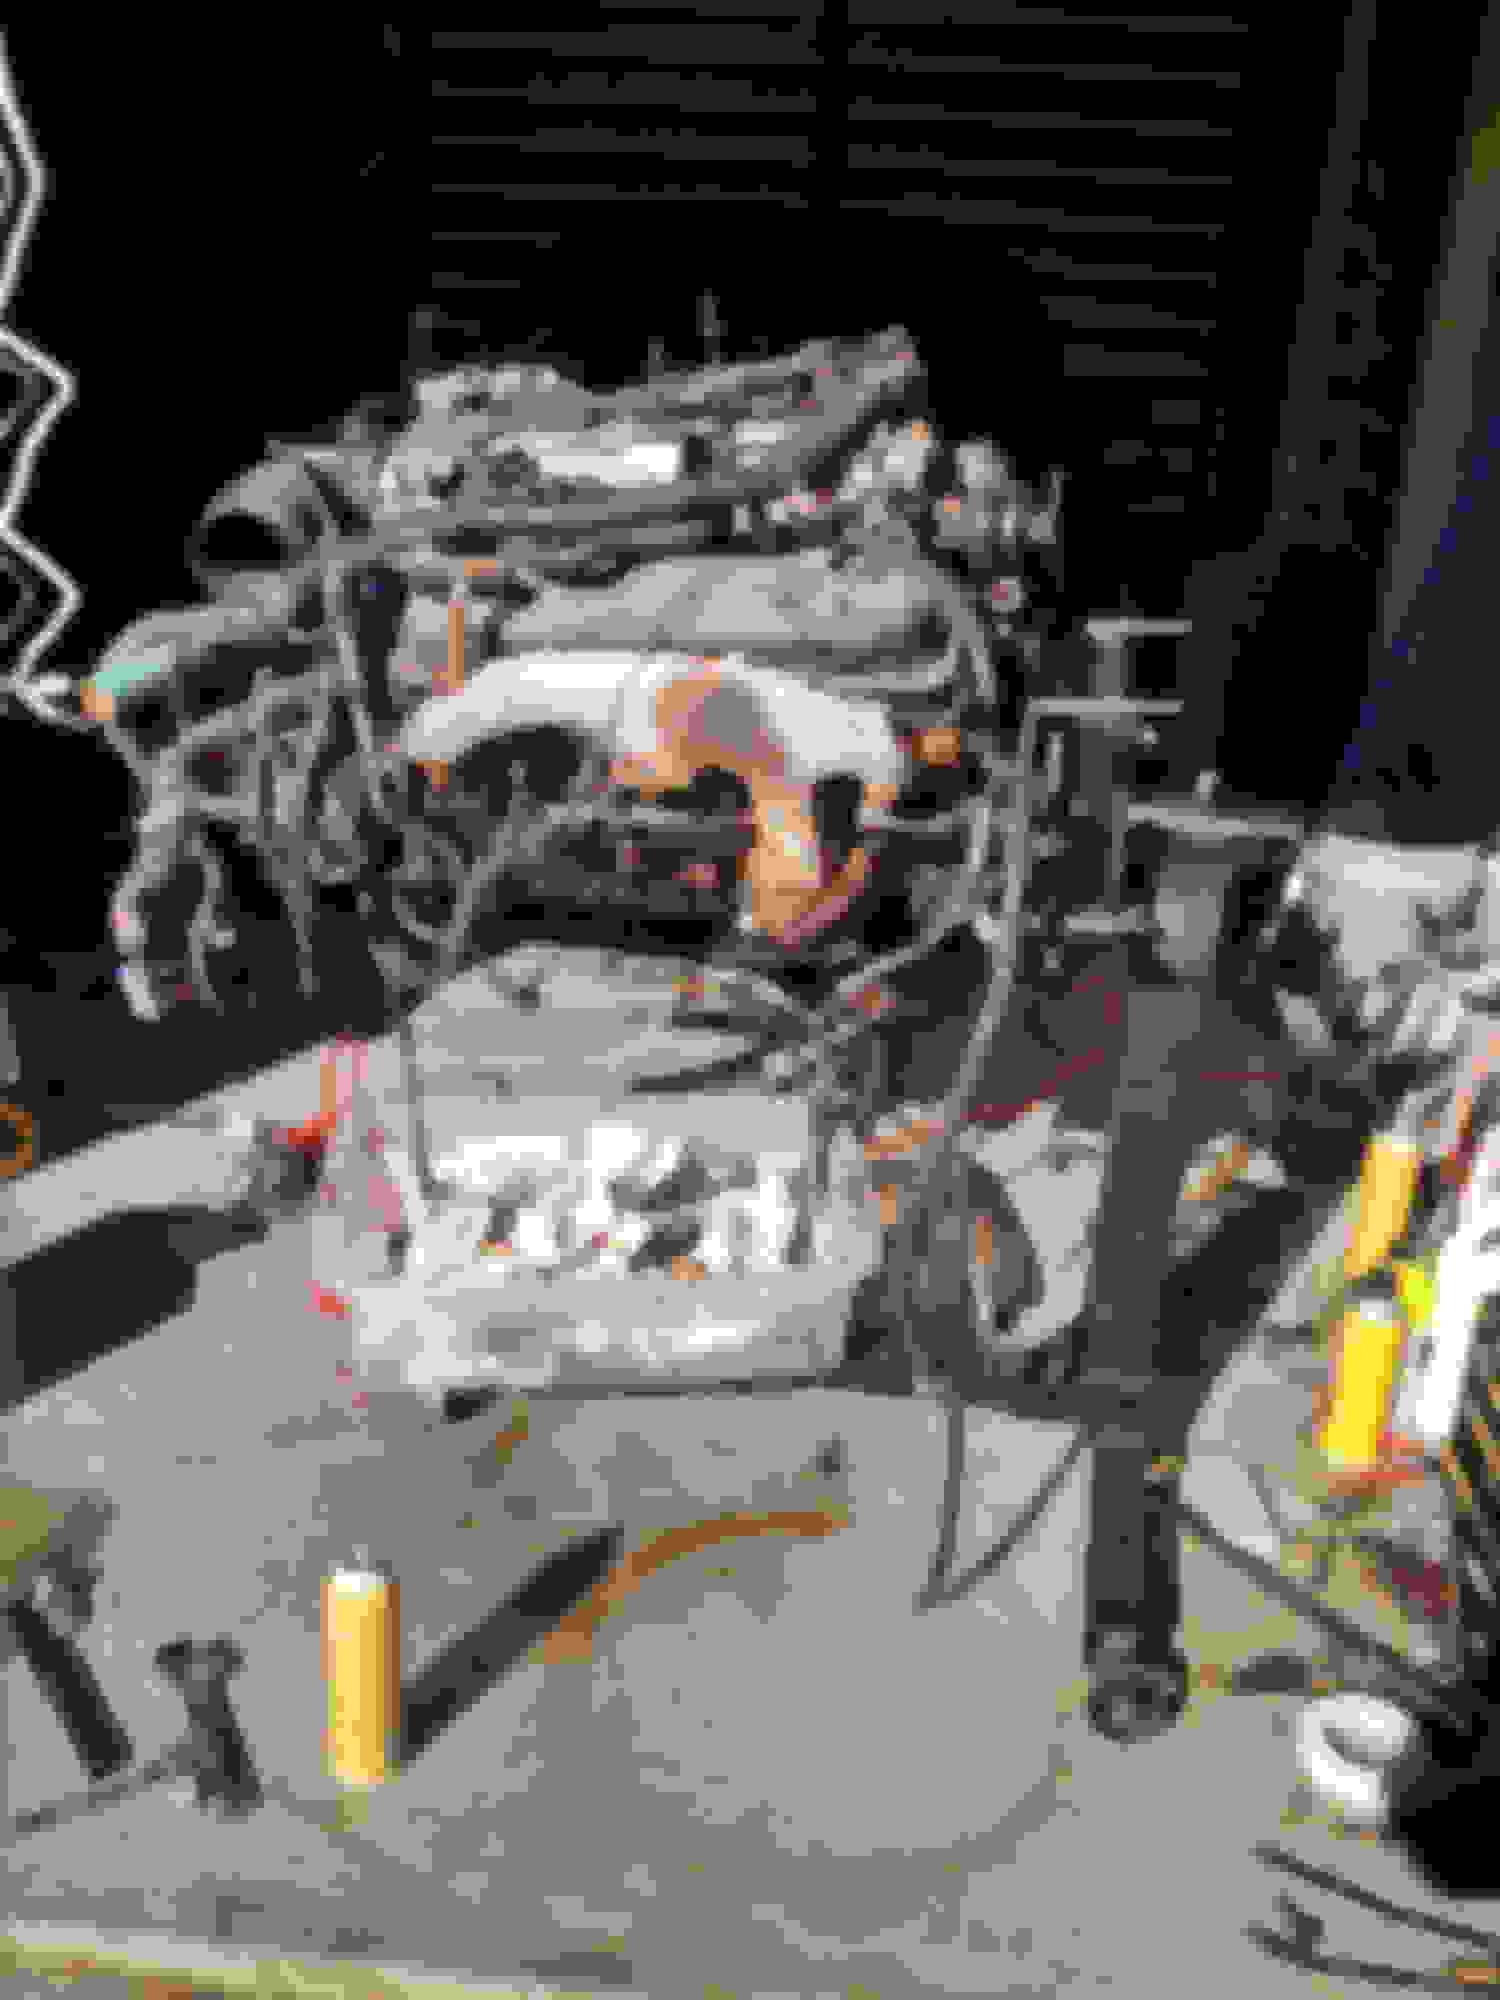
This is the car while I was pulling the rotary
I modified the oil pan to clear the steering link, rather easy to do and cheaper than buying a new one
I had a later style T5 so I made an adapter plate to go from a chevy to ford pattern. I do not see an issue yet.
I installed an AP racing master cylinder with the stock chevy slave cylinder
I decided to move the engine back by about 1.5" Before the harmonic balancer was contacting the front sway bar. To do this I drilled two holes in the FB crossmember and then moved the engine. The motor is now right up against the firewall. This also provides more space to route the radiator hoses
This is the custom transmission crossmember. The automatic FBs have their transmission crossmember mounts in a different position than the manual cars
Last edited by Freeskier7791; 01-08-16 at 08:36 AM.
What is hitting the firewall? The motor or the distributor? Also what helped to you decide to go this route? Is the rotary bad? Good stuff, keep the updates coming.
What is hitting the firewall? The motor or the distributor? Also what helped to you decide to go this route? Is the rotary bad? Good stuff, keep the updates coming.
The motor itself is actually extremely close not quite hitting the firewall, no distributor on LT1, they use the optispark which is behind the water pump
Hey Freeskier thanks for posting your build. In the beginning I had contemplated an LT1 but just seemed like it was going to cost a little more to buy and modify. Plus I had always liked the 5.0 and fox body mustangs. I look forward to seeing future posts and hearing it run. Good luck
Hey Freeskier thanks for posting your build. In the beginning I had contemplated an LT1 but just seemed like it was going to cost a little more to buy and modify. Plus I had always liked the 5.0 and fox body mustangs. I look forward to seeing future posts and hearing it run. Good luck
I got a super good deal on the LT1 which made the choice easy, Otherwise I probably would have stayed rotary. Looks like your build is coming along good as well.
I put my mounts in this weekend and found out I need to shorten the driveshaft a bit, gonna get that done this week. I also started replacing my bushings with the new energy suspension poly ones I bought
Is the turbo ii front hub/brake swap difficult? Any chassis modifications to accept? Does the original steering knuckle/spindle get reused or the turbo ii knuckle/spindle?
Sorry for the late response, had a sick kid and wife last week, now the family is better
Originally Posted by Yolo7
Is the turbo ii front hub/brake swap difficult? Any chassis modifications to accept? Does the original steering knuckle/spindle get reused or the turbo ii knuckle/spindle?
It is not super difficult but requires some machined parts and custom brake caliper brackets. No chassis mods are required. I have also seen that you could swap the ball joint with an AE86 unit on the LCA and use the Turbo II spindle, but I never tried. I do have the files for those parts that need to be made.
Originally Posted by jeremyferguson4444
Any chance you would mind posting some rough measurements of that oil pan you cut down? Did that give plenty of clearance?
I will try to get some measurements and pictures tonight. Since I moved the motor back I still have plenty of clearance. I also had to cut down the windage tray and some of the main cap bolts, but that was not a big deal.
What are you doing for fuel lines? Are you running coolant to the heater core?
I am reusing the stock hard lines, I mounted a walbro fuel pump in the tank. There are rubber hoses from the fuel lines to the rail. Right now I do not have the heater core hooked up, but I may try to make some lines for that.
Originally Posted by Radar84SE
Looking good! That thing is sweet.
Thanks
I got this trick piece for my coolant head bleed. Tackling power steering this week, converting to AN PTFE lined hose.
Hell yeah! So exciting man. Thanks for the video it keeps me movitivated to make the time for my project. I love it.
Question. Is the ECU water resistant? I have to figure a way out to get my inside the cabin and the ECM connector is a little big for a standard hole.
Mine is, stock caprice actually have the ECU in the engine bay. You will have to depin unfortunately. I contemplated that but I am going to be making a new harness instead to move the computer inside
I think the smartest thing you did was getting a 94 Caprice engine. I got the 95 and found out that the 94-95's have the $EE PCMs which are the only OBD1 ones that have eeprom. It means to flash the pcm you DON'T NEED A ROM BURNER. you only need and ALDL interface and you can then use TunerPro and CATS winflash. way waaaay cheaper than an OBD2 system. TunerPro is free, winflash is like $20, and you can make a $5 ALDL interface out of a FT232RL board like this
I think the smartest thing you did was getting a 94 Caprice engine. I got the 95 and found out that the 94-95's have the $EE PCMs which are the only OBD1 ones that have eeprom. It means to flash the pcm you DON'T NEED A ROM BURNER. you only need and ALDL interface and you can then use TunerPro and CATS winflash. way waaaay cheaper than an OBD2 system. TunerPro is free, winflash is like $20, and you can make a $5 ALDL interface out of a FT232RL board like this Amazon.com: FT232RL FTDI USB To TTL Serial Converter Adapter Module For Arduino: Computers & Accessories
It was dumb luck lol. Thanks for the link, I will definitely be building that. My friend had this engine lying around as a spare for his LT1 powered blazer. I also found out that my opti is the vented version as well (only after I threw away the vent harness by mistake)
I was able to move it out of my garage under its own power, I need to get an exhaust before I can drive it any distance. Mostly cleaning things up now, I will post some pictures once I get my new racing seat and stuff.
Hey Freeskier. I had a few questions about how you set up your fuel system.
Did you use the stock hard lines to feed fuel to the engine?
Is so do you now if the fuel line size is the same as the SA?
He stock hard lines on the SA seem to be shy of a 1/4". Just want to make sure I don't run lean under high load situations. Using the fuel lines would make things a lot easier on me how ever.
The fuel pump is another thing I am trying to figure out right now. The SA have an external inline pump. I would like to find a way to in cooperate an in the tank pump. I found a couple in tank guys. One is expensive but the other may require a hole larger than I can fit.
 01-08-16, 08:17 AM