
FD Ground Control / Koni Assembly Q's? Pics Inside

FD Ground Control / Koni Assembly Q's? Pics Inside
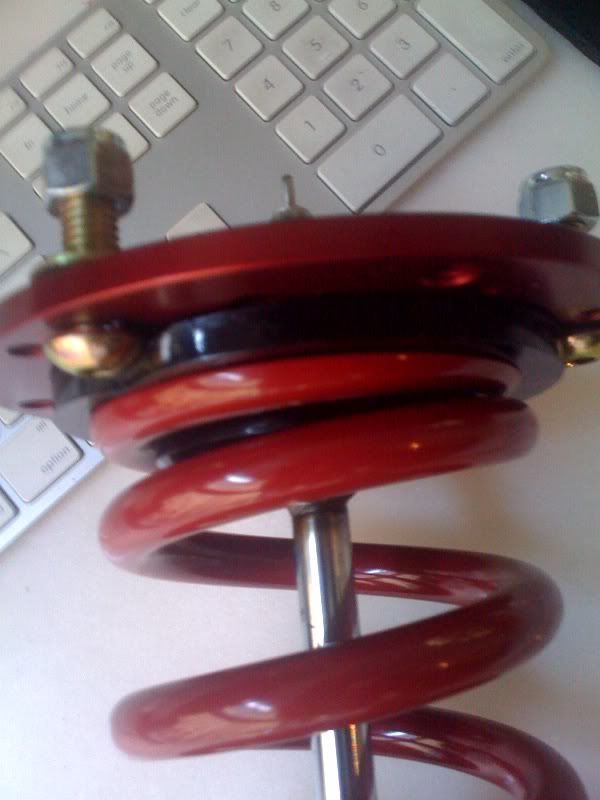
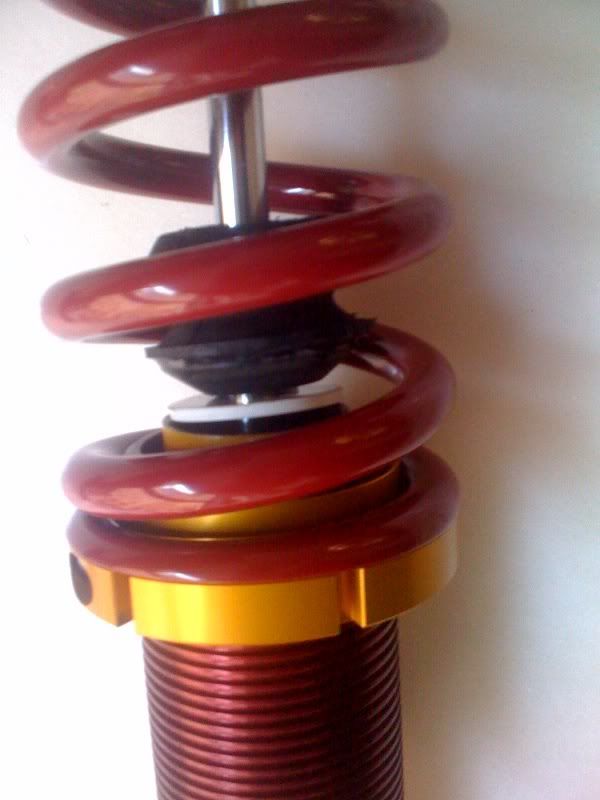
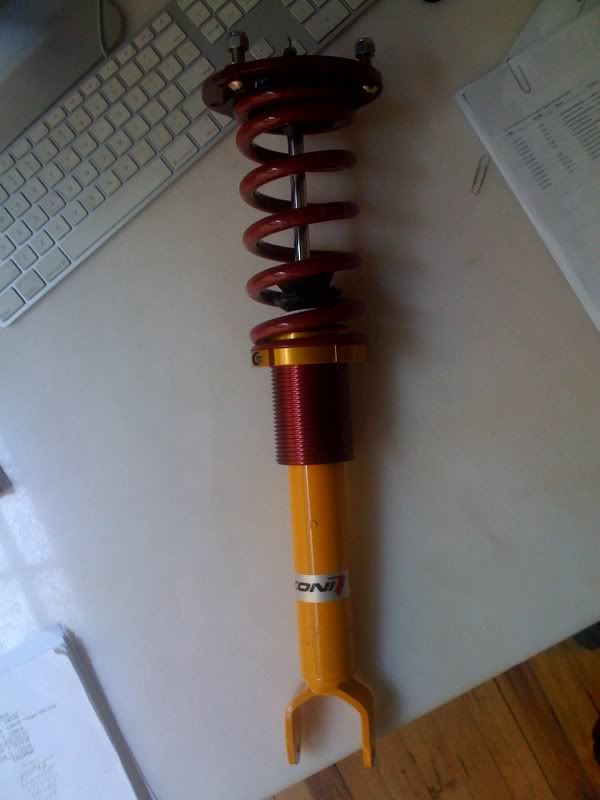
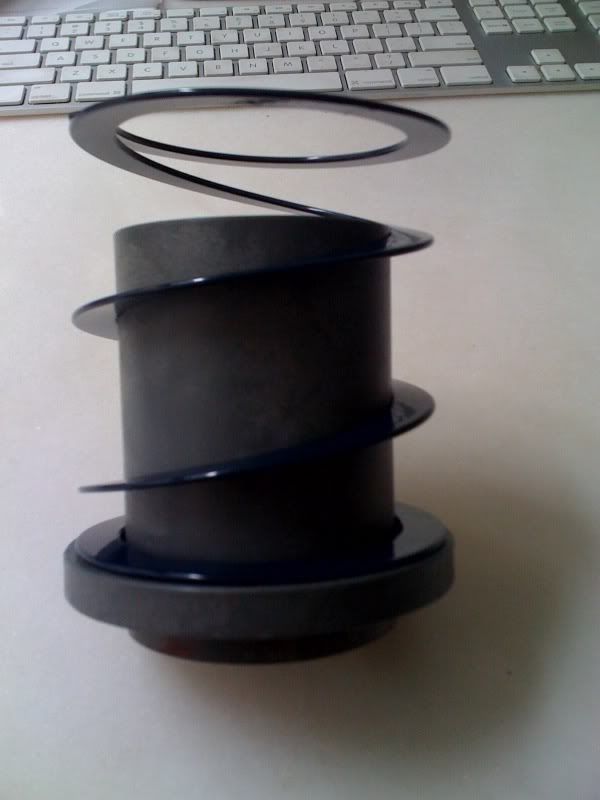
Did I assemble this correctly? The cut bump stop is very loose on the shaft now that it is not connected to the dust boot and top had. Is this OK?


Lives on the Forum


Joined: Mar 2001
Posts: 5,014
Likes: 40
From: CT
let us know how u like them.
i have been thinking about having my koni yellows converted. how much did it cost you? what spring rates are you running?
i currently run the konis with eibach springs has anyone converted from this set up to the ground control? i am thinking 550/450. what are the eibachs prokits? 300?
i have been thinking about having my koni yellows converted. how much did it cost you? what spring rates are you running?
i currently run the konis with eibach springs has anyone converted from this set up to the ground control? i am thinking 550/450. what are the eibachs prokits? 300?
Last edited by matty; Jul 9, 2009 at 08:09 PM.
Trending Topics

If I don't set the spring to minimum preload then what can I do to keep the spring properly seated after jacking the car or getting it airborne dukes of hazzard style?
GC recommended ziptying the spring to the rubber seat. I'm not quite sure I understand how this ziptie is supposed to not interfere with the interfaces between rubber seat and top mount. Anyone know how or have pictures?
GC recommended ziptying the spring to the rubber seat. I'm not quite sure I understand how this ziptie is supposed to not interfere with the interfaces between rubber seat and top mount. Anyone know how or have pictures?
1: Helper spring touches top mount, long section of coupler goes inside helper, short section goes inside main spring, main spring sits on adjustable GC perch.
2: Helper spring touches top mount, short section of coupler goes inside helper, long section goes inside main spring, main spring sits on adjustable GC perch.
3: Main spring touches top mount, short section of coupler goes inside main spring, long section goes inside helper spring, helper spring sits on adjustable GC perch.
4: Main spring touches top mount, long section of coupler goes inside main spring, short section goes inside helper spring, helper spring sits on adjustable GC perch.
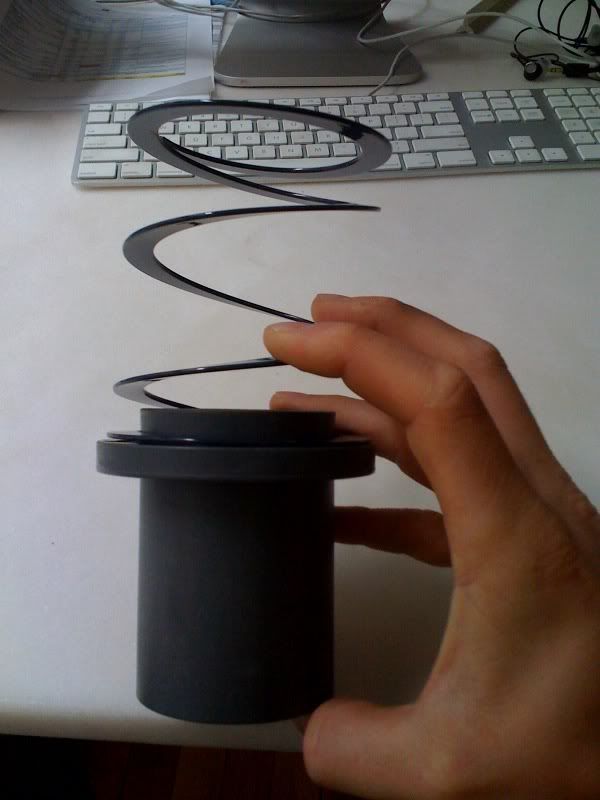
I don't see how these couplers can work on the GC kit without some type of hack. The ID of the coupler is smaller than the OD of the coil sleeve, unfortunately. Additionally, the long section that the helper spring is wrapped around in the first picture below would certainly interfere with all components it sits between:
Scenario 1: Interfere with upper cushion seat under static load
Scenario 2: Interfere with coil sleeve under dynamic shock compression load (acting like a bump stop)
Scenario 3: Will not fit over coil sleeve under static load
Scenario 3: Will not fit over coil sleeve under static load
Lastly, it appears that the compressed length of the hyperco helper spring is shorter than the short section of the coupler. As a result, even with the short section of the coupler interfacing with the helper (scenario 2 & 4), the coupler will touch the component at the other end of the helper under static load (ex scenario 2 coupler will touch top mount).
How can I modify these to work with GC/koni setup? I am thinking of just shortening the long section of the coupler to a small fraction of the compressed length of the helper spring (~2mm) and install per scenario 2 (short section is then the long section, and hacked long section is then short section).
Is there a better alternative?
Where did you source those?
I believe GC has a helper spring type setup that works with their coilover kit.
As has been stated in past threads on the topic of the spring being loose when the car is jacked, it is a non-issue. The spring reseats itself in the correct location every time I've jacked the car - which is often.
I believe GC has a helper spring type setup that works with their coilover kit.
As has been stated in past threads on the topic of the spring being loose when the car is jacked, it is a non-issue. The spring reseats itself in the correct location every time I've jacked the car - which is often.
How do they possibly seat properly without binding on the upper cushion? Also the upper cushion on the front has a specific orientation. How could the orientation not change with raising and lowering? Do you use the "zip tie" method? If so, how is it done?
Thought I mentioned they are from hyper coil.
Thought I mentioned they are from hyper coil.
Gracer, do you use bump stops? Which ones? Part numbers? Do you recommend them or would you recommend a different bump
stop?
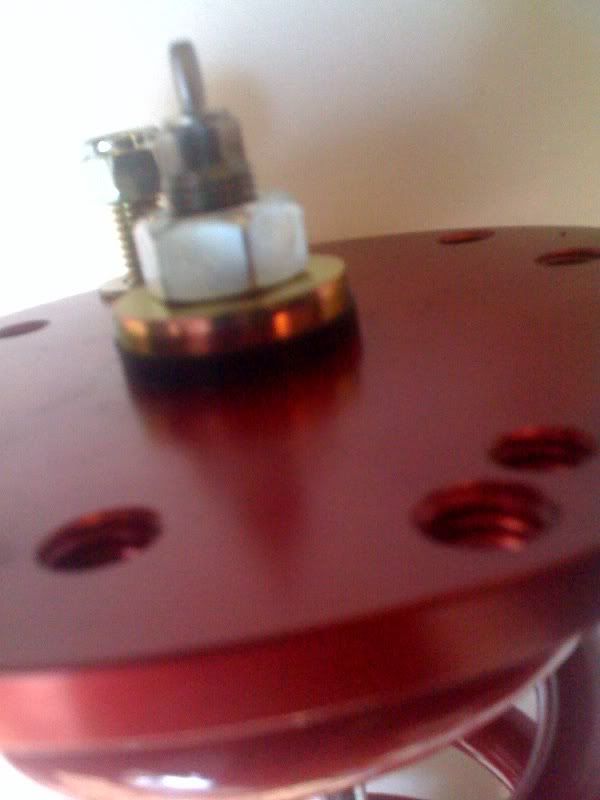
Also, did you use the locking washer provided with the konis with the top nut? I found that with the rubber top hat bushing and the 2 washers provided by ground control to sandwich the bushing, there is no more room for the locking washer.
stop?
Also, did you use the locking washer provided with the konis with the top nut? I found that with the rubber top hat bushing and the 2 washers provided by ground control to sandwich the bushing, there is no more room for the locking washer.
I used the setup with and w/o bump stops. Didn't notice a difference.
No I don't use zip ties.
The springs readily fall into place as I lower the car. Never had an issue with springs seating incorrectly.
I installed the washers the same way you did. There was plenty of space for me.
I think the reason for that is b/c you haven't correctly installed yours.
Looking at the pic above, I notice that the bottom part of the threaded shaft in just behind the second coil. You need to lower the spring perch so that the spring is beneath that "nub" and tighten the nut down the shaft until the rubber bushing is tight with that nub. Once you do that, you should have plenty of threads at the top to use the stock "donut" and the other nut.
Note: I forgot washer 1 of 2 when i took that picture you quoted. Since installing the 2nd washer the little bit of exposed shock shaft threads in the picture is now completely covered by the nut once fully tightened. Do you suggest not using the lower washer "1 of 2" that I installed later. If I do that then there is enough space for the locking washer as seen in the image above.


while I don't have direct experience with the GC/Koni setup you're using, I'm pretty close as I have GC ADs.
No zipties for me, and yes the springs come unseated when i jack the car. No problems re-seating for me other than a nice loud "POP" when you put the car back down...you get used to it. I think you're worrying that the spring will sit on the top of the perch inside by the shock shaft, but that's why that area is rounded to encourage the spring to go to the right area.
I think you're just going to confuse things more by adding the helper springs.

Thread
Thread Starter
Forum
Replies
Last Post
David Hayes
3rd Generation Specific (1993-2002)
13
Sep 5, 2022 12:45 PM