My 79 "barn find" project
 01-01-13, 10:18 PM
#101
Thoughts??
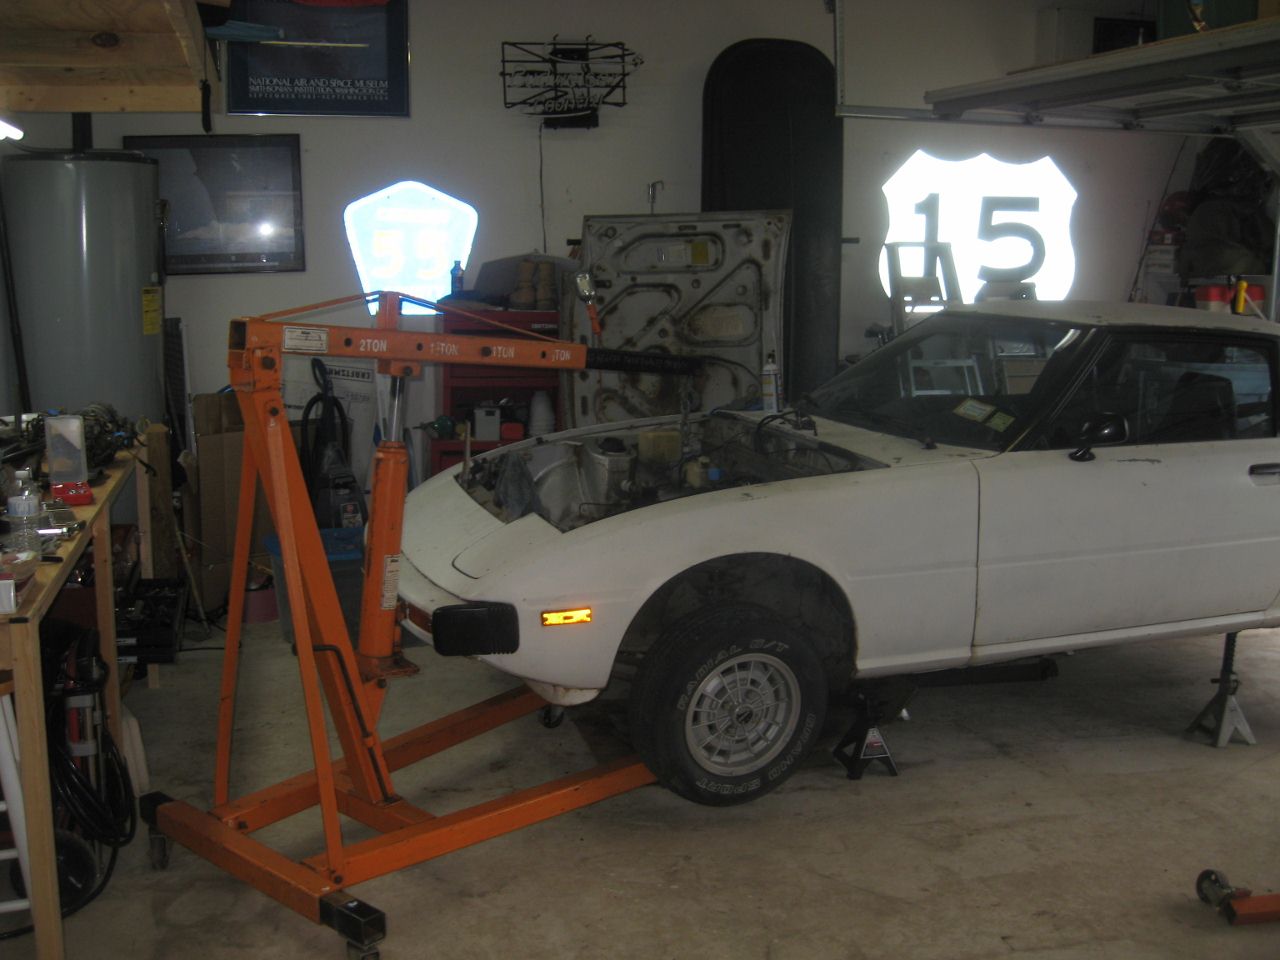
I'm really debating whether or not to take the tans out or leave it in there. I think I'd like to have it out to be free of it and do what I need to do to restore the engine bay, but the other half of me is saying if it ain't broke, don't mess with it. I know I have to separate it to tear down the motor, but hmmmm. Leave it in and work around it or remove it??. 
I'm leaning towared taking it out with the motor so I can check a leak at the speedo cable and have the extra room. Anyone with more experience have any thoughts on that? I'd certainly appreciate the info!

I'm leaning towared taking it out with the motor so I can check a leak at the speedo cable and have the extra room. Anyone with more experience have any thoughts on that? I'd certainly appreciate the info!
 01-02-13, 09:48 AM
#102
I've been looking for parts and parts cars for a long time, and suddenly two cars showed up at the local junkyard in December. Unfortunately, one of them was crushed already. It's a shame because they only keep them for 30 days, then they crush them, regardless of what's left and these cars are getting harder and harder to find, and the parts are getting more and more scarce. The other one is gonna get crushed in a week or so. Wish money were no object but the reality is that it is an object at this point.
Keep yours intact. It's a gem. What's the VIN? That gives an indication of how old it is because they just numbered them sequentially until 1981. Curious to know if yours came before or after mine.
01-02-13, 09:20 PM
#103
Schmootz on my housing and a SCREWED UP STARTER!!
Check out these pics of some crazy hard epoxy on the second housing I found tonight. Looks like some kinda backyard repair someone made in the past to fix a leak!
That's not the worst of it though. I go to remove the starter and I see that someone before me has broken off the bolt that goes thru to the flywheel. Now the freakin' starter won't come off the tranny... Hopefully it won't keep me from pulling out the engine and tranny (yep, being unable to remove the starter made that decision easier, so I have that going for me).
That's not the worst of it though. I go to remove the starter and I see that someone before me has broken off the bolt that goes thru to the flywheel. Now the freakin' starter won't come off the tranny... Hopefully it won't keep me from pulling out the engine and tranny (yep, being unable to remove the starter made that decision easier, so I have that going for me).
01-02-13, 09:23 PM
#104
Name that part
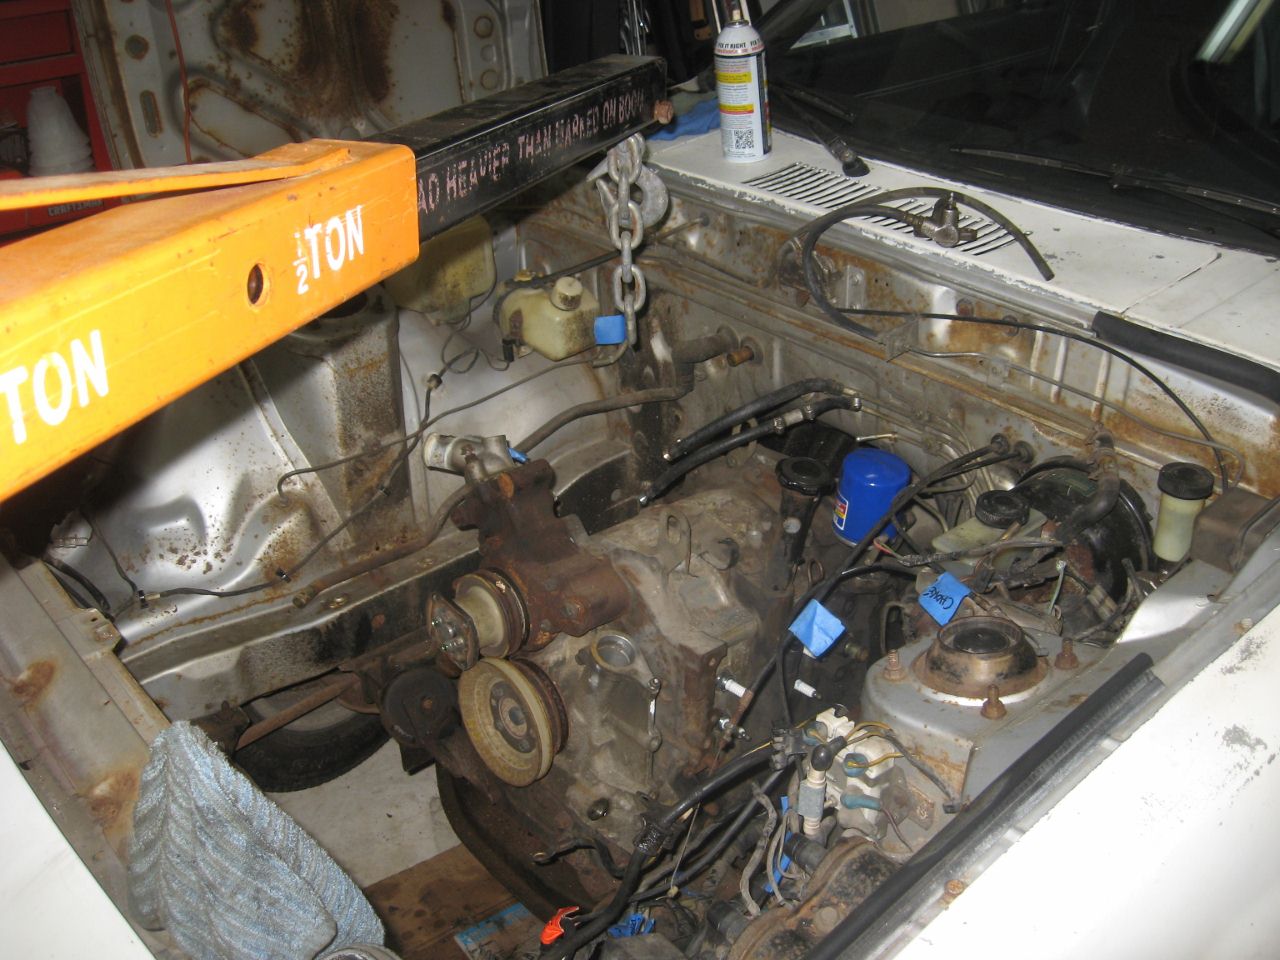
I wish I was playing a game, but I'm not. Can someone identify this part with the yellow dot? It has a vacuum line that either goes to or comes from the choke solenoid. Couldn't find a good picture of it in the FSM...
Any help is always appreciated, thanks!
Any help is always appreciated, thanks!
01-02-13, 11:06 PM
#105
Senior Member

Join Date: Sep 2012
Location: akron ohio
Posts: 403
Likes: 0
Received 0 Likes
on
0 Posts
Well ill check the vin Tom morning but I kno it's like the 26000 manufactured on the plate thing. In the engine bay and yeah I haven't found. No no parts at in this area but even if I did I'd. Be sad cause. I'm broke ... And yeah fully loaded man haha I love it it was my first car to and. I have decides to keep it I'm tryin to get in contact with this builder. He offered me before and soon I as. I get a hold of him ill start the rebuild . though if. I should keep it stock or port it and mod it up ?? Ahh dang that has to suck unfortunately Idk what that yellow thing is haha  . Good luck man can't wait to start my build thread
  . What are ur plans for ur rebuild ?
I'm tryin to get in contact with this builder. He offered me before and soon I as. I get a hold of him ill start the rebuild . though if. I should keep it stock or port it and mod it up ?? Ahh dang that has to suck unfortunately Idk what that yellow thing is haha . Good luck man can't wait to start my build thread . What are ur plans for ur rebuild ?
01-03-13, 09:10 AM
#106

that solenoid is the vacuum solenoid used for opening the secondaries.
i would personally pull the transmission out with the engine. yes you will be opening another can of worms when you do this as the exhaust must be removed in order for the trans to be removed. this will give you the opportunity to replace all of the exhaust gaskets, inspect the rubber hangers, replace the transmission output shaft seal, clean the bellhousing, clean all of the starter connections and check the positive and negative battery cables. you will also be able to check and replace the transmission mount which can fail over time. i have also found it more difficult to install engines with the transmission still in the vehicle.
i would personally pull the transmission out with the engine. yes you will be opening another can of worms when you do this as the exhaust must be removed in order for the trans to be removed. this will give you the opportunity to replace all of the exhaust gaskets, inspect the rubber hangers, replace the transmission output shaft seal, clean the bellhousing, clean all of the starter connections and check the positive and negative battery cables. you will also be able to check and replace the transmission mount which can fail over time. i have also found it more difficult to install engines with the transmission still in the vehicle.
01-03-13, 10:43 AM
#107
that solenoid is the vacuum solenoid used for opening the secondaries.
i would personally pull the transmission out with the engine. yes you will be opening another can of worms when you do this as the exhaust must be removed in order for the trans to be removed. this will give you the opportunity to replace all of the exhaust gaskets, inspect the rubber hangers, replace the transmission output shaft seal, clean the bellhousing, clean all of the starter connections and check the positive and negative battery cables. you will also be able to check and replace the transmission mount which can fail over time. i have also found it more difficult to install engines with the transmission still in the vehicle.
i would personally pull the transmission out with the engine. yes you will be opening another can of worms when you do this as the exhaust must be removed in order for the trans to be removed. this will give you the opportunity to replace all of the exhaust gaskets, inspect the rubber hangers, replace the transmission output shaft seal, clean the bellhousing, clean all of the starter connections and check the positive and negative battery cables. you will also be able to check and replace the transmission mount which can fail over time. i have also found it more difficult to install engines with the transmission still in the vehicle.
I had similar thoughts about taking out the tranny with the engine. I don't want to clean and fix up the engine bay and motor and then have a nasty looking tranny sitting in there.
Fortunately for me, there is a header installed and the thermal reactor, air pump, etc. are all removed. All that remains of the original exhaust is the air pump - in a box on a shelf! All I had to disconnect was the heat exchanger pipe from the back of the inlet manifold, and the header!
I need to borrow my buddy's hoist and stand then I can take it out. Either that or try the 8 foot long 4x4 and two people method I read about somewhere on this forum. Pretty ingenious! The only thing remaining to disconnect is the driveshaft, transmission mount, and motor mounts.
01-03-13, 07:22 PM
#109
Hey sbeers. I really don't know, but I don't think so. It was that way when my brother got it. He just ragged it out a bit then sold it to my dad, and he had someone working on it but they just kept it tuned and running. I doubt it would pass a smog check, but it ran like a scalded dog back in the day! There were a few electrical leads that were disconnected and just hanging around, and if you notice on the rats nest on the left side of the engine, there are three vacuum "things", one orange, one blue, and one yellow. Mine was missing the orange, so I think whoever had it before my brother tried making it into a racer with the emissions stuff removed and the header installed. I used to live a few minutes away from the race track at Watkins Glen so my guess is the original owner used to rally or race at the track with it.
Last edited by woodmv; 01-03-13 at 07:29 PM.
01-03-13, 08:36 PM
#110
1st Gens are the Best
iTrader: (2)
Join Date: Apr 2012
Location: Virginia Beach
Posts: 560
Likes: 0
Received 0 Likes
on
0 Posts
Woodmv,
Where are you located? I am in Va Bch. I am going through a very similar build of my 85. I just did an engine swap on mine. Yours is a little more rusted than mine, but not too much. I'm hoping to have mine running this month. Just have a few more connections to make. Good luck with yours.
Where are you located? I am in Va Bch. I am going through a very similar build of my 85. I just did an engine swap on mine. Yours is a little more rusted than mine, but not too much. I'm hoping to have mine running this month. Just have a few more connections to make. Good luck with yours.
01-05-13, 05:08 PM
#111
Check out these pics of some crazy hard epoxy on the second housing I found tonight. Looks like some kinda backyard repair someone made in the past to fix a leak!
That's not the worst of it though. I go to remove the starter and I see that someone before me has broken off the bolt that goes thru to the flywheel. Now the freakin' starter won't come off the tranny... Hopefully it won't keep me from pulling out the engine and tranny (yep, being unable to remove the starter made that decision easier, so I have that going for me).
That's not the worst of it though. I go to remove the starter and I see that someone before me has broken off the bolt that goes thru to the flywheel. Now the freakin' starter won't come off the tranny... Hopefully it won't keep me from pulling out the engine and tranny (yep, being unable to remove the starter made that decision easier, so I have that going for me).
What an idiot!!
But I'm a learning idiot....
01-06-13, 08:03 AM
#113
Close! I just have to drain the tranny and disconnect the driveshaft and tranny cross member, then disconnect the motor mounts and out she'll come! I'll prolly do it today or maybe tomorrow after work, and I was able to borrow a hoist and stand, but I have to order one of those stand adapters from Pineapple Racing or someplace before I can rebuild it on the stand. Can rebuild without one on a coffee can, but I'd rather do it on the stand.
After that I can get down to disassembly, cleaning, and diagnosis and learn all about apex seals, side seal, corner seals, etc. and try to figure out exactly why I had such low compression. But I've blown through my rainy day fund and will have to figure out exactly what type of seal kit I need to rebuild and save up more jack to buy what I need.
I got lucky though and took a buddy of mine to the local scrap yard Friday and we yanked out the 12A from the 1980 that is gonna get crushed tomorrow, sadly, but that is a funny story best told over a beer! Thus the empty rainy day fund.
01-07-13, 04:55 PM
#114
Rotary Learner
Join Date: May 2012
Location: missouri, east of kc
Posts: 175
Likes: 0
Received 0 Likes
on
0 Posts
love reading your build. It seems like I was only 2 steps ahead of you on this build. I found a motor but have no way to get it. I took my motor out with a pole and 3 ratchet straps. Didnt feel like buying a $50 socket so I made my own tool to take the rear nut off the flywheel. Thats the fun part.
01-07-13, 06:10 PM
#115
love reading your build. It seems like I was only 2 steps ahead of you on this build. I found a motor but have no way to get it. I took my motor out with a pole and 3 ratchet straps. Didnt feel like buying a $50 socket so I made my own tool to take the rear nut off the flywheel. Thats the fun part.
01-07-13, 06:18 PM
#116
Pics of some component removal
Here are some pics of the pieces/parts I've taken off. Didn't quite get around to taking the engine/tranny out because I had to get my garage cleaned up and make some space. My wife said that this is the cleanest she's ever seen the garage!! It's almost looking like a first rate amateur mechanic garage!
Here's some pics: I think the front of the carb was leaking some gas because it was good and moist with black gunk. The back end of the carb was dry. Don't think that's normal, except for a car that had been sitting for about 10 years.
As you can see, one of the vacuum pieces was removed from the car long ago. The orange piece is missing from the rats nest.
01-07-13, 06:23 PM
#117
Pics of carb mounting plate
Here are some pics of the carburator plate that I removed from the intake manifold. I know my Dad had someone rebuild the carb prolly 9 years ago, and I think they may have taken the gasket off because it fell apart when I removed it, and you can see some red RTV on there. Glad I picked one up from the junkyard! Dad said there's prolly less than 500 miles on the car since the carb was rebuilt.
Take a look at these:
Take a look at these:
Last edited by woodmv; 01-07-13 at 06:27 PM. Reason: Add info

 01-11-13, 05:13 PM
#119
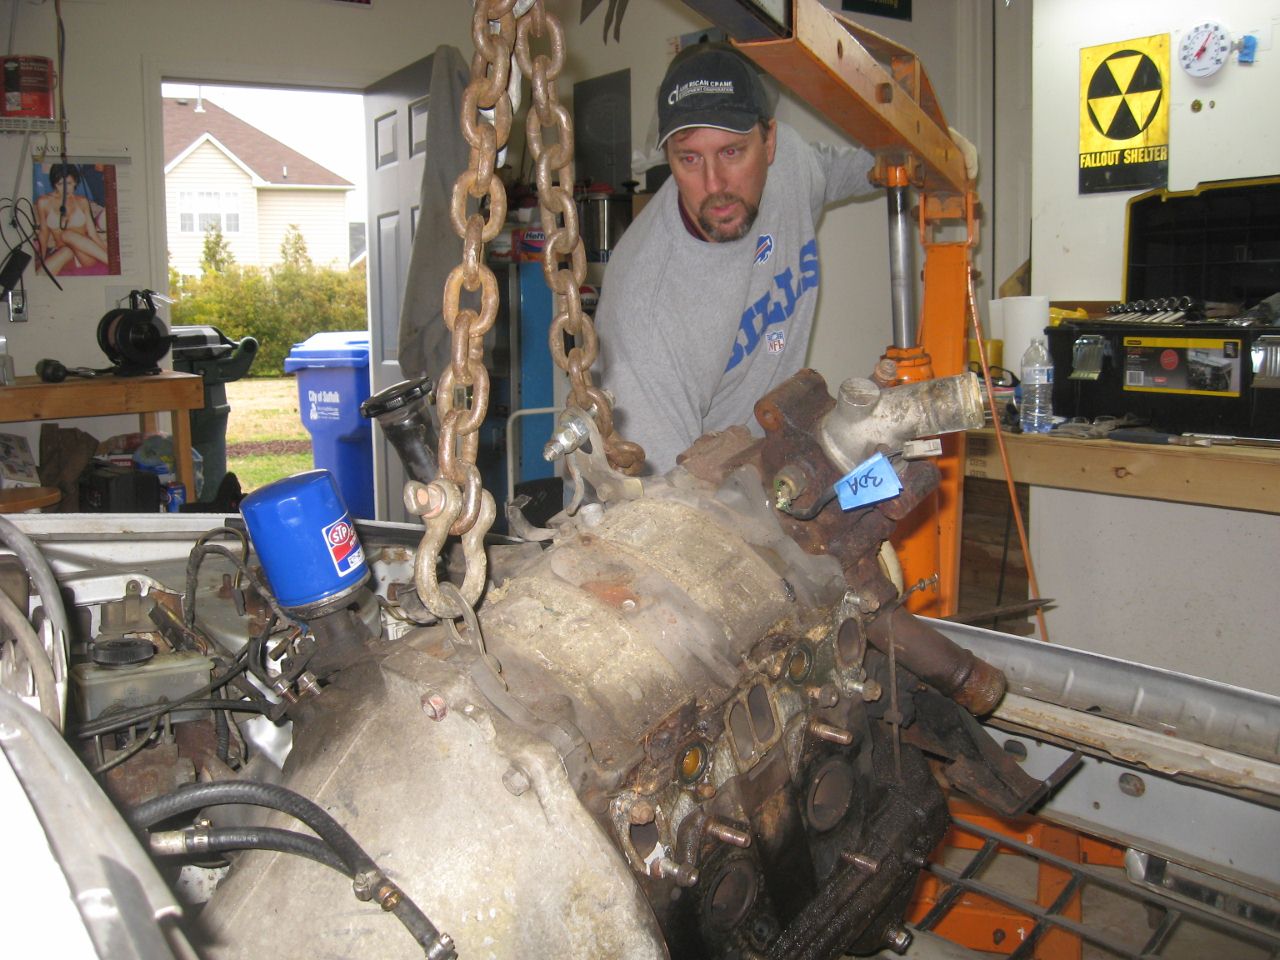
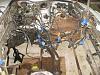
More pics of engine / tranny removal
Here are some more pics:
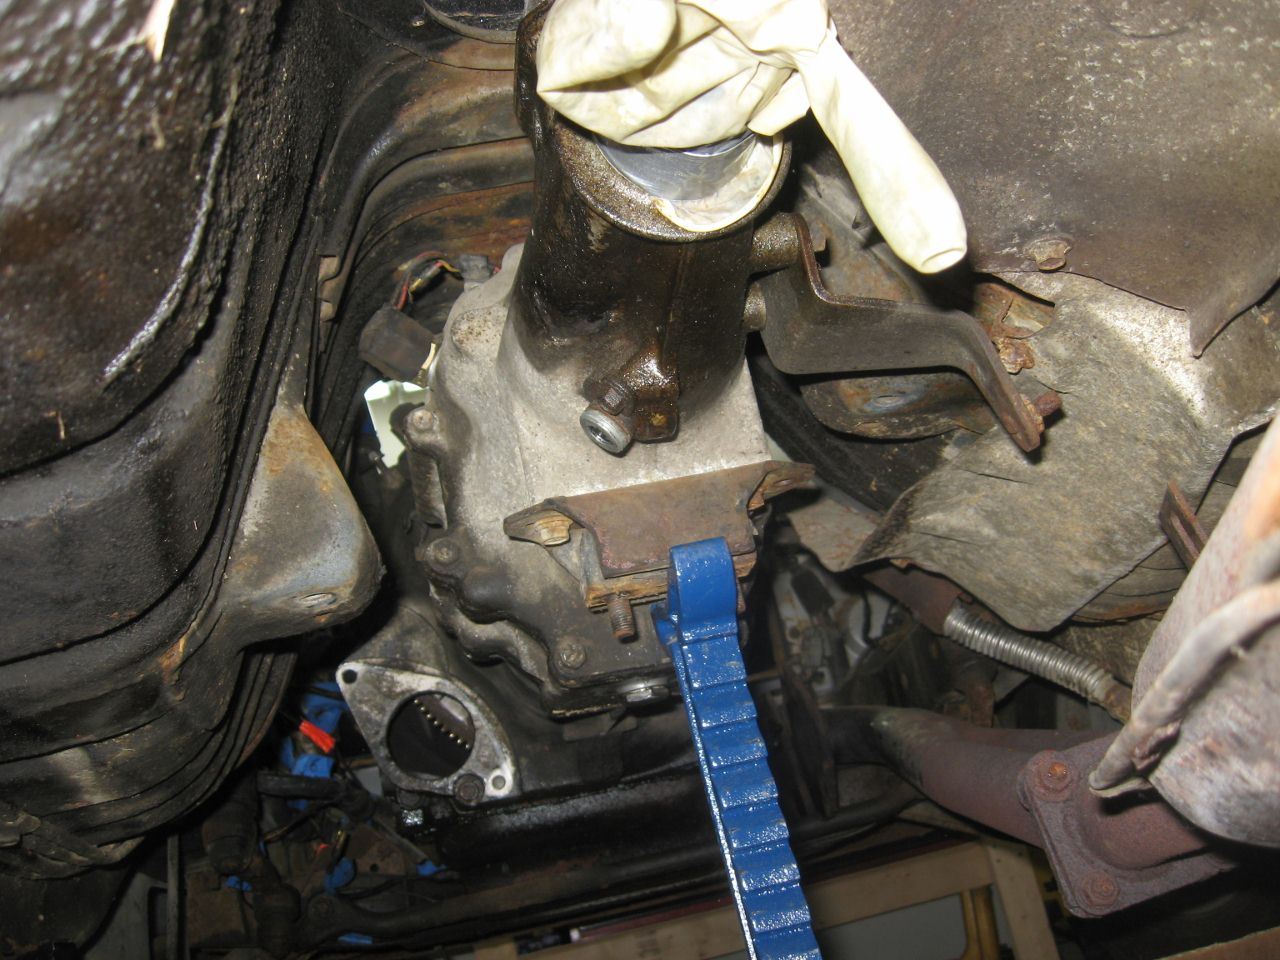
SO. As you can see in the a couple of the pics, there is a red and yellow wire on the transmission. I found out today that those two wires go to the "overdrive switch" which my FSM says in step 8 of section 7-B-2 "Disconnect the overdrive switch (California , 5-speed transmission only)".
So my RX-7 is potentially a California car - who knew?? Guess that's gonna make the carb a litte more tricky. Unless the transmission only is a "CA only" transmission. I have my doubts about that theory though. Seems like if it were a retro-fit CA only tranny, why would that switch be hooked up? Does it have to be for a "CA only" tranny to work? My buddy Ernie thinks that the writing on the bell housing under the grime is from a junkyard. Hmmm.... Could be, but more research is needed. Right now, more beer is needed.
01-11-13, 05:22 PM
#120
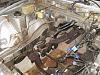
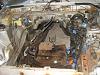
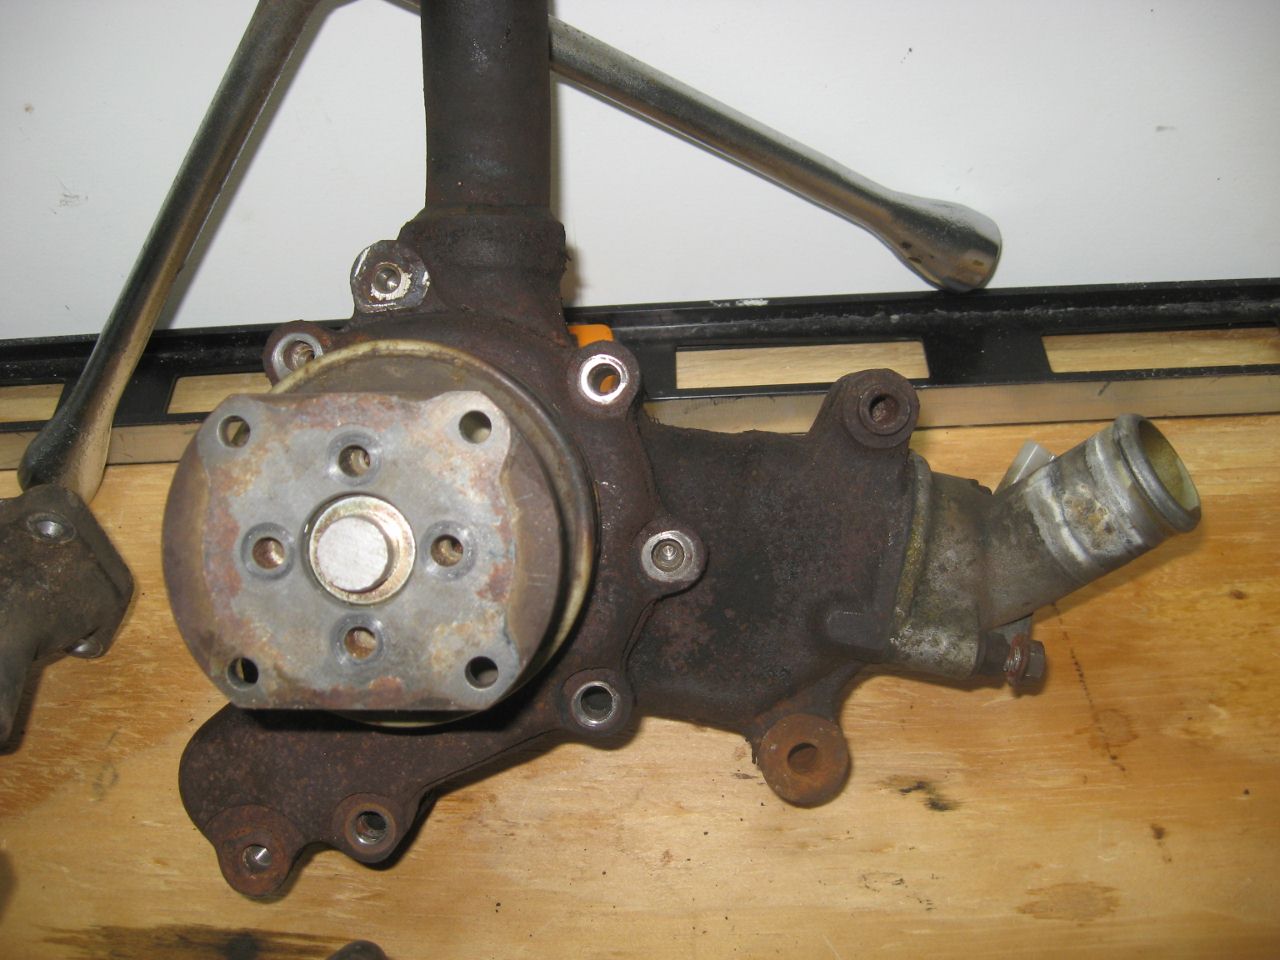
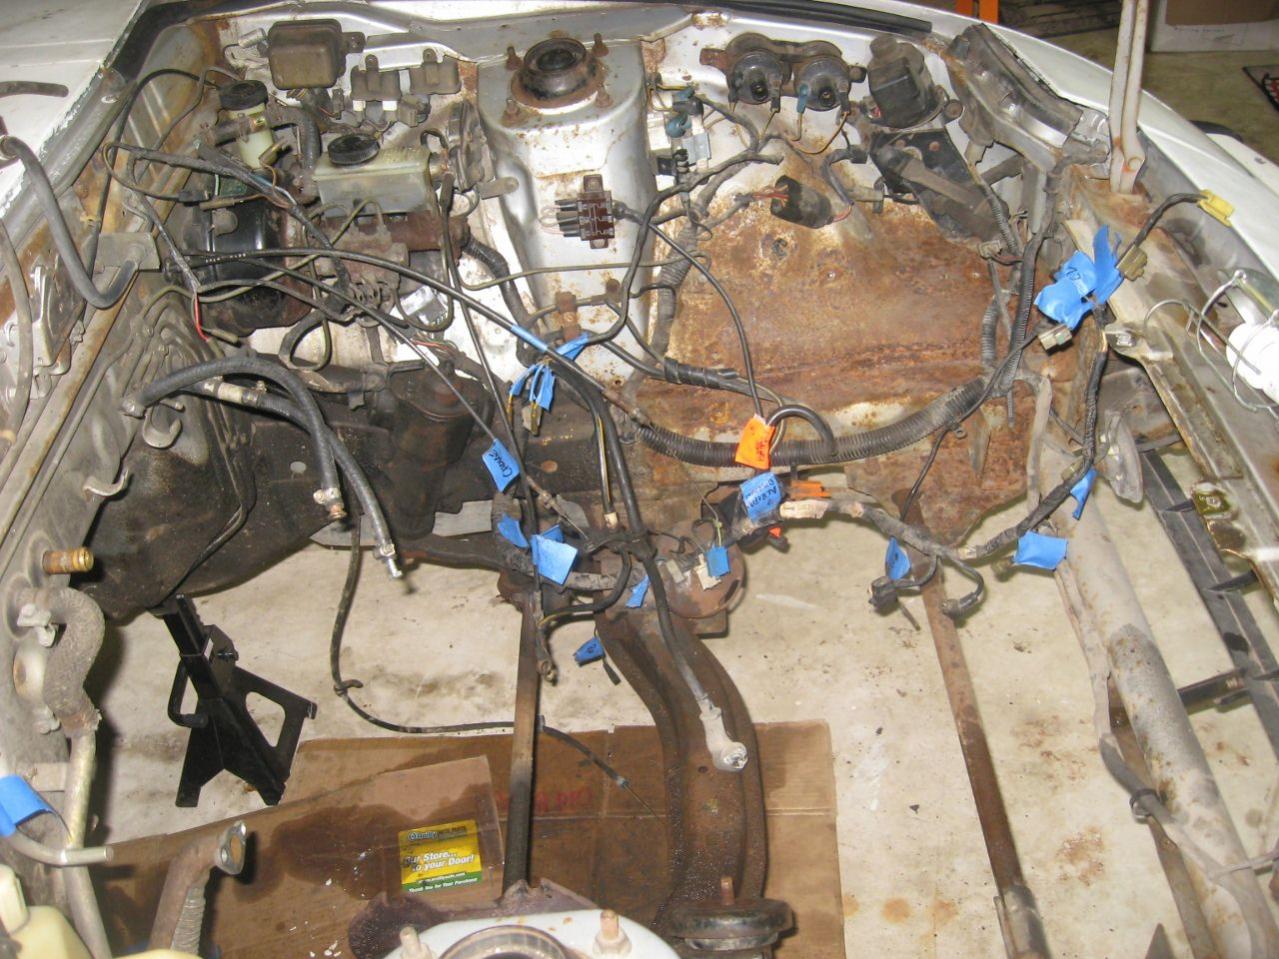
What was left behind...
... In the engine bay. It will have to be addressed, and will be! I plan to remove all the everything from the engine bay and knock down that rust and seal it with POR-15. Luckily nothing is rotted through - only moderate surface rust. I also couldn't get the water pump off the housing. The bearing makes noise so it has to go. Wish I'd taken the one I removed from the 80 in the junkyard. It was perfect.
I didn't raise the headlights, and now I have to figure out how to get them raised so I can disconnec the wiring harness. A job for another day. Beer... Mmmmm....
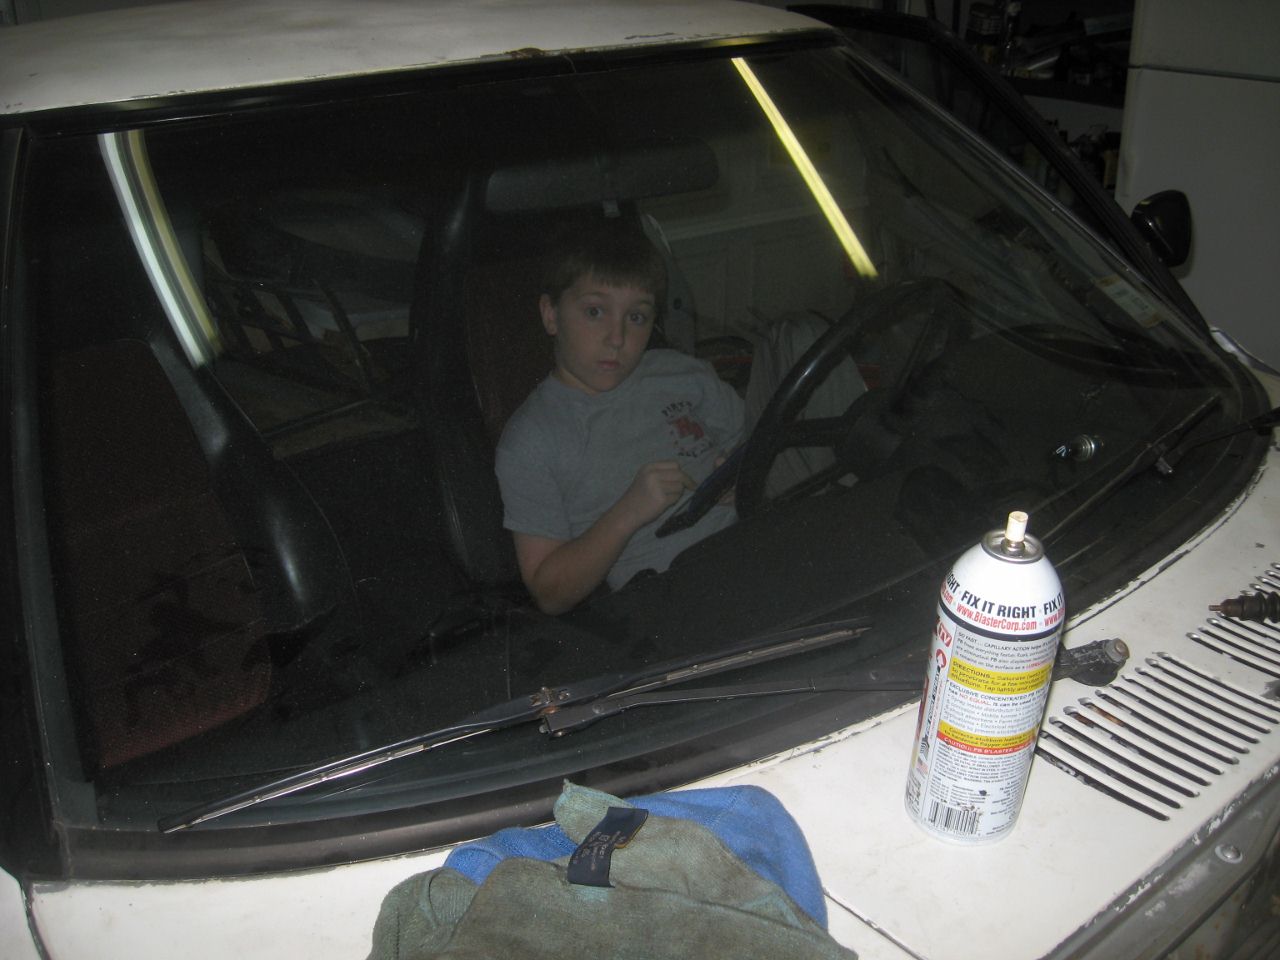
I included a pic of one of my other helpers. The only one that didn't go for a ride in it before I took the engine out. Said he wanted to wait until I had it "fixed". Hope he doesn't have to wait long!!


I didn't raise the headlights, and now I have to figure out how to get them raised so I can disconnec the wiring harness. A job for another day. Beer... Mmmmm....
I included a pic of one of my other helpers. The only one that didn't go for a ride in it before I took the engine out. Said he wanted to wait until I had it "fixed". Hope he doesn't have to wait long!!


 01-12-13, 07:37 AM
#124
When I got it from my dad, I had planned to just get it running and take it out once in awhile and work on it a little at a time. That plan fit my budget (none) and experience (limited). Then when I knew I had to rebuild the engine I thought I'd just take it out and fix what needed fixing and try to make the engine bay look new again. Getting into it and seeing all the work that needs to be done to make the engine bay look new, I see that I have a lot of rust to fix, which is nothing I can't do as long as there is no cutting or welding. That's now grown into the idea that I have to replace all the rusty suspension/steering linkages. All the bushings and ball joints are shot. And I have to crack into that transmission to fix those leaky gaskets.
That led me to look for ways to remove rust easily, and I found some information on this website, but also for the larger items I found a few videos of ppl doing electrolysis at home. Pretty simple really and I'm gonna try it. Can't hurt and doesn't cost much at all - unless I blow up my garage.

The more I think about it, the more I see needs to be done. On the projects where I work that's called "scope creep" and it leads to blown budgets!
Last edited by woodmv; 01-12-13 at 08:02 AM.
01-12-13, 07:47 AM
#125

As as the tranny, they always get that way. The inside bellhousing gets like that due to the rear main seal. The tailshaft seal is an easy fix. I wouldn't worry about the rest of the tranny....
Everything else just take your time, treating the rust spots, clean and paint accessories and then painting the engine compartment.
Everything else just take your time, treating the rust spots, clean and paint accessories and then painting the engine compartment.