1993 RX-7 R1 Revival
 02-13-17, 09:13 PM
#101
Full Member
Thread Starter

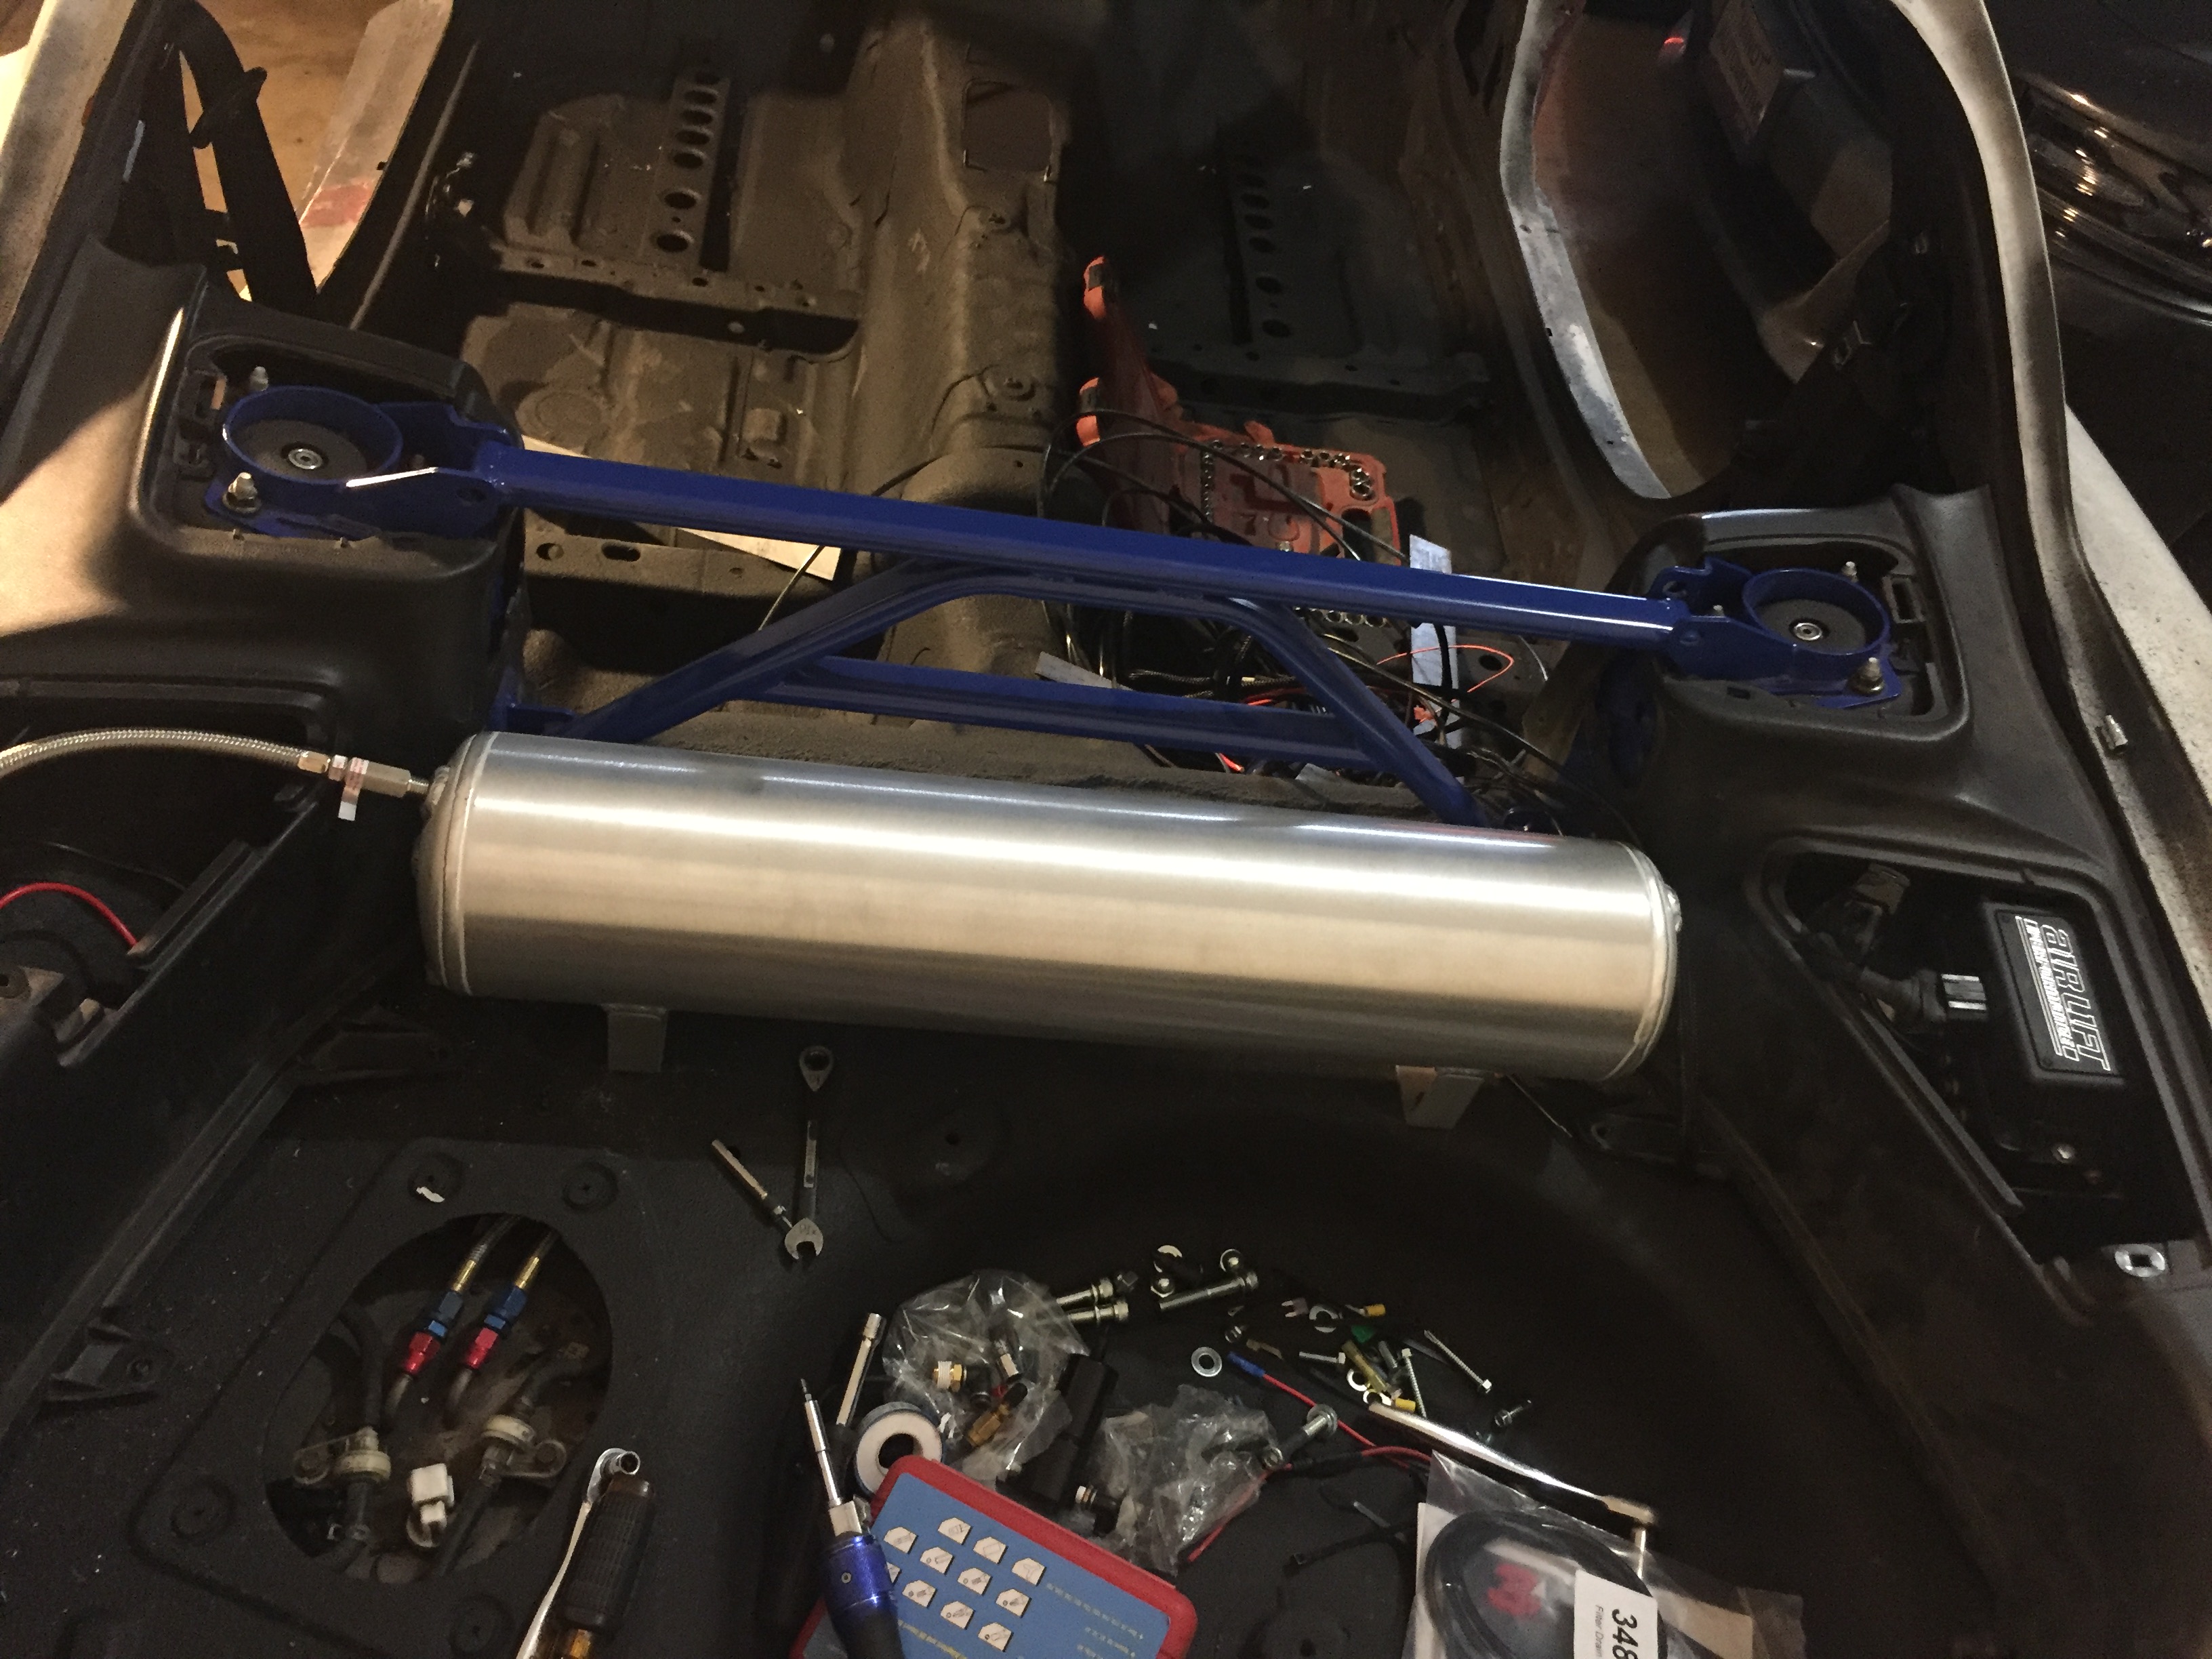
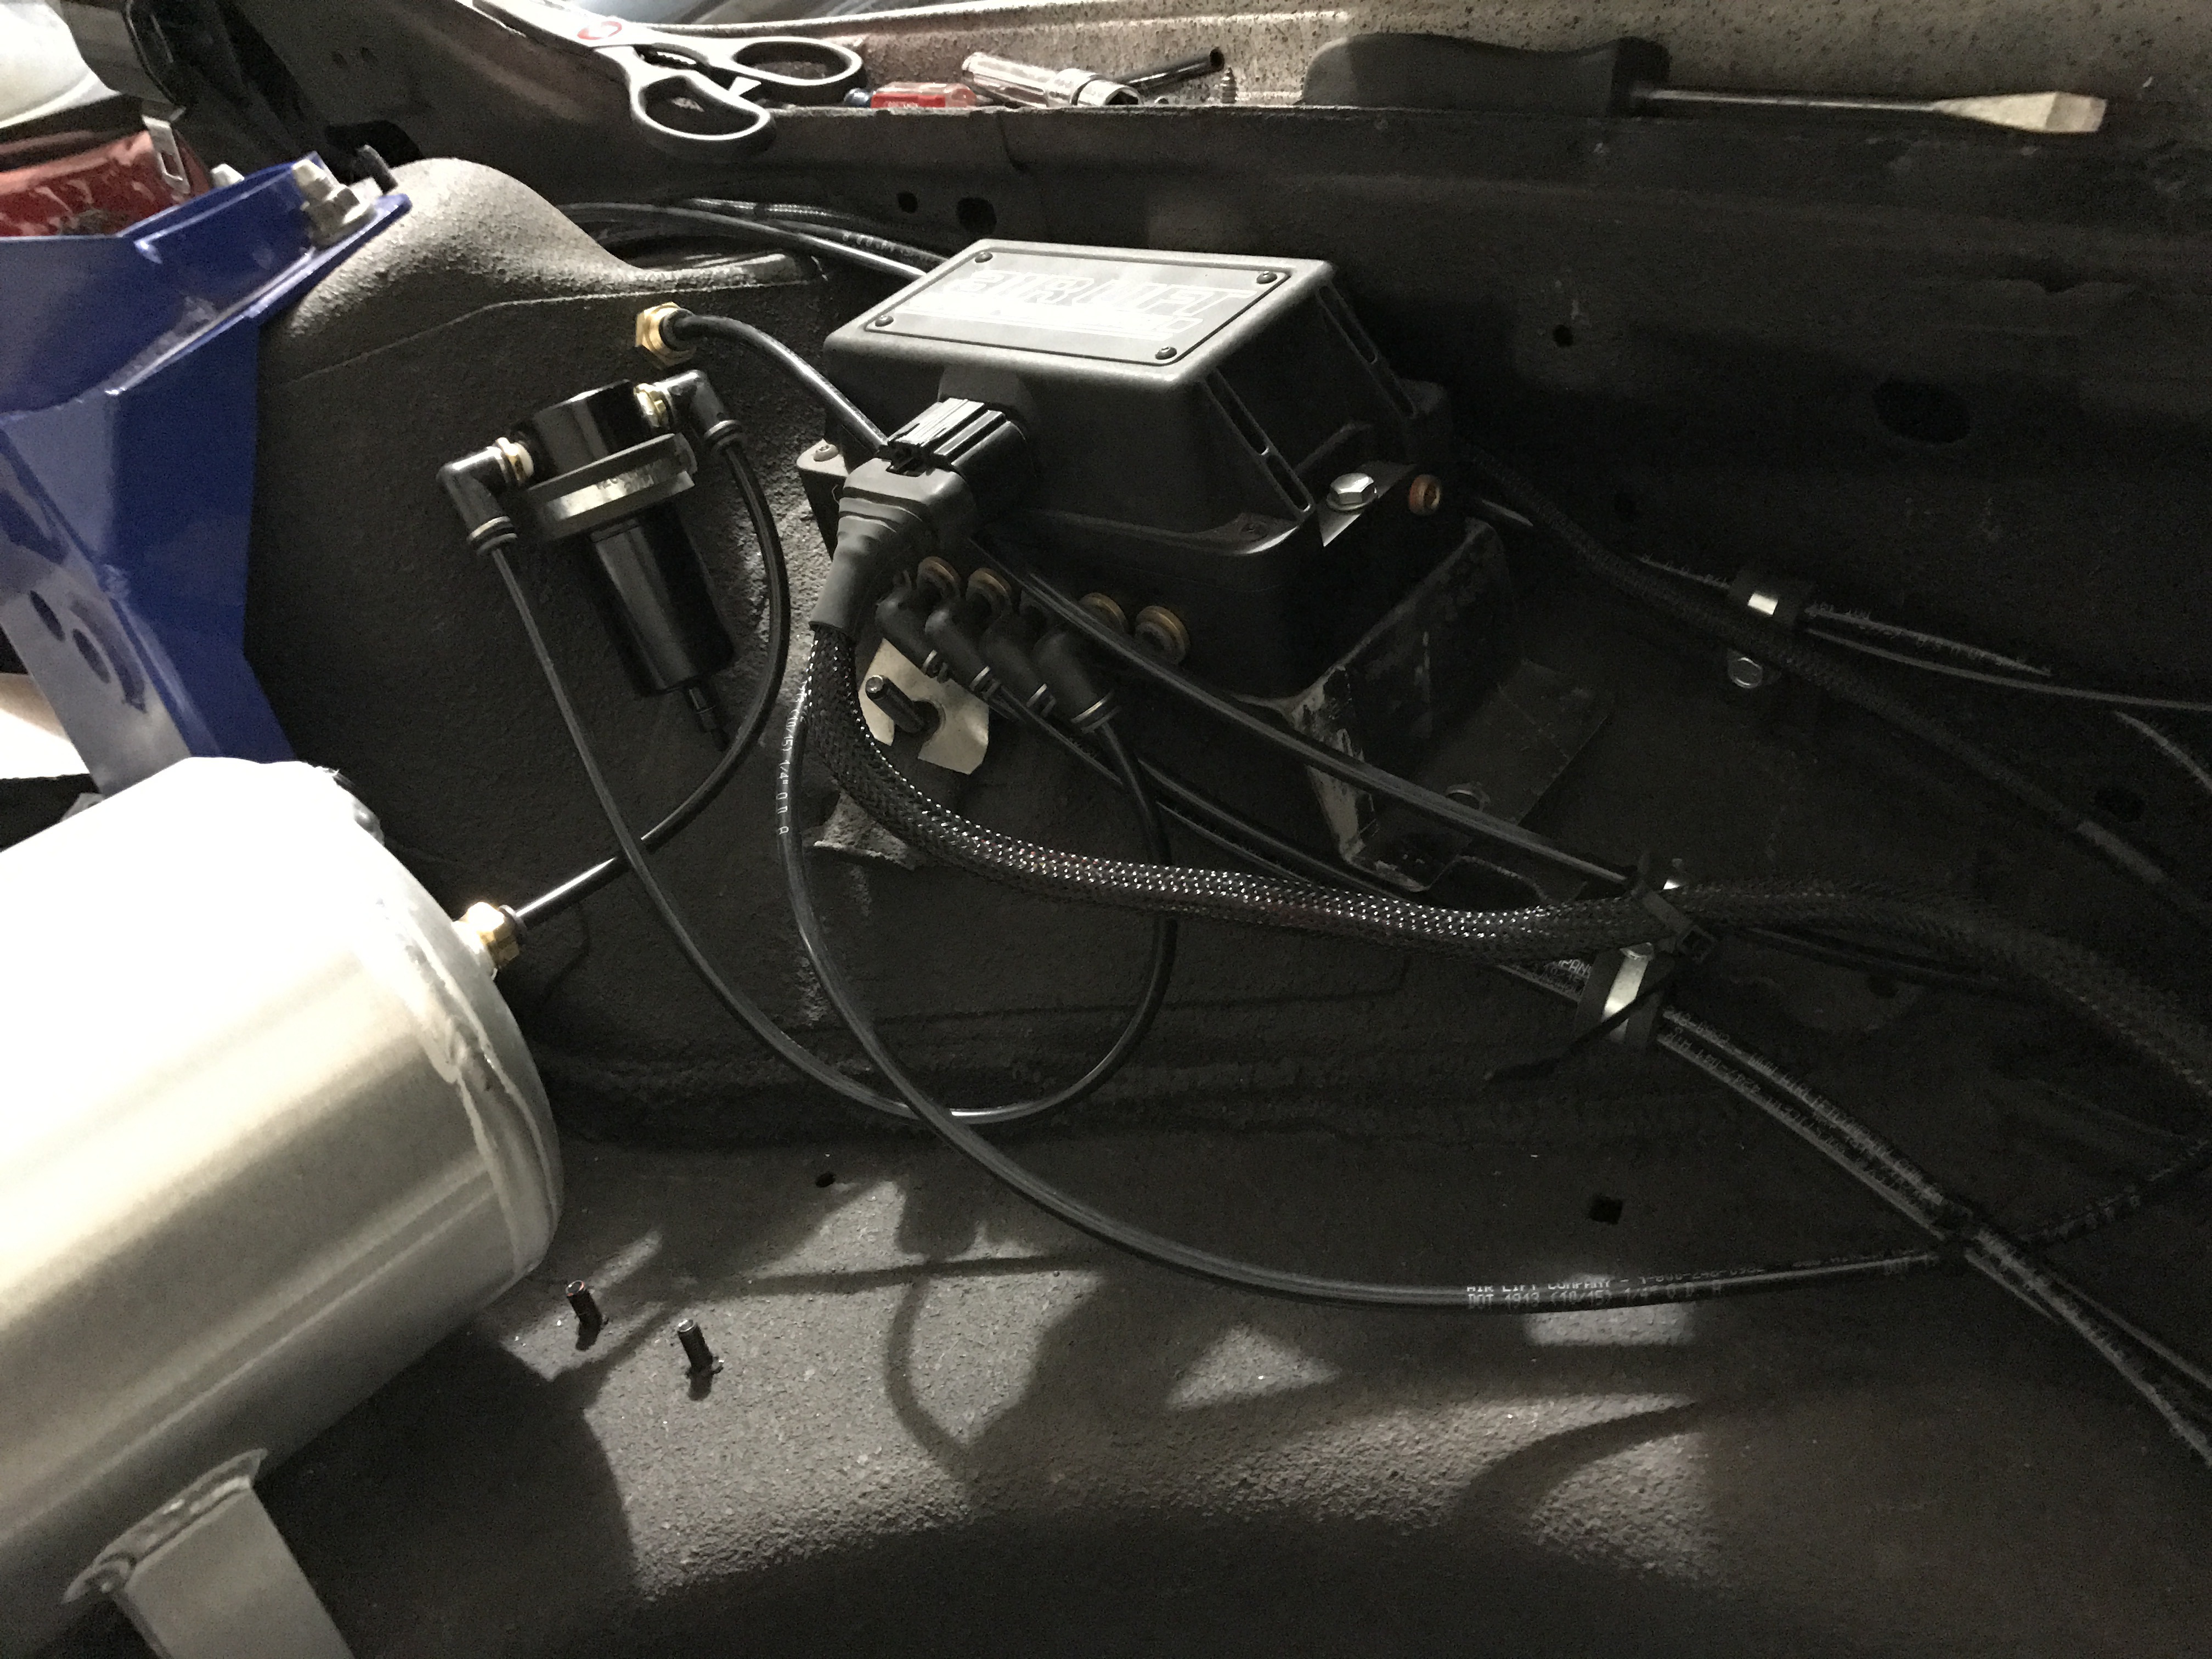
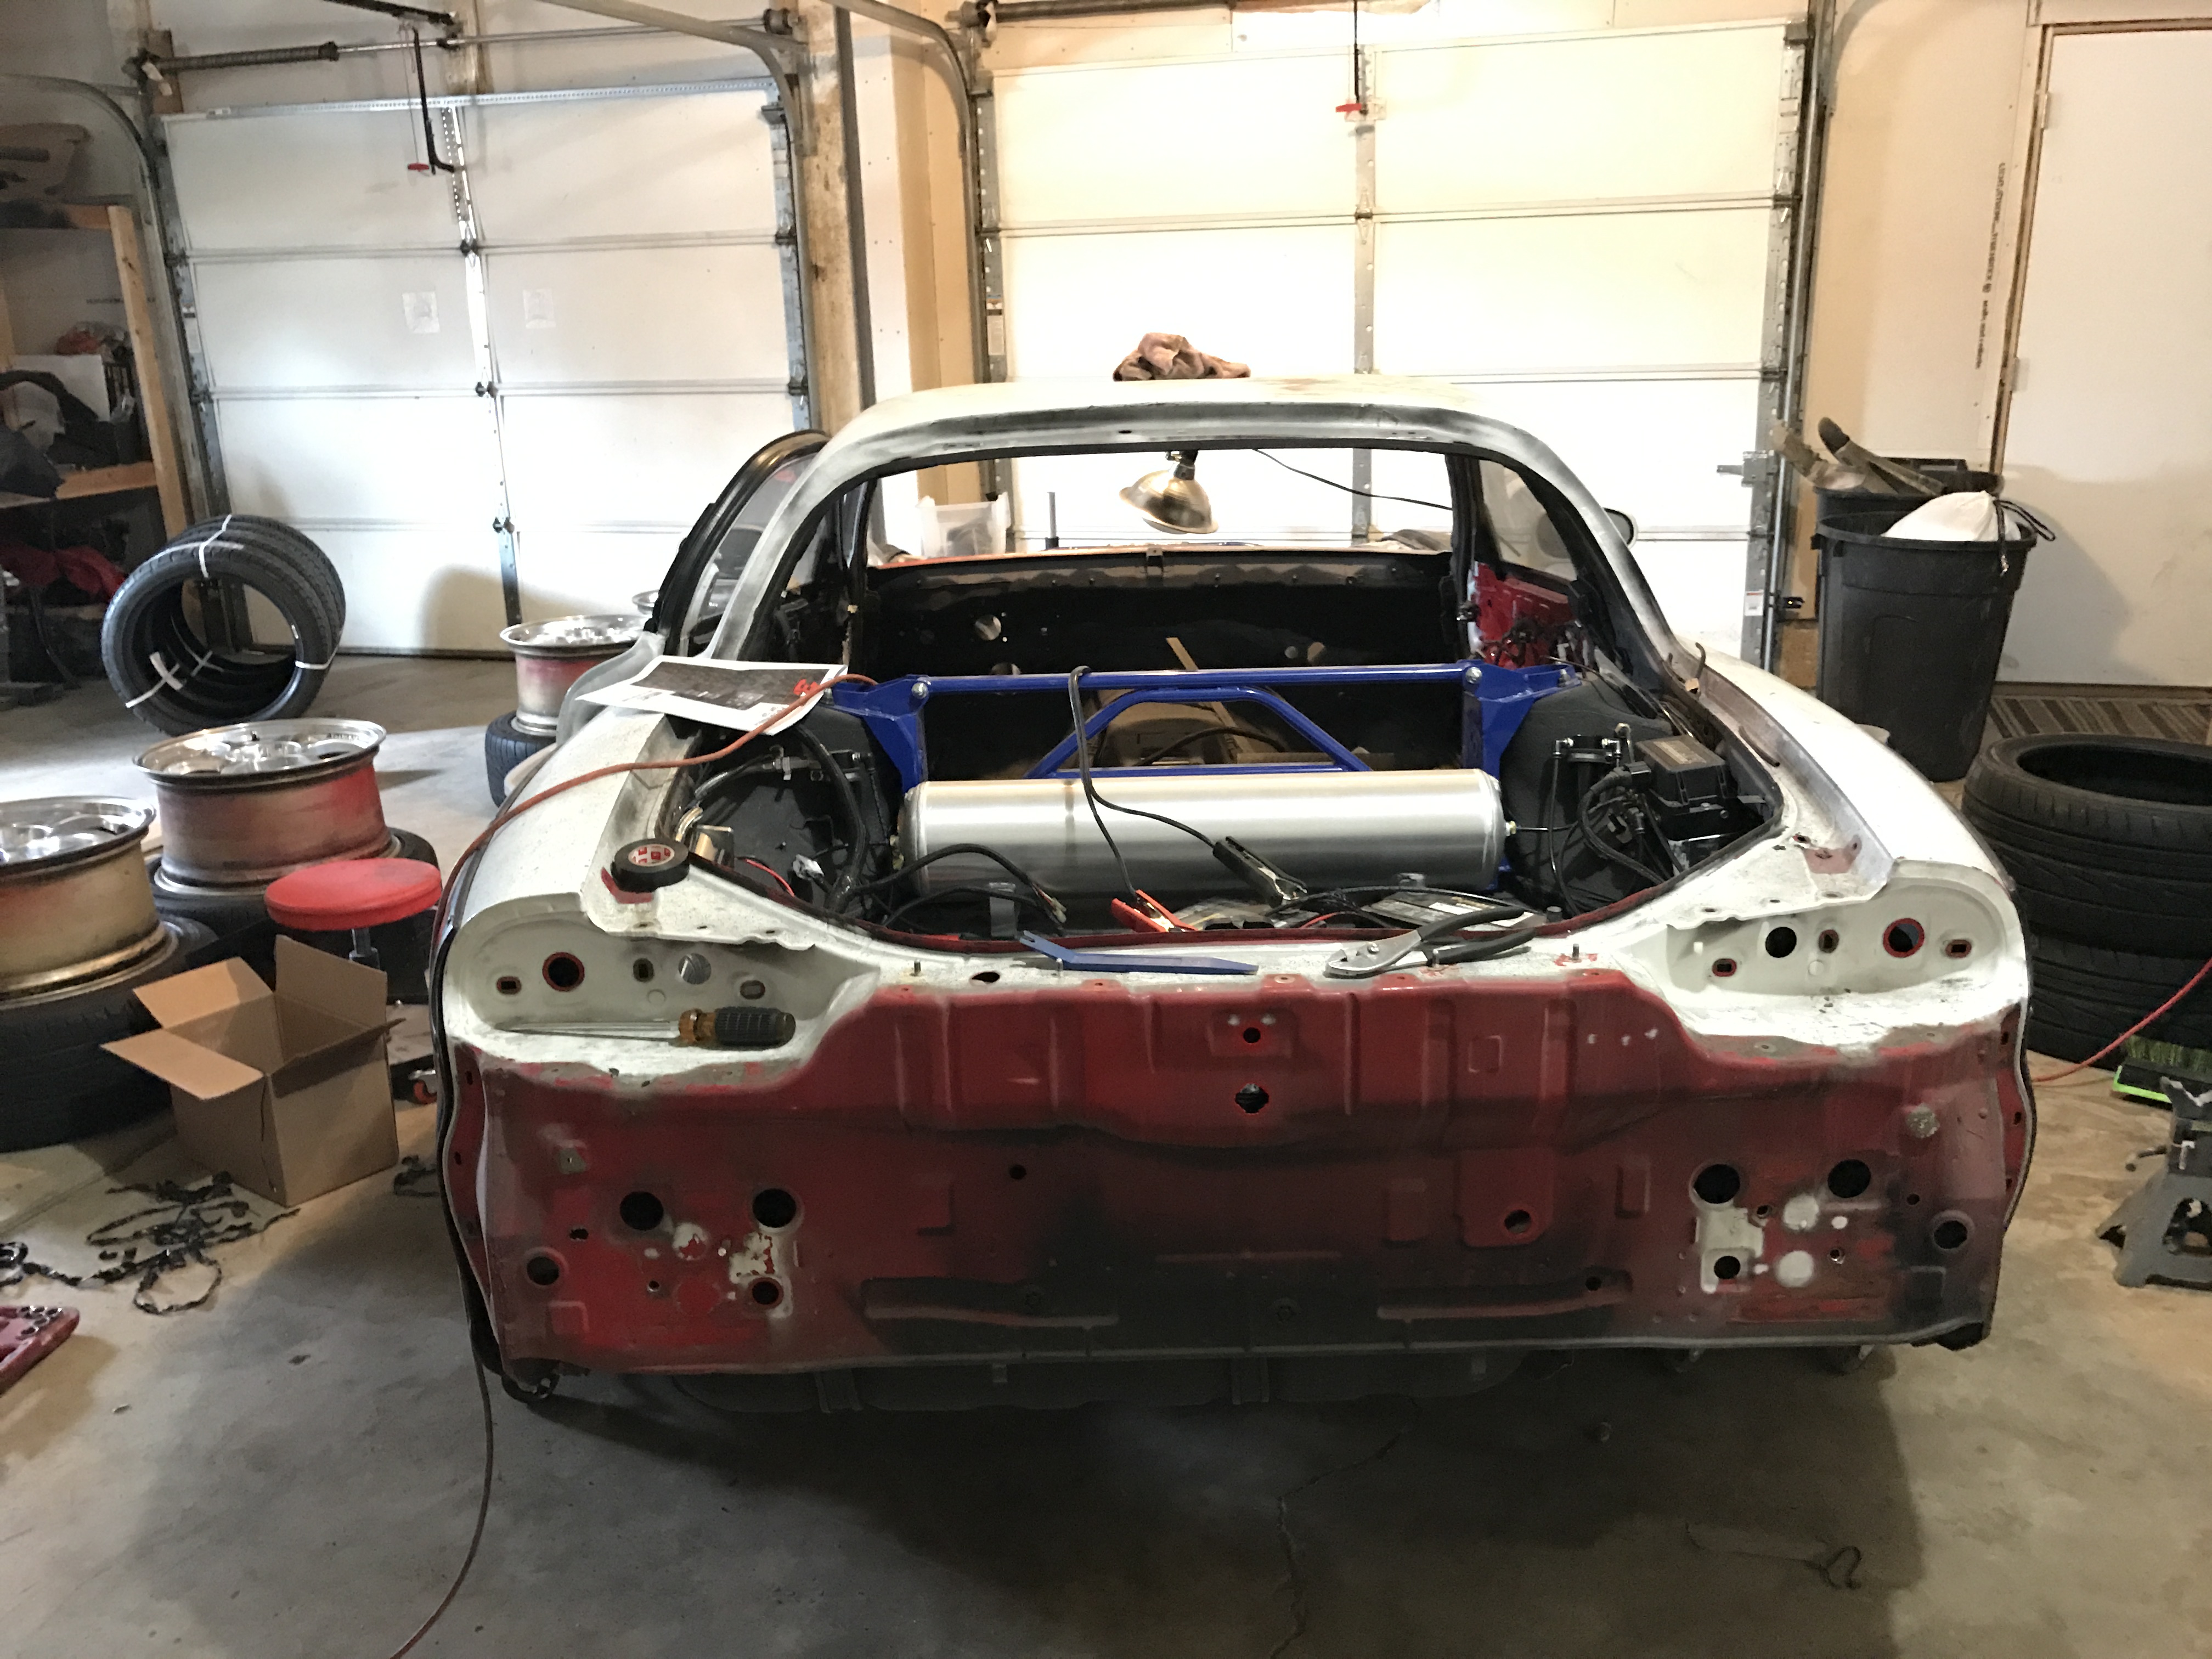
Okay frustration has ended, back to typing. Now that the interior was painted I could start mounting the air components. I'm not sure you guys have noticed, but the rx7 is a tiny car without a large abundance of interior room, so I wanted everything hidden as much as possible. The tank is going right against the strut bar while the valve setup and compressor are hidden under the plastics.
Doing some measuring and mockup
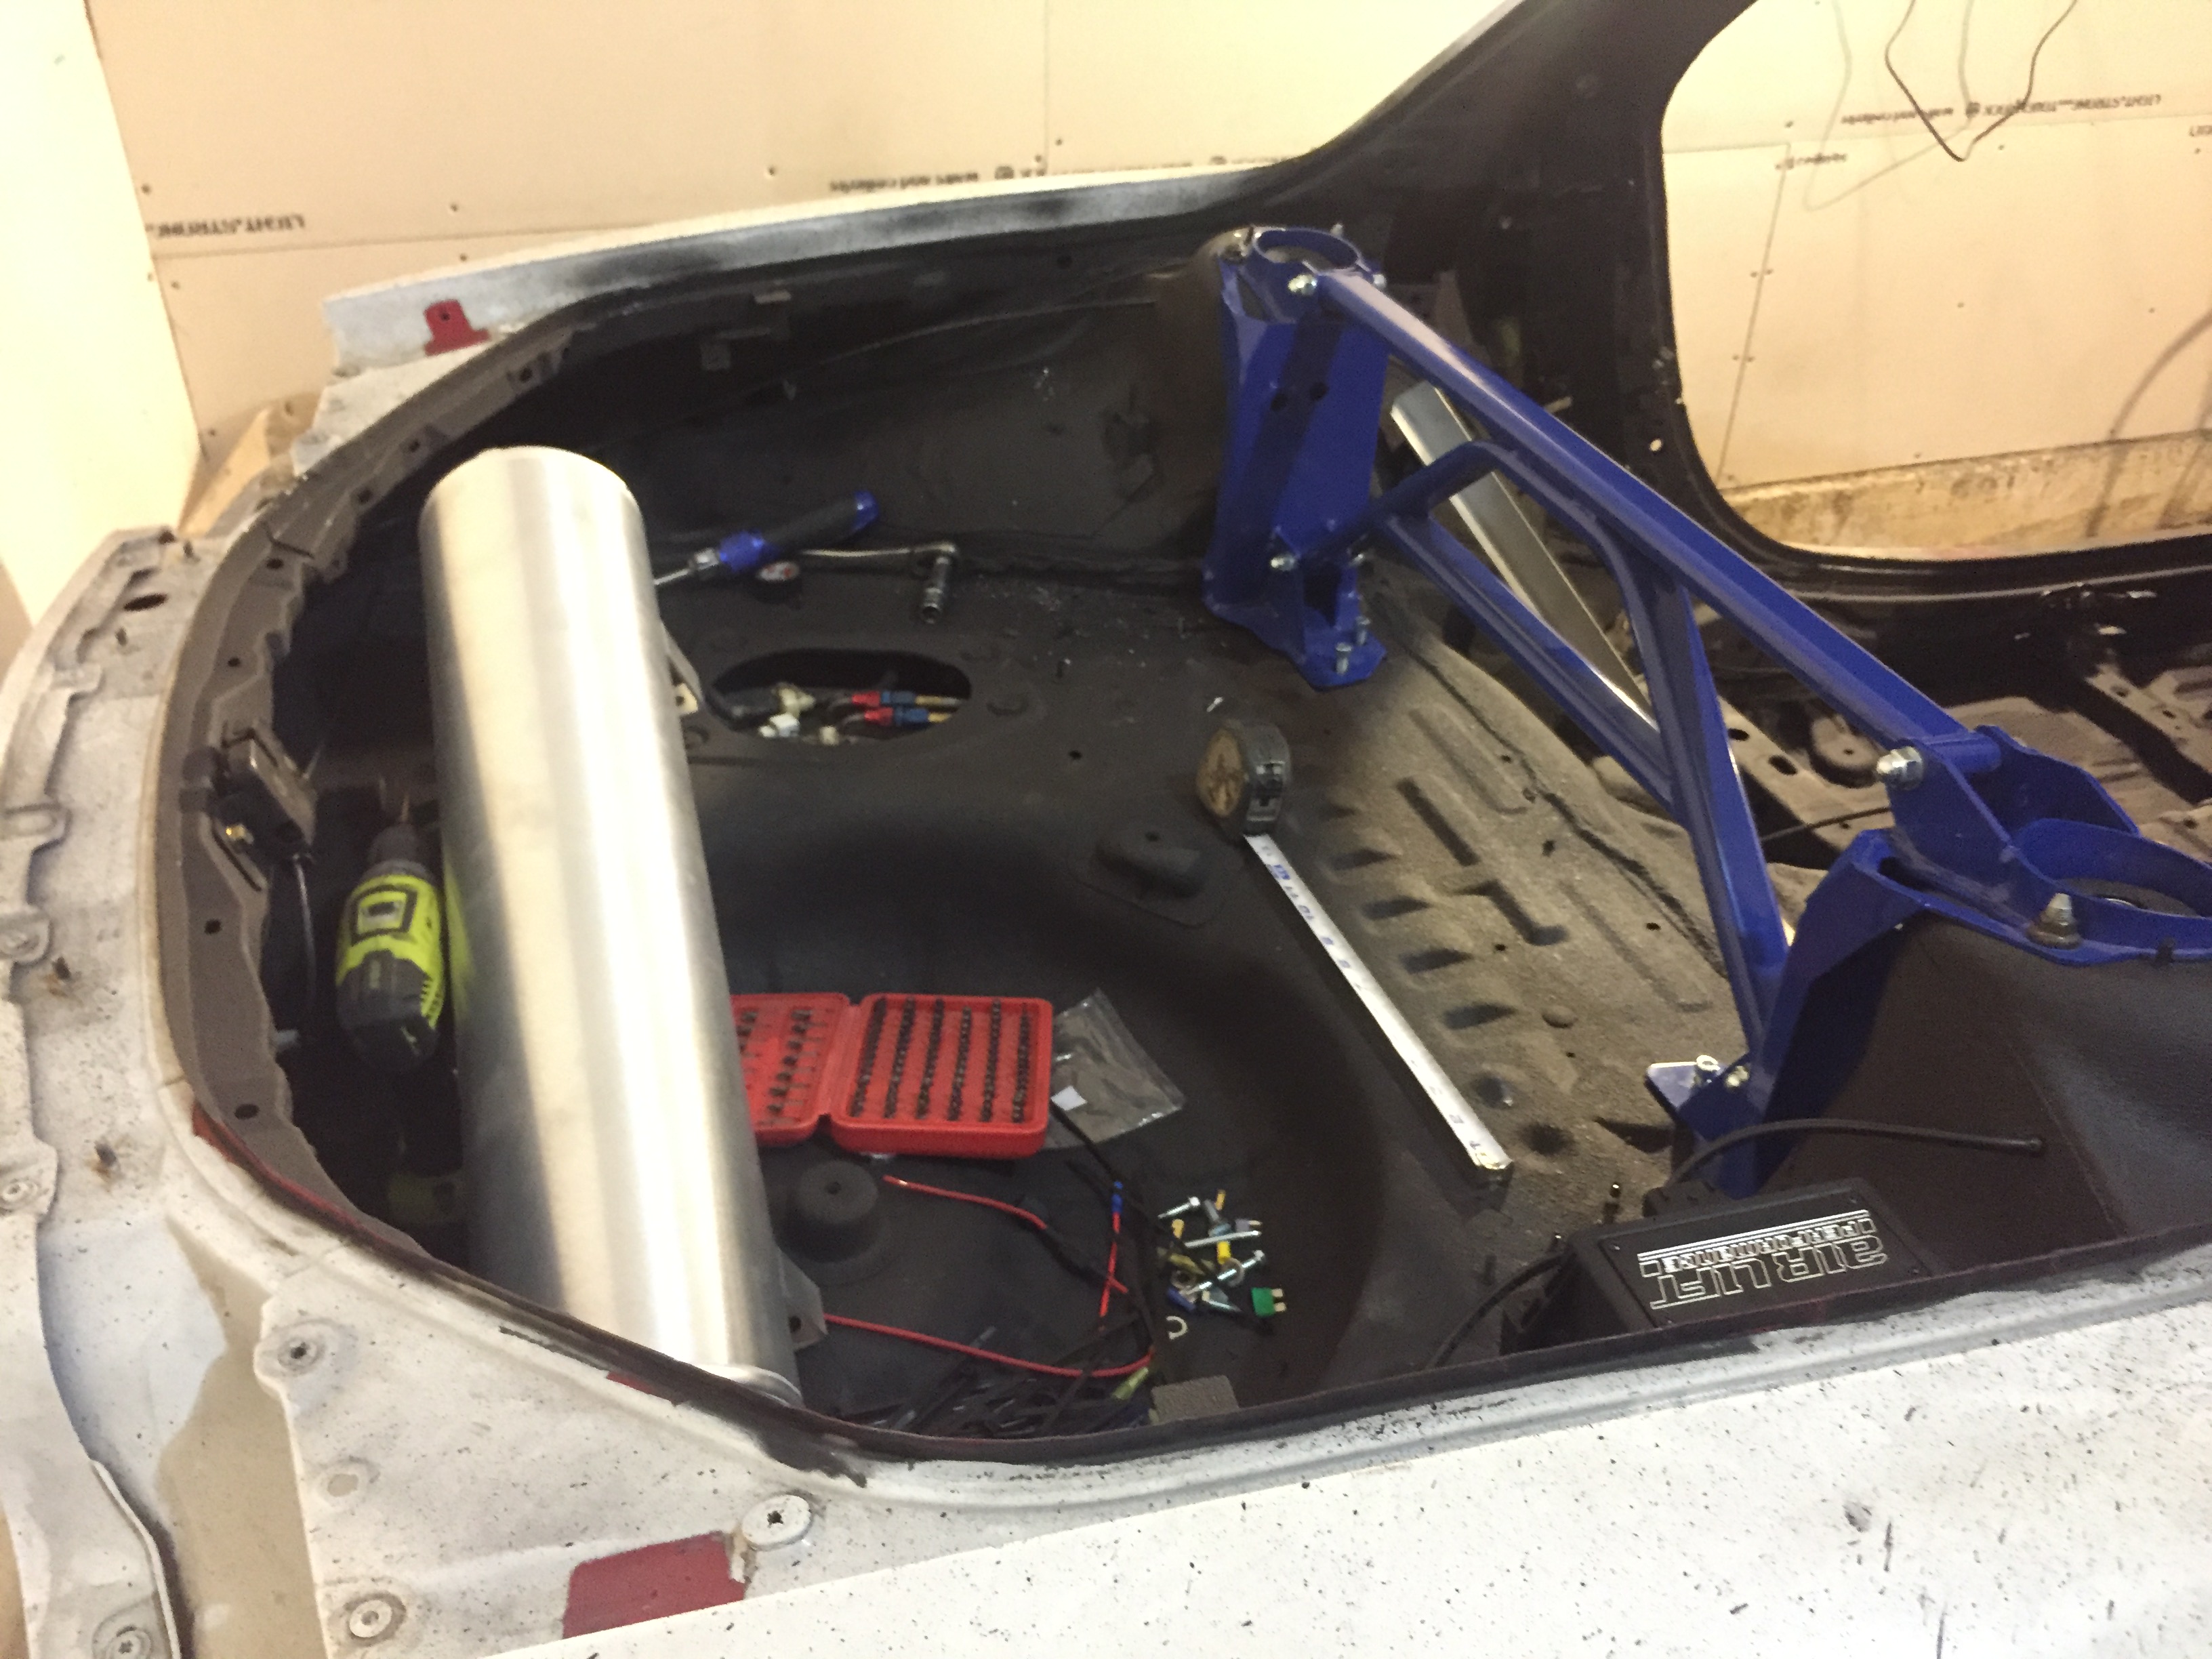
Trying to figure out how the hell this compressor is going to fit here lol
Maybe like this?
That might work!
Anndd you gotta wait to see the final mounting position of the compressor. It is mounted now, but I did some other stuff first. So follow me on a legit tangent for a while
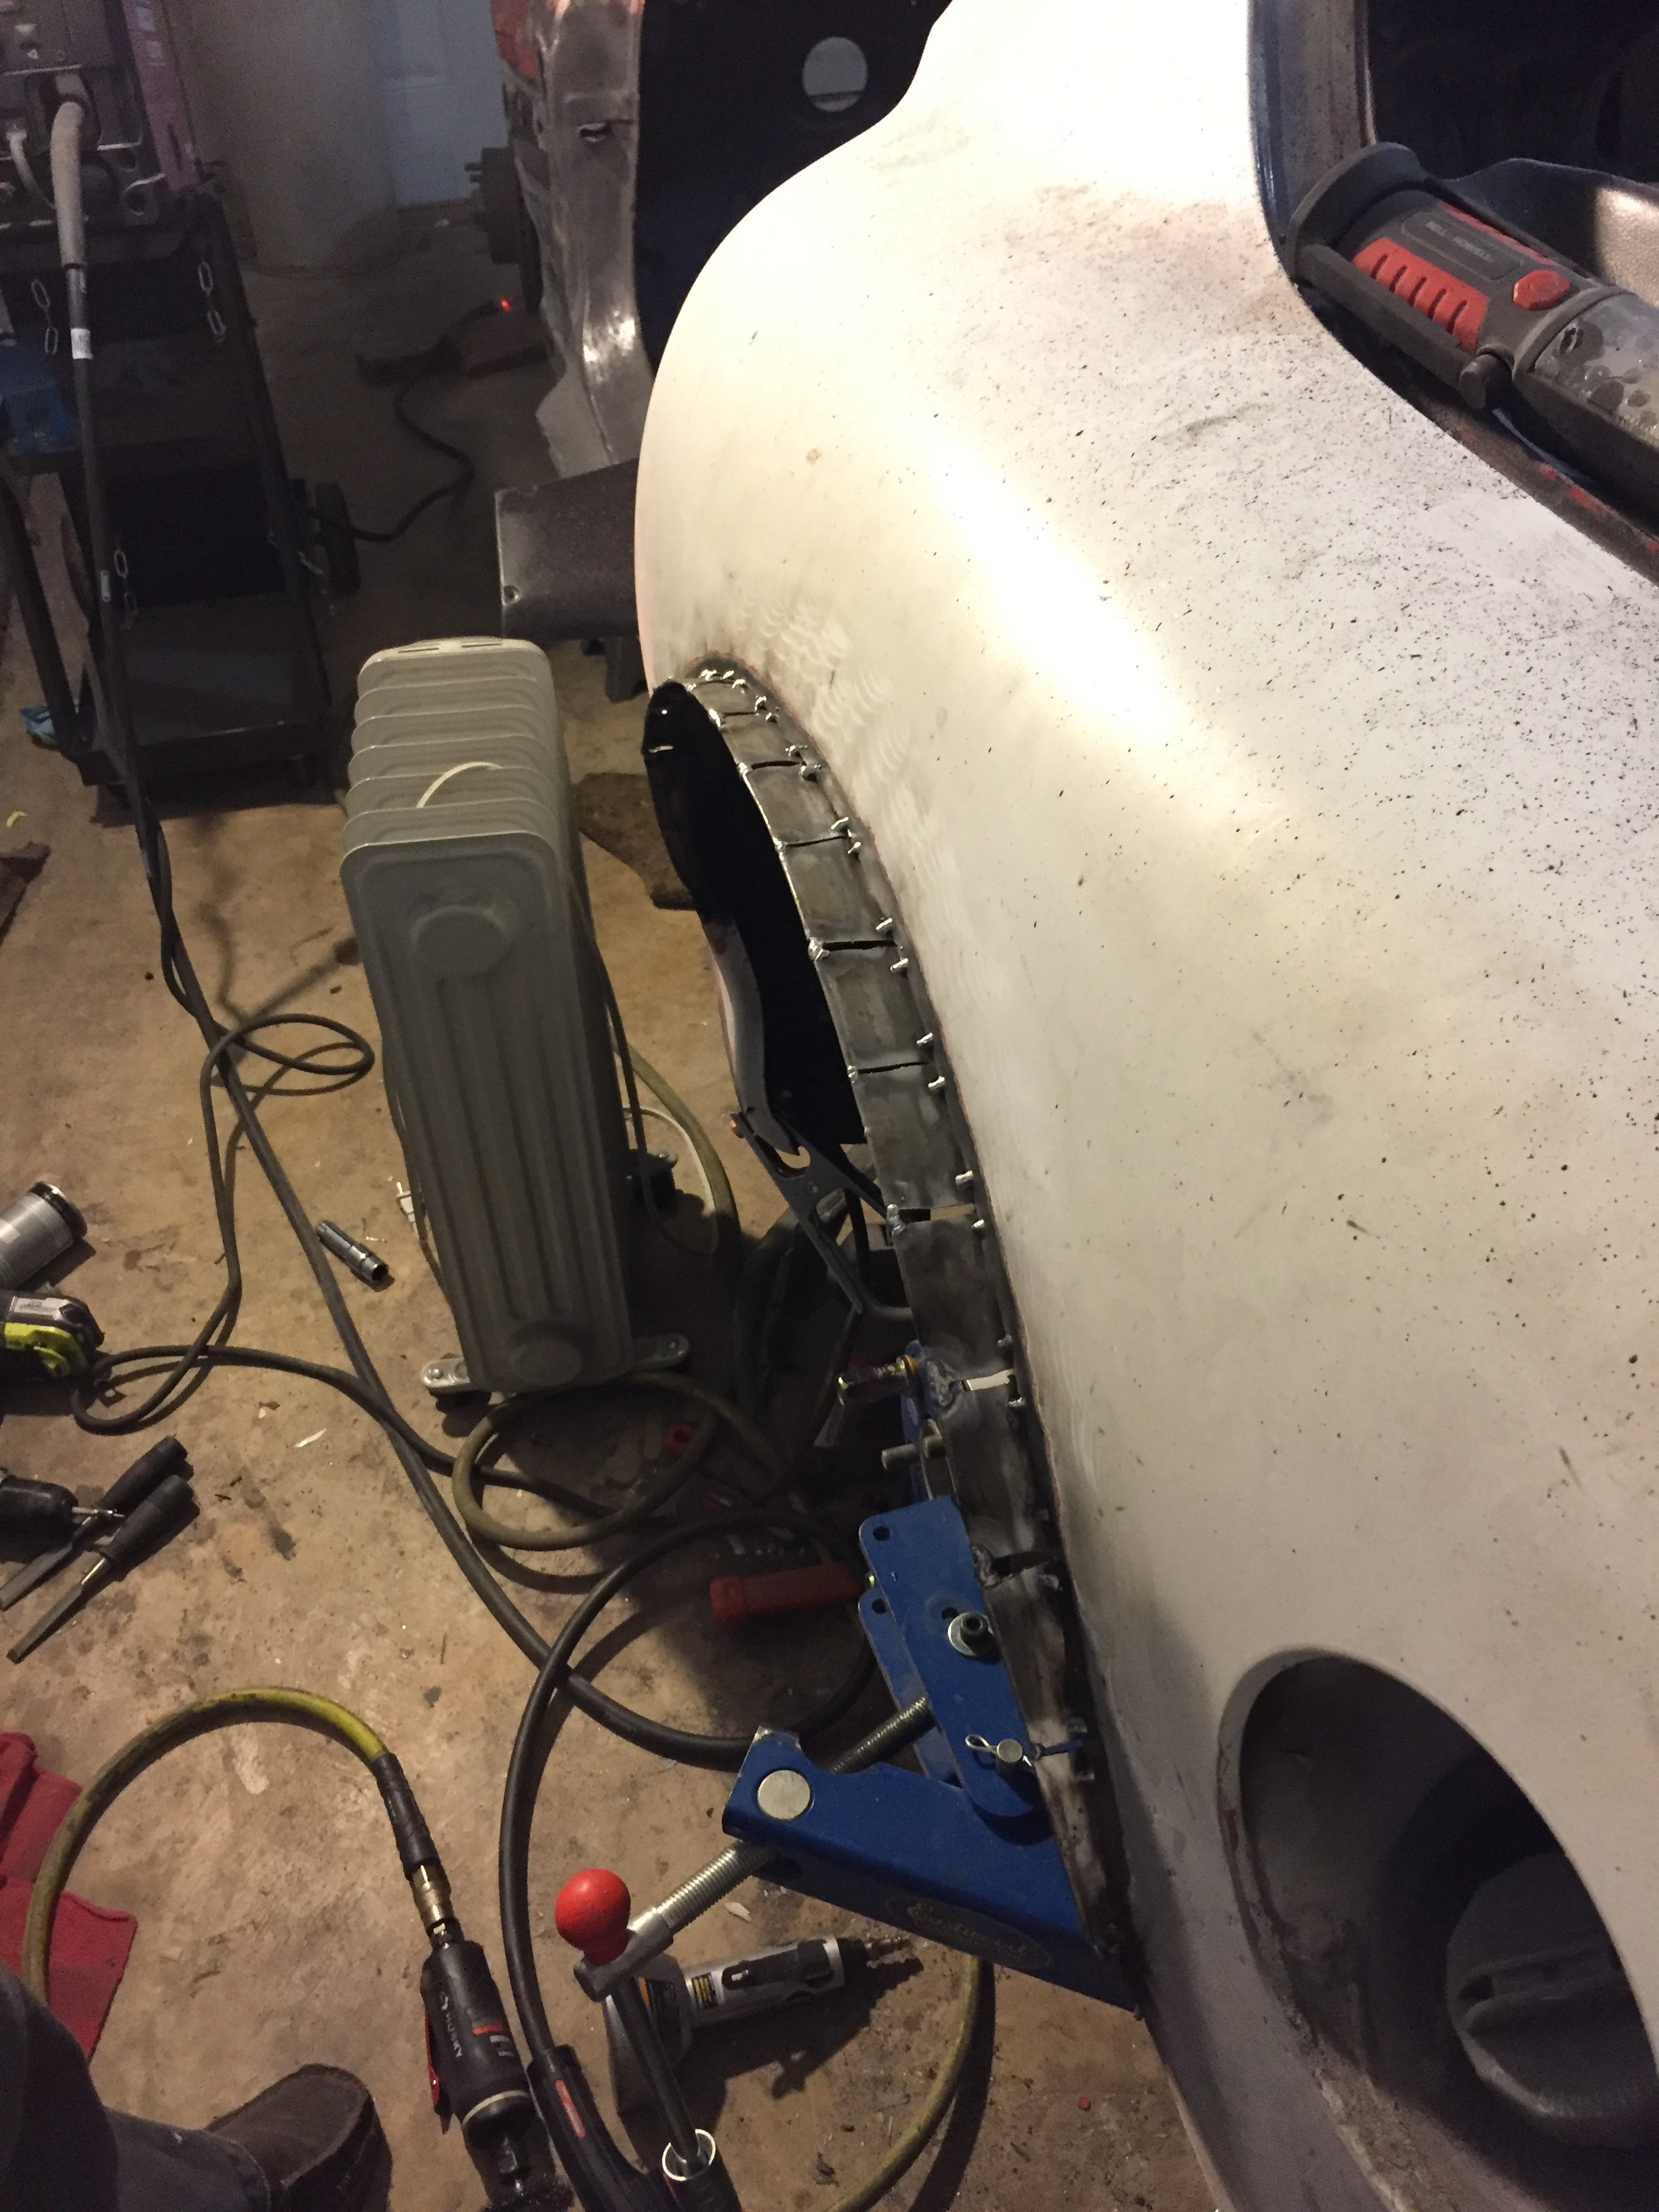
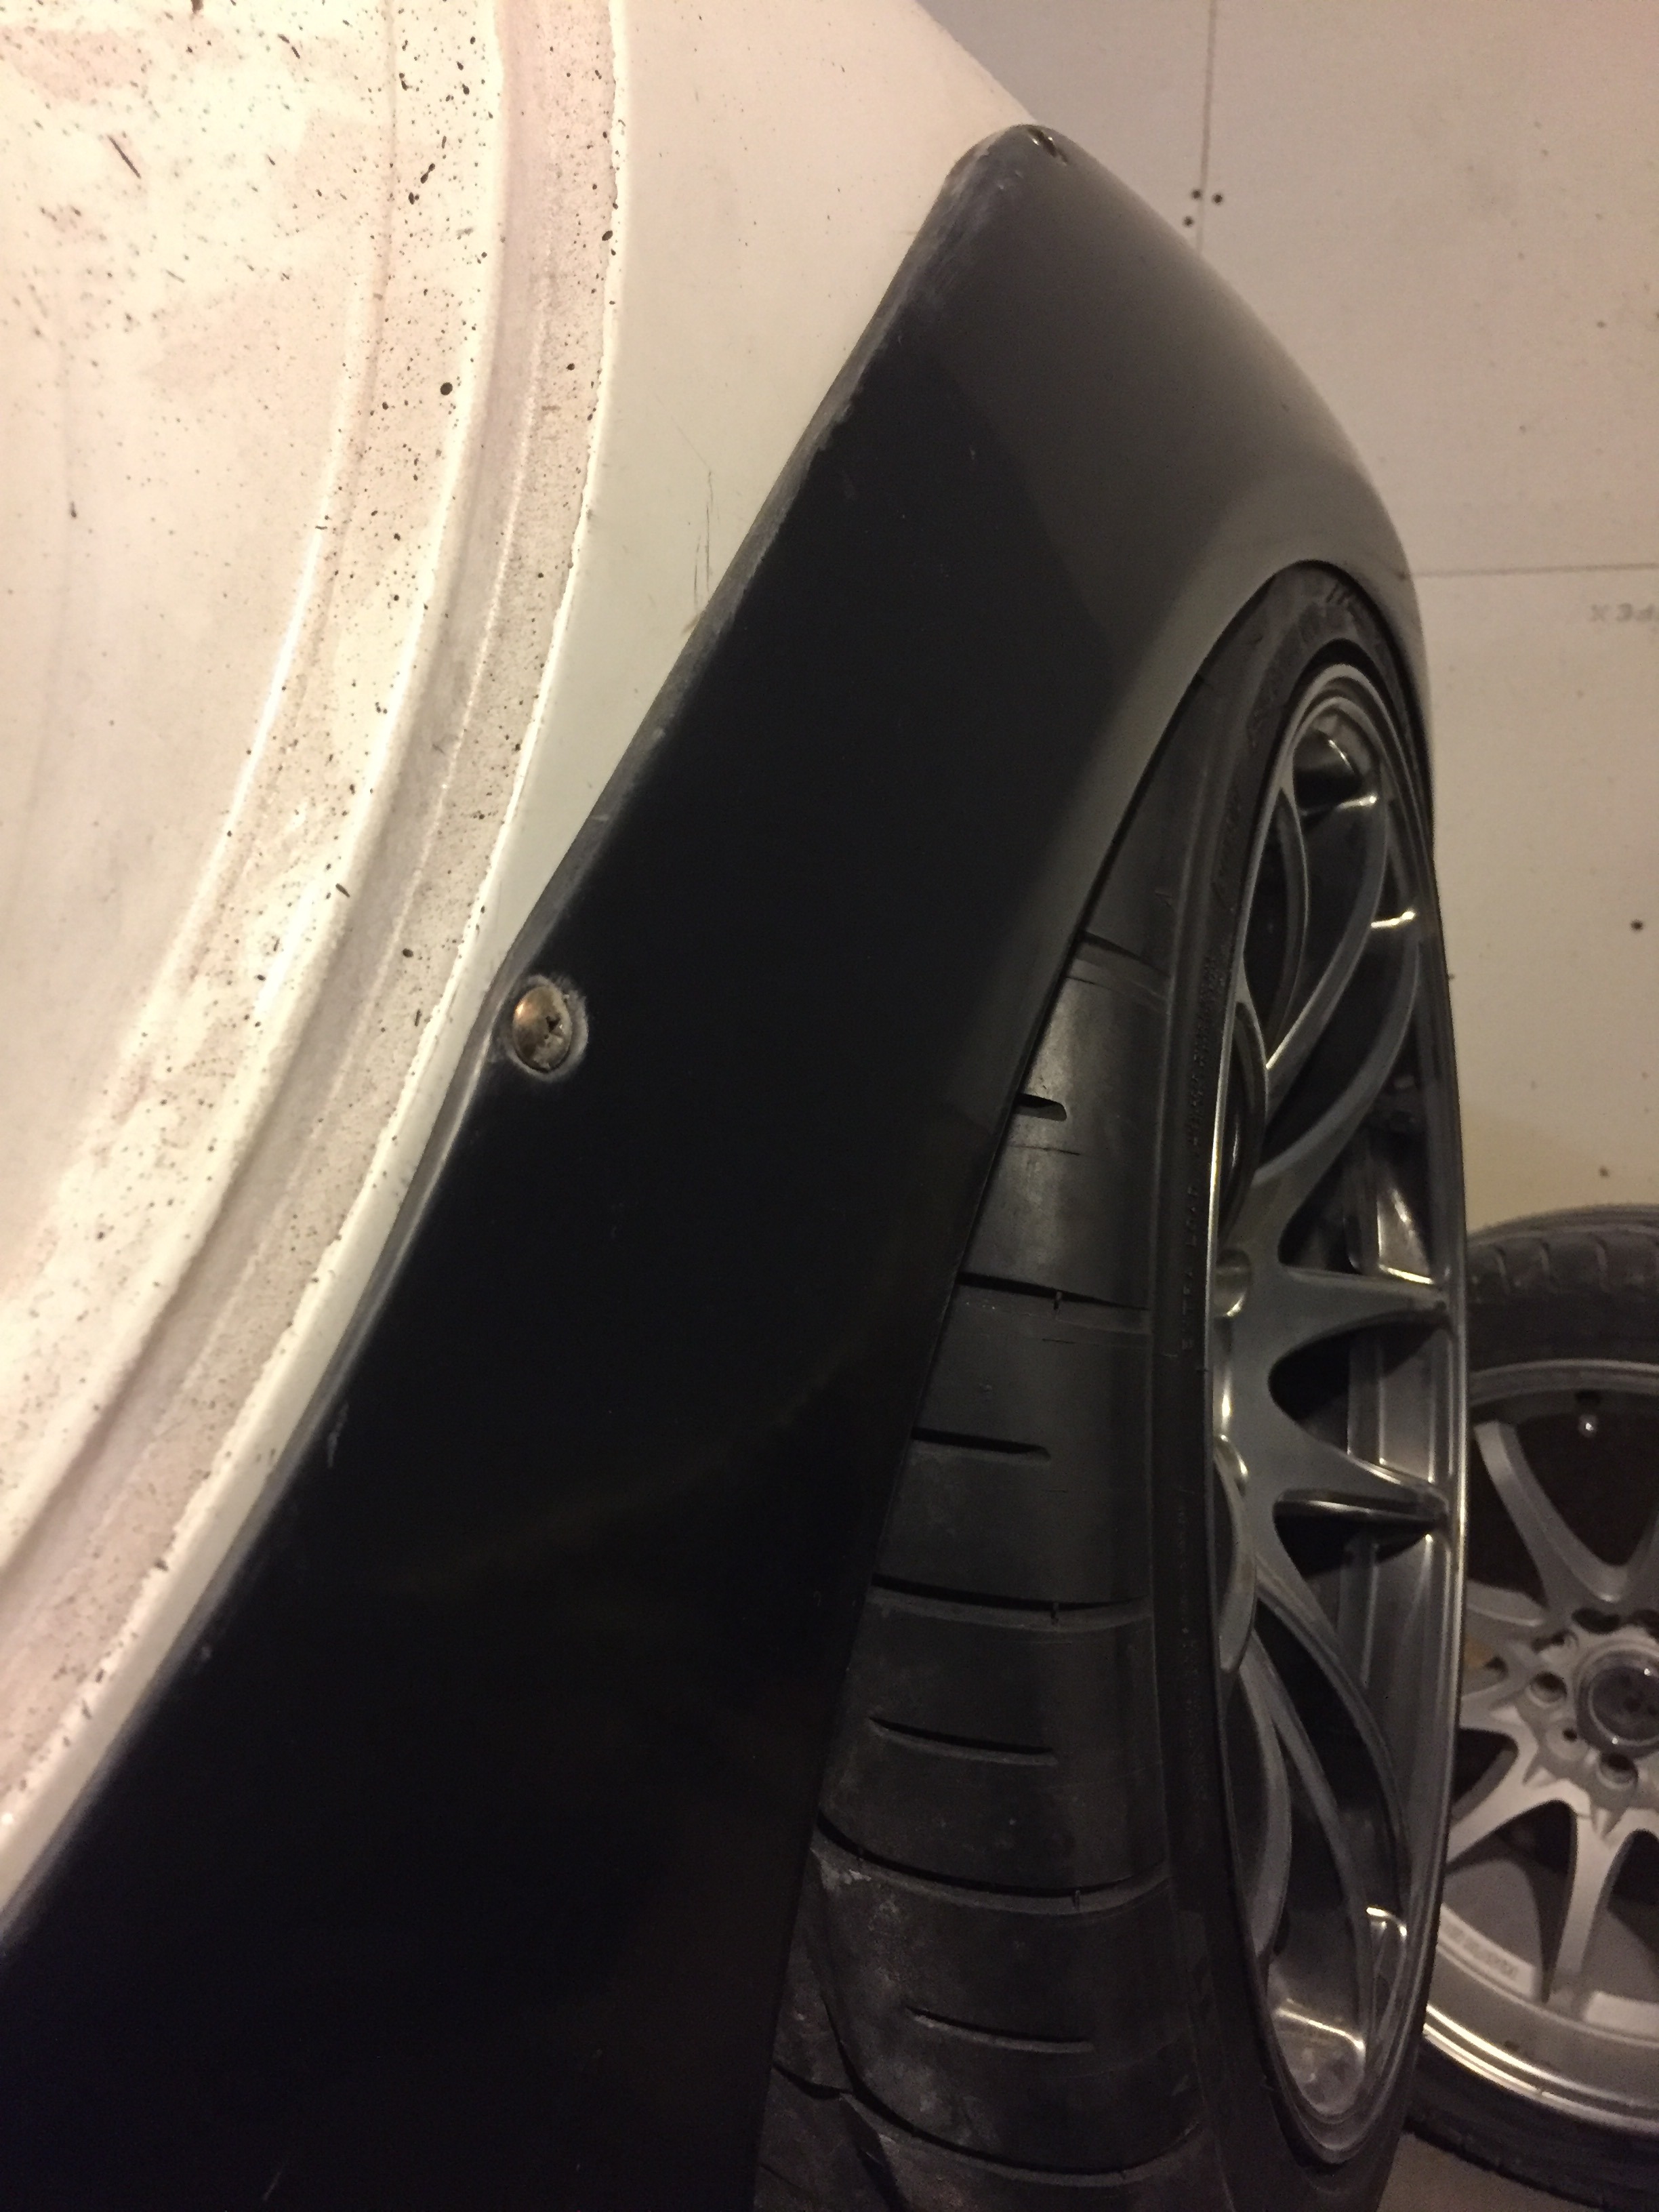
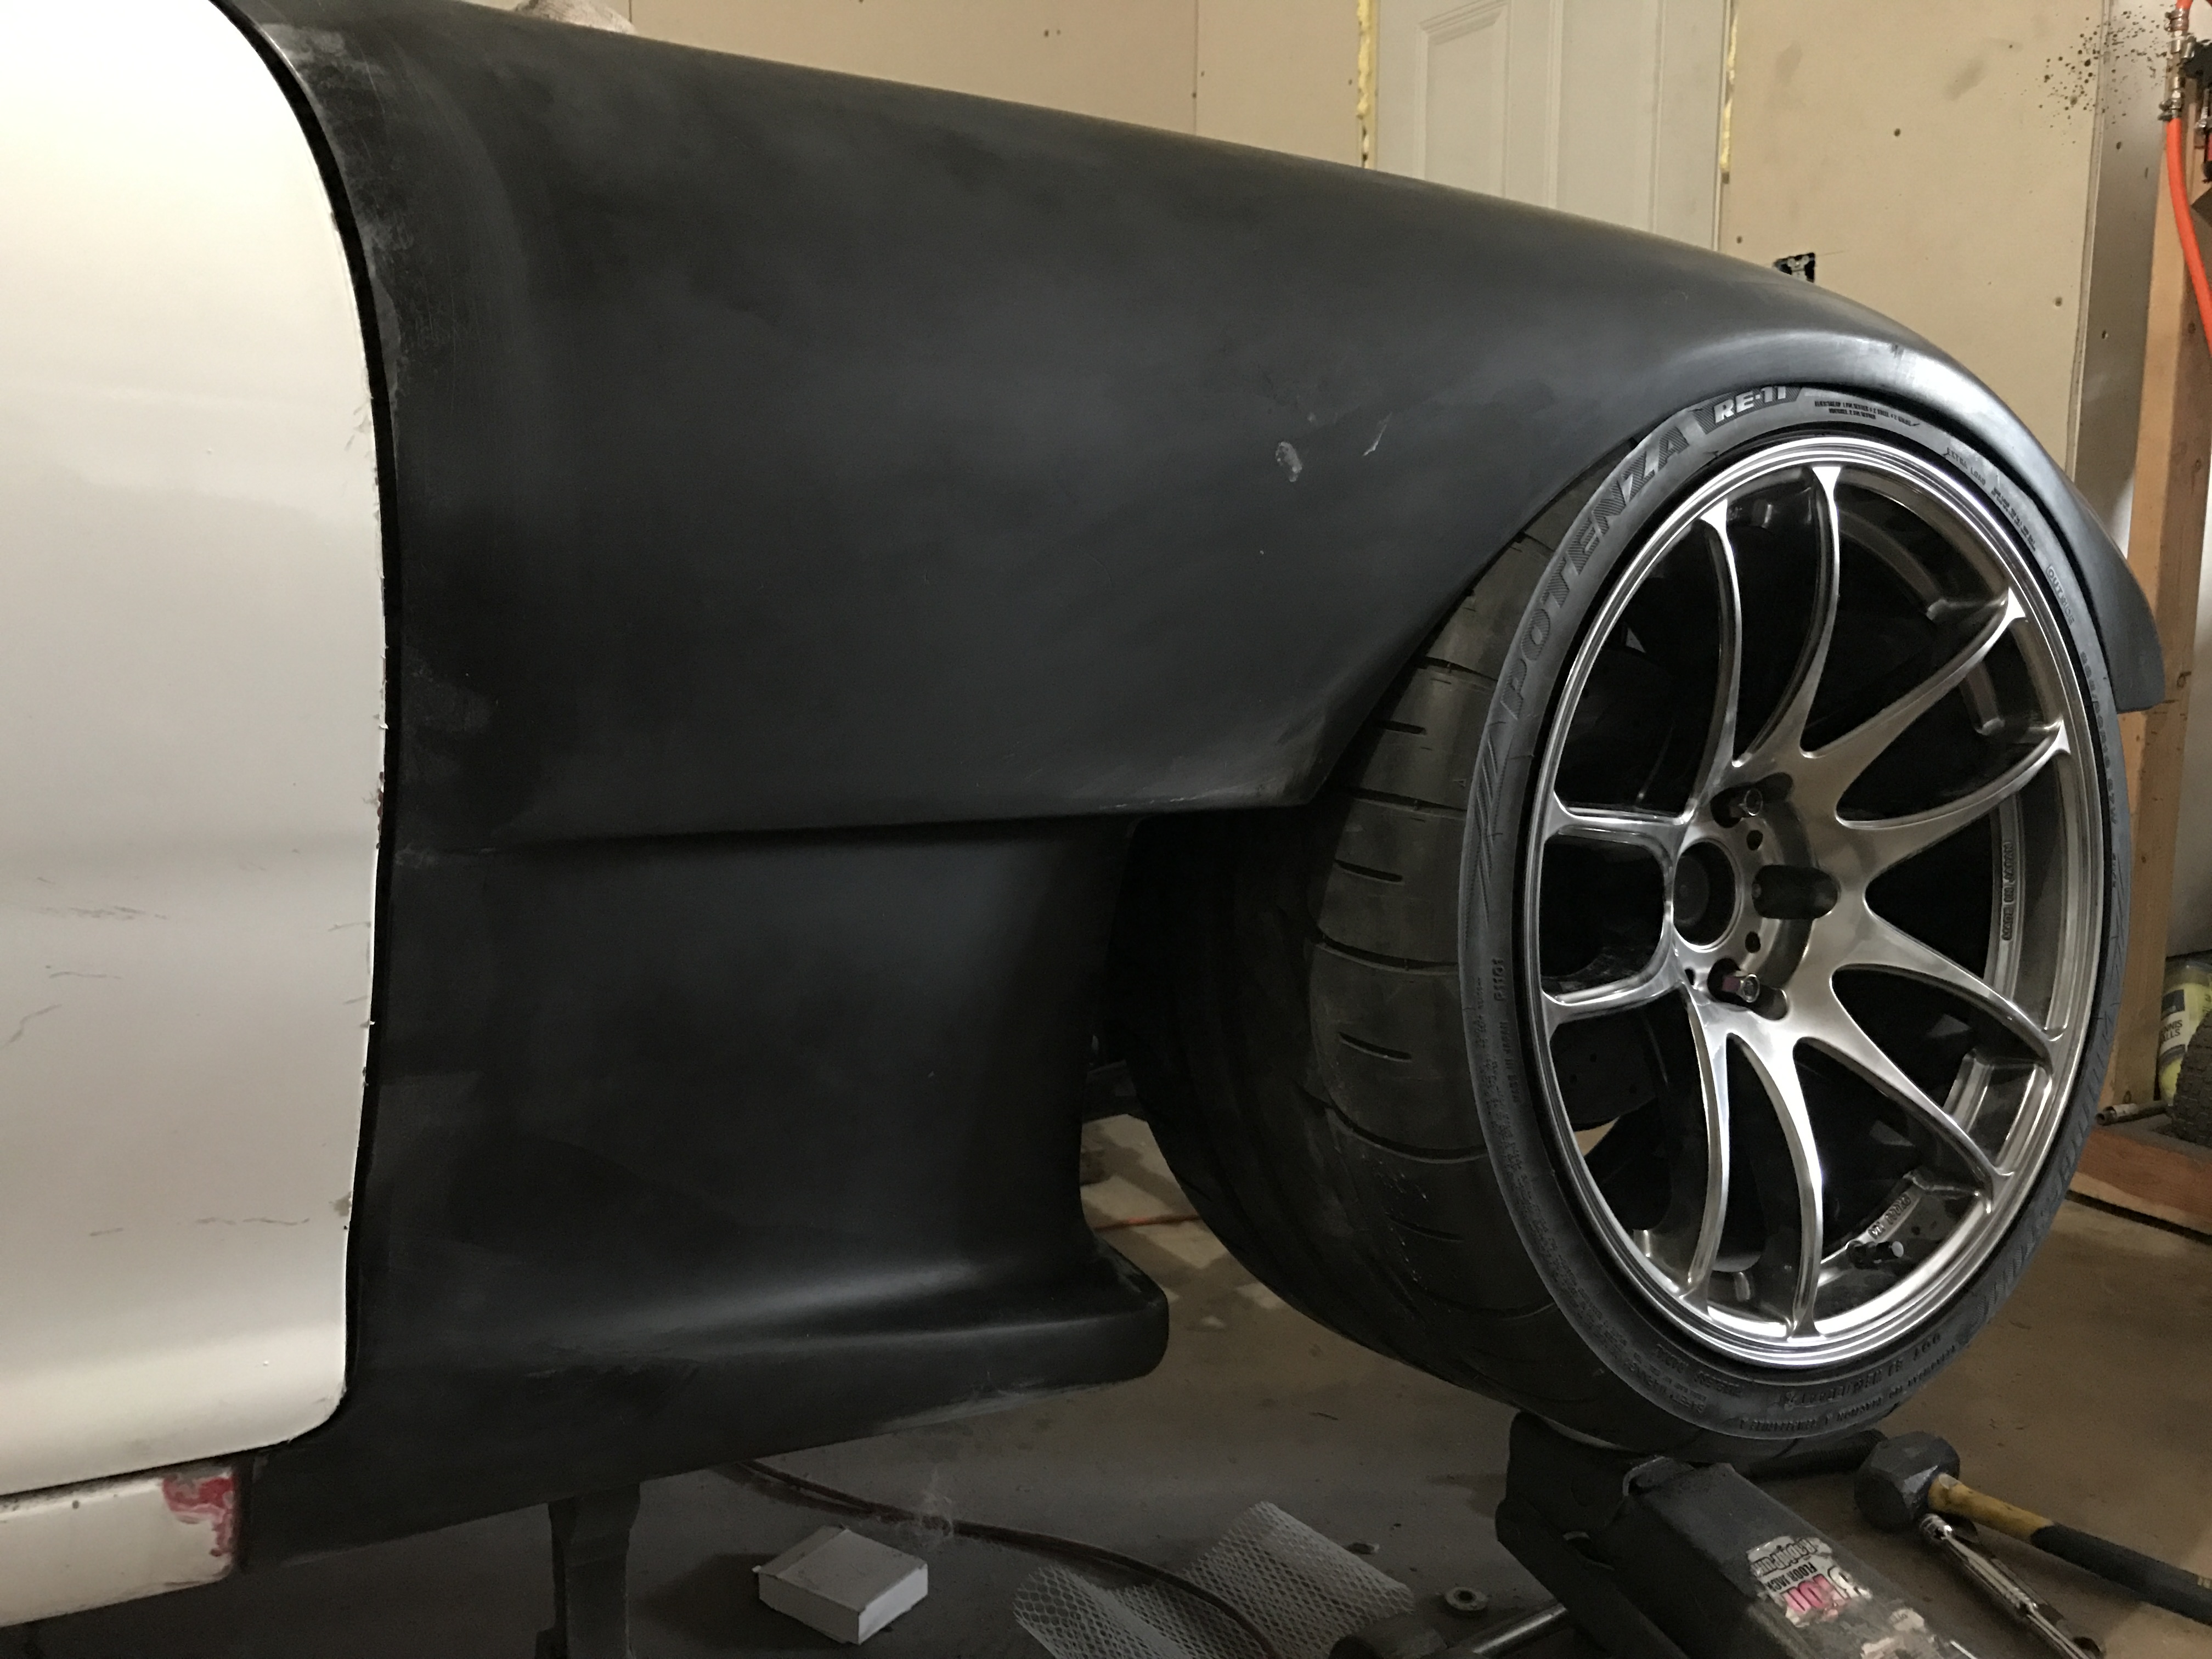
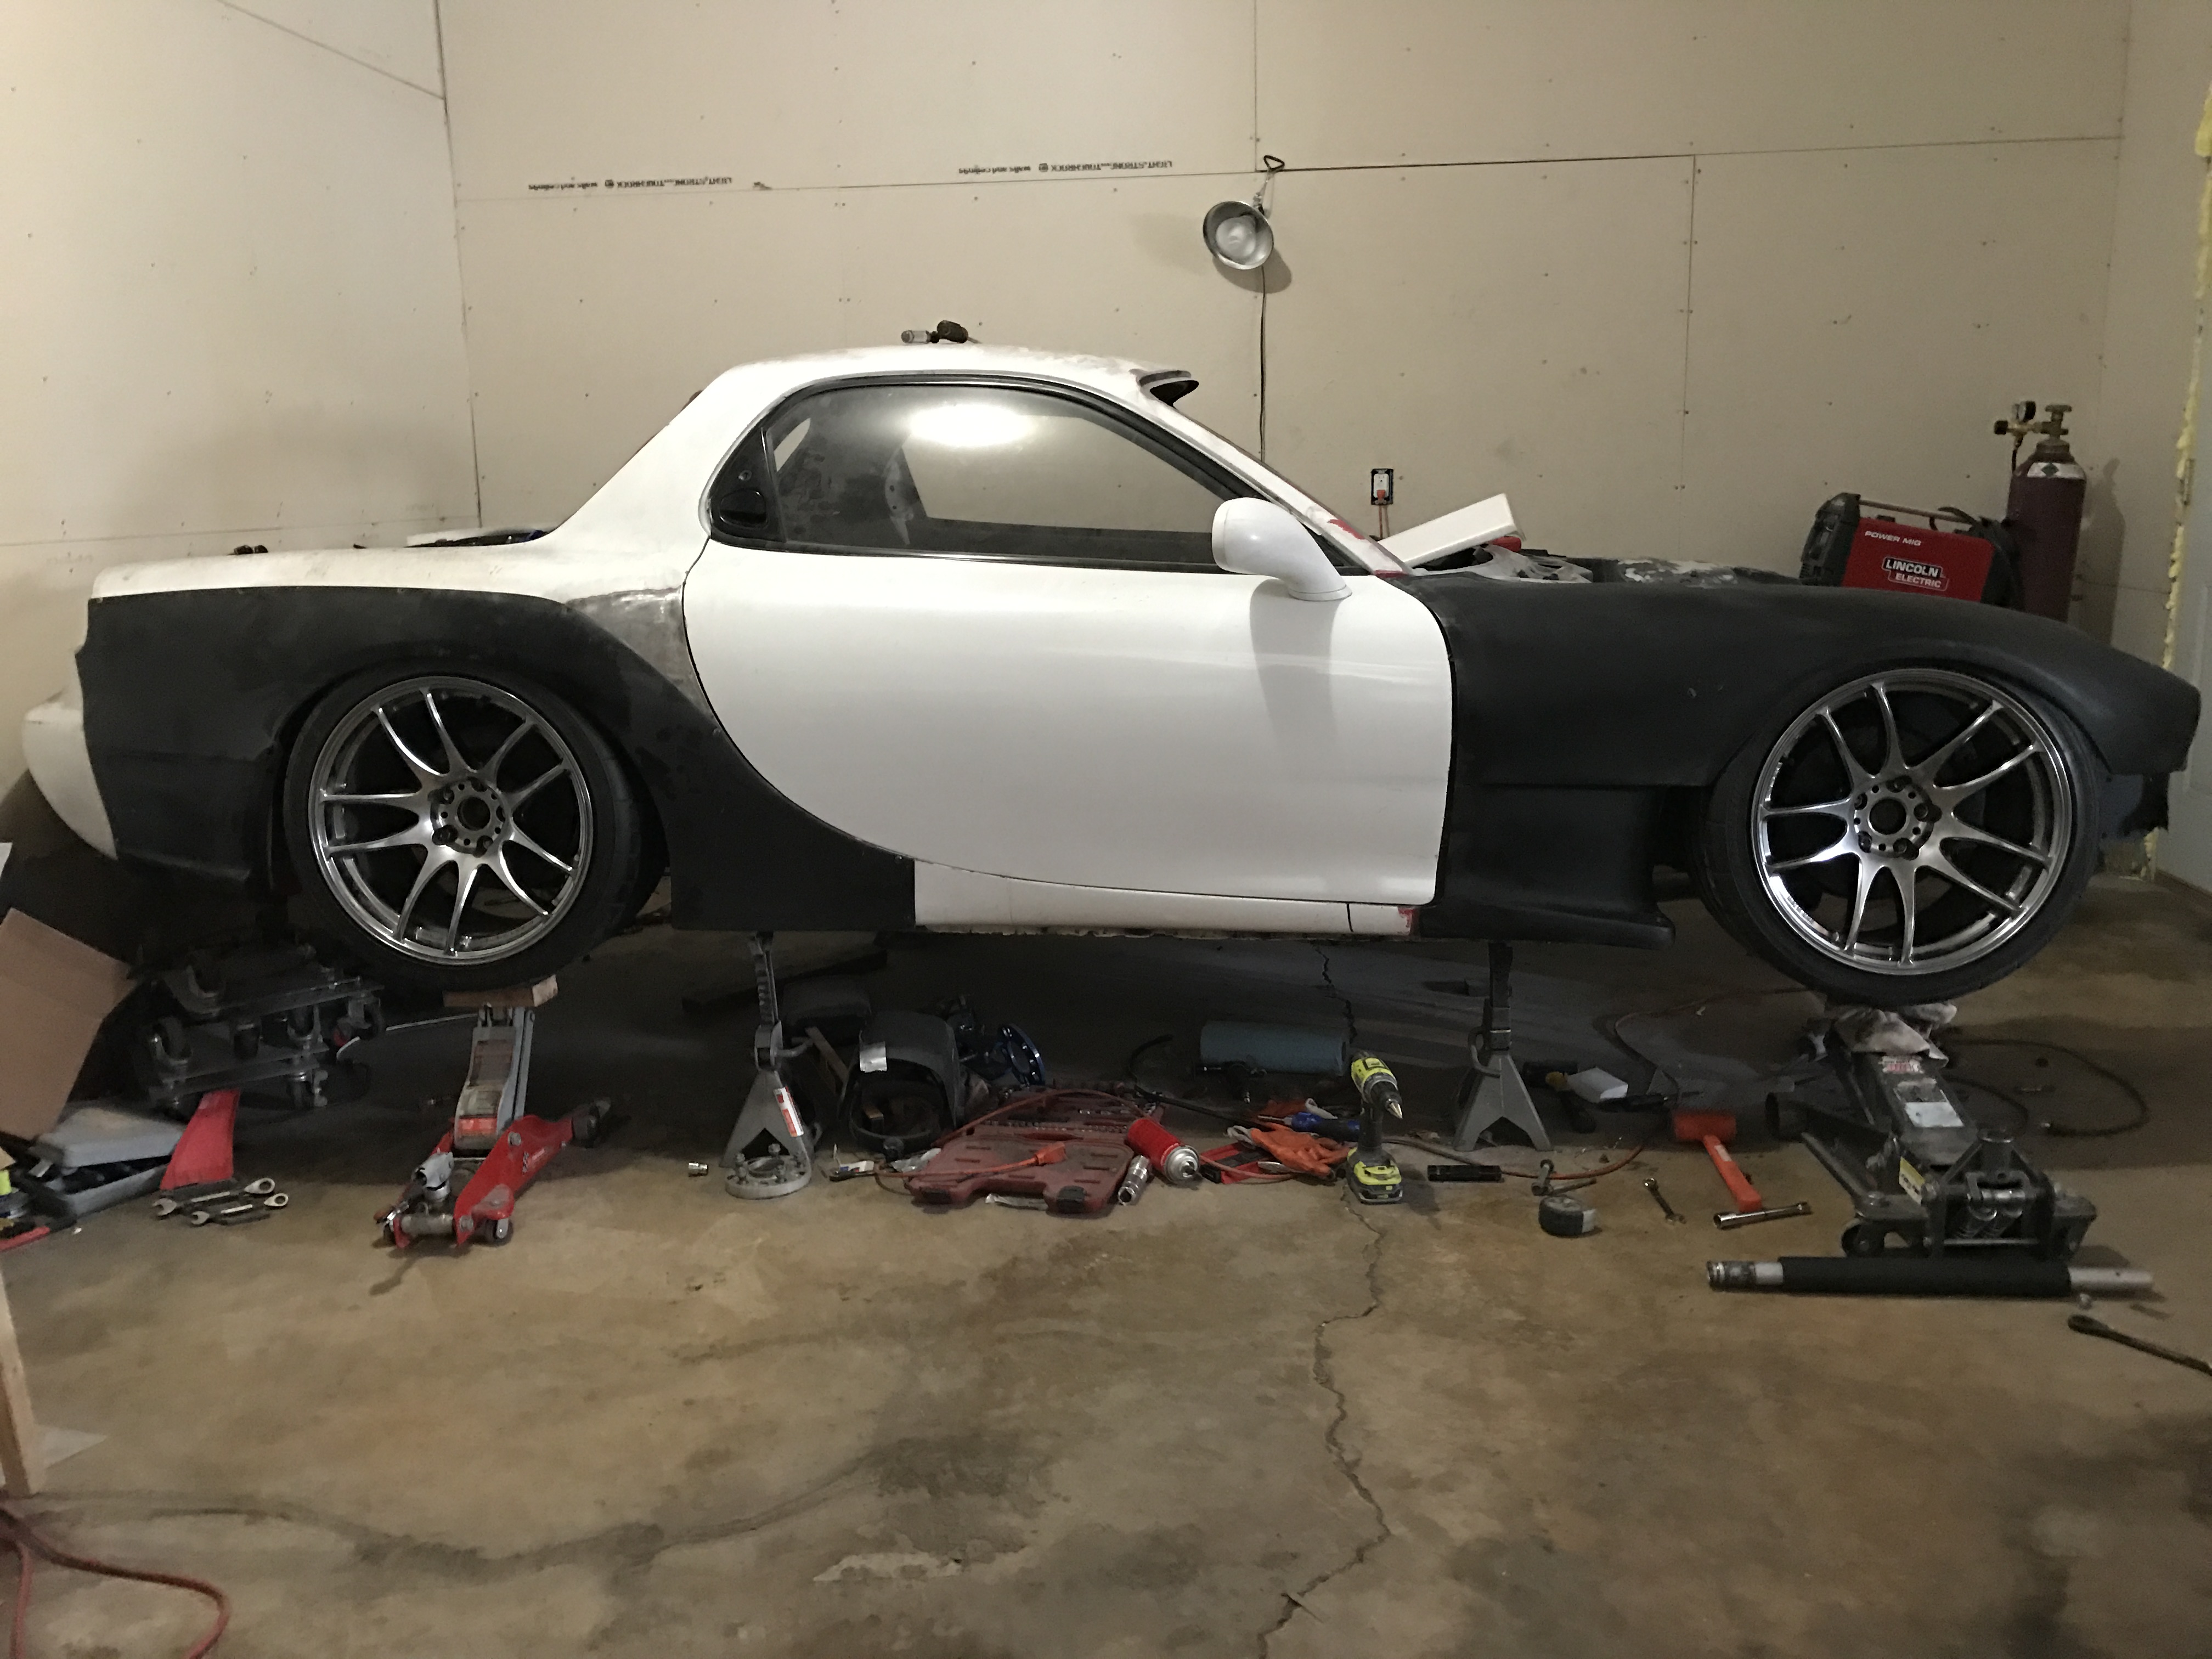
Started that widebody install! At first I considered just rolling and pulling the **** out of the fenders...but then things got crazy
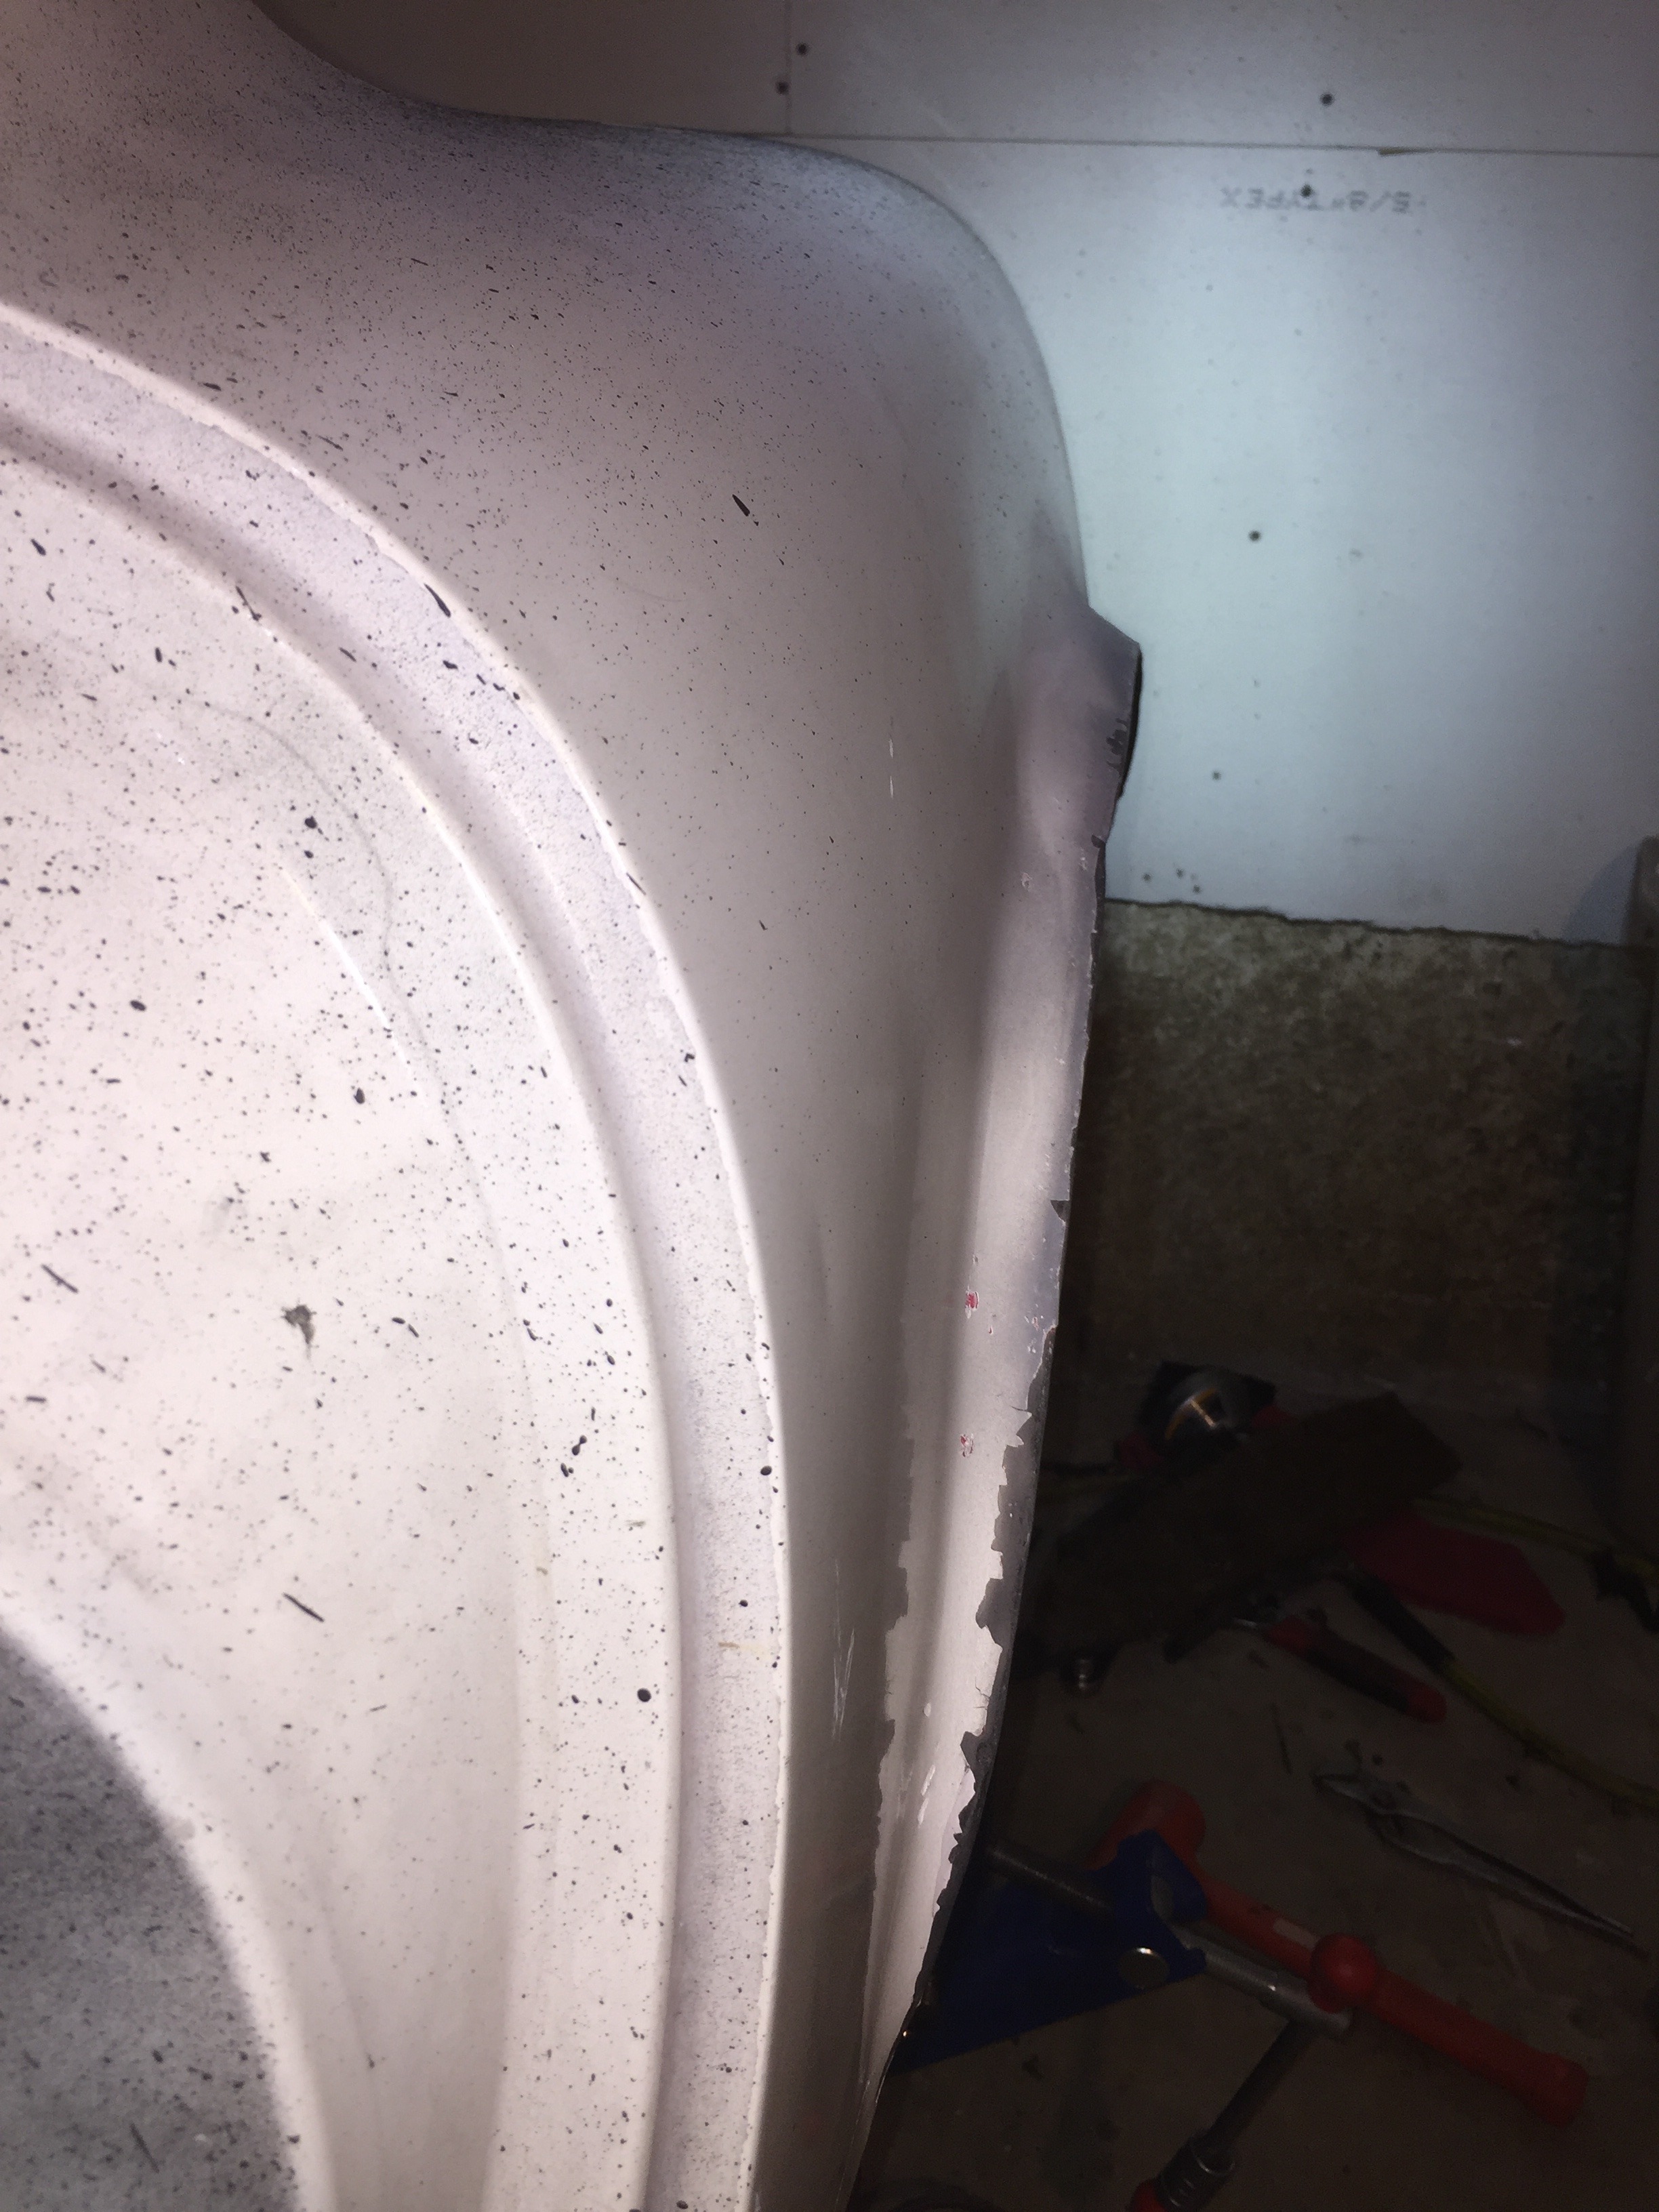
Fuq that fender yo
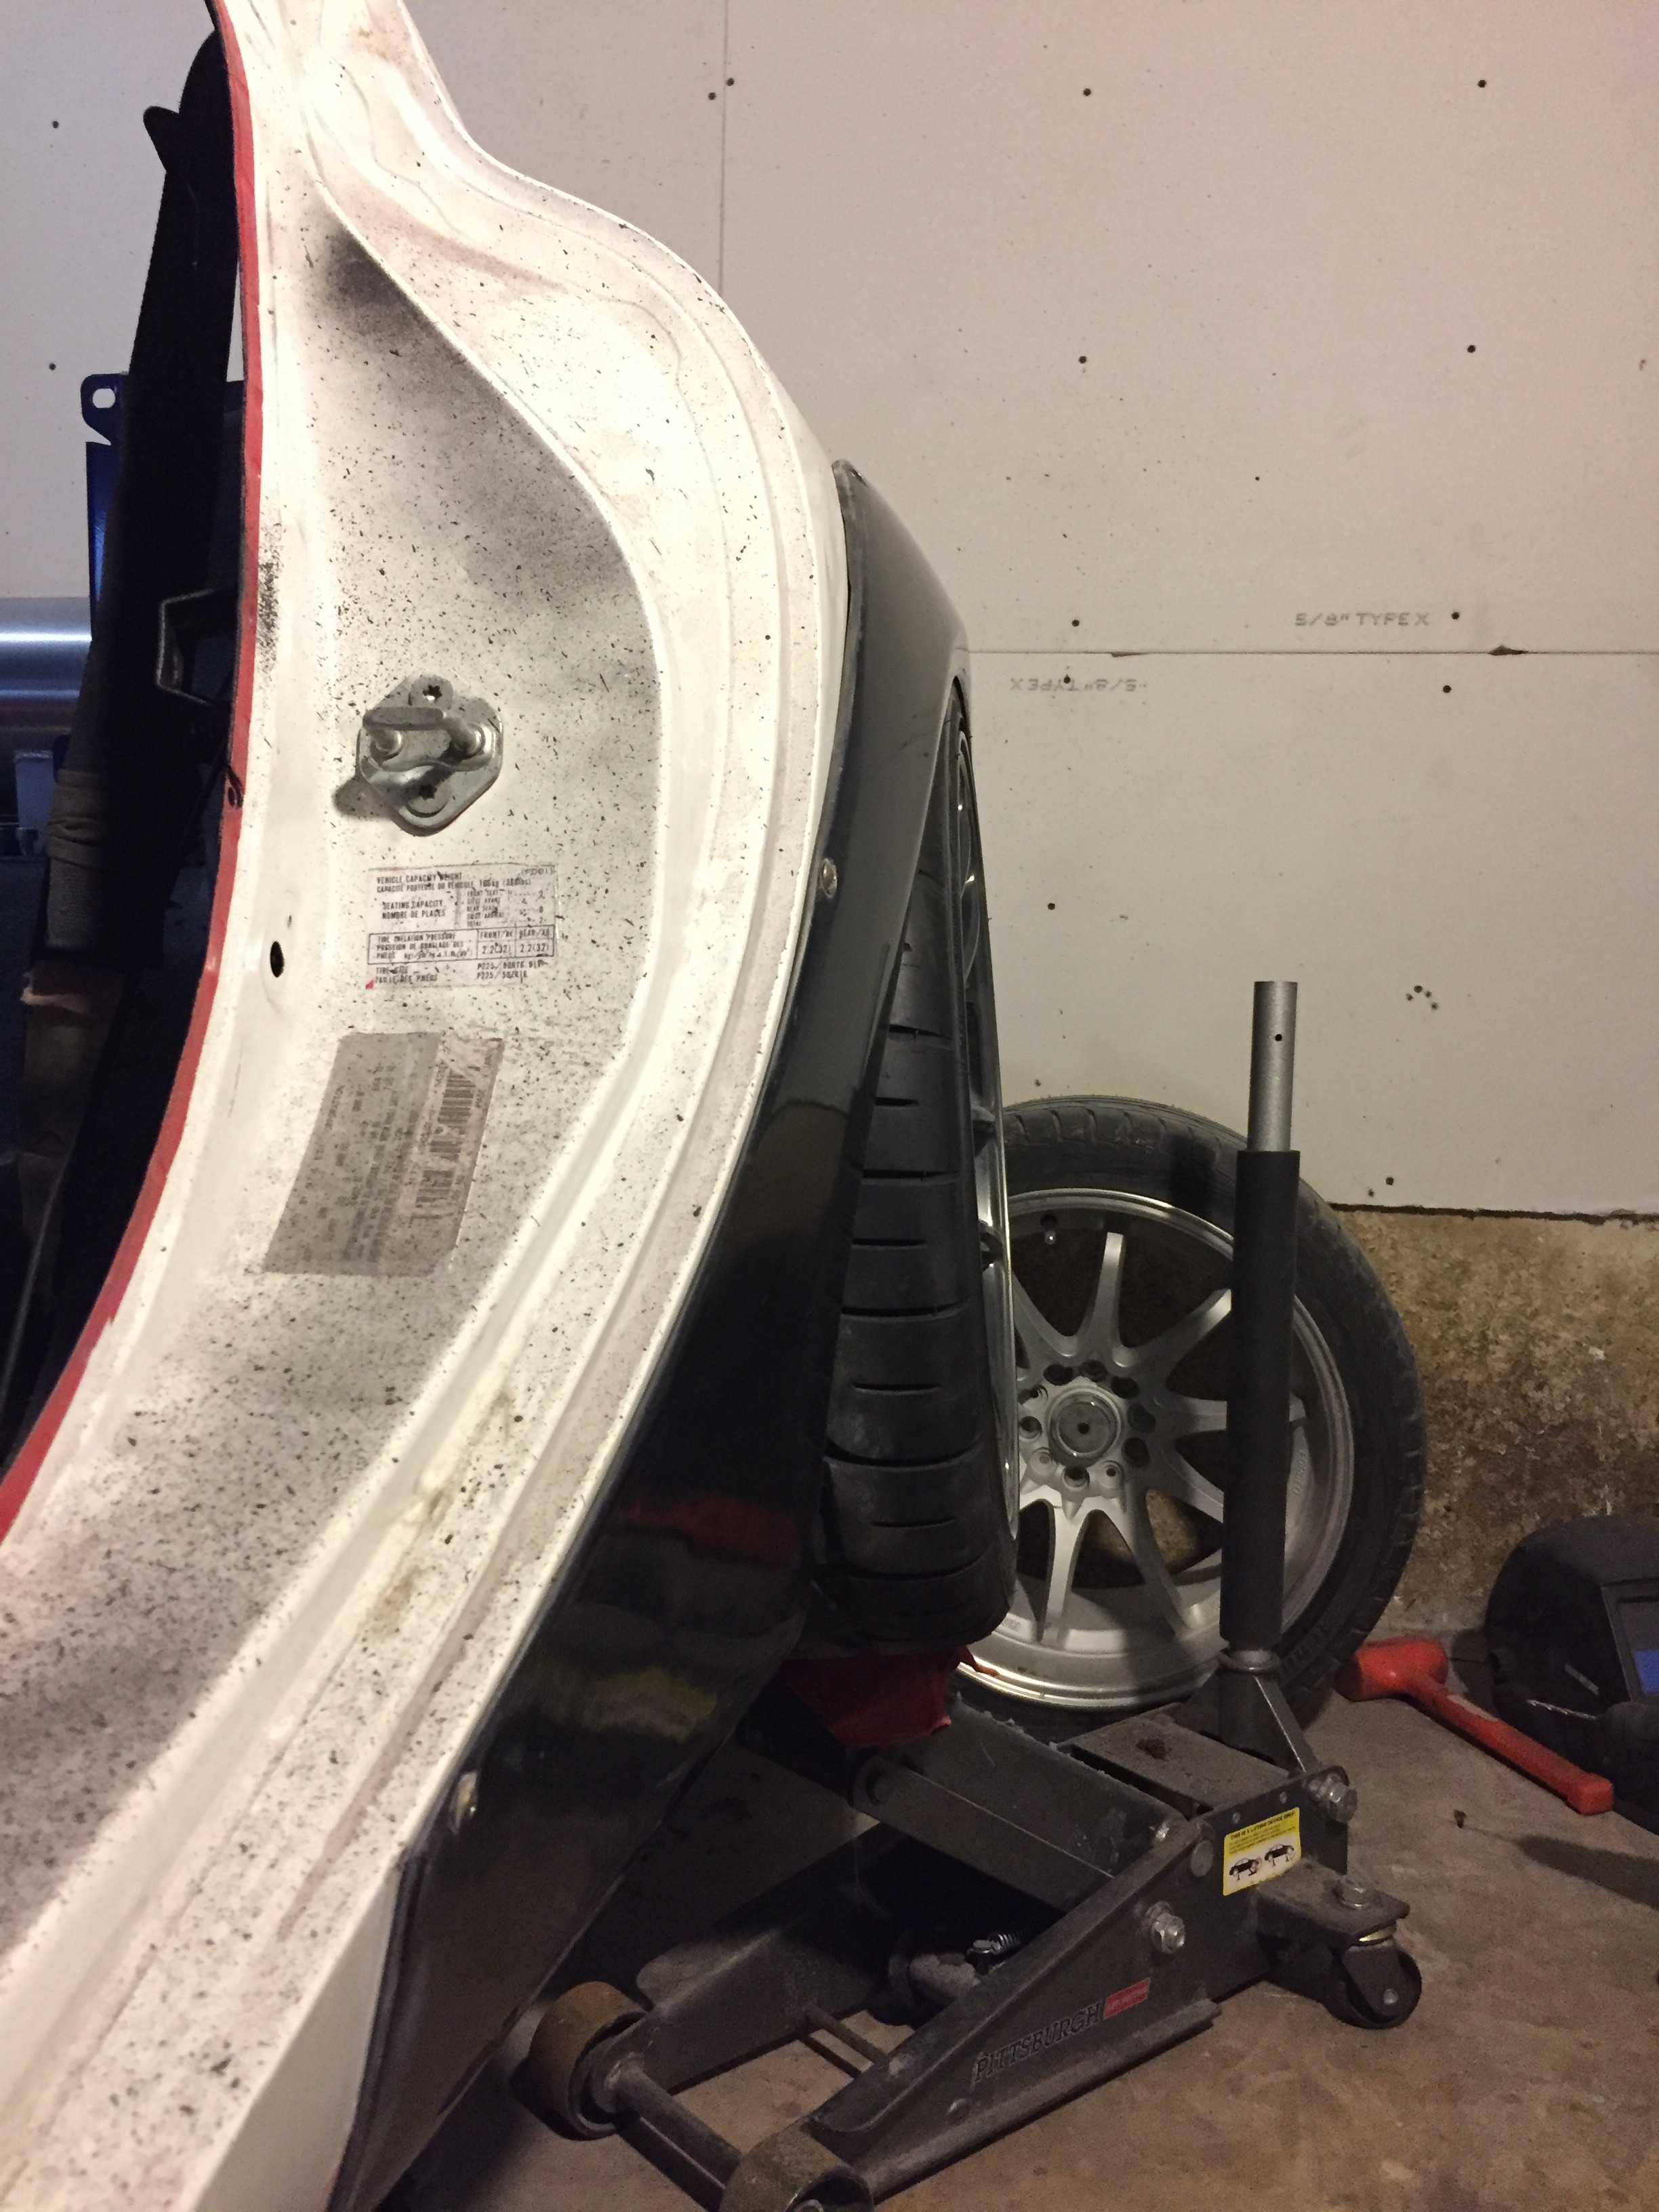
Using my mockup wheel from my dsm widebody project
Doing some measuring and mockup

Trying to figure out how the hell this compressor is going to fit here lol

Maybe like this?

That might work!


Anndd you gotta wait to see the final mounting position of the compressor. It is mounted now, but I did some other stuff first. So follow me on a legit tangent for a while
Started that widebody install! At first I considered just rolling and pulling the **** out of the fenders...but then things got crazy


Fuq that fender yo

Using my mockup wheel from my dsm widebody project

 02-13-17, 09:17 PM
#102
Full Member
Thread Starter
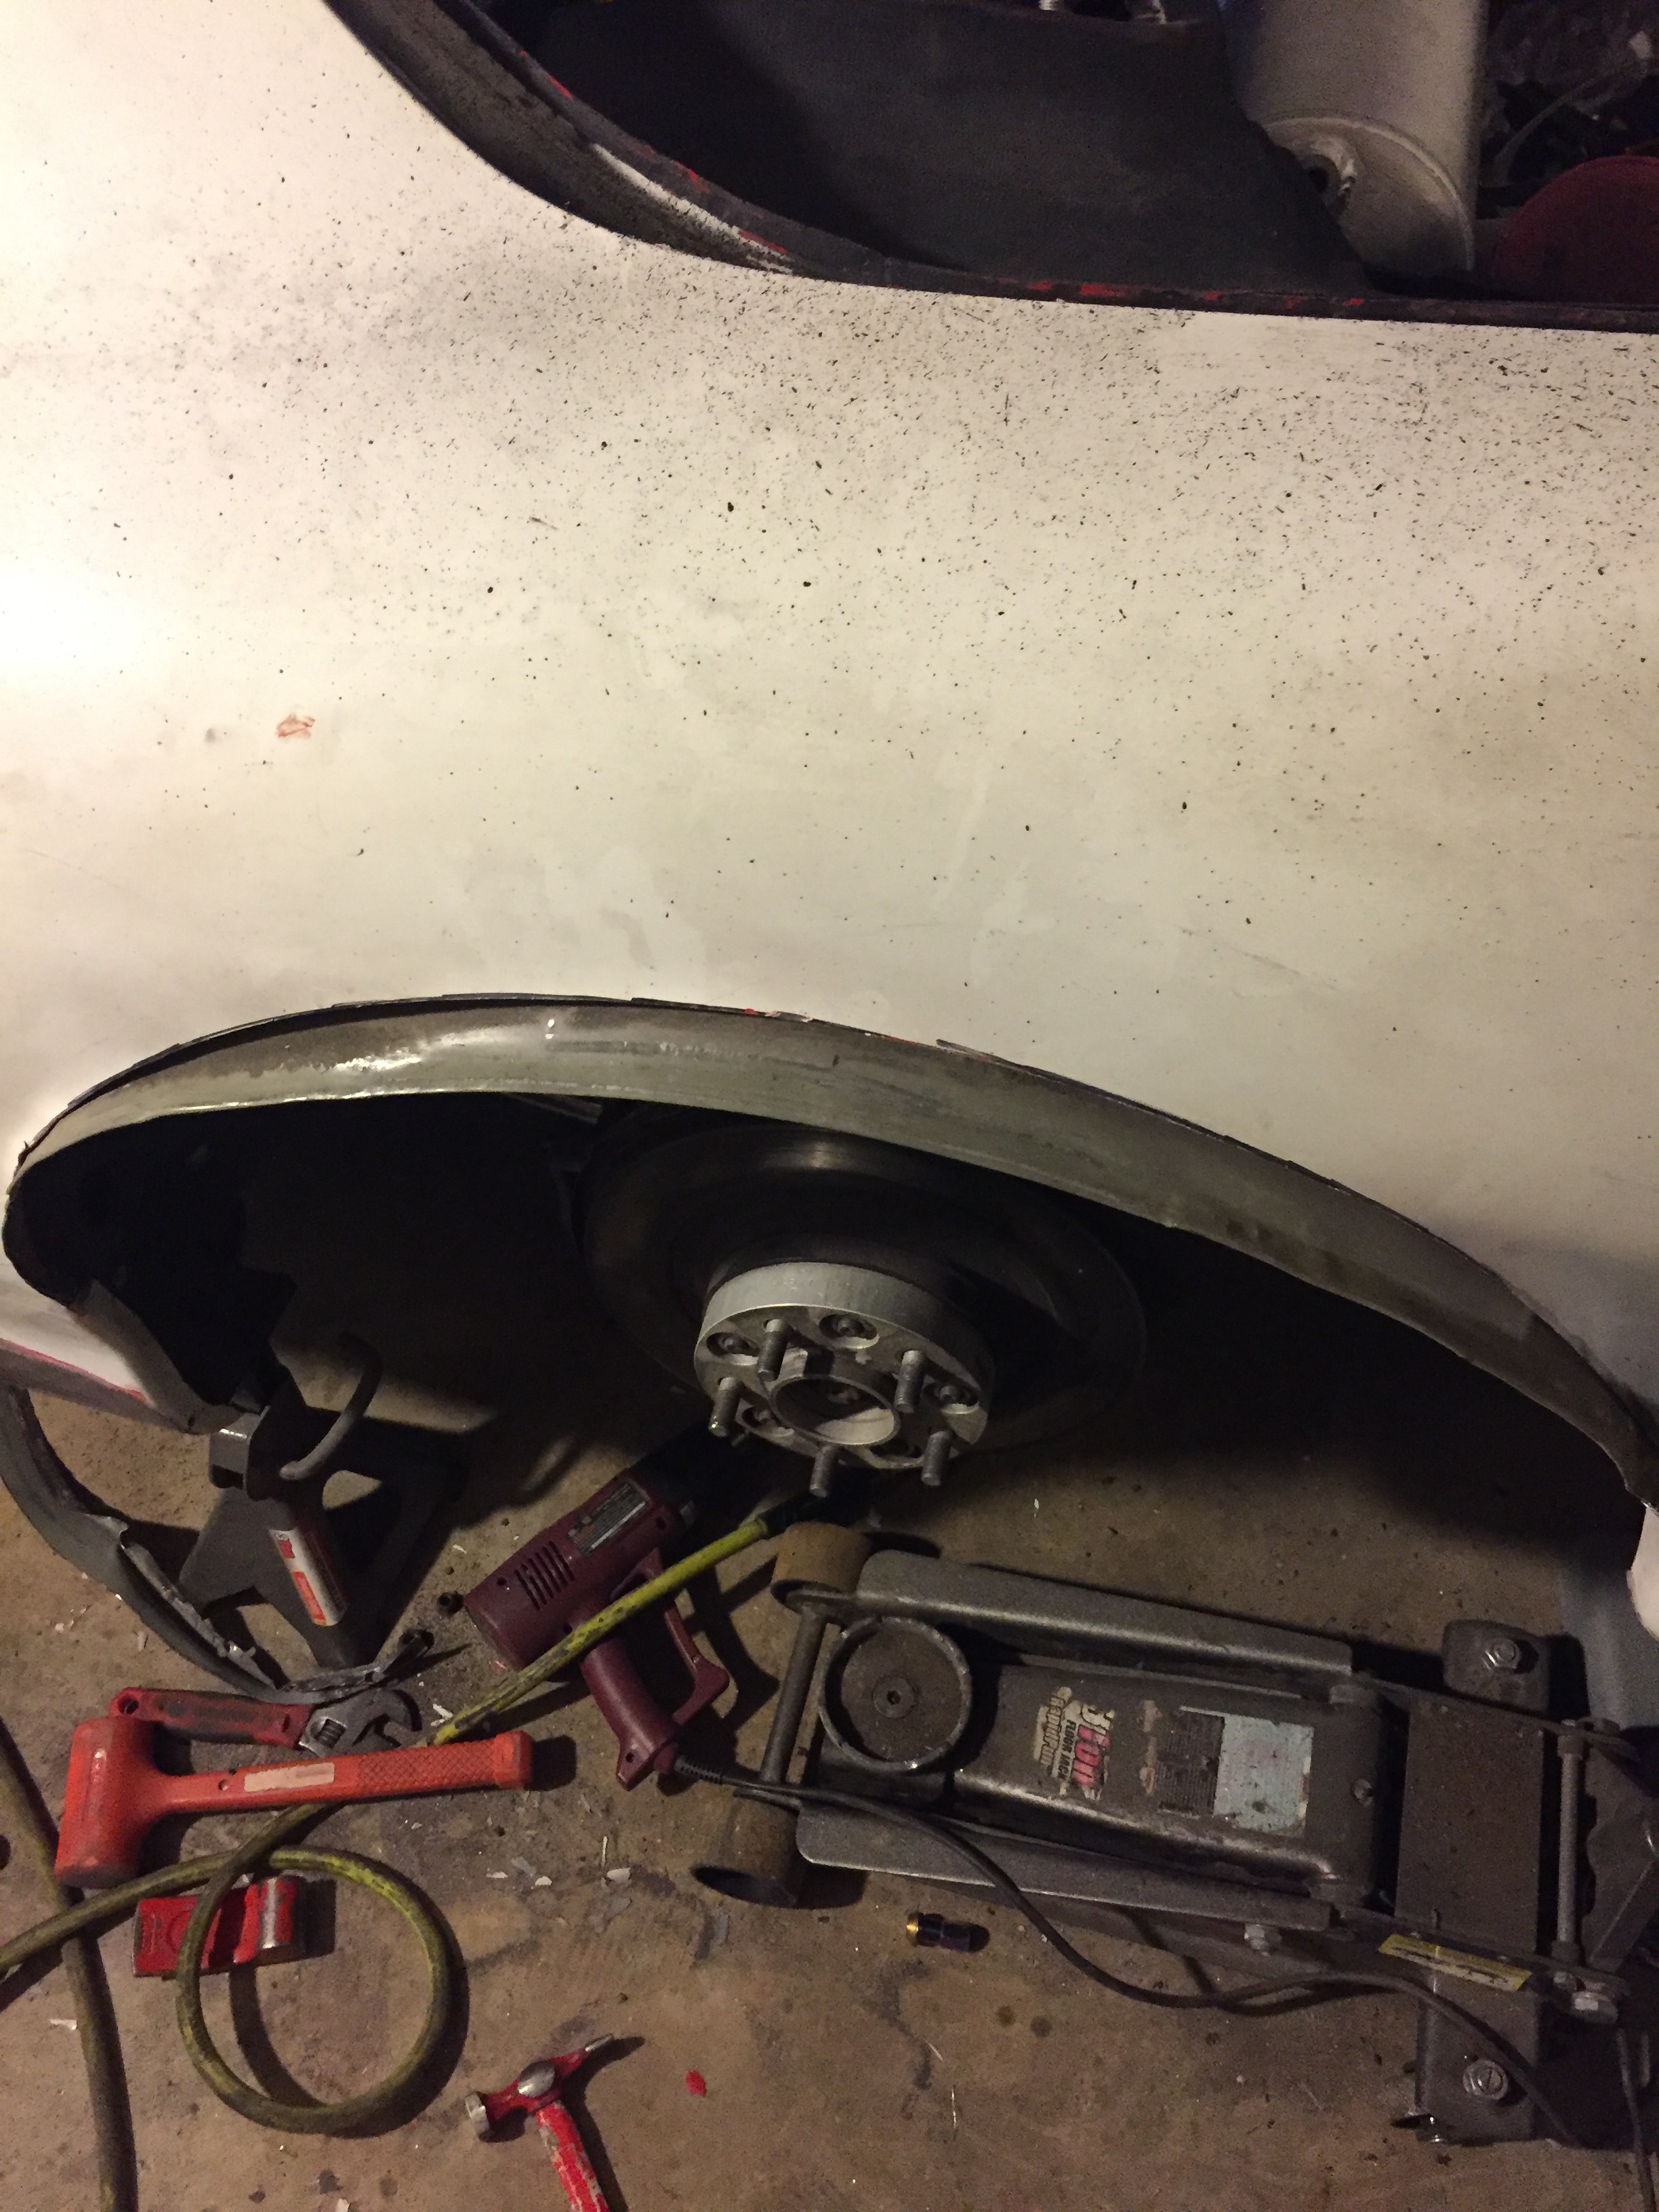
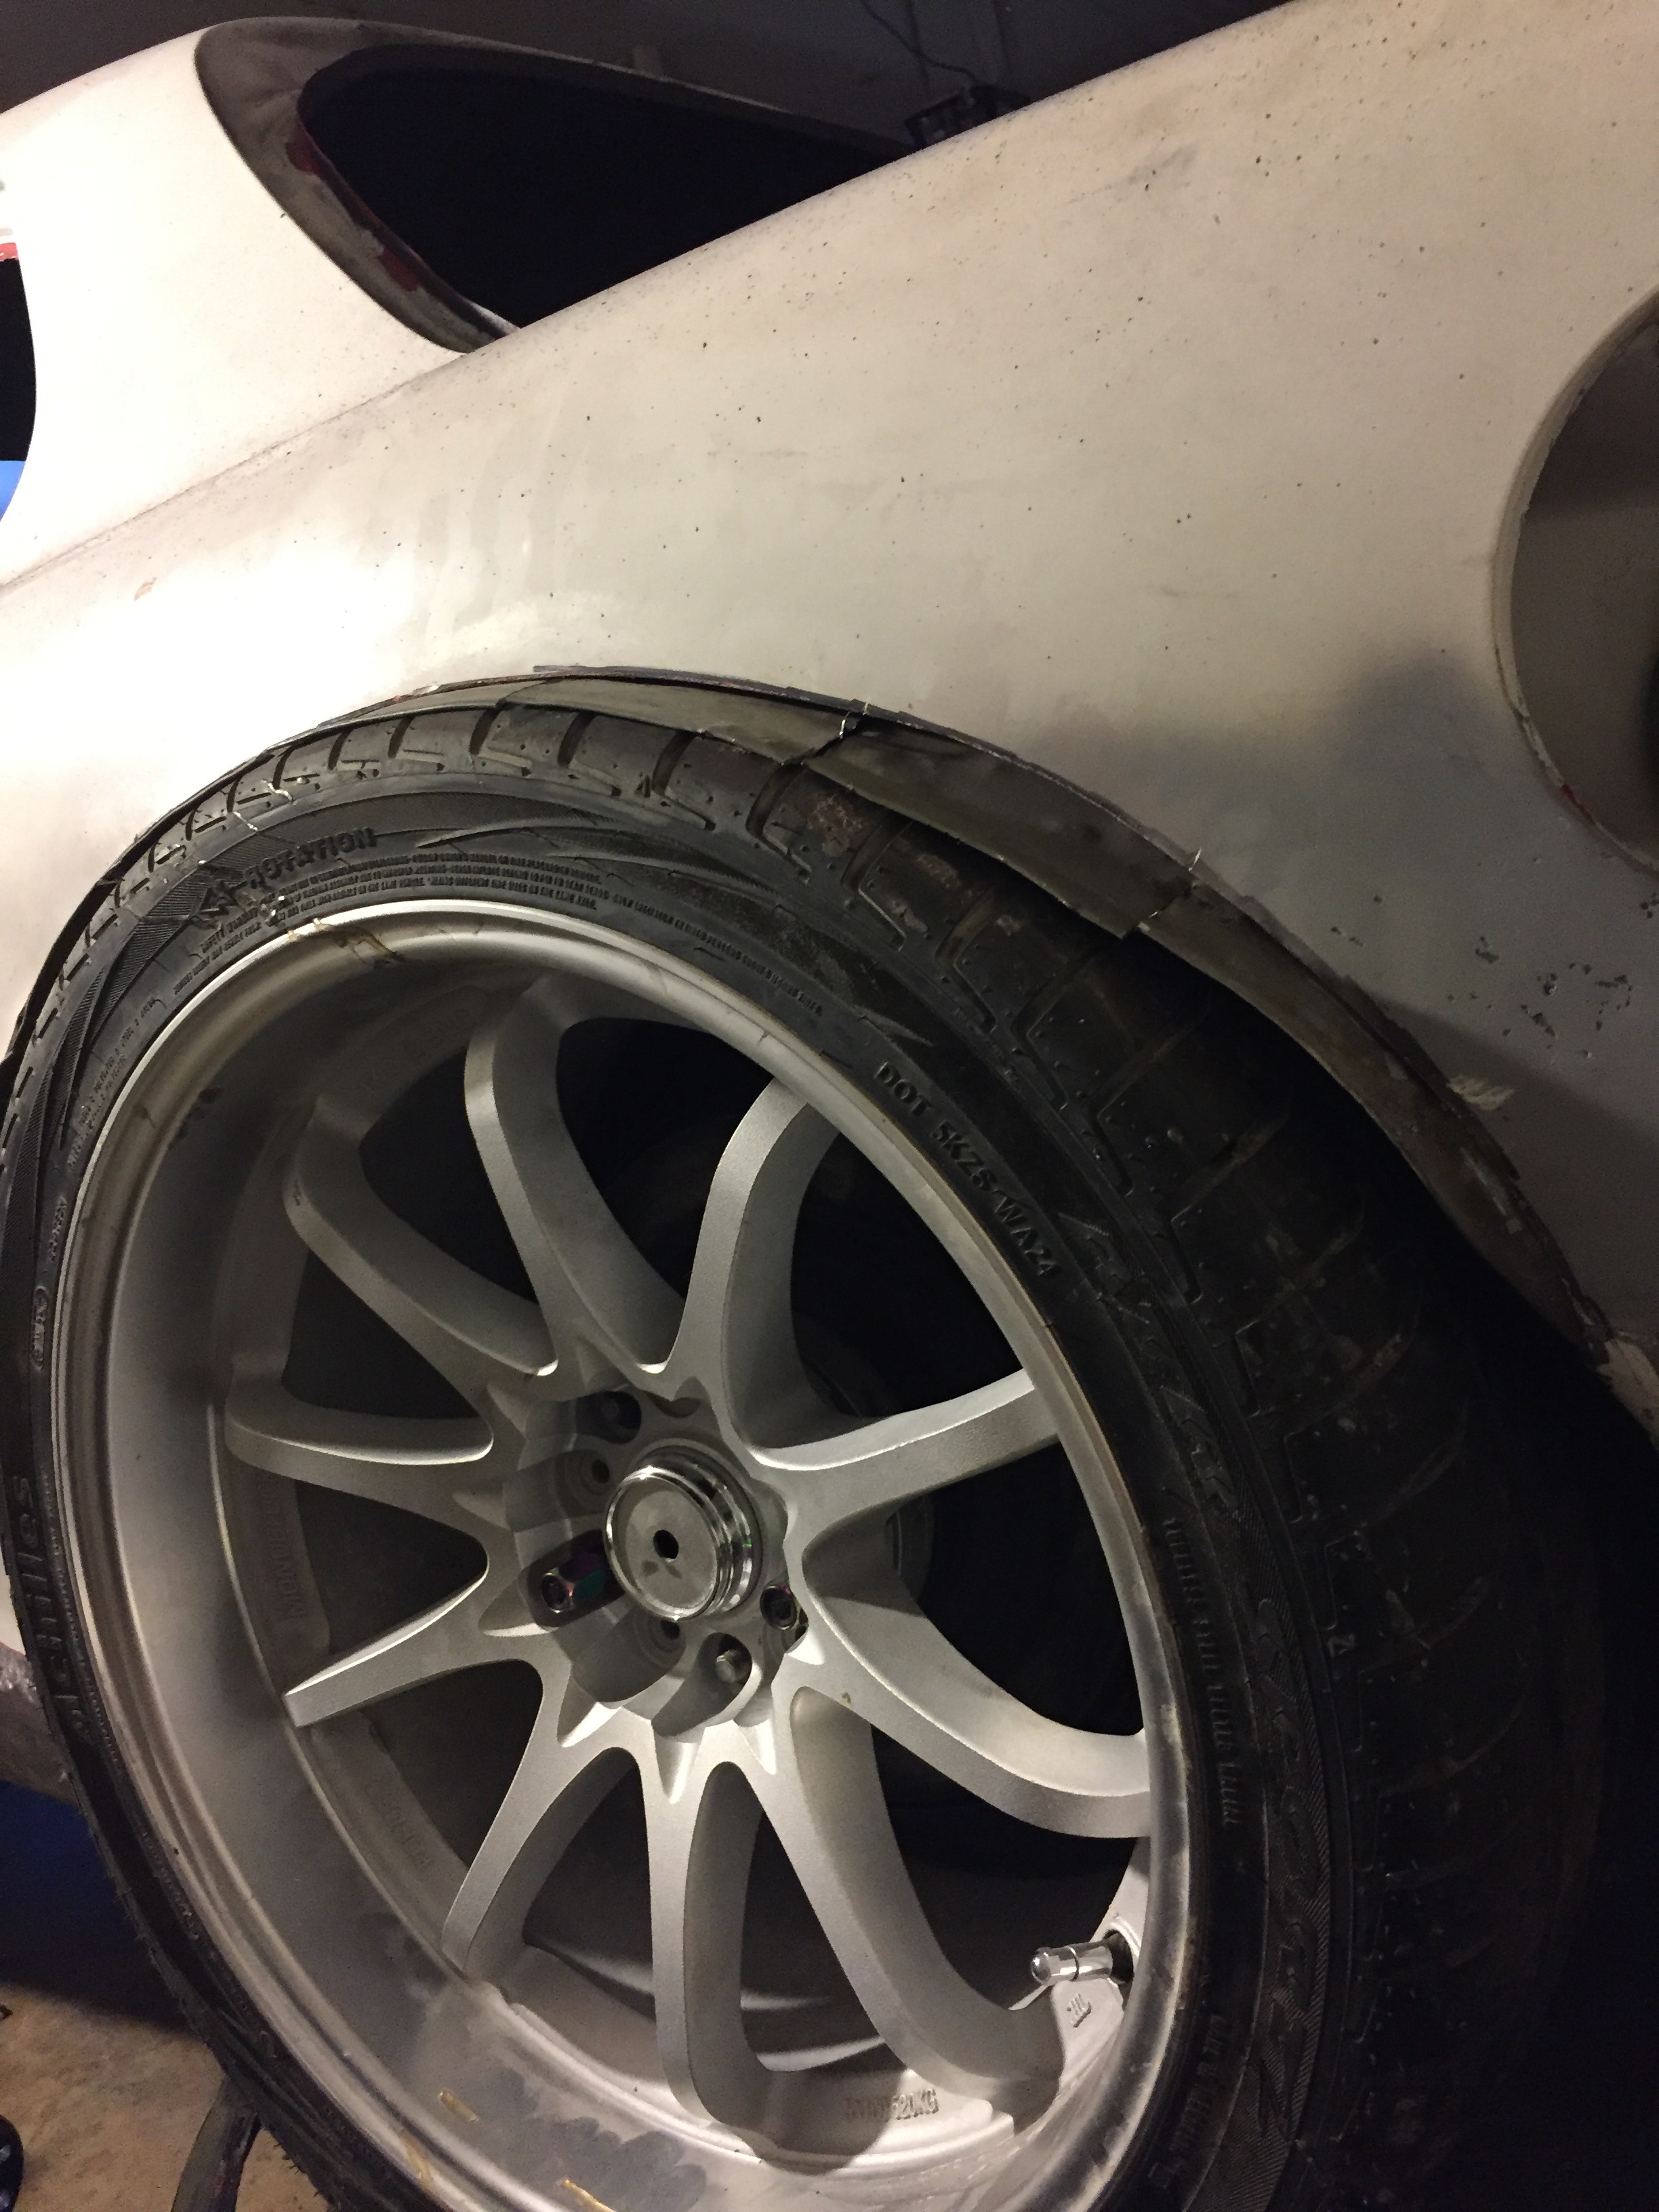
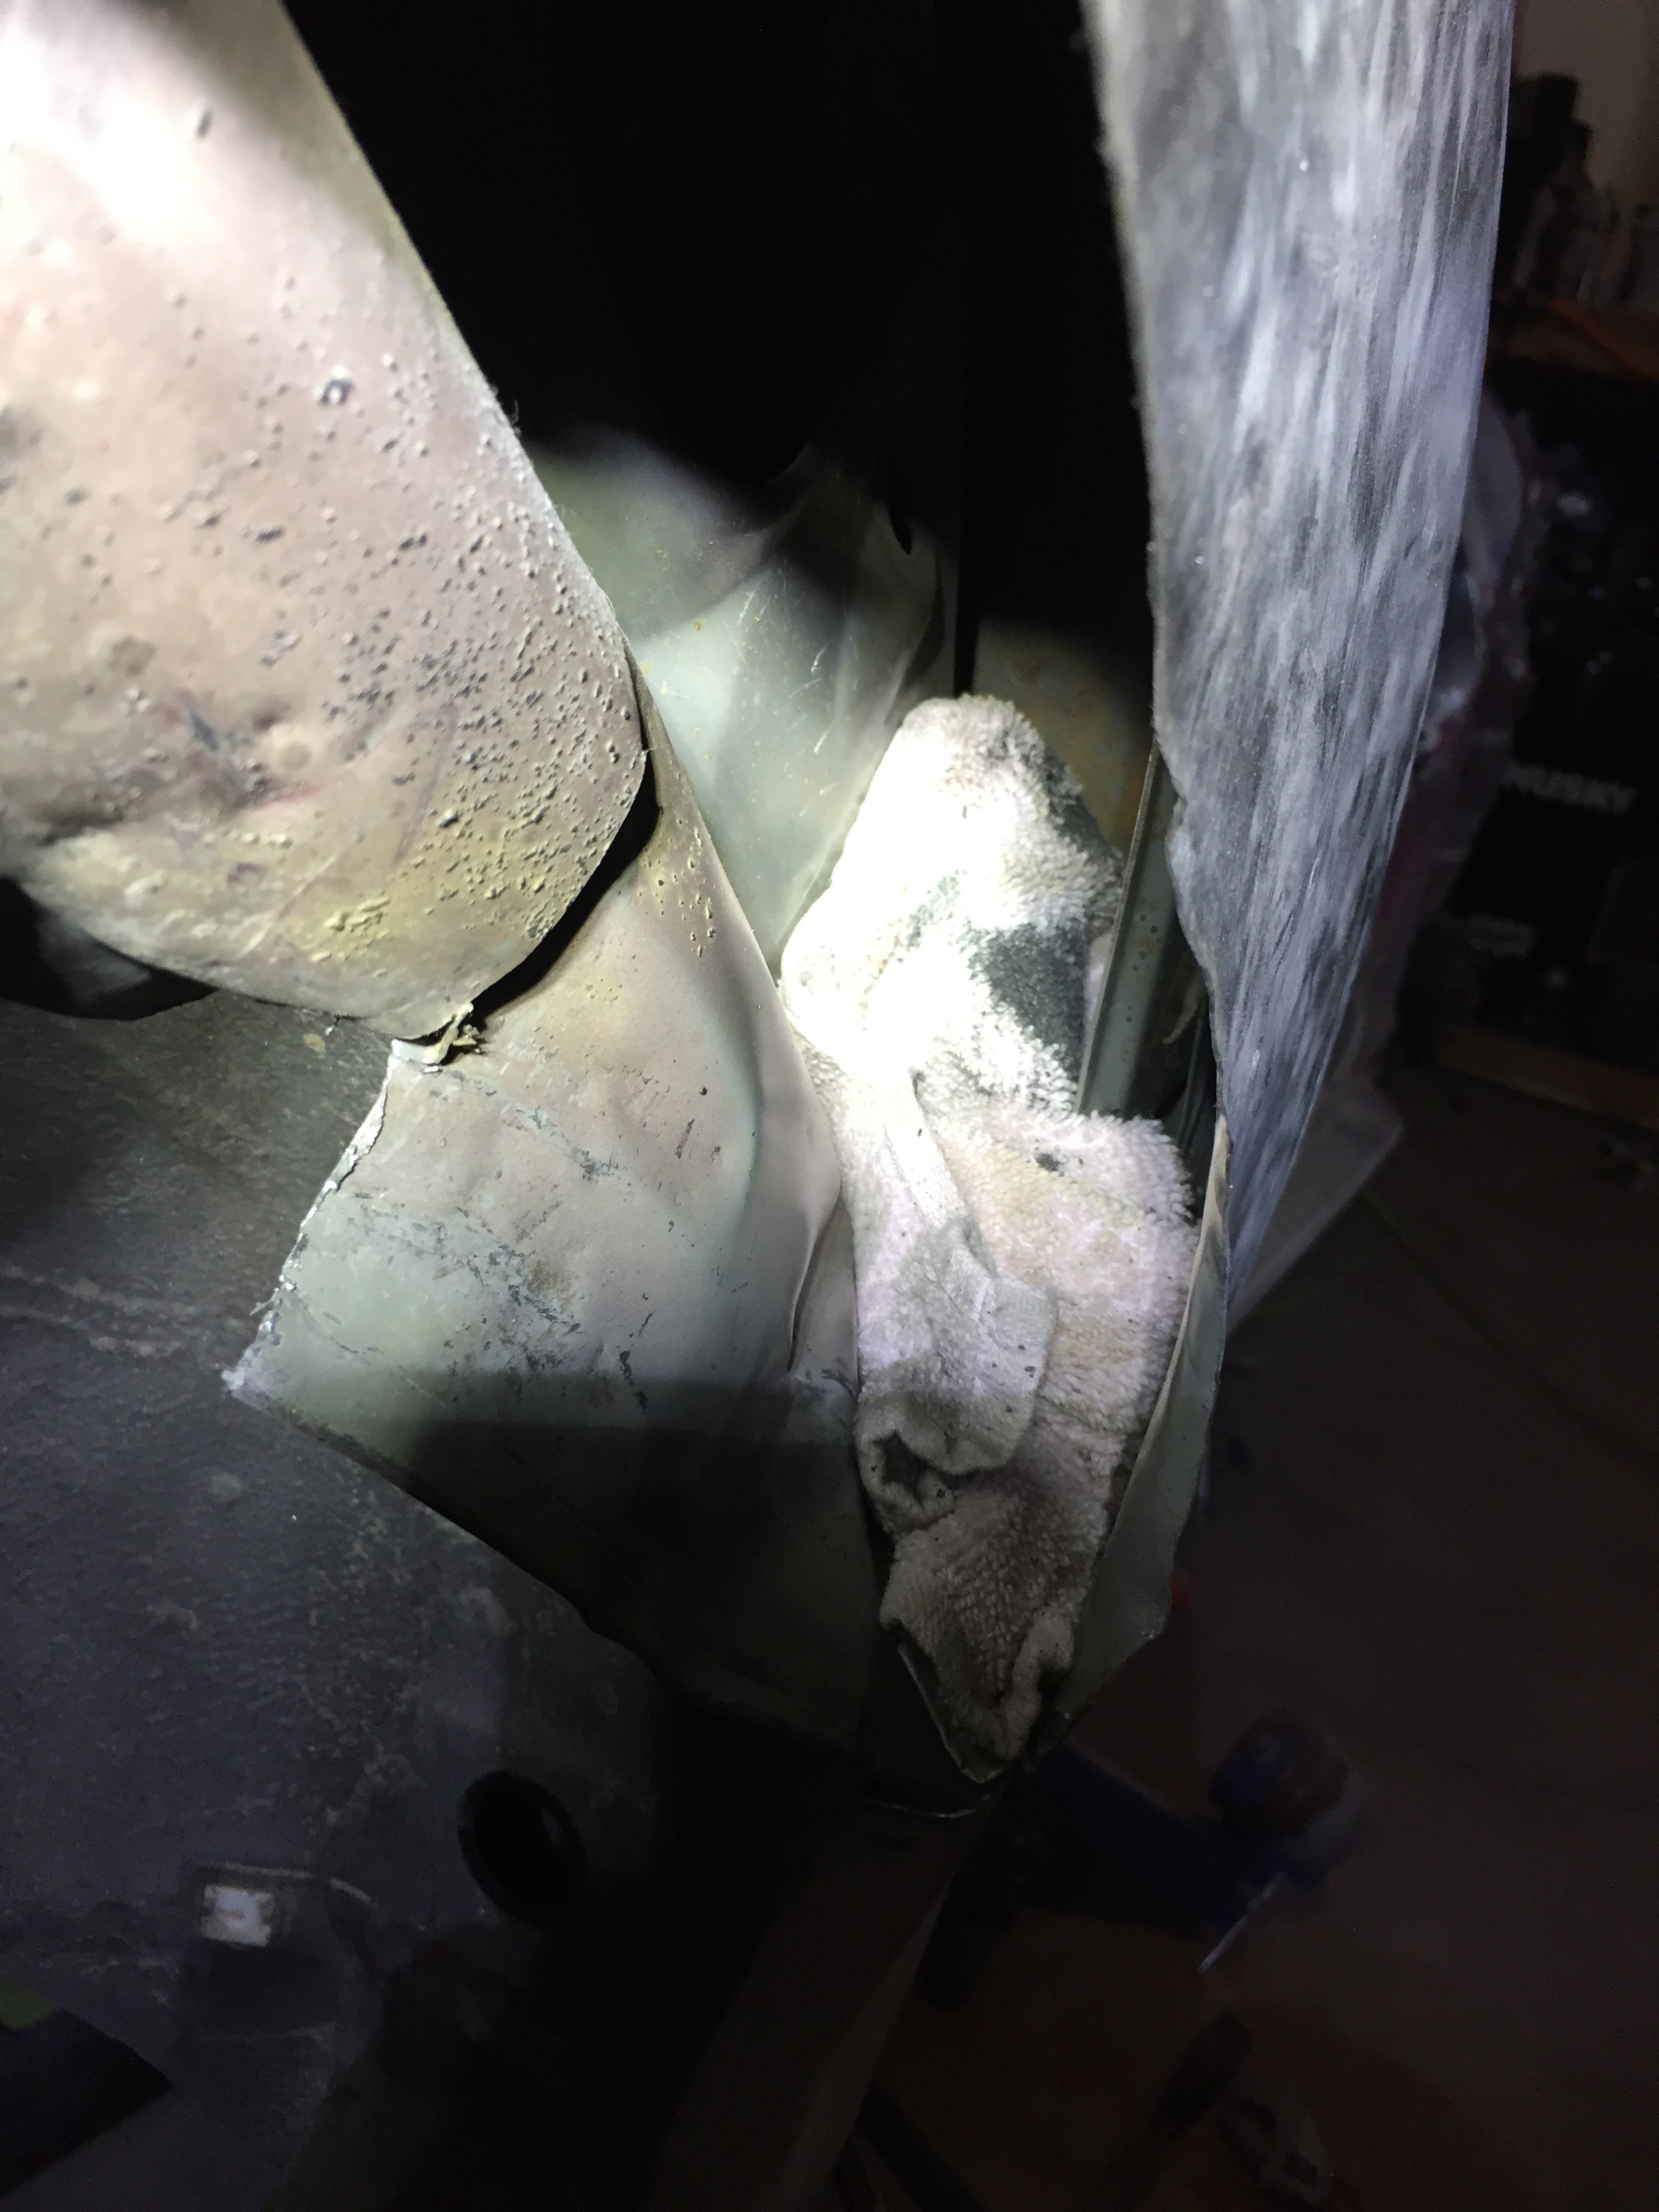
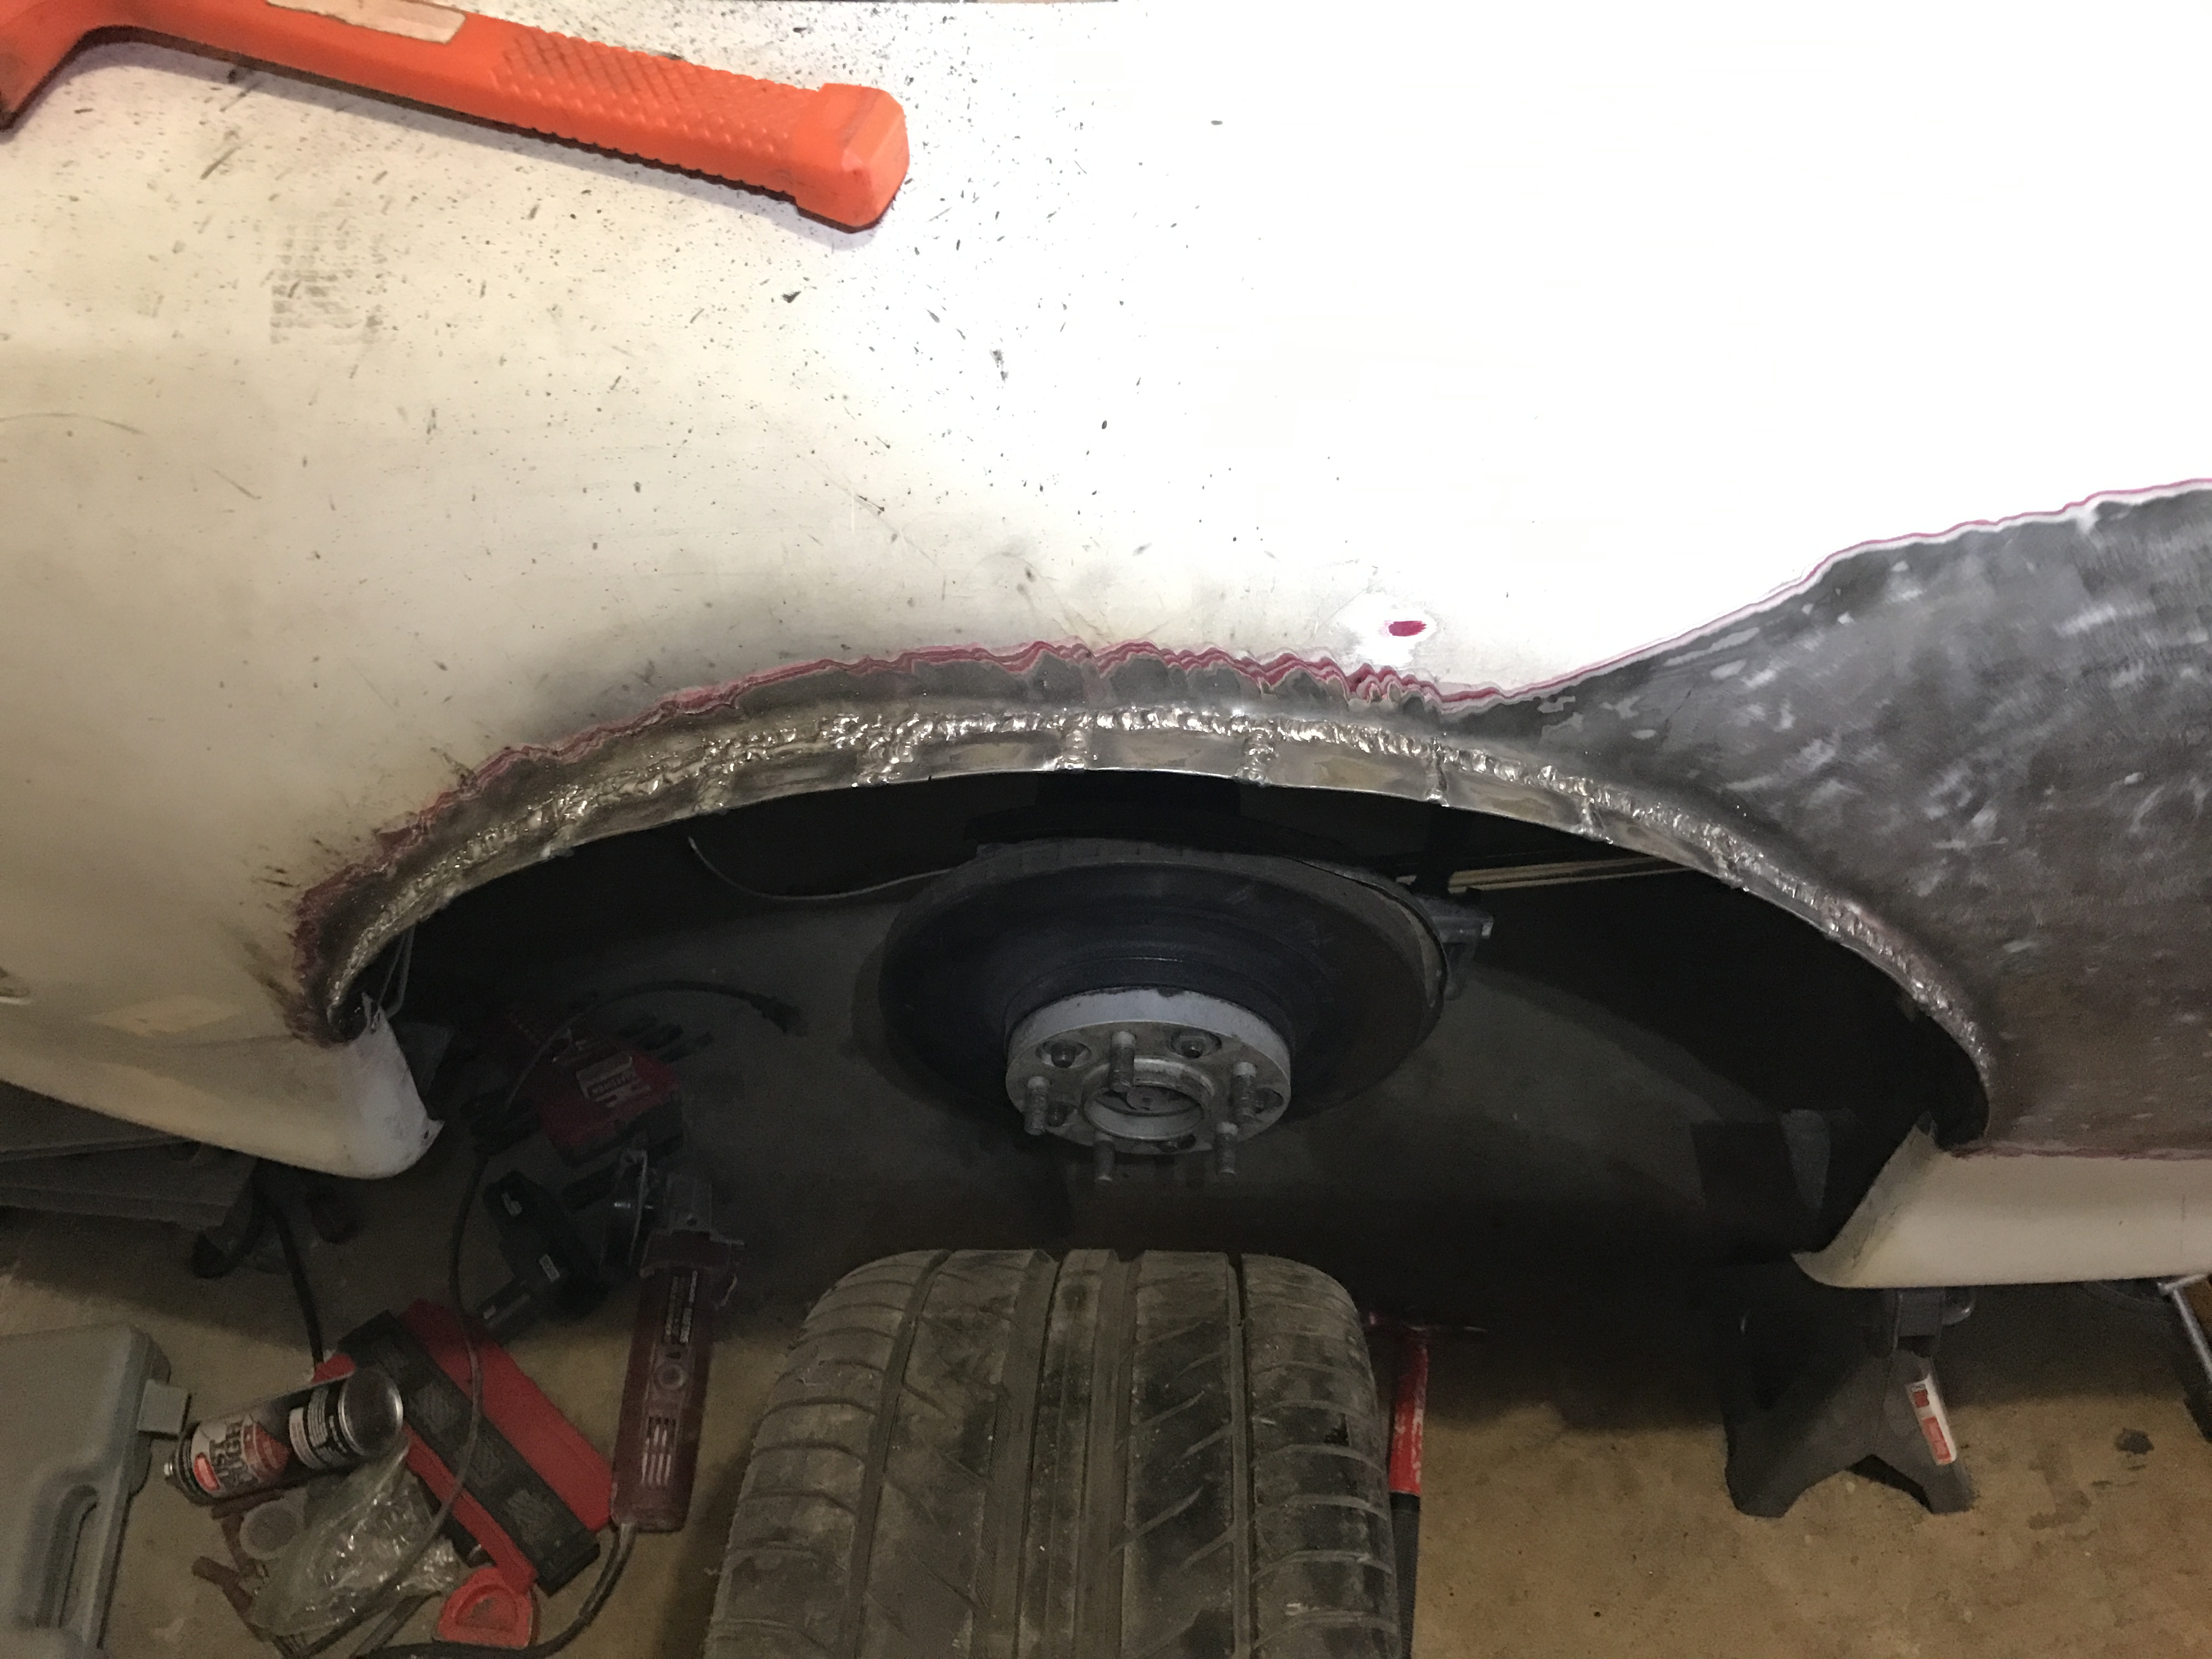
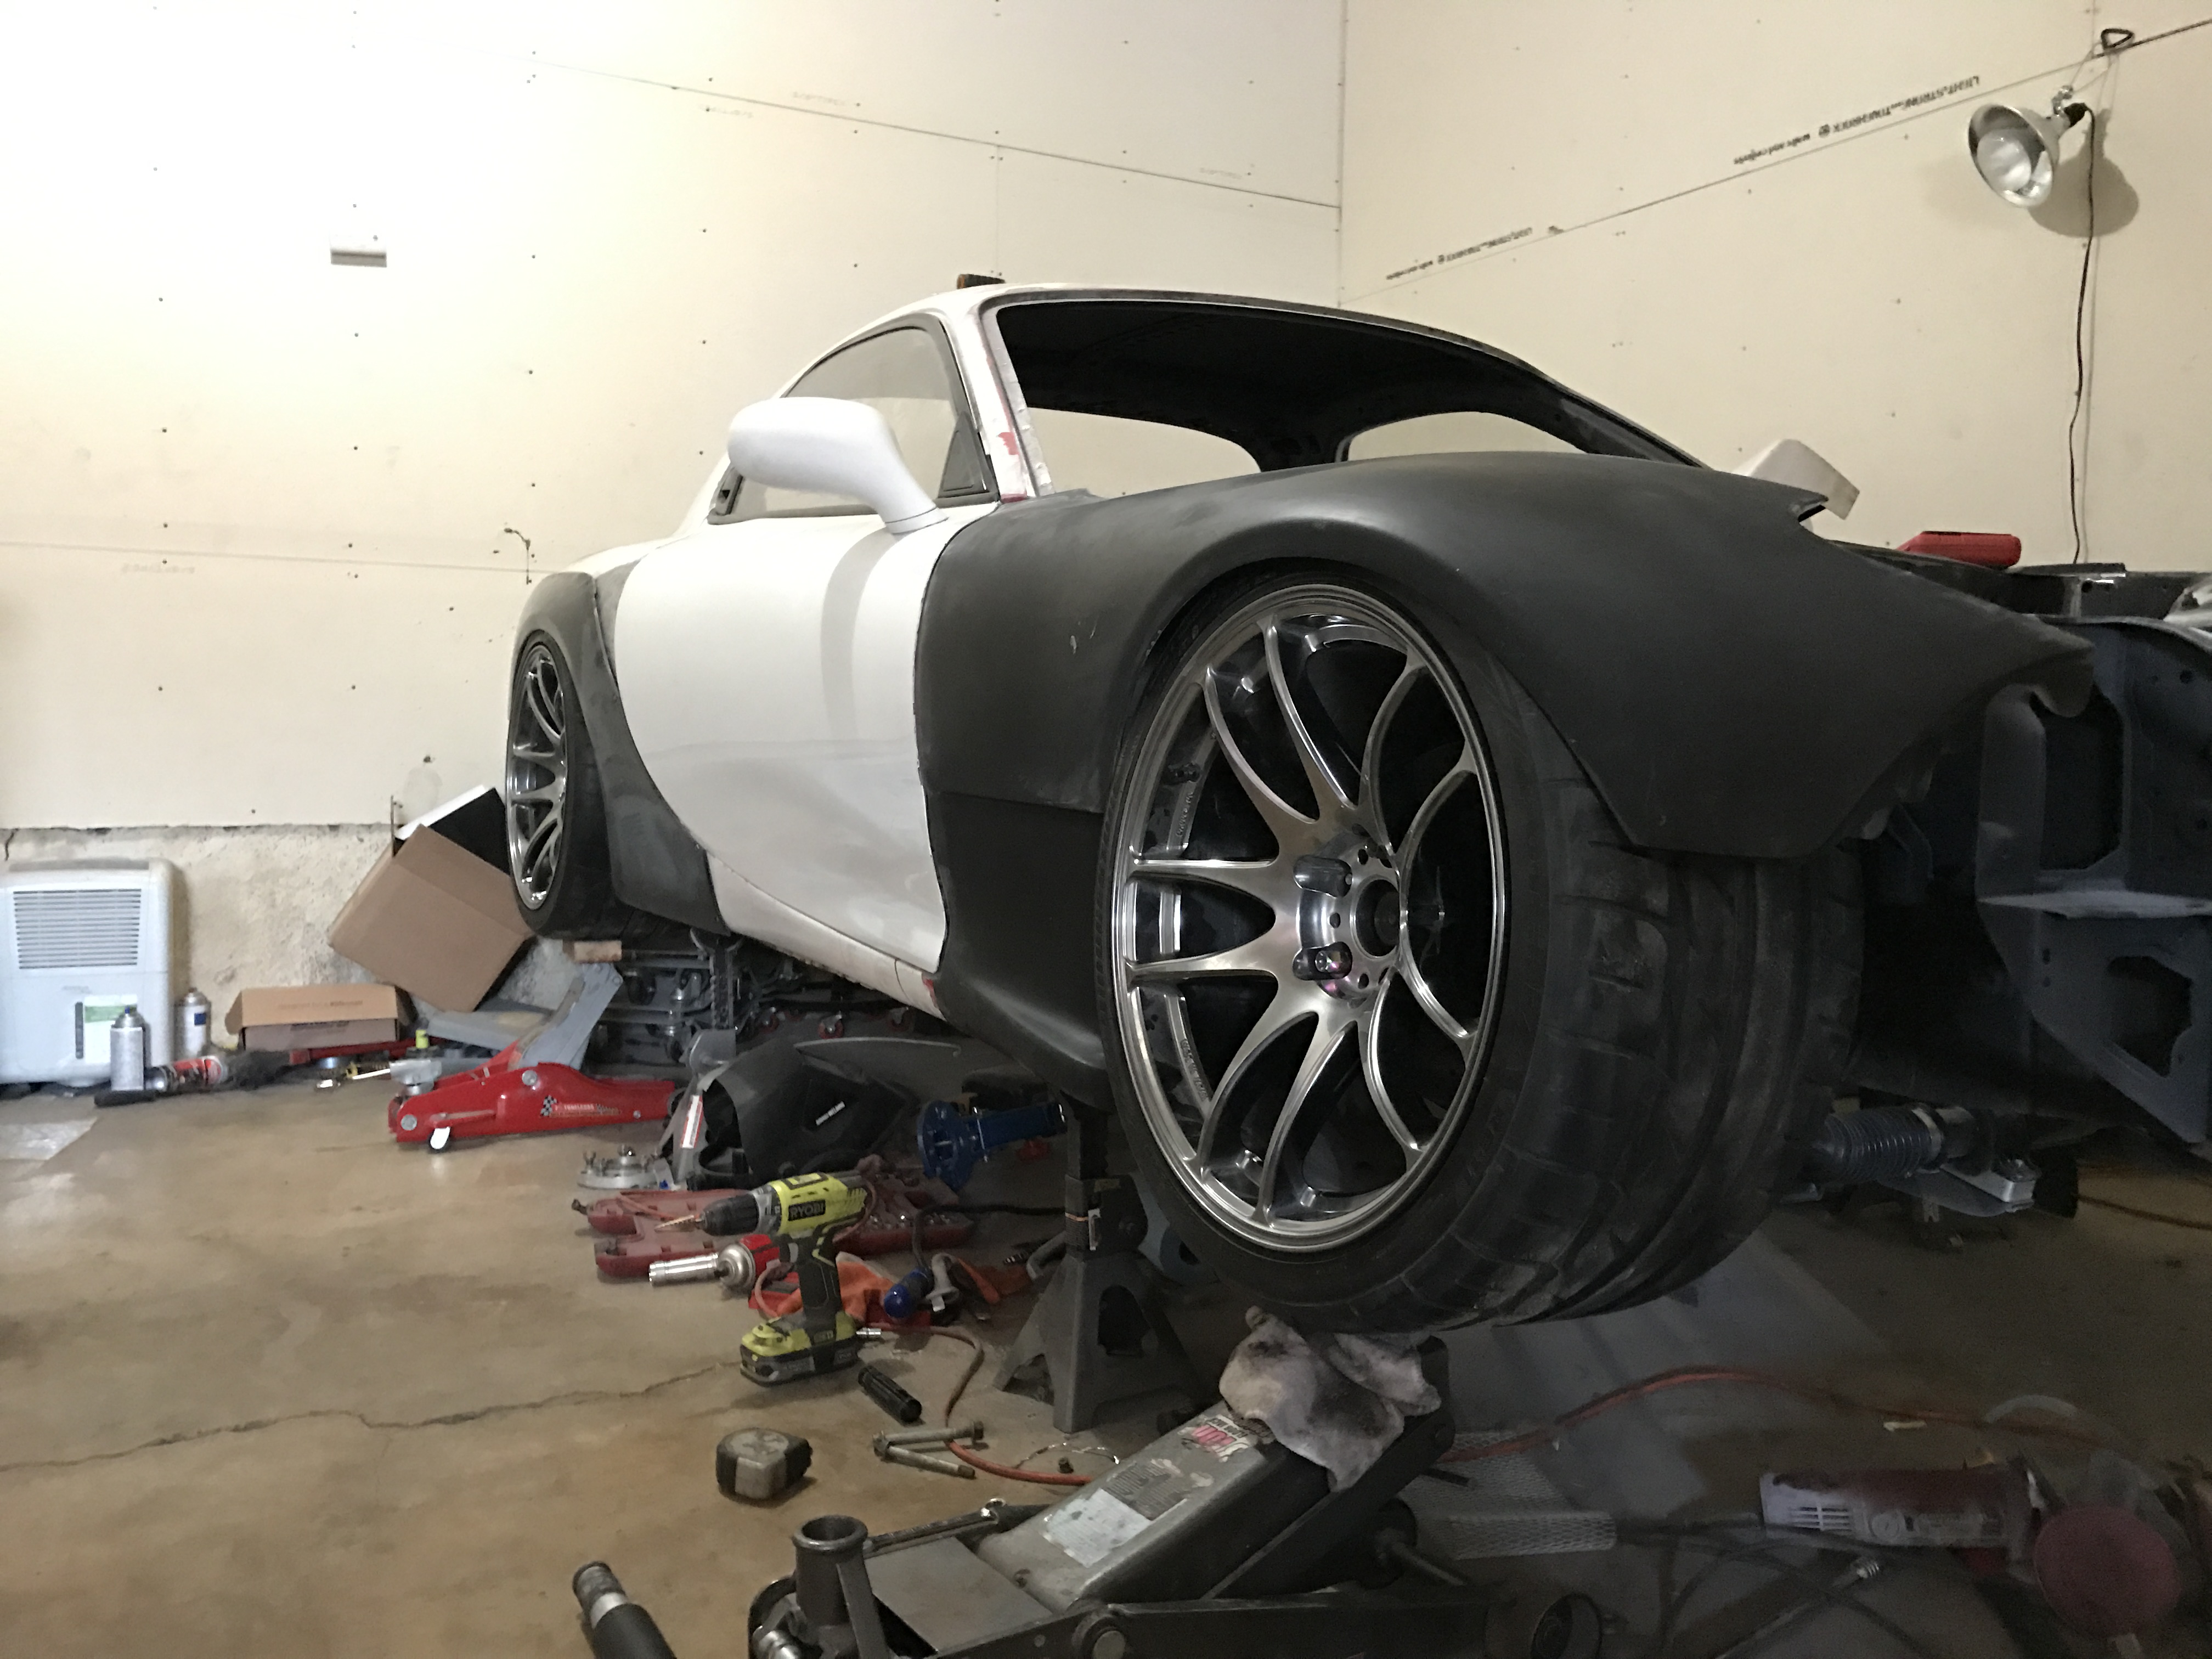
I wanted some kind of protection to keep water/dirt out of the fender area with the overfender on, so I cut the outer panel and then pulled up the inner panel to it. It had to be sectioned as seen here, but it worked out alright.
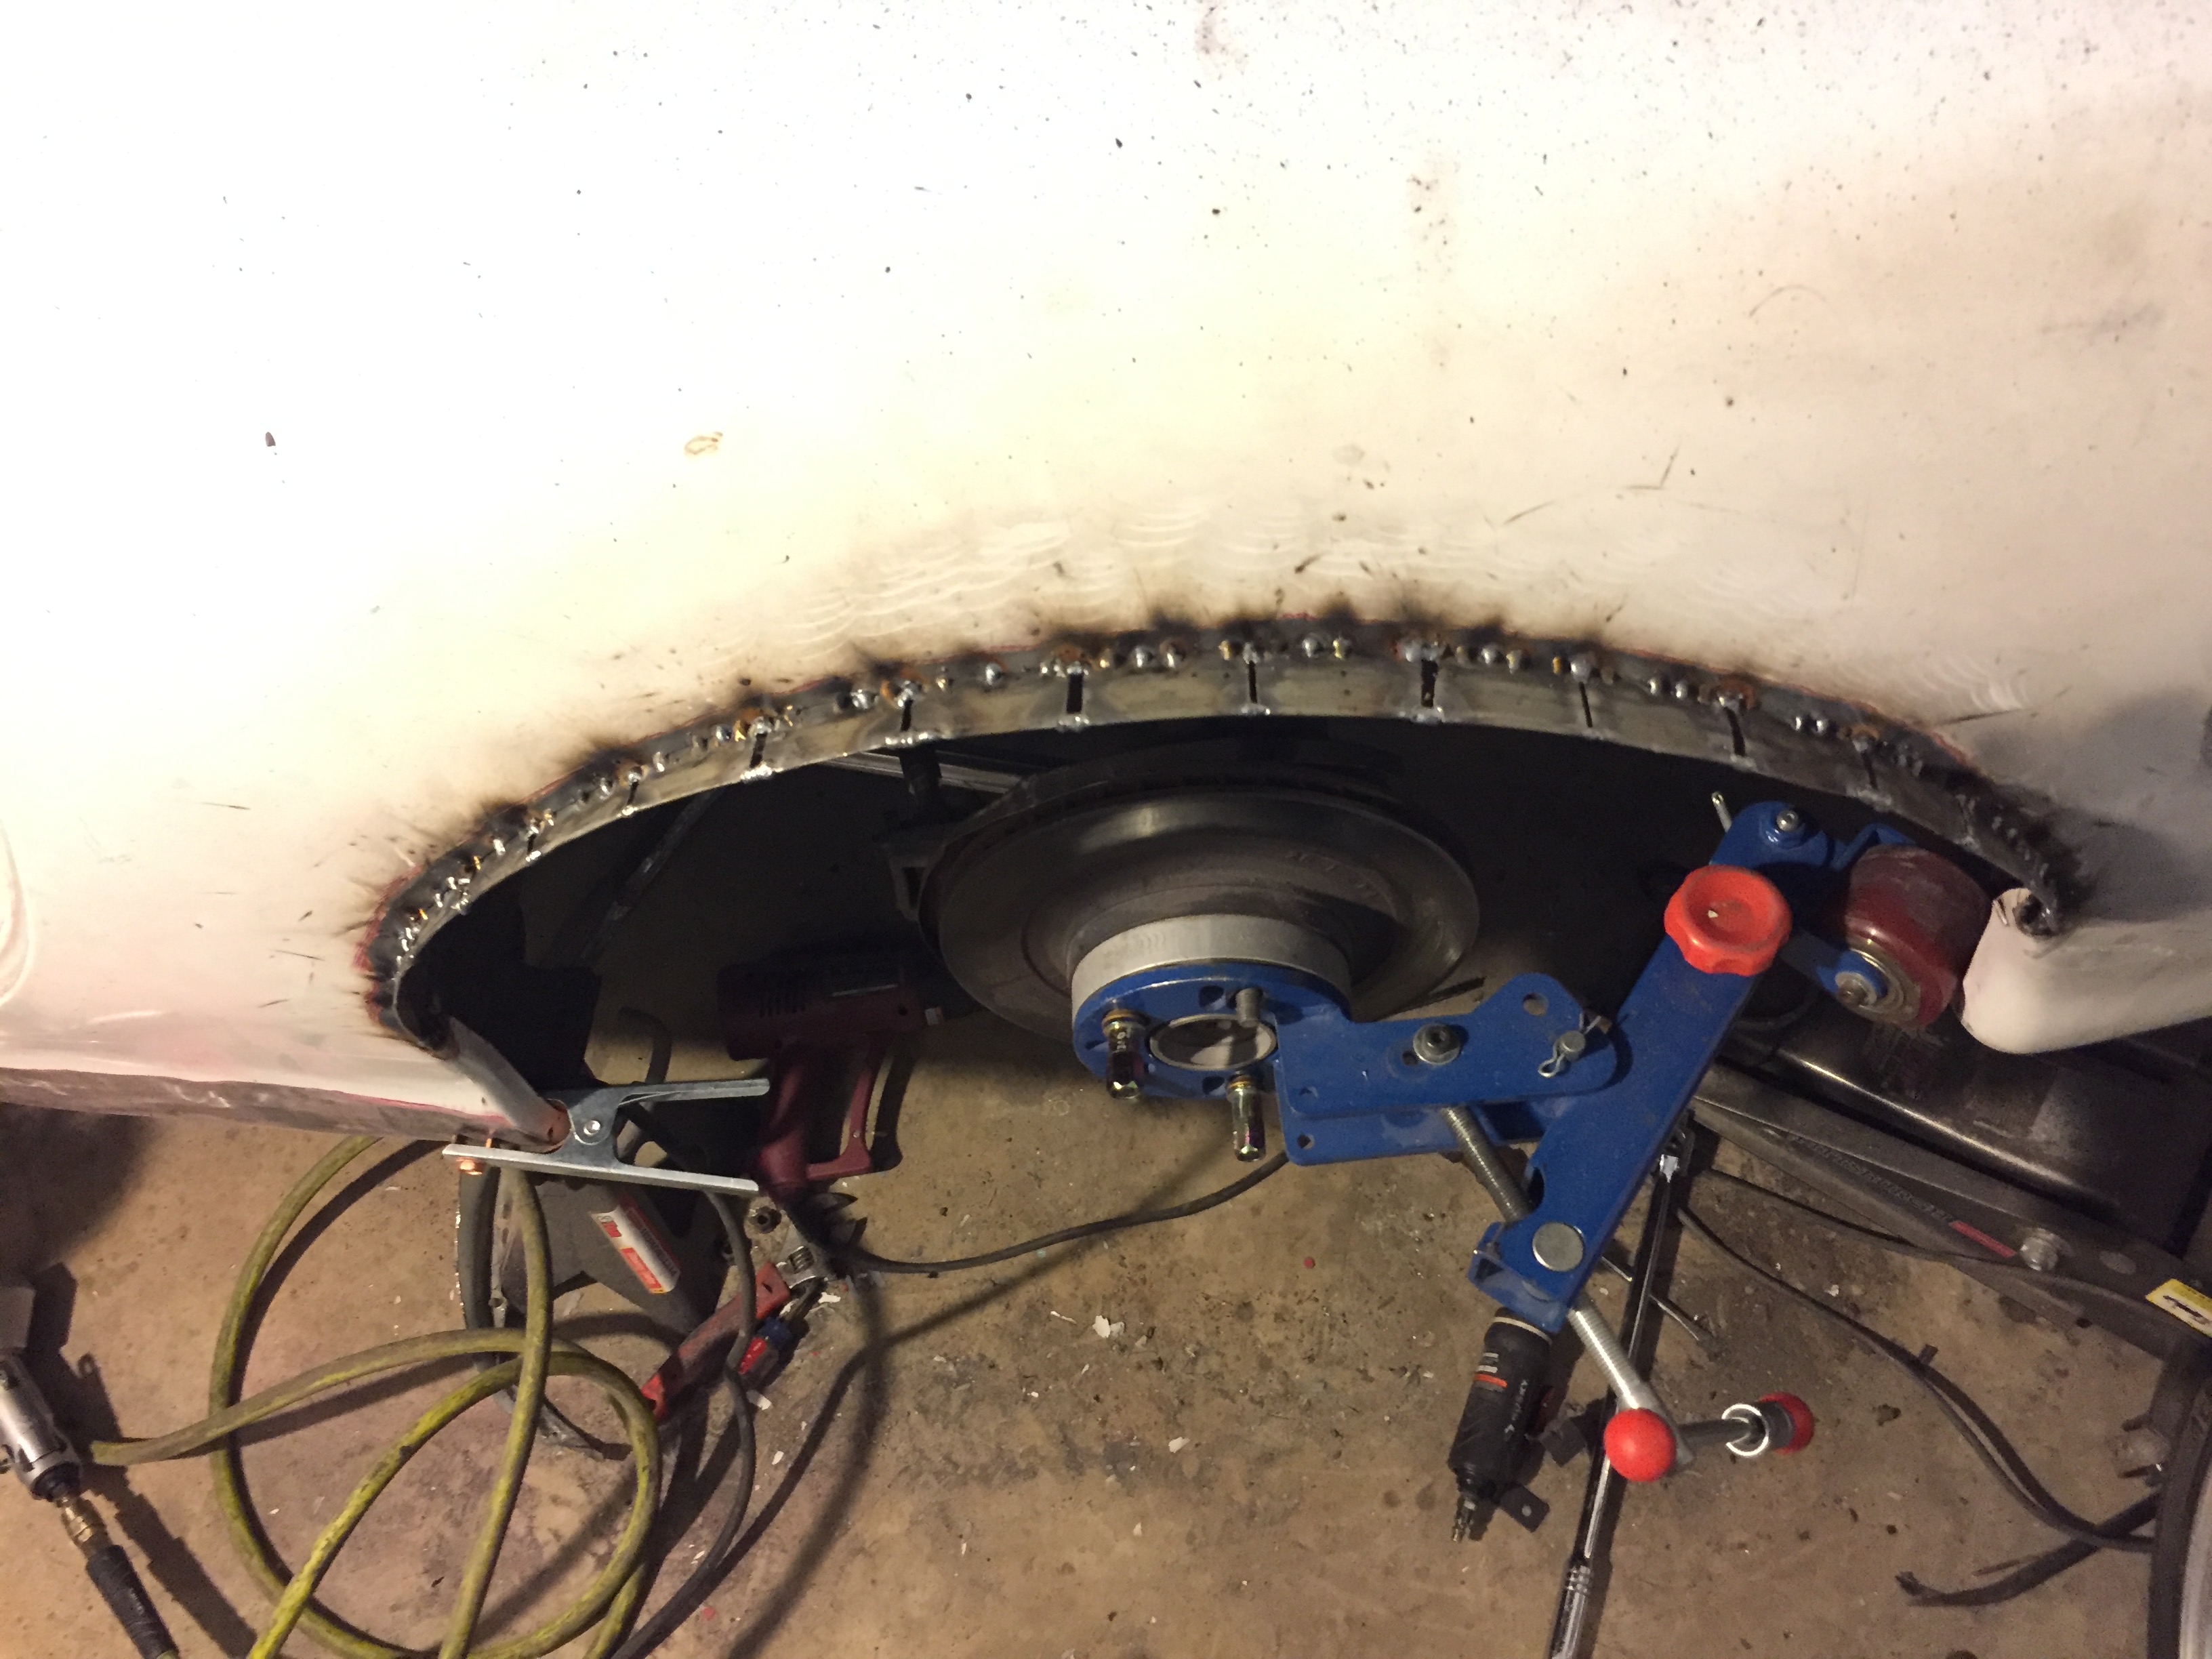
This should be plenty of clearance
Looovvee how this is going to turn out when done. It gives me some motivation to finally finish this thing.


This should be plenty of clearance


Looovvee how this is going to turn out when done. It gives me some motivation to finally finish this thing.


 02-13-17, 09:27 PM
#103
Full Member
Thread Starter
OH MY FUQ. WHY DOES THIS KEEP HAPPENING??!! Accidentally closed the tab this time and erased everything I had typed.
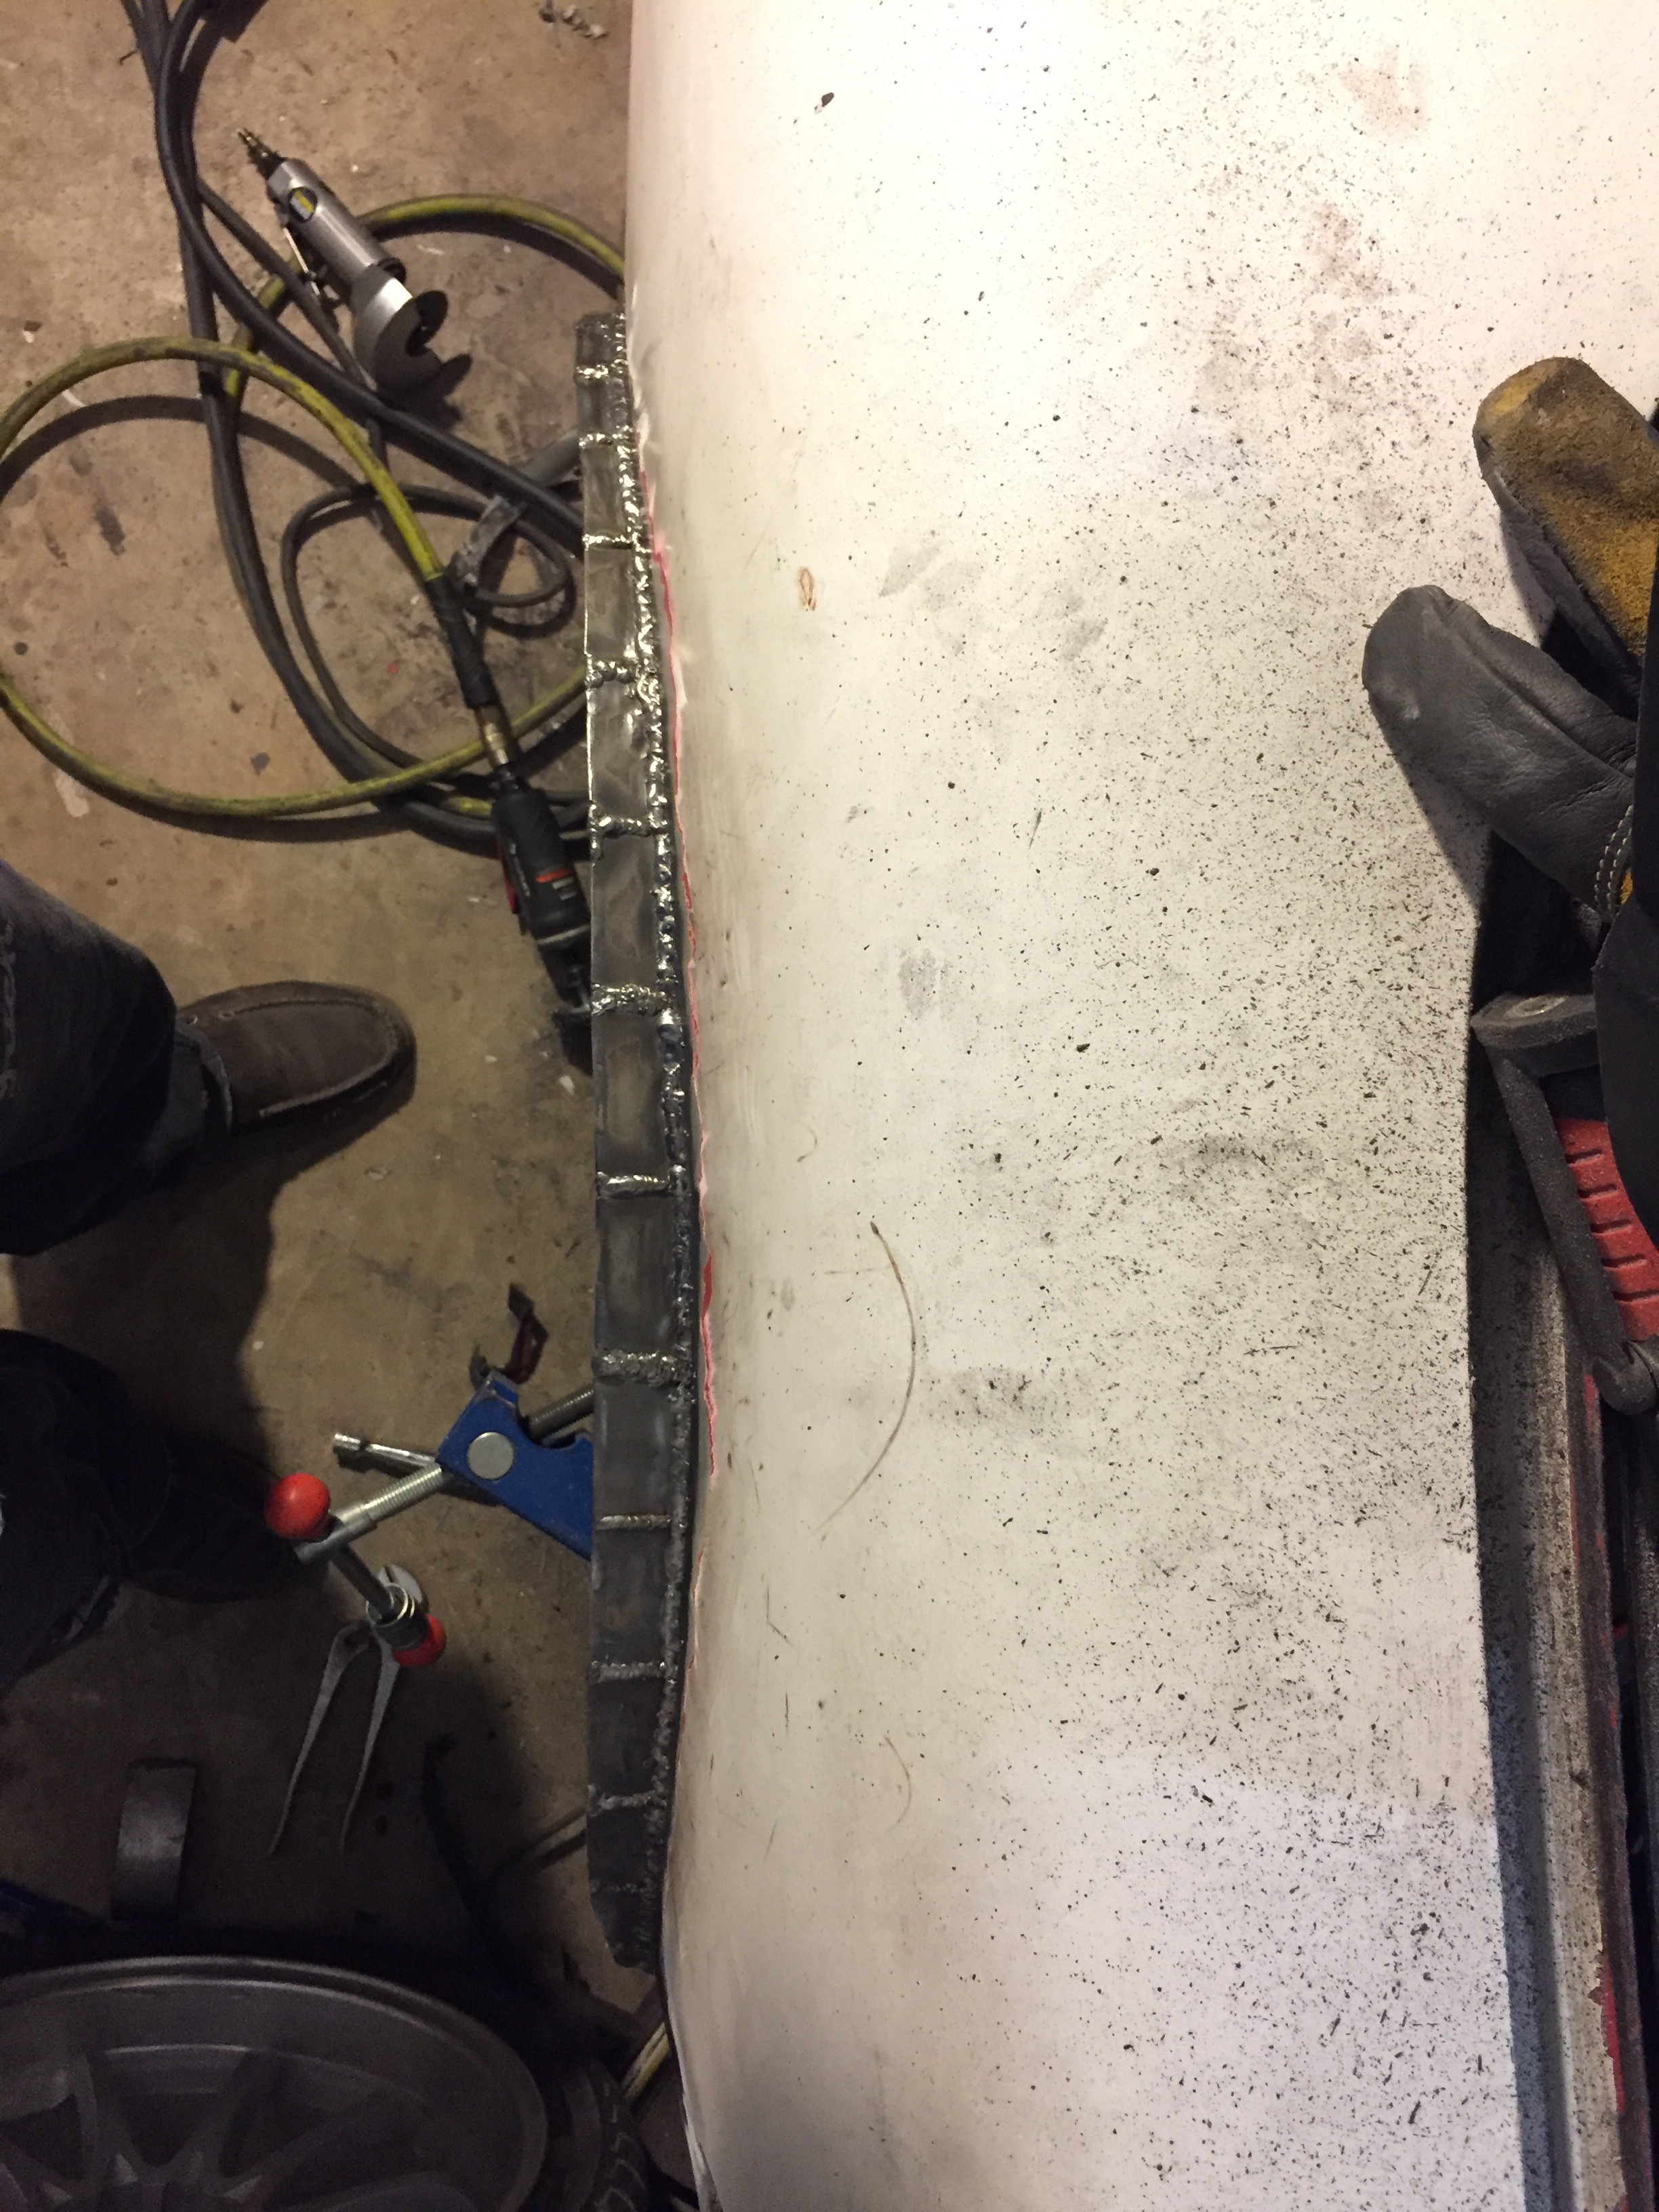
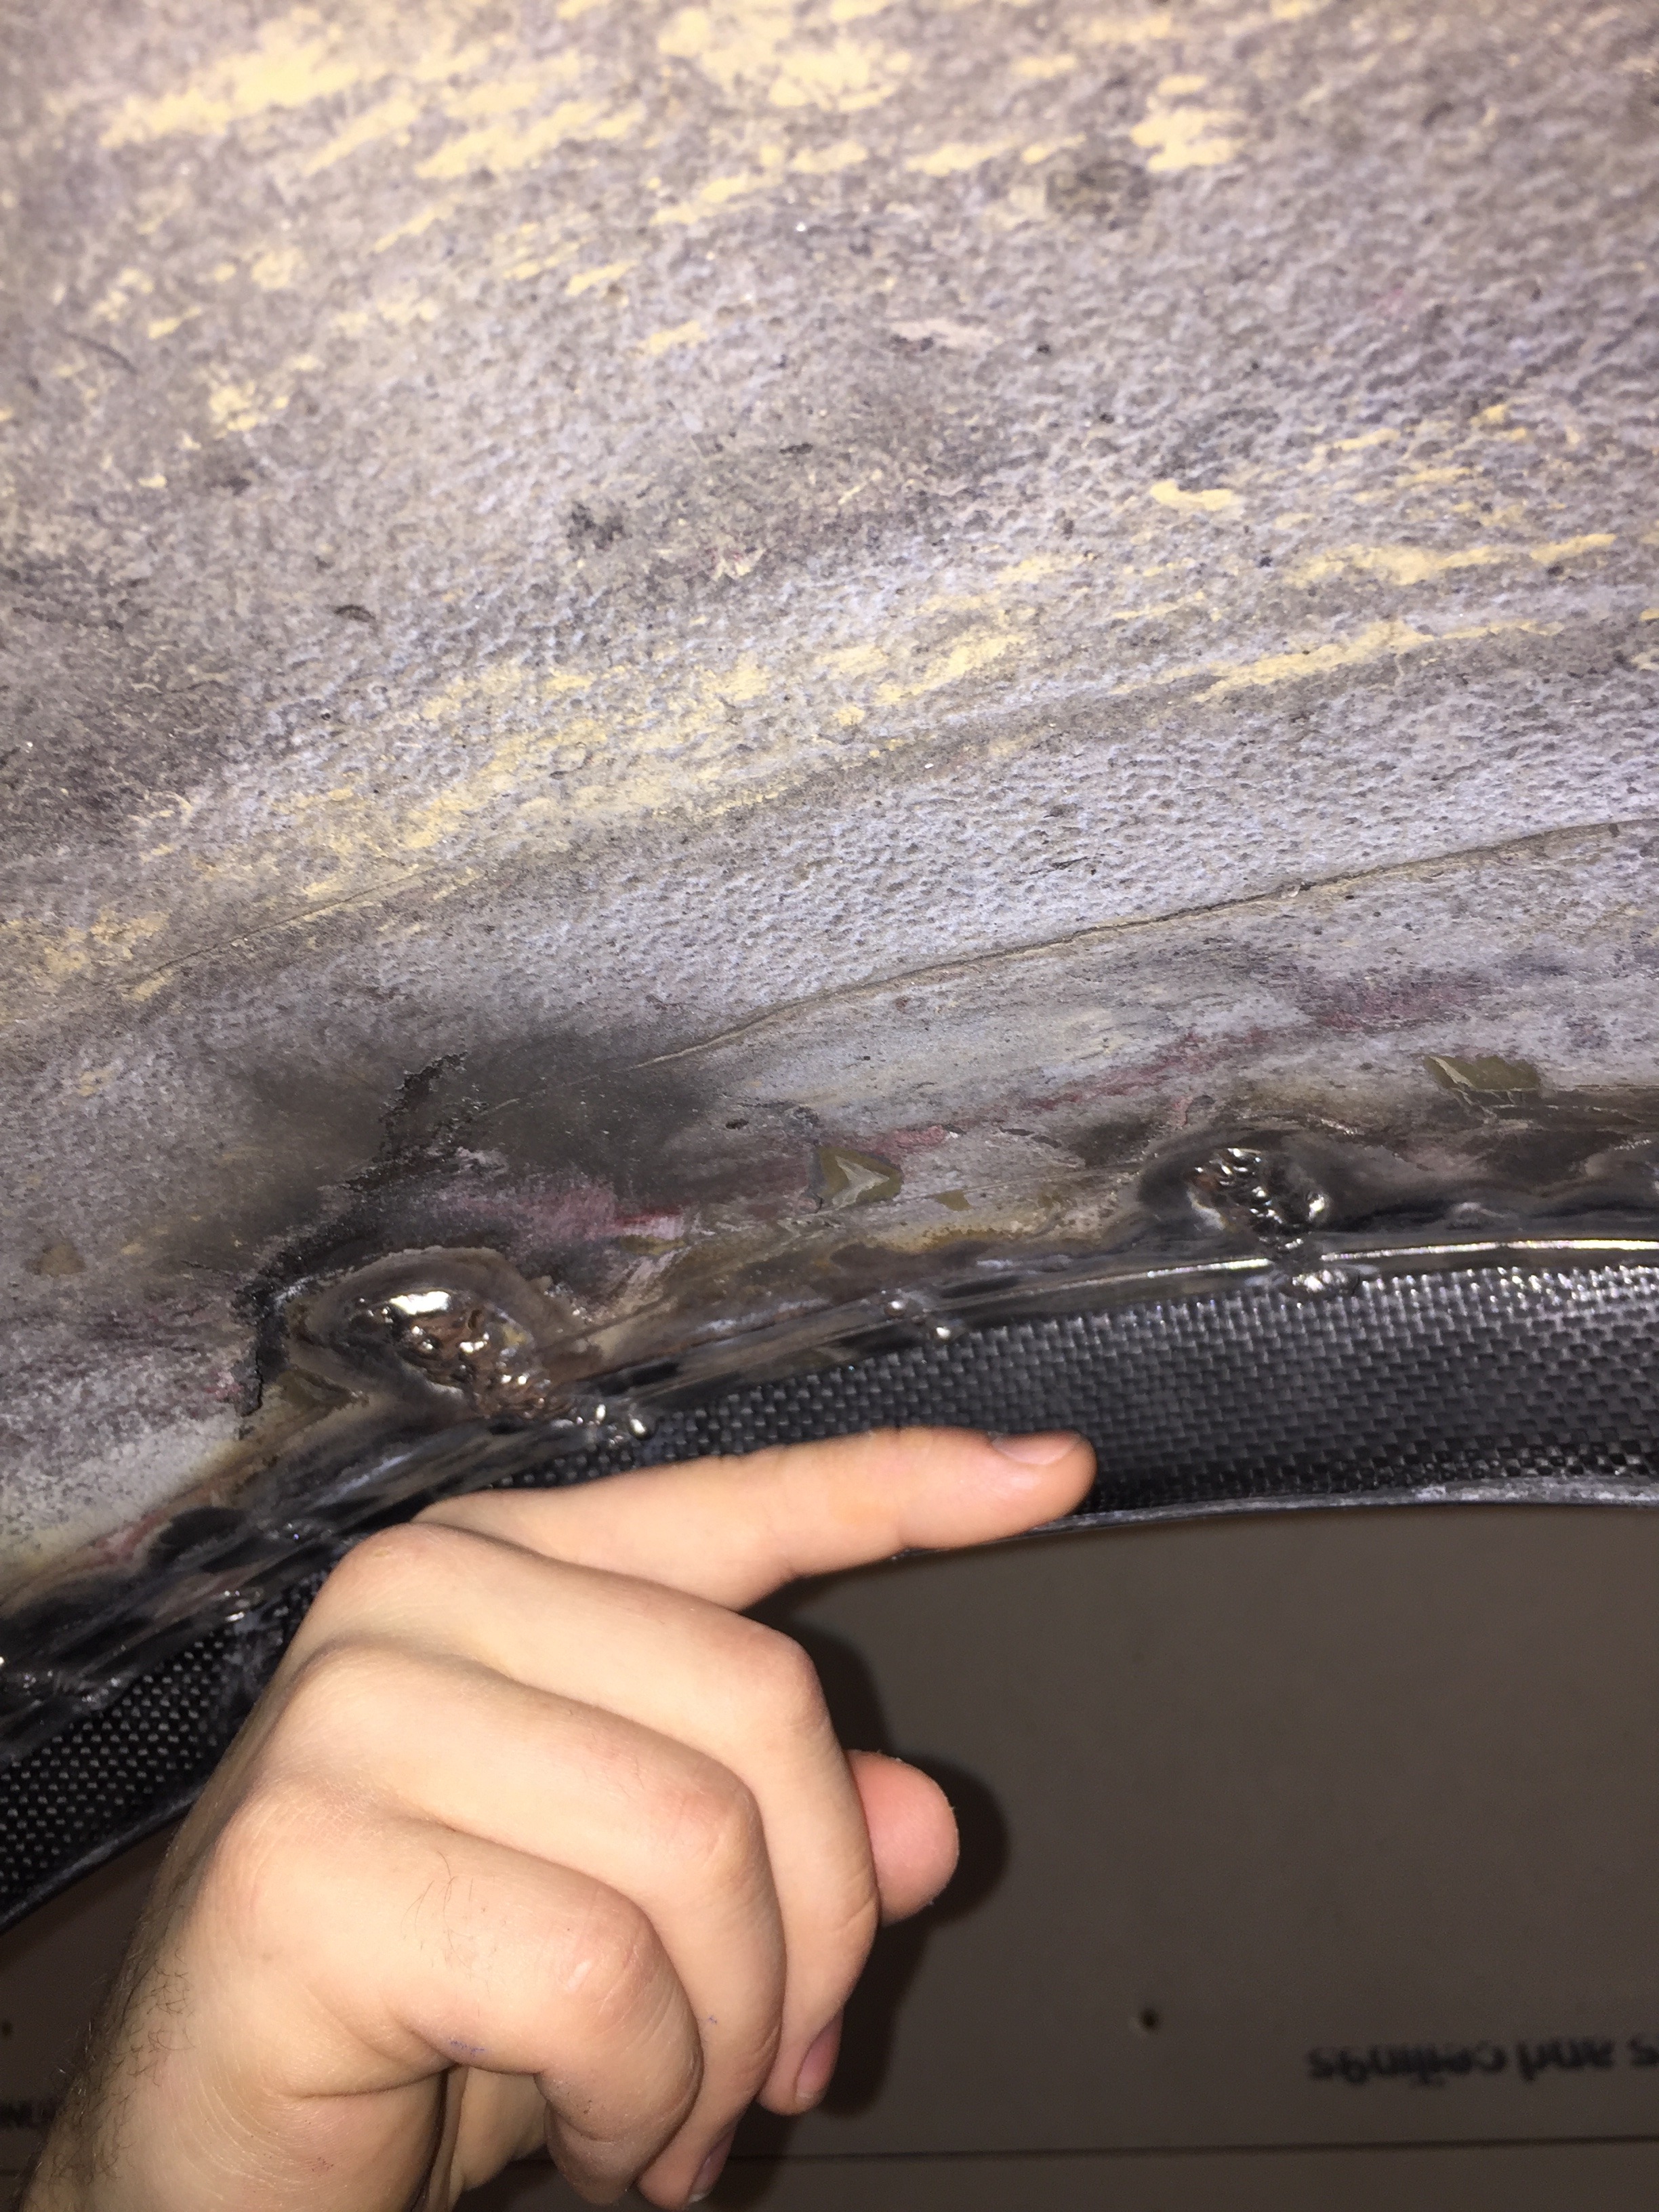
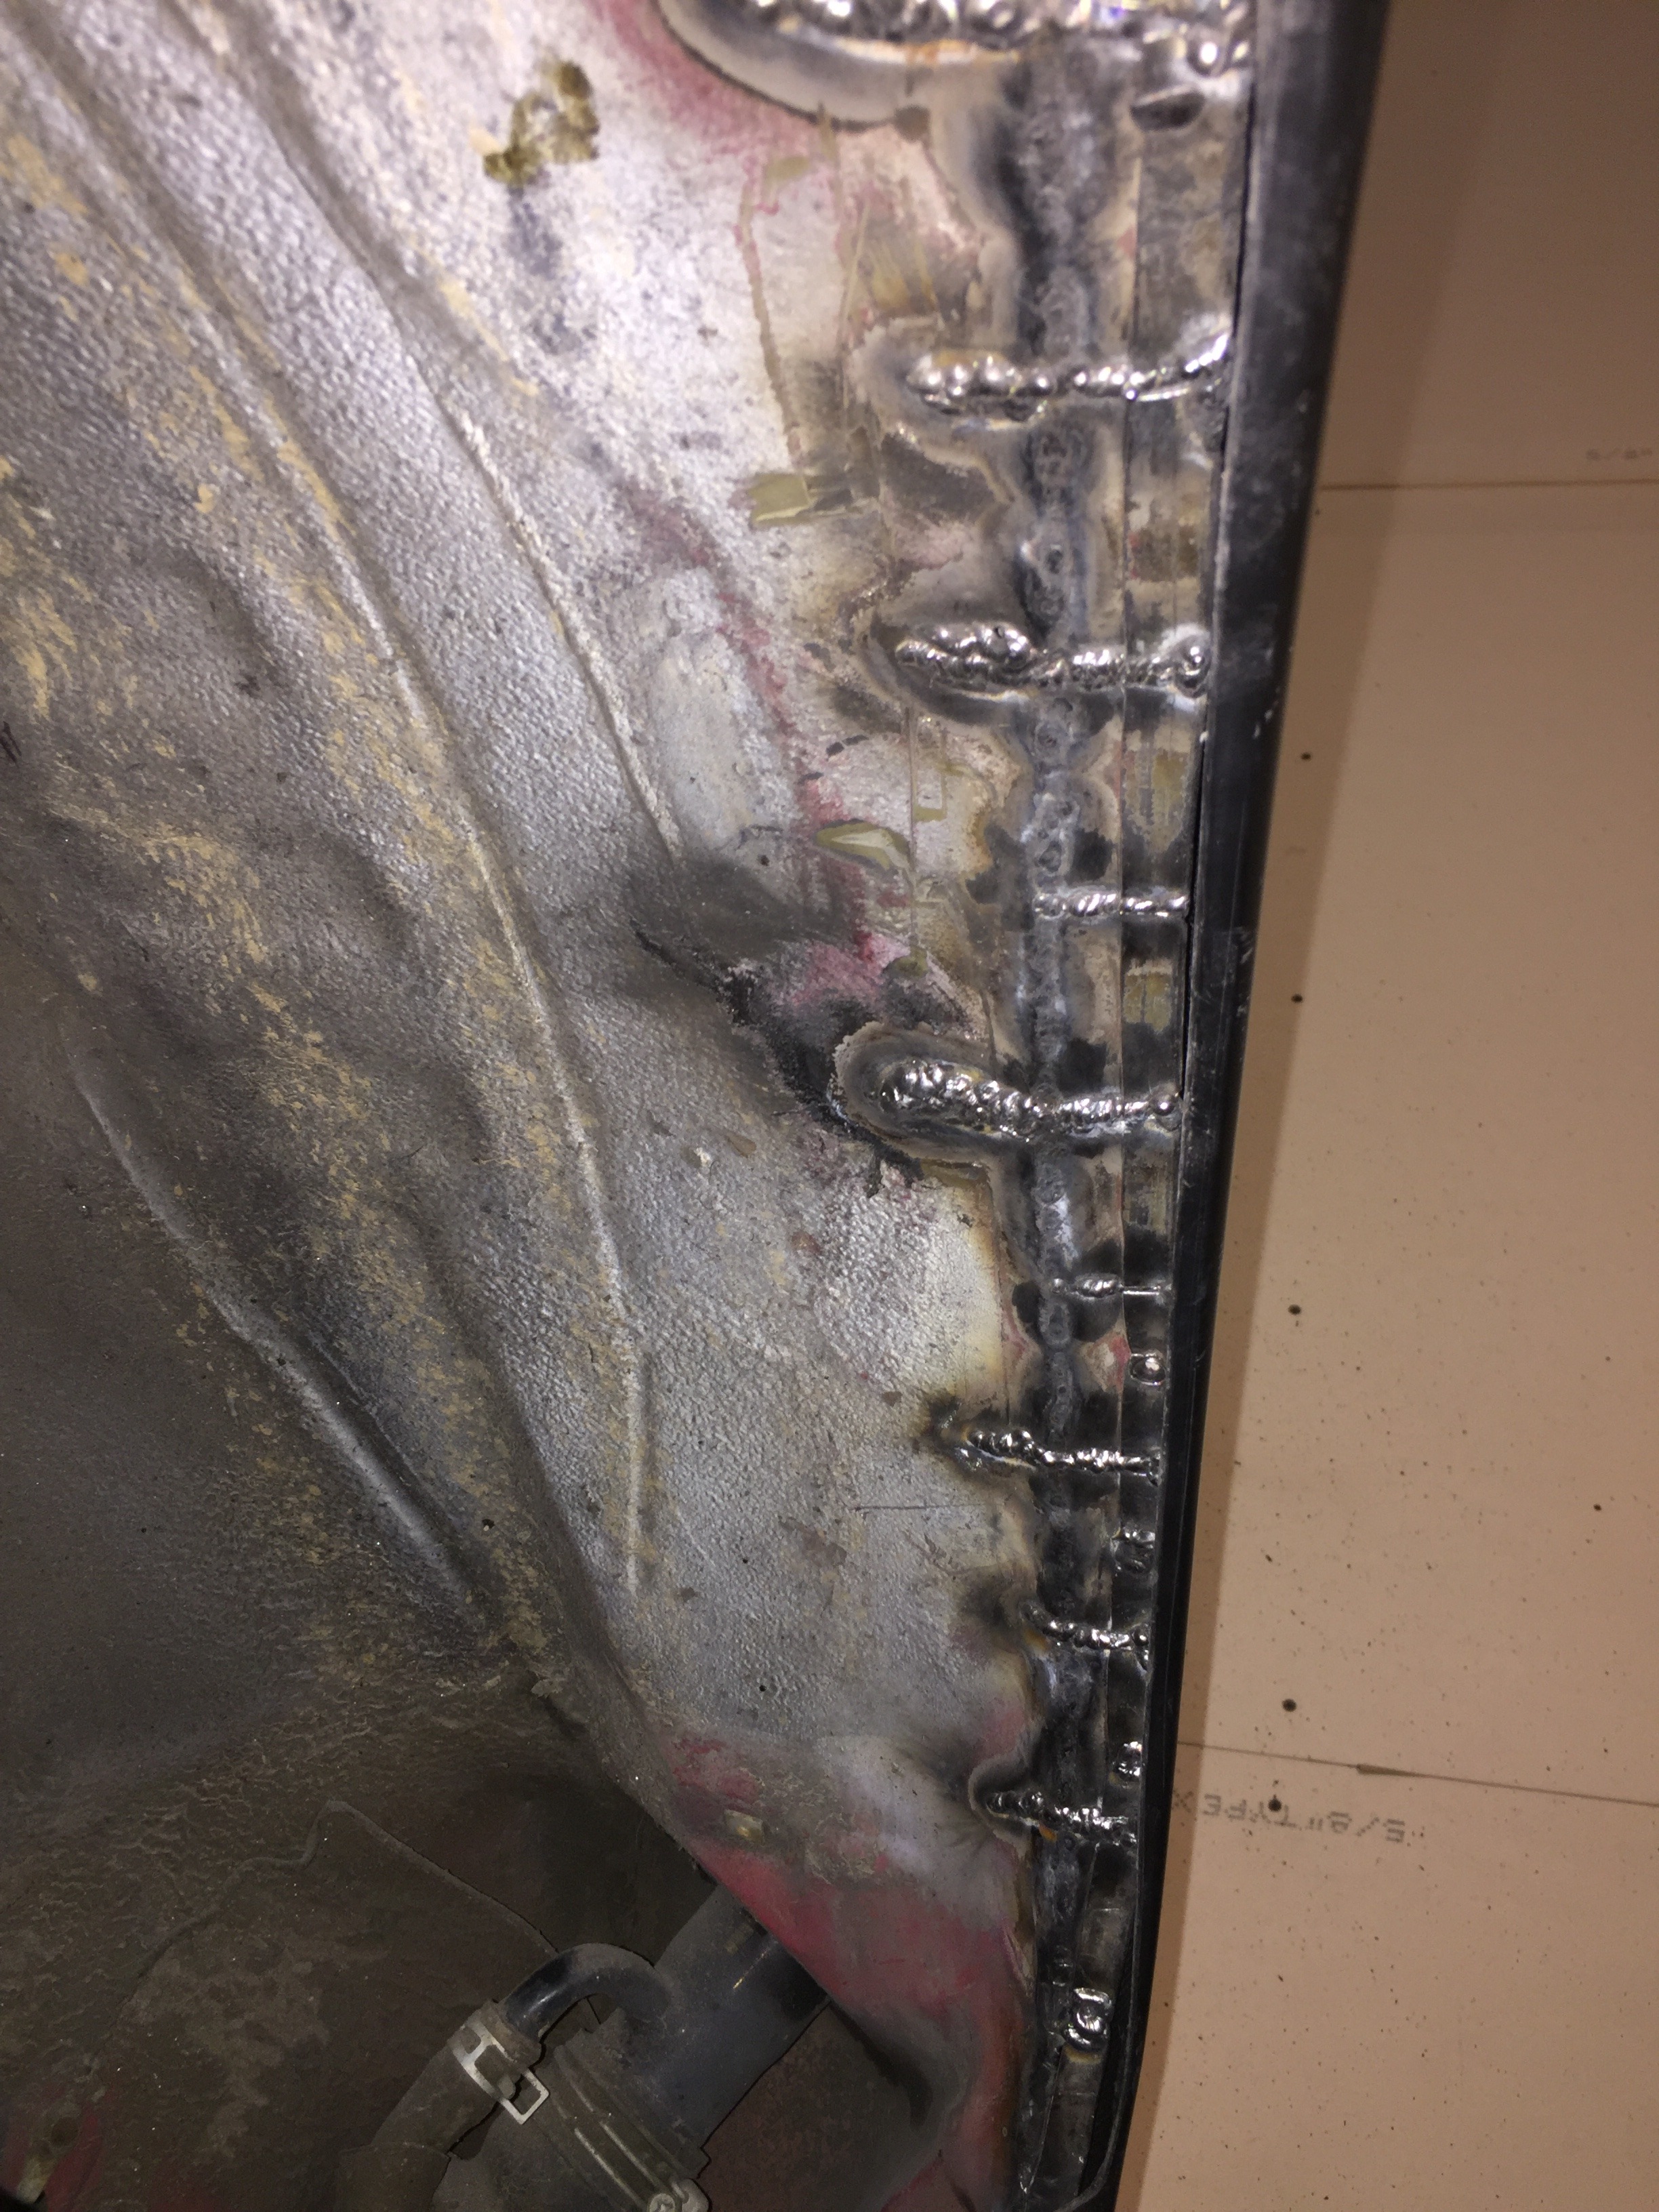
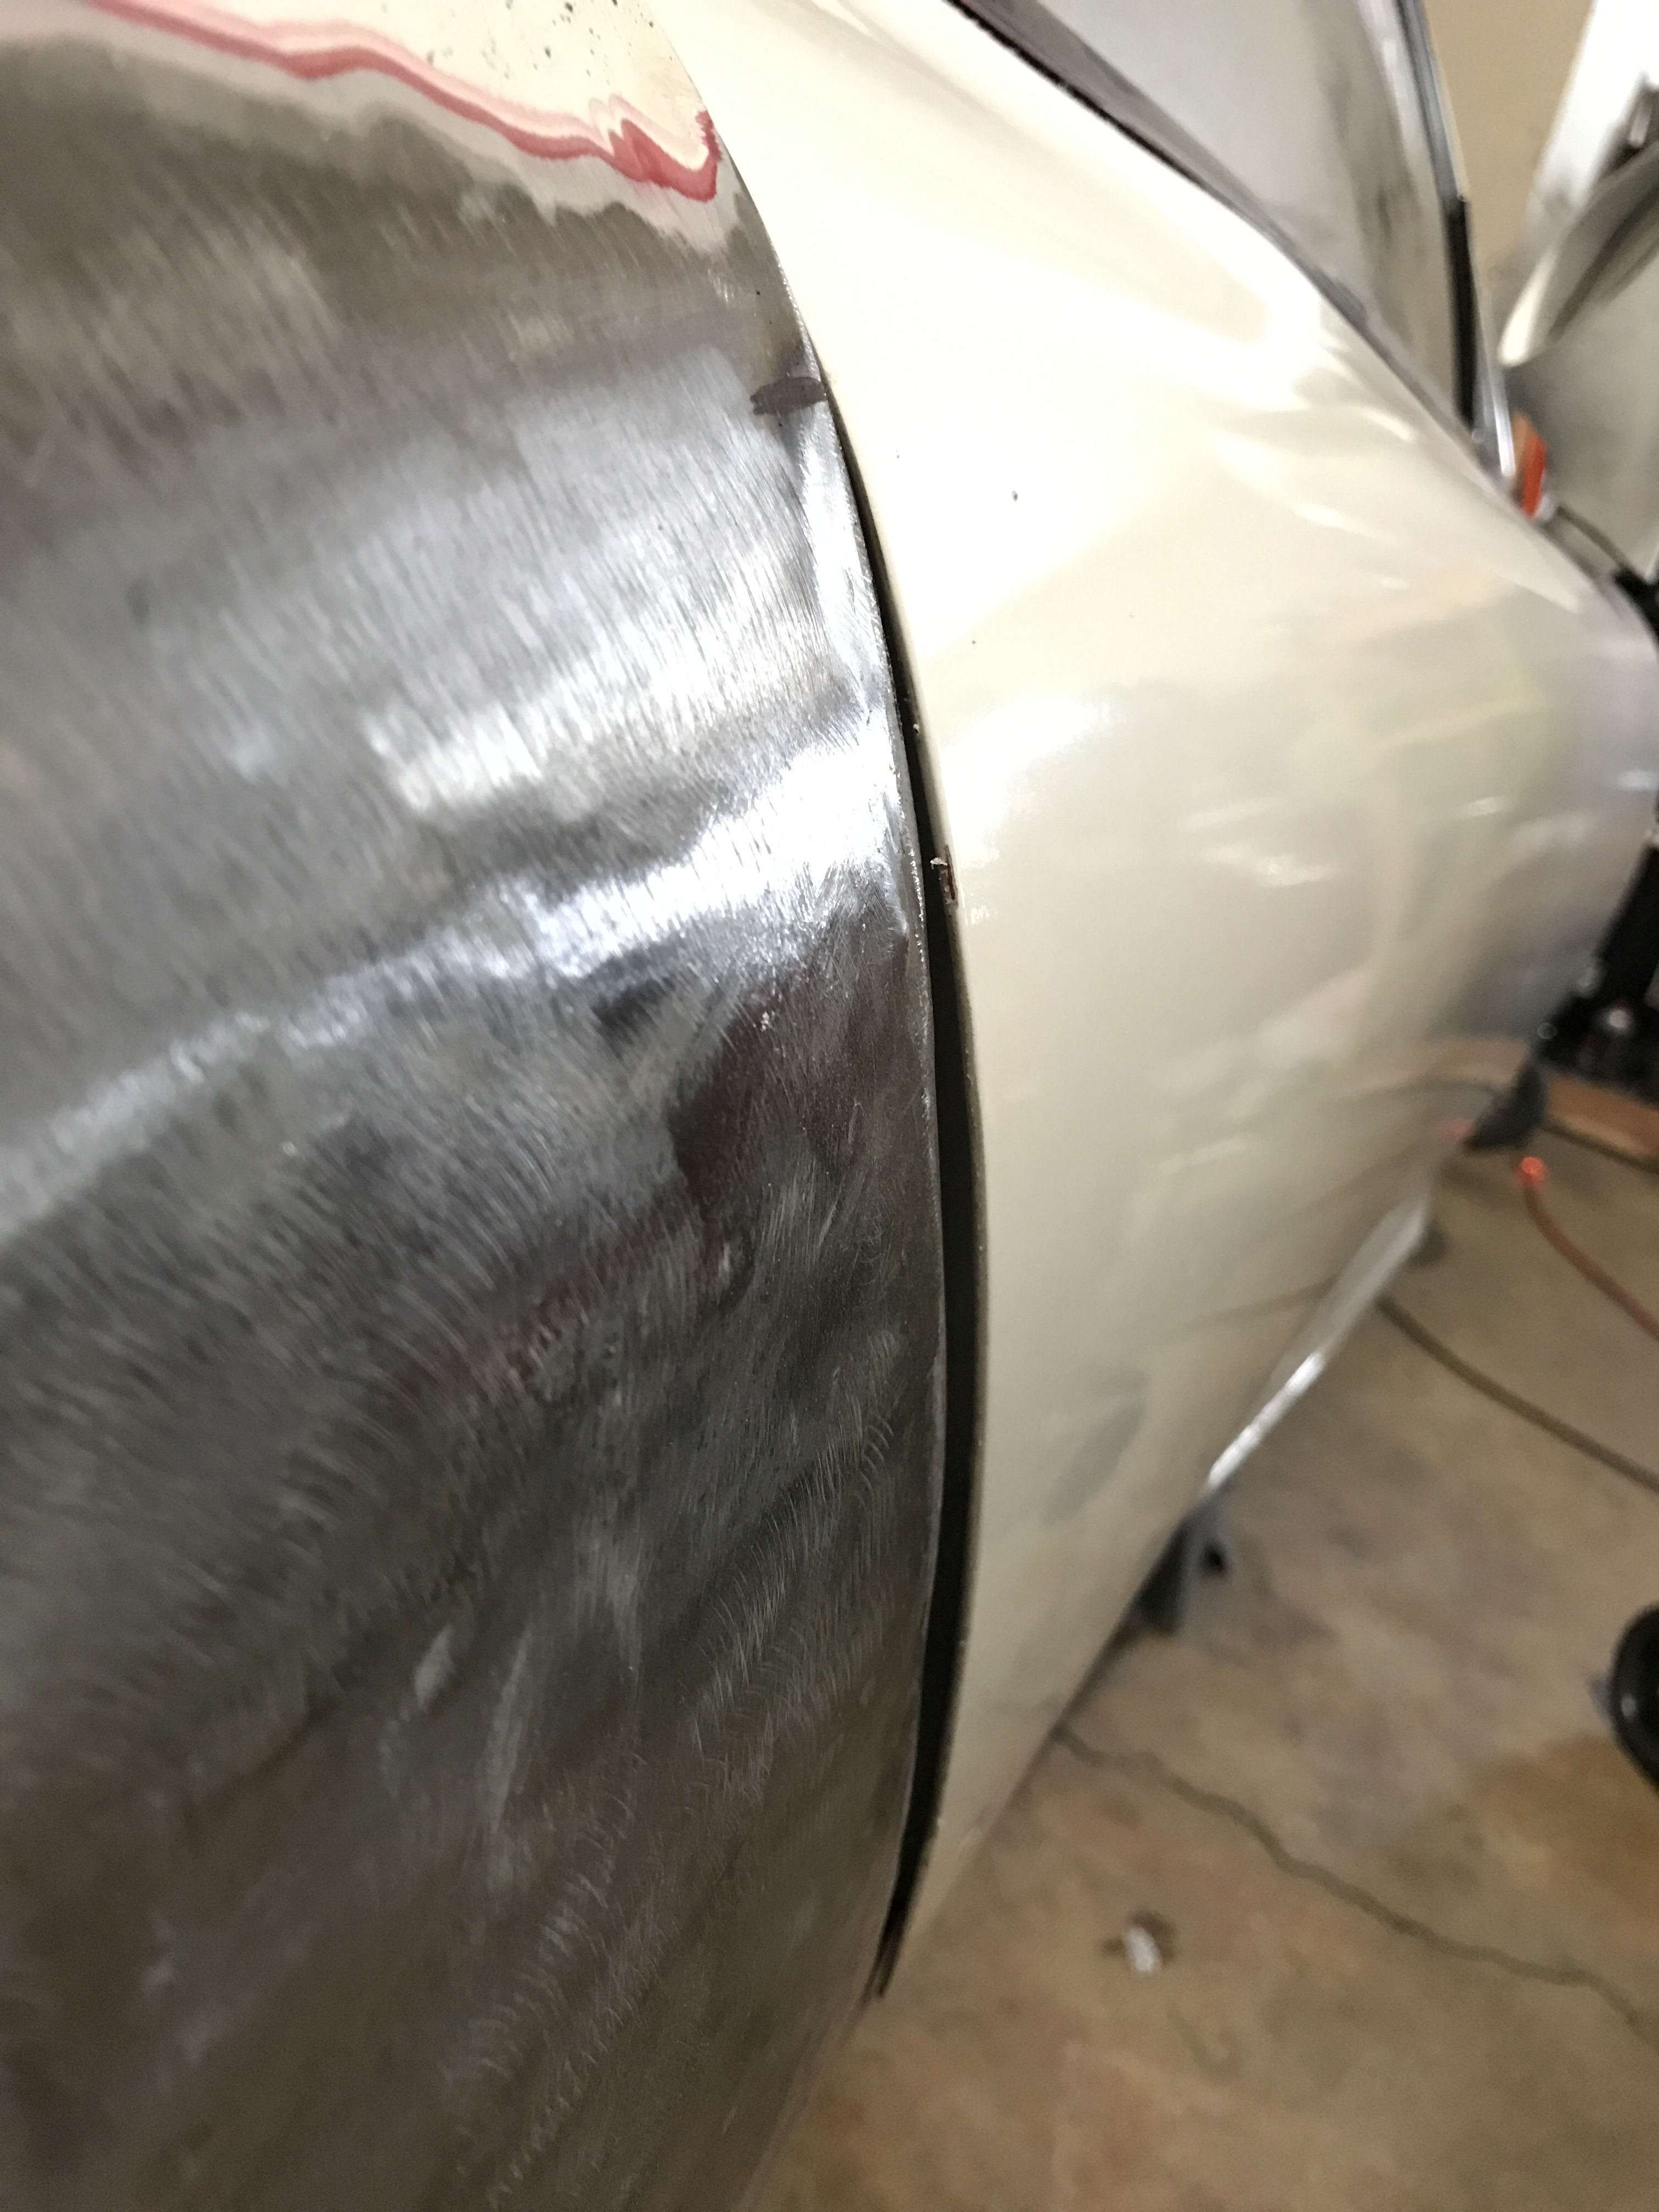
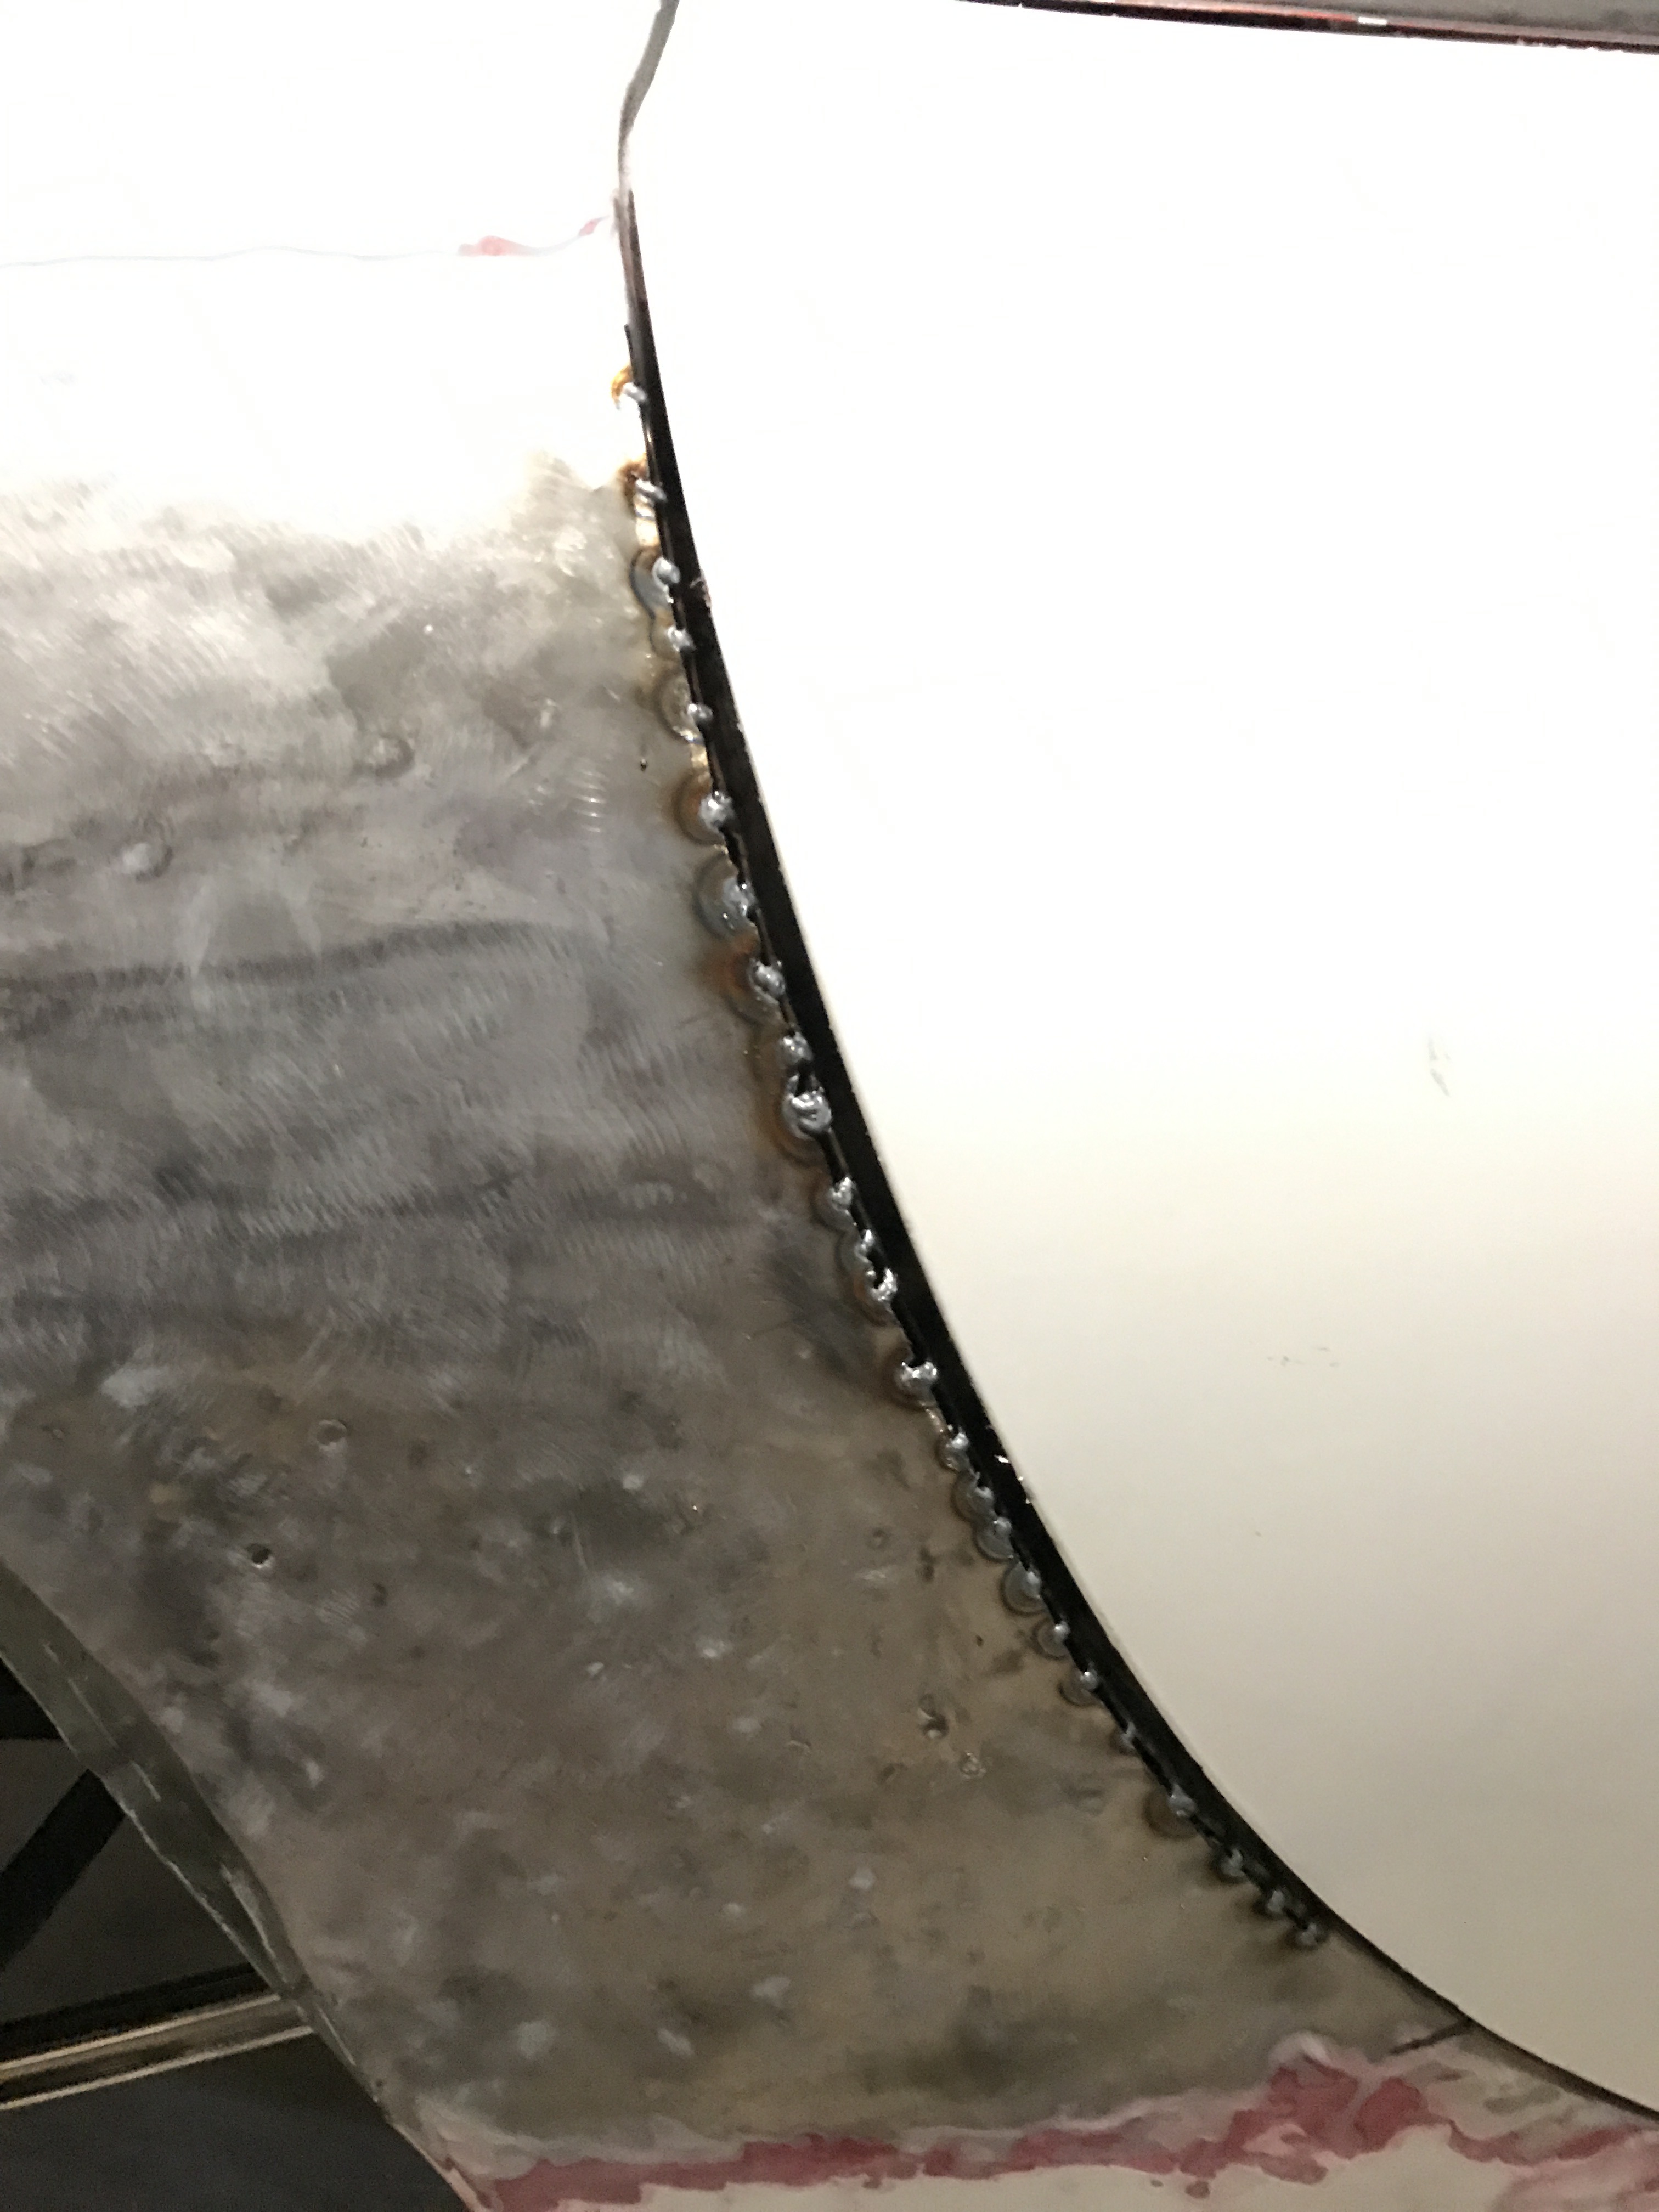
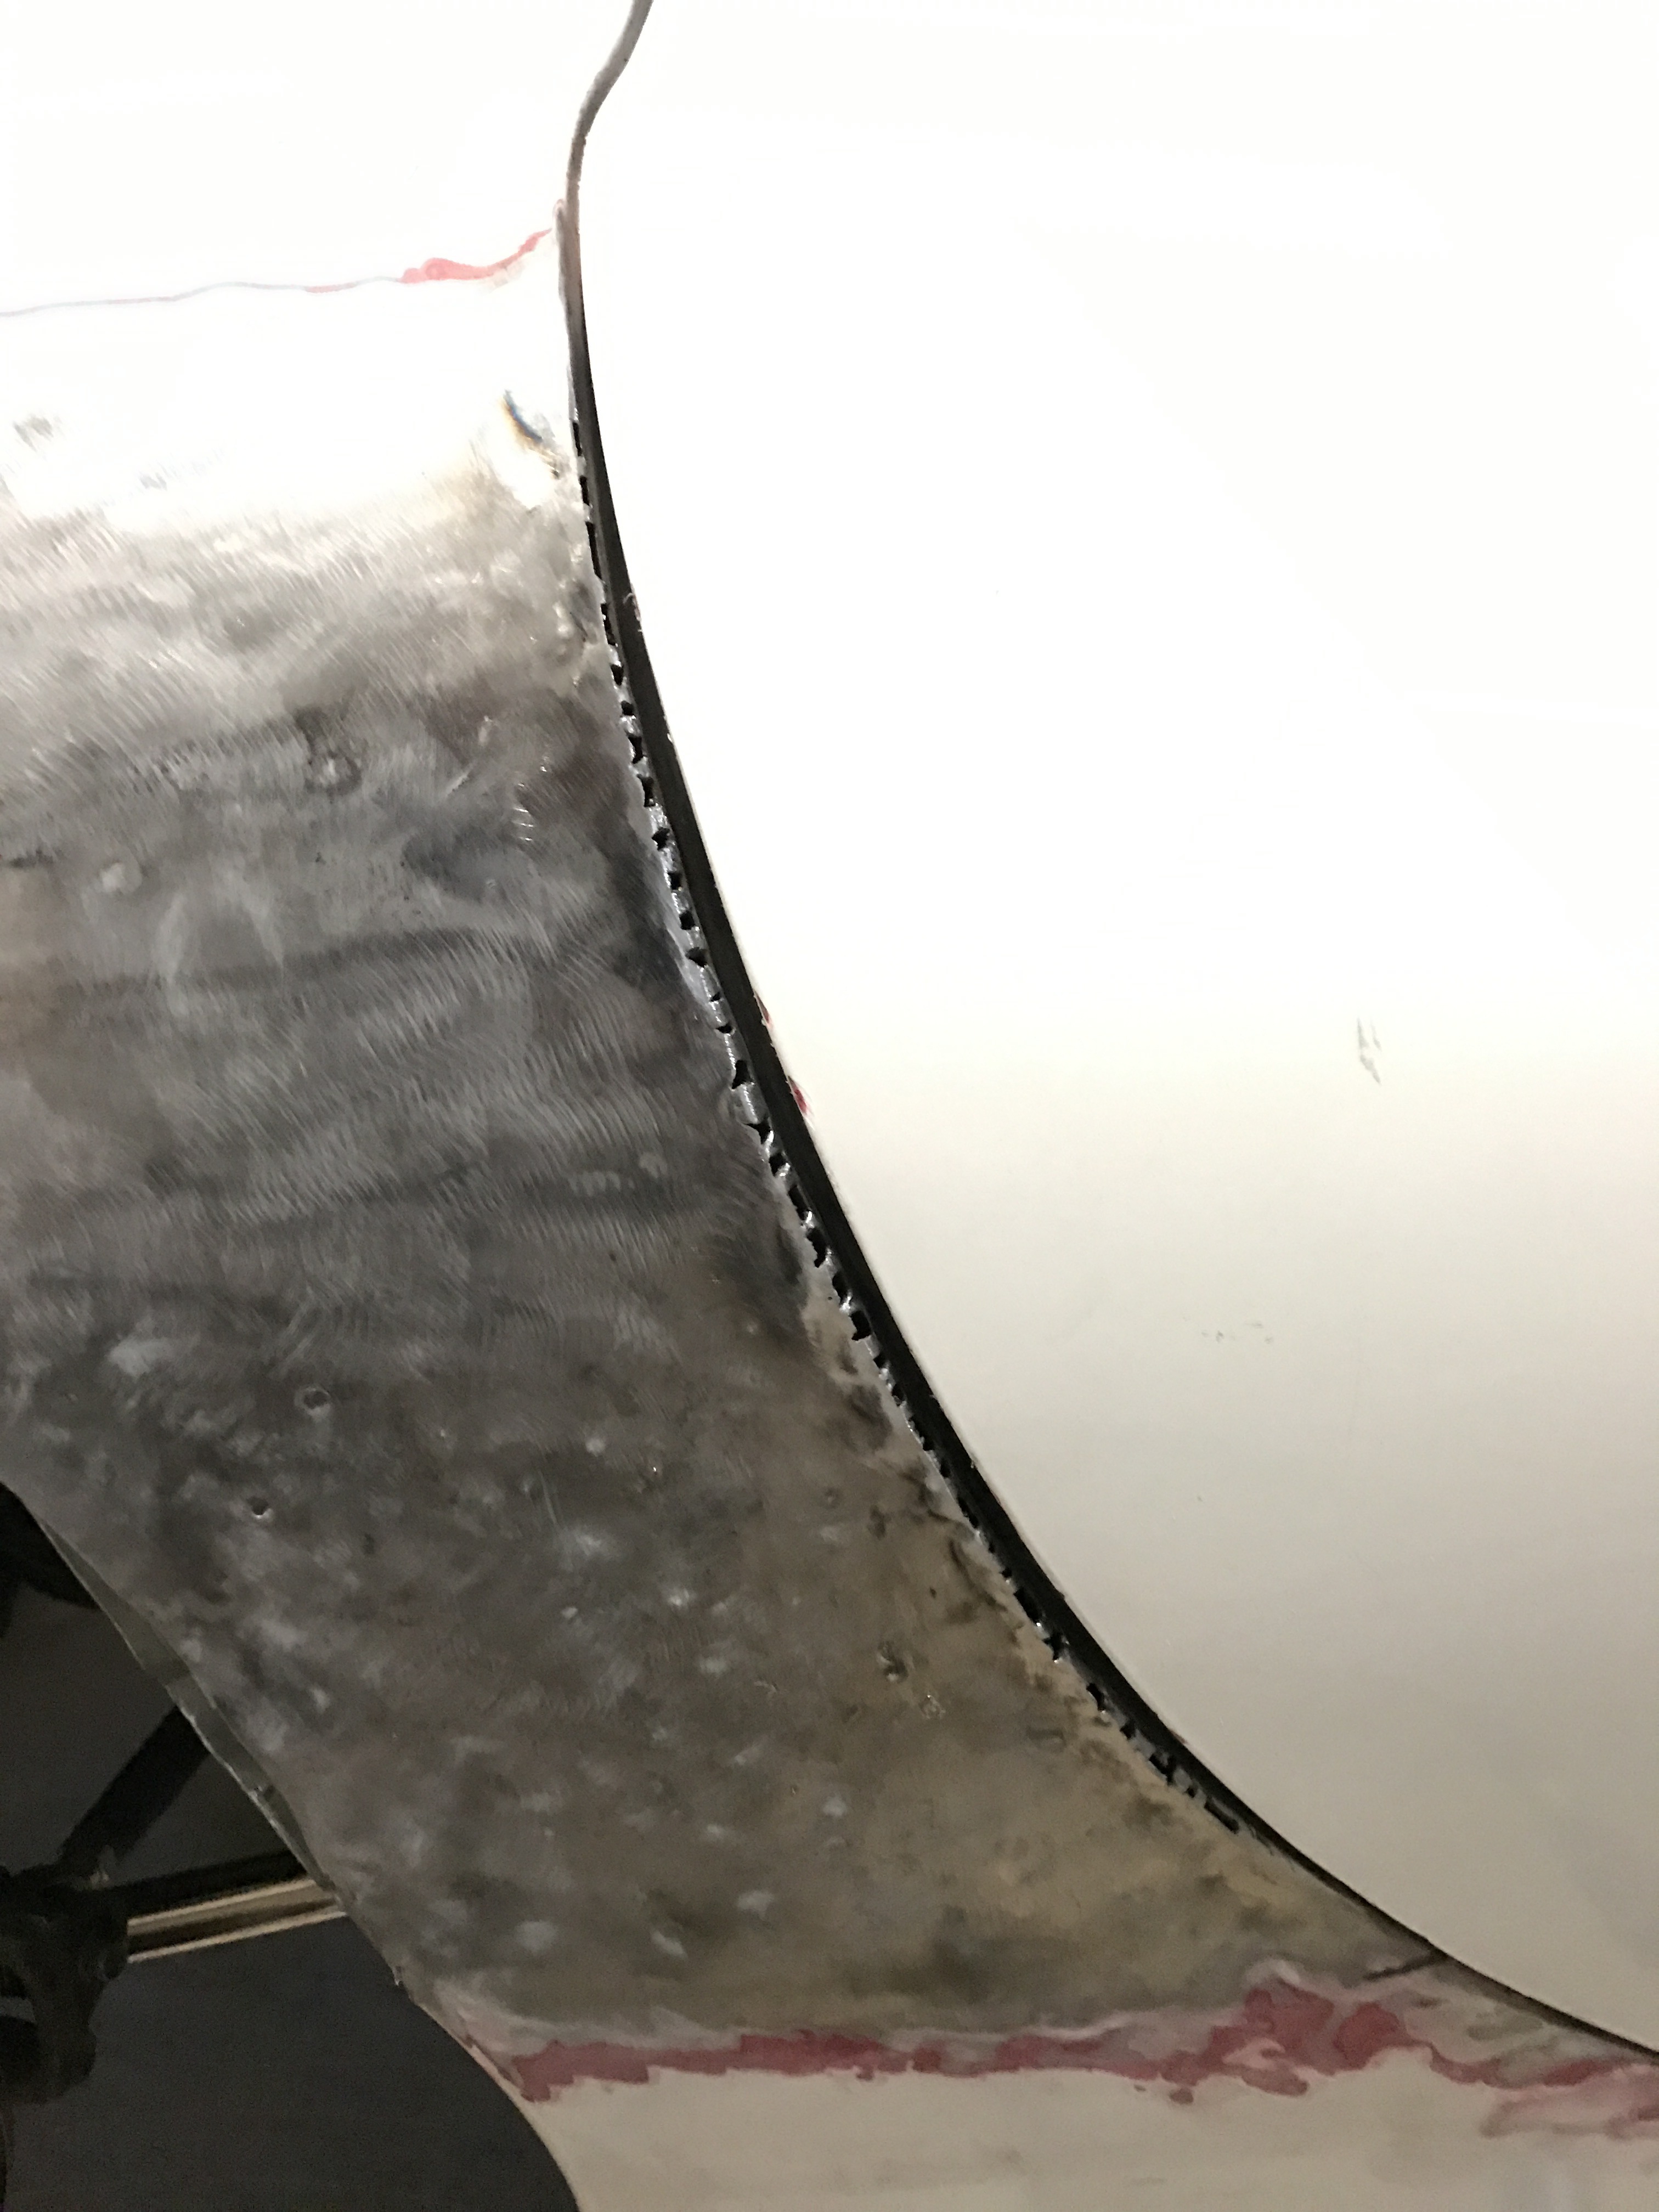
Short synopsis again. I started working on the other side. There was bodywork. I started fixing it, dropped my dolly inside the car, cut the crap out of the metal and got it out, hated the door to fender gap, cut the fender seam and pulled it and then rewelded it. It's not perfect, but better than it was.
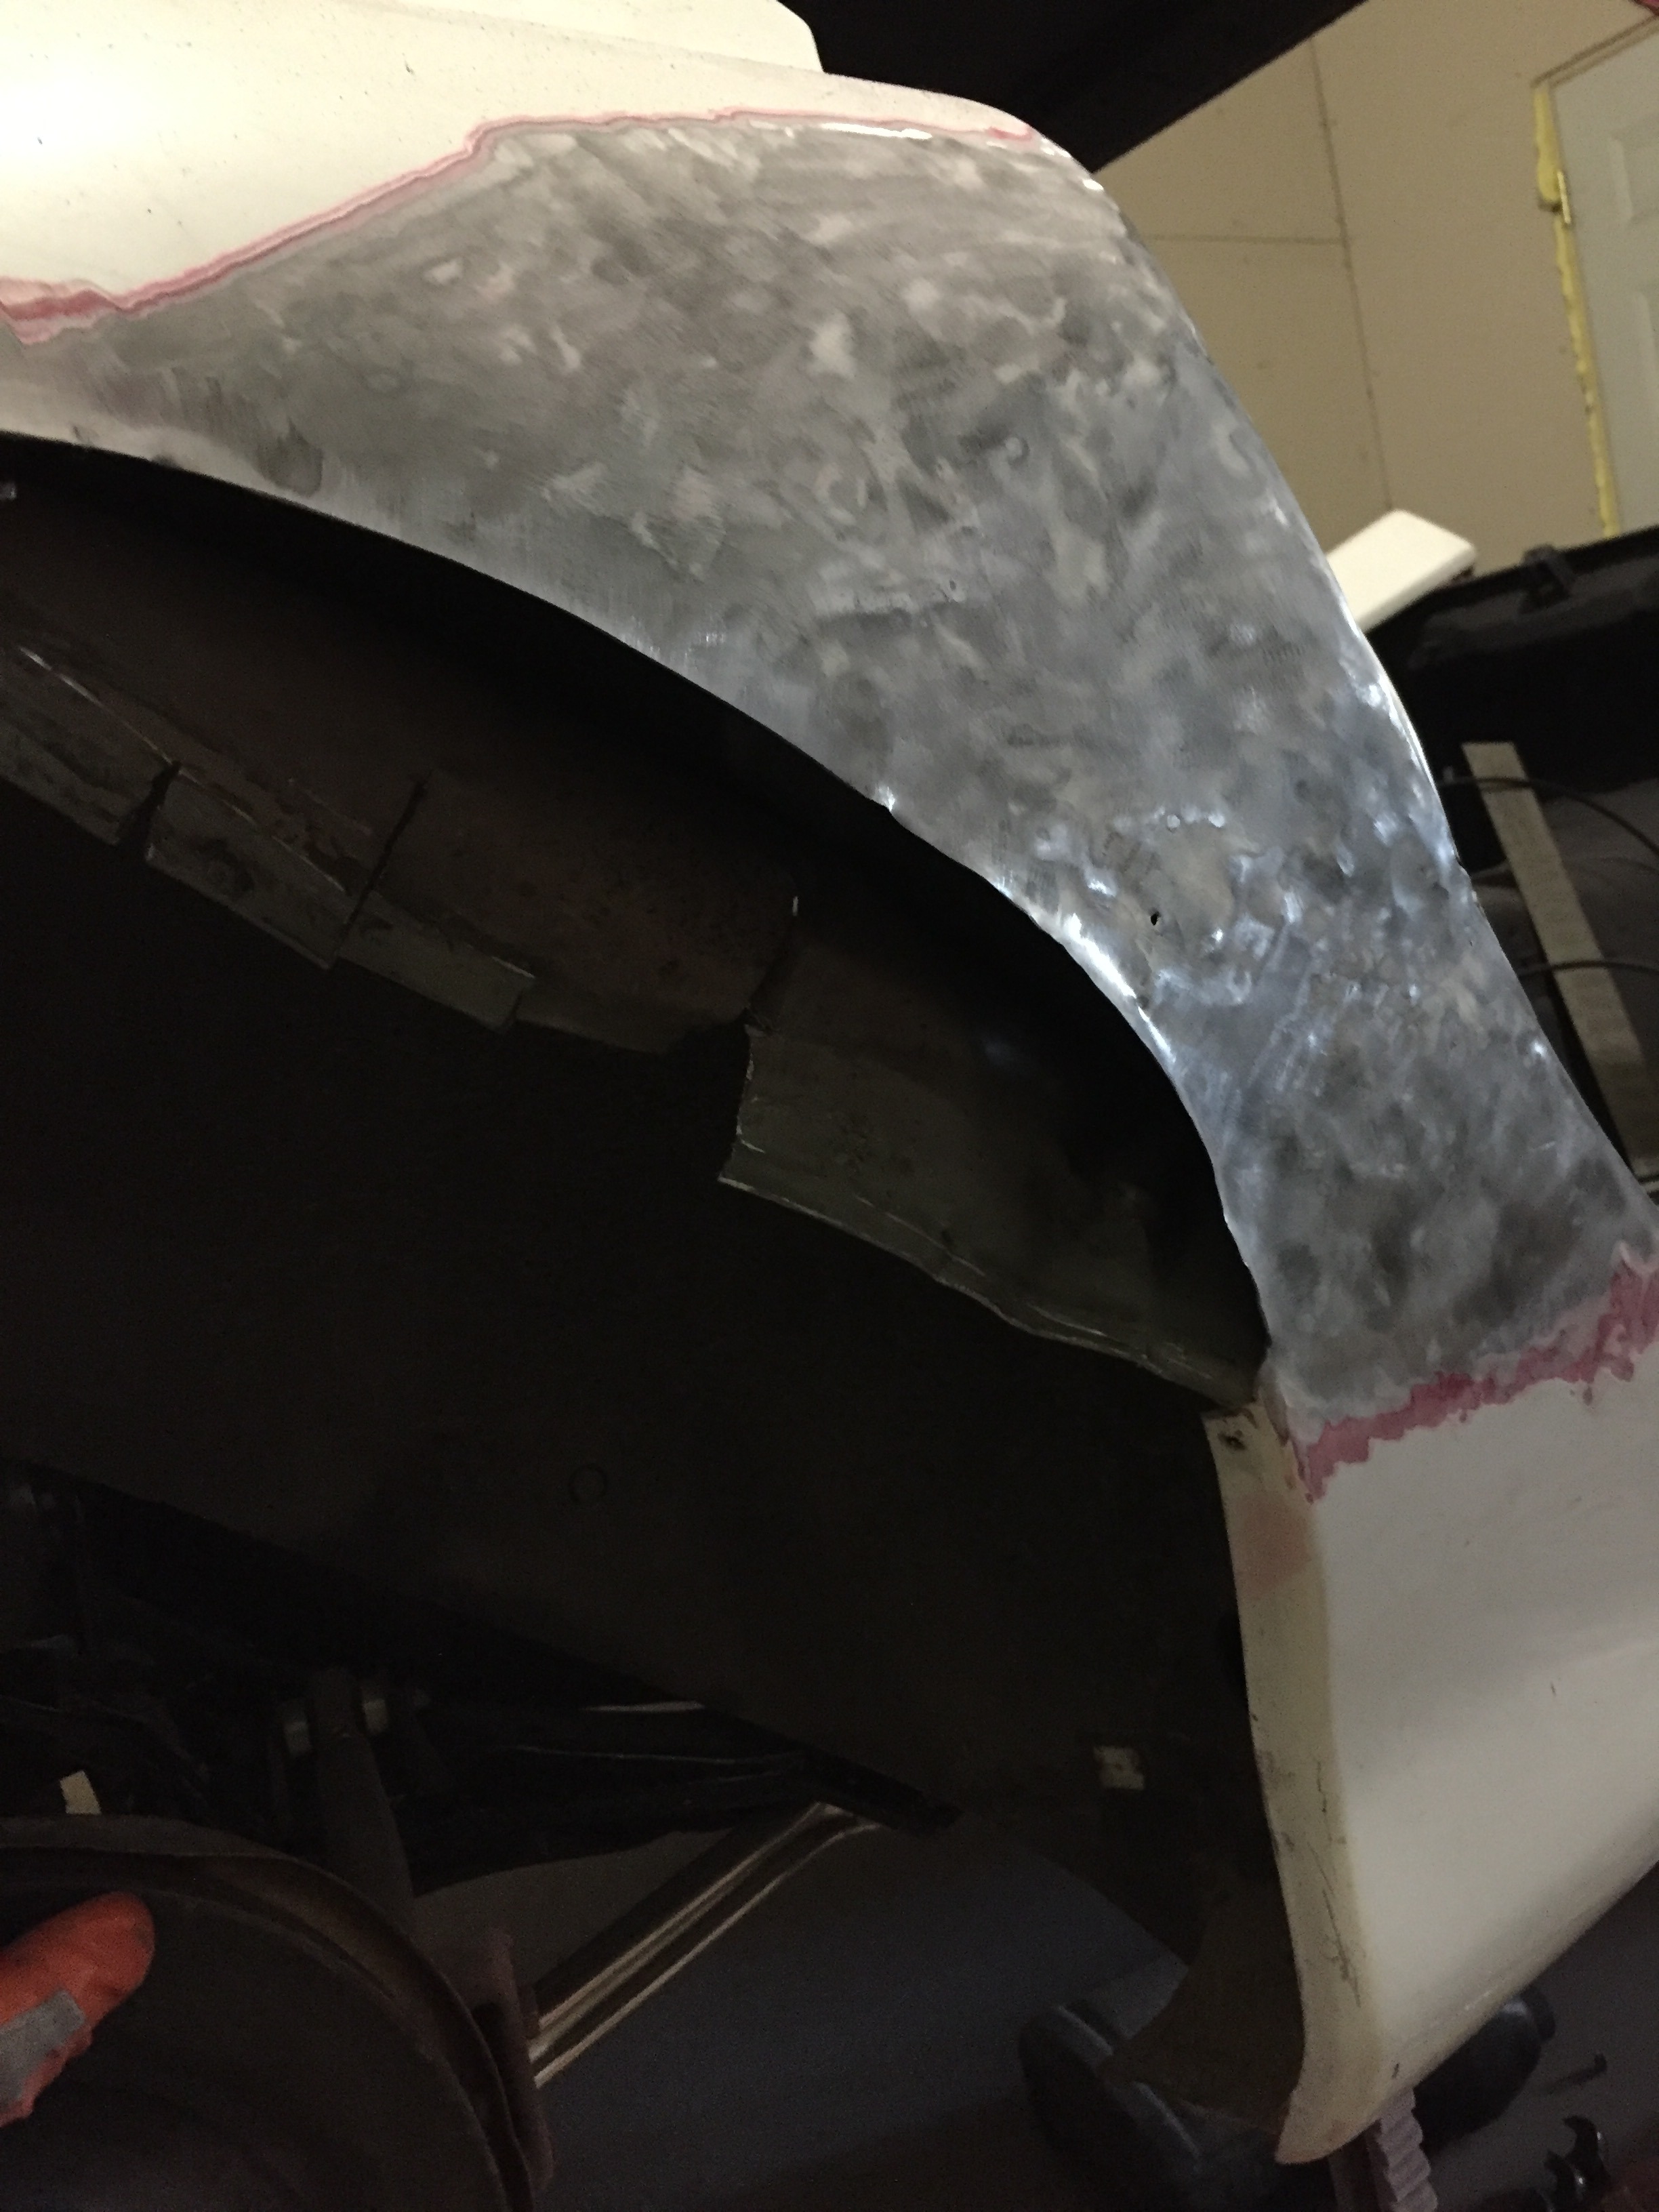

Short synopsis again. I started working on the other side. There was bodywork. I started fixing it, dropped my dolly inside the car, cut the crap out of the metal and got it out, hated the door to fender gap, cut the fender seam and pulled it and then rewelded it. It's not perfect, but better than it was.


 02-13-17, 09:41 PM
#104
Full Member
Thread Starter
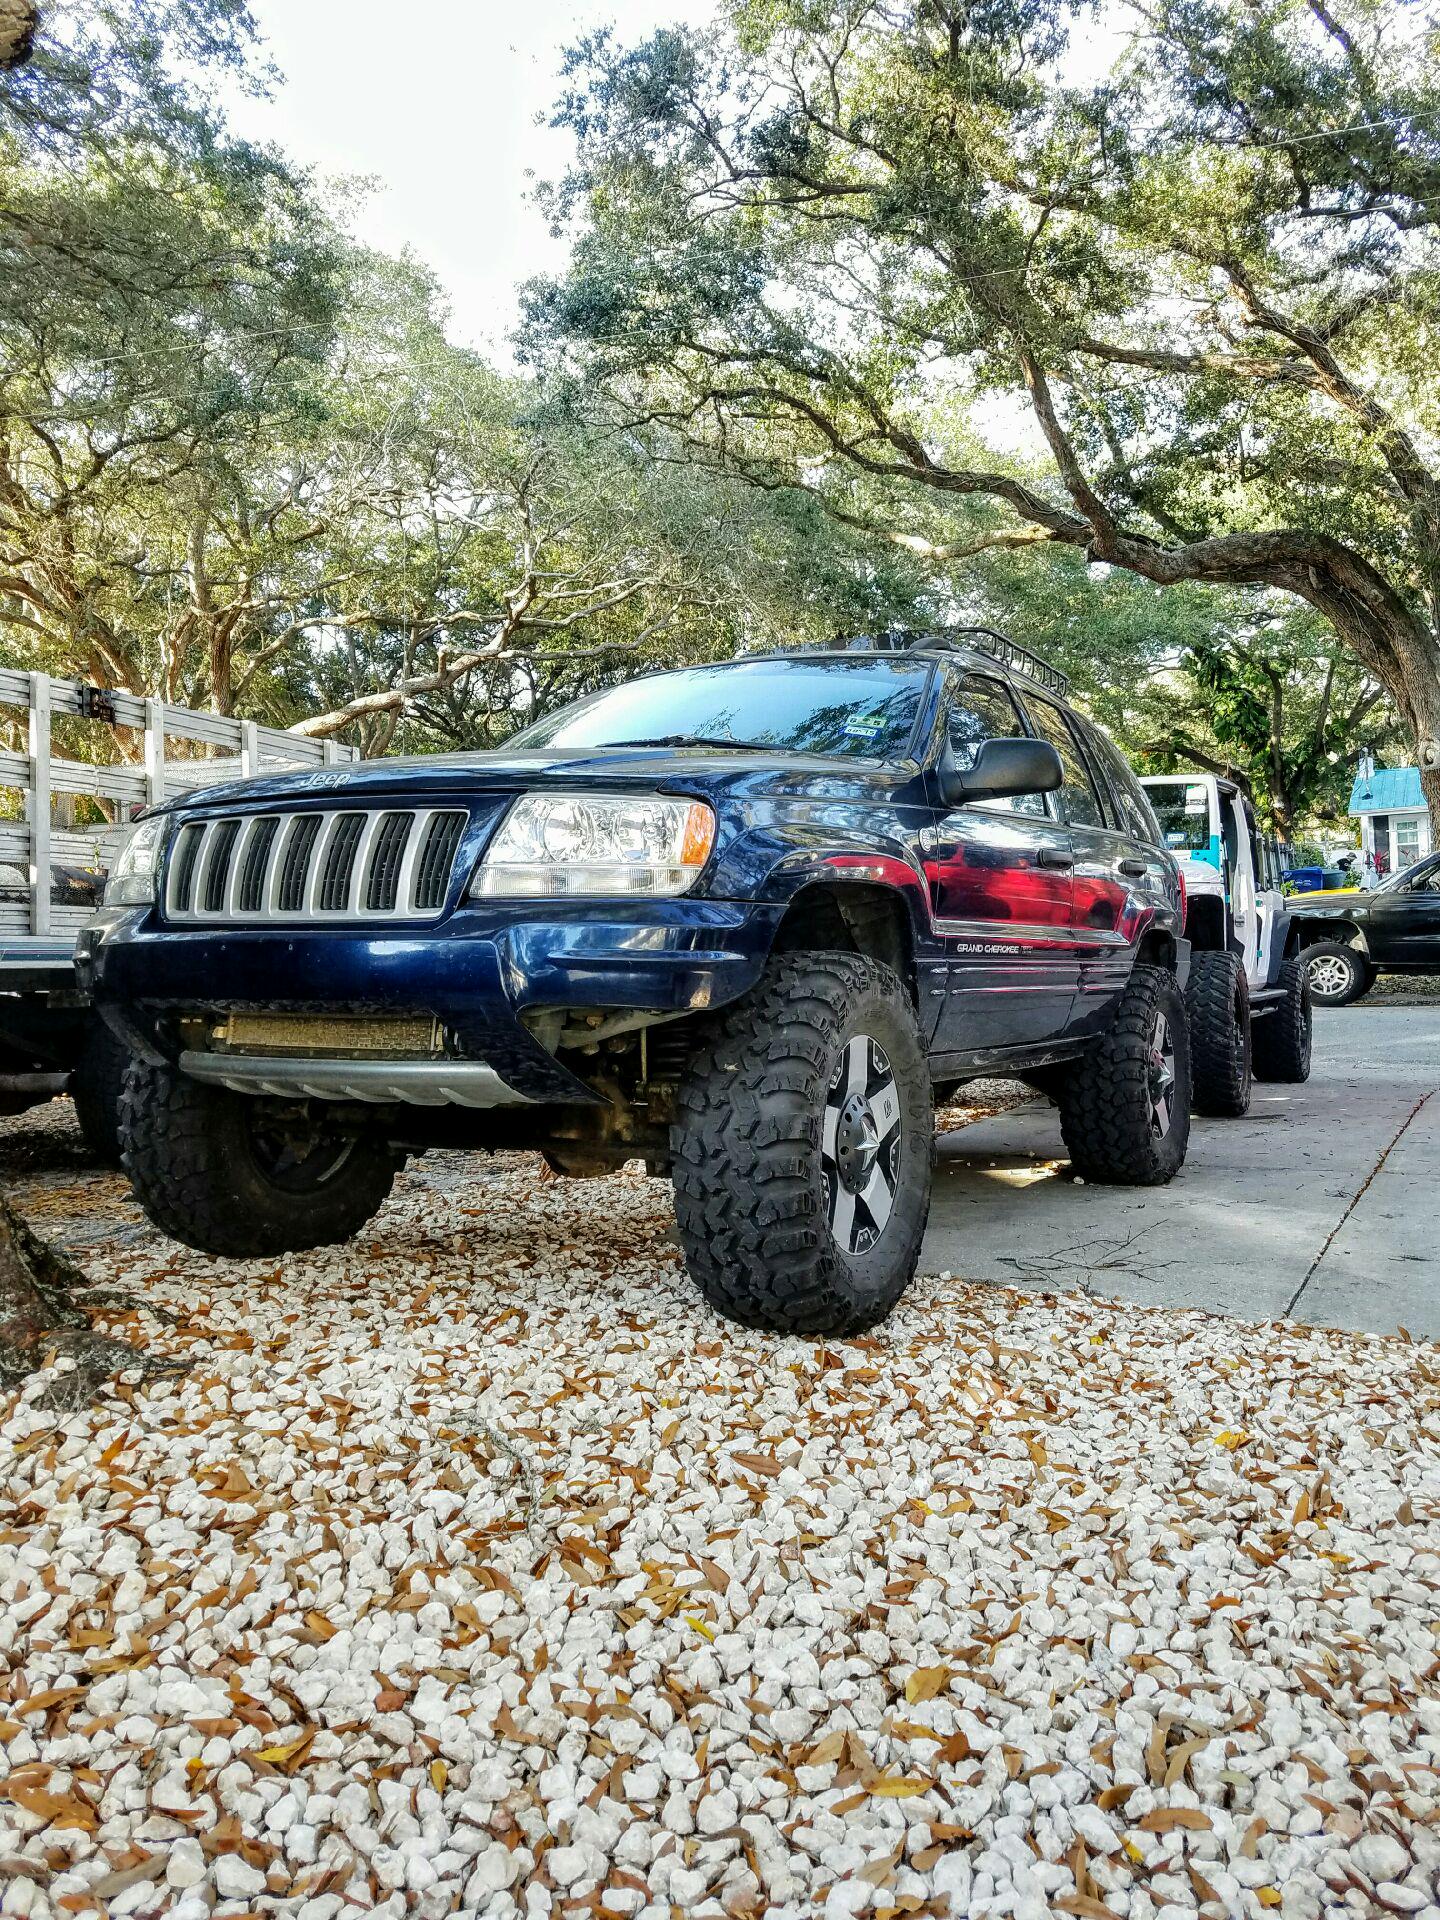
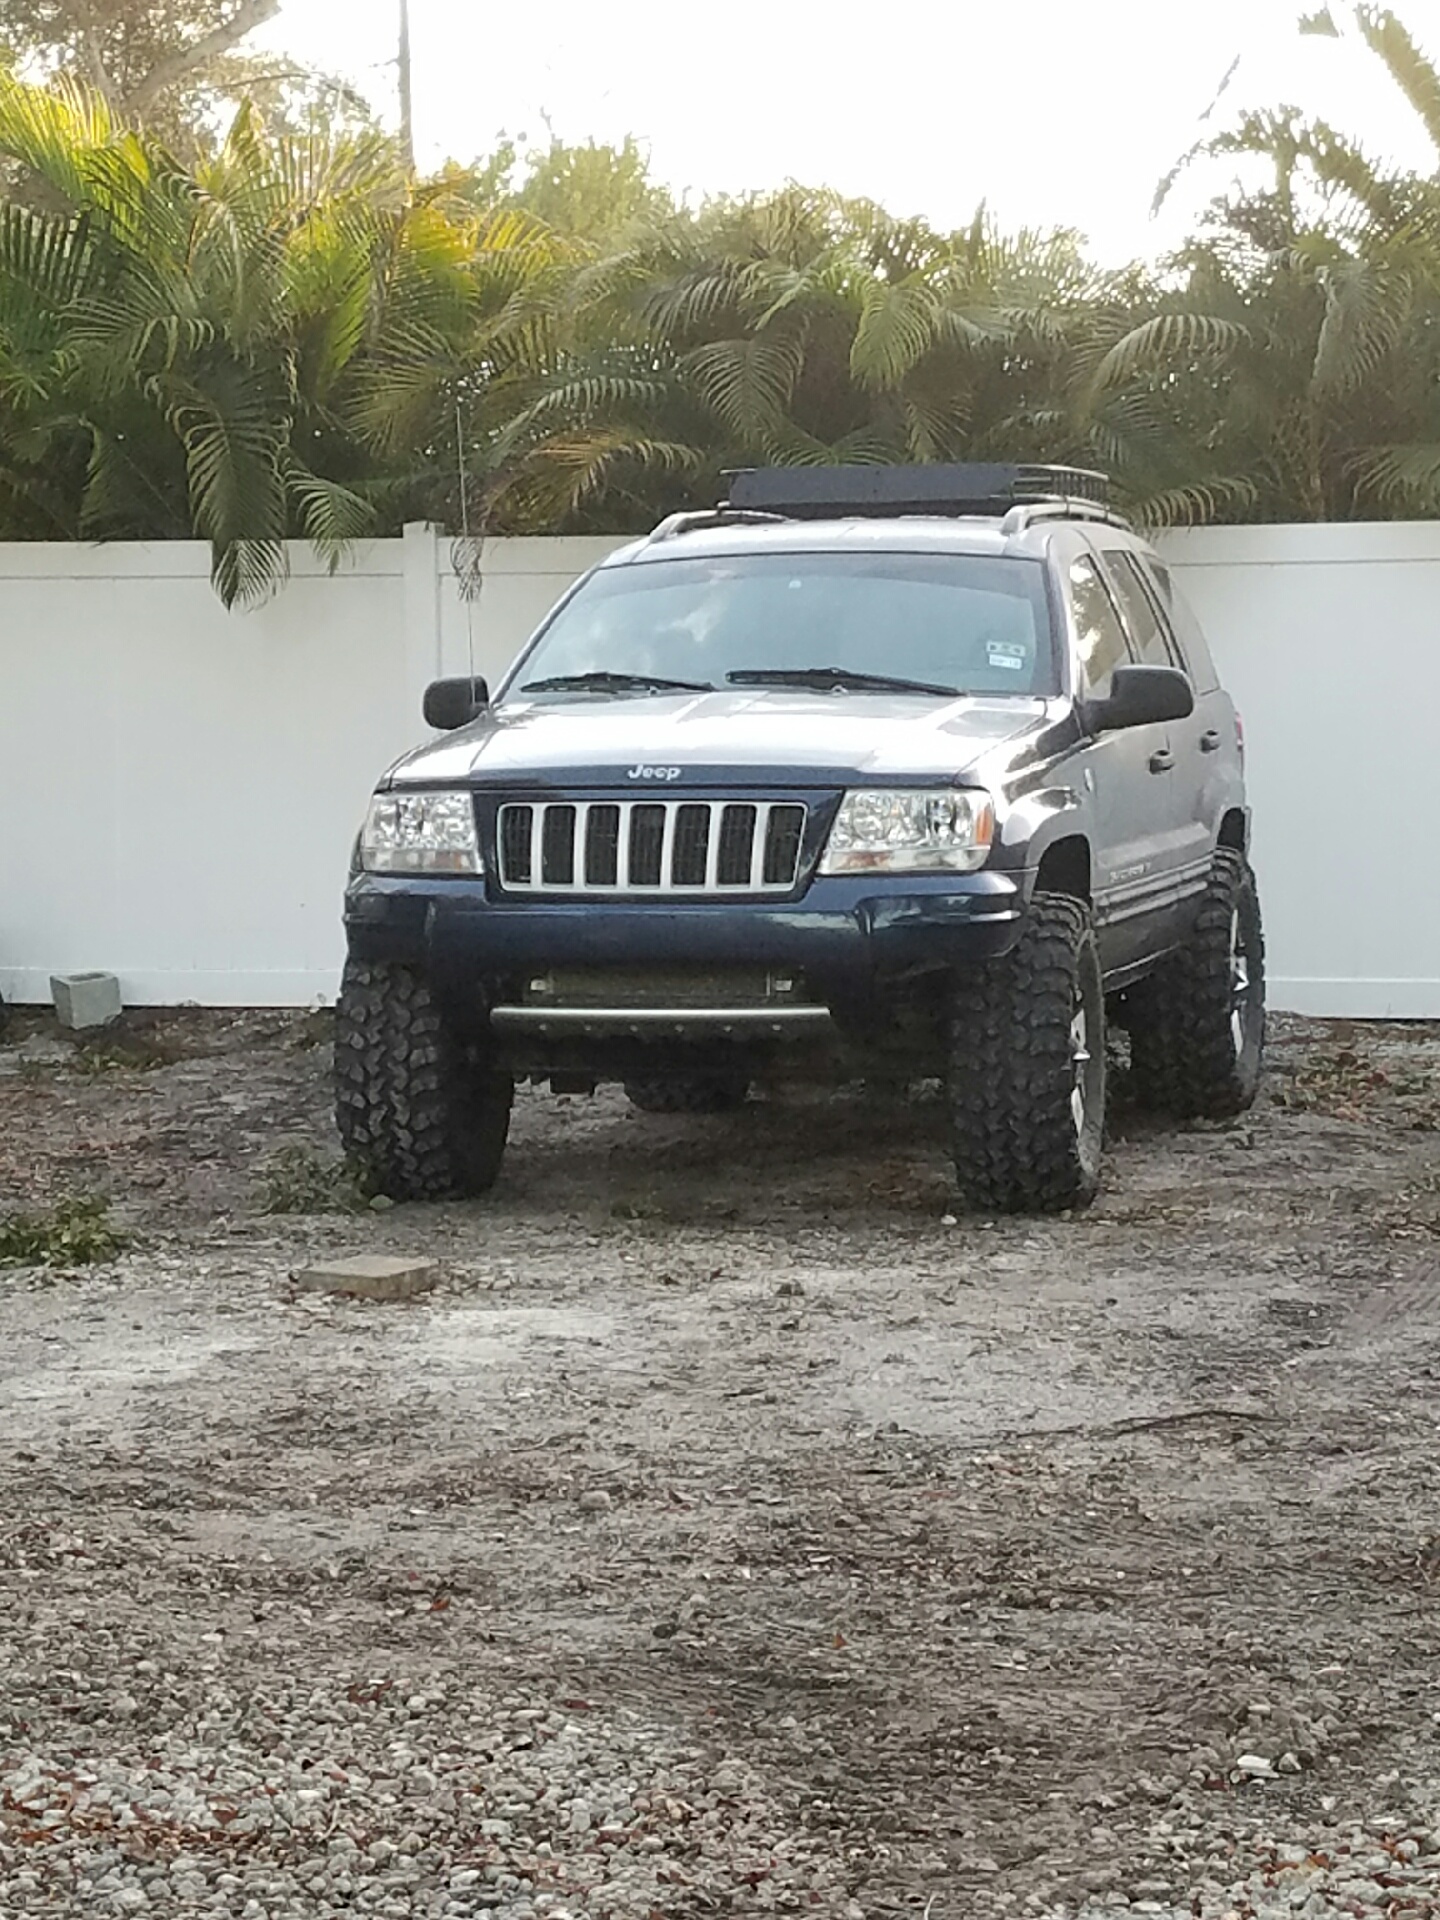
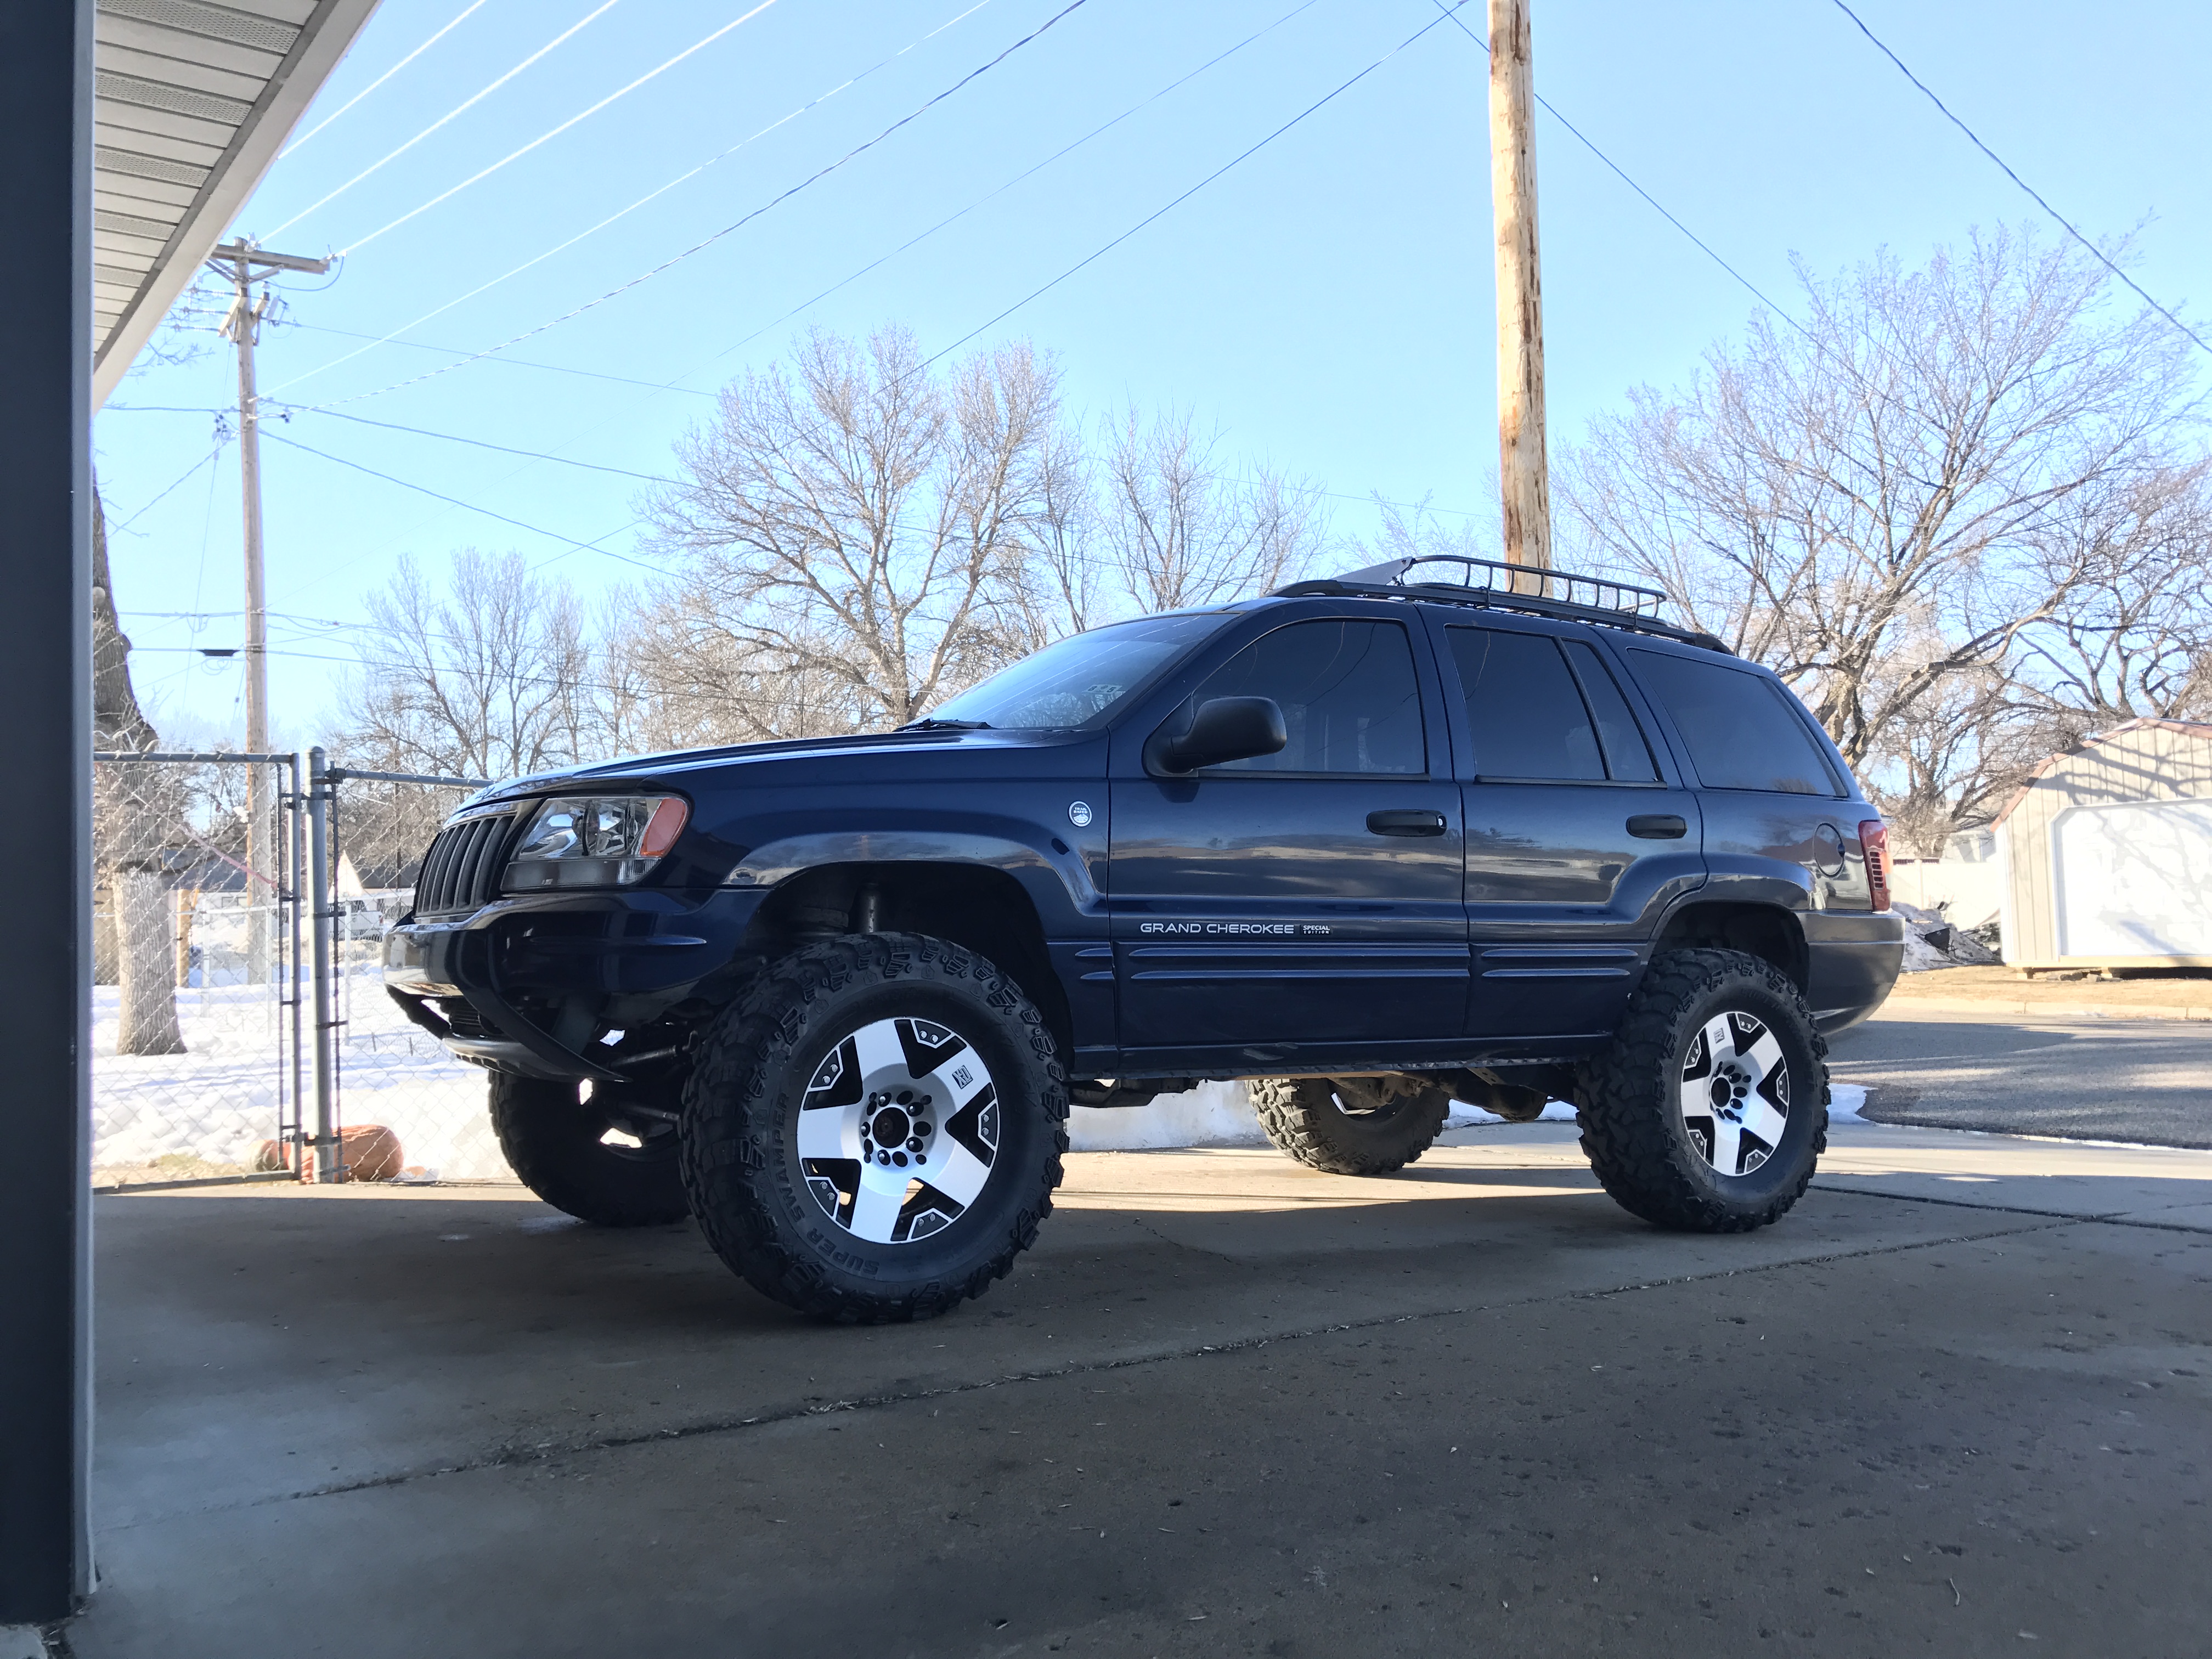
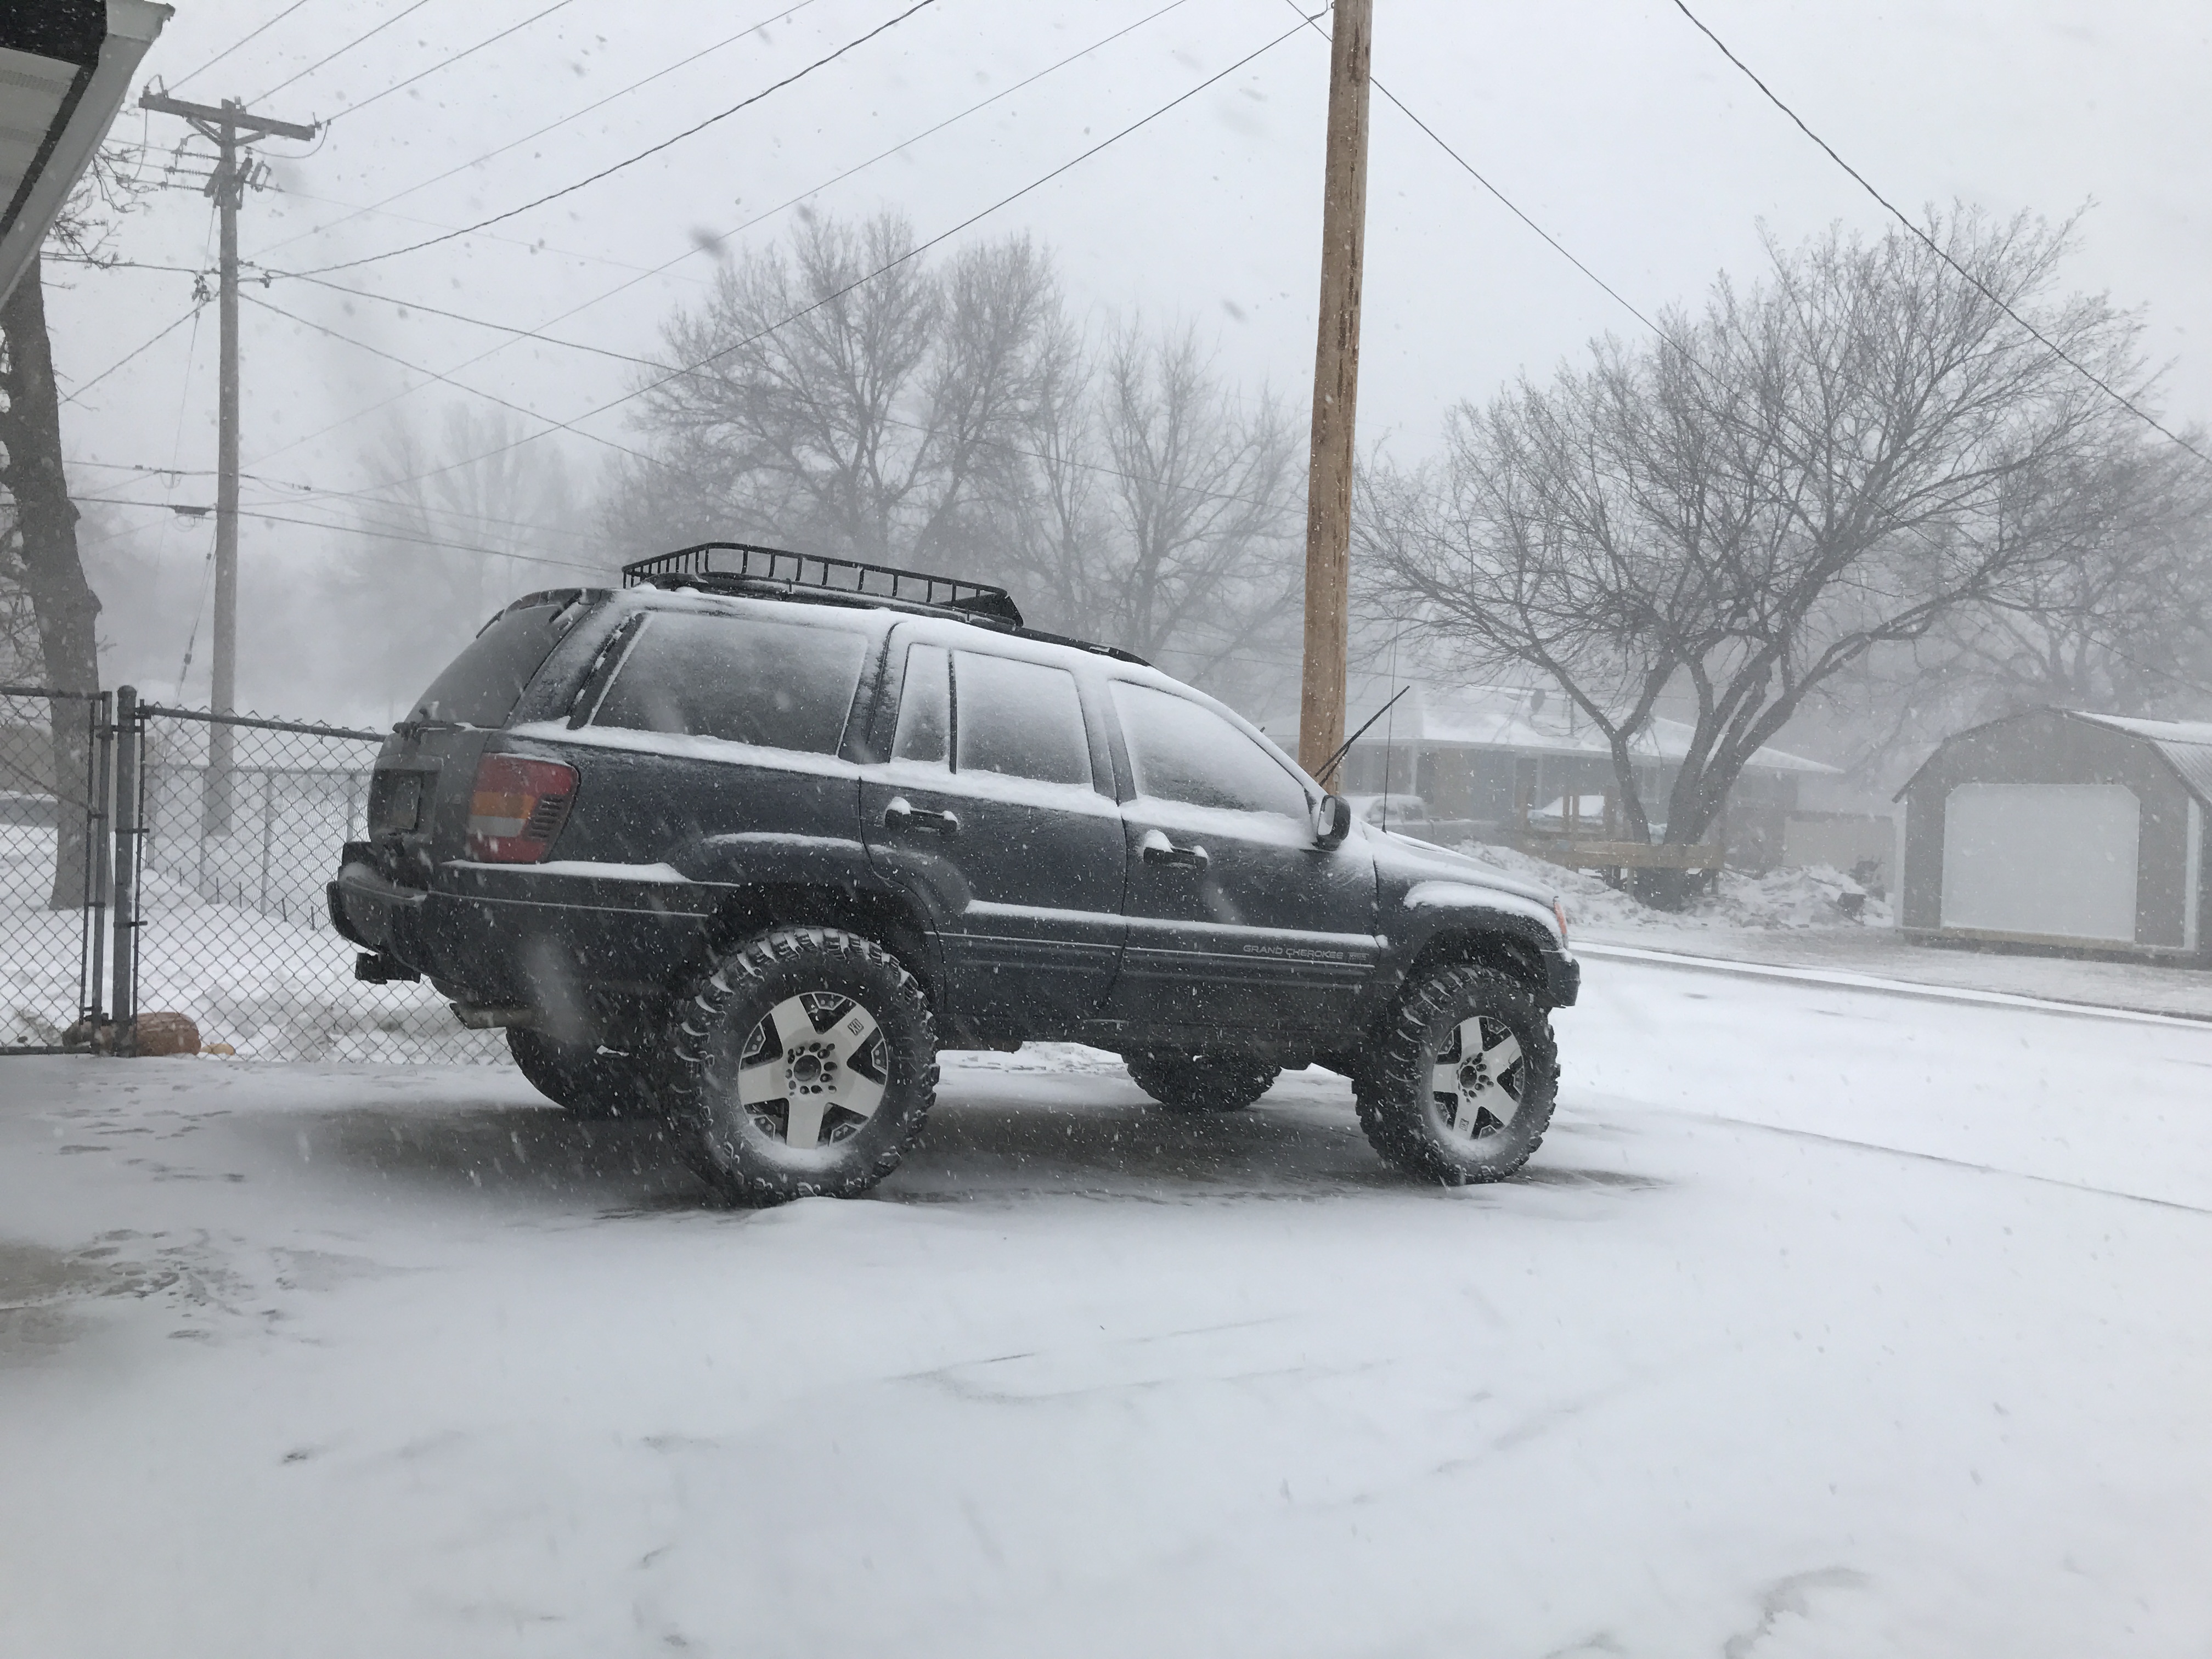
I'll be moving this summer to my next base so I figured I would start looking for a winter vehicle/offroad vehicle/toy hauler. My next base will be in either Wyoming or Montana so there are mountains galore at both places. I planned on just selling my beater civic after winter and then buying a Cherokee at my next base to have some fun in. I started talking to my brother (a huge jeep guy) and he said he would part ways with his 04 Grand Cherokee...so I now have a vehicle to tow the rx7 with!
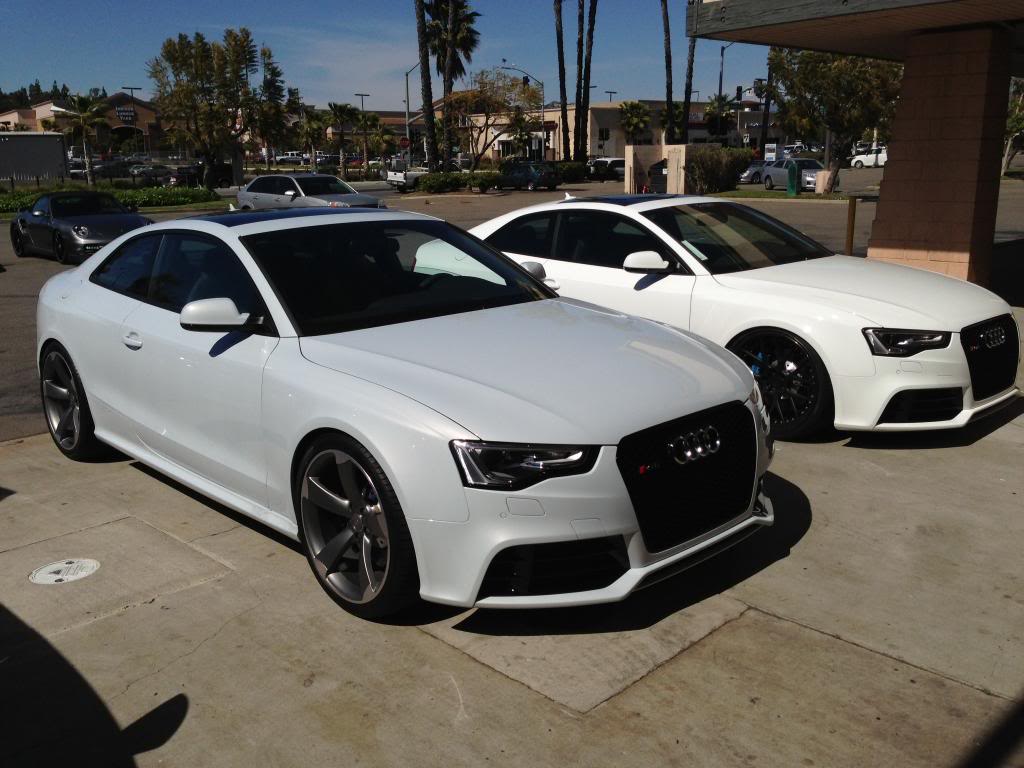
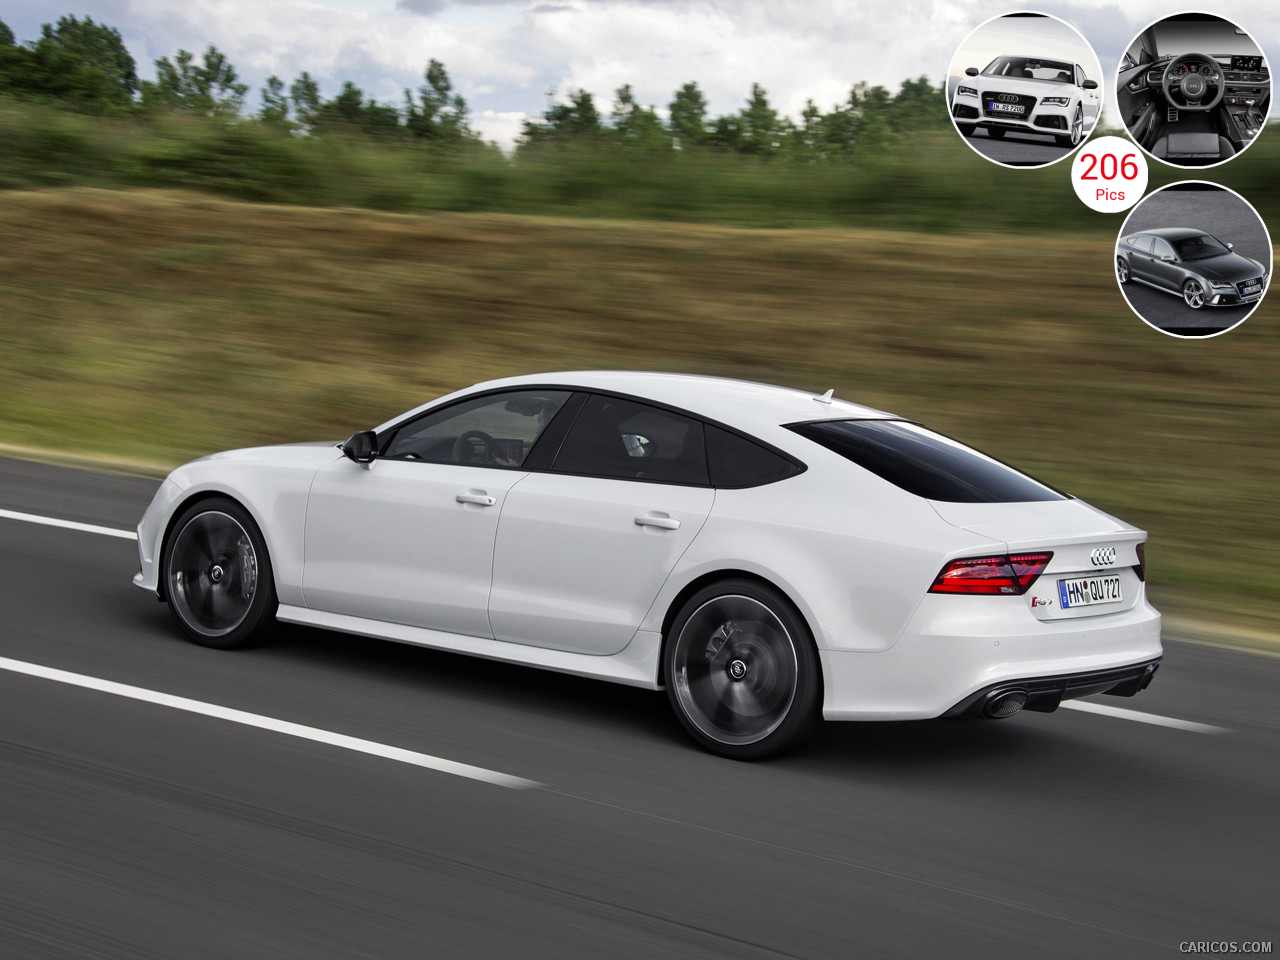
In other news though, aka the rx7, I think I may have decided on a color finally (for now anyhow, my mind changes weekly). It is called Suzuka Grey and has what I am looking for from a "white" car. Bright white in the sun, yet grey looking in the shade. The one thing about white that has been deterring me from painting the car that color is the depth that you lose, all of the lines of the car kind of blend in when sun hits it. I think this color will still show the lines of the car in any lighting
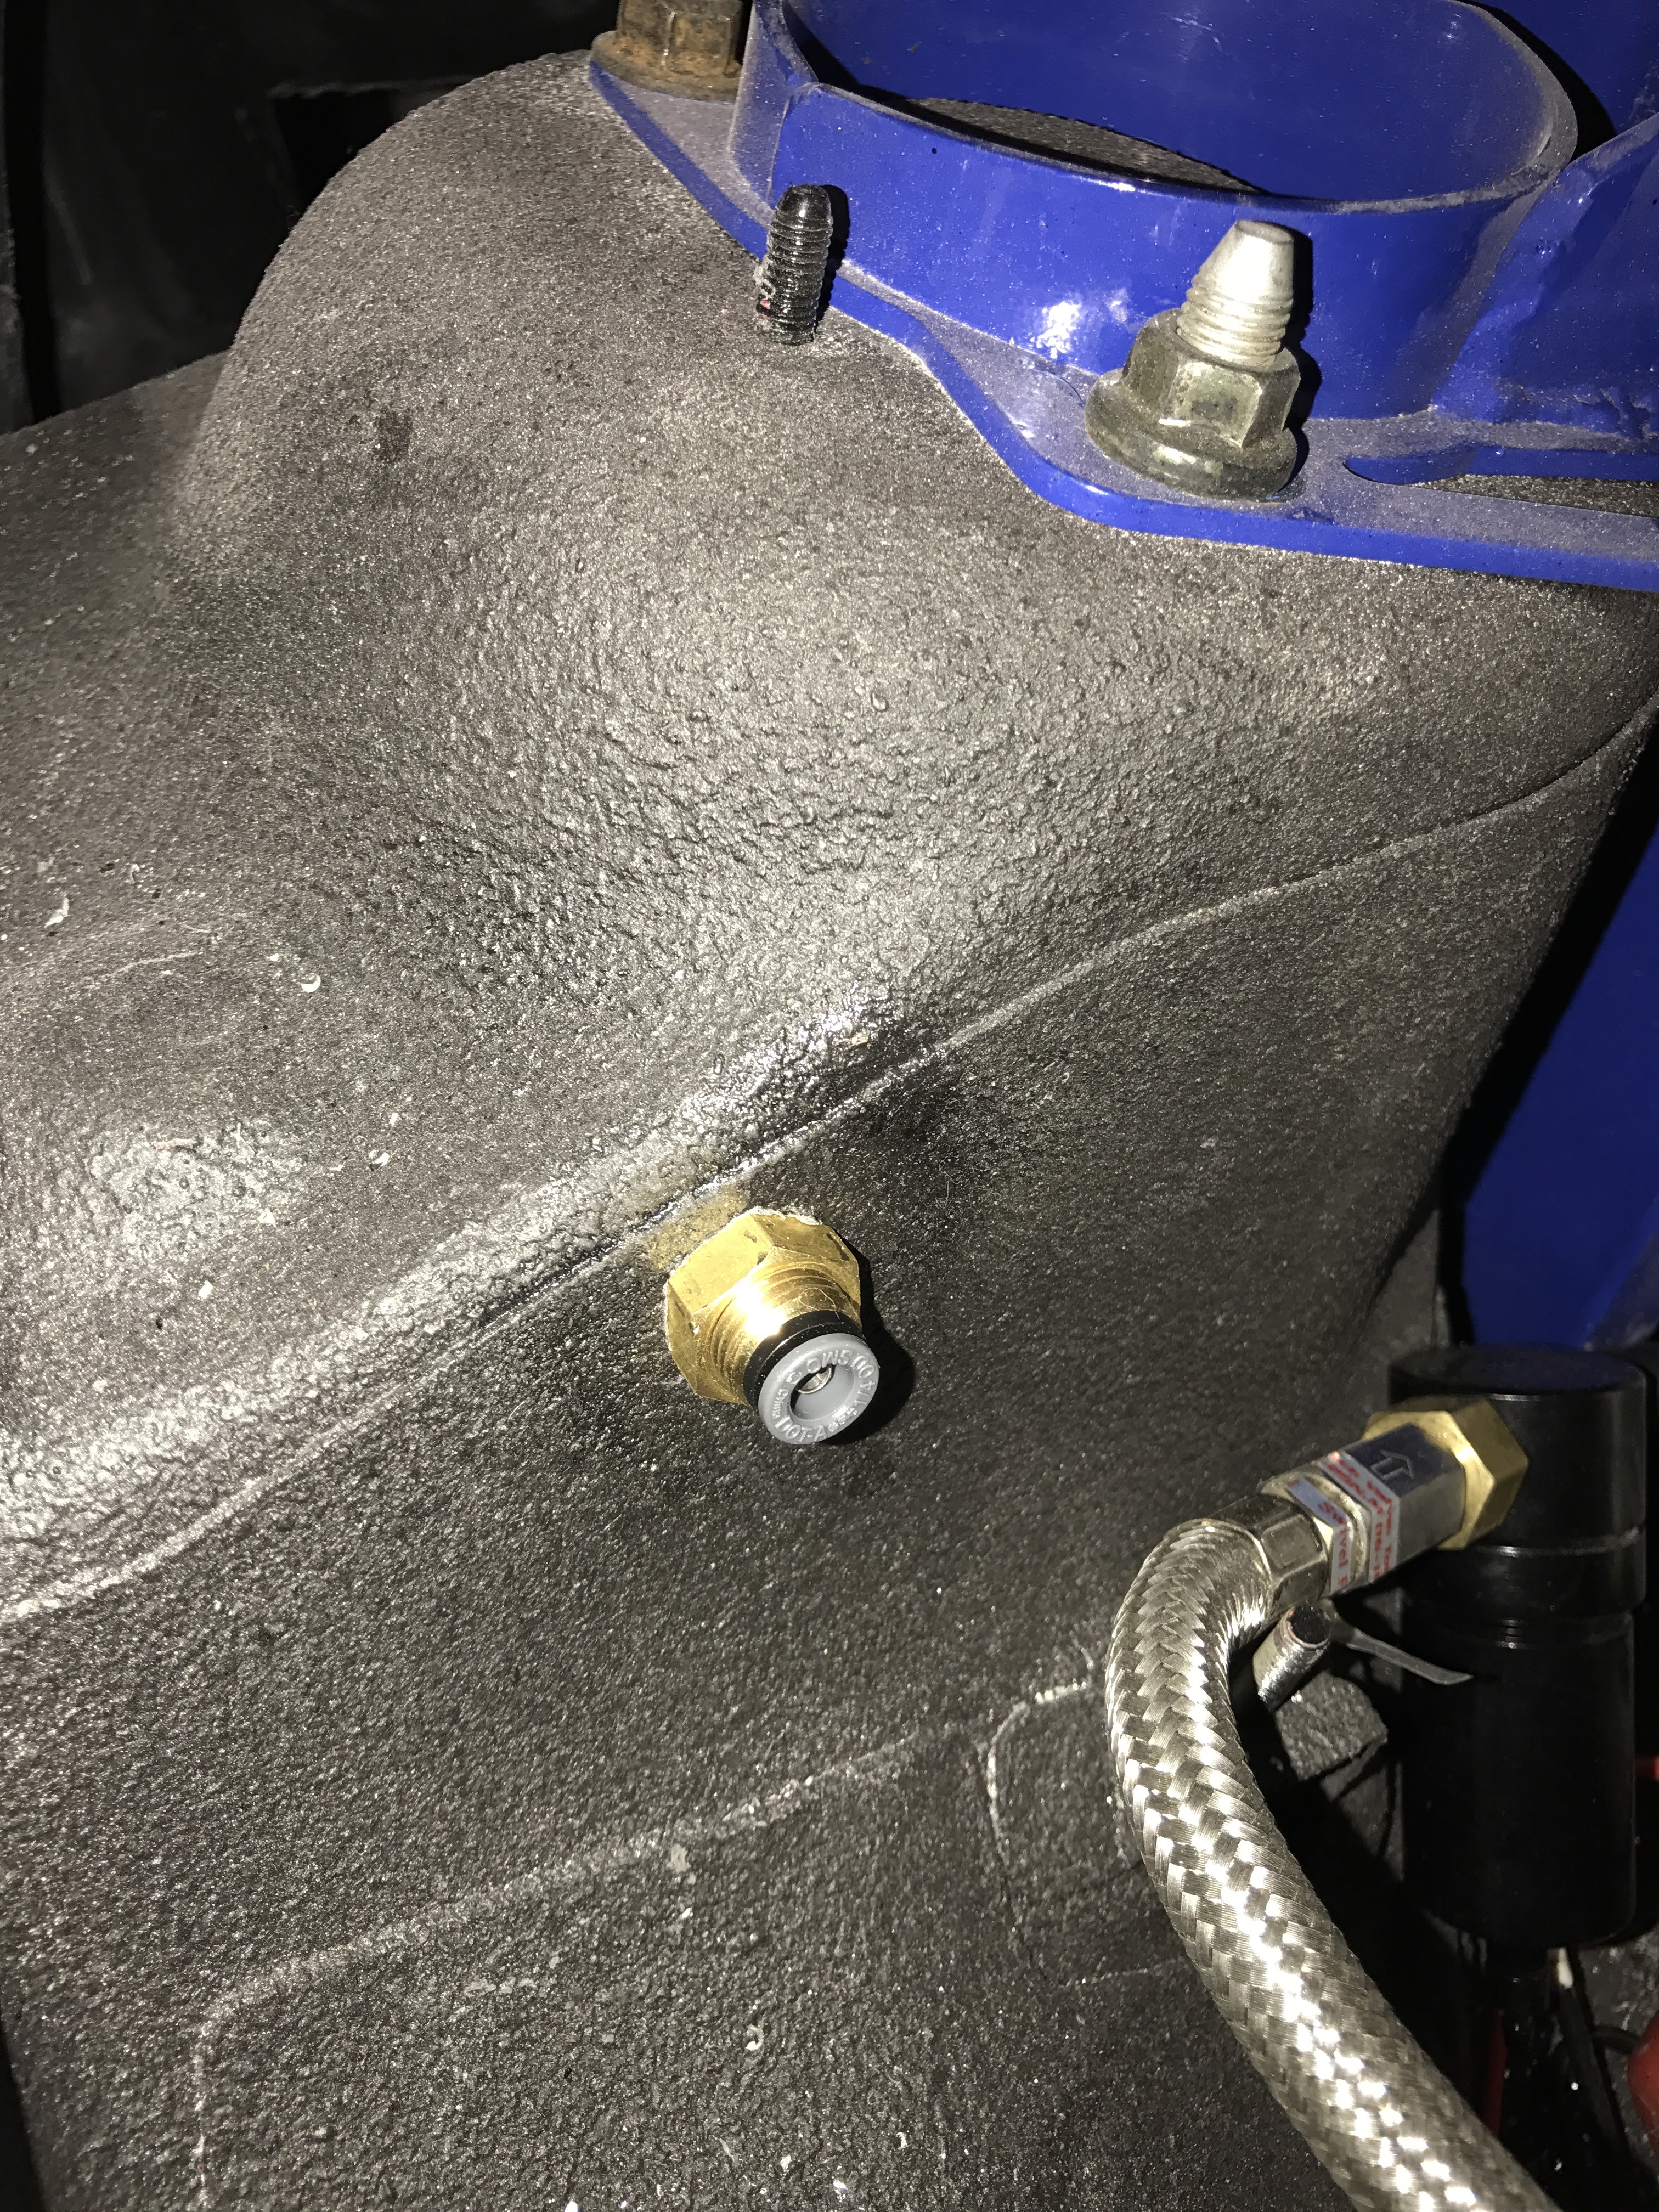
So that's that. I ordered some fittings for my air setup so I can run the lines how I want. It cleans things up fairly well and gives me peace of mind for the lines going through the body.


In other news though, aka the rx7, I think I may have decided on a color finally (for now anyhow, my mind changes weekly). It is called Suzuka Grey and has what I am looking for from a "white" car. Bright white in the sun, yet grey looking in the shade. The one thing about white that has been deterring me from painting the car that color is the depth that you lose, all of the lines of the car kind of blend in when sun hits it. I think this color will still show the lines of the car in any lighting


So that's that. I ordered some fittings for my air setup so I can run the lines how I want. It cleans things up fairly well and gives me peace of mind for the lines going through the body.

 02-13-17, 09:53 PM
#105
Full Member
Thread Starter
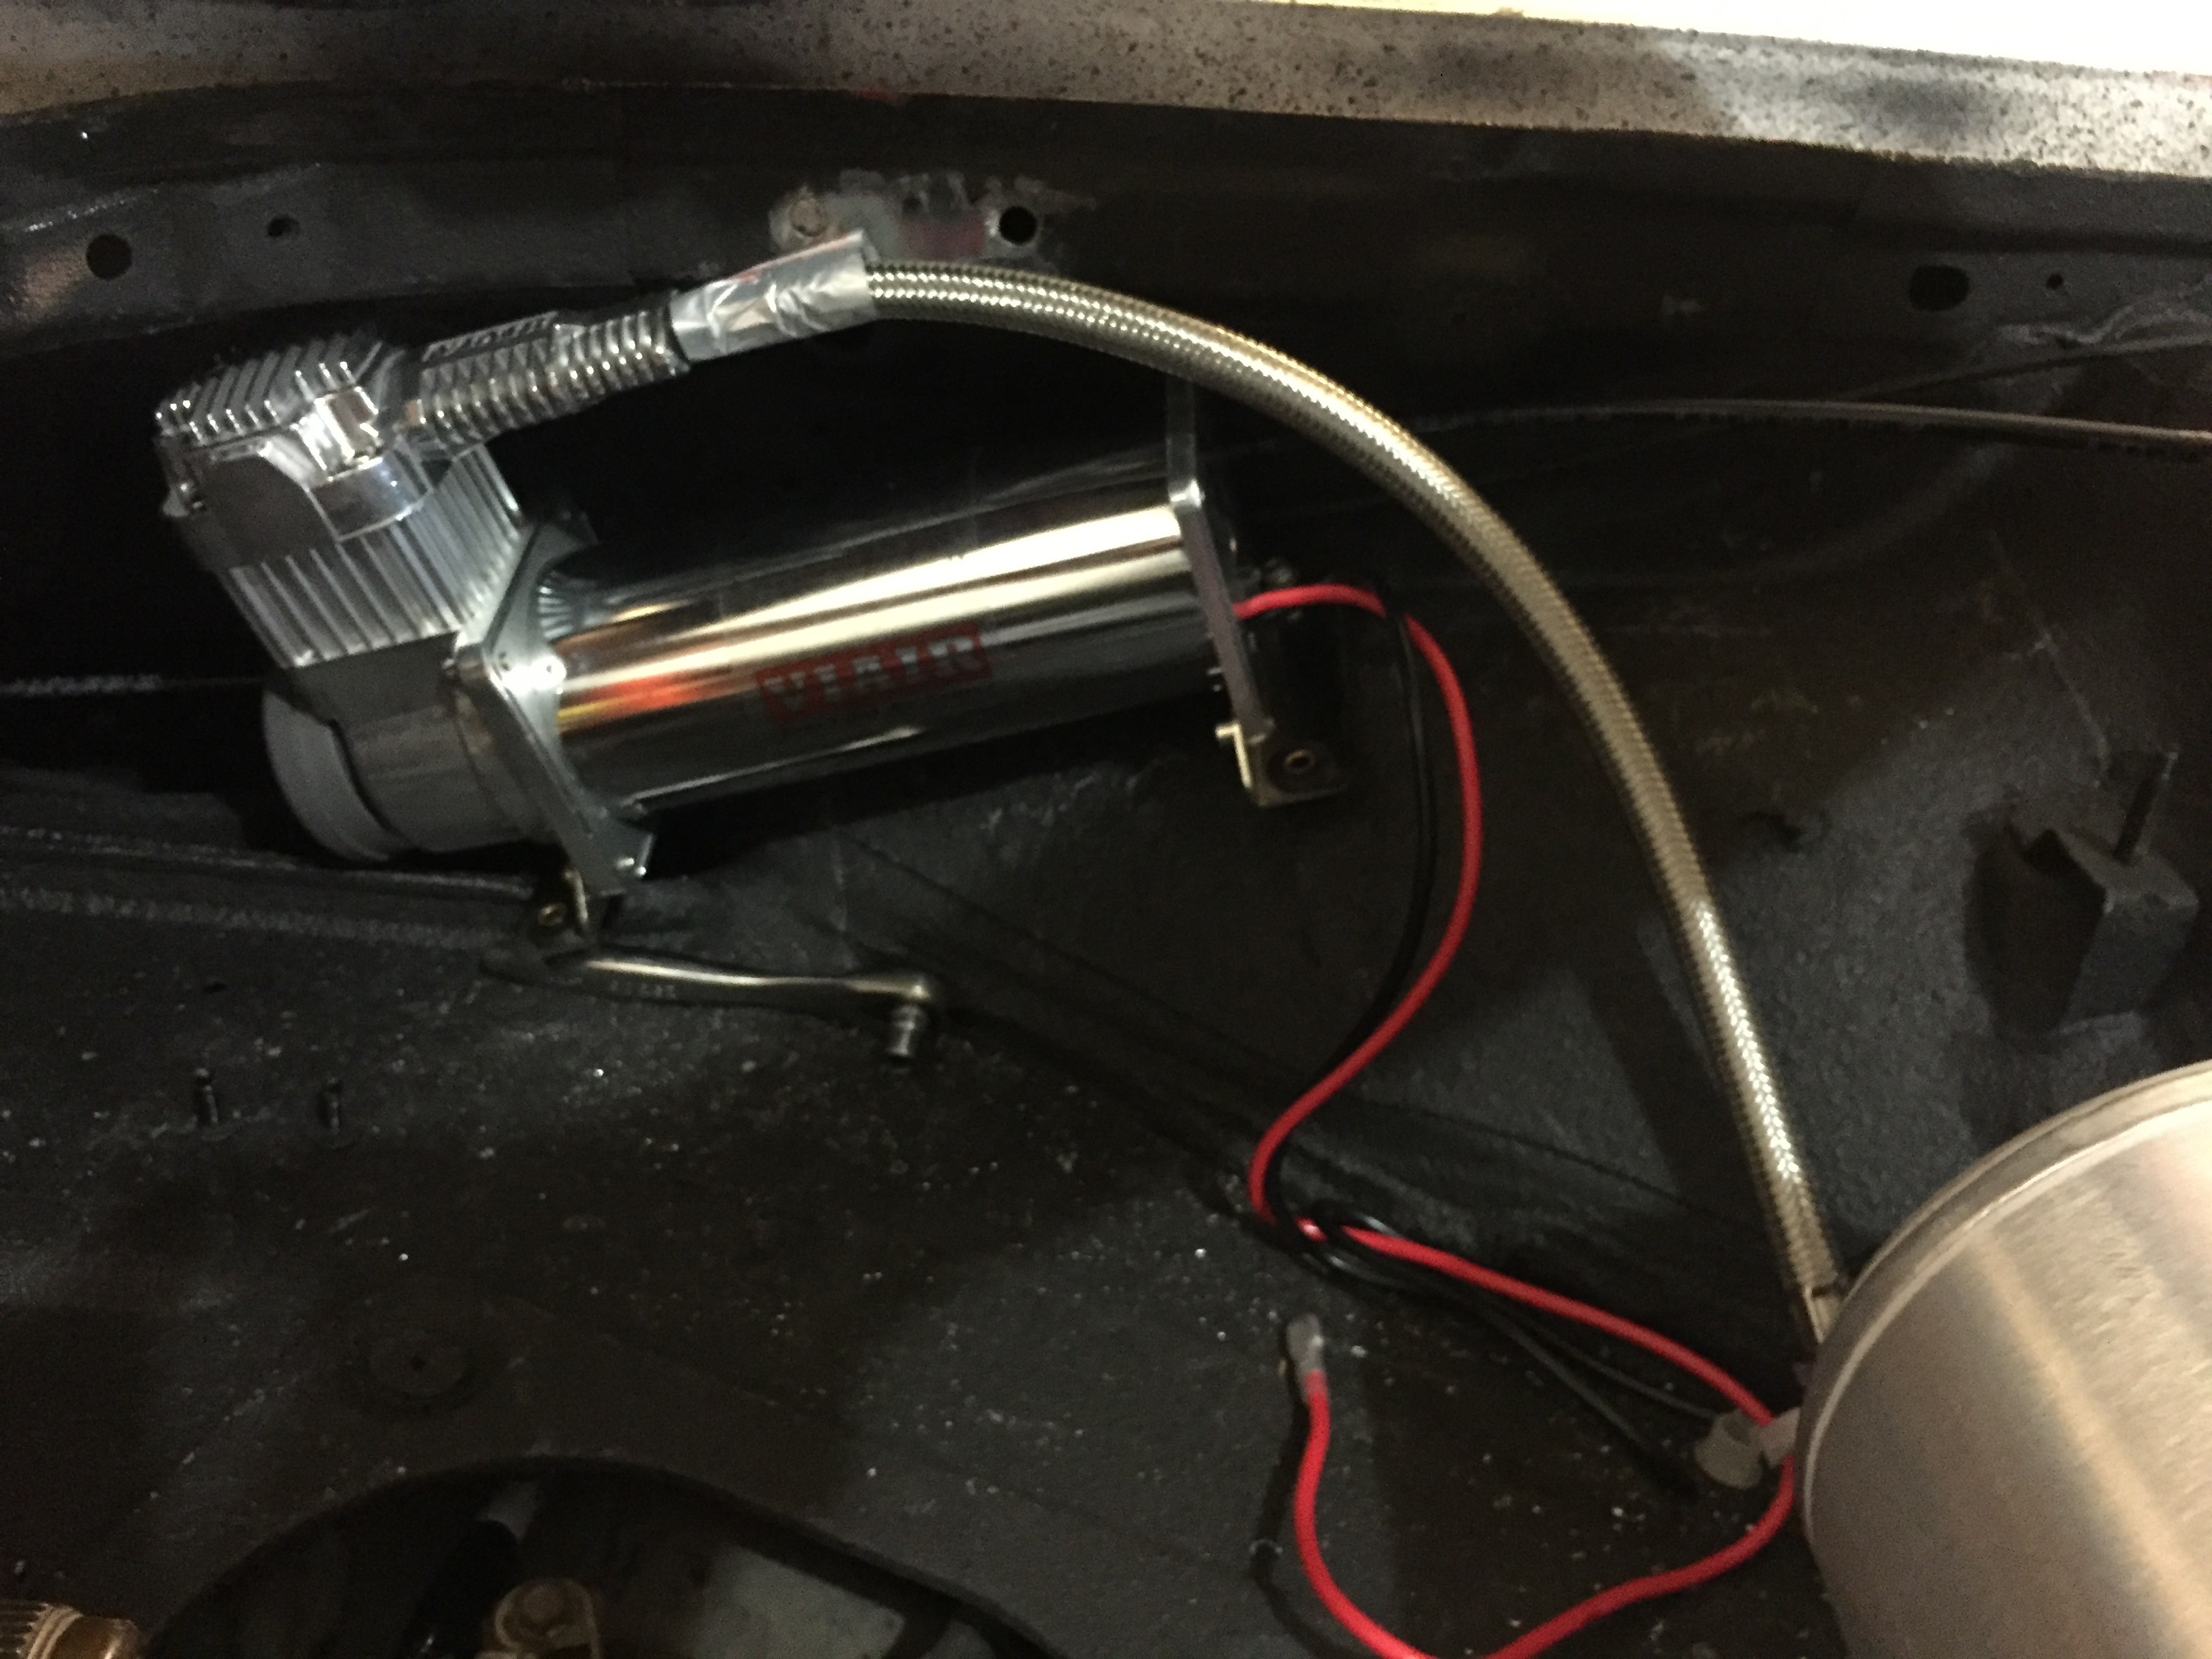
Started working on the compressor mounting again and made some great progress. I now have it mounted pretty solidly using three of the mounting points. I would like to use the fourth point, but I dont see any way of getting back there to secure it down.
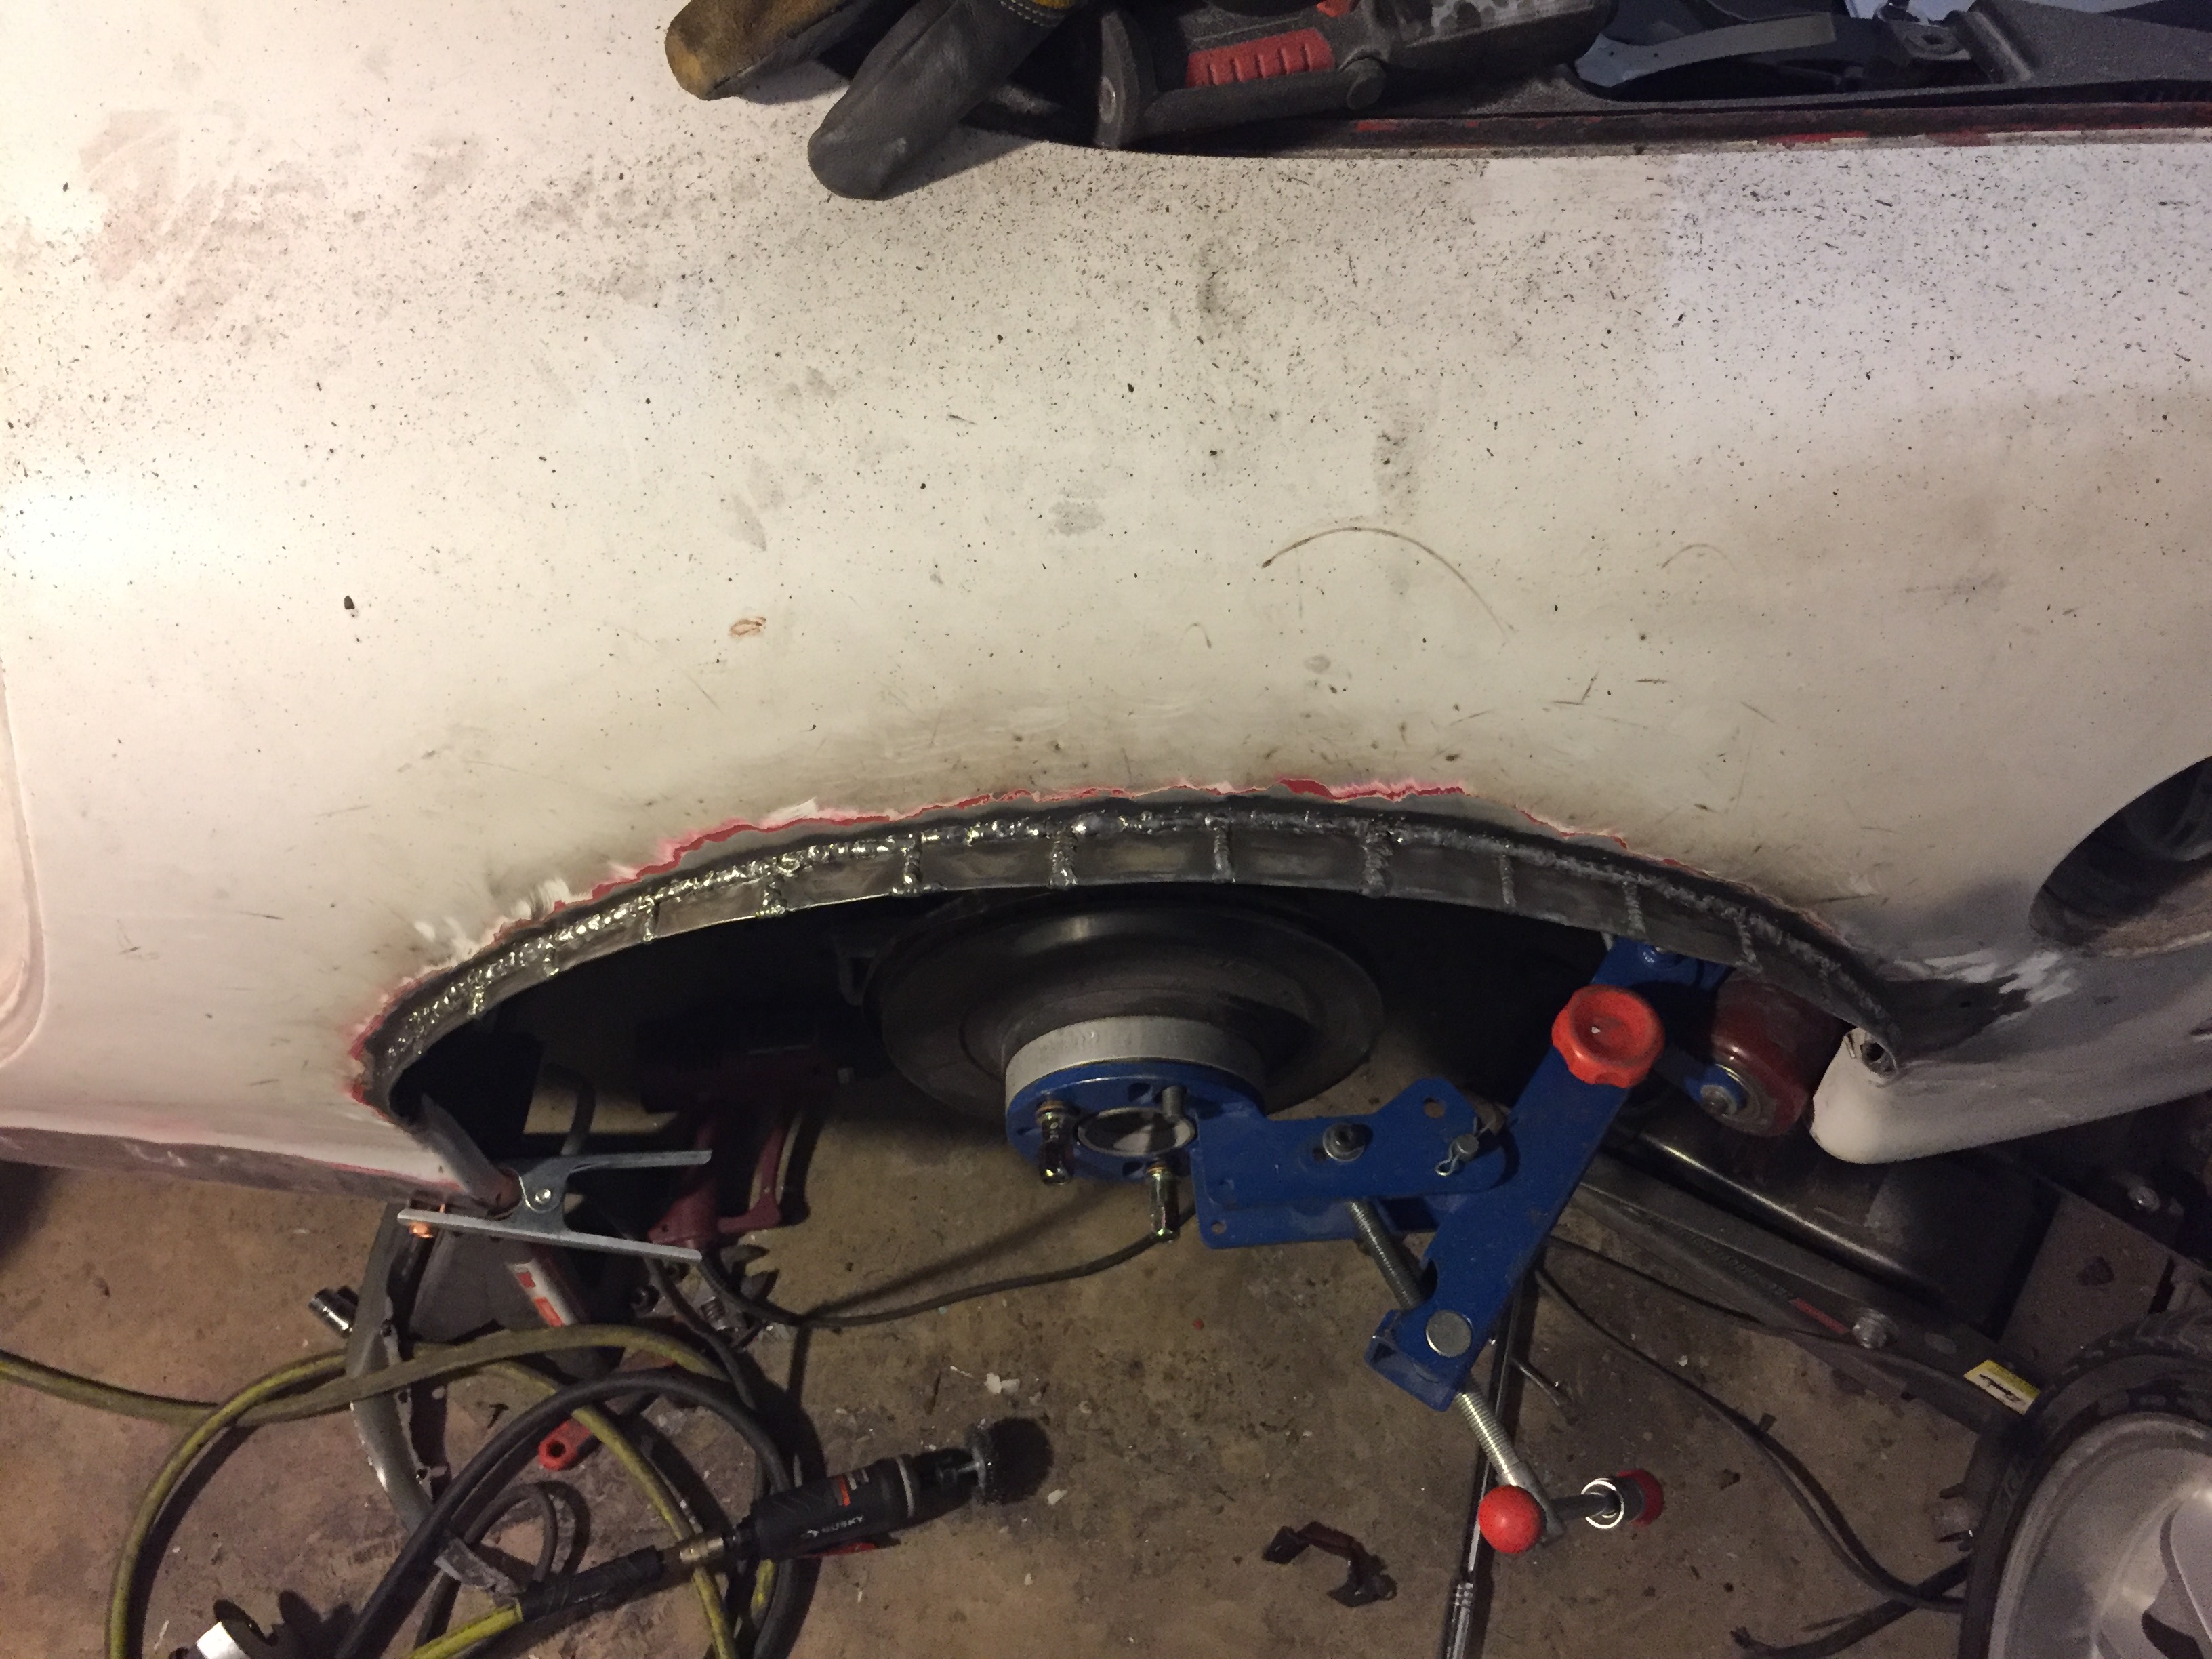
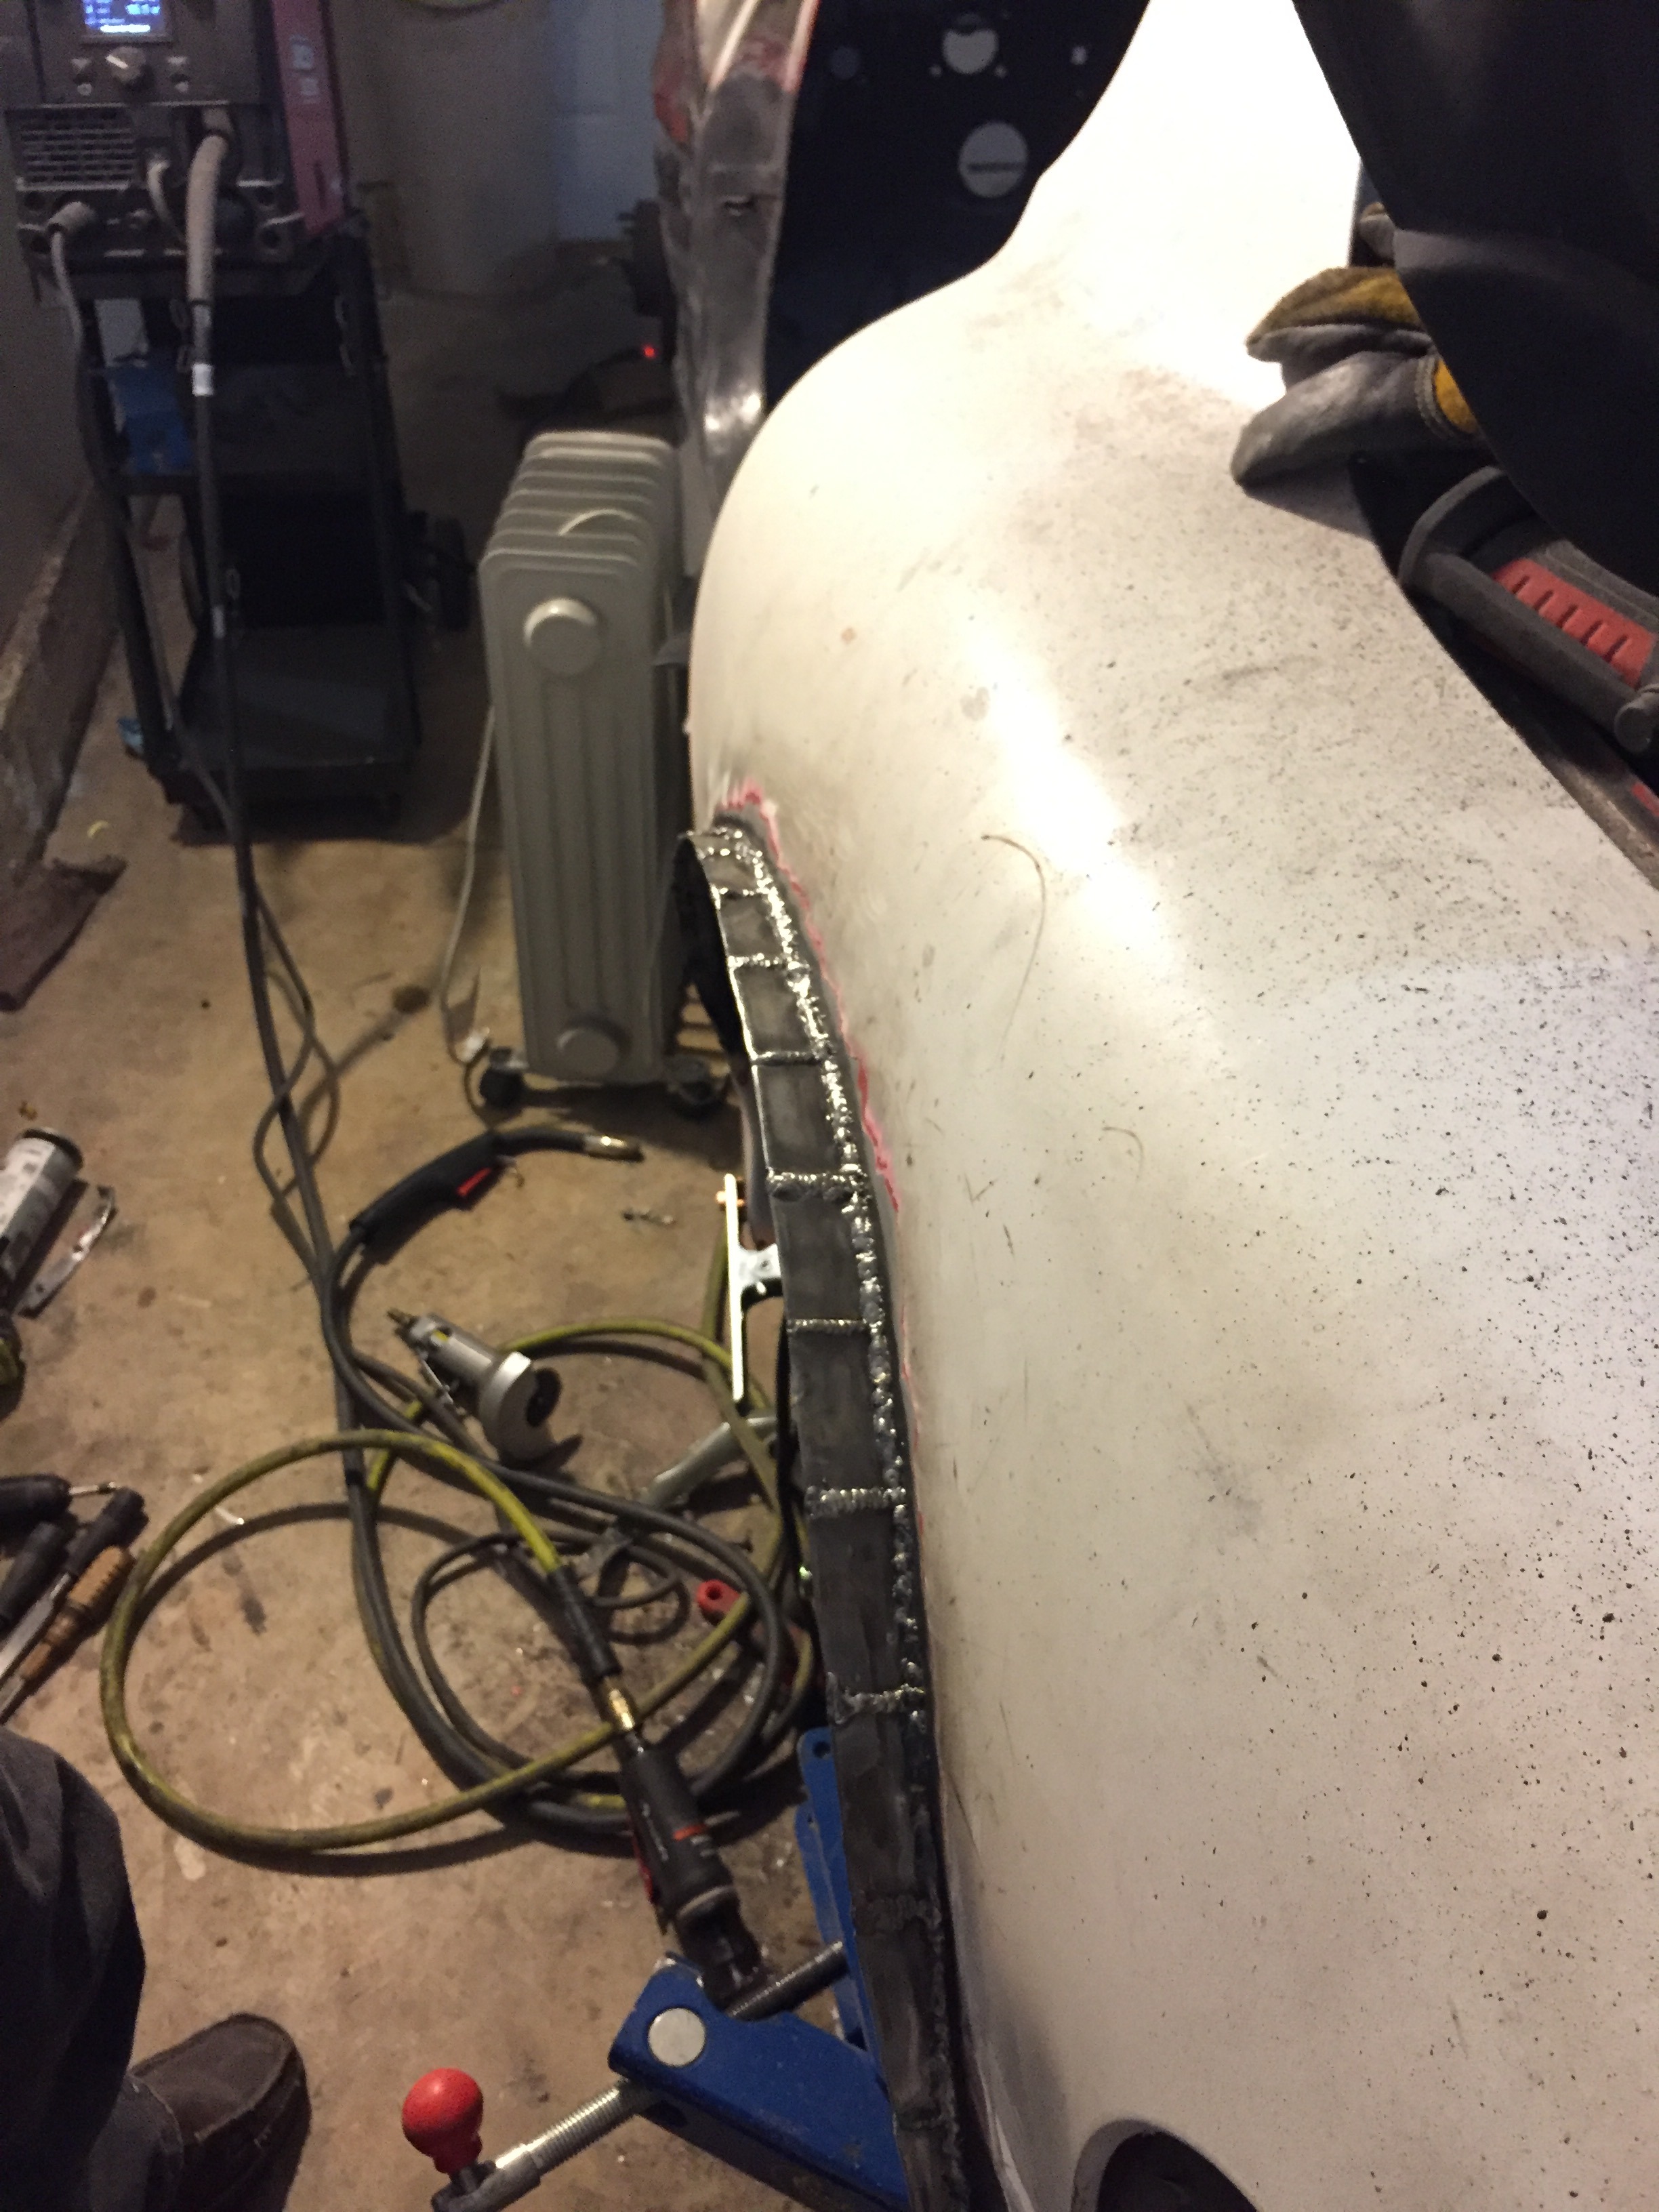
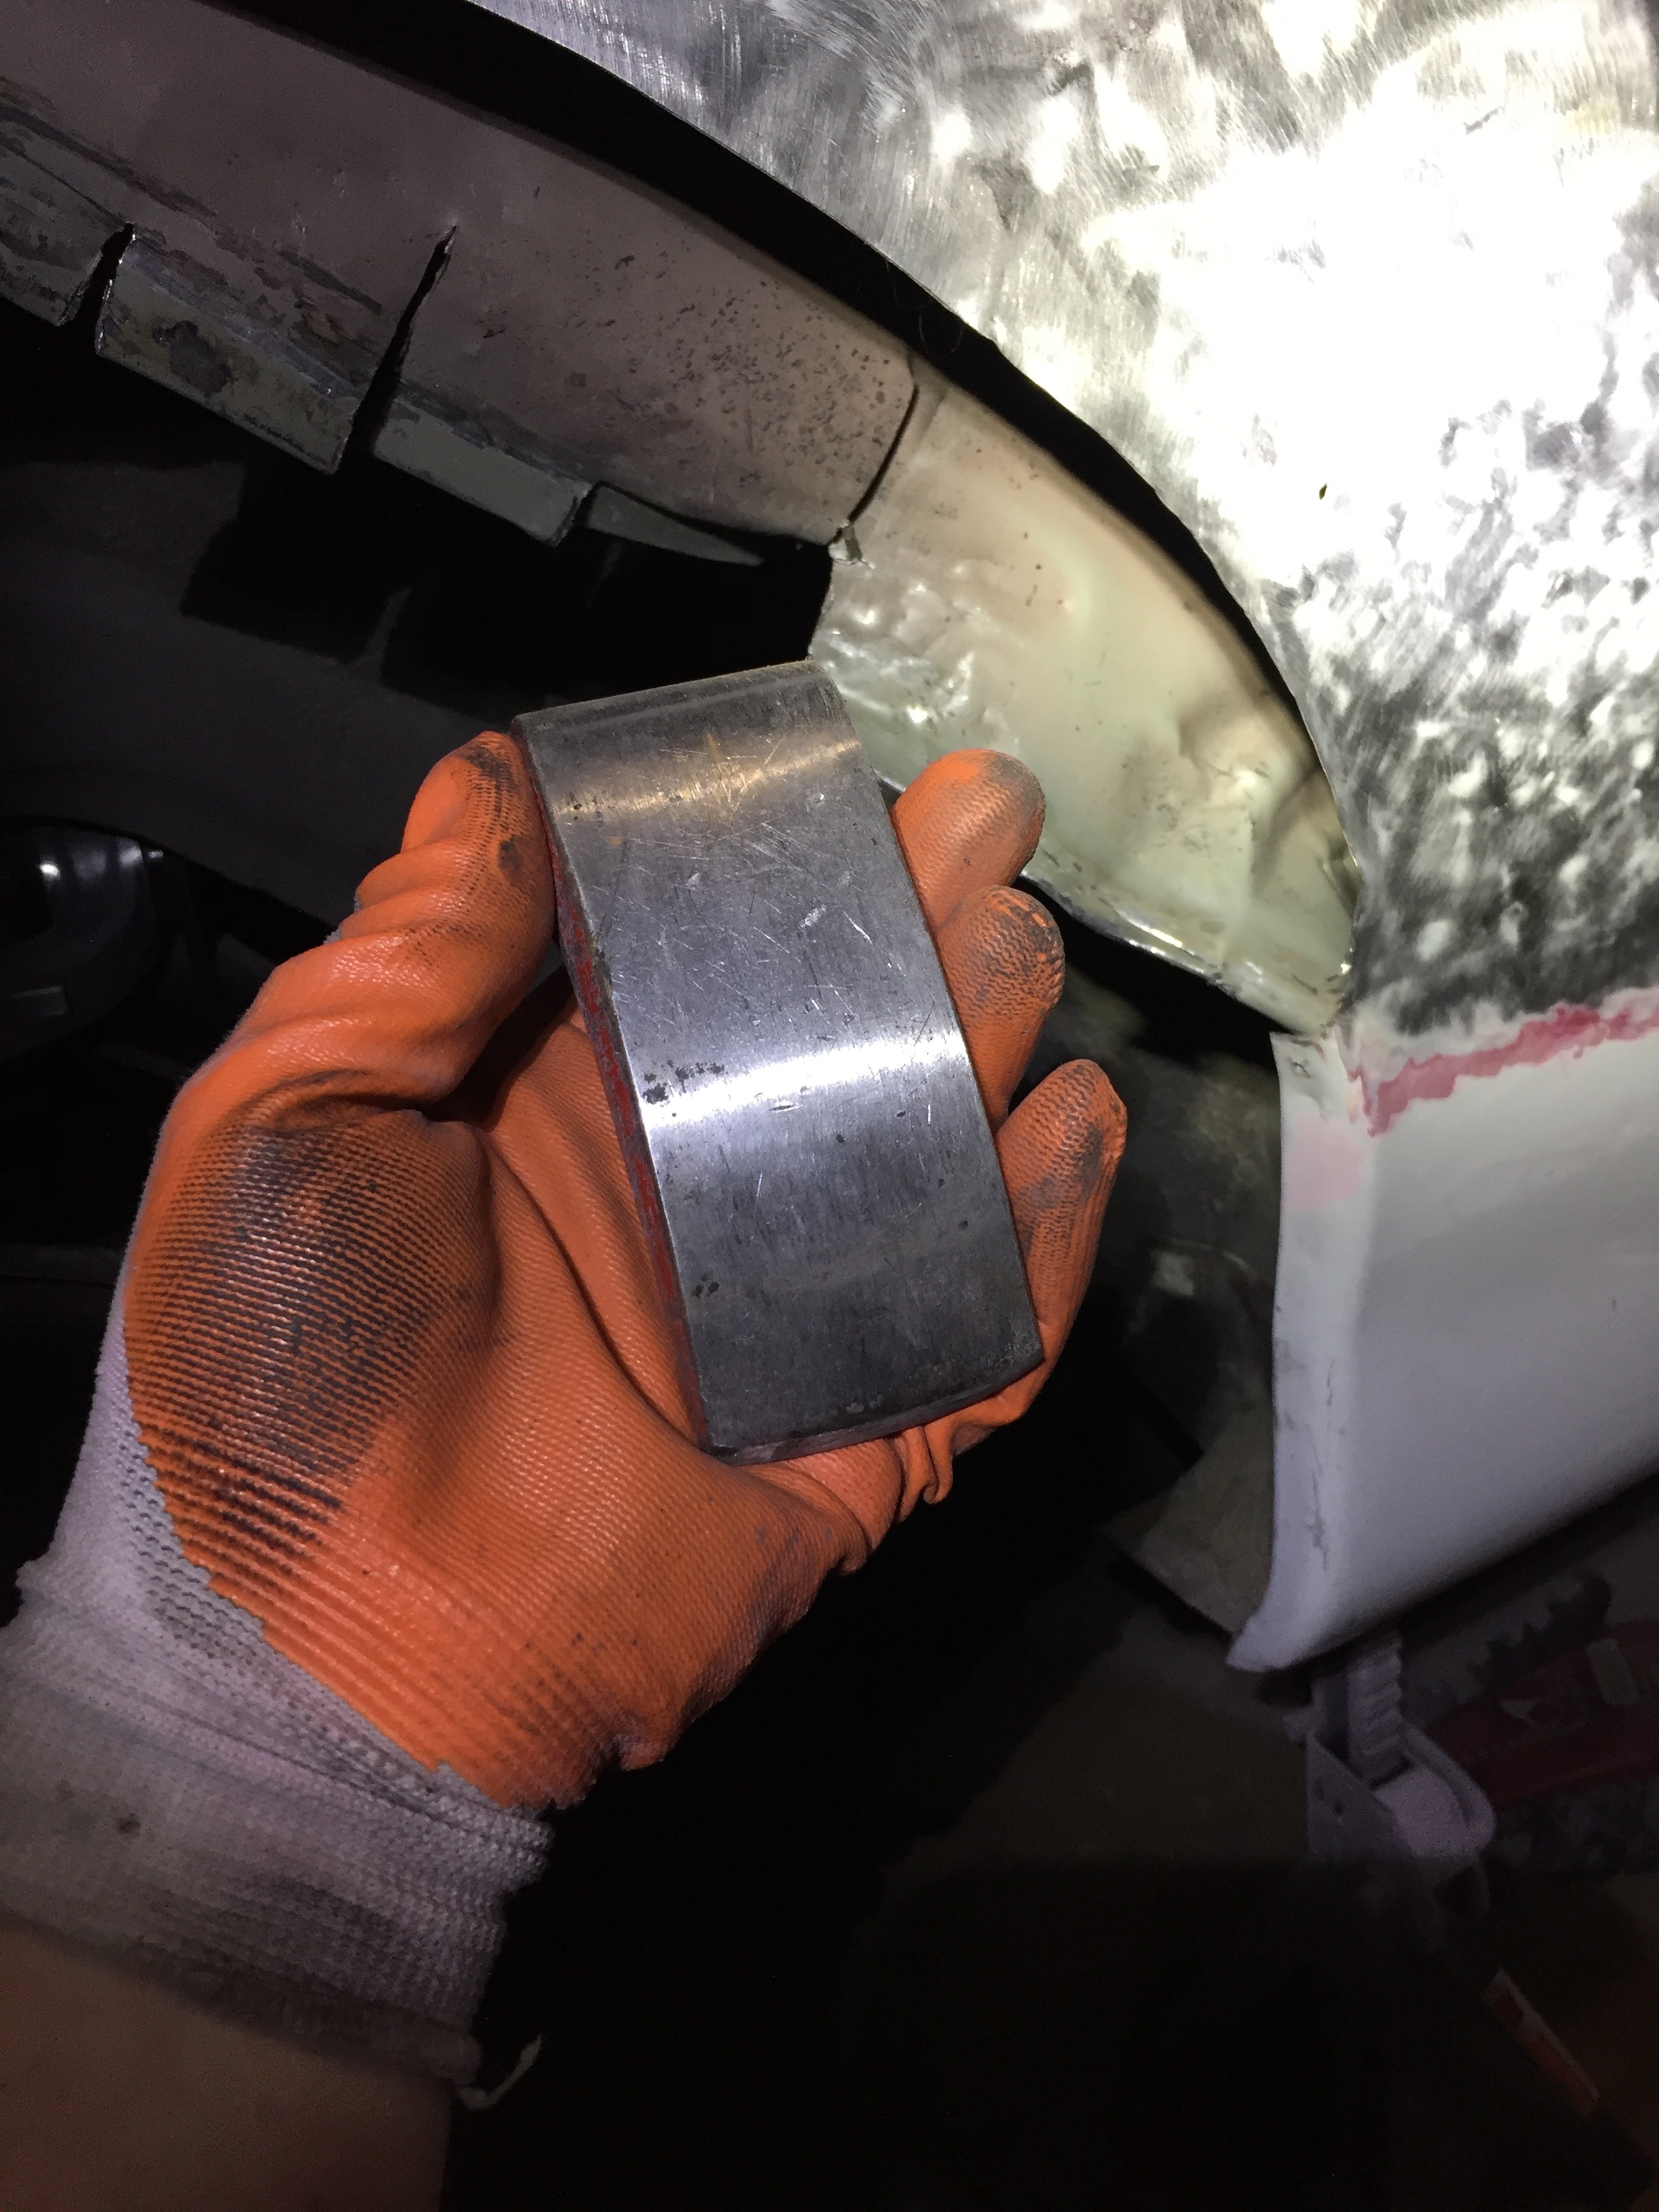
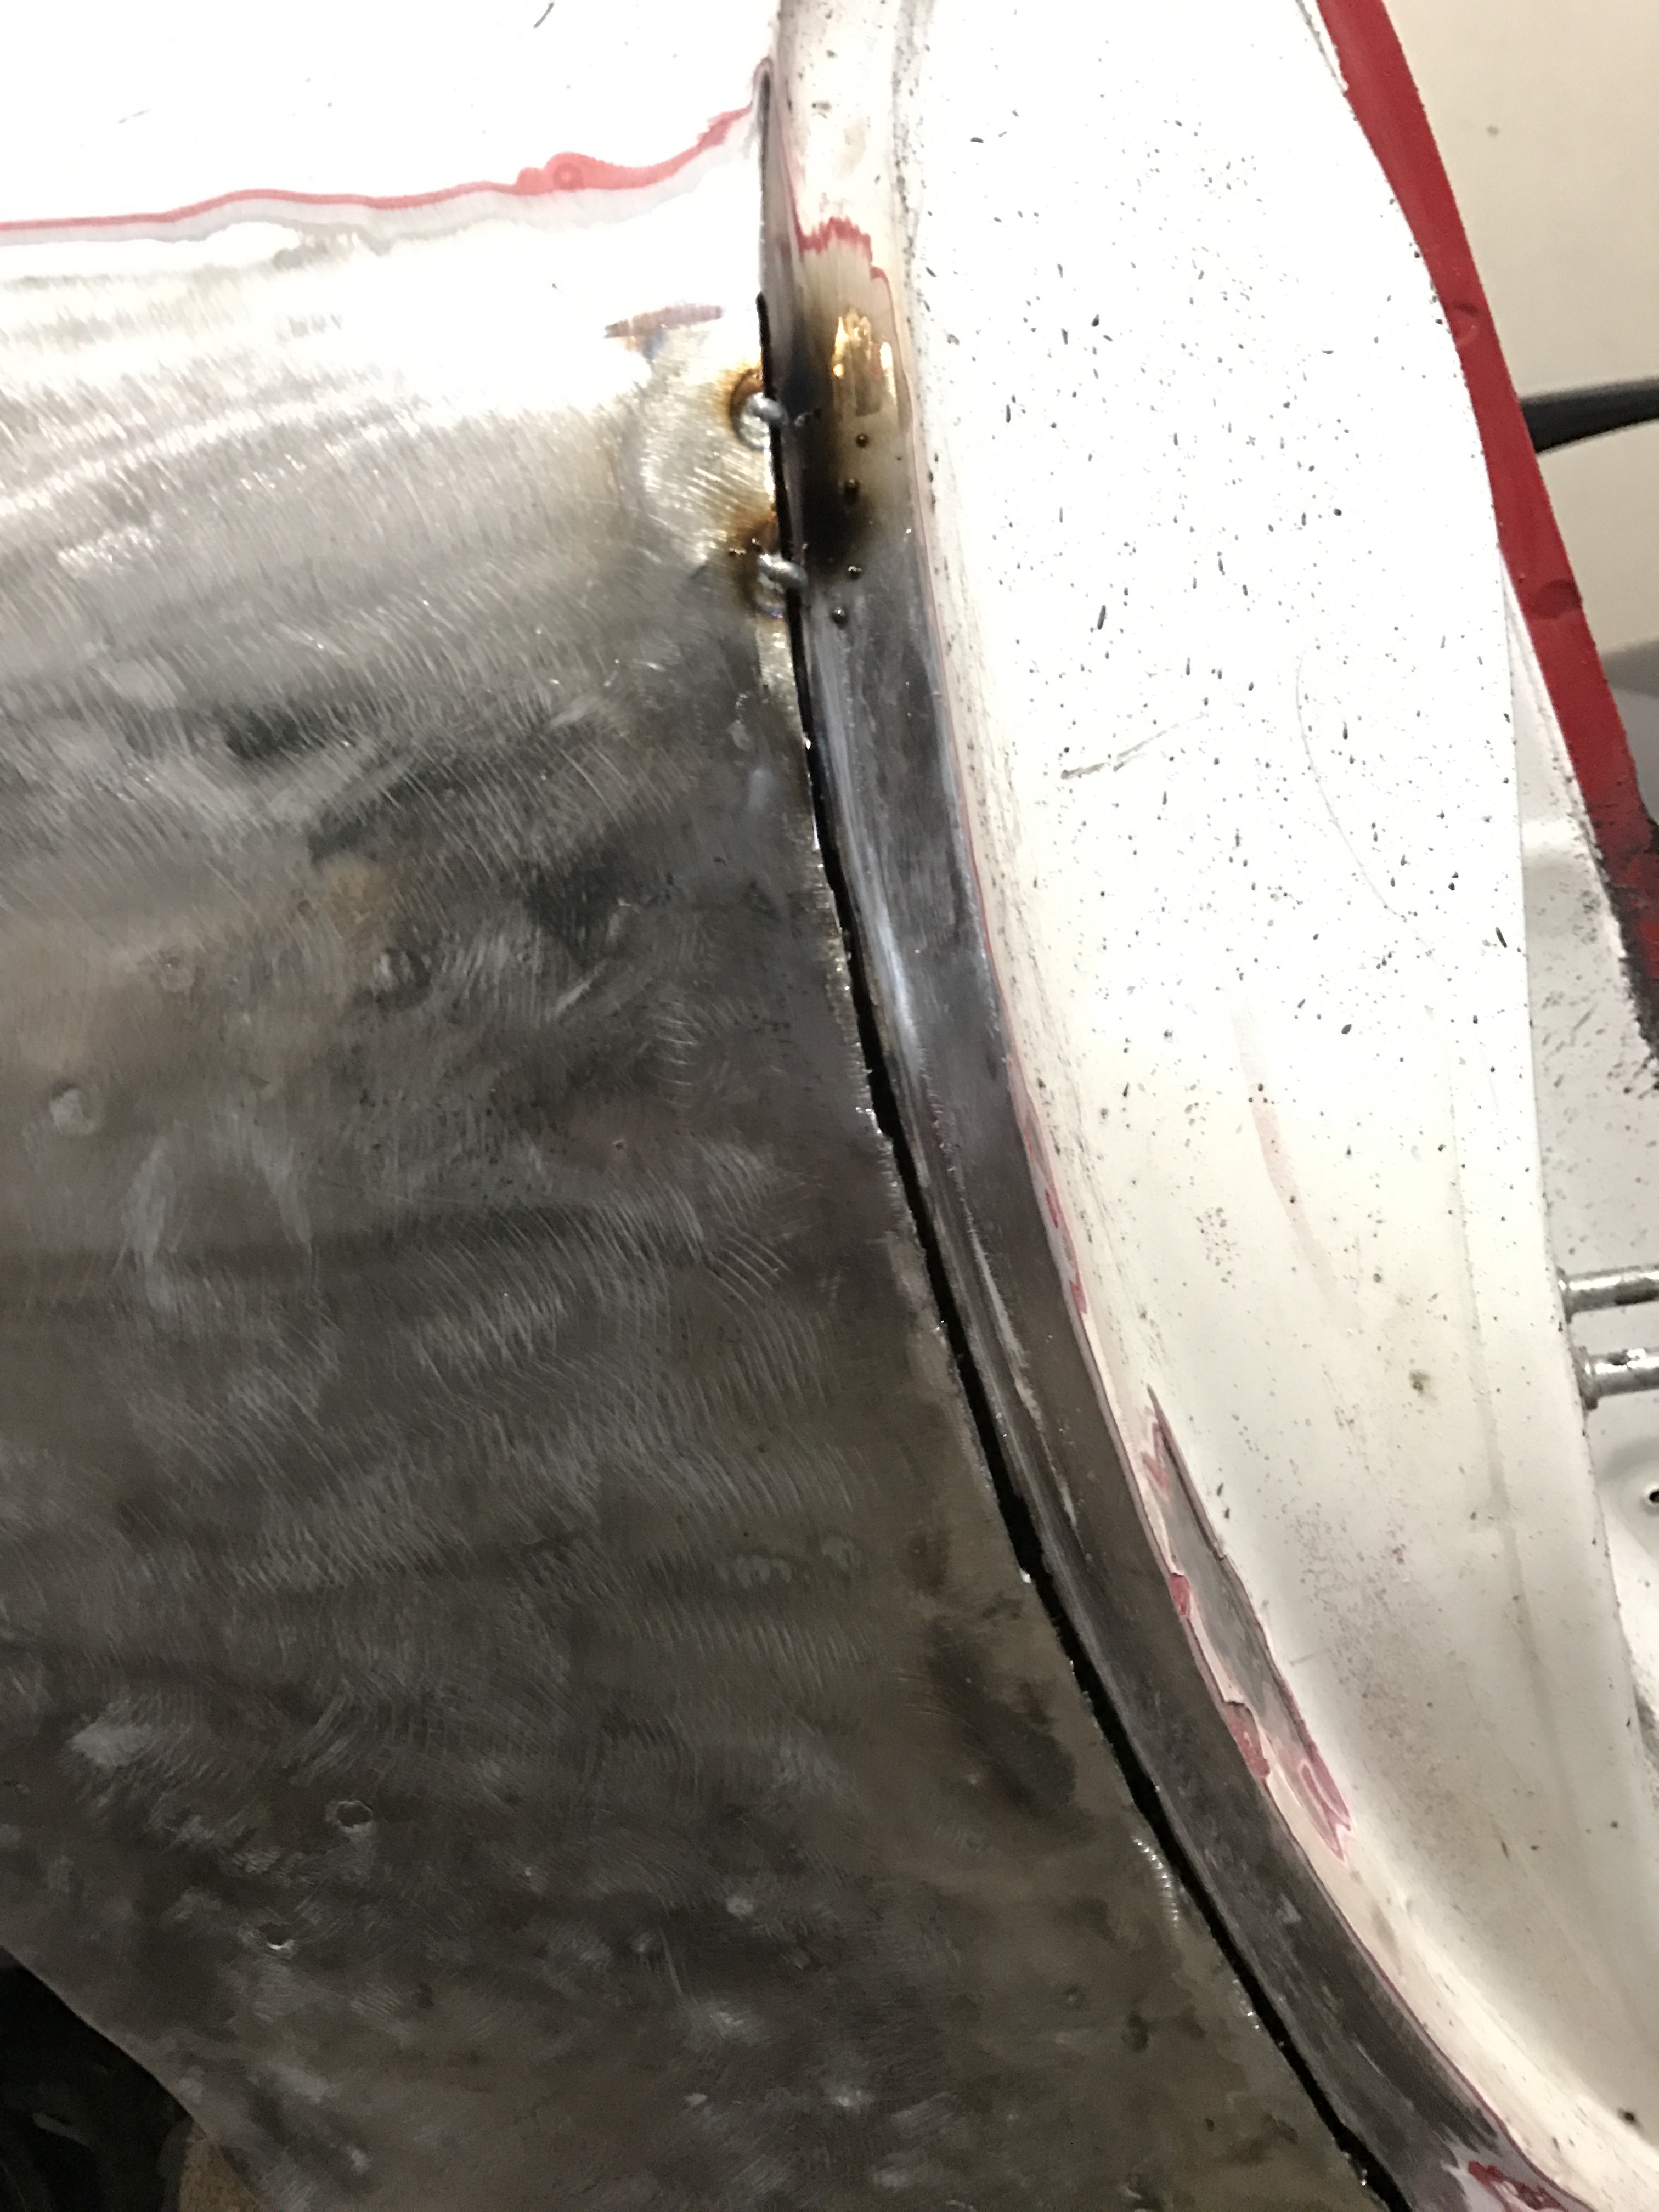
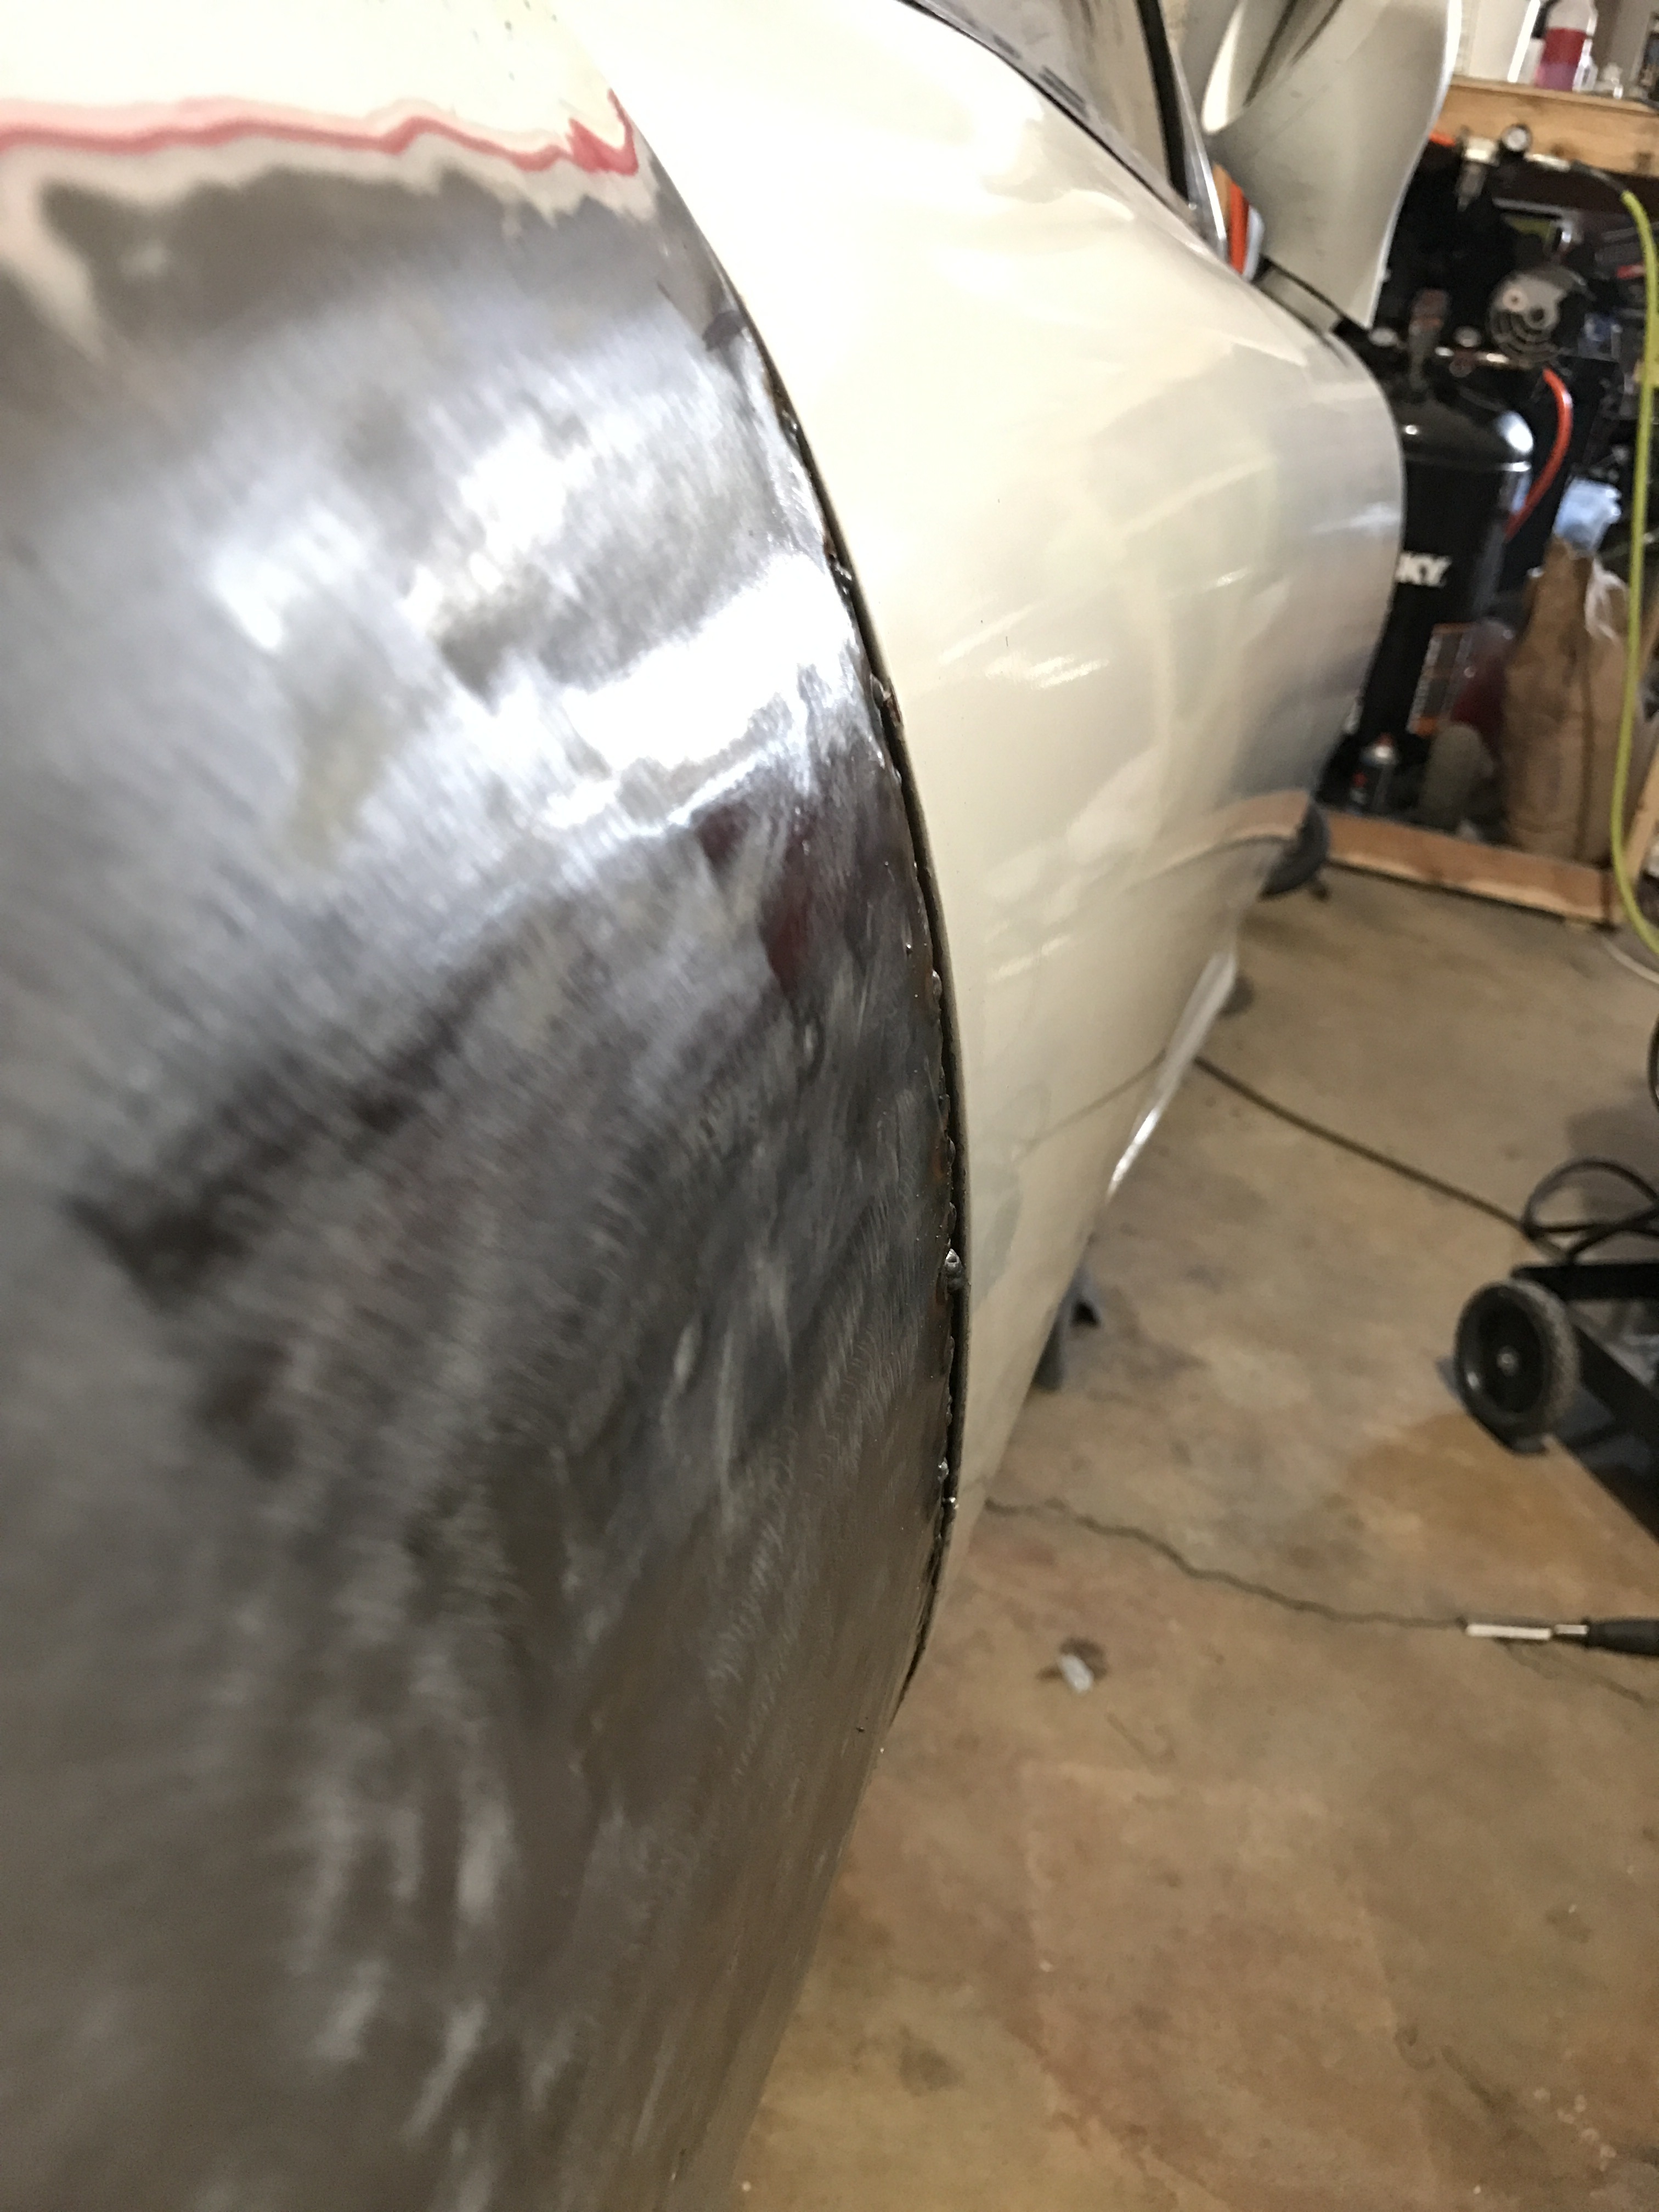
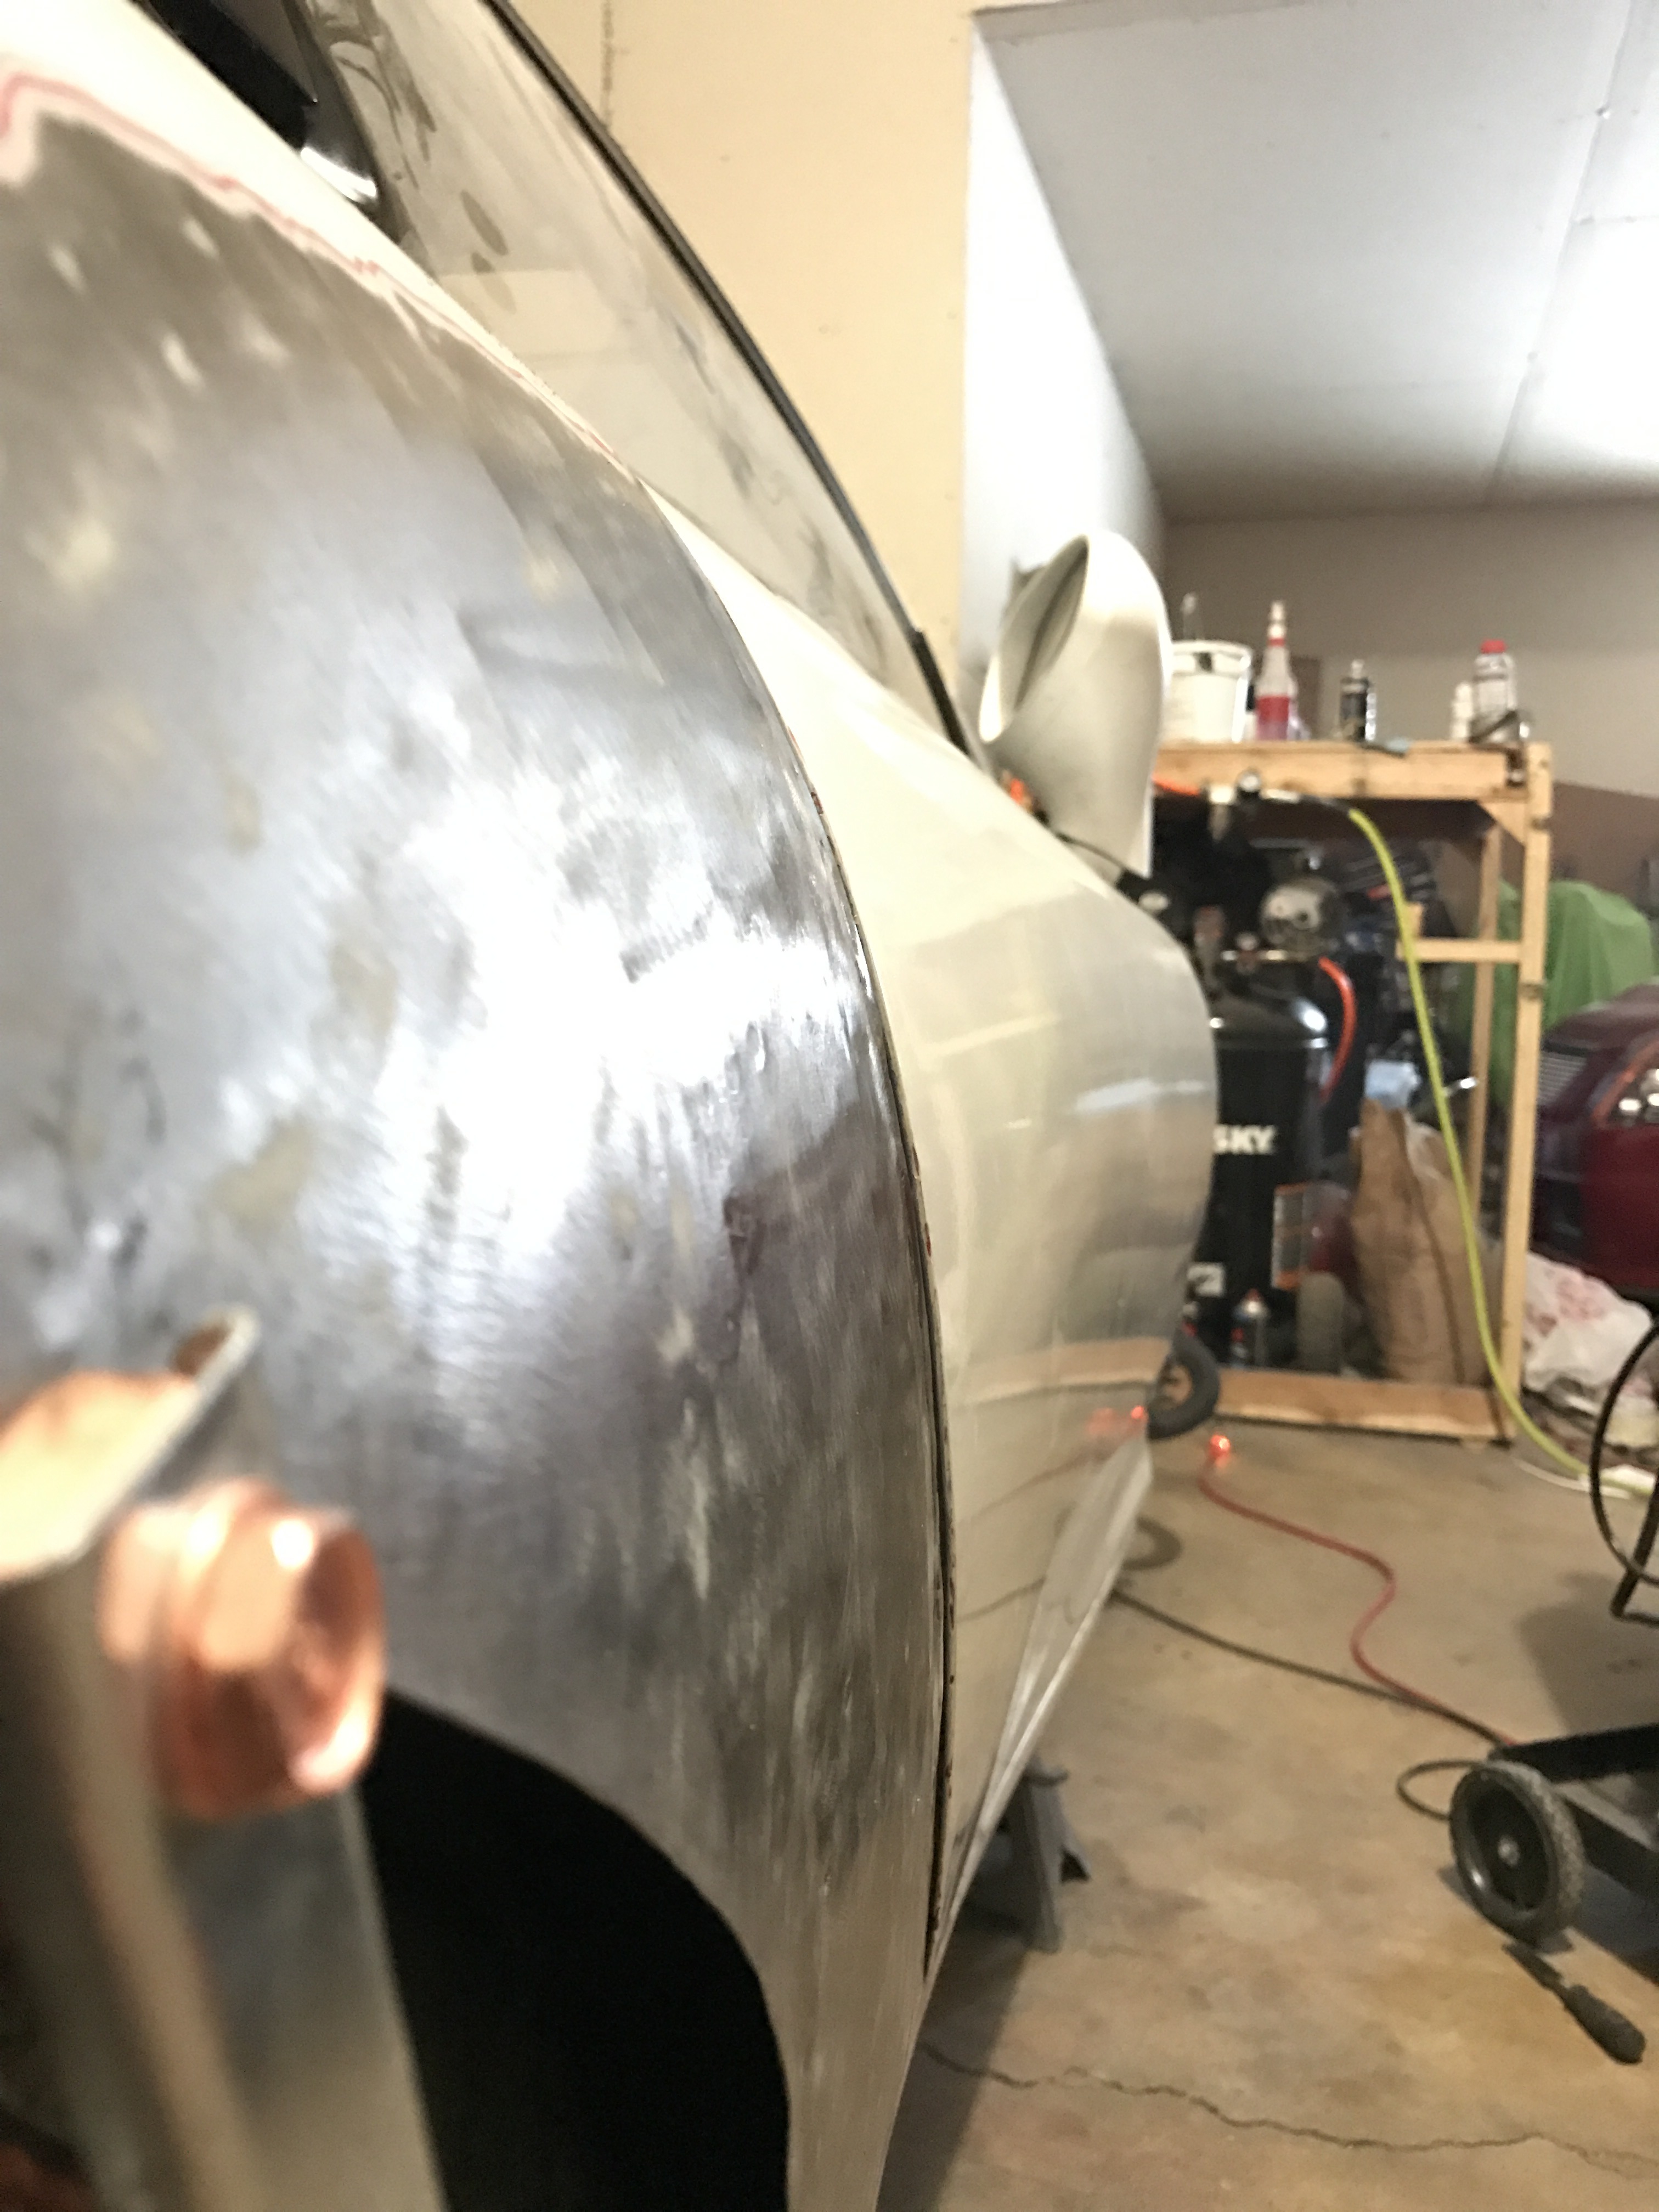
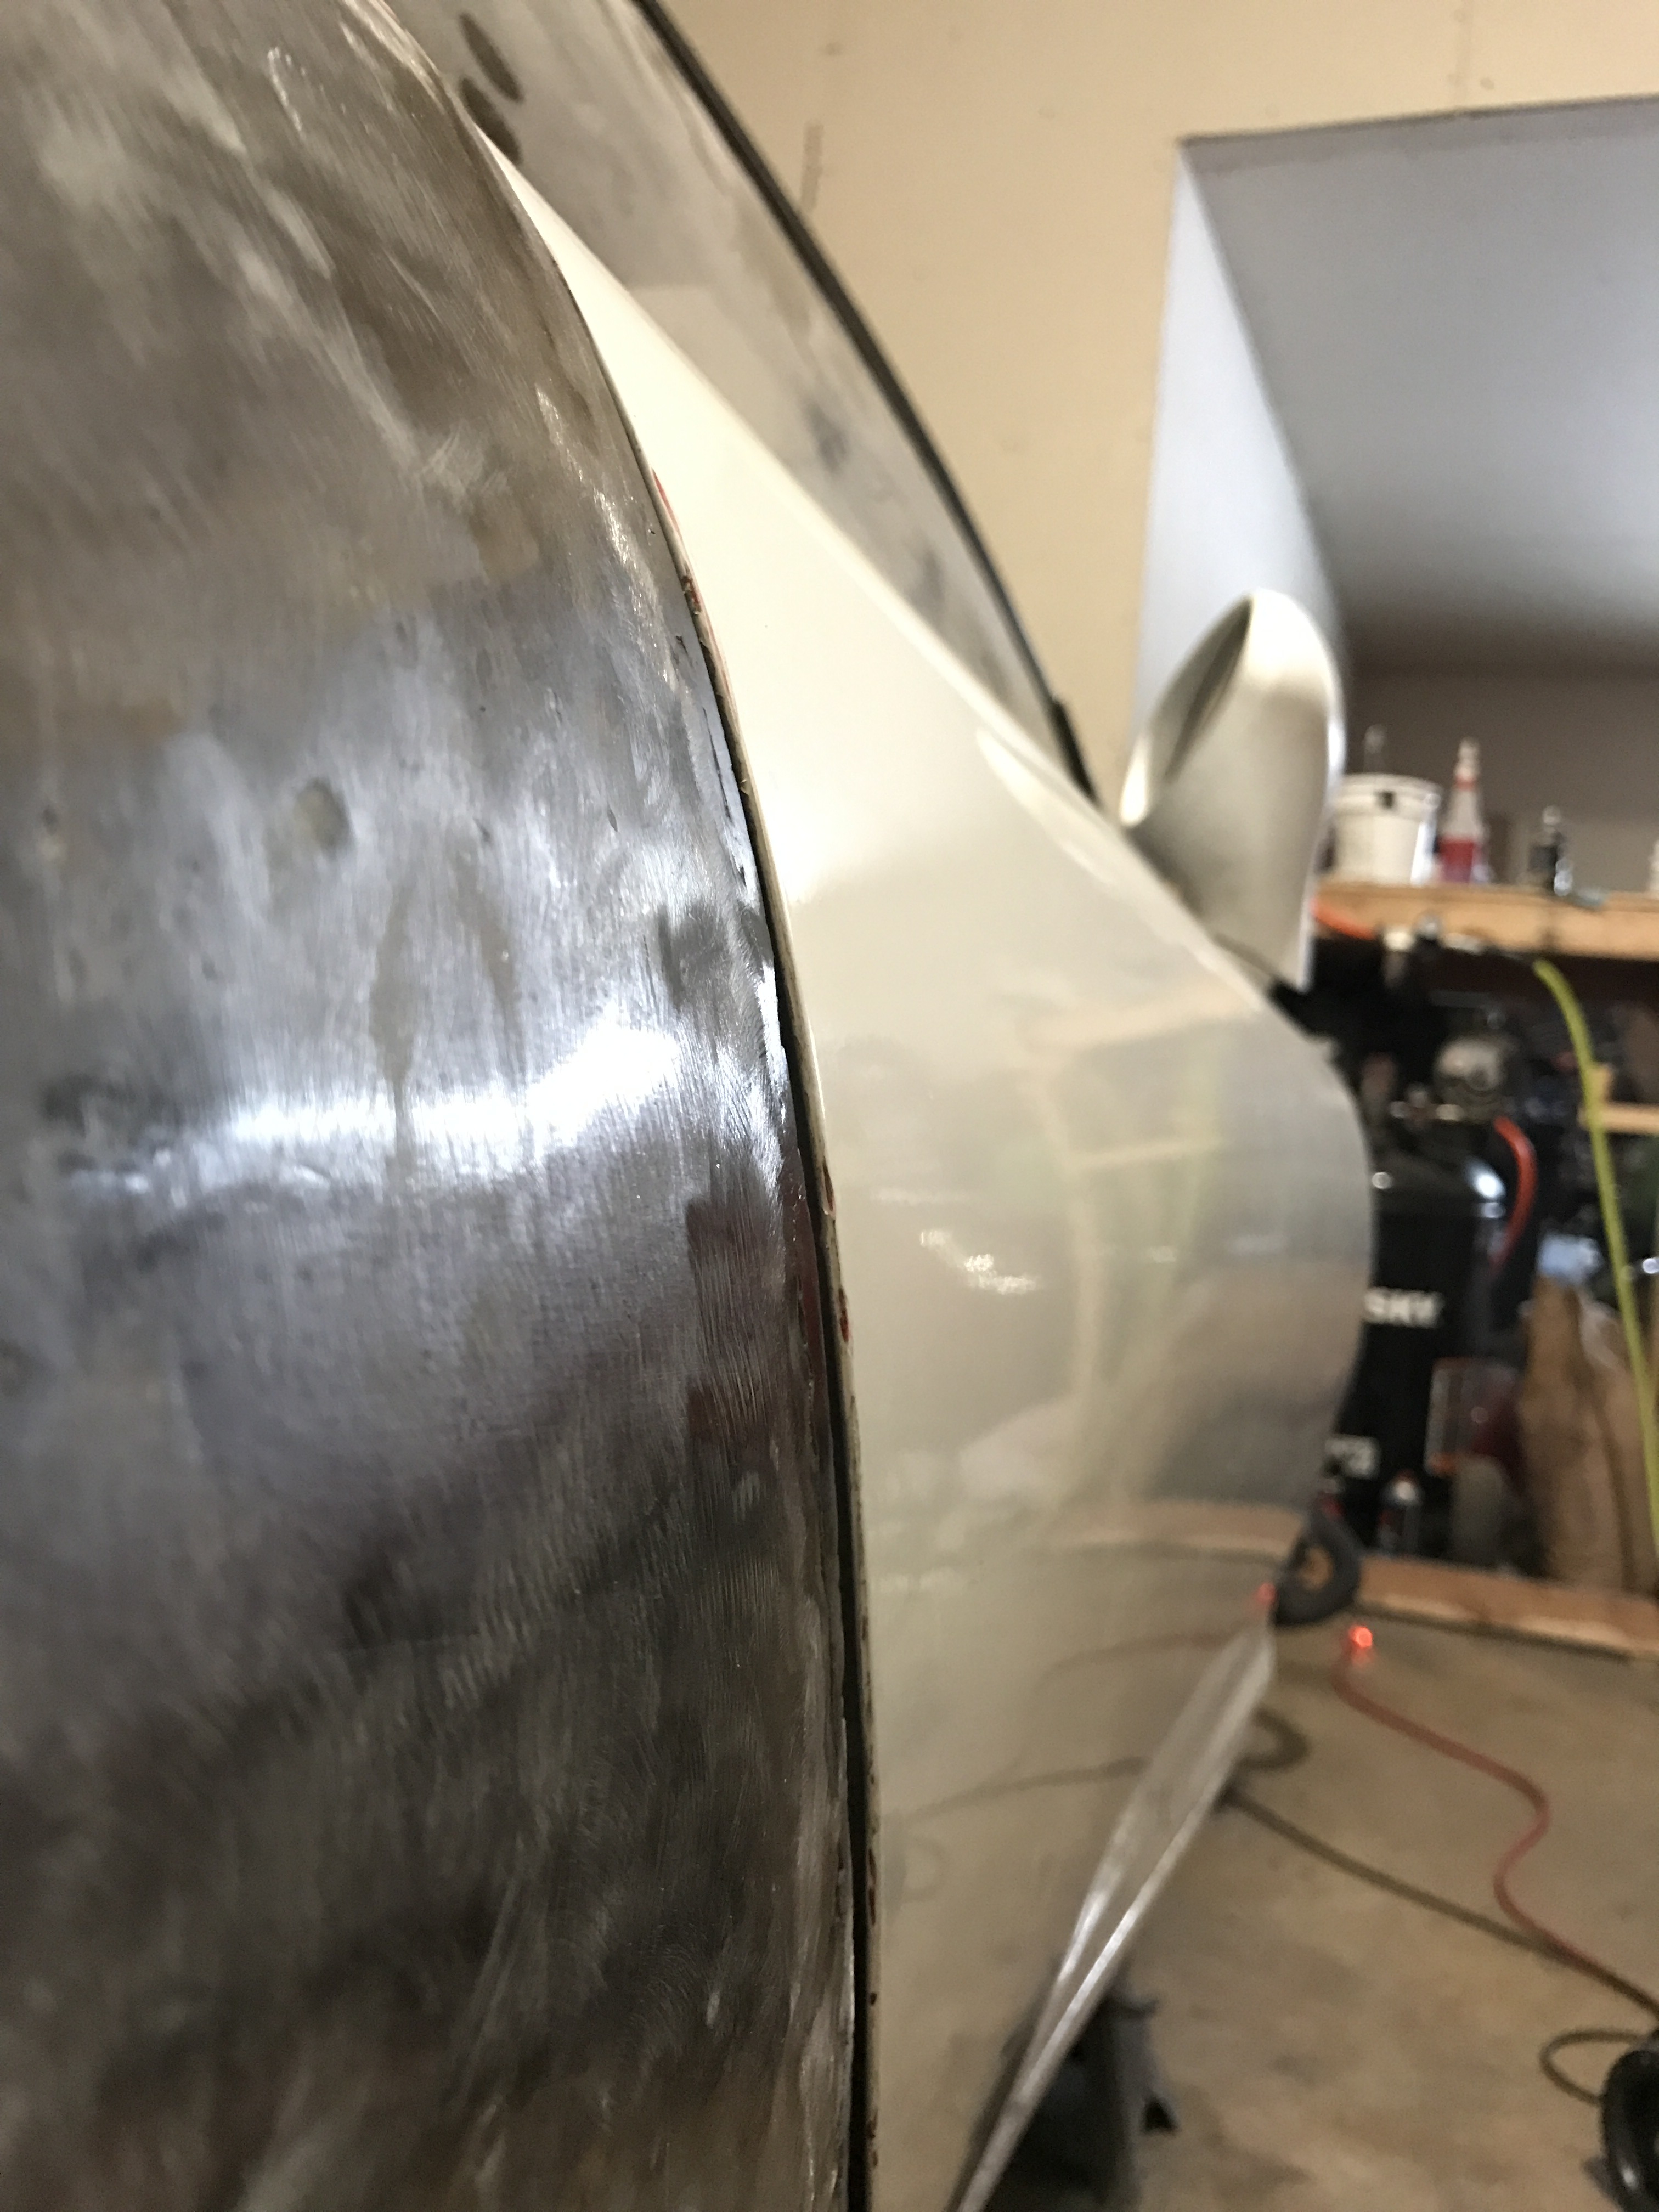
I got the other fender cut and welded as well. This one didnt come out as clean as the other side (I tried to match the contour of the other one and didnt cut enough metal out, so I had to hammer up on it and that in turn caused the metal to distort a bit near the welds. It isn't a big deal since it's all covered up anyhow, but it bugs me so I will probably try and make both sides match somewhat by hammering each one equally lol. It will be smooth once finished without any waviness though, I'm too picky to let that happen even with it being covered up.
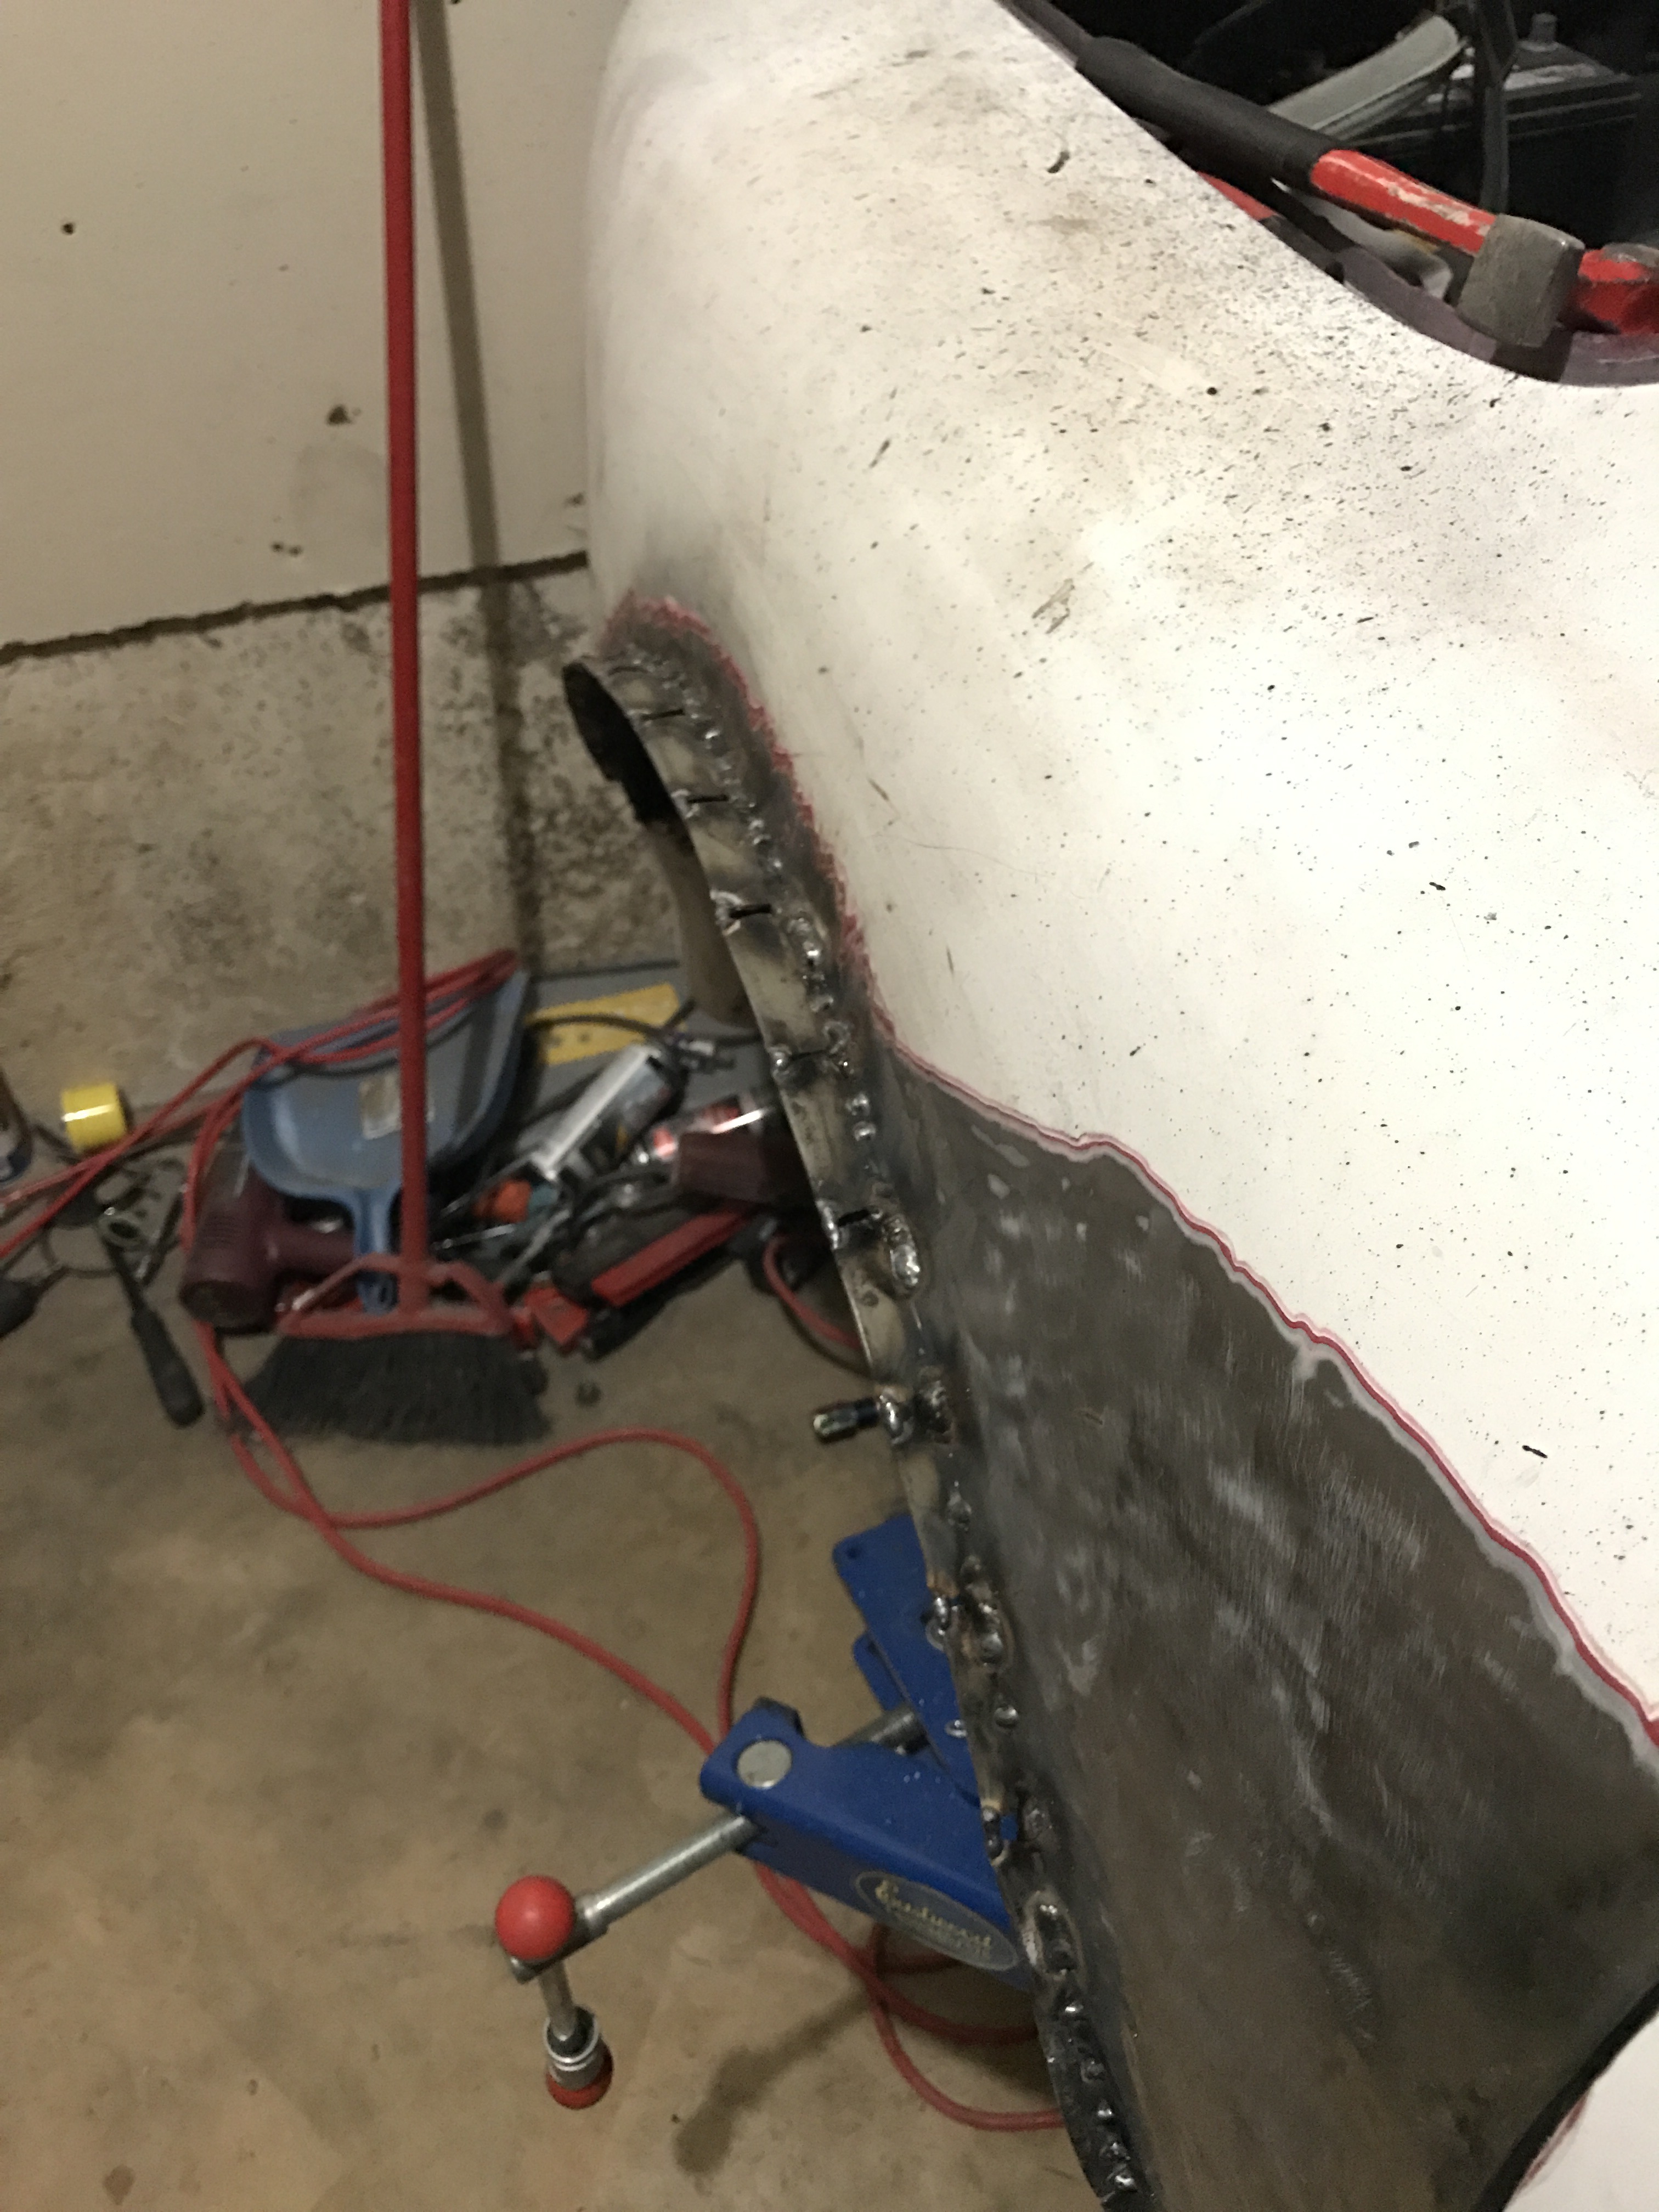
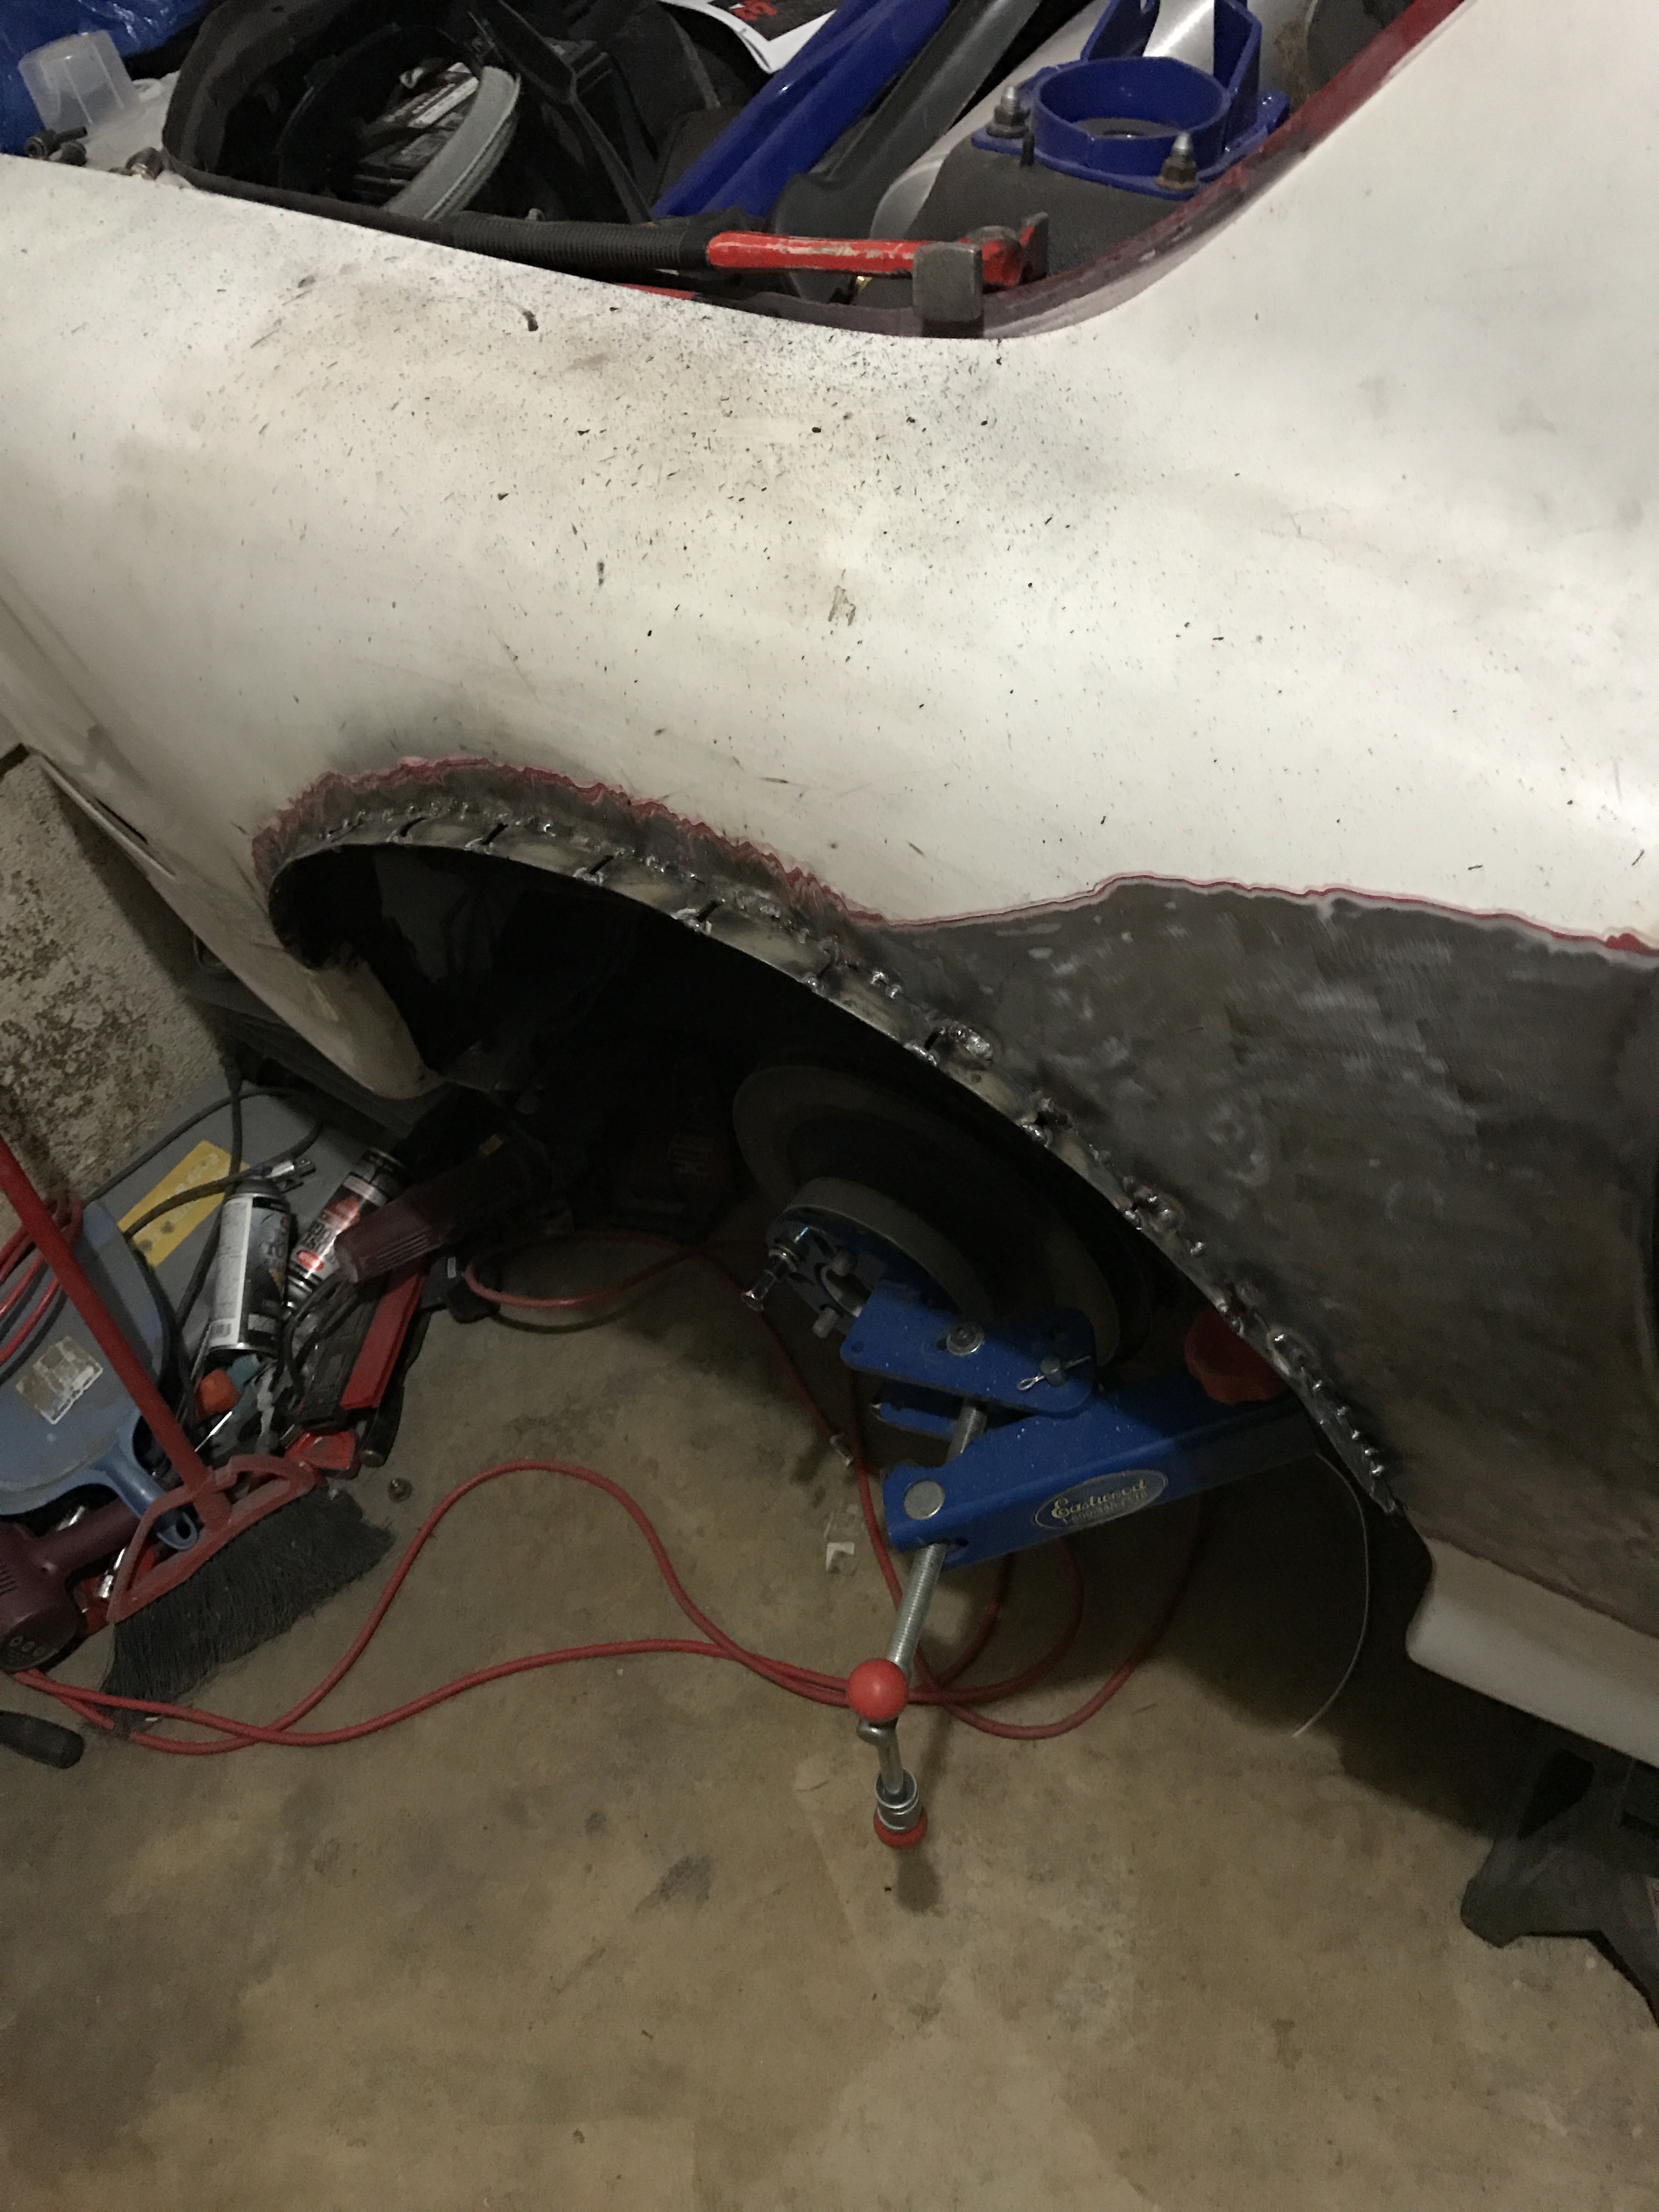


I got the other fender cut and welded as well. This one didnt come out as clean as the other side (I tried to match the contour of the other one and didnt cut enough metal out, so I had to hammer up on it and that in turn caused the metal to distort a bit near the welds. It isn't a big deal since it's all covered up anyhow, but it bugs me so I will probably try and make both sides match somewhat by hammering each one equally lol. It will be smooth once finished without any waviness though, I'm too picky to let that happen even with it being covered up.


 02-13-17, 09:54 PM
#106
Full Member
Thread Starter
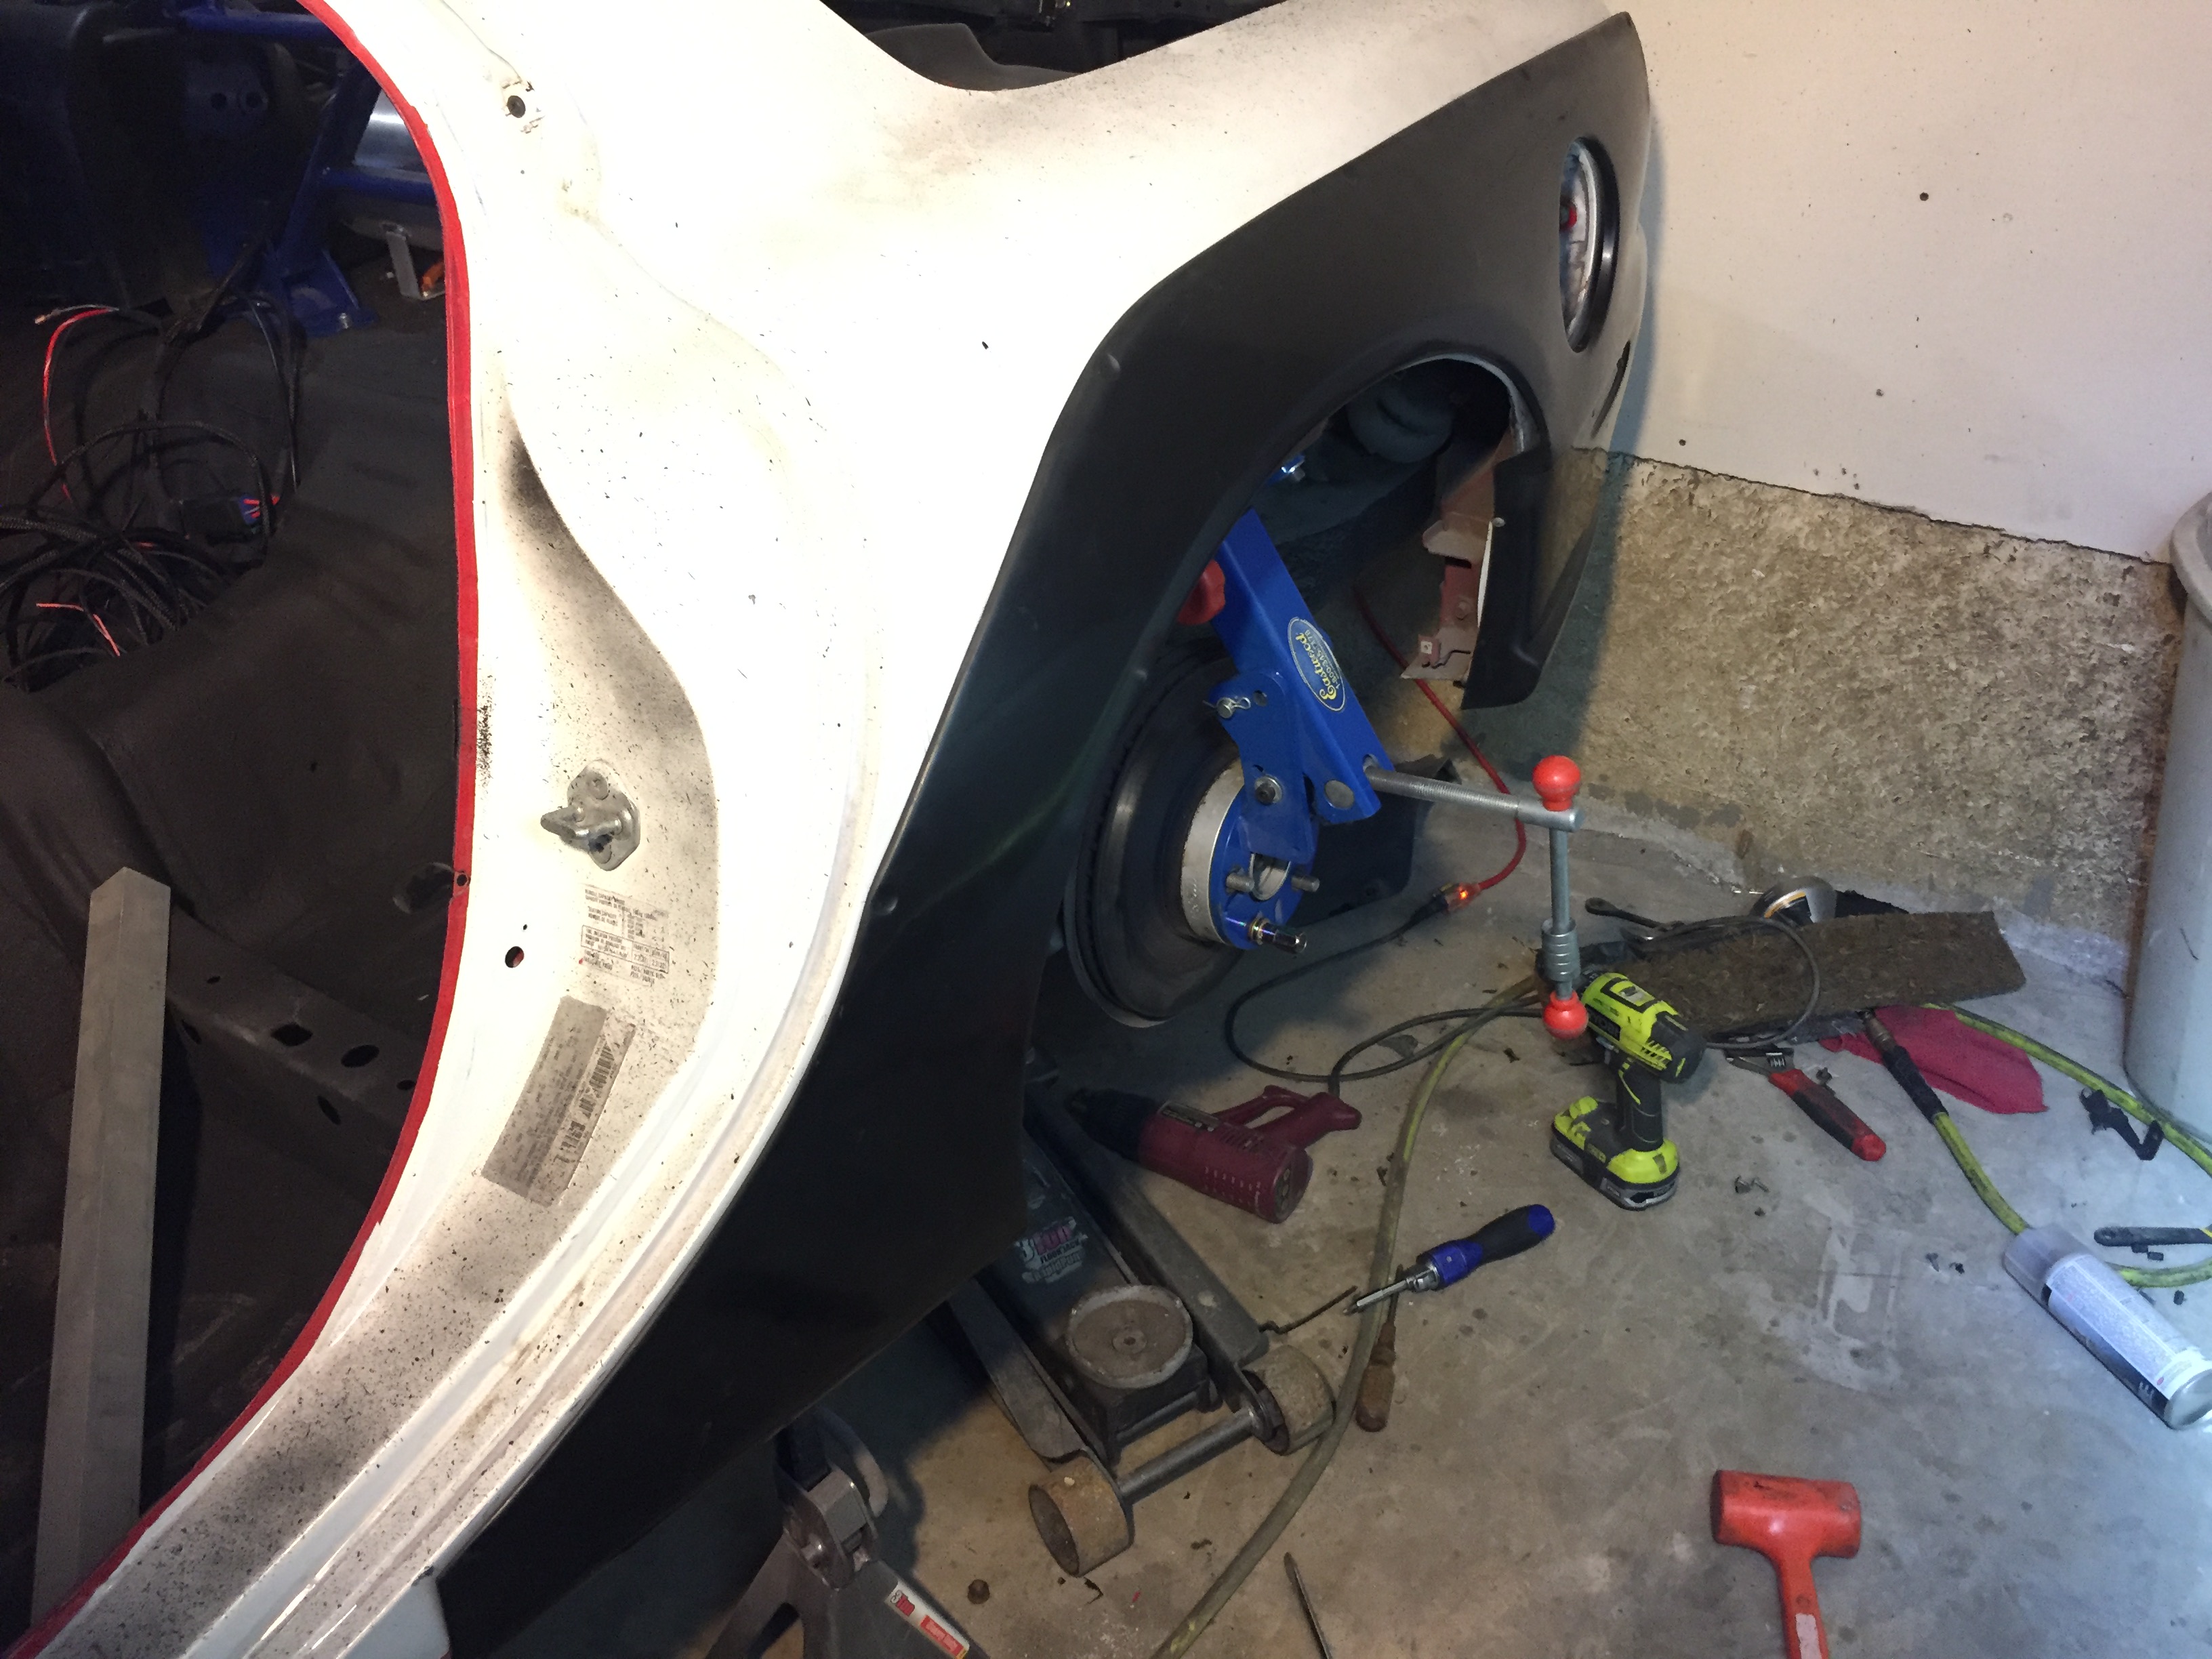
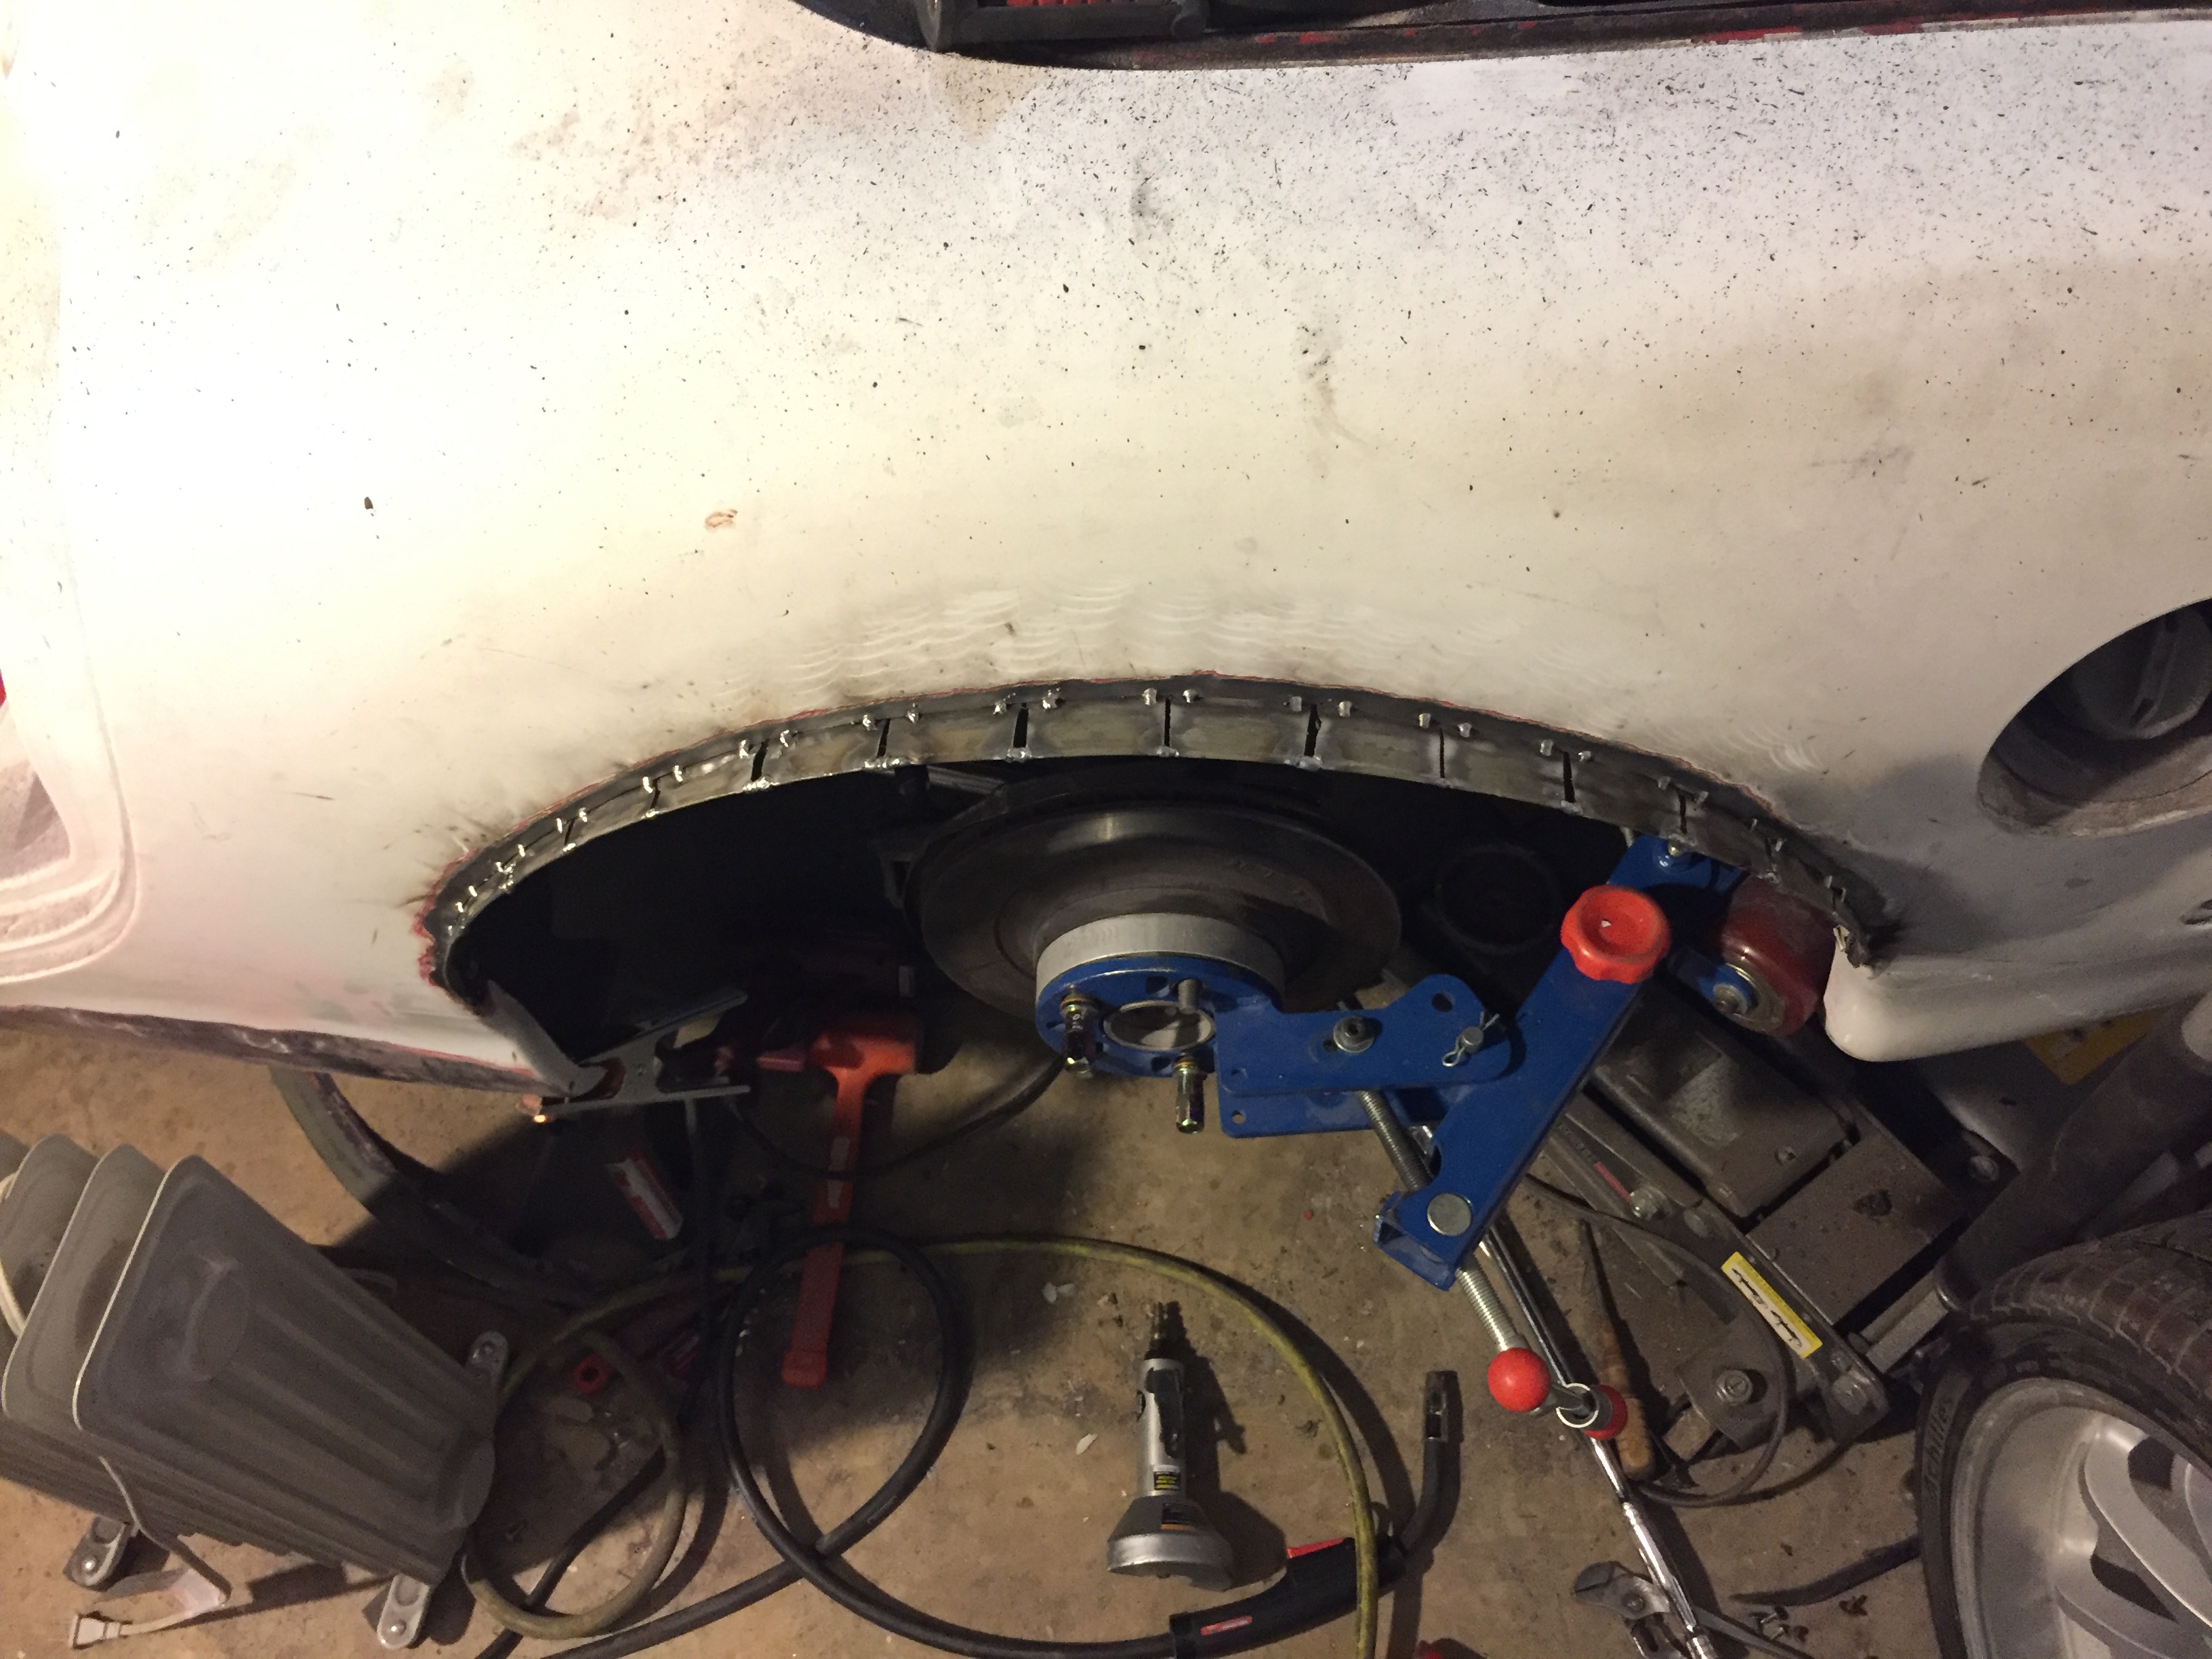
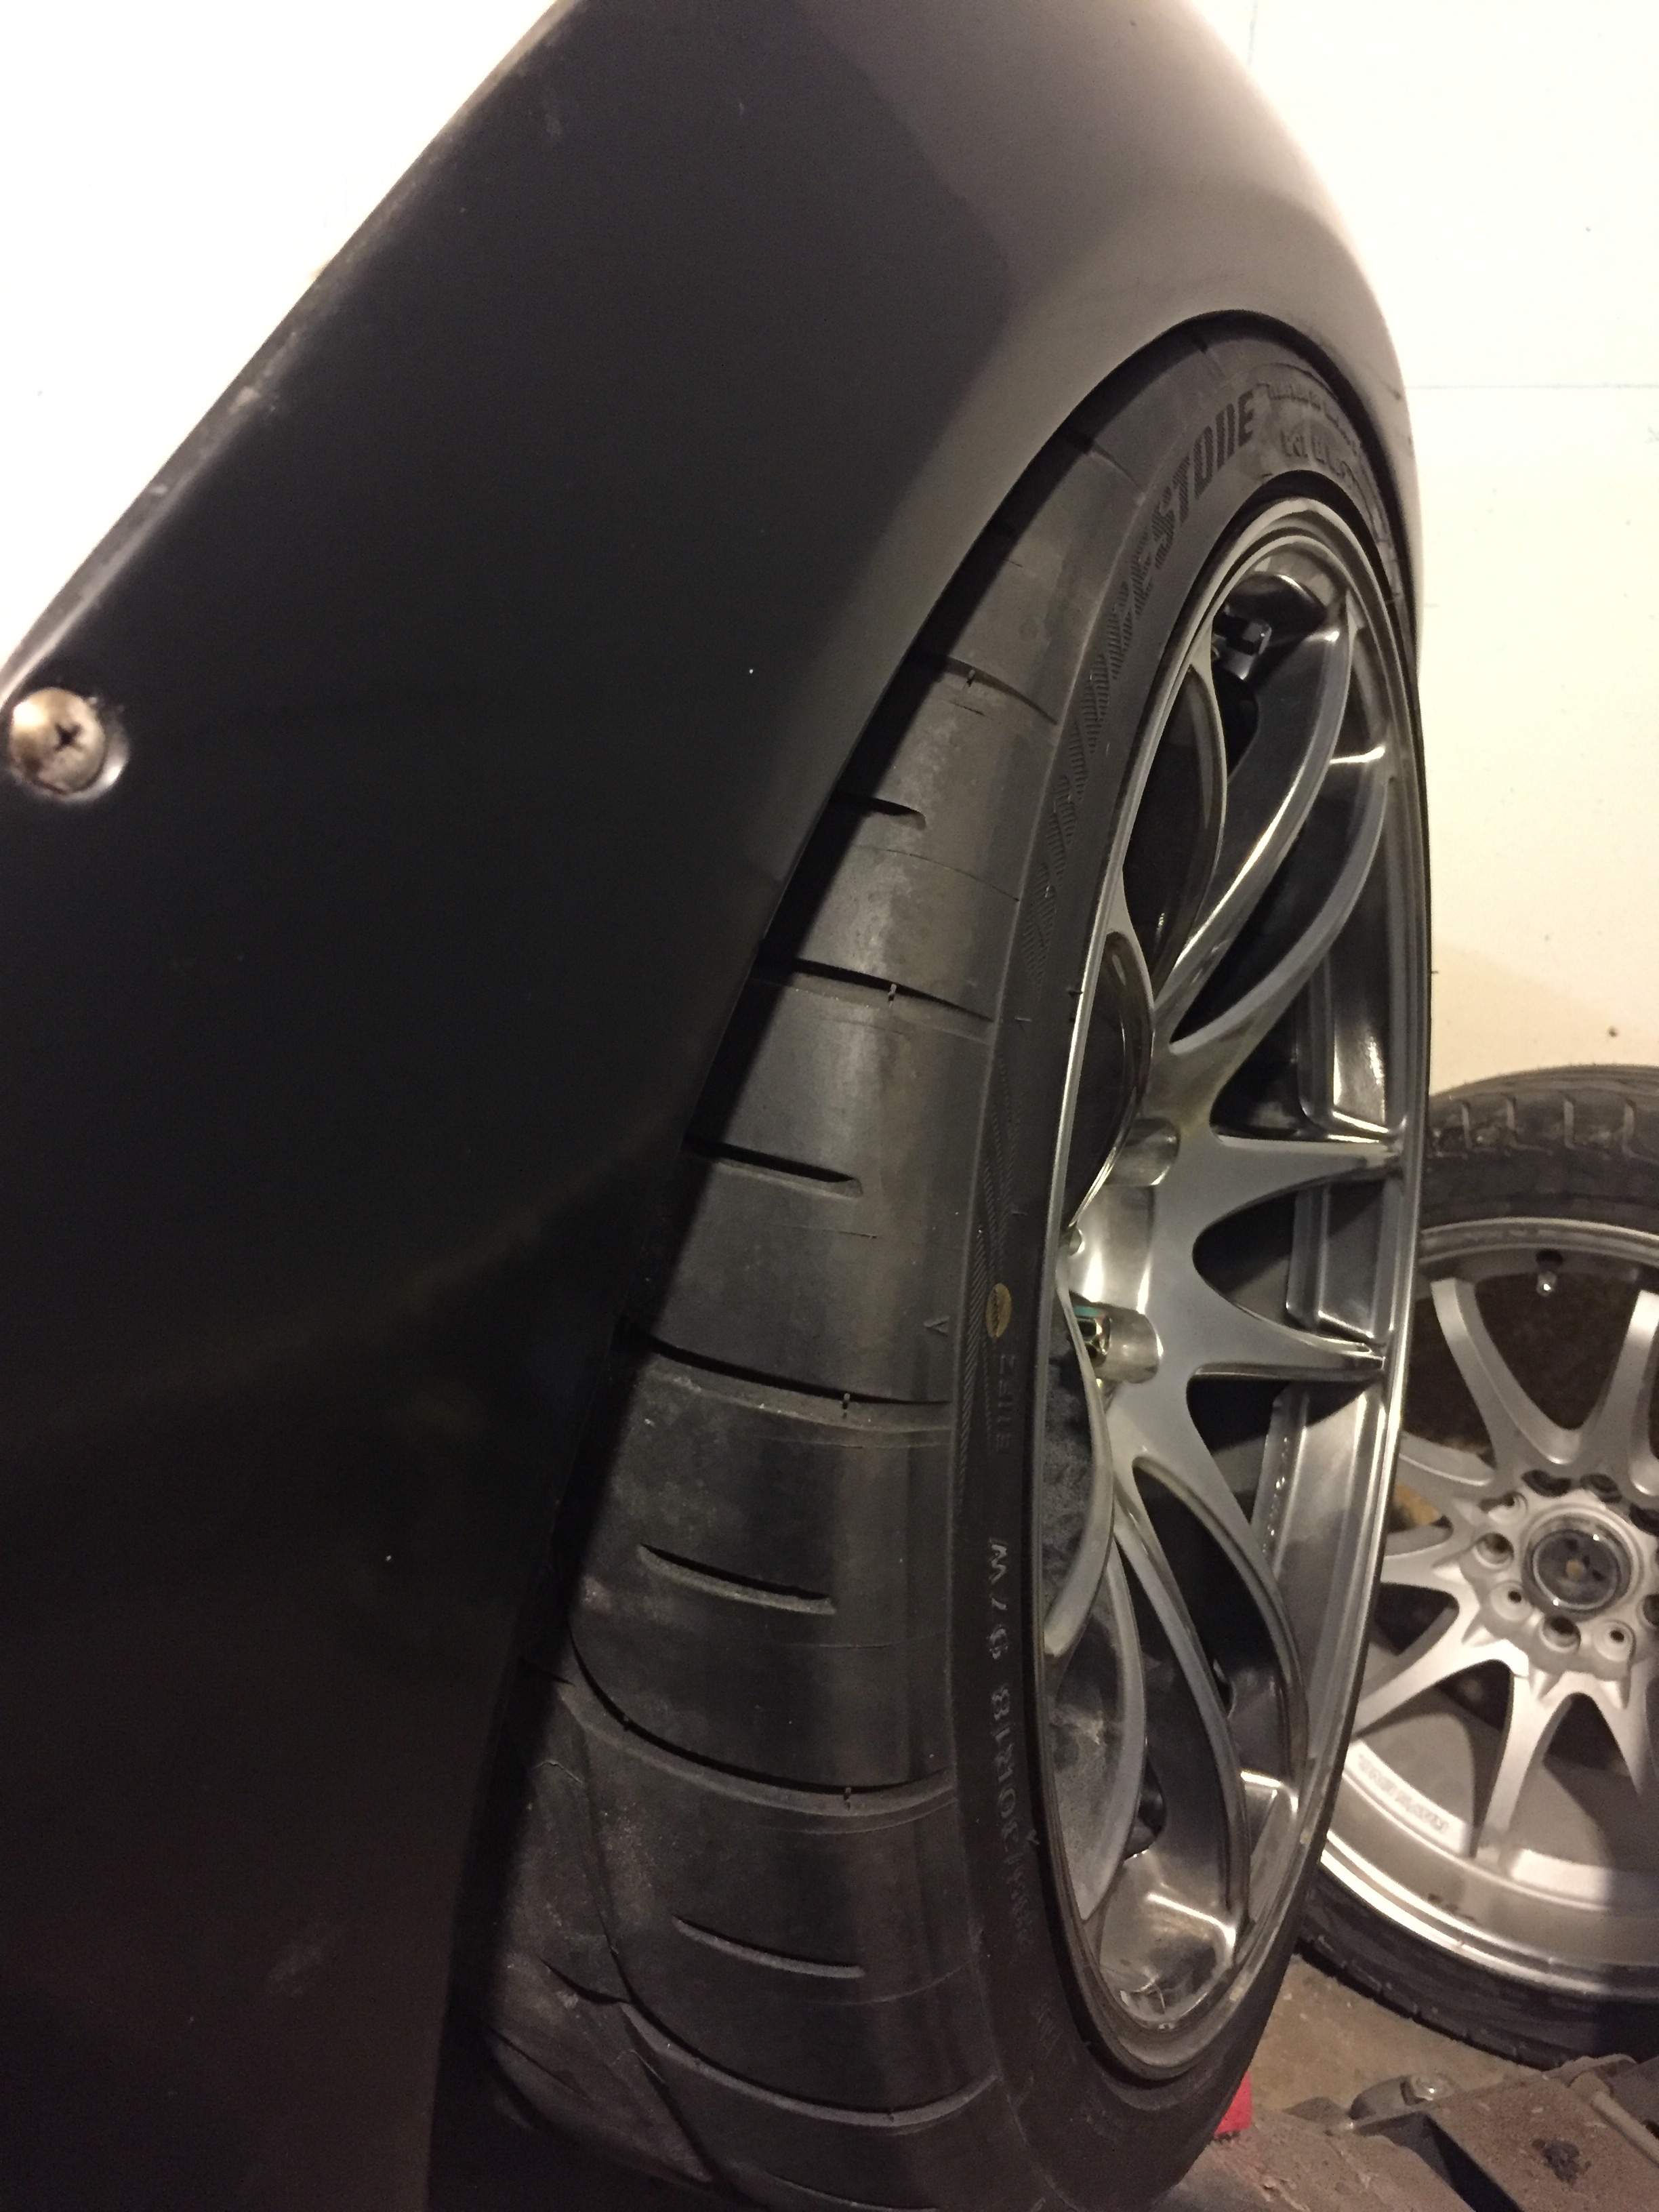
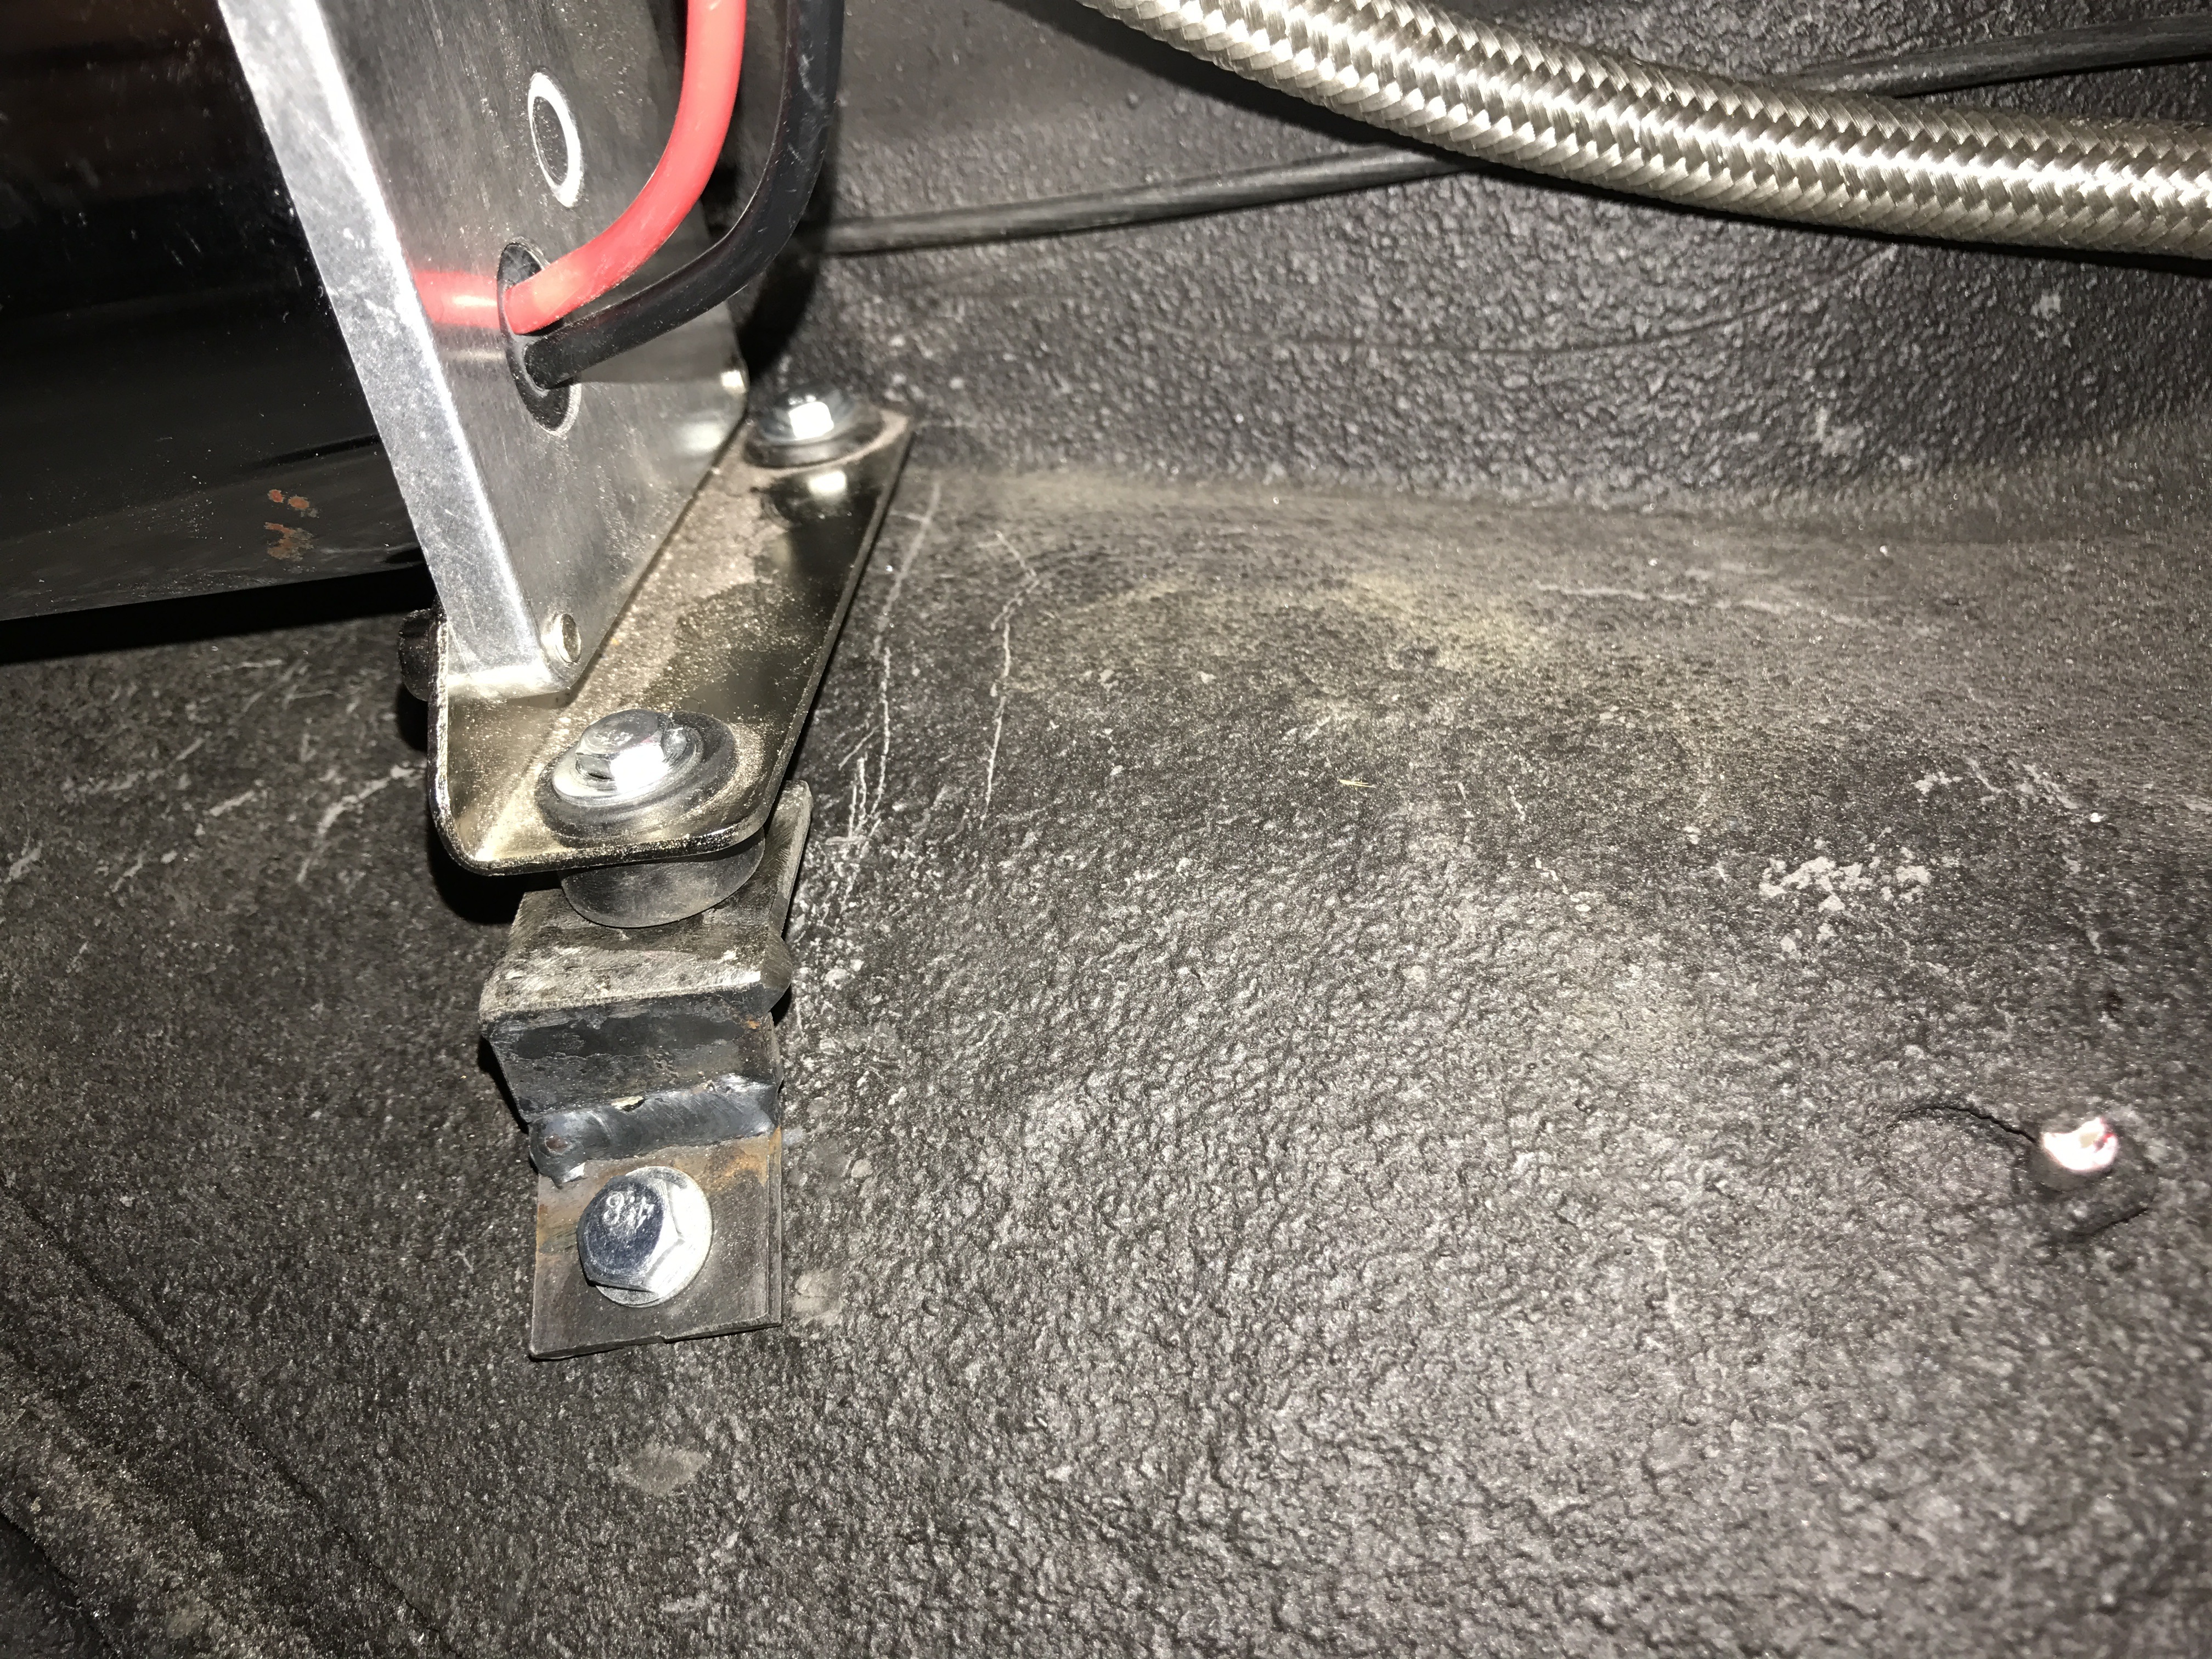
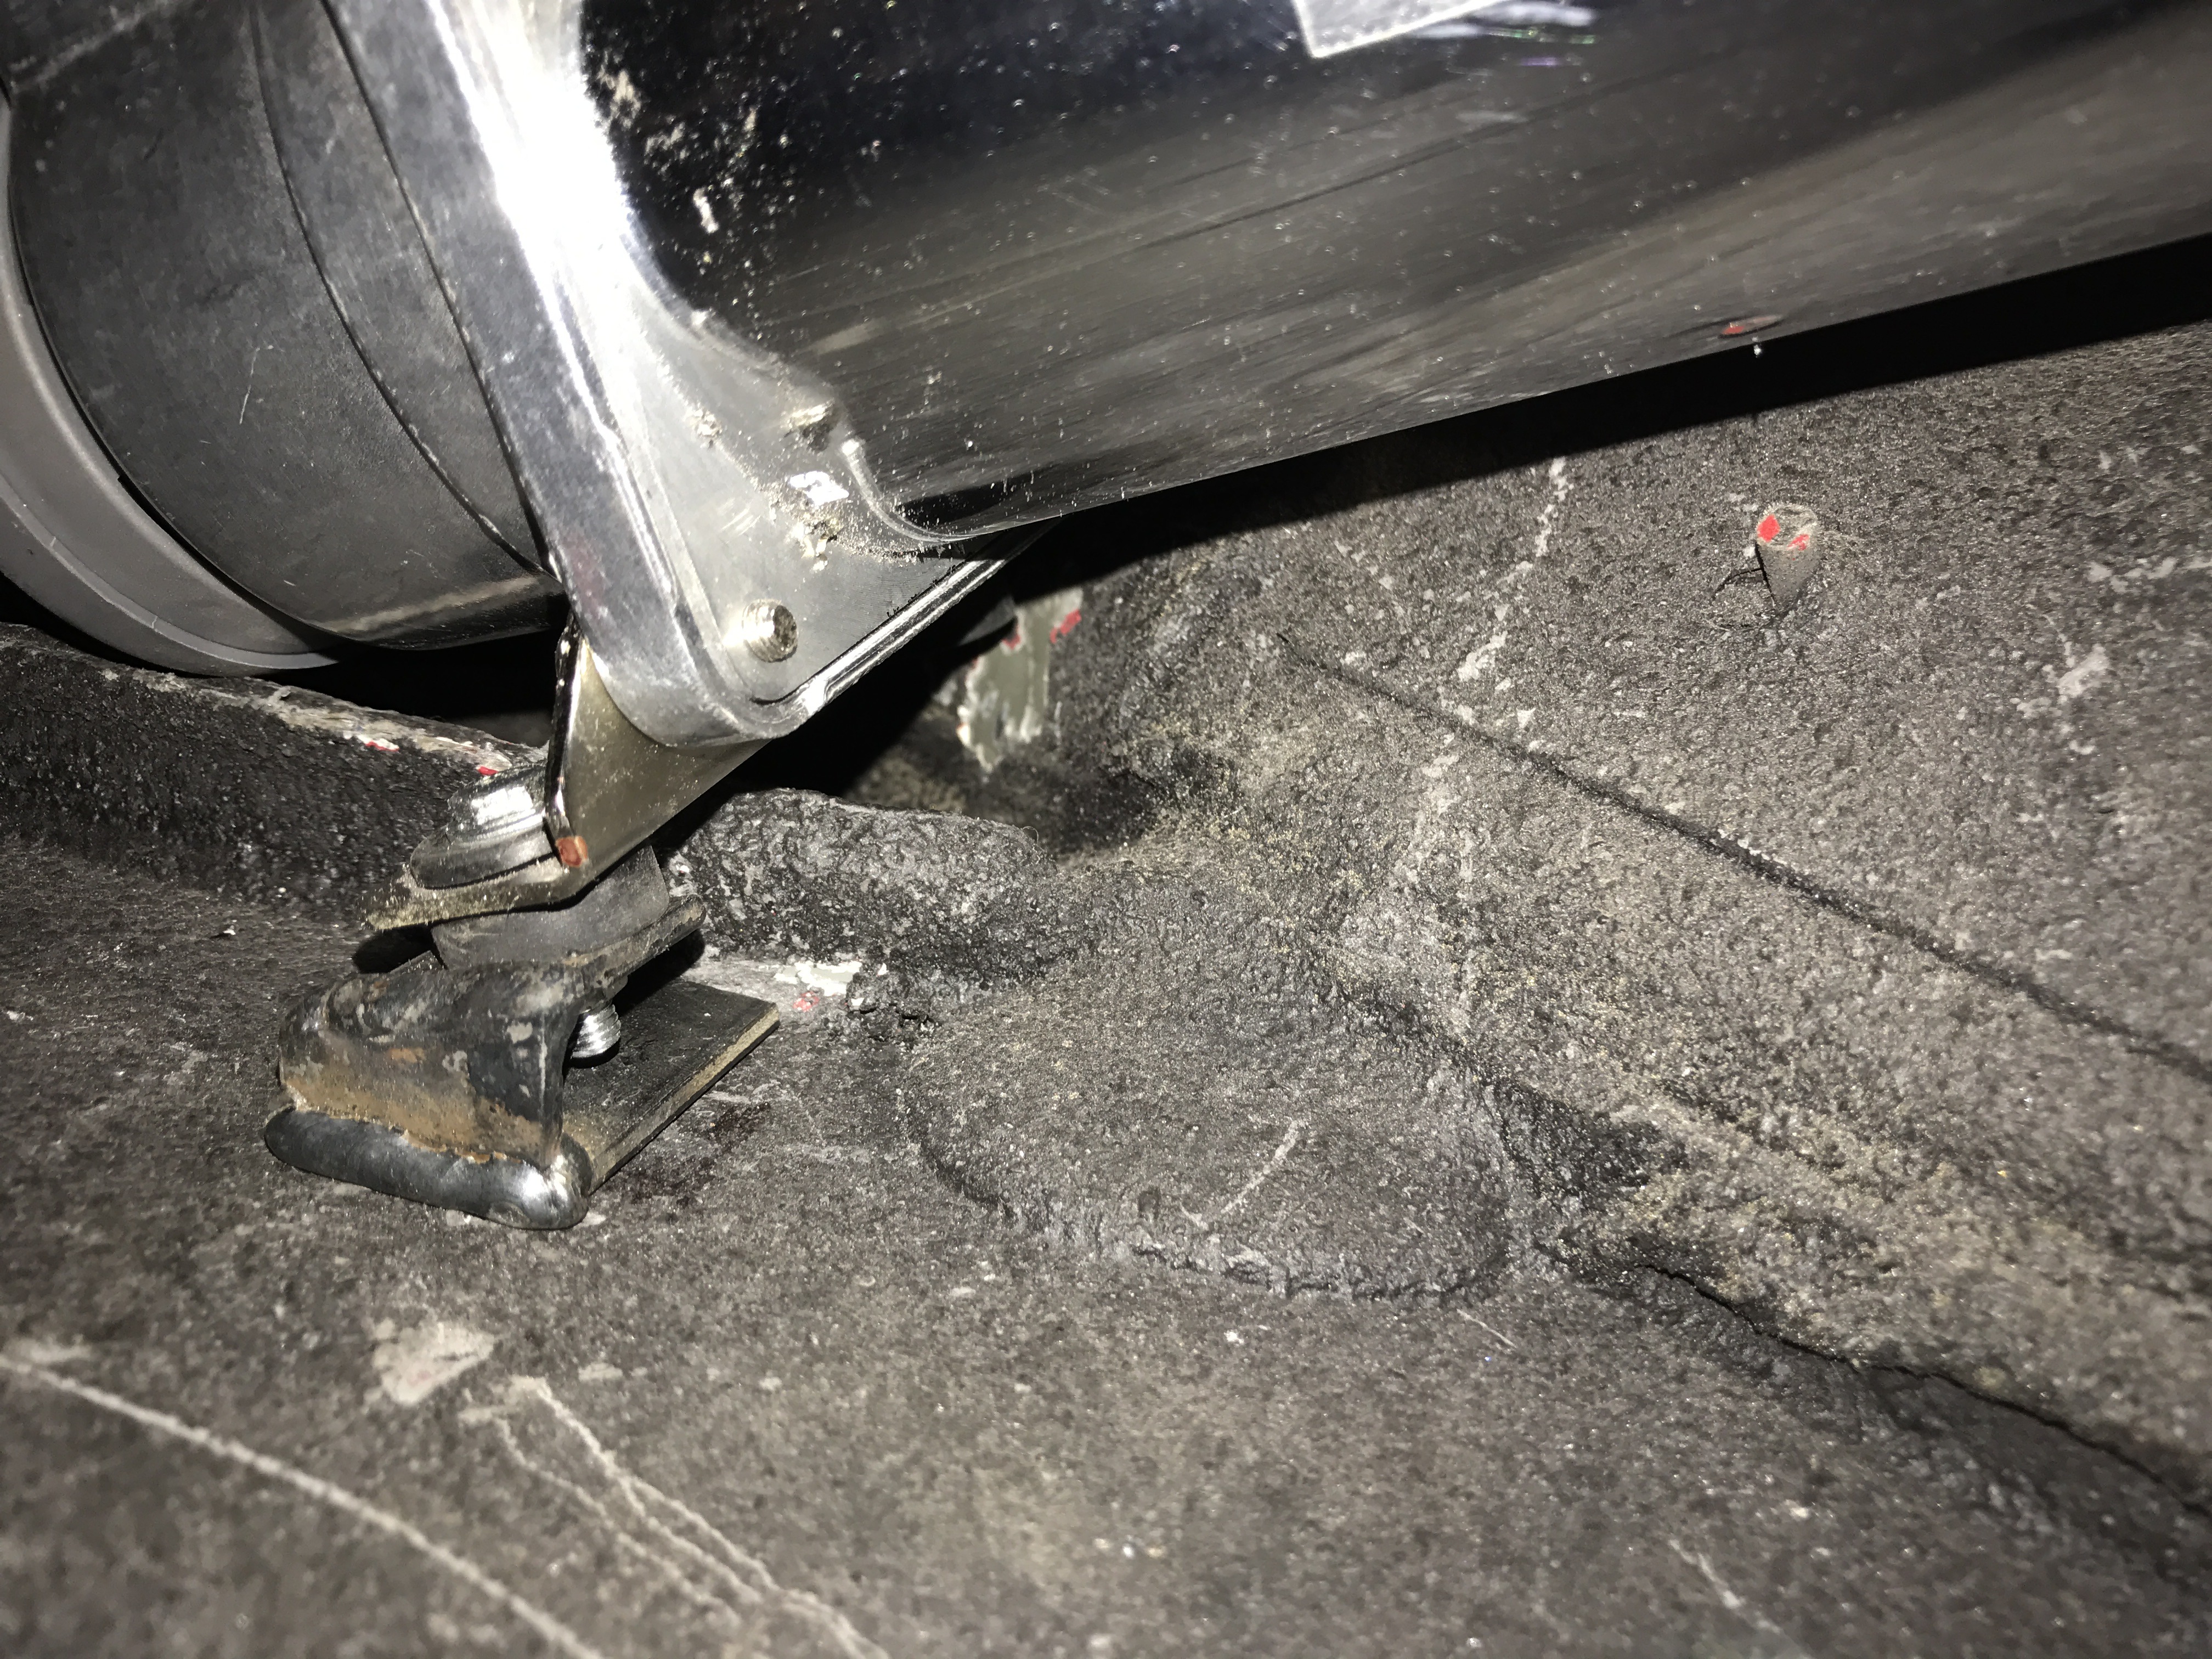
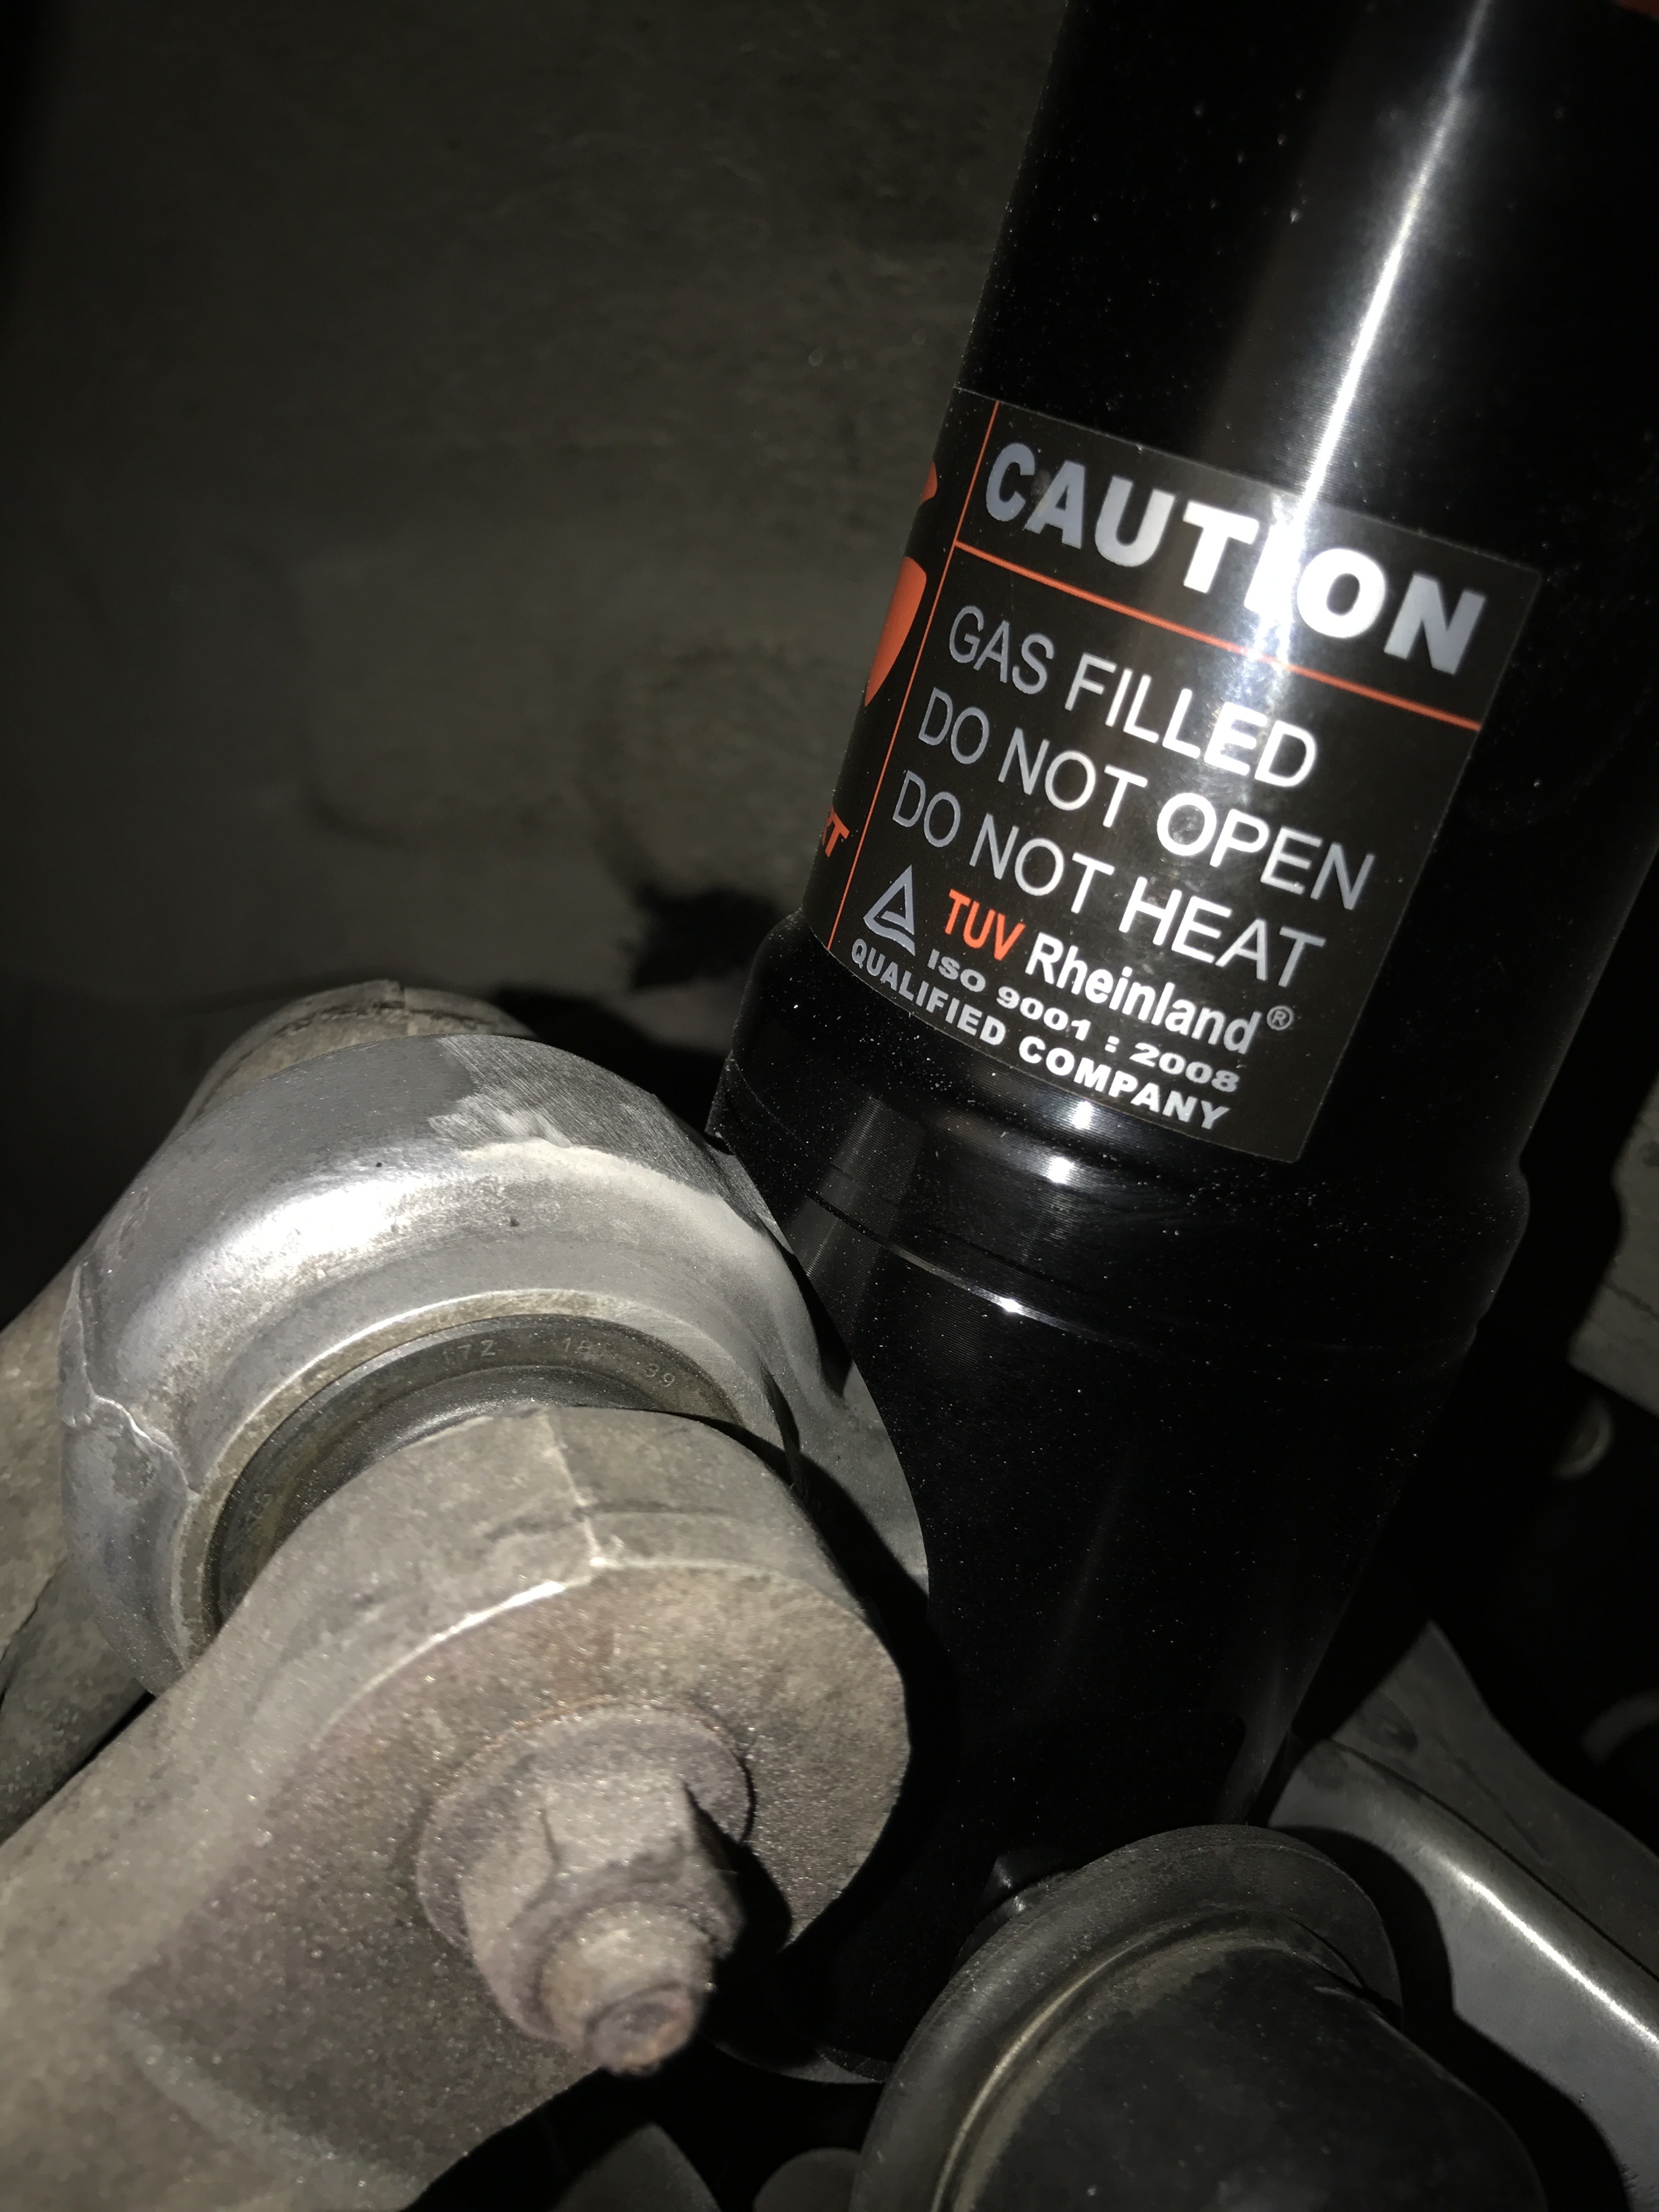
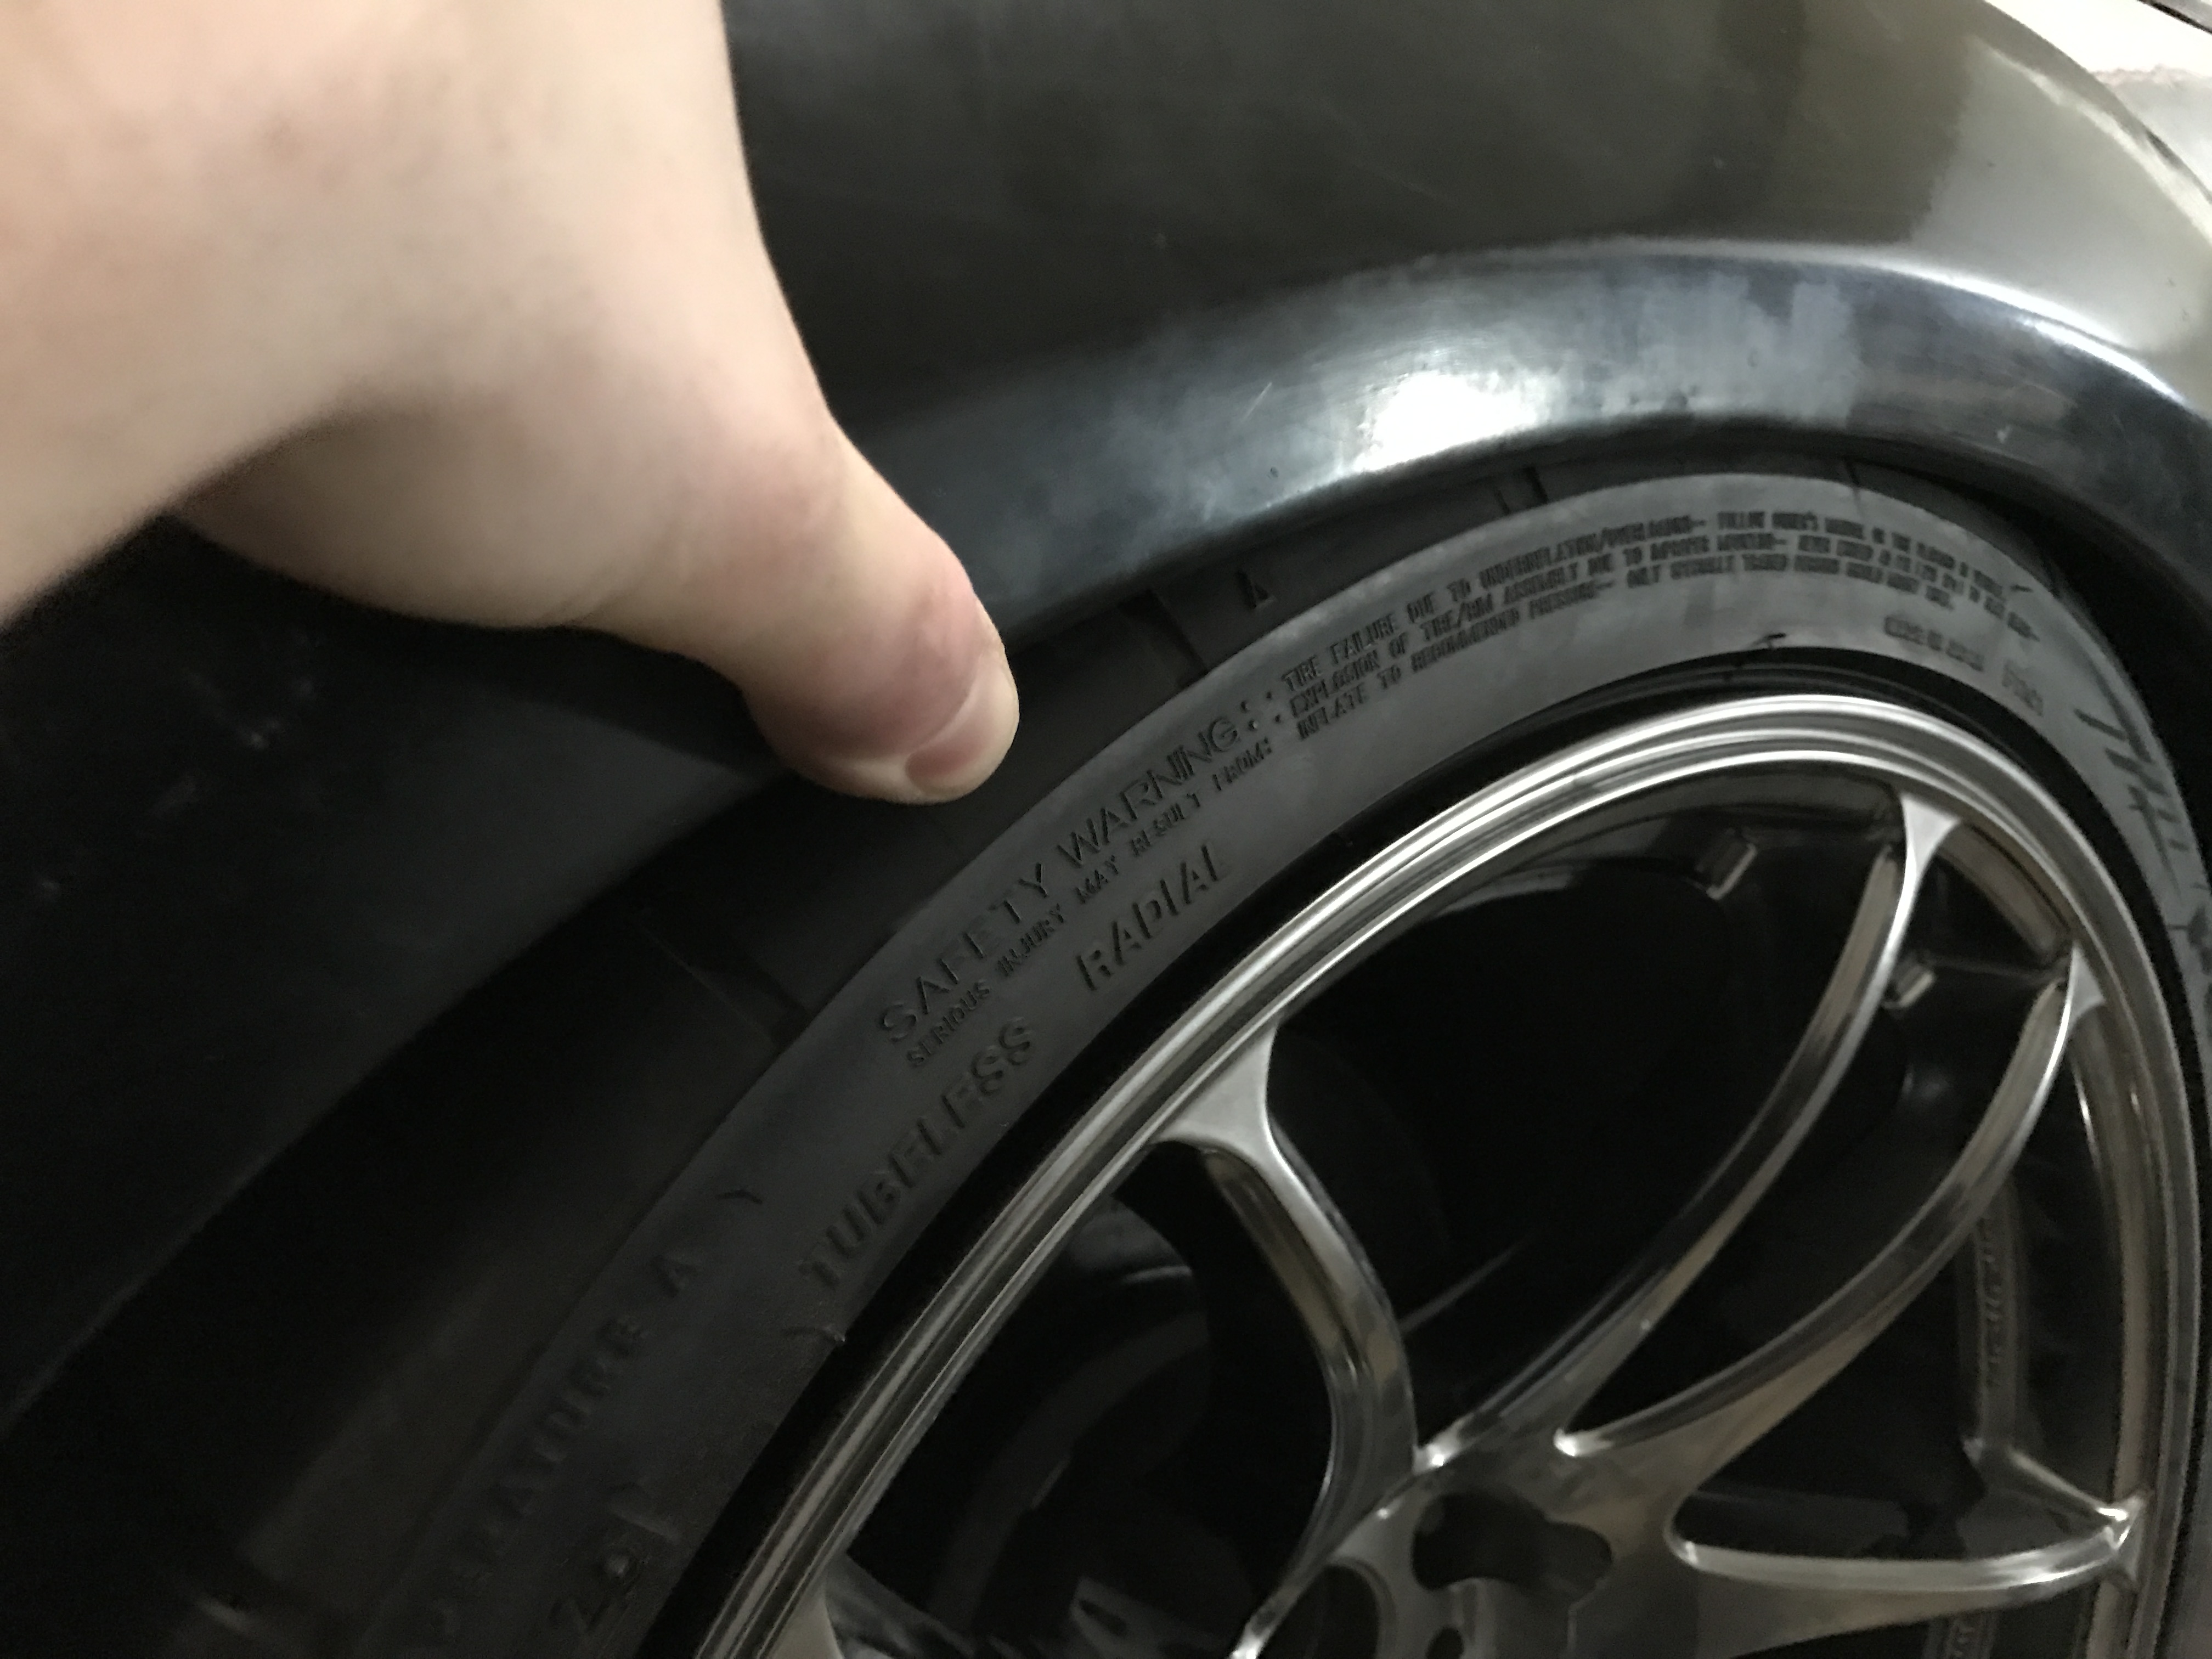
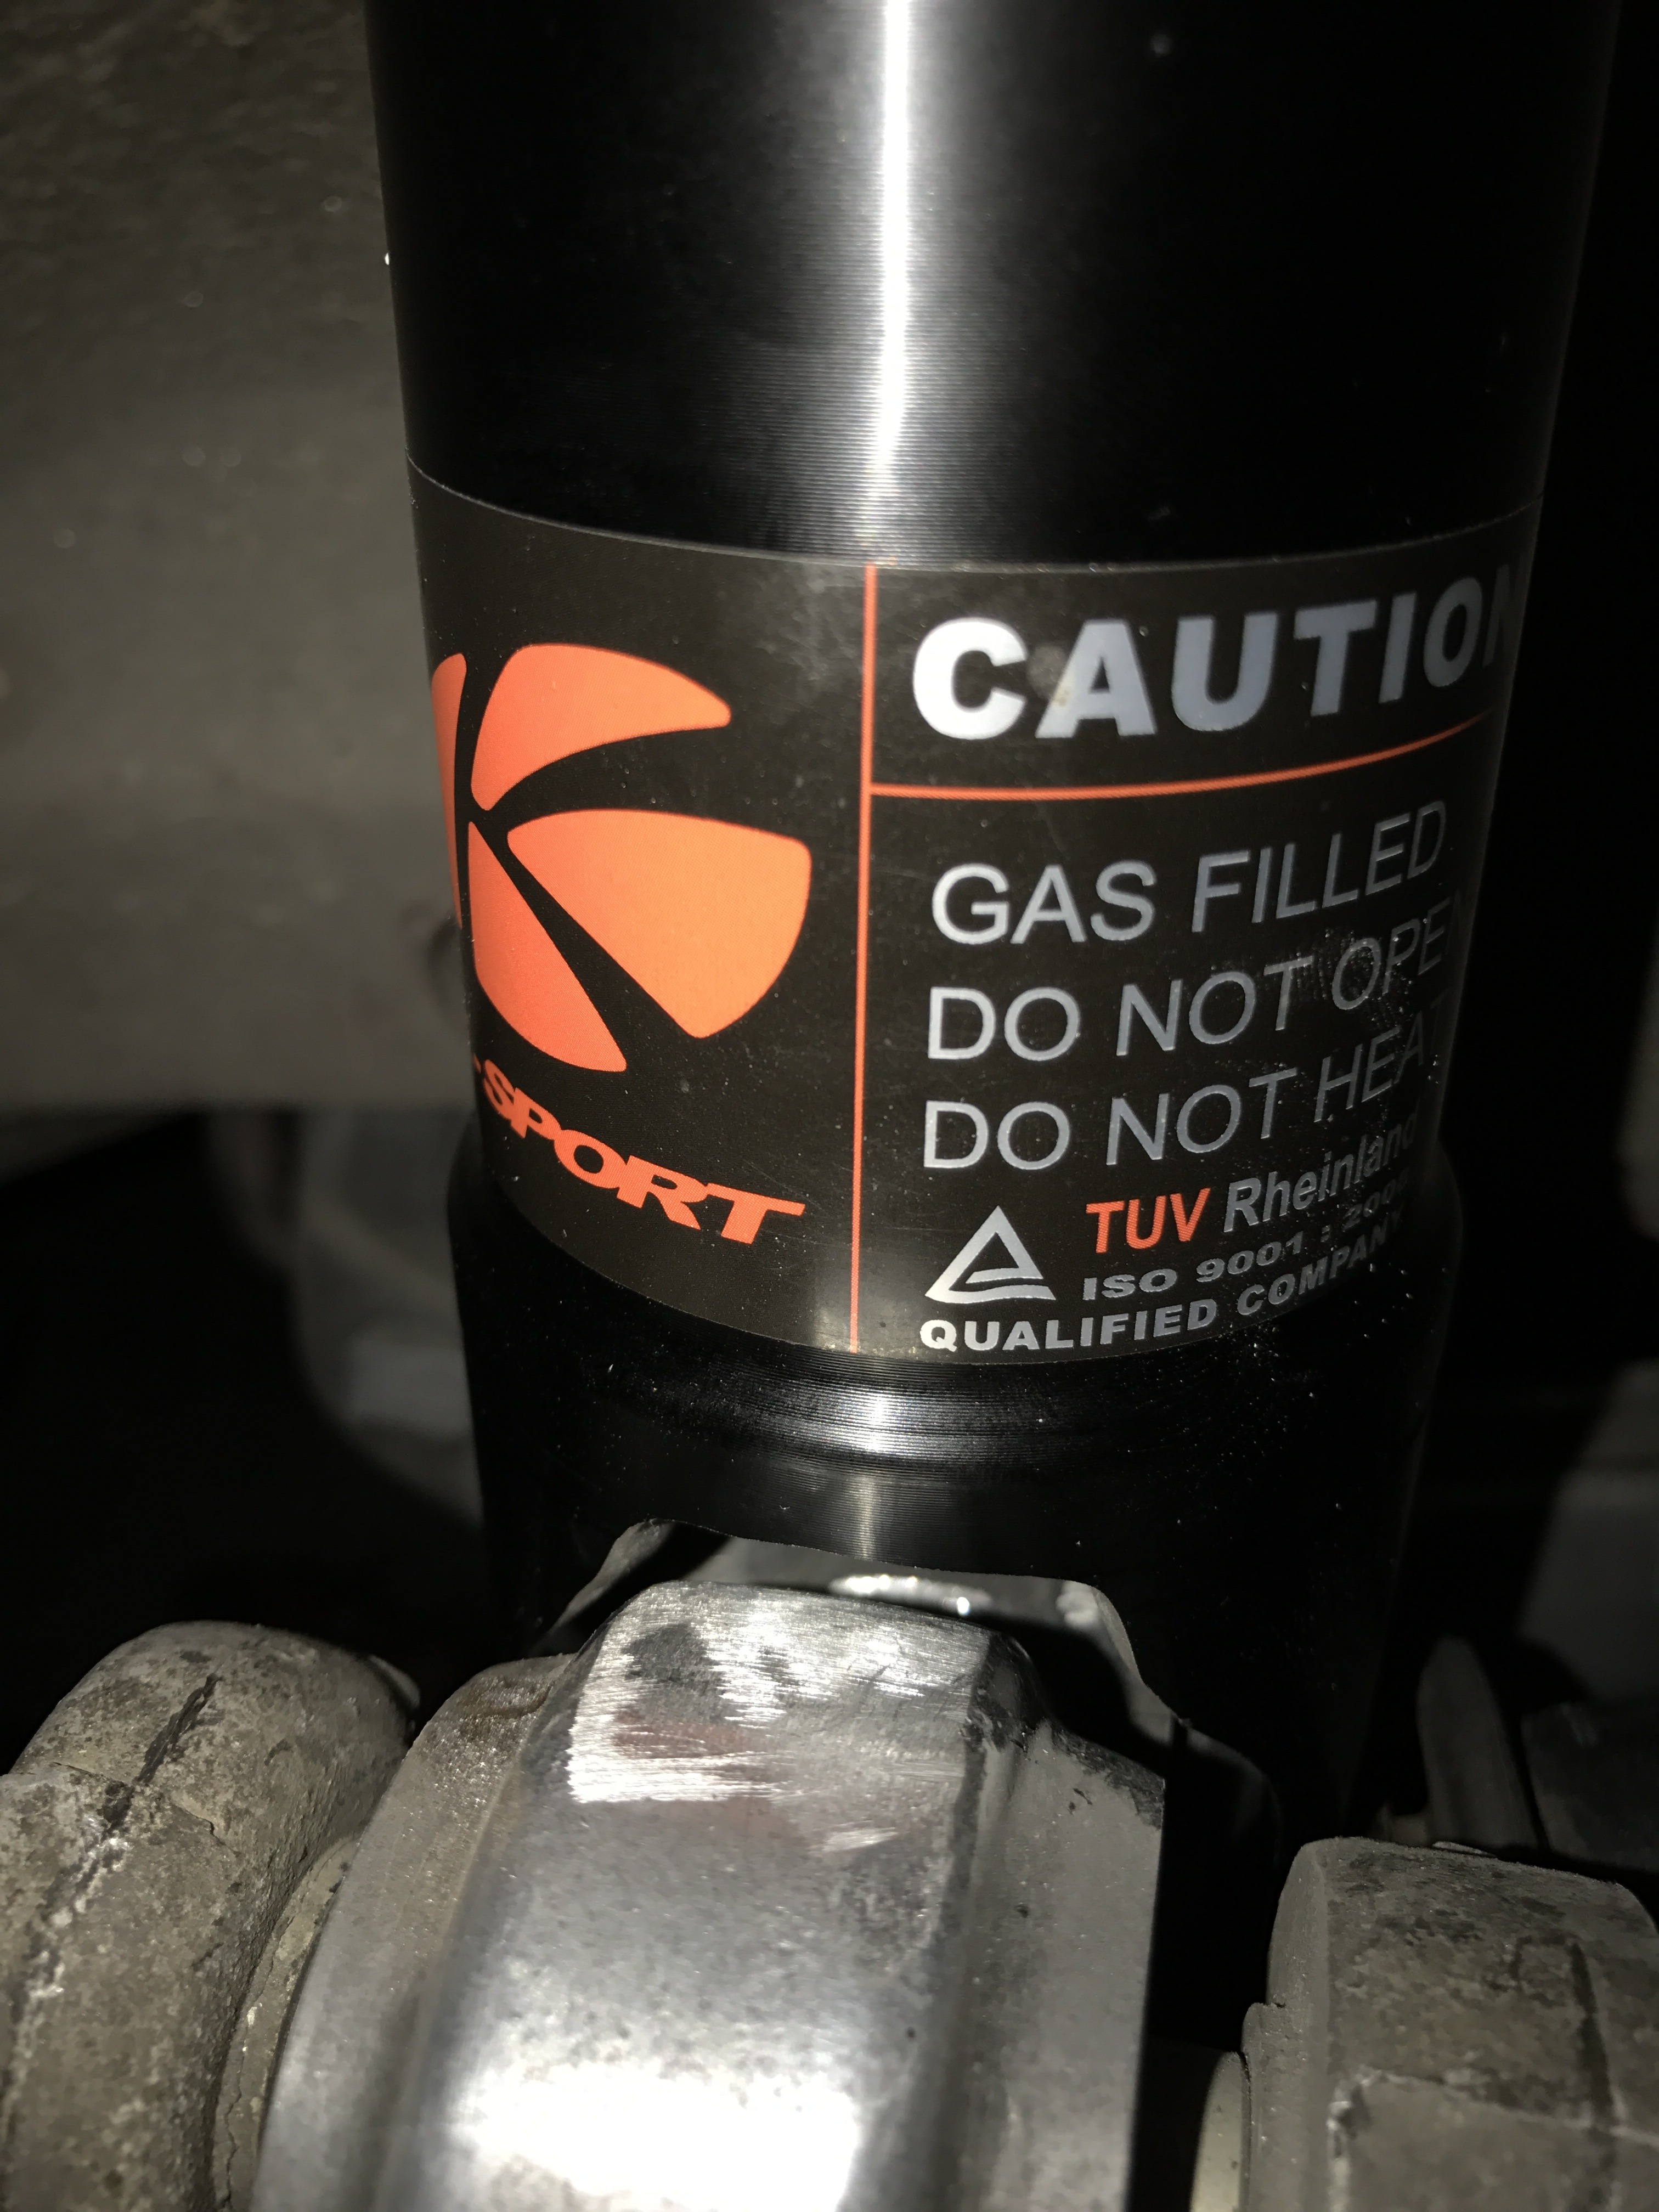
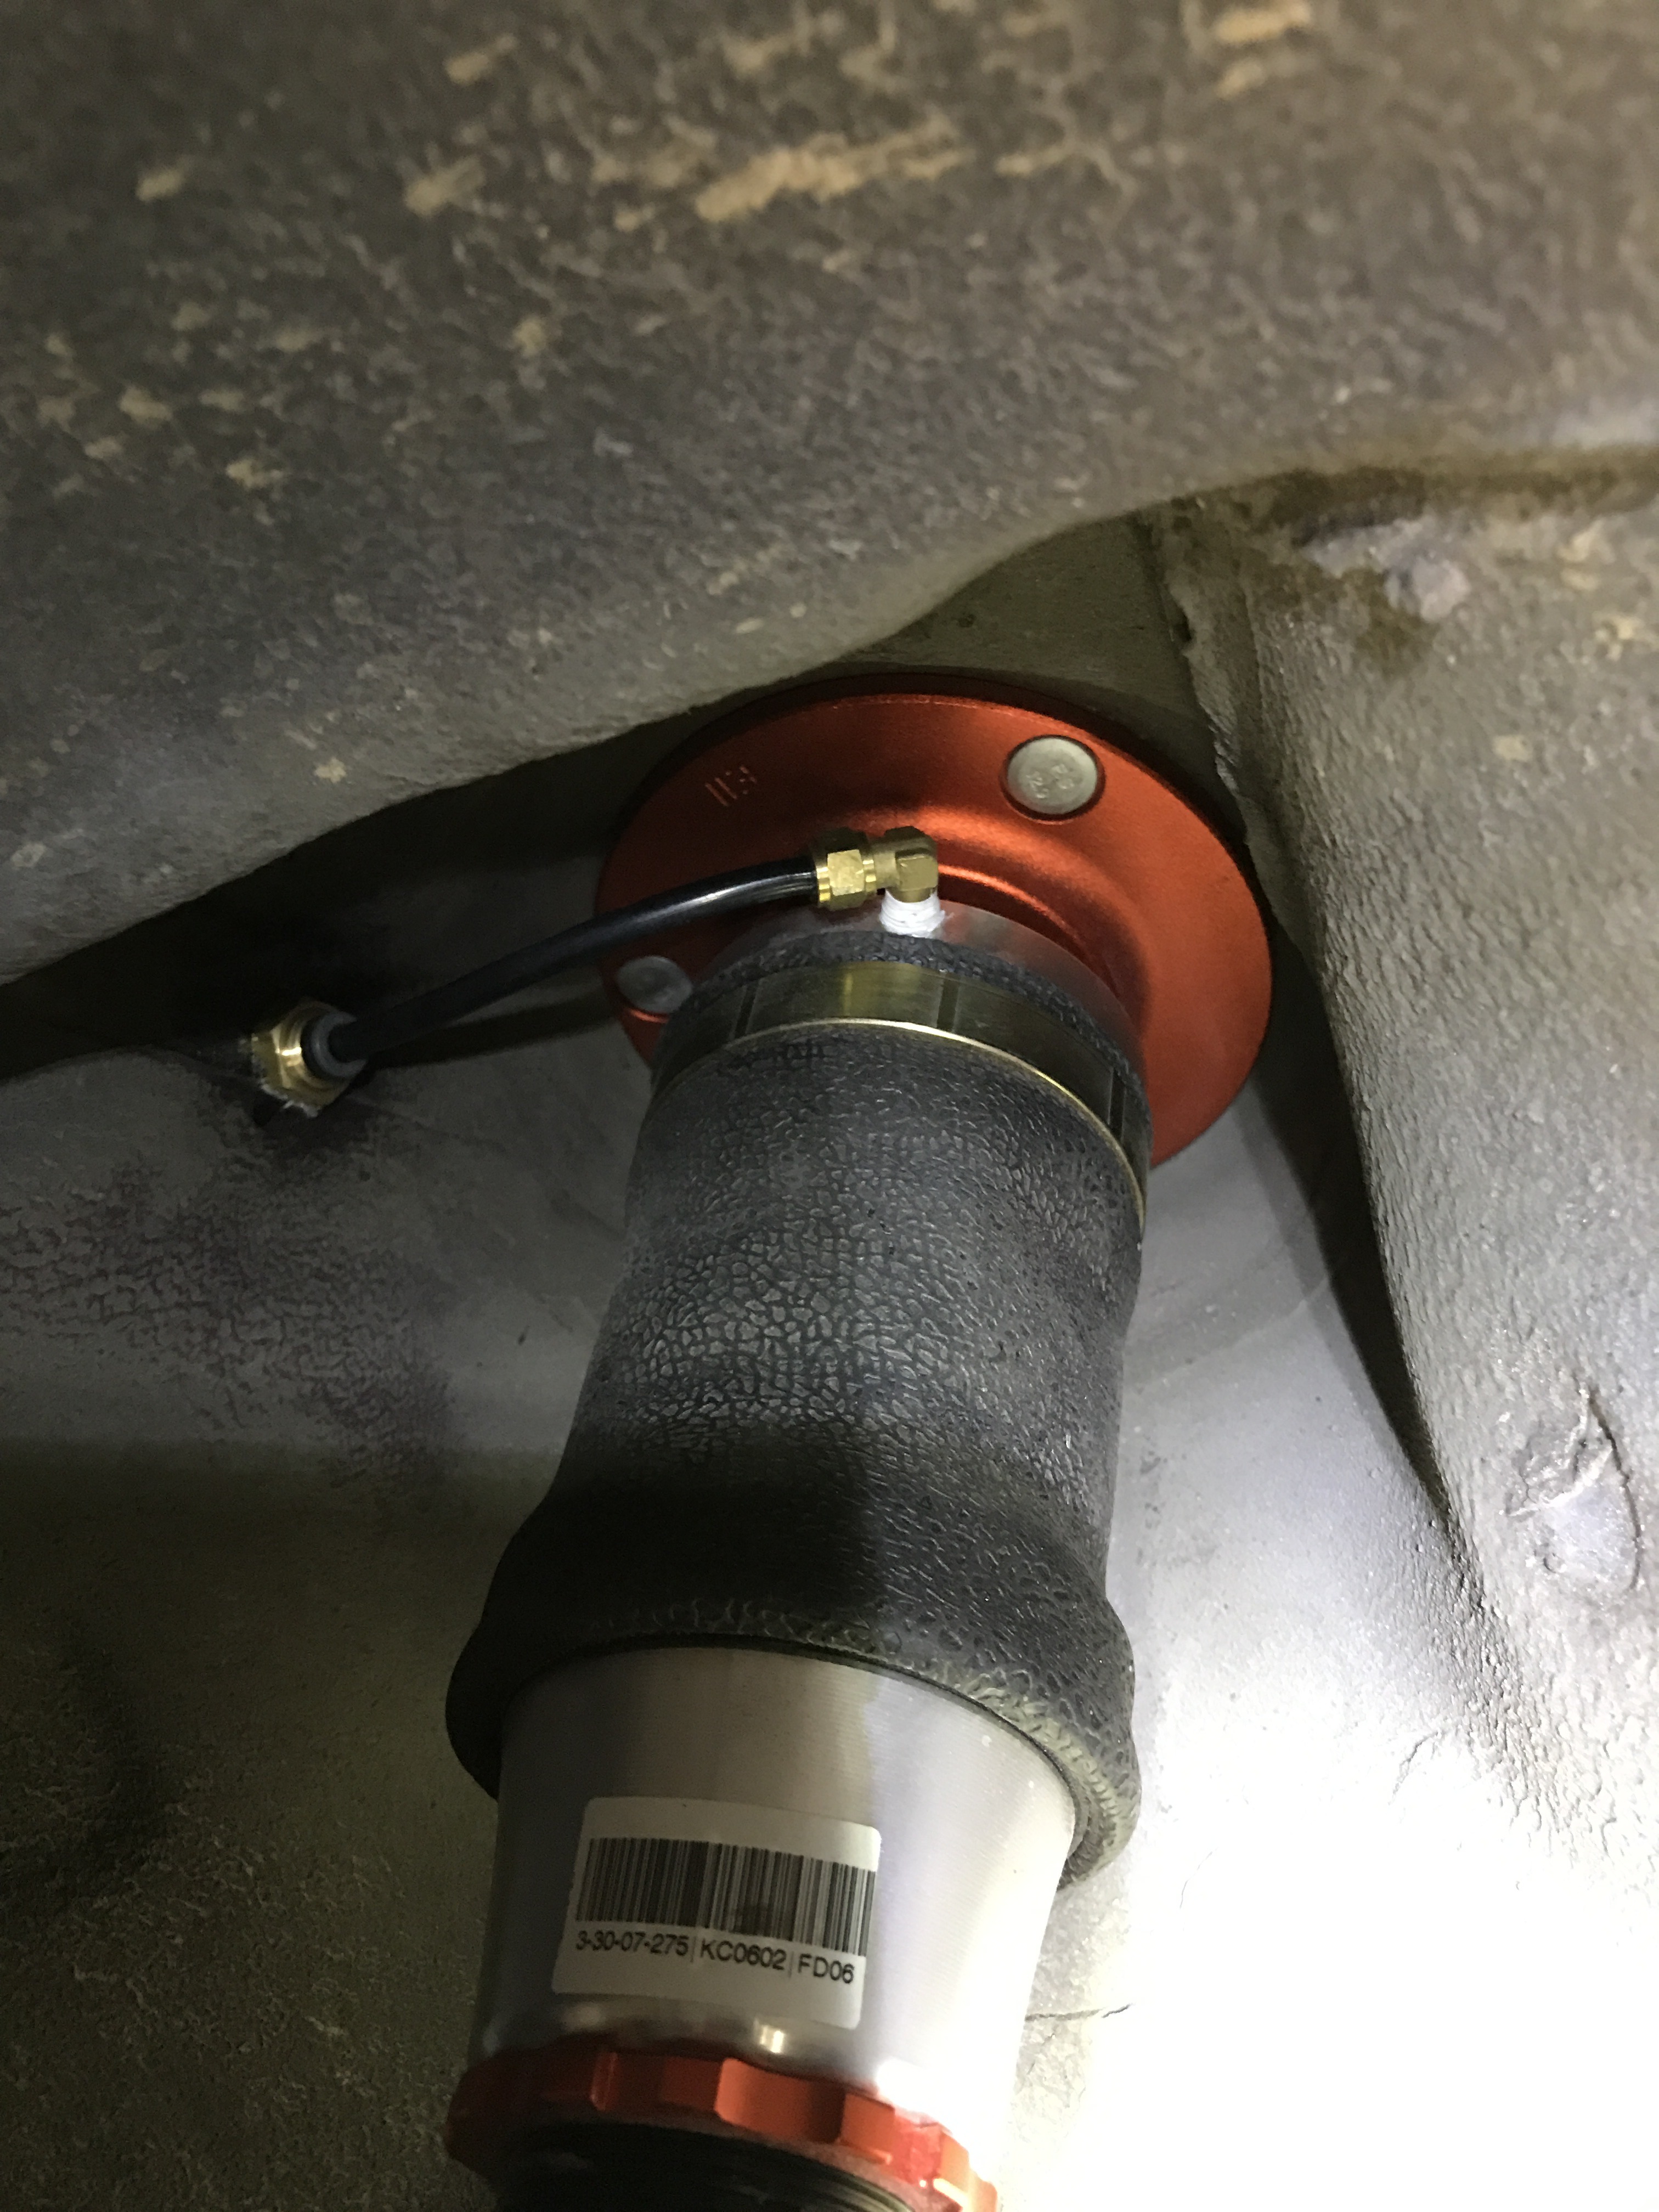
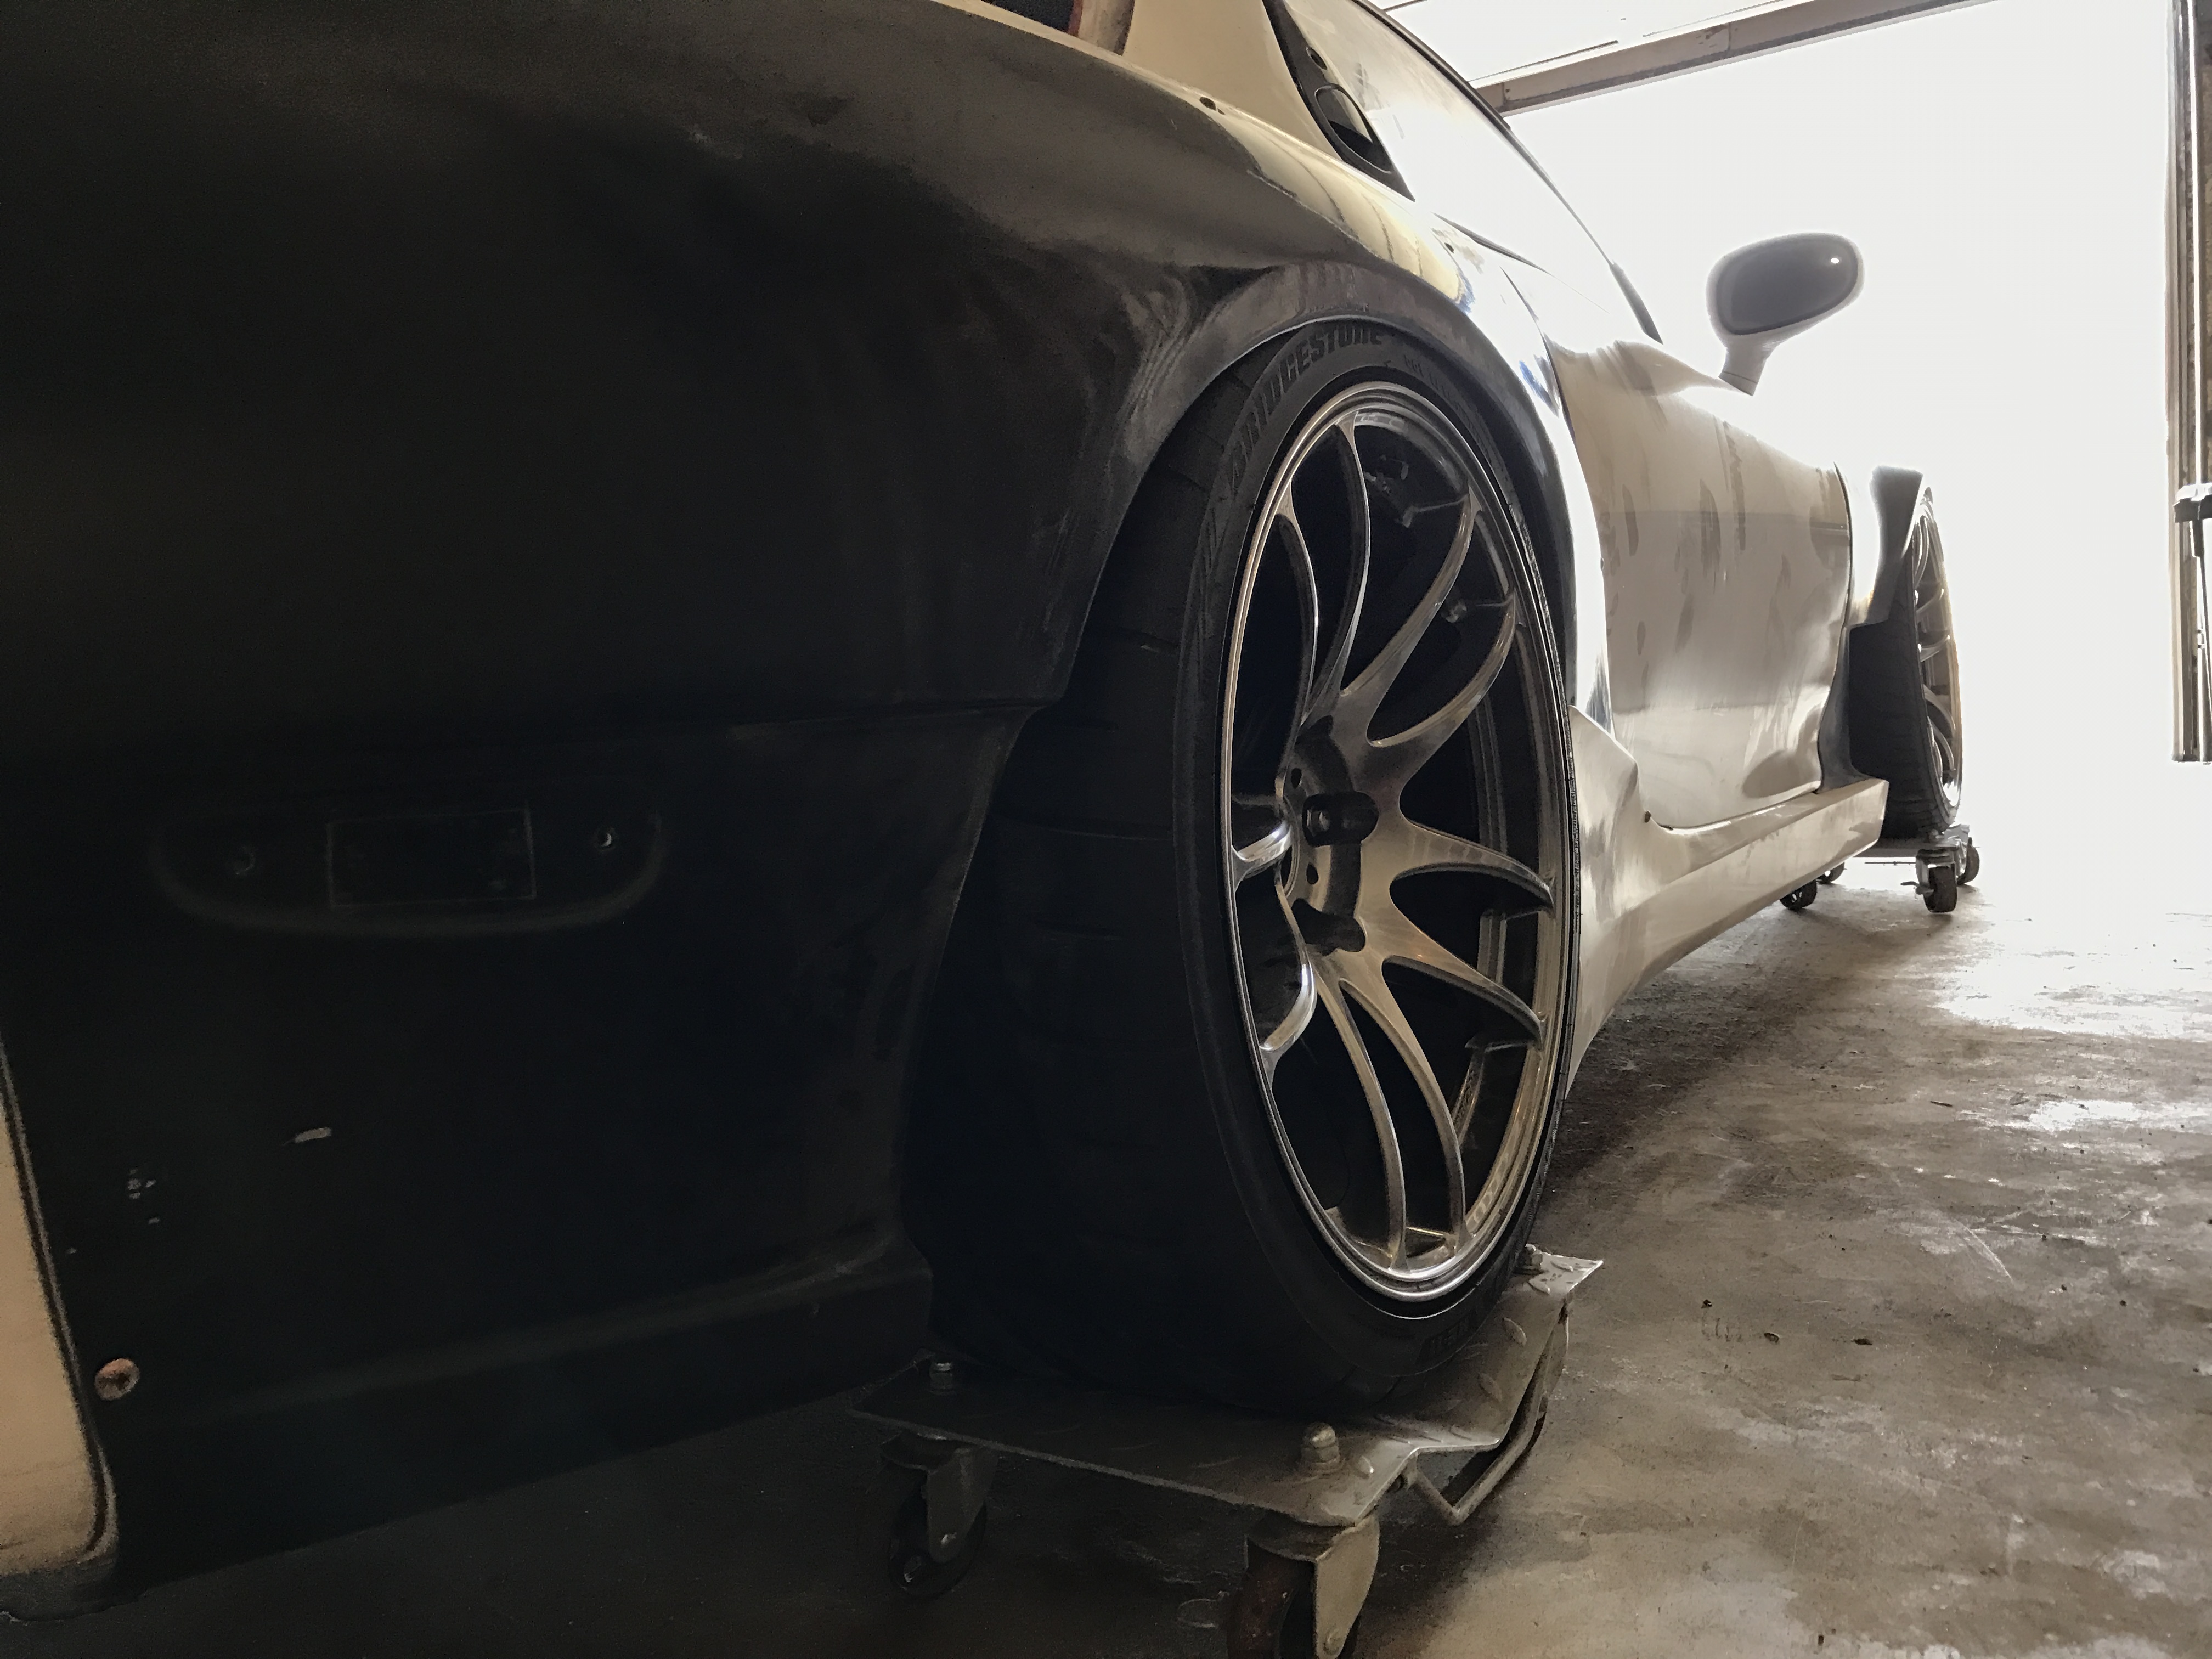
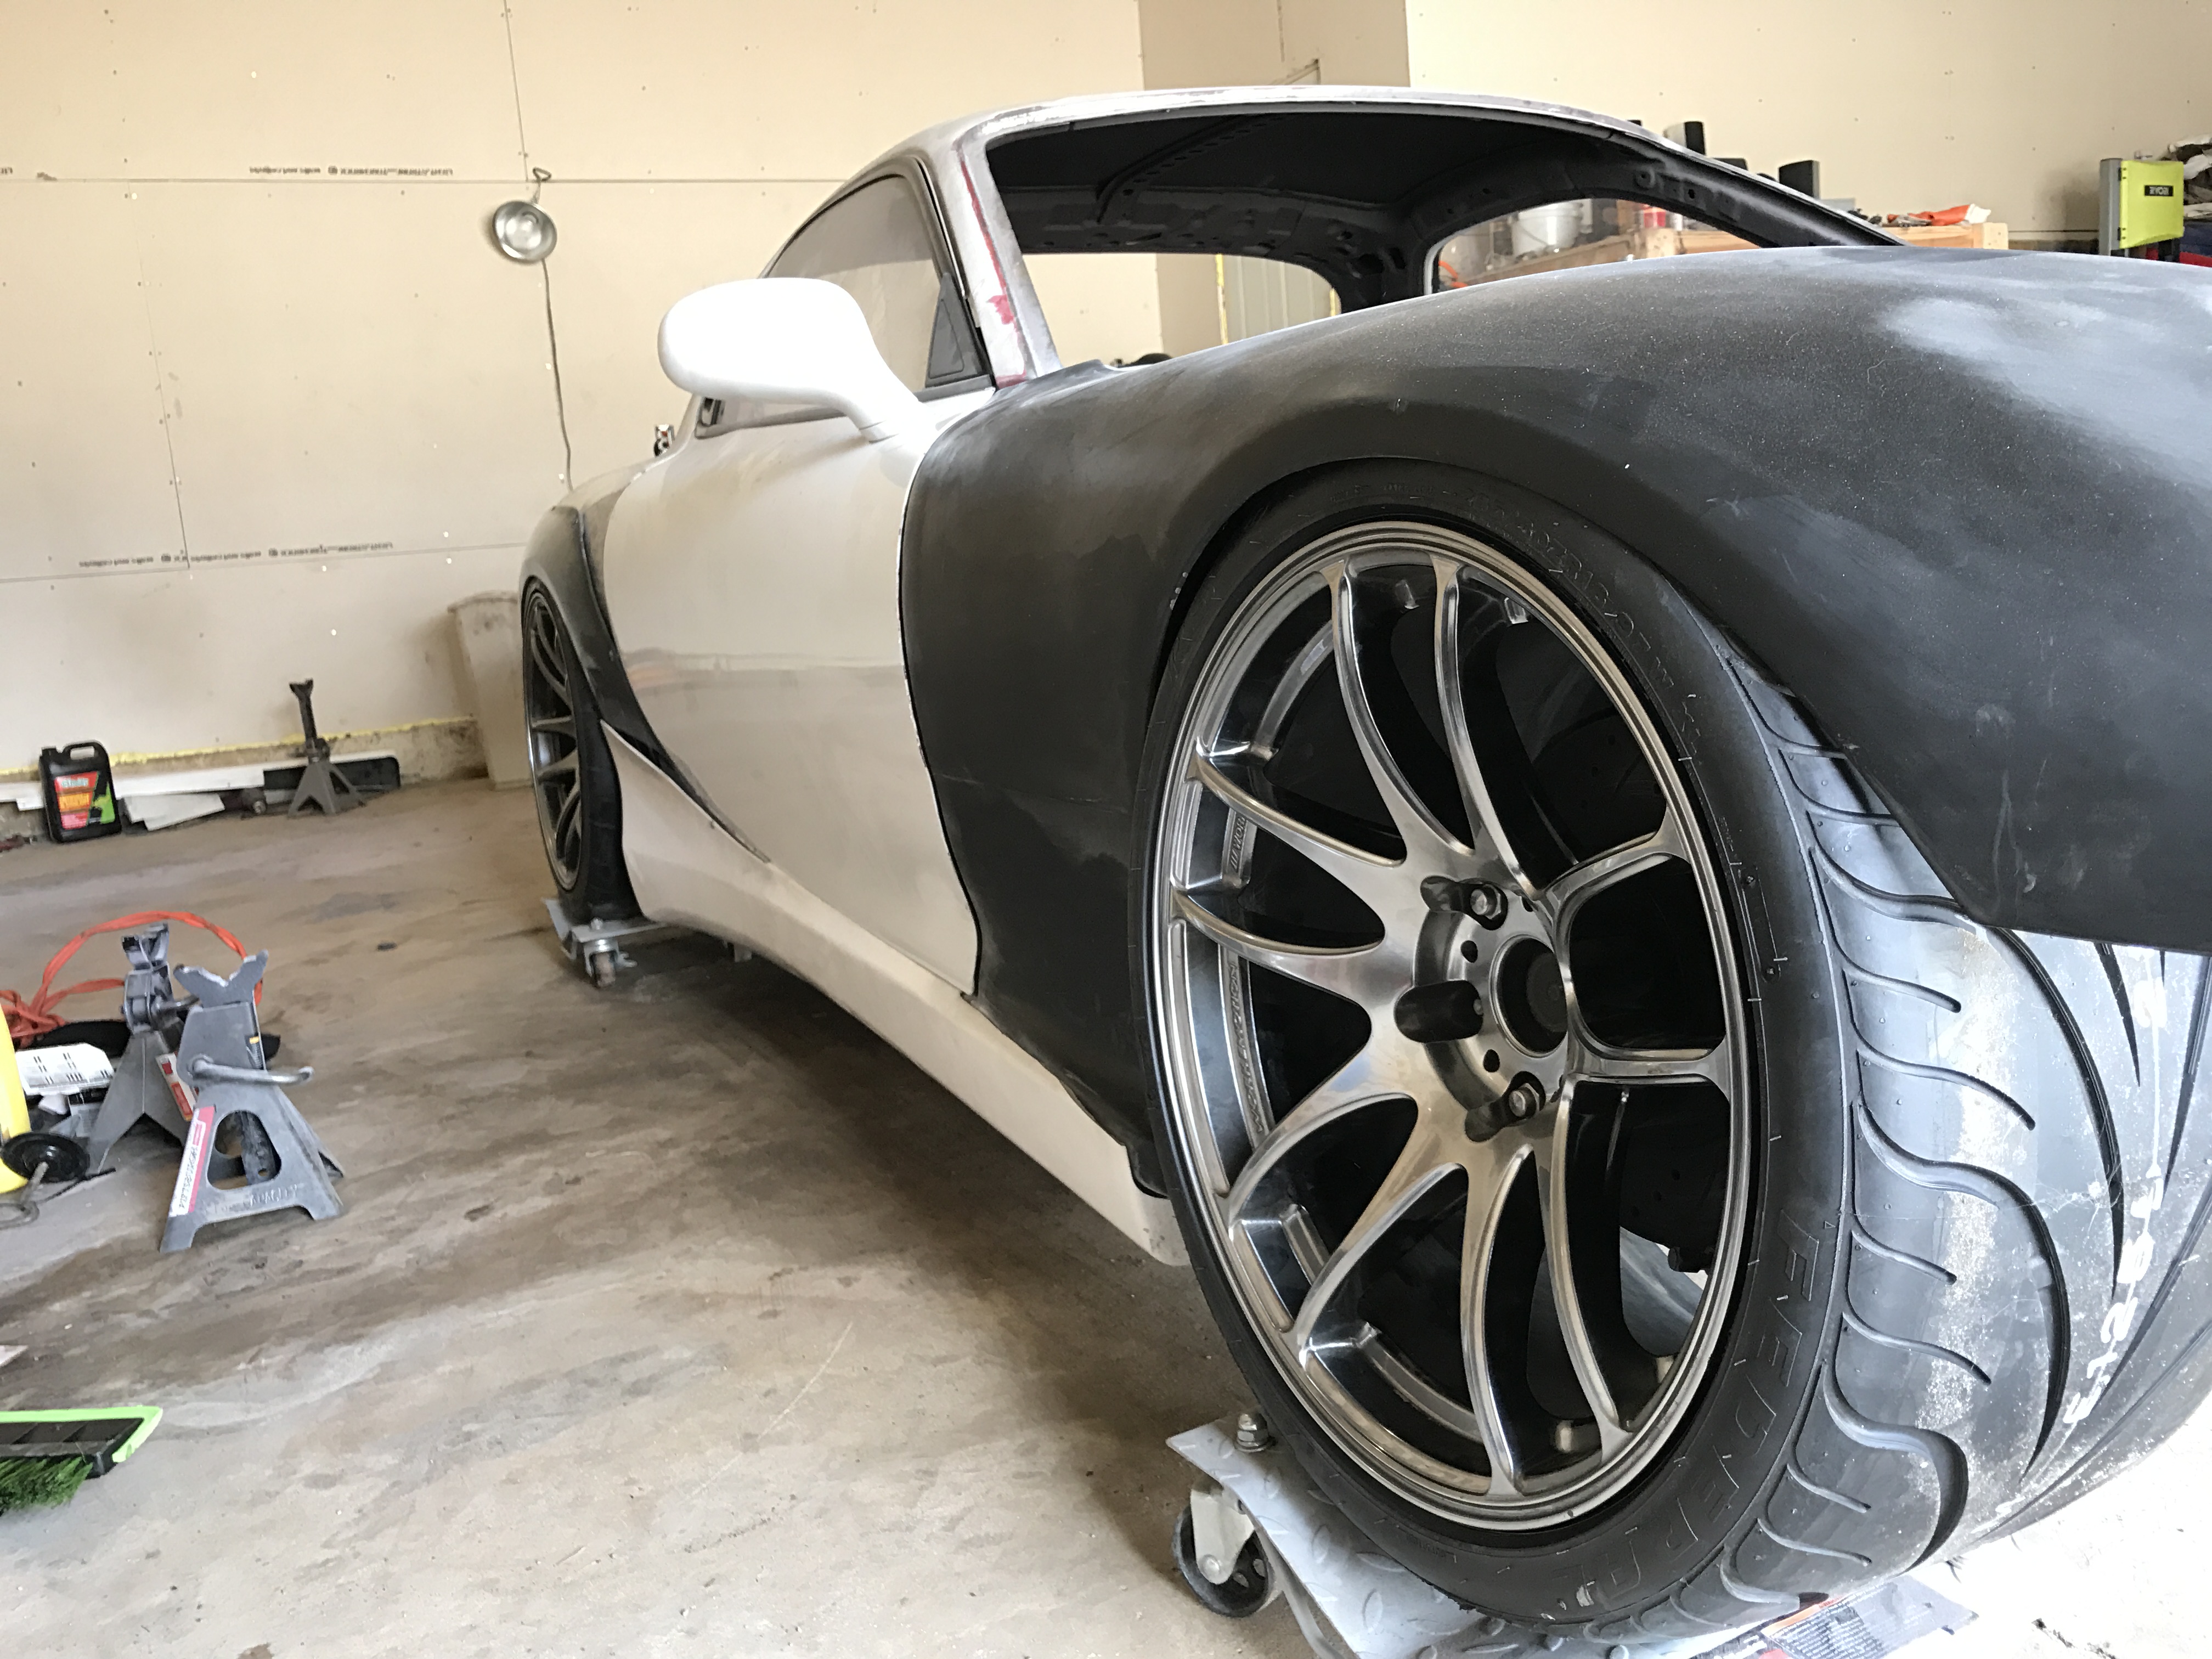
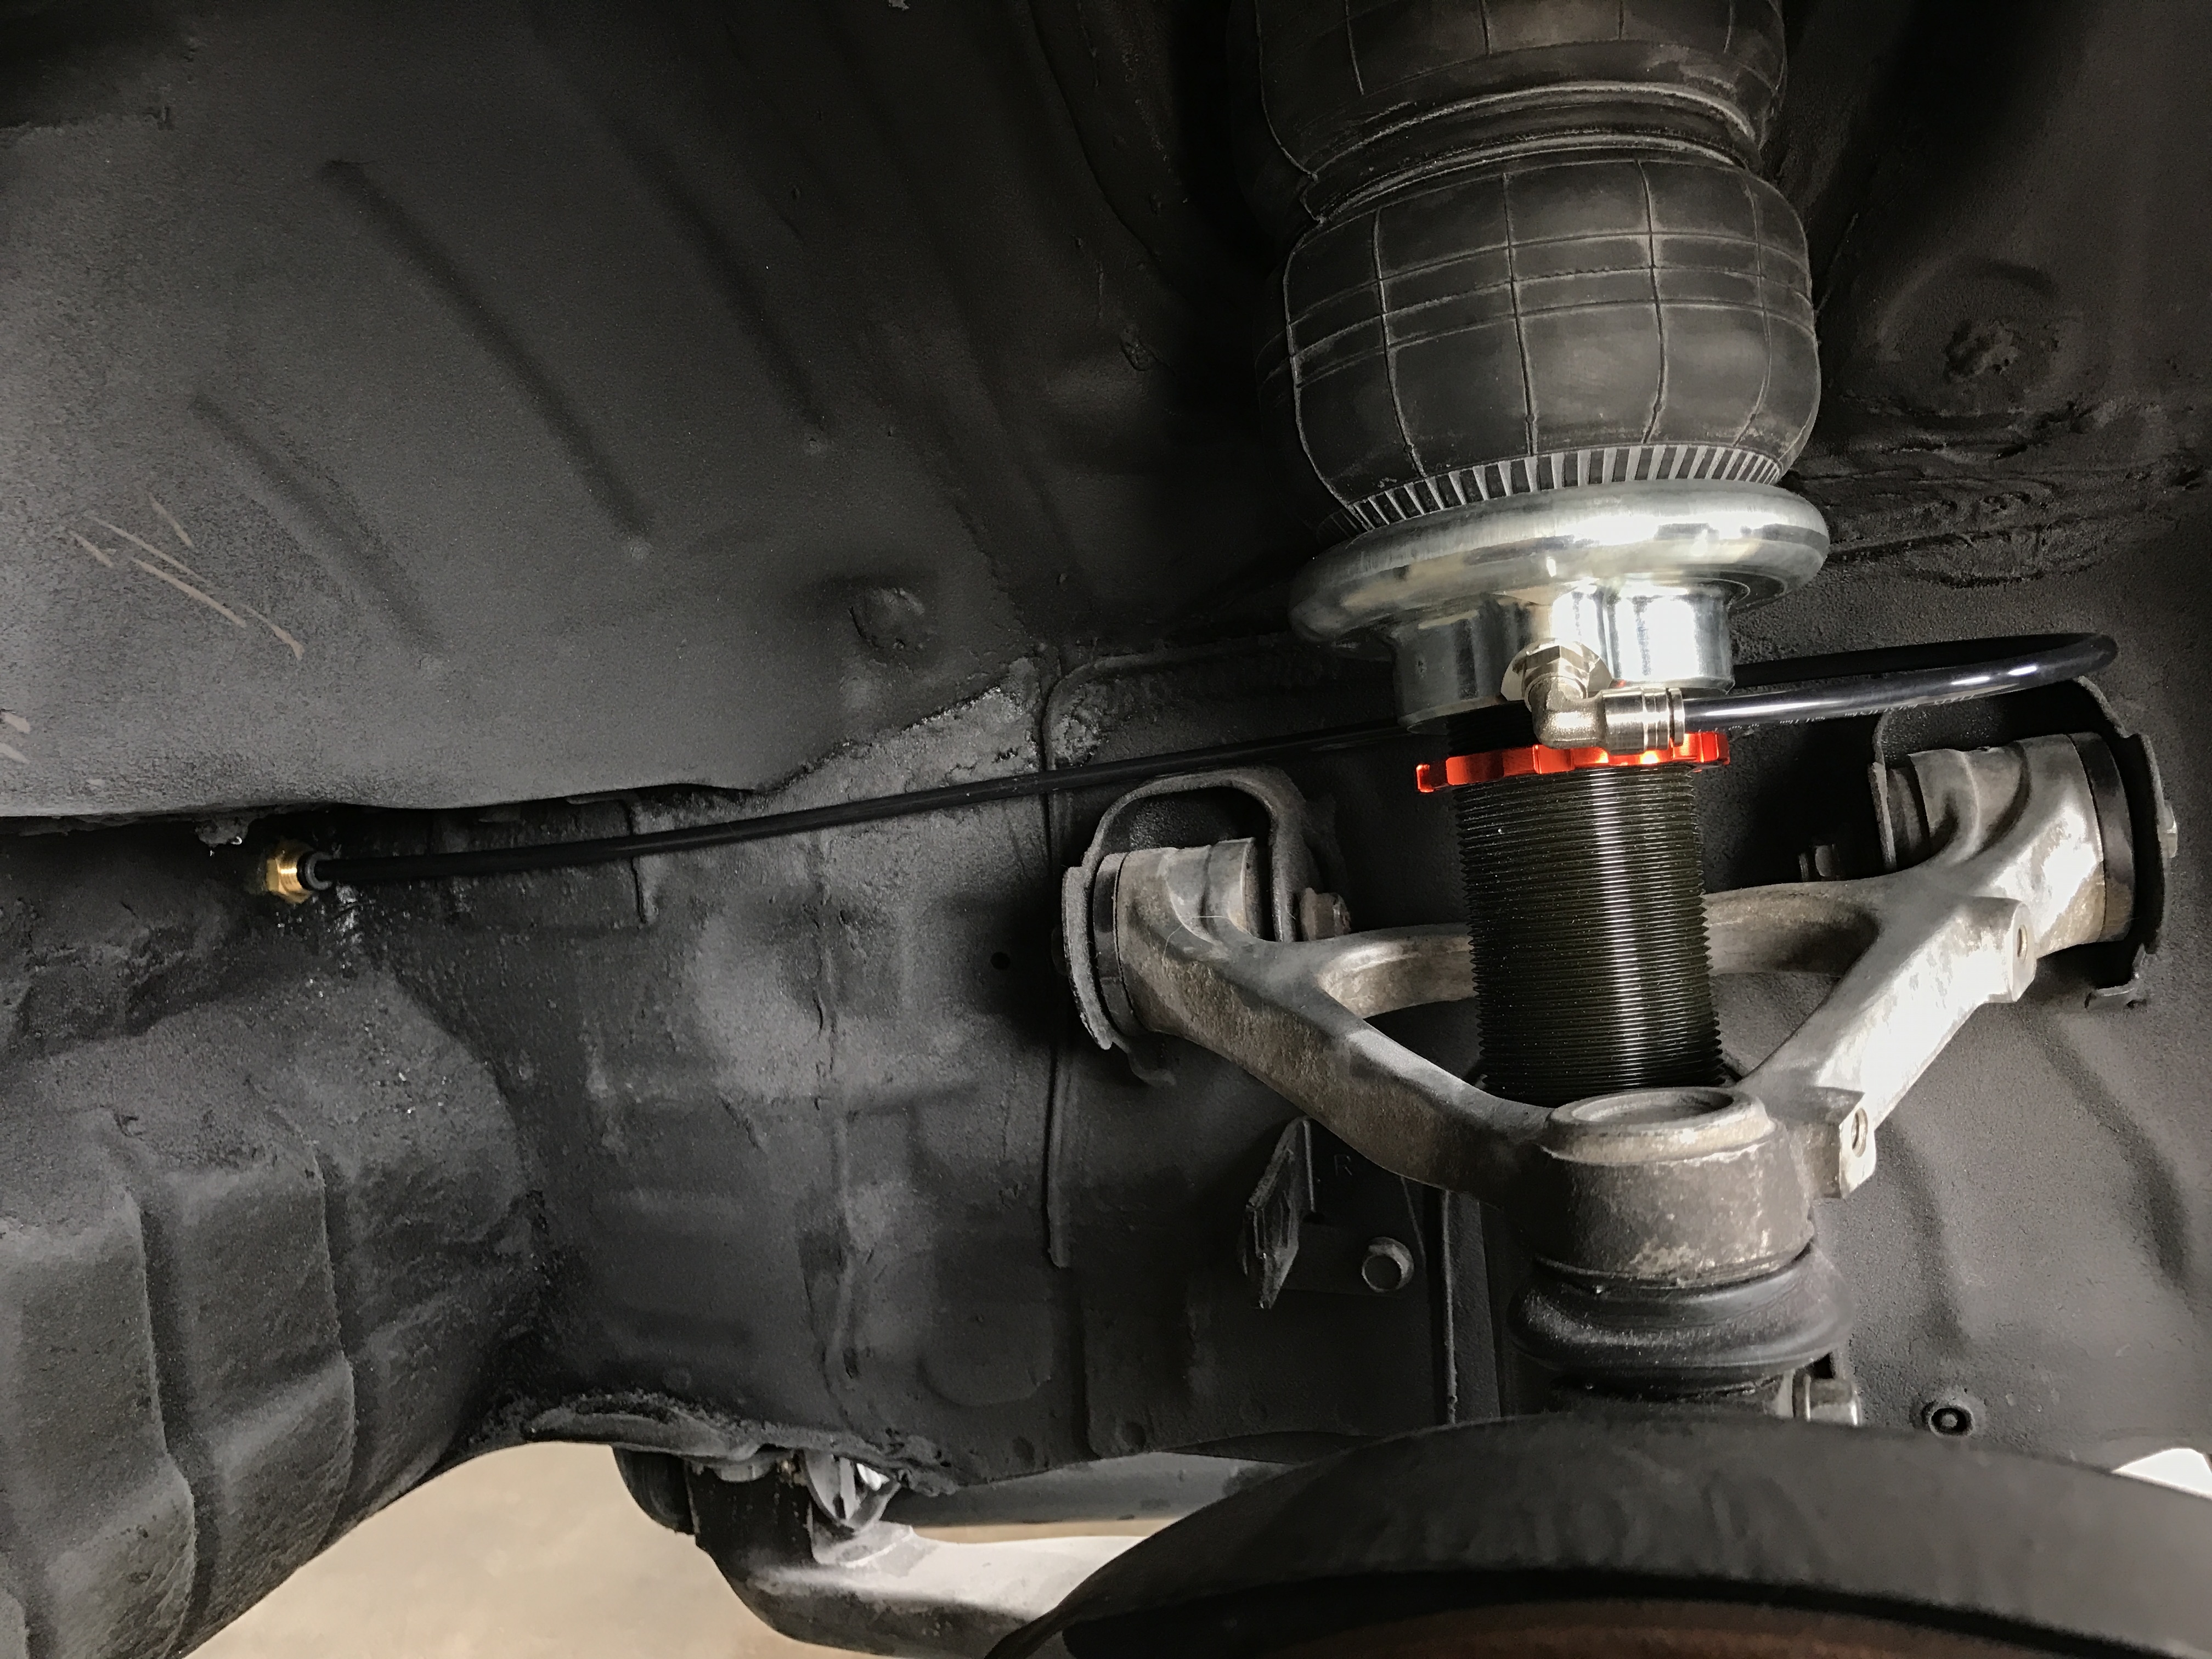
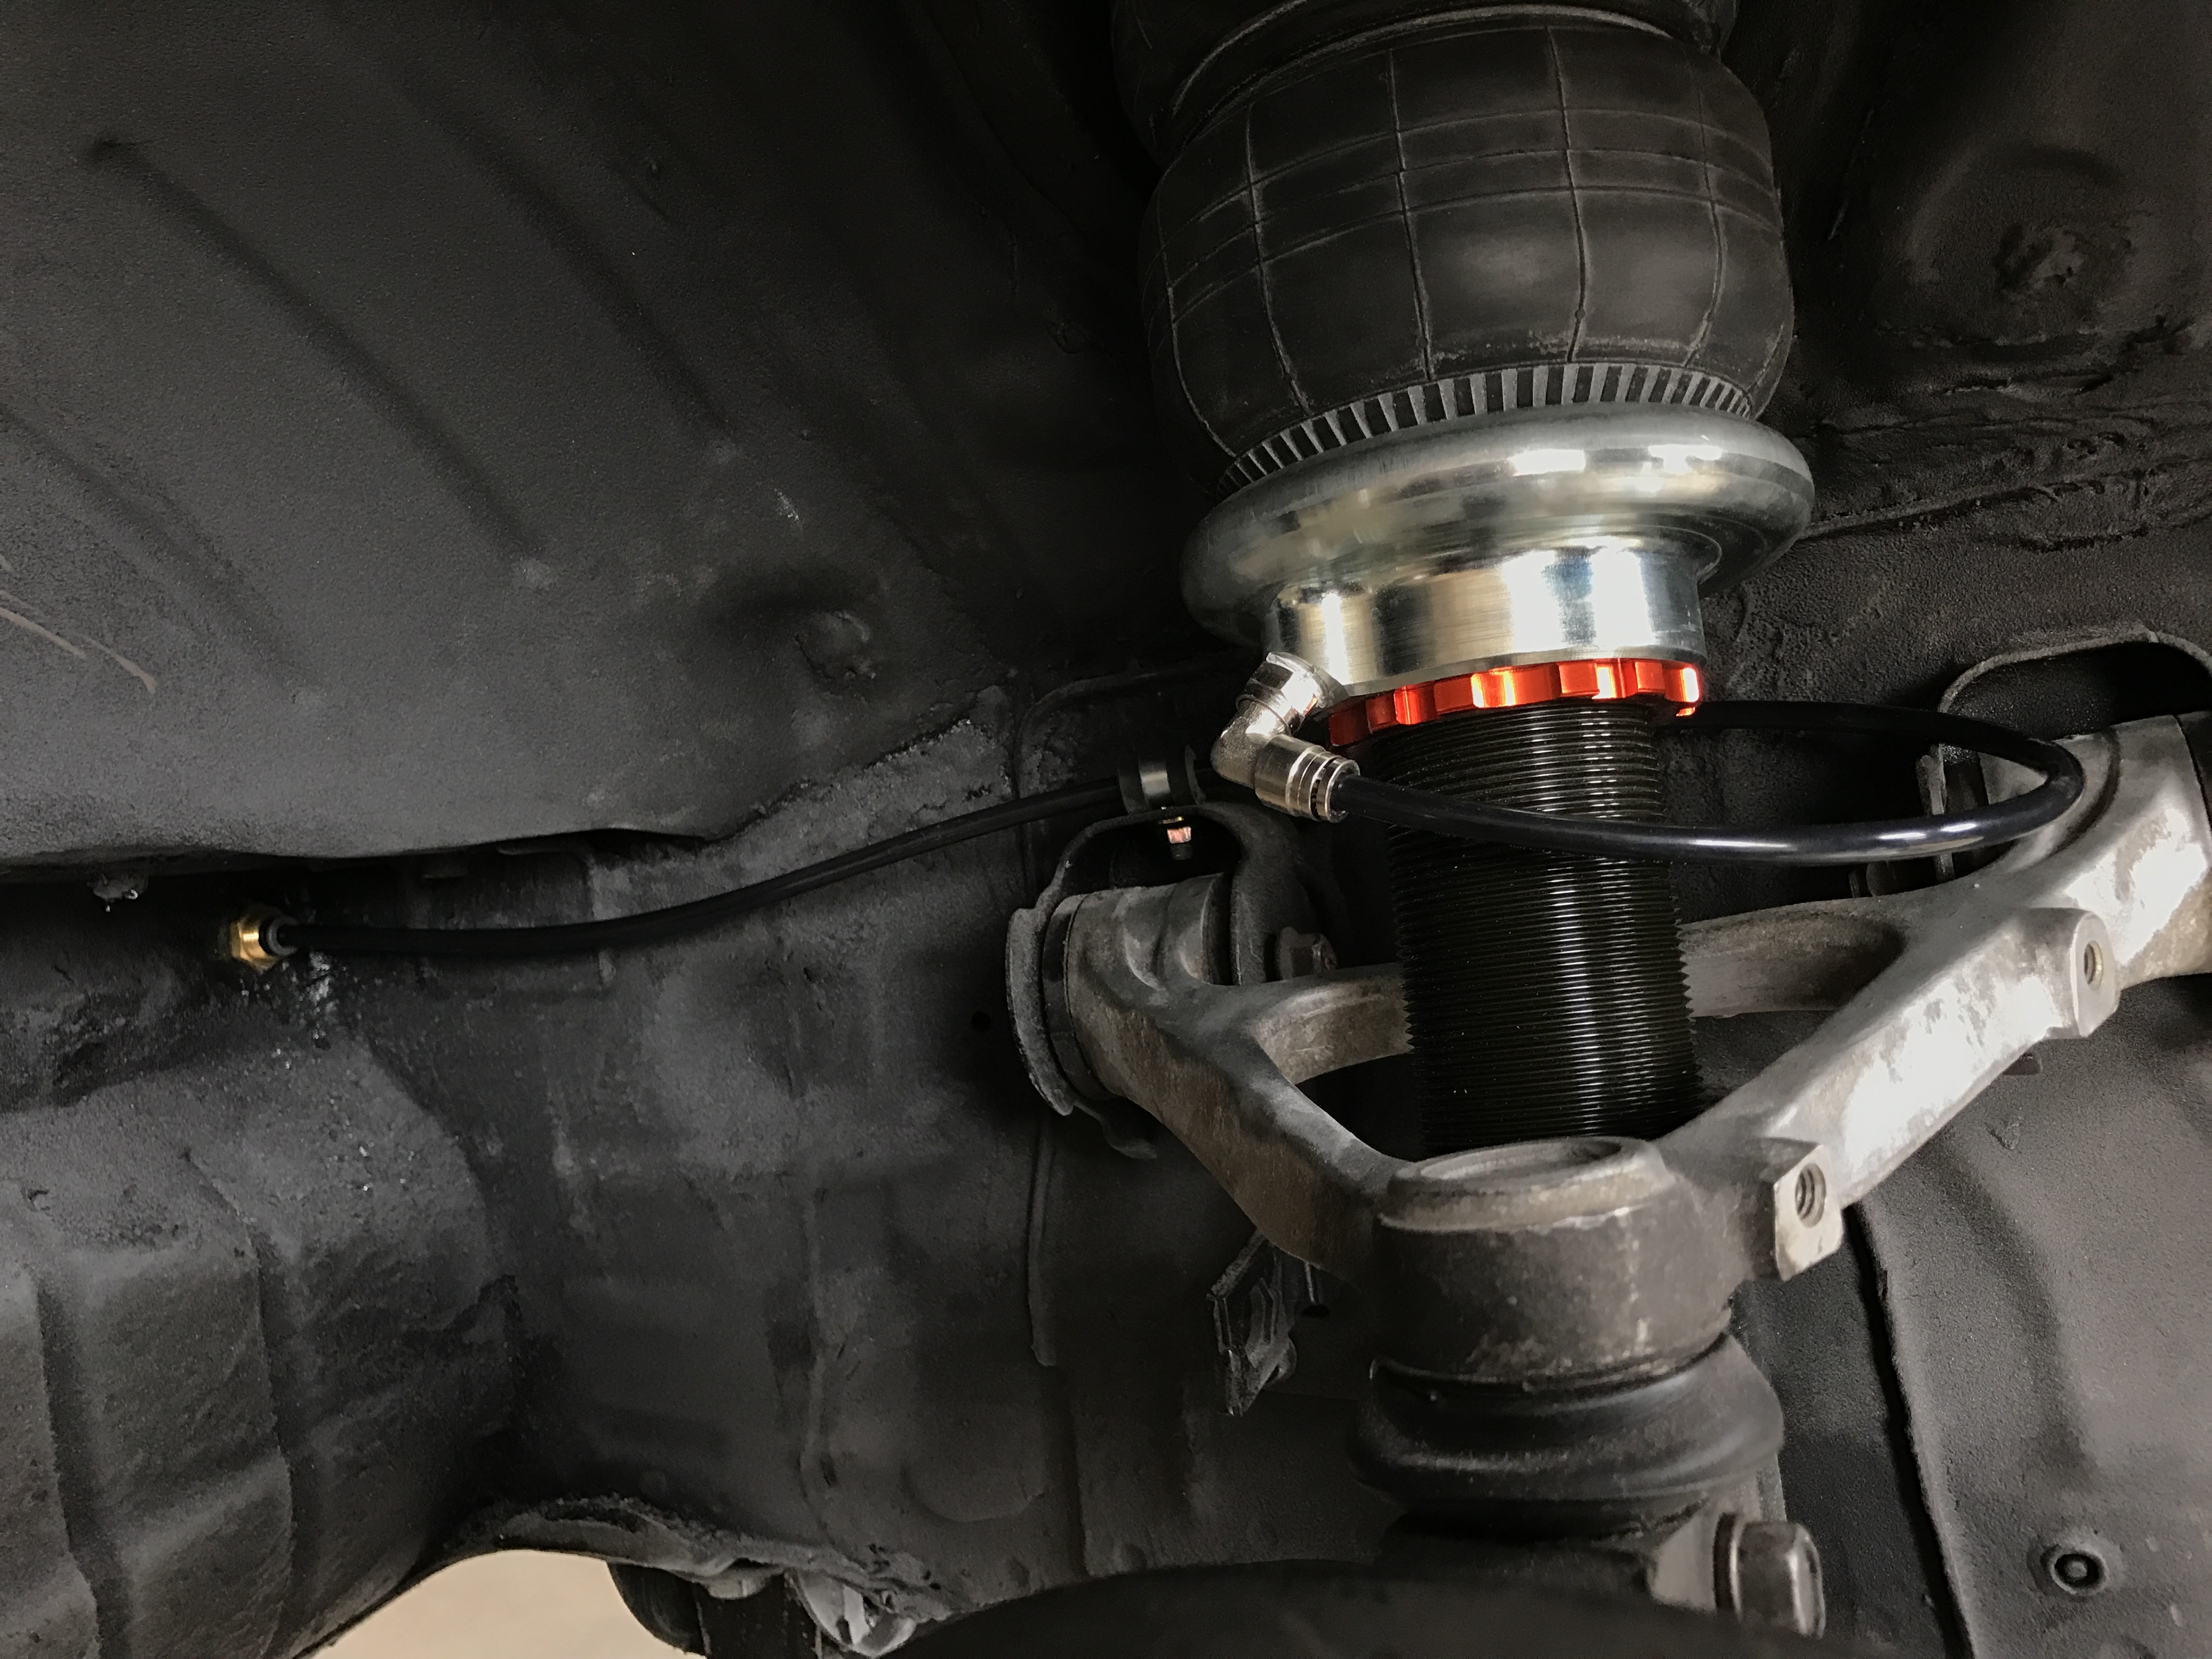
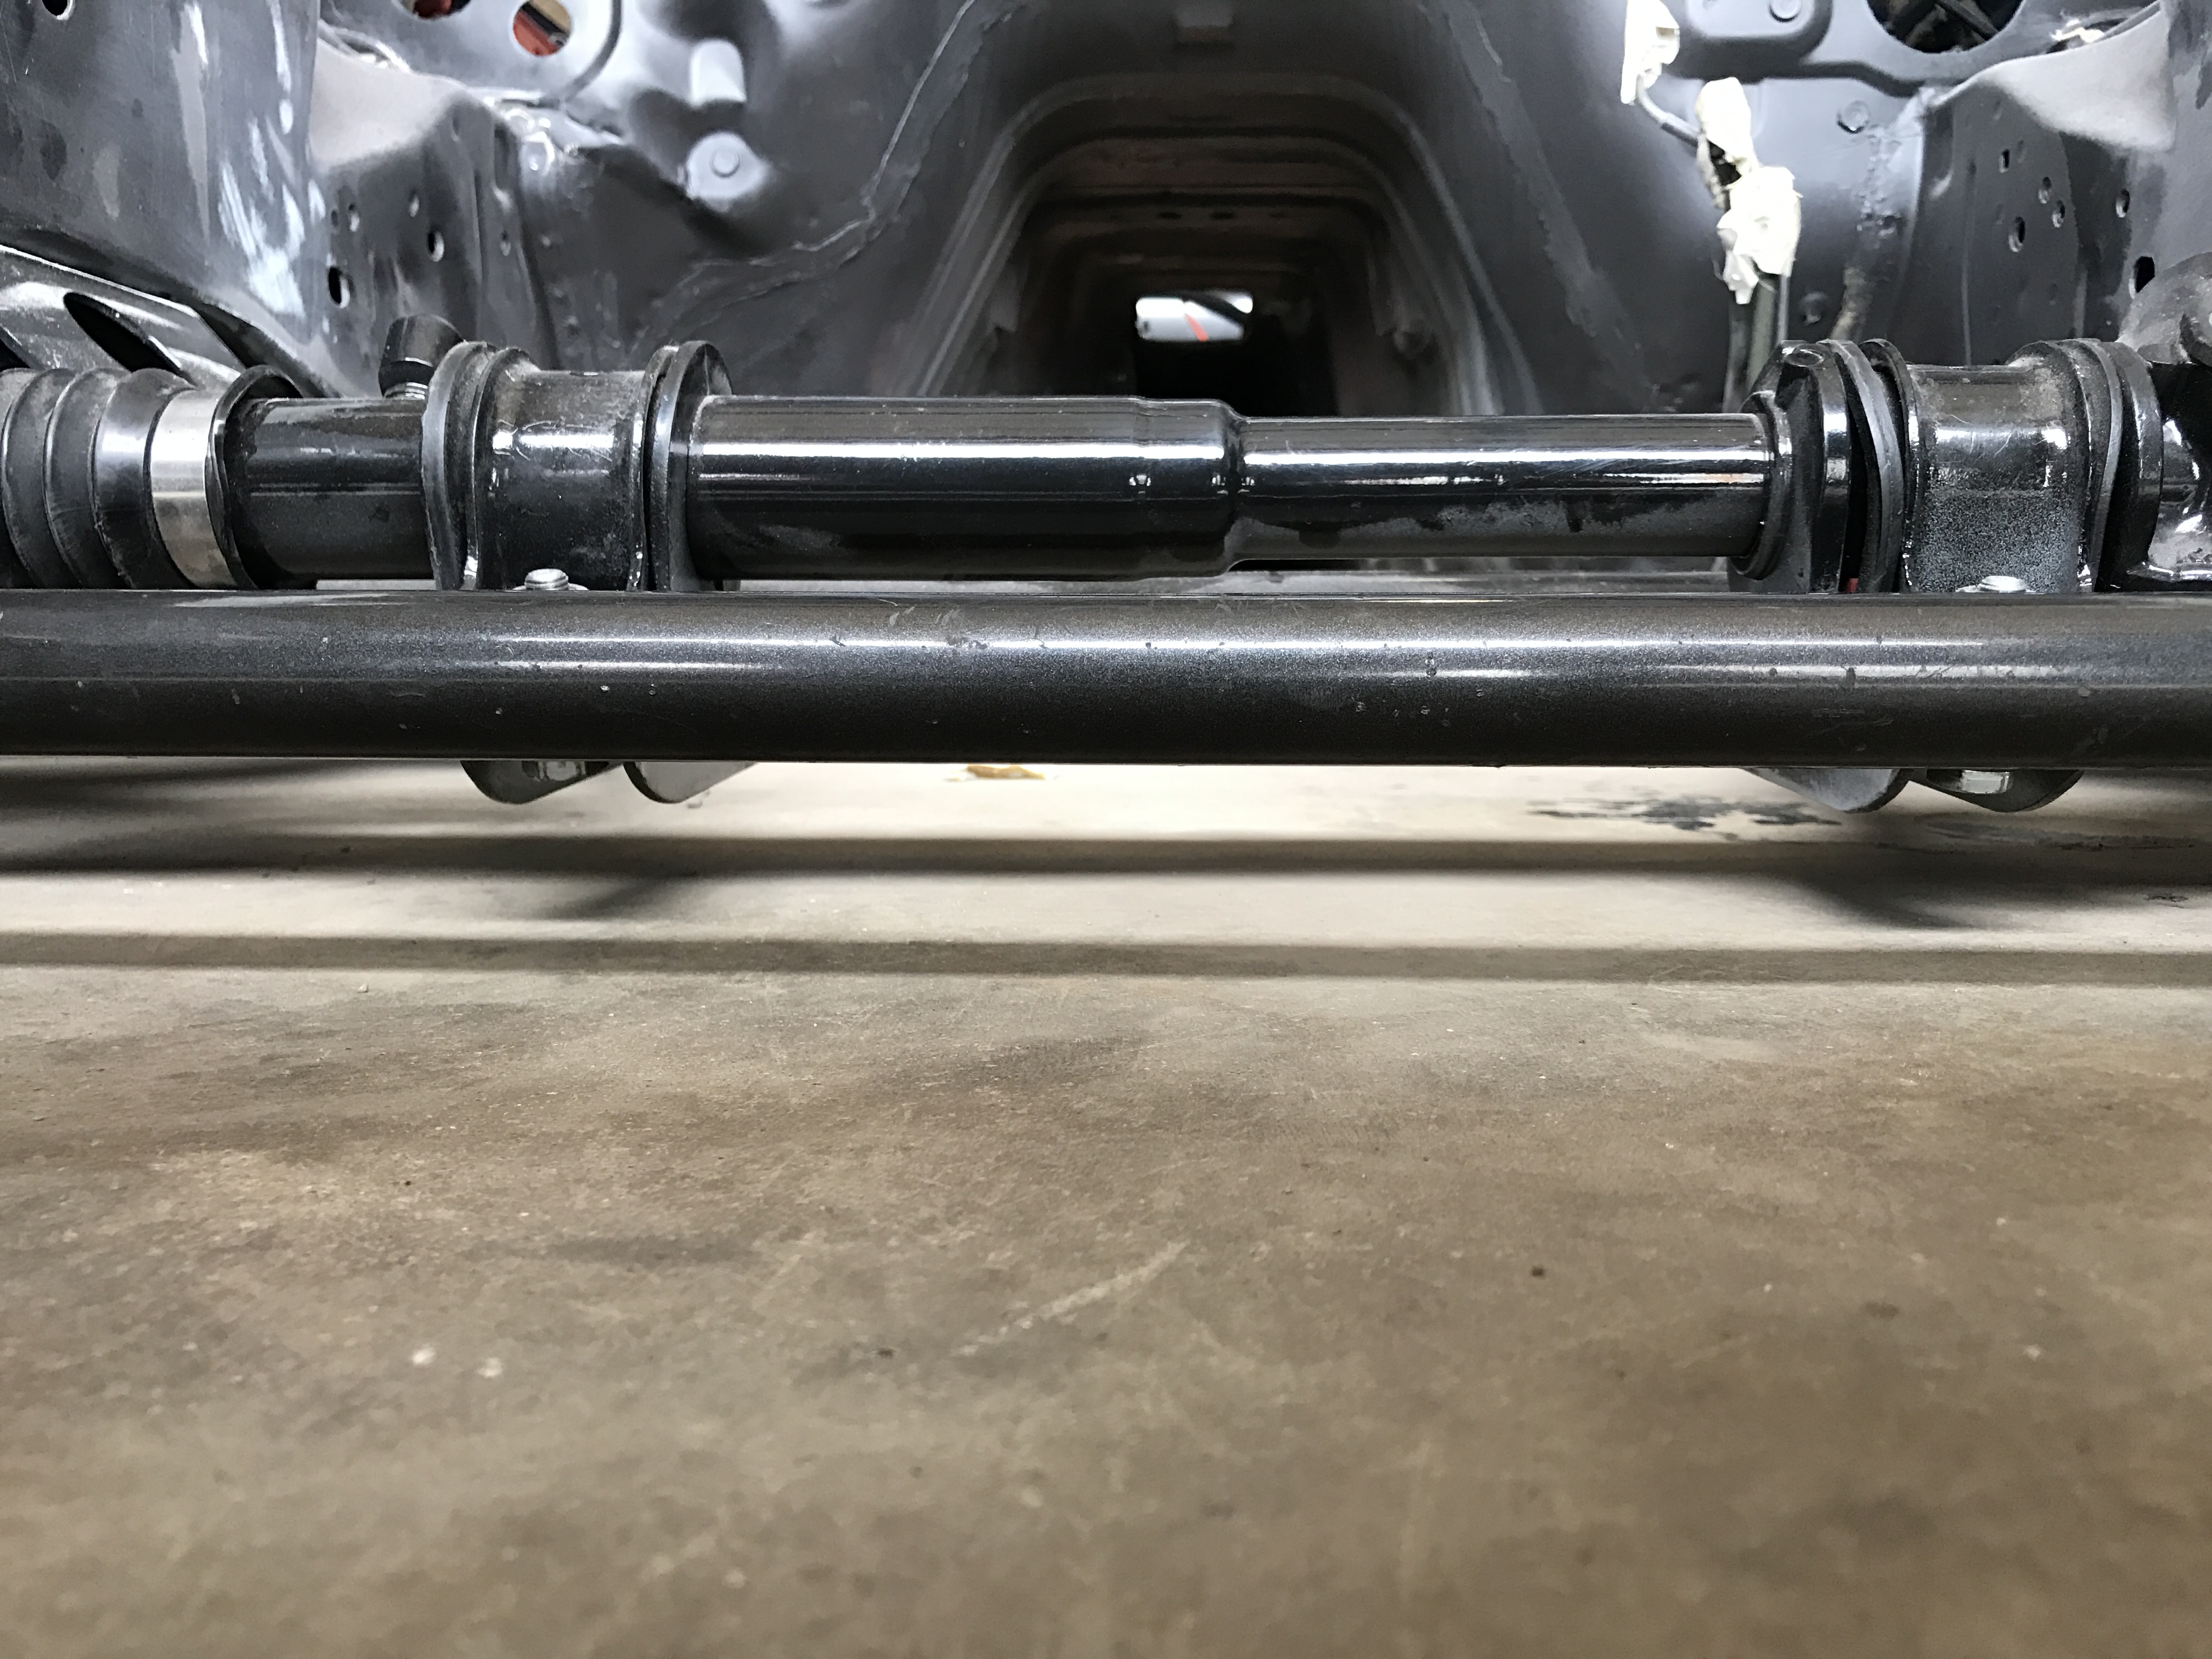
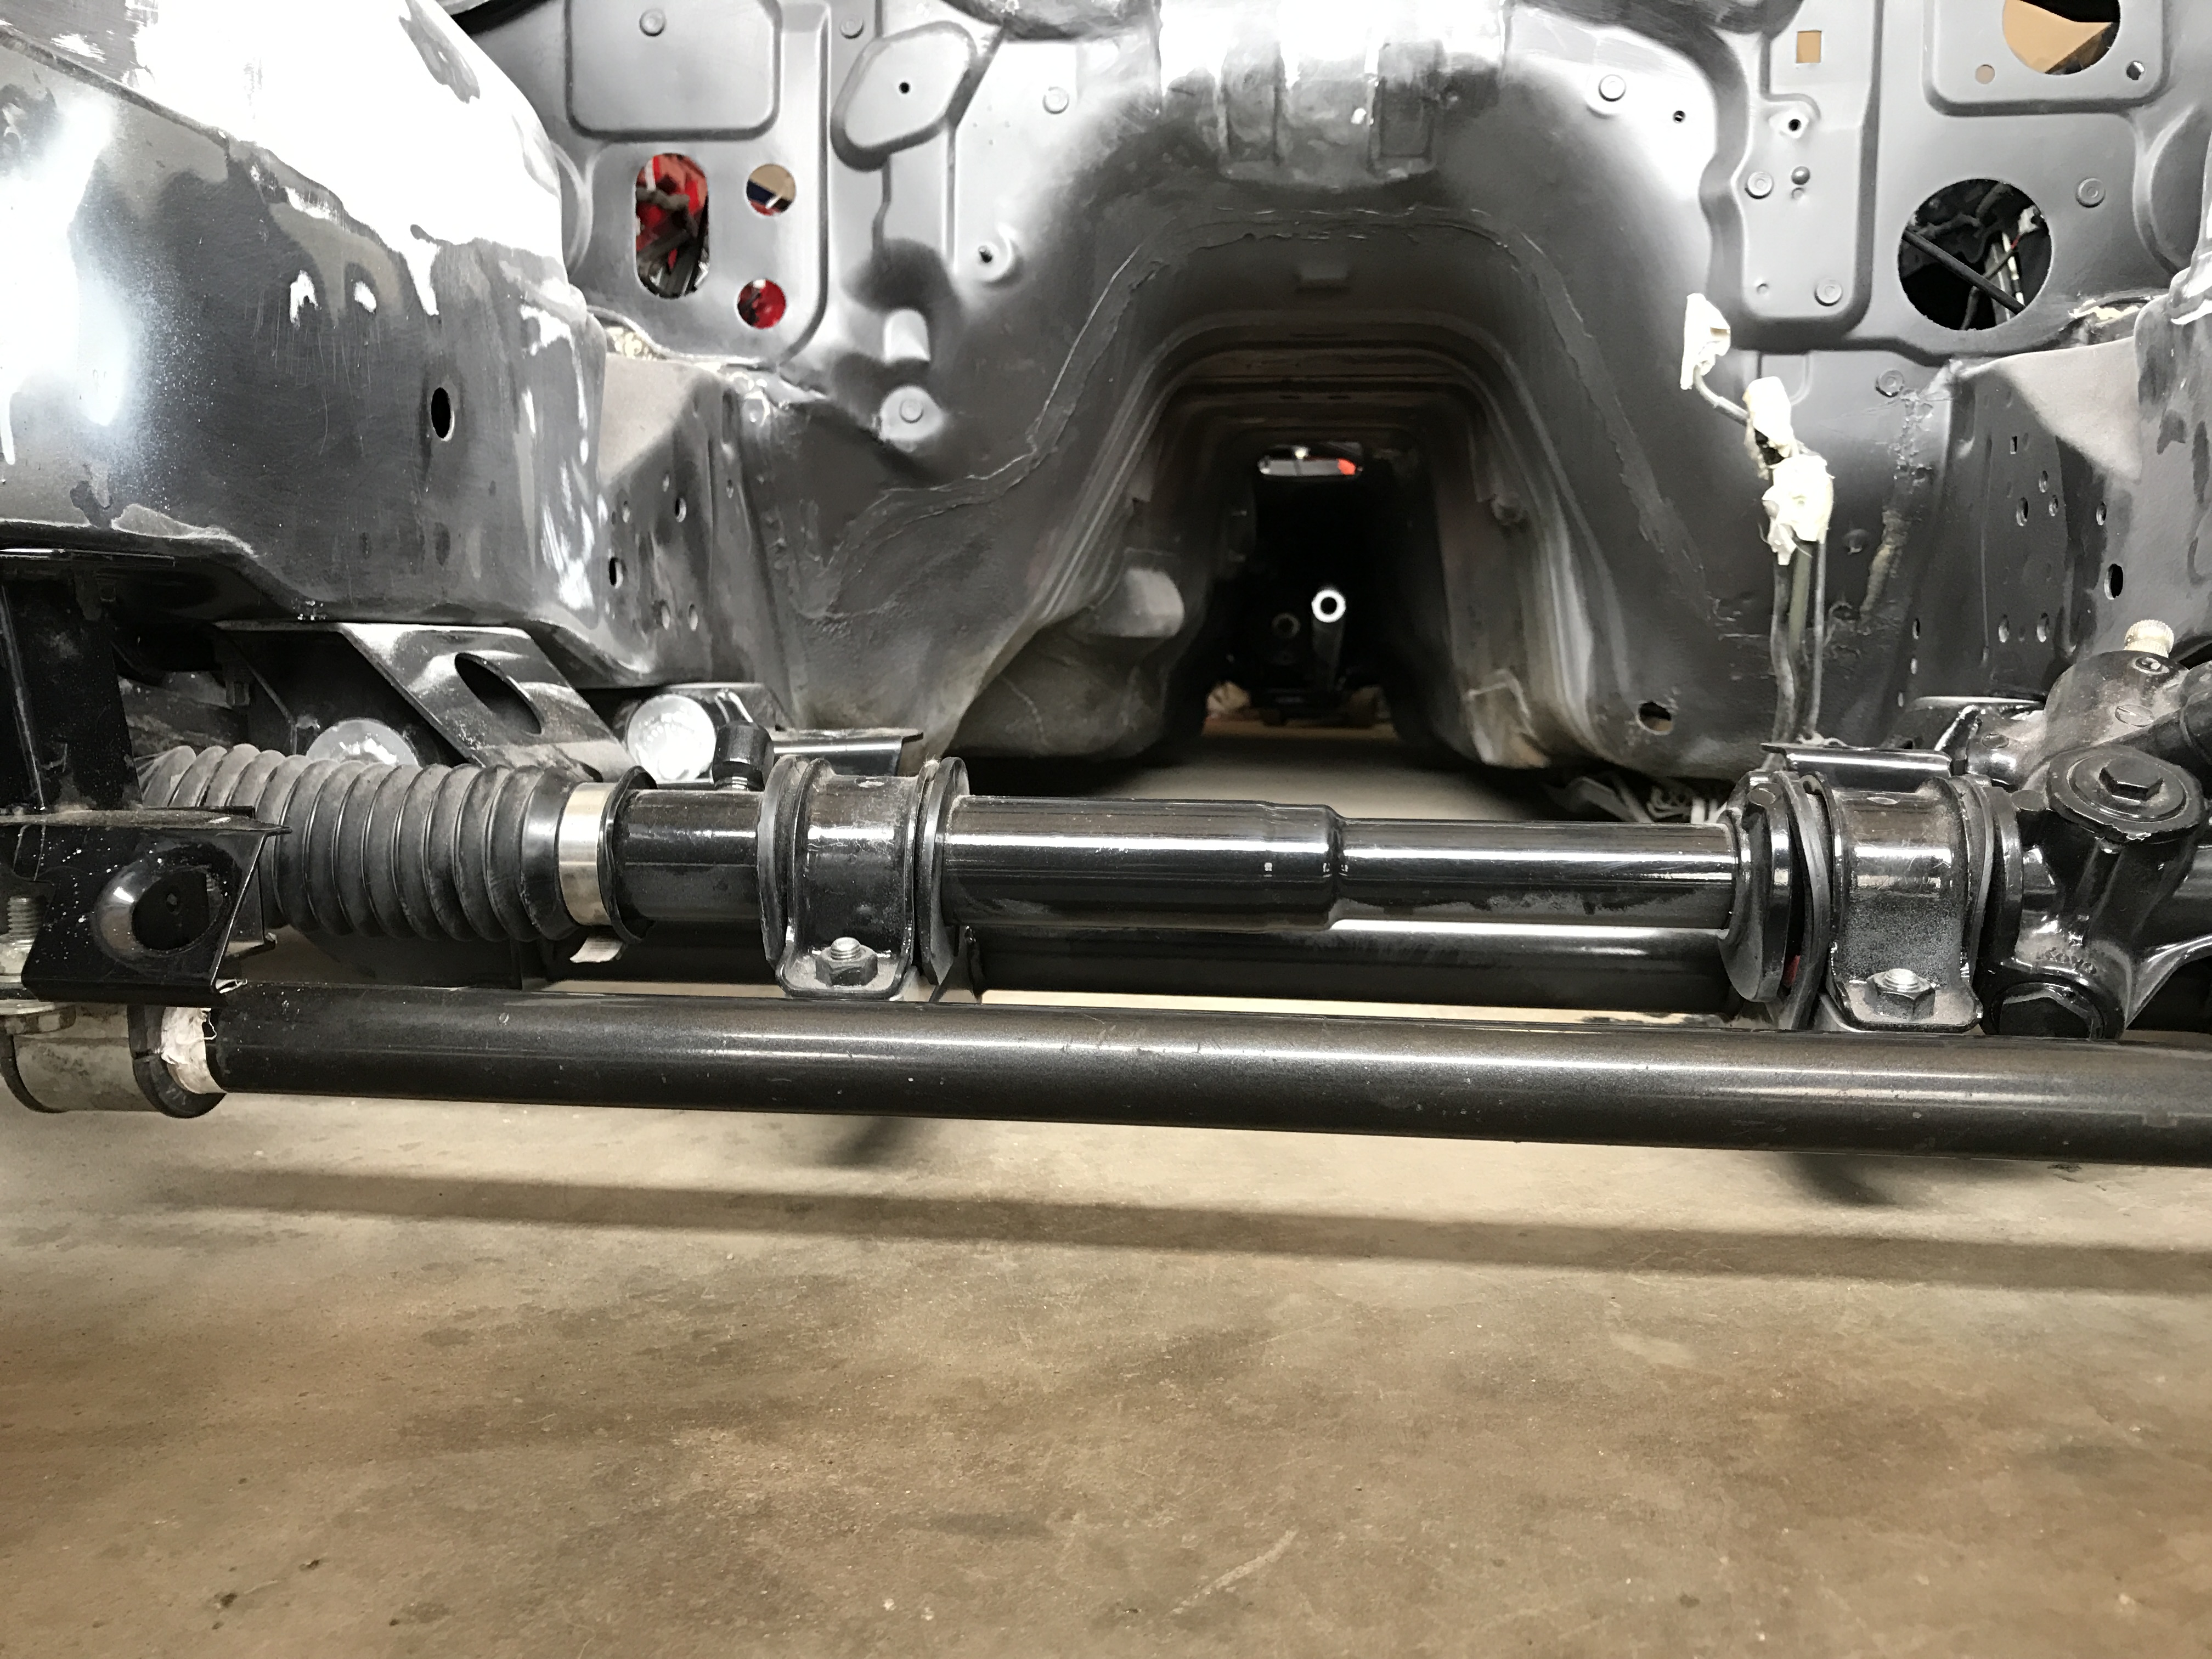
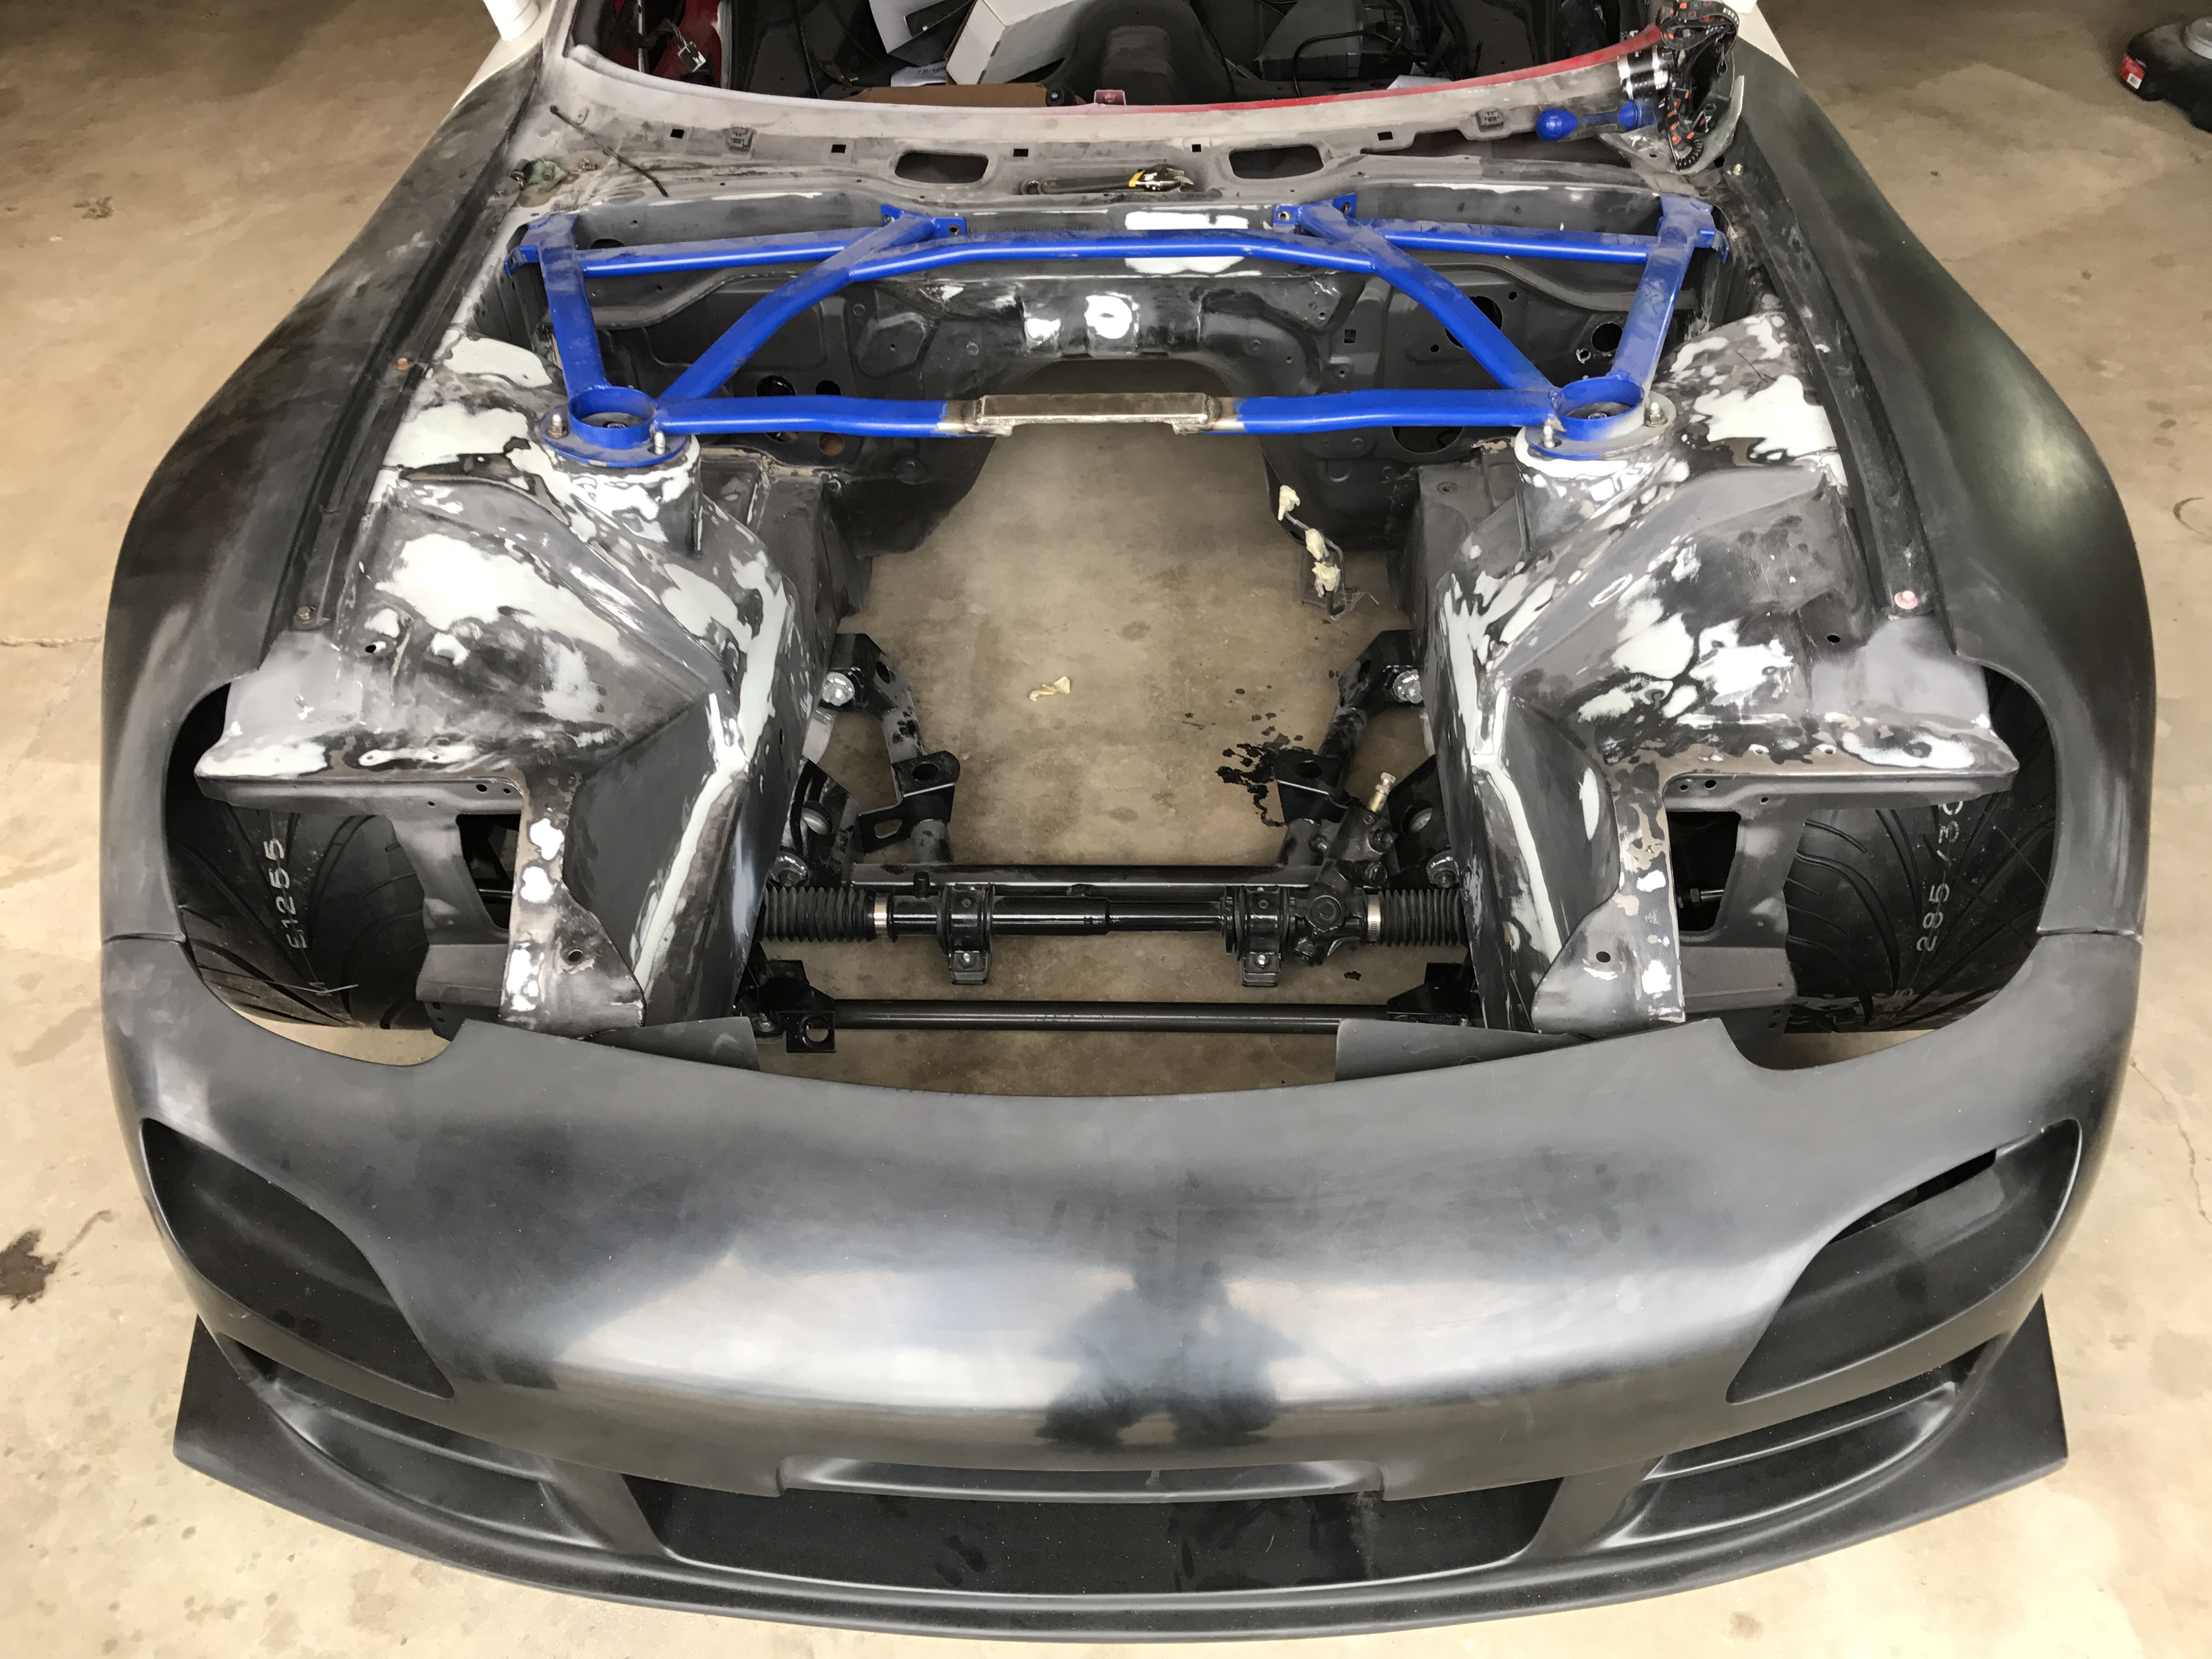
At this point I tried to figure out what my next step would be. I really want to get the car on the ground so I can start visualizing what it is going to look like together, so I started working on the strut height. In the case of a bag failure, I dont want the tire colliding with the body. To get around that I needed the fully compressed height of the shock to put the tire right below the fender line (of the actual body, not the overfender). The issue with that is the control arm has a protrusion that catches on the shock perch. I ground off that part and it still hit, so I then proceeded to clearance the perch a bit and all is well now! Gotta do the other side now and Ill be golden
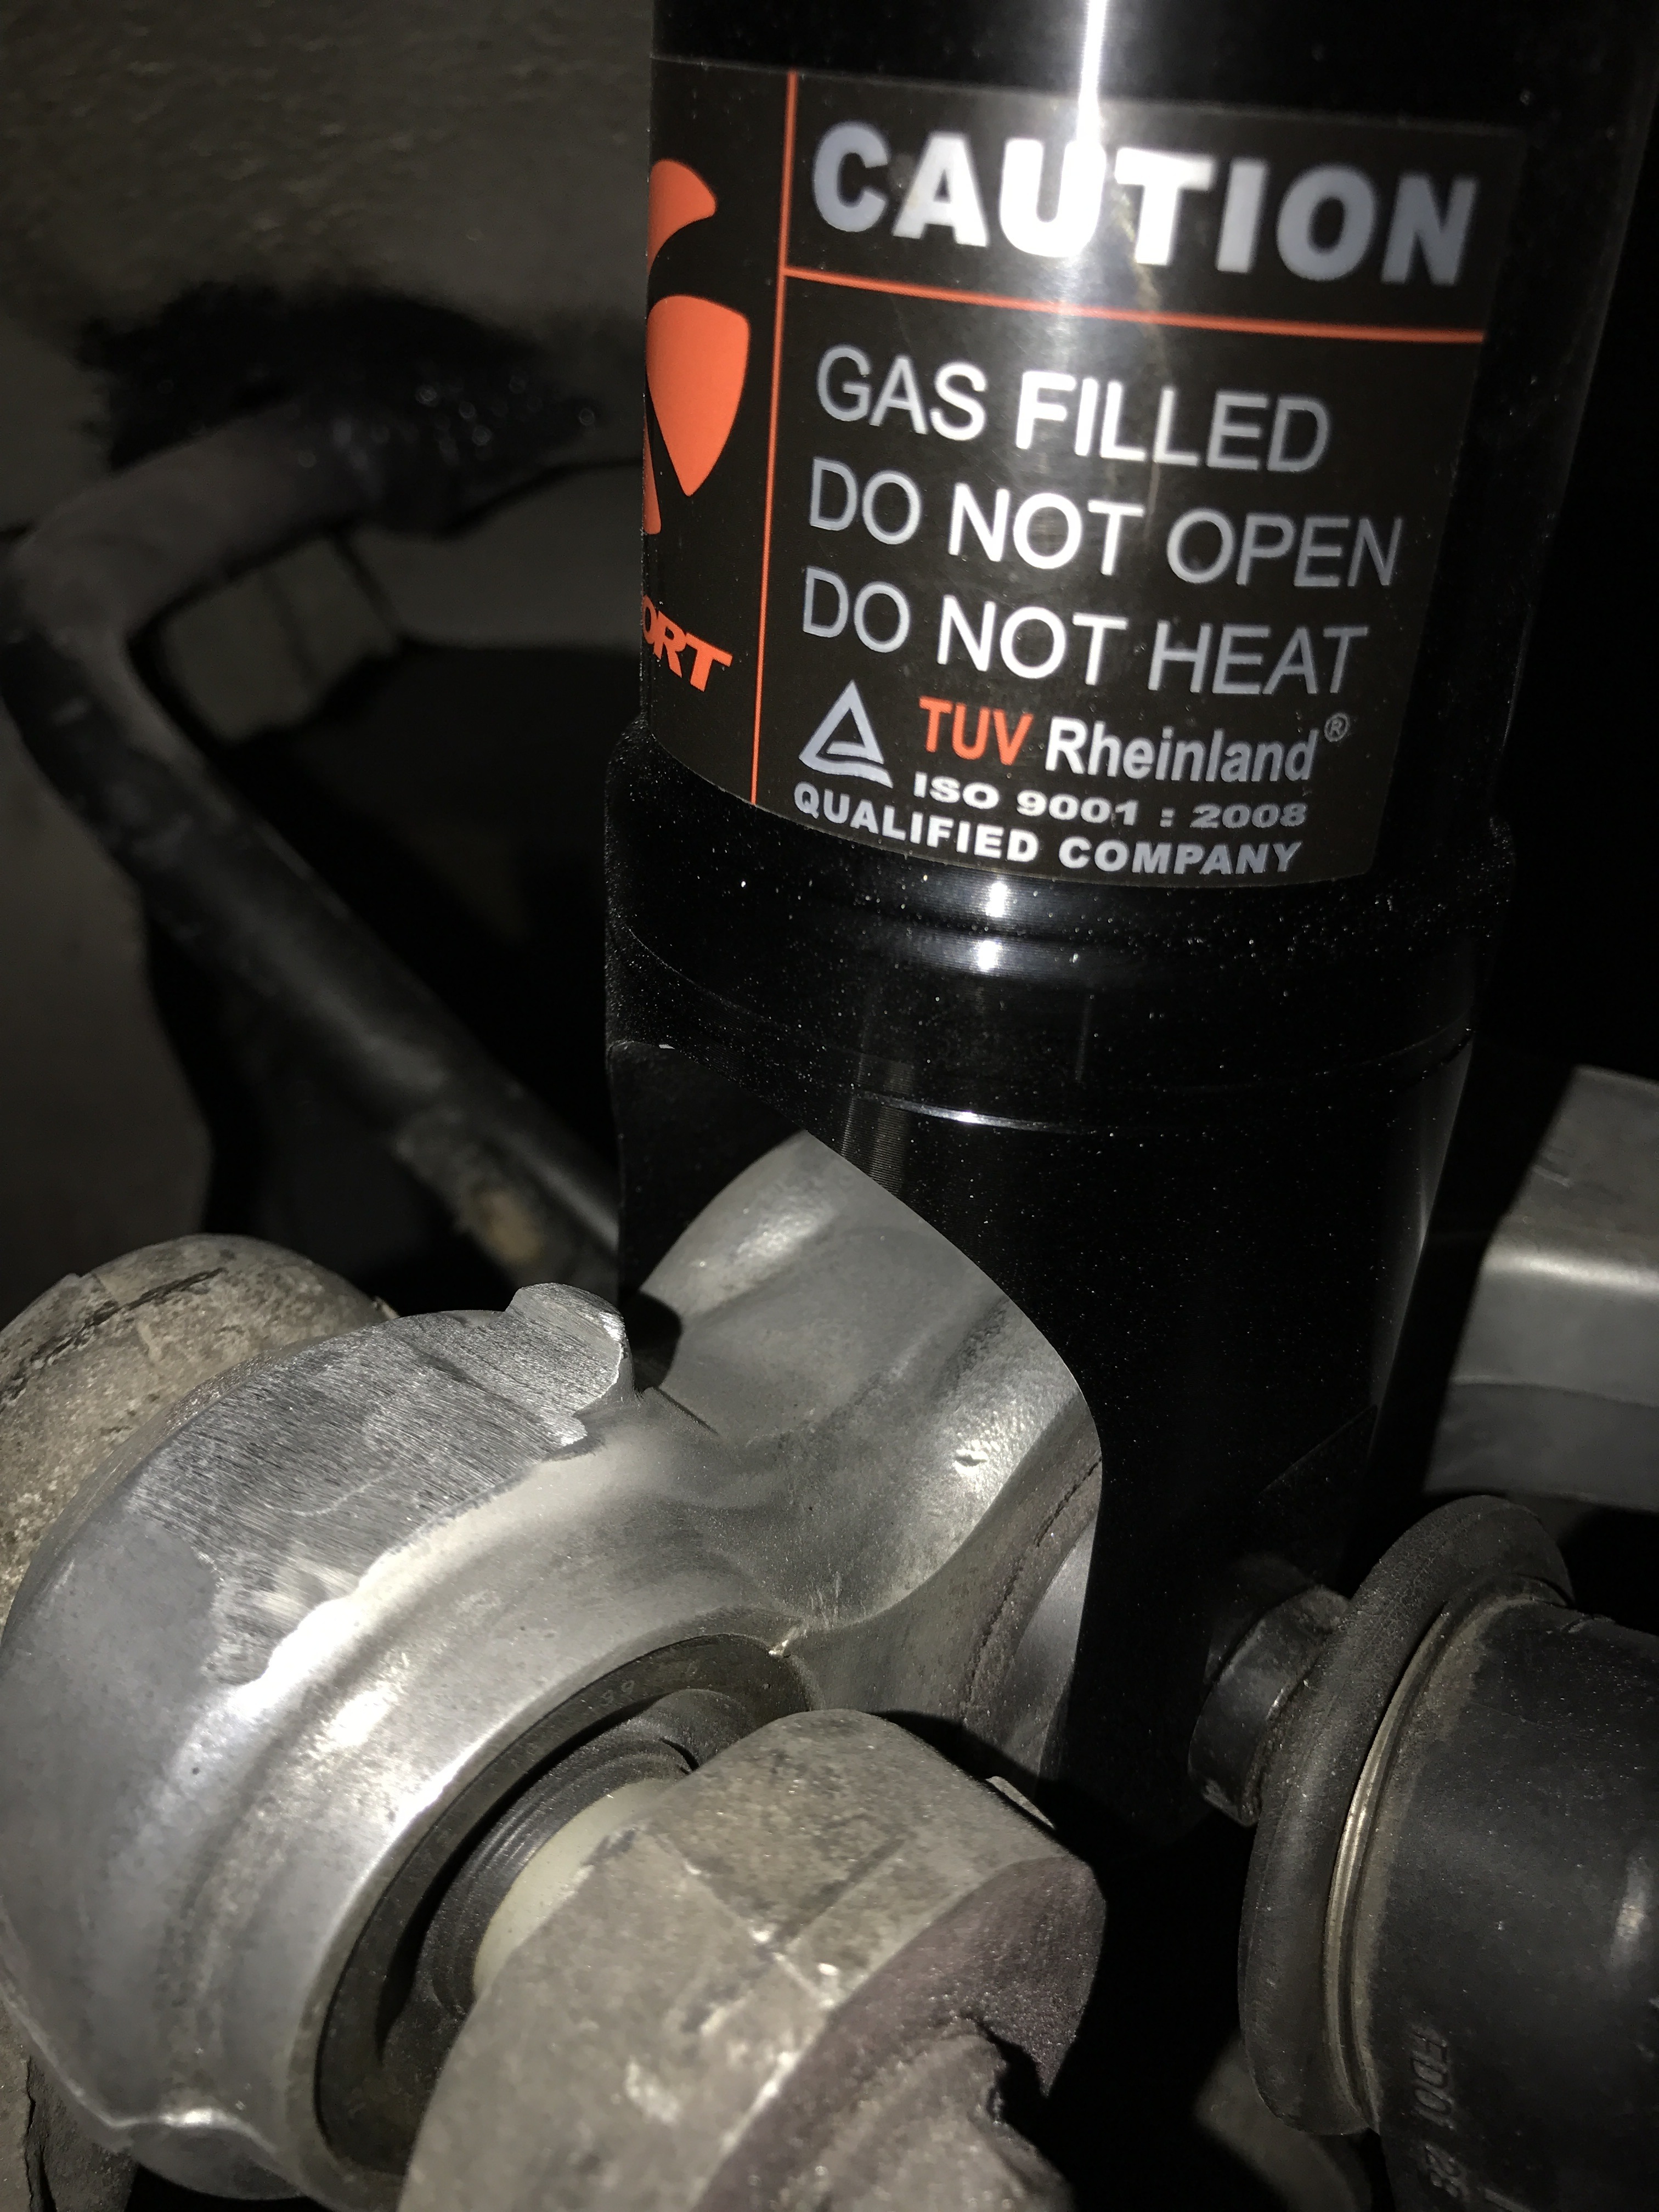
This was the height fully compressed with it hitting the control arm...not good enough.

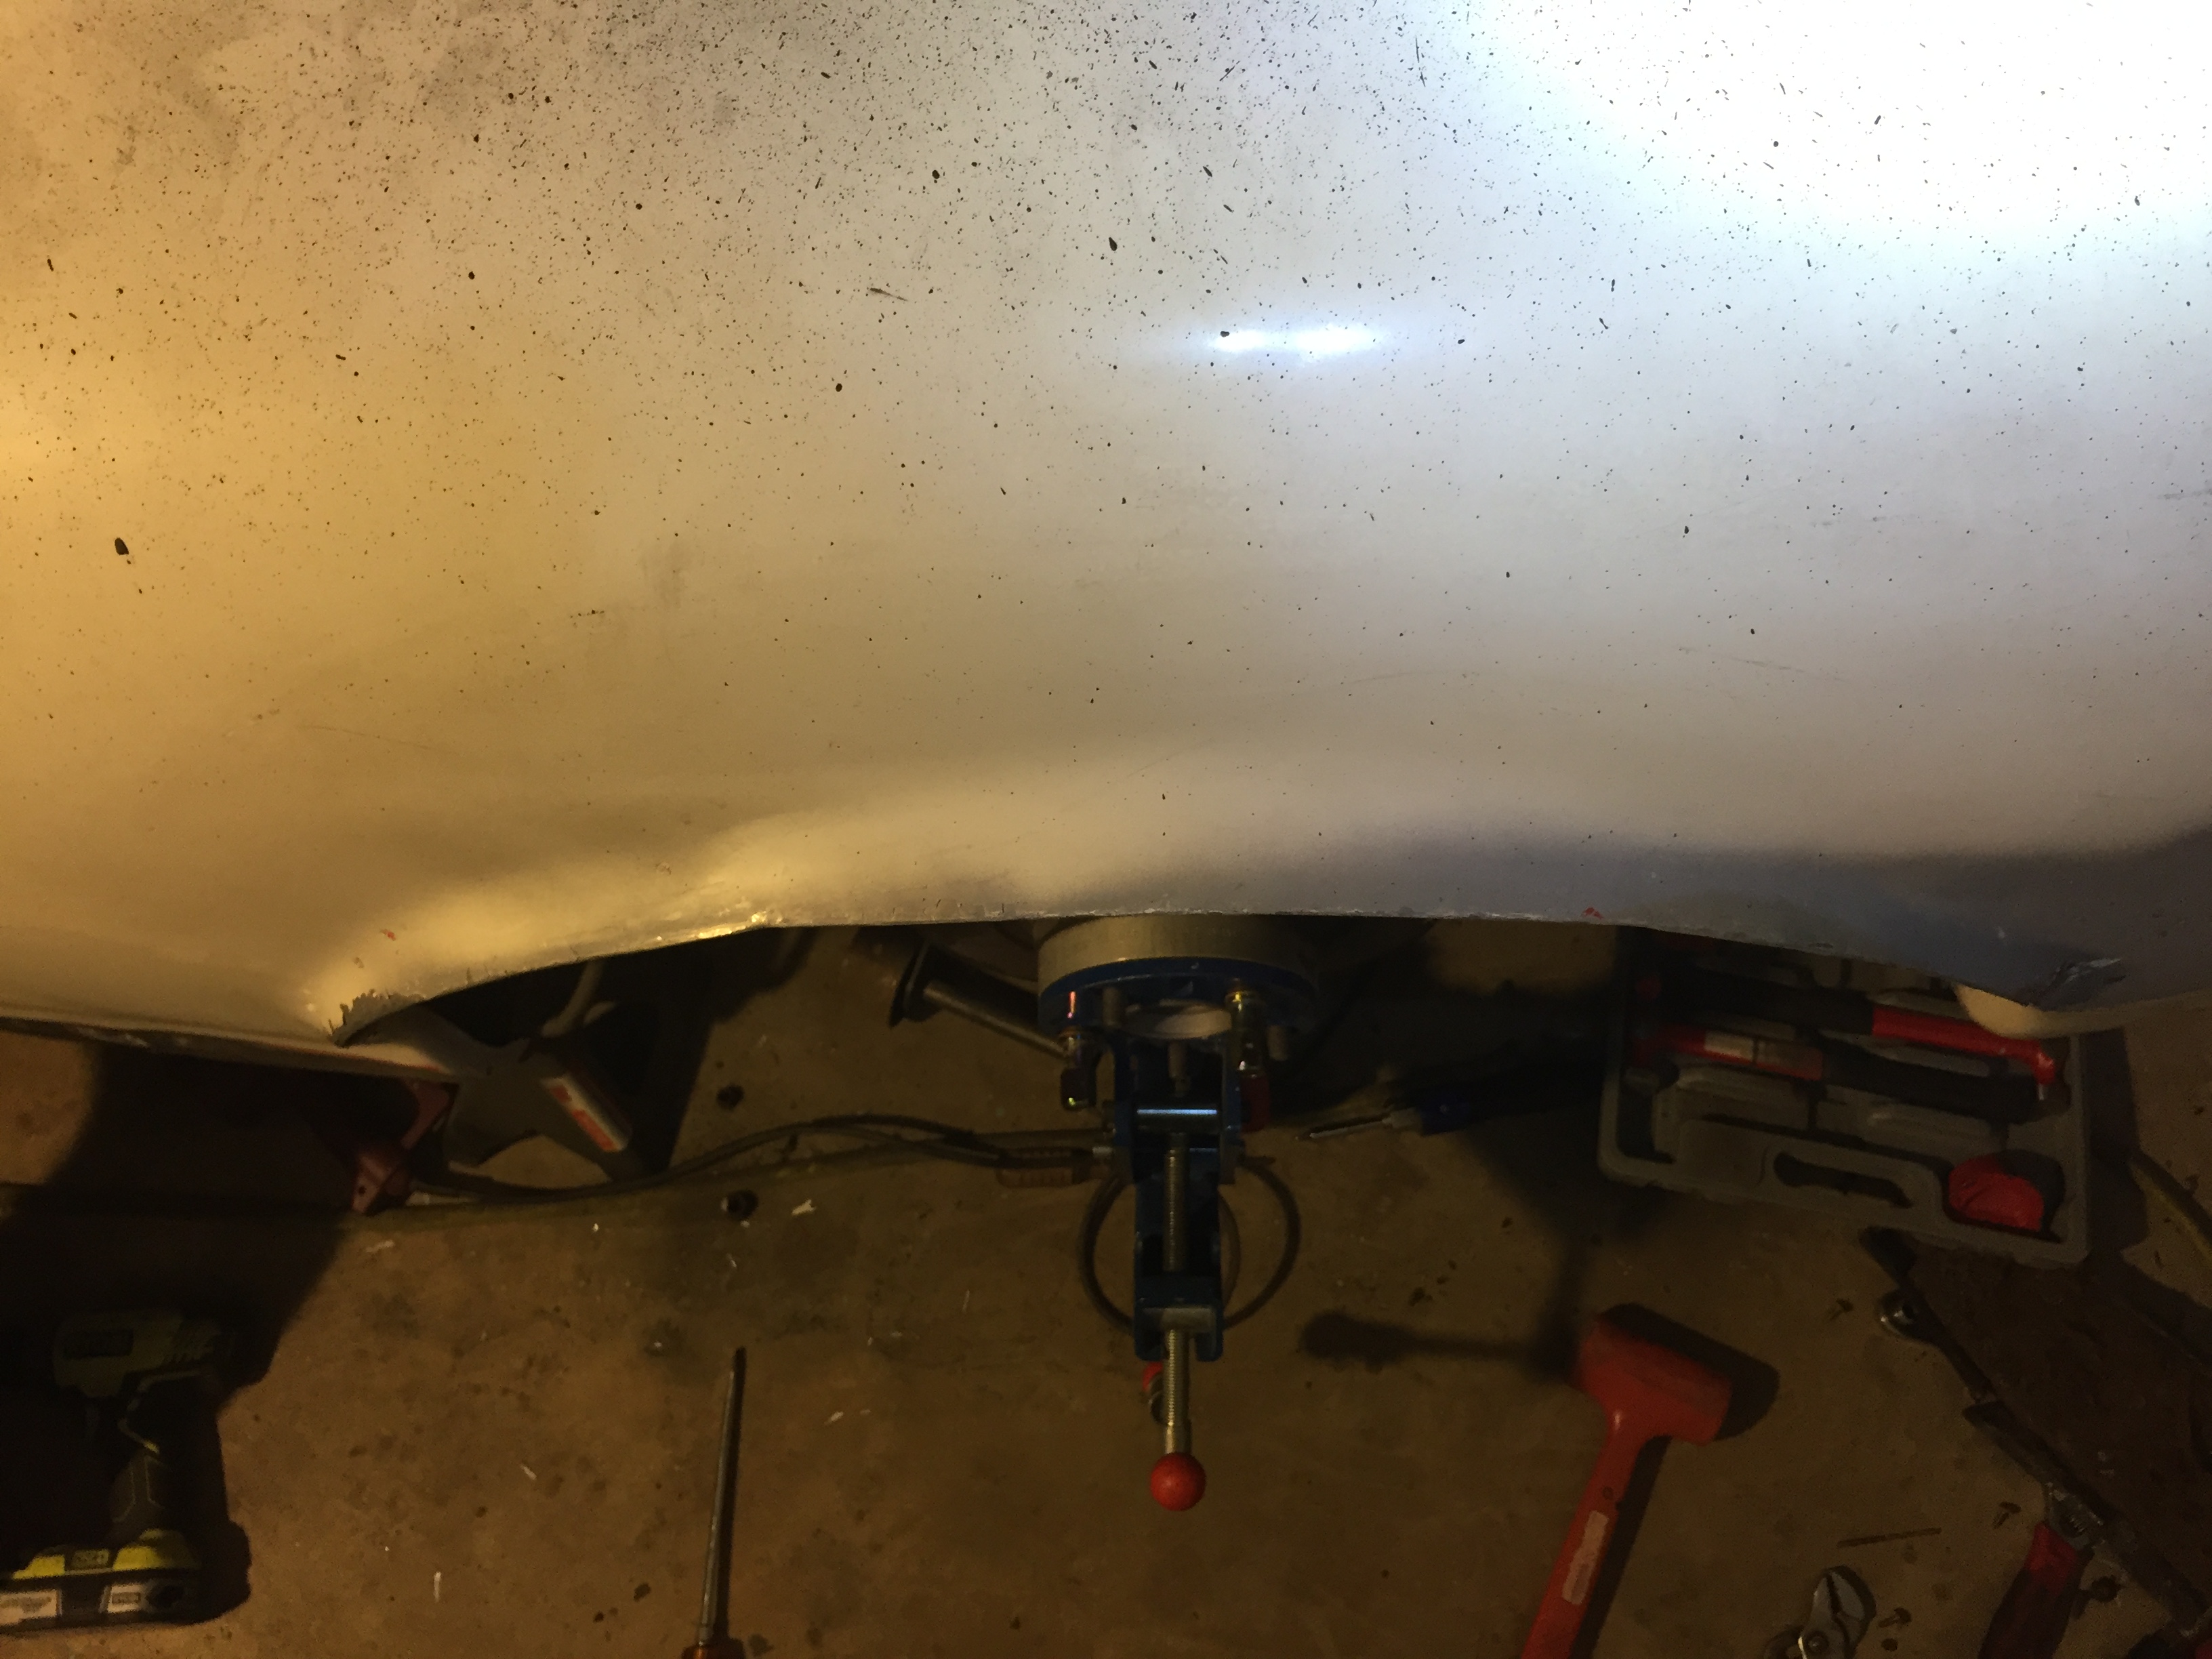
This should do it!
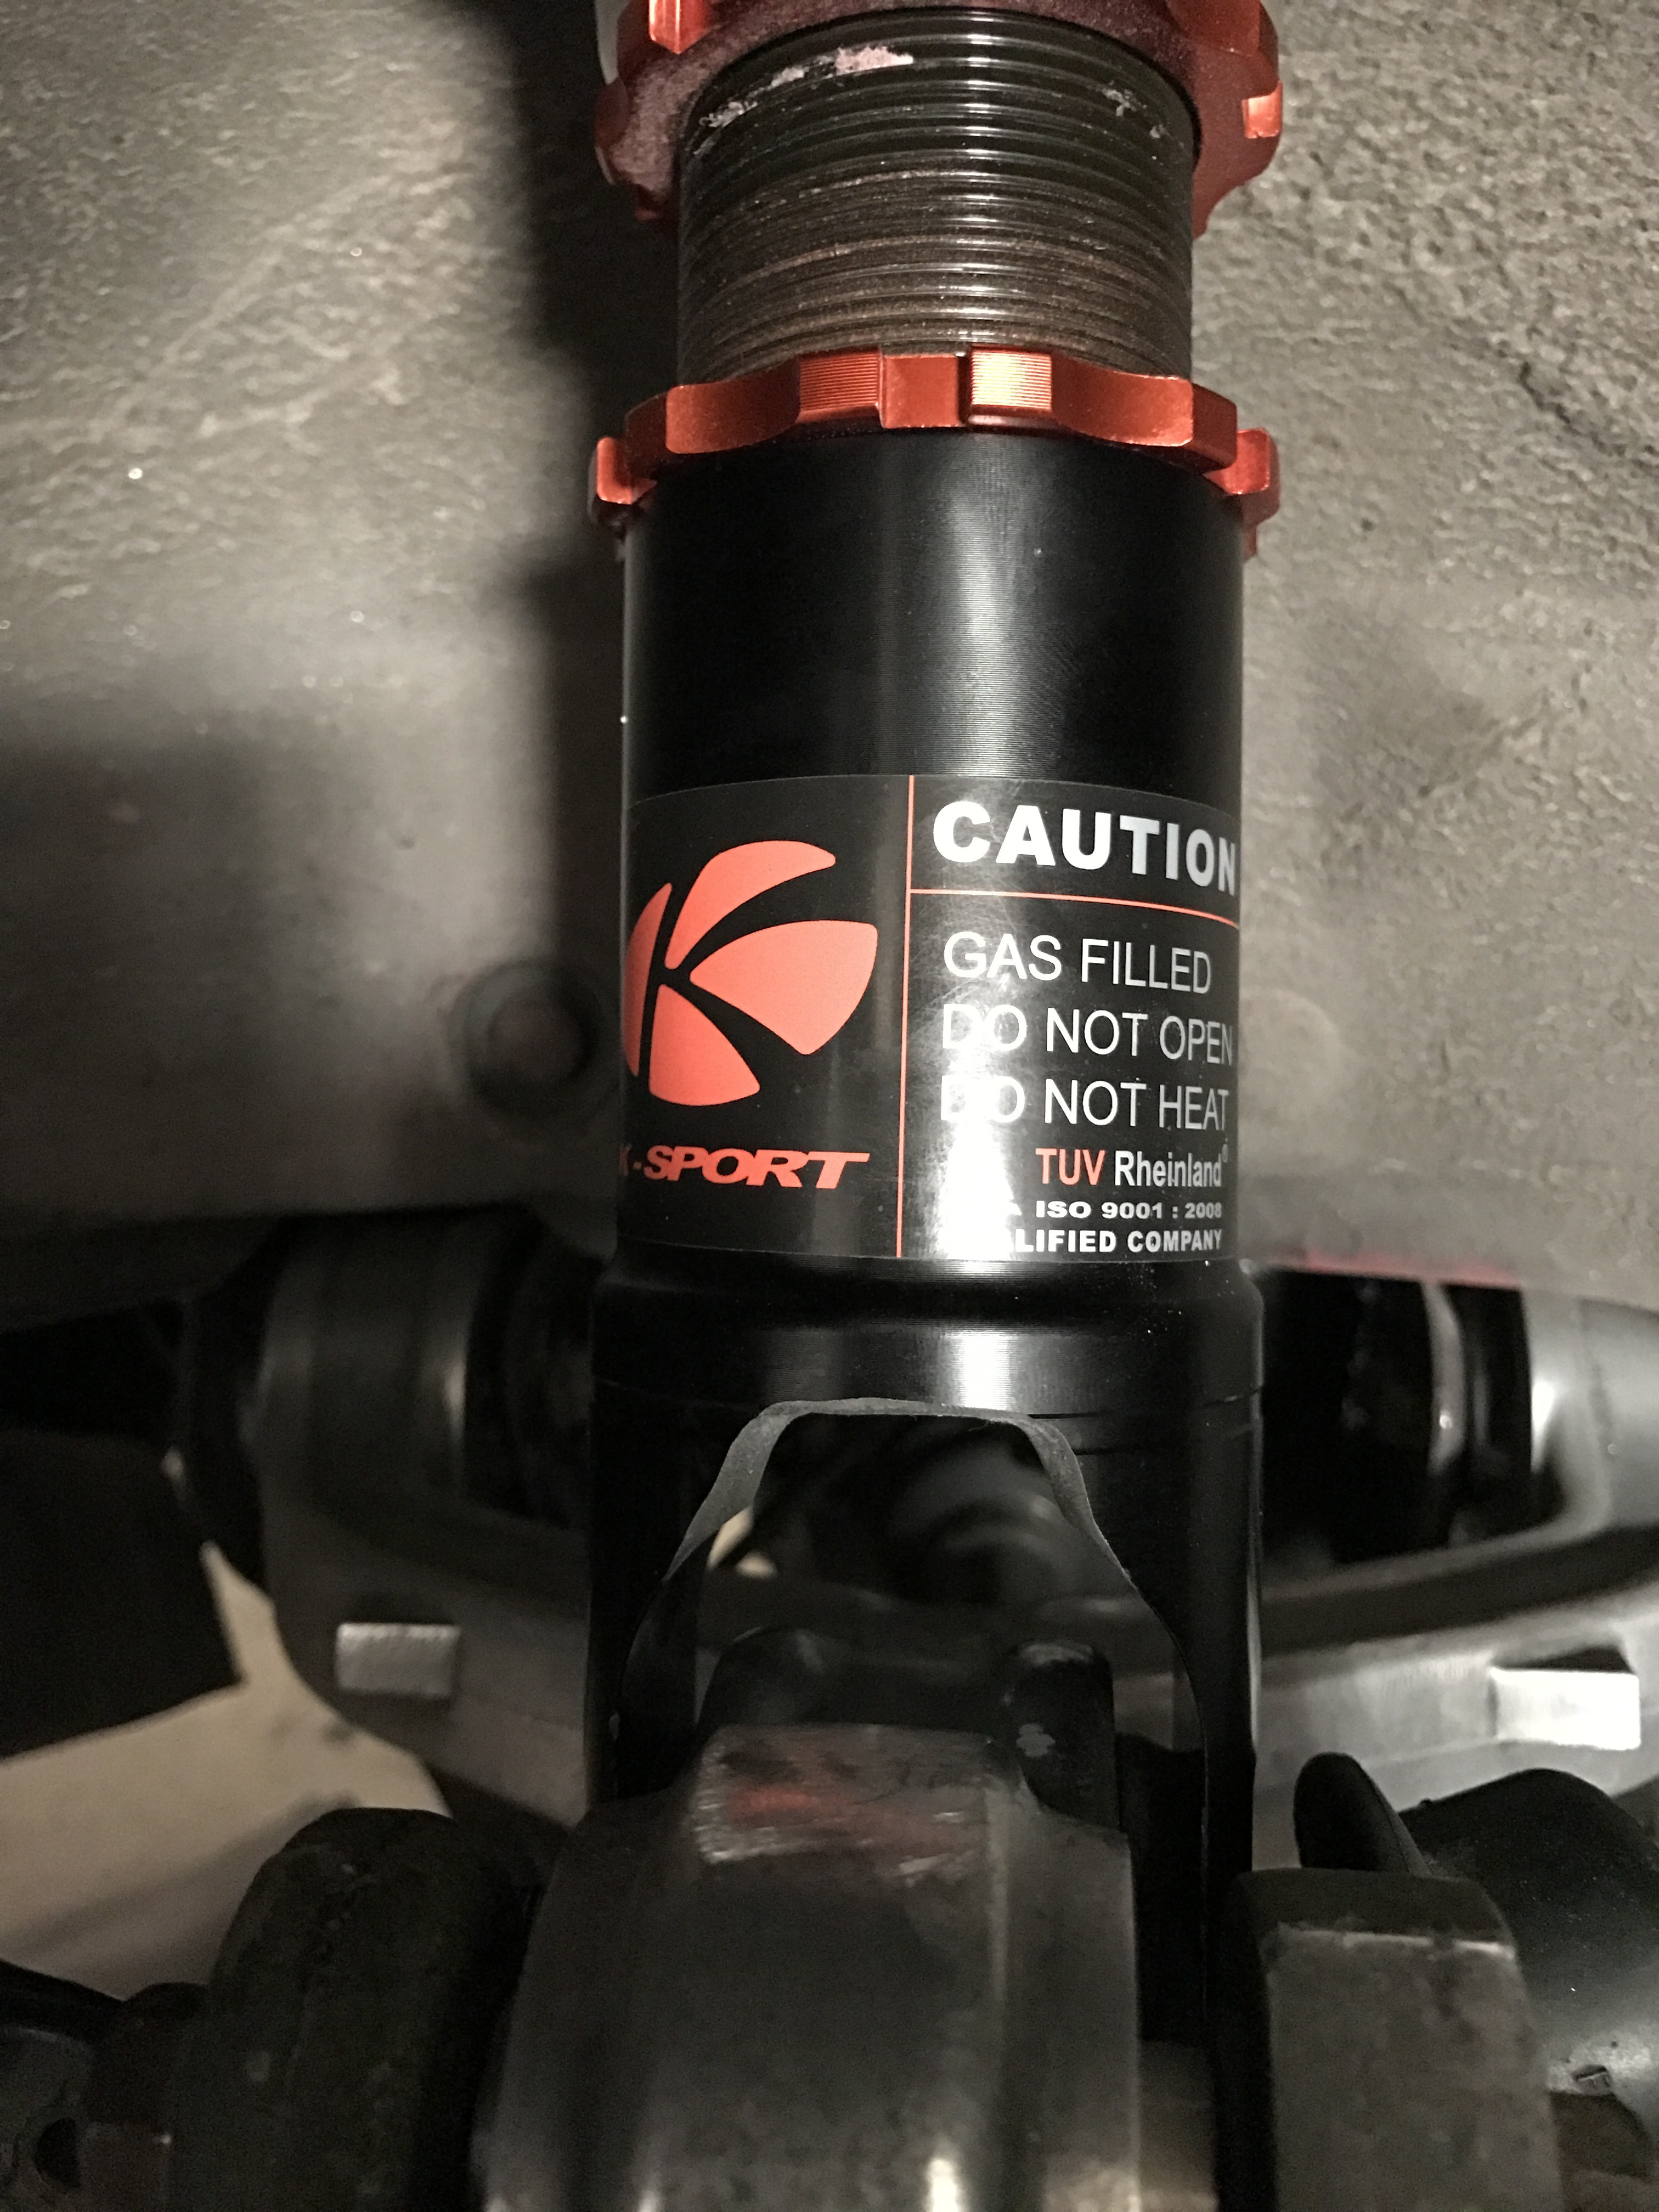
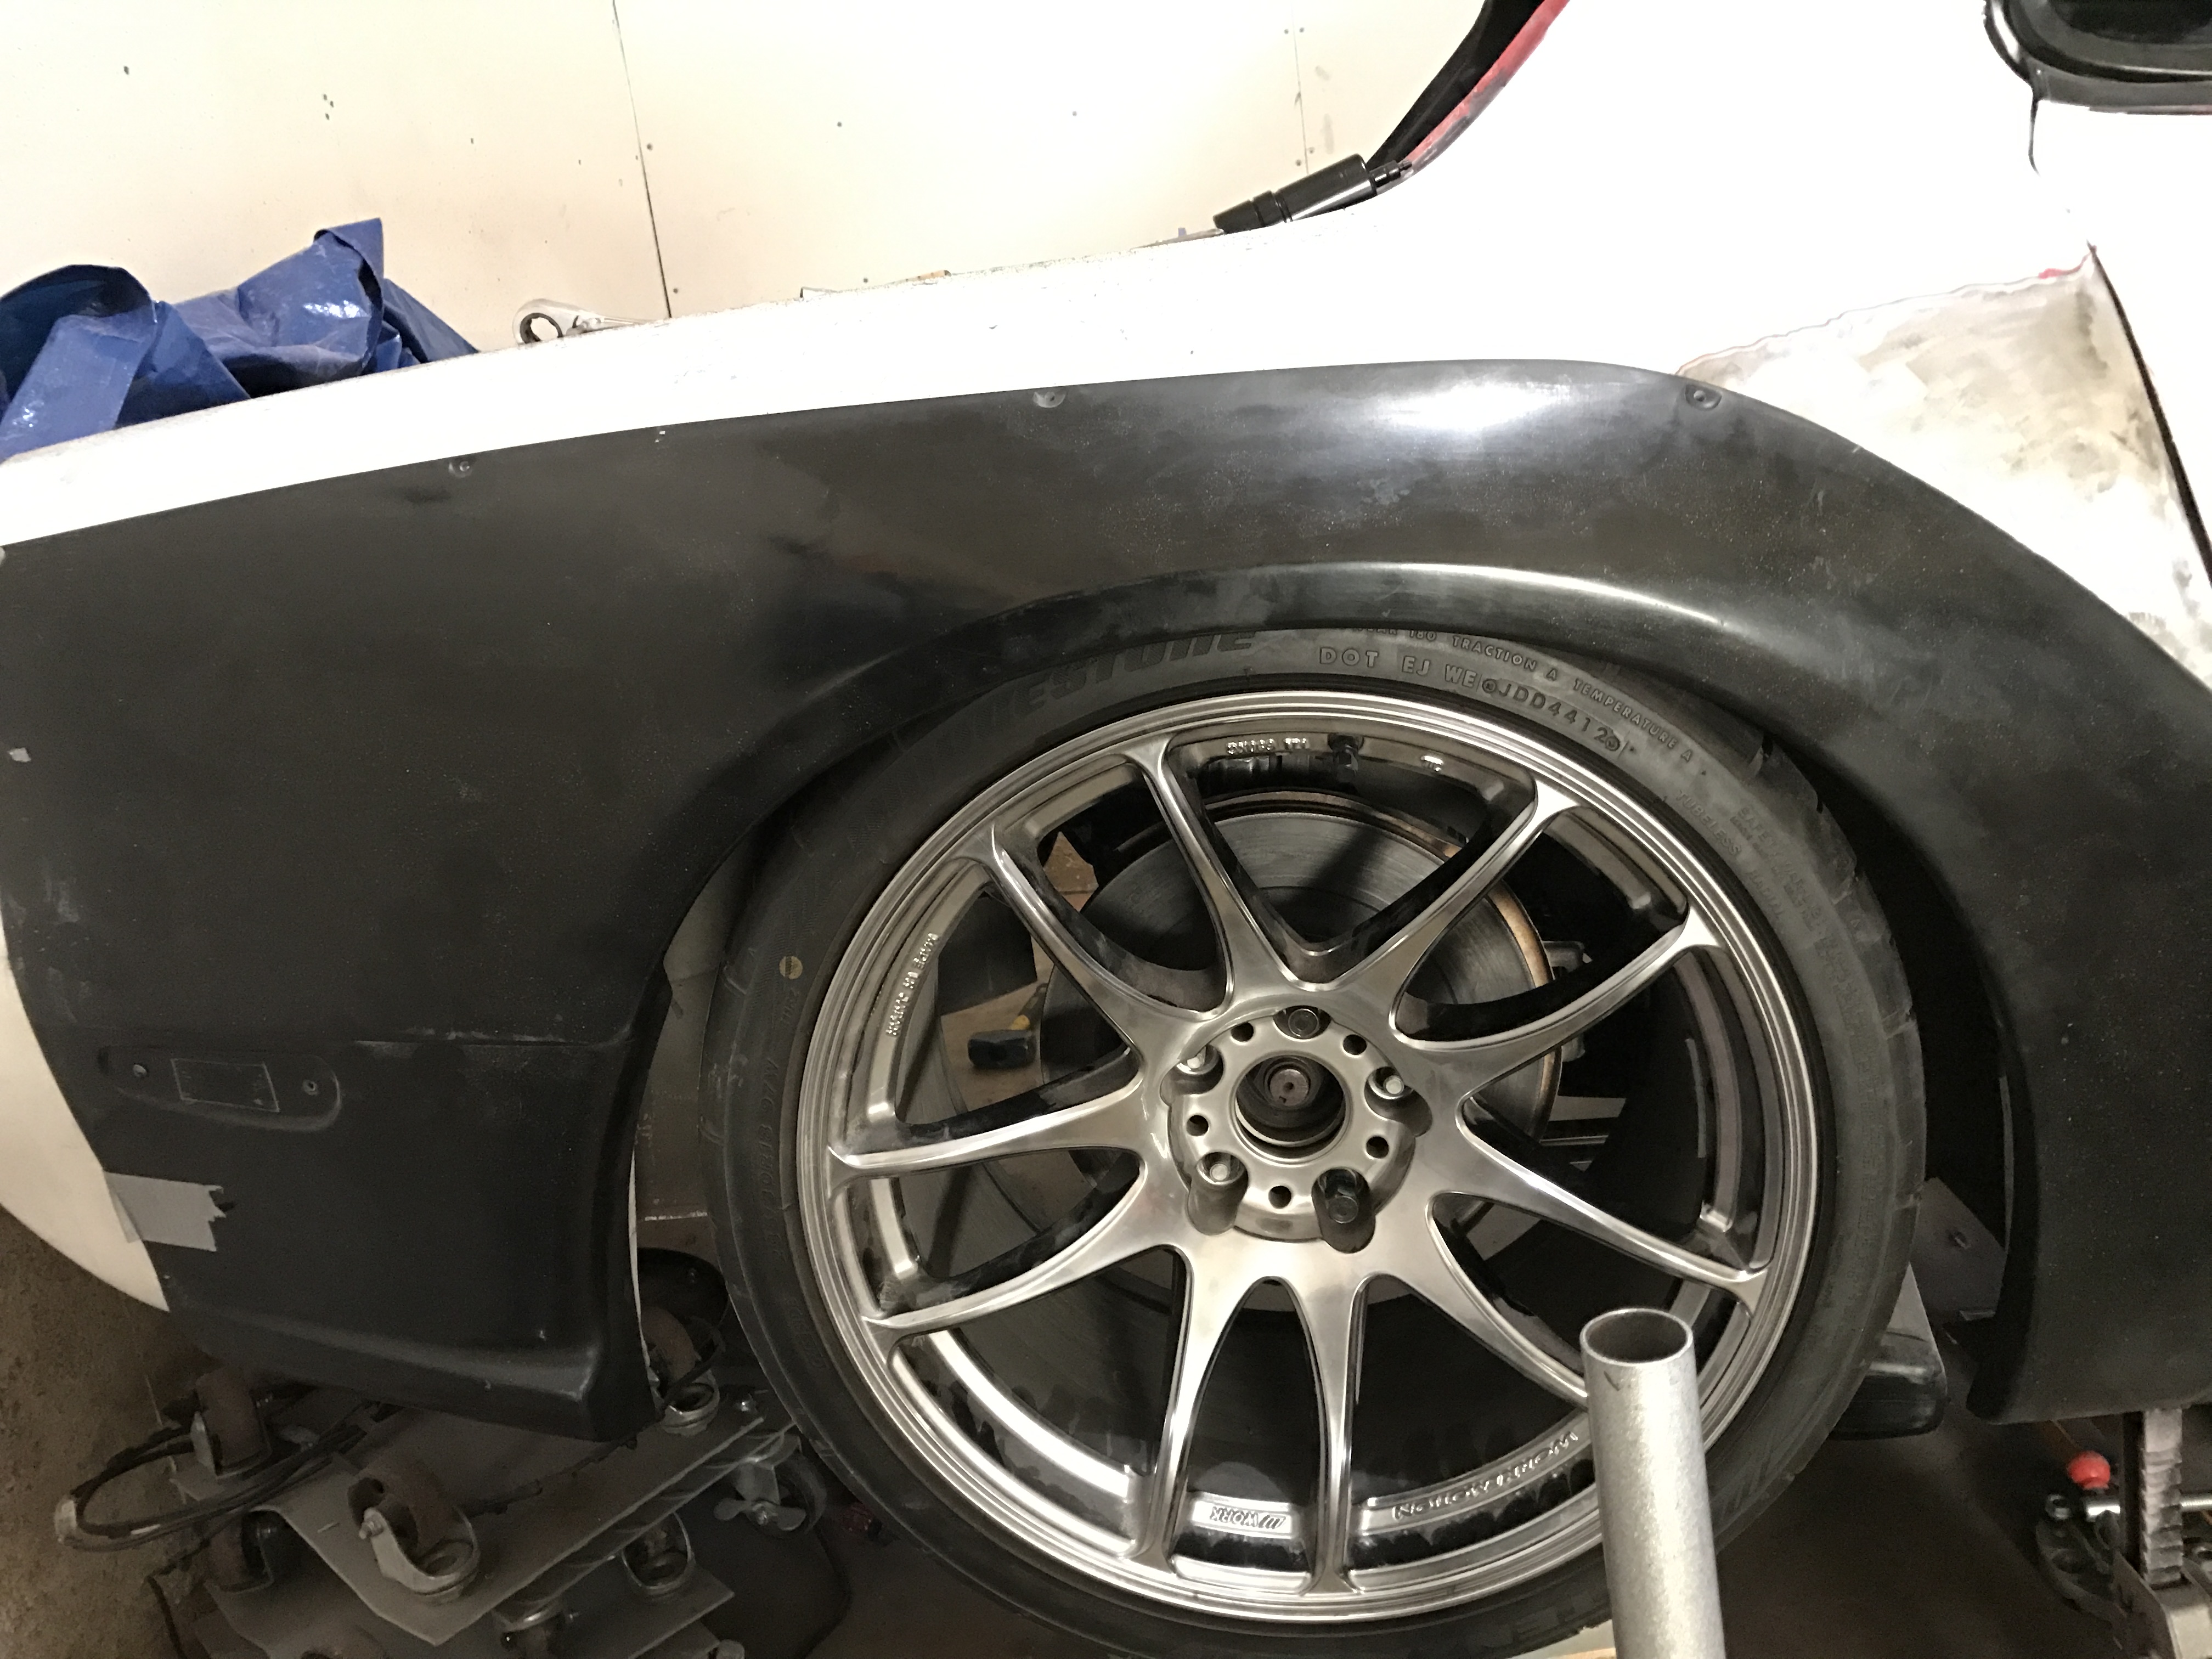
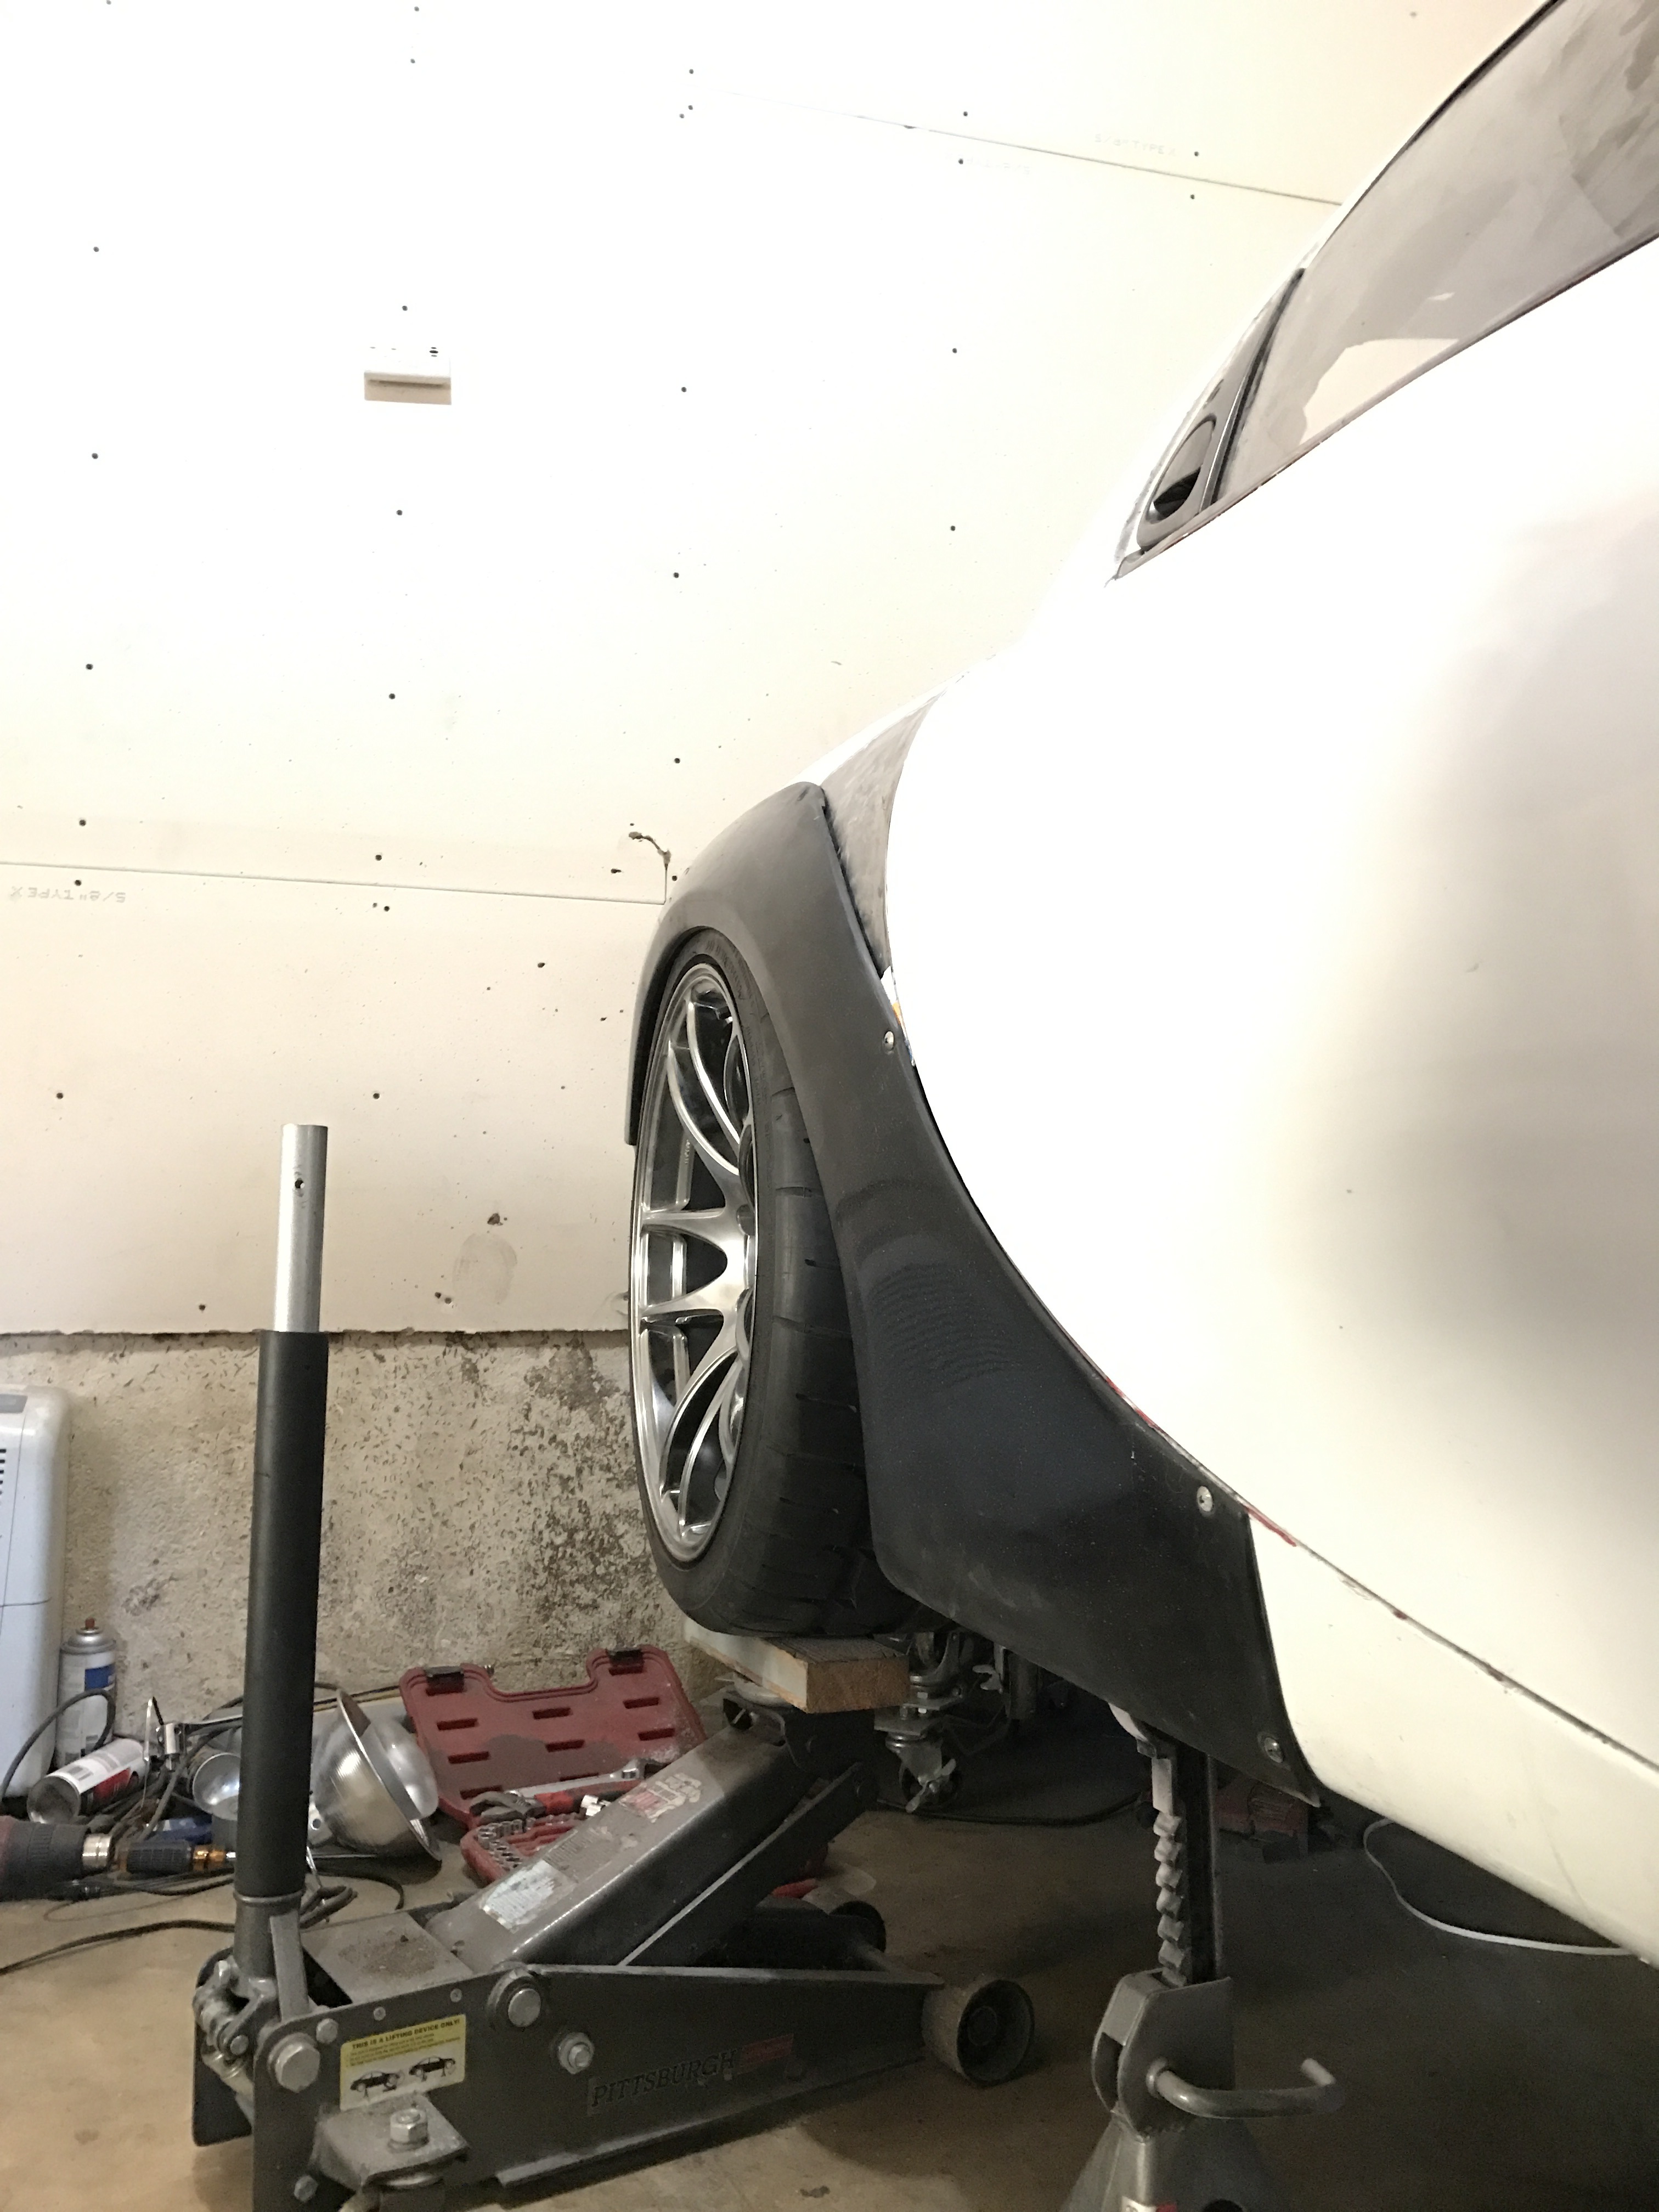
I am extremely happy with that fitment and height so I will probably try to keep it around there. I can go lower than that or higher than that without hitting the control arm so that leaves me adjust-ability with the bag pressure and shock height to dial in the stiffness I want.
Also, important! Give my page on facebook a like to see more current updates since I don't get to these as often these days.
www.facebook.com/tr8rfd/


This was the height fully compressed with it hitting the control arm...not good enough.


This should do it!


I am extremely happy with that fitment and height so I will probably try to keep it around there. I can go lower than that or higher than that without hitting the control arm so that leaves me adjust-ability with the bag pressure and shock height to dial in the stiffness I want.
Also, important! Give my page on facebook a like to see more current updates since I don't get to these as often these days.
www.facebook.com/tr8rfd/
Last edited by Dyesuperman; 02-13-17 at 10:07 PM.
02-13-17, 10:23 PM
#107
Senior Member
iTrader: (2)
Looking great! Lots of work on those fenders..
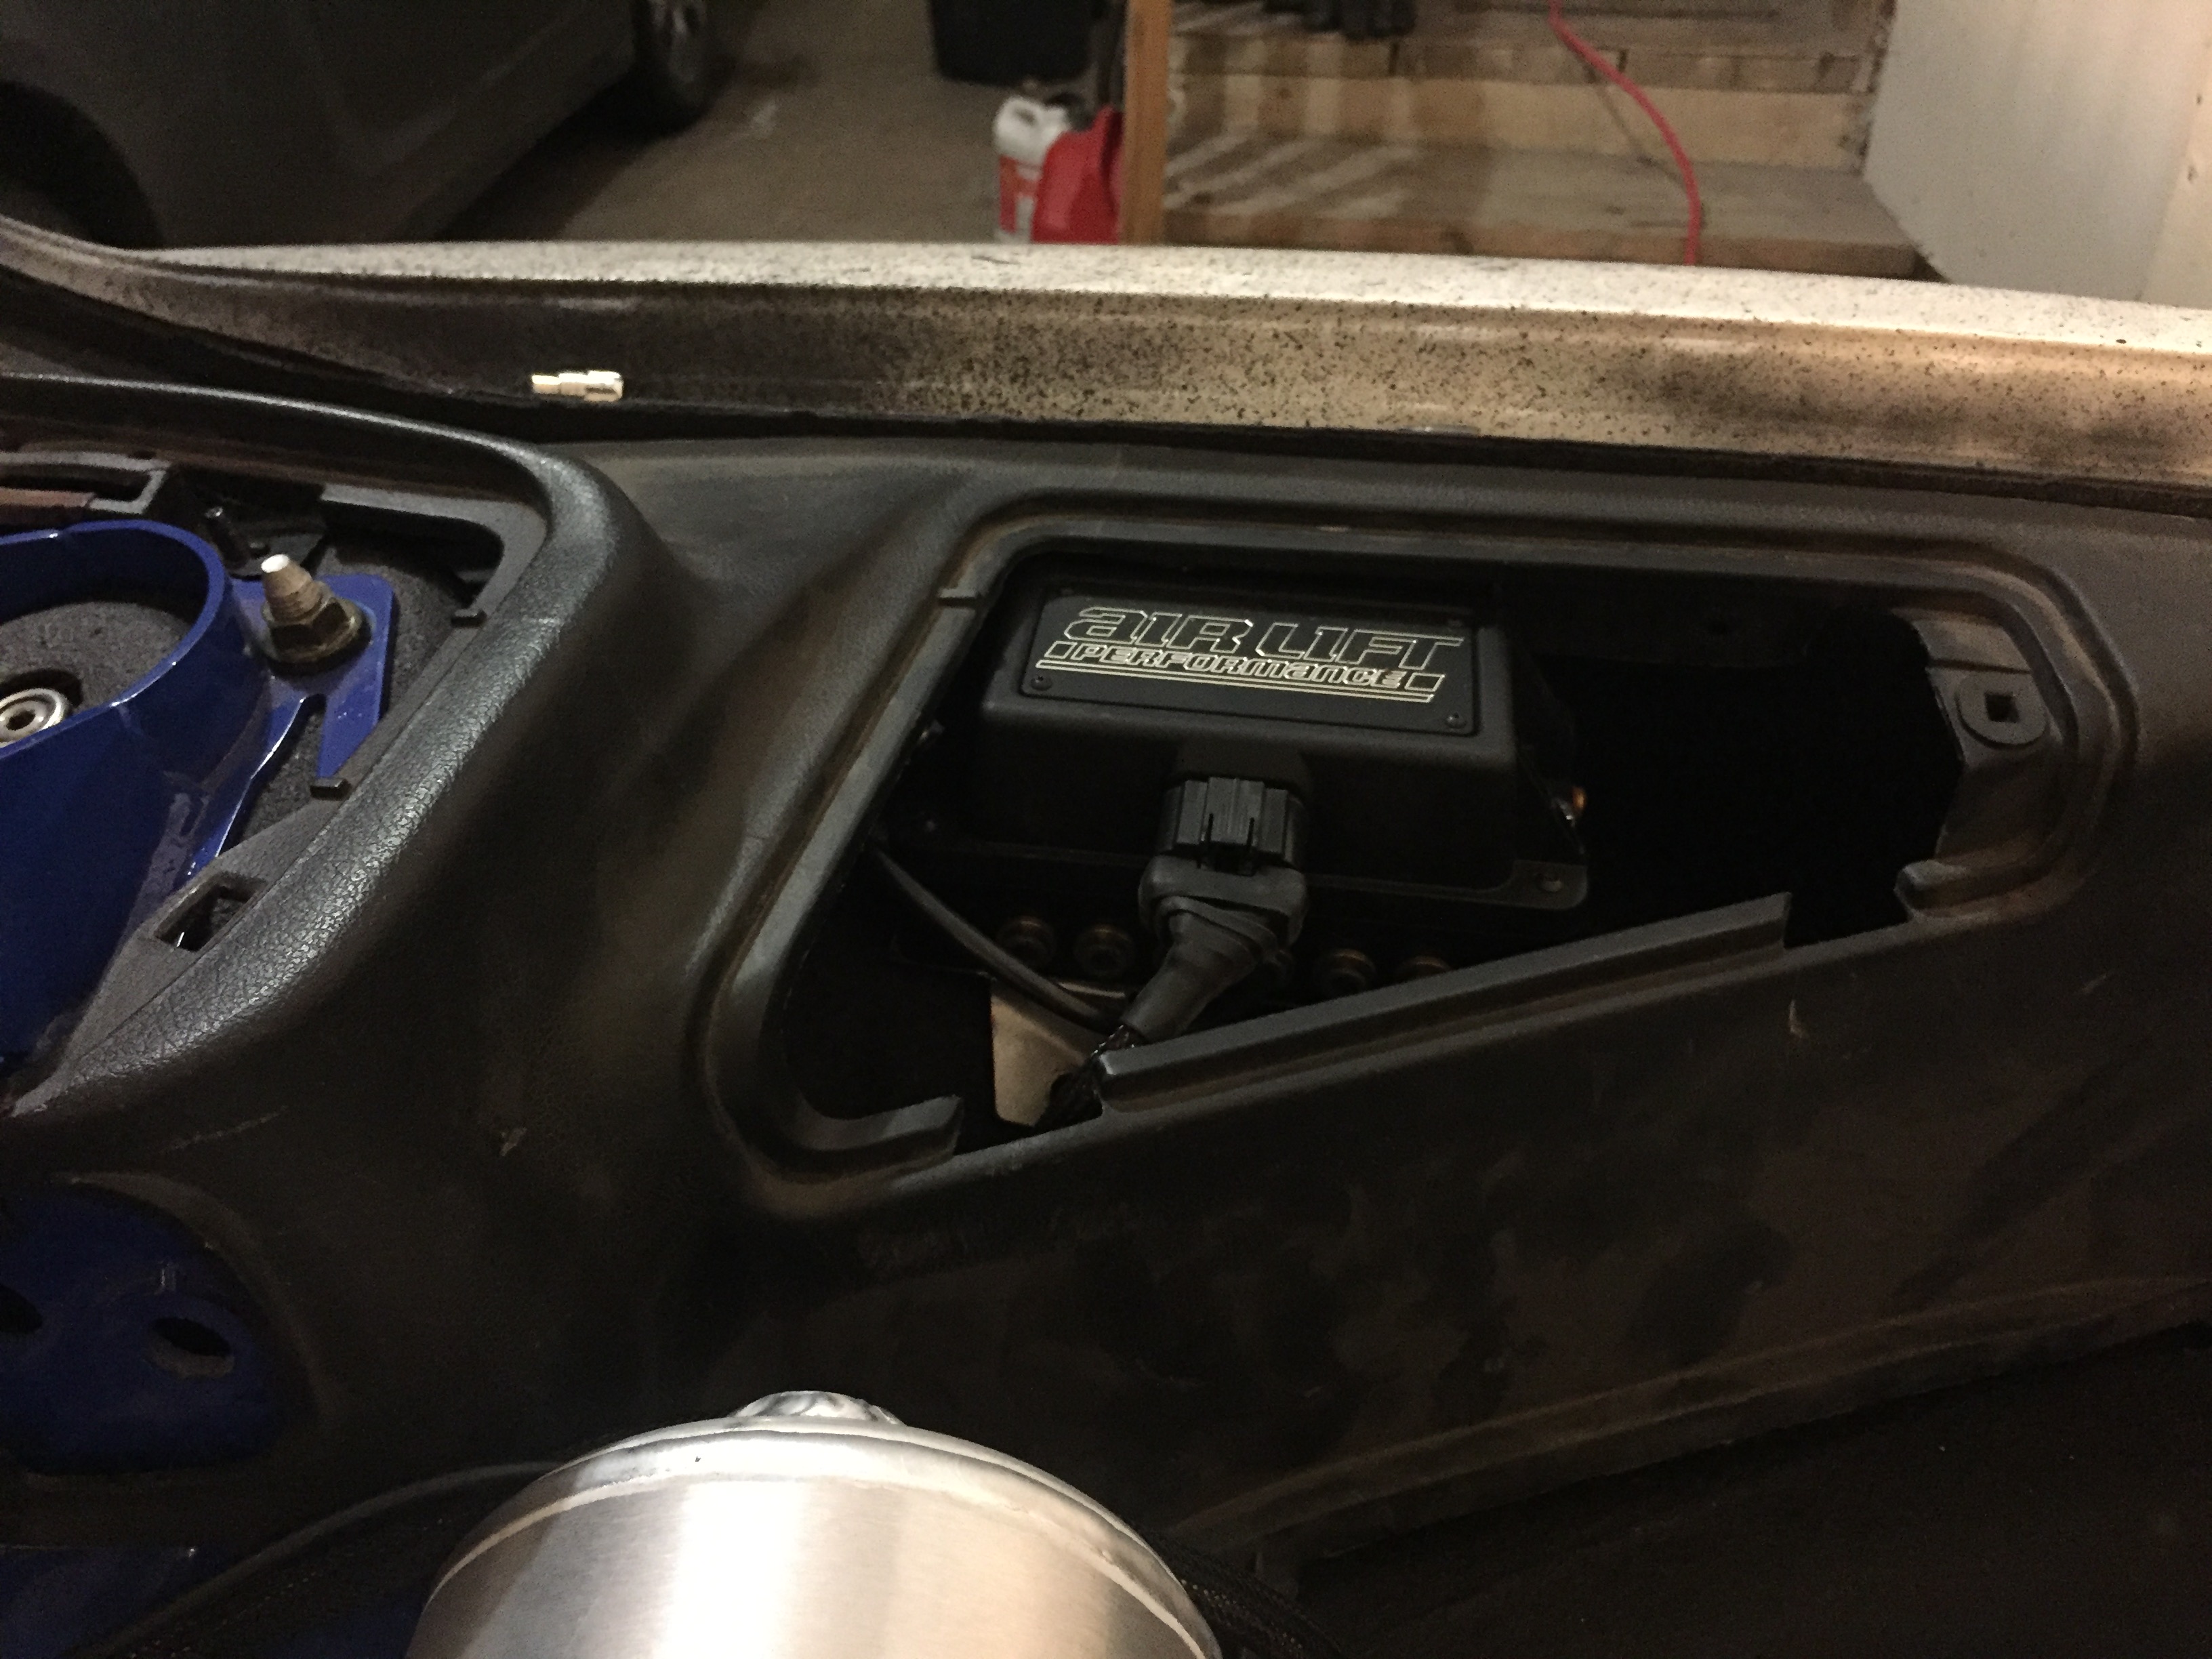
I would like to see how the rear bin panels fit over that compressor and line, maybe when finished or almost complete you can take a couple farther back shots of the positioning? (I still haven't gotten that far on decisions for my Aircup setup) Always on the lookout for good solutions..
I would like to see how the rear bin panels fit over that compressor and line, maybe when finished or almost complete you can take a couple farther back shots of the positioning? (I still haven't gotten that far on decisions for my Aircup setup) Always on the lookout for good solutions..
02-14-17, 07:06 AM
#108
Full Member
Thread Starter
Looking great! Lots of work on those fenders..
I would like to see how the rear bin panels fit over that compressor and line, maybe when finished or almost complete you can take a couple farther back shots of the positioning? (I still haven't gotten that far on decisions for my Aircup setup) Always on the lookout for good solutions..
I would like to see how the rear bin panels fit over that compressor and line, maybe when finished or almost complete you can take a couple farther back shots of the positioning? (I still haven't gotten that far on decisions for my Aircup setup) Always on the lookout for good solutions..
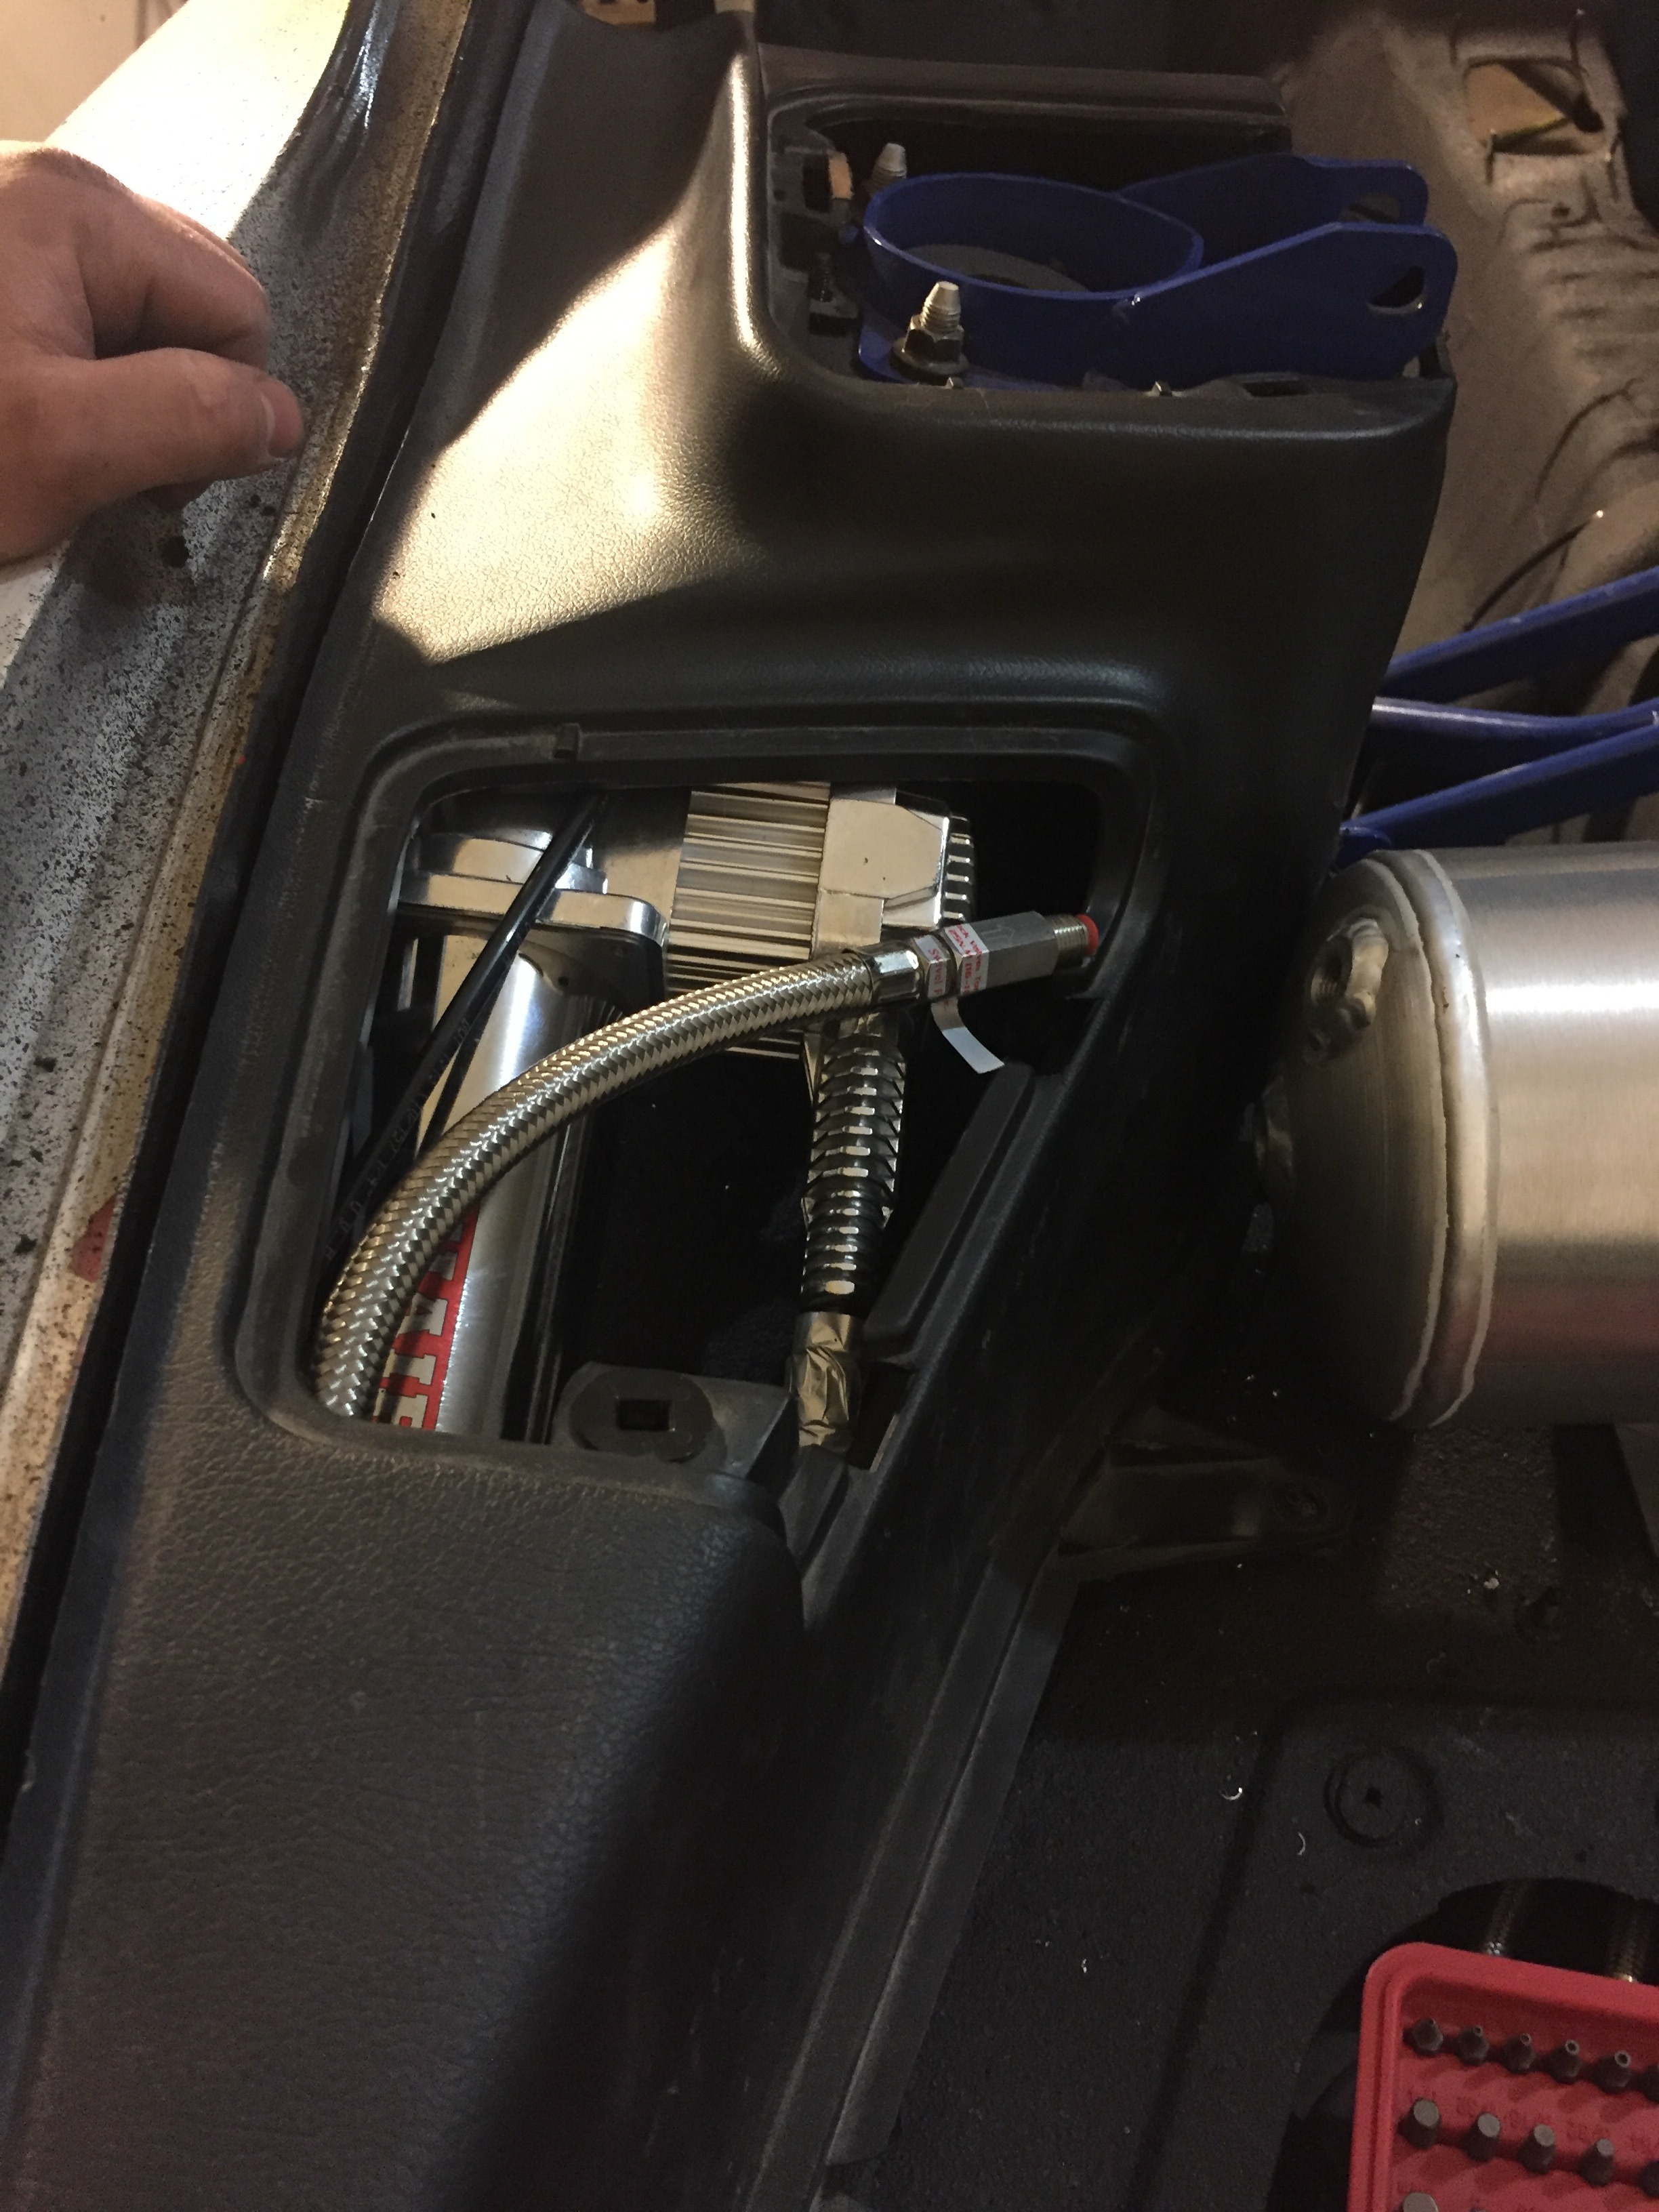
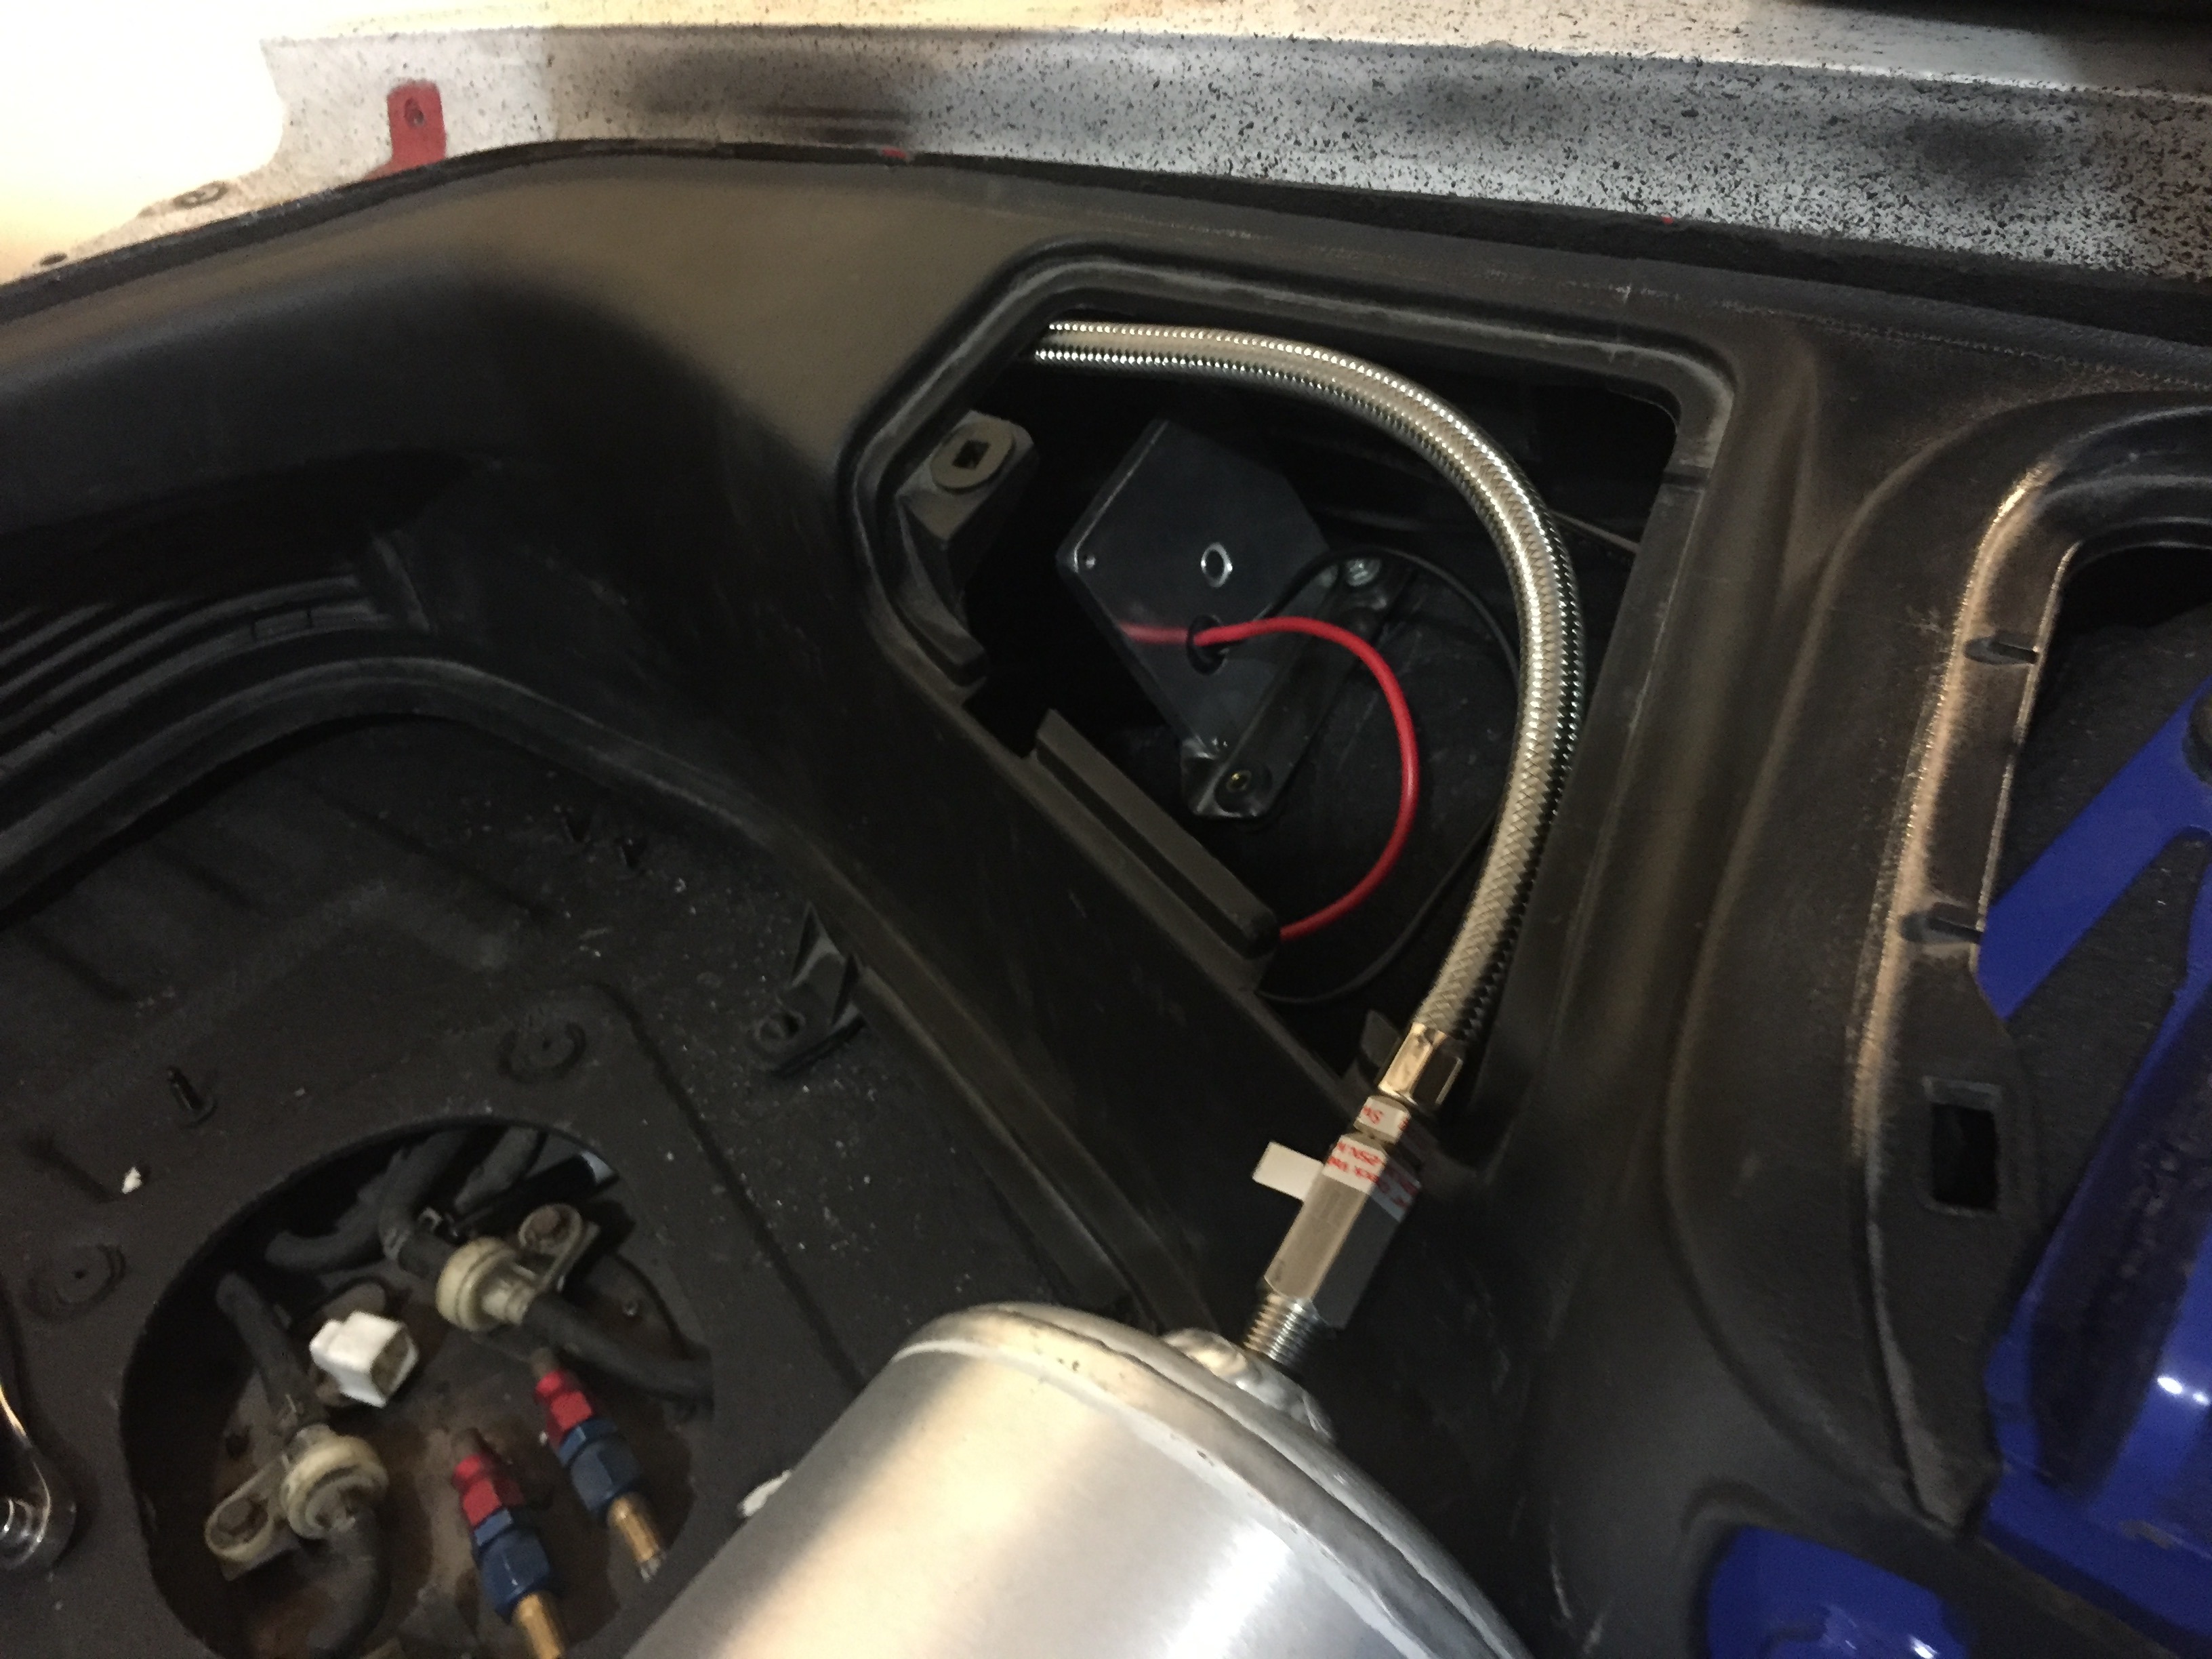
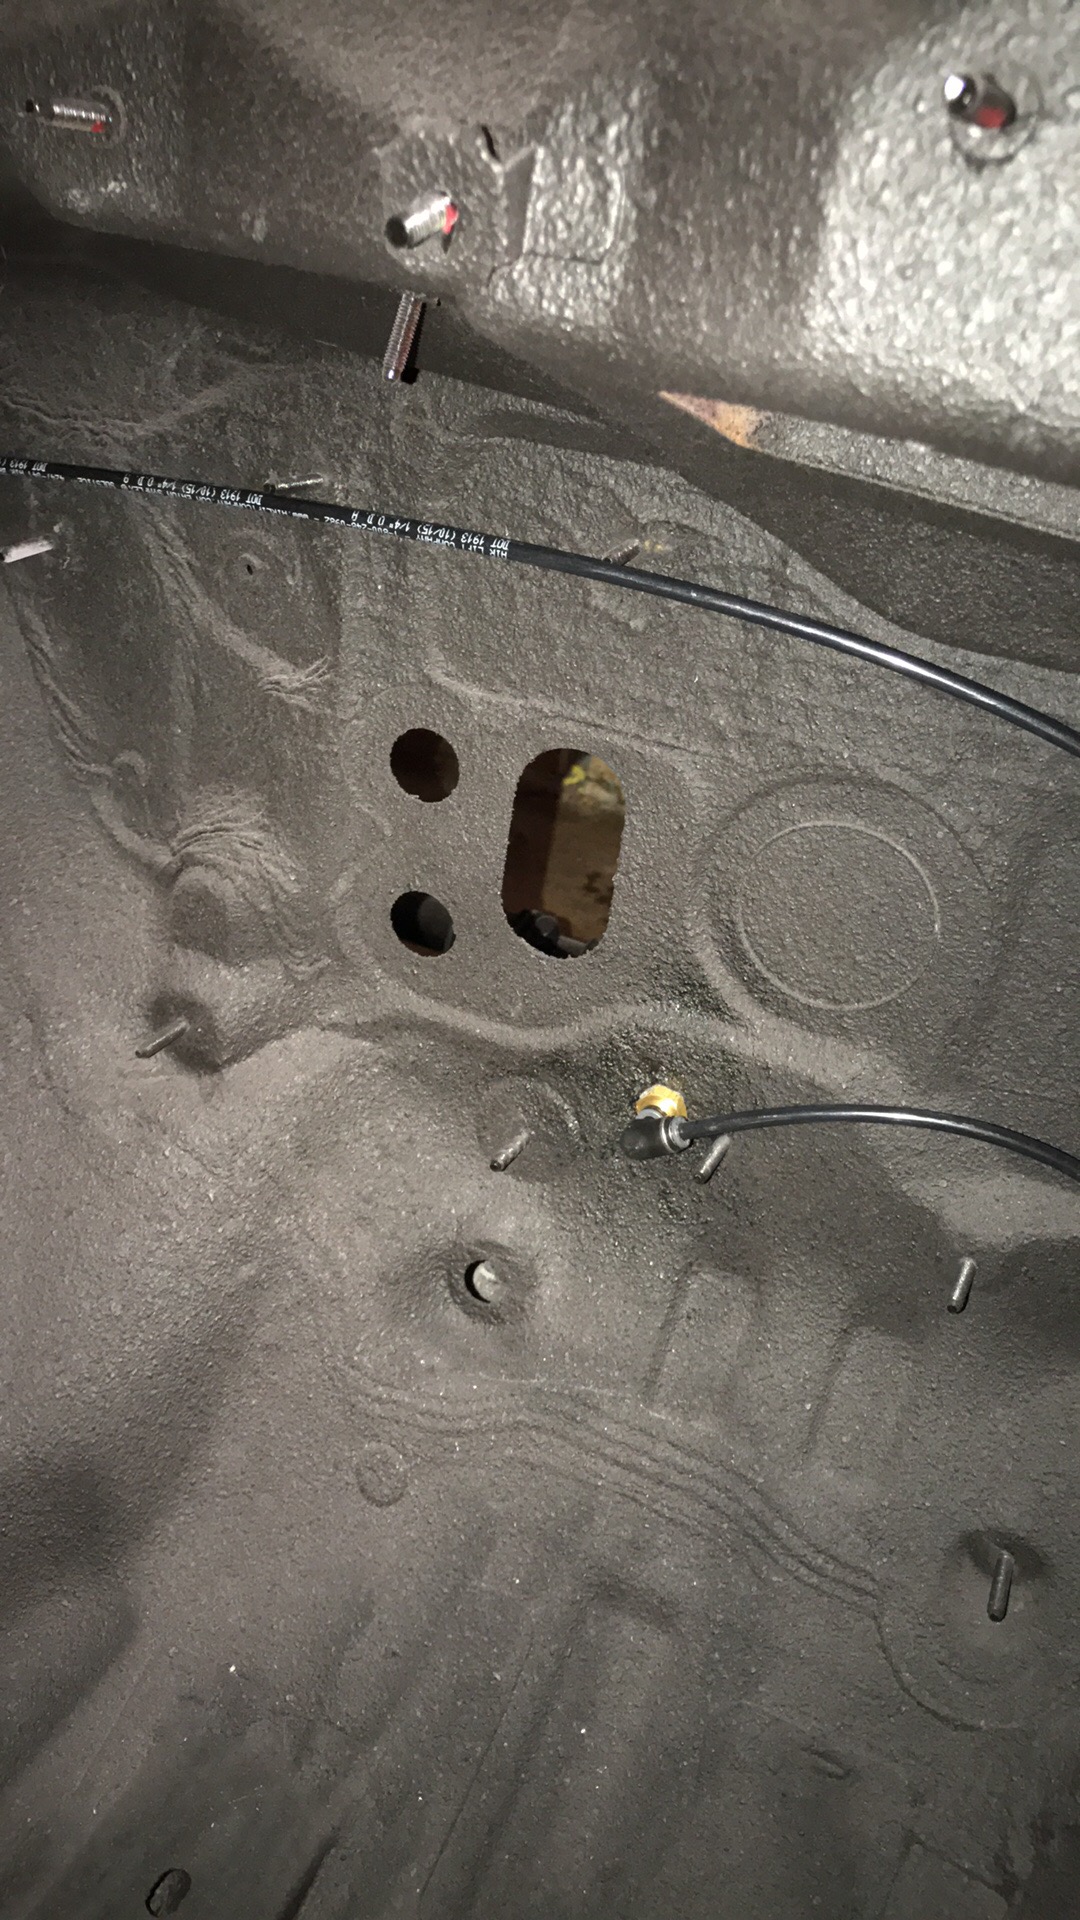
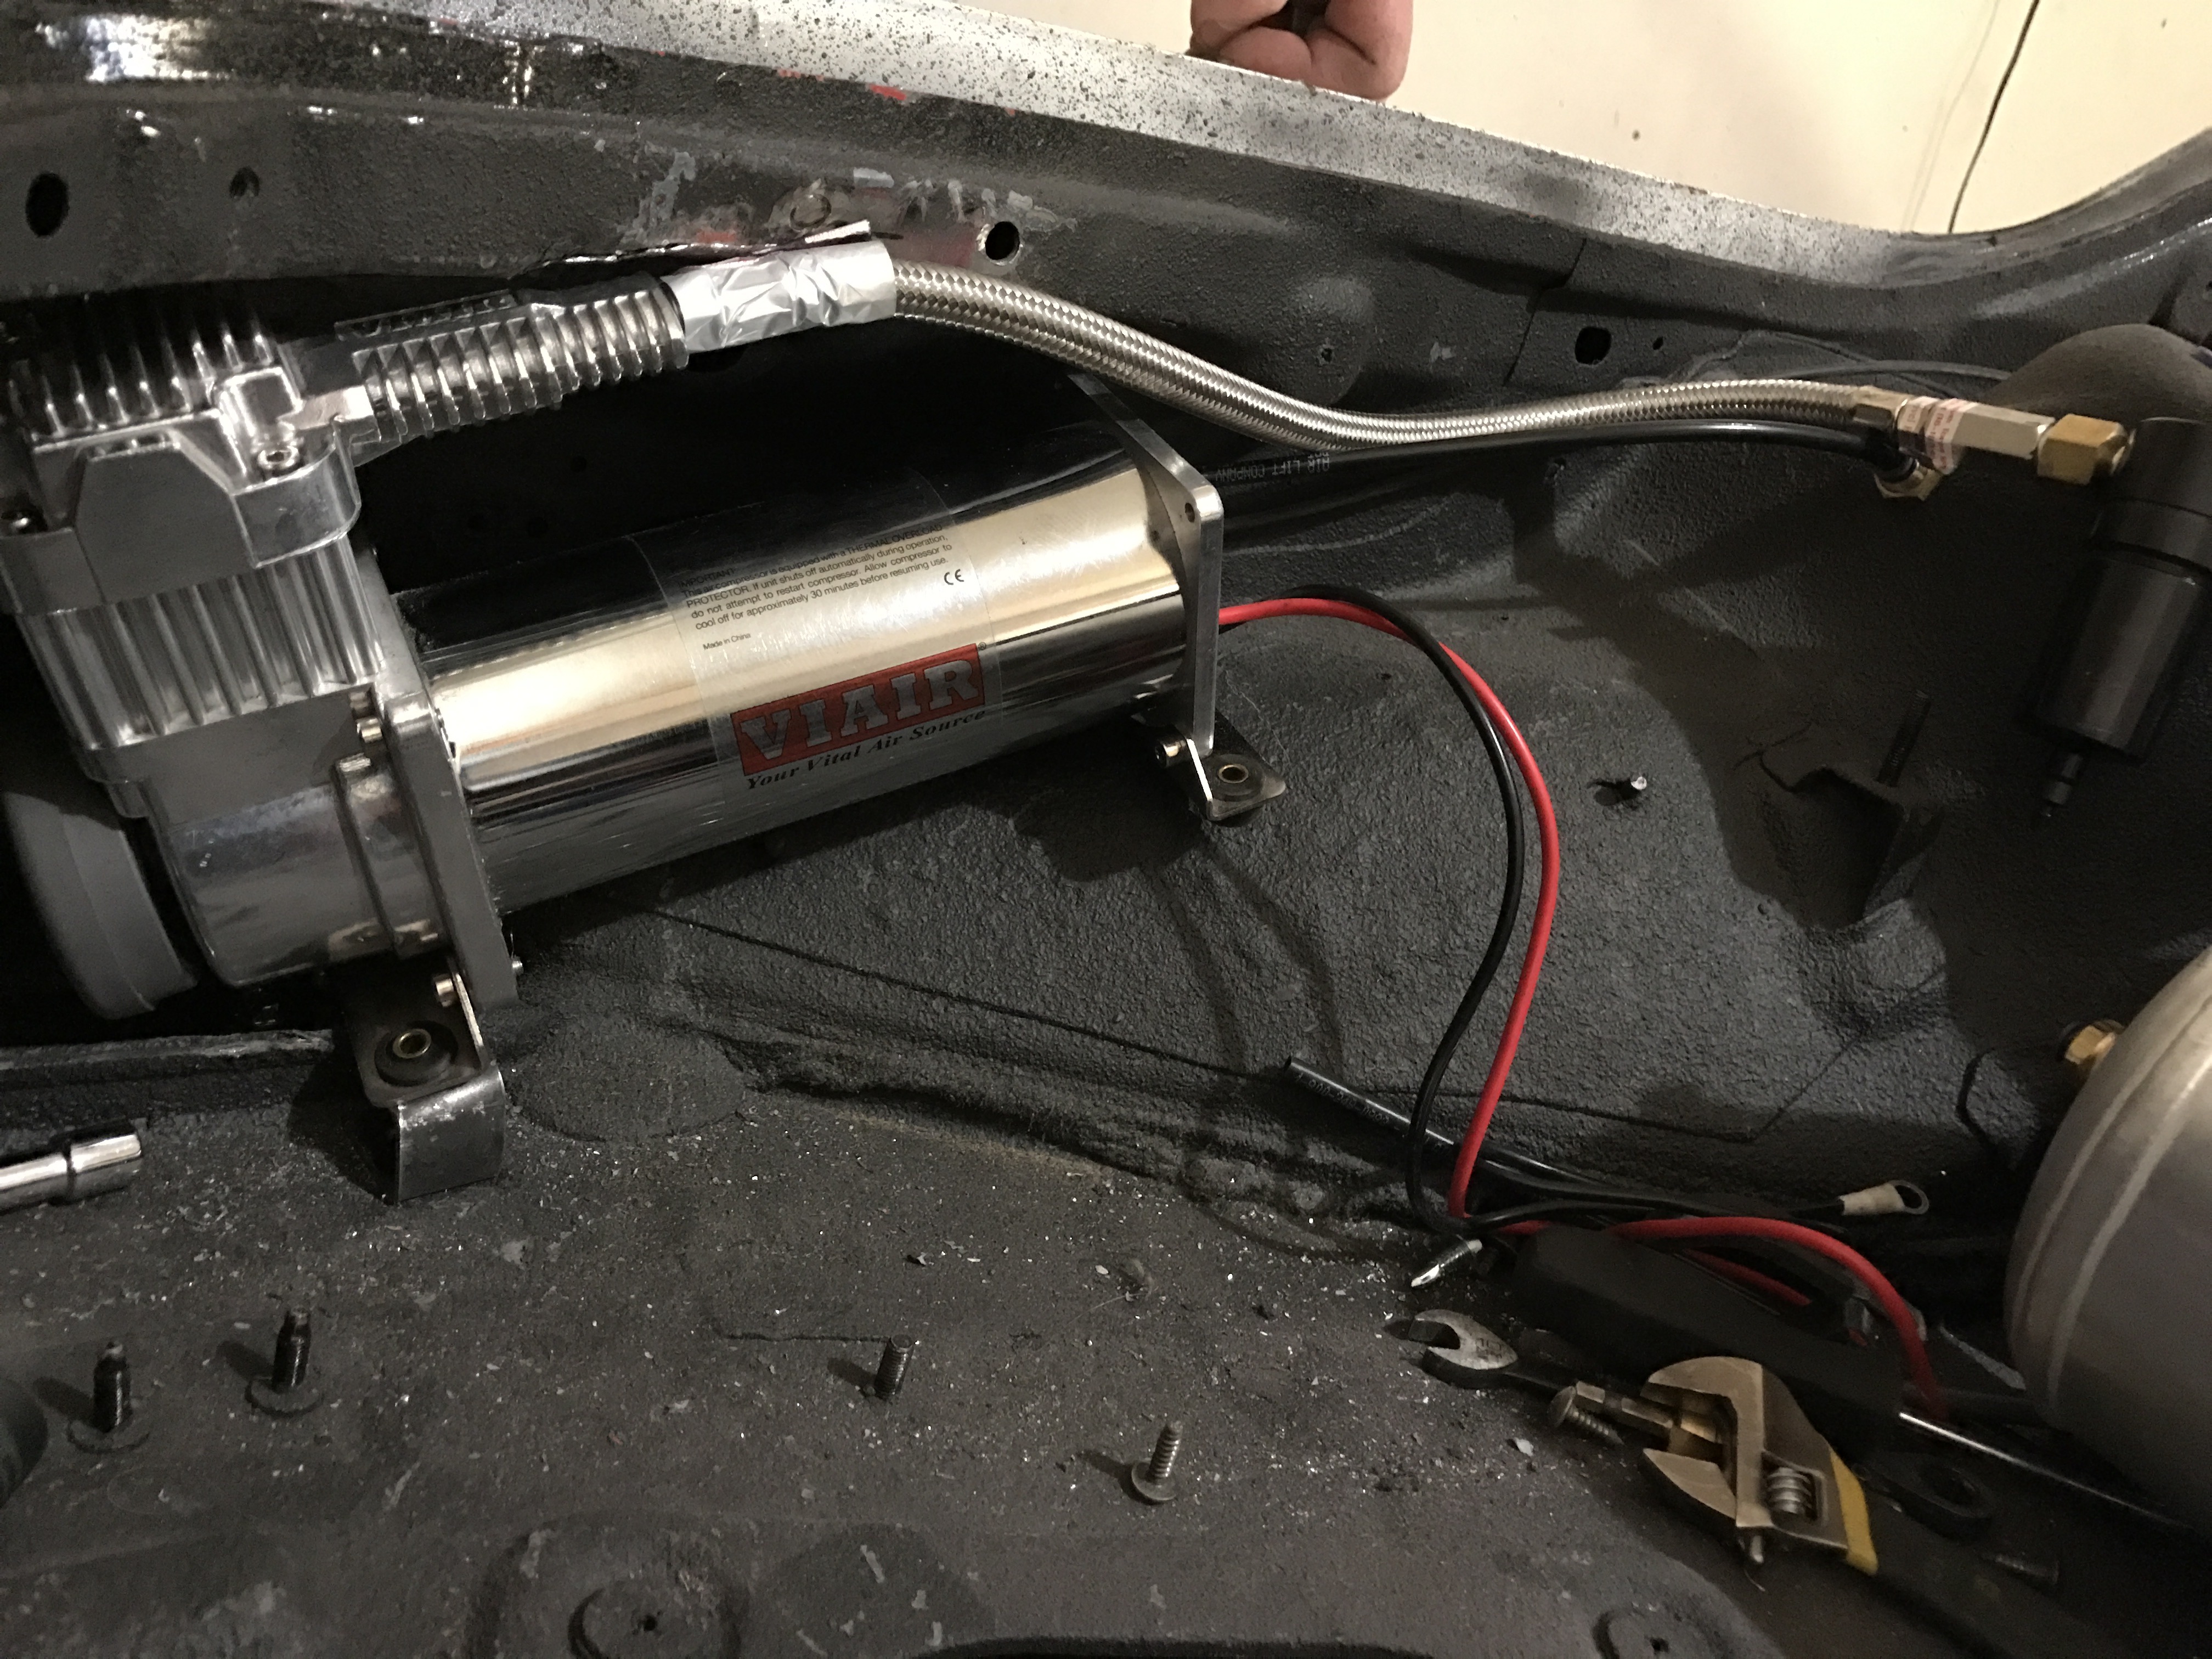
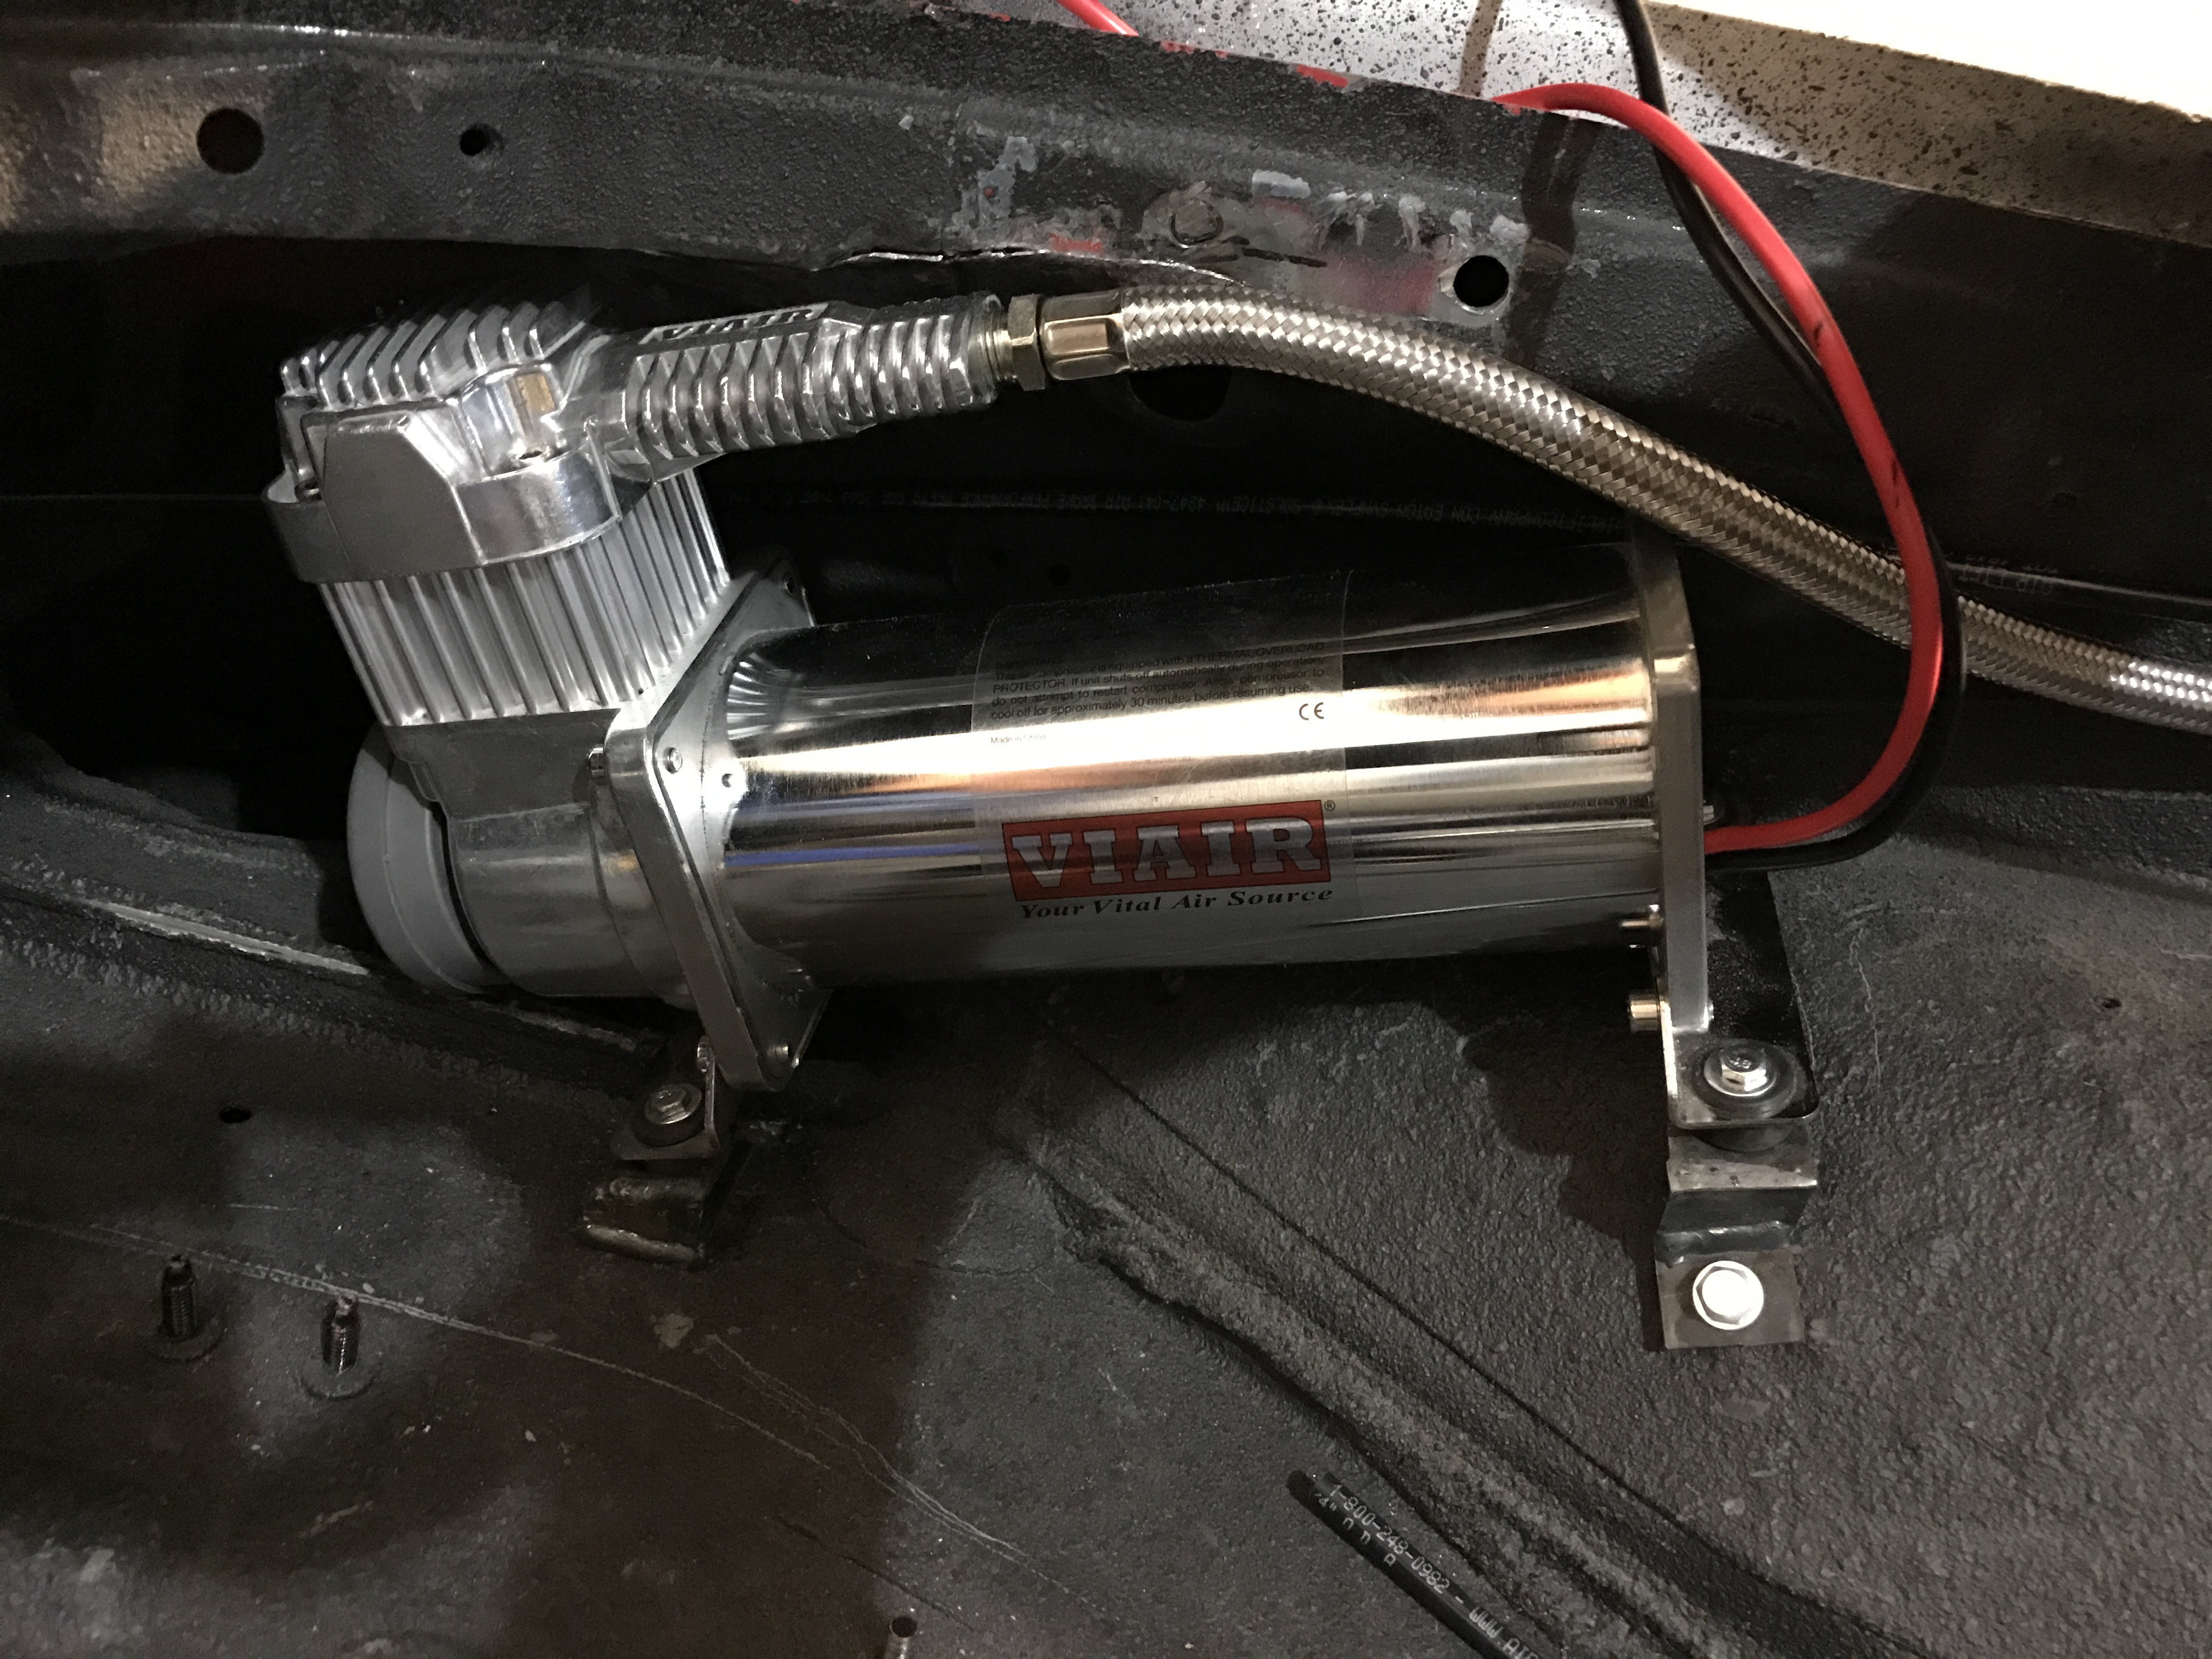
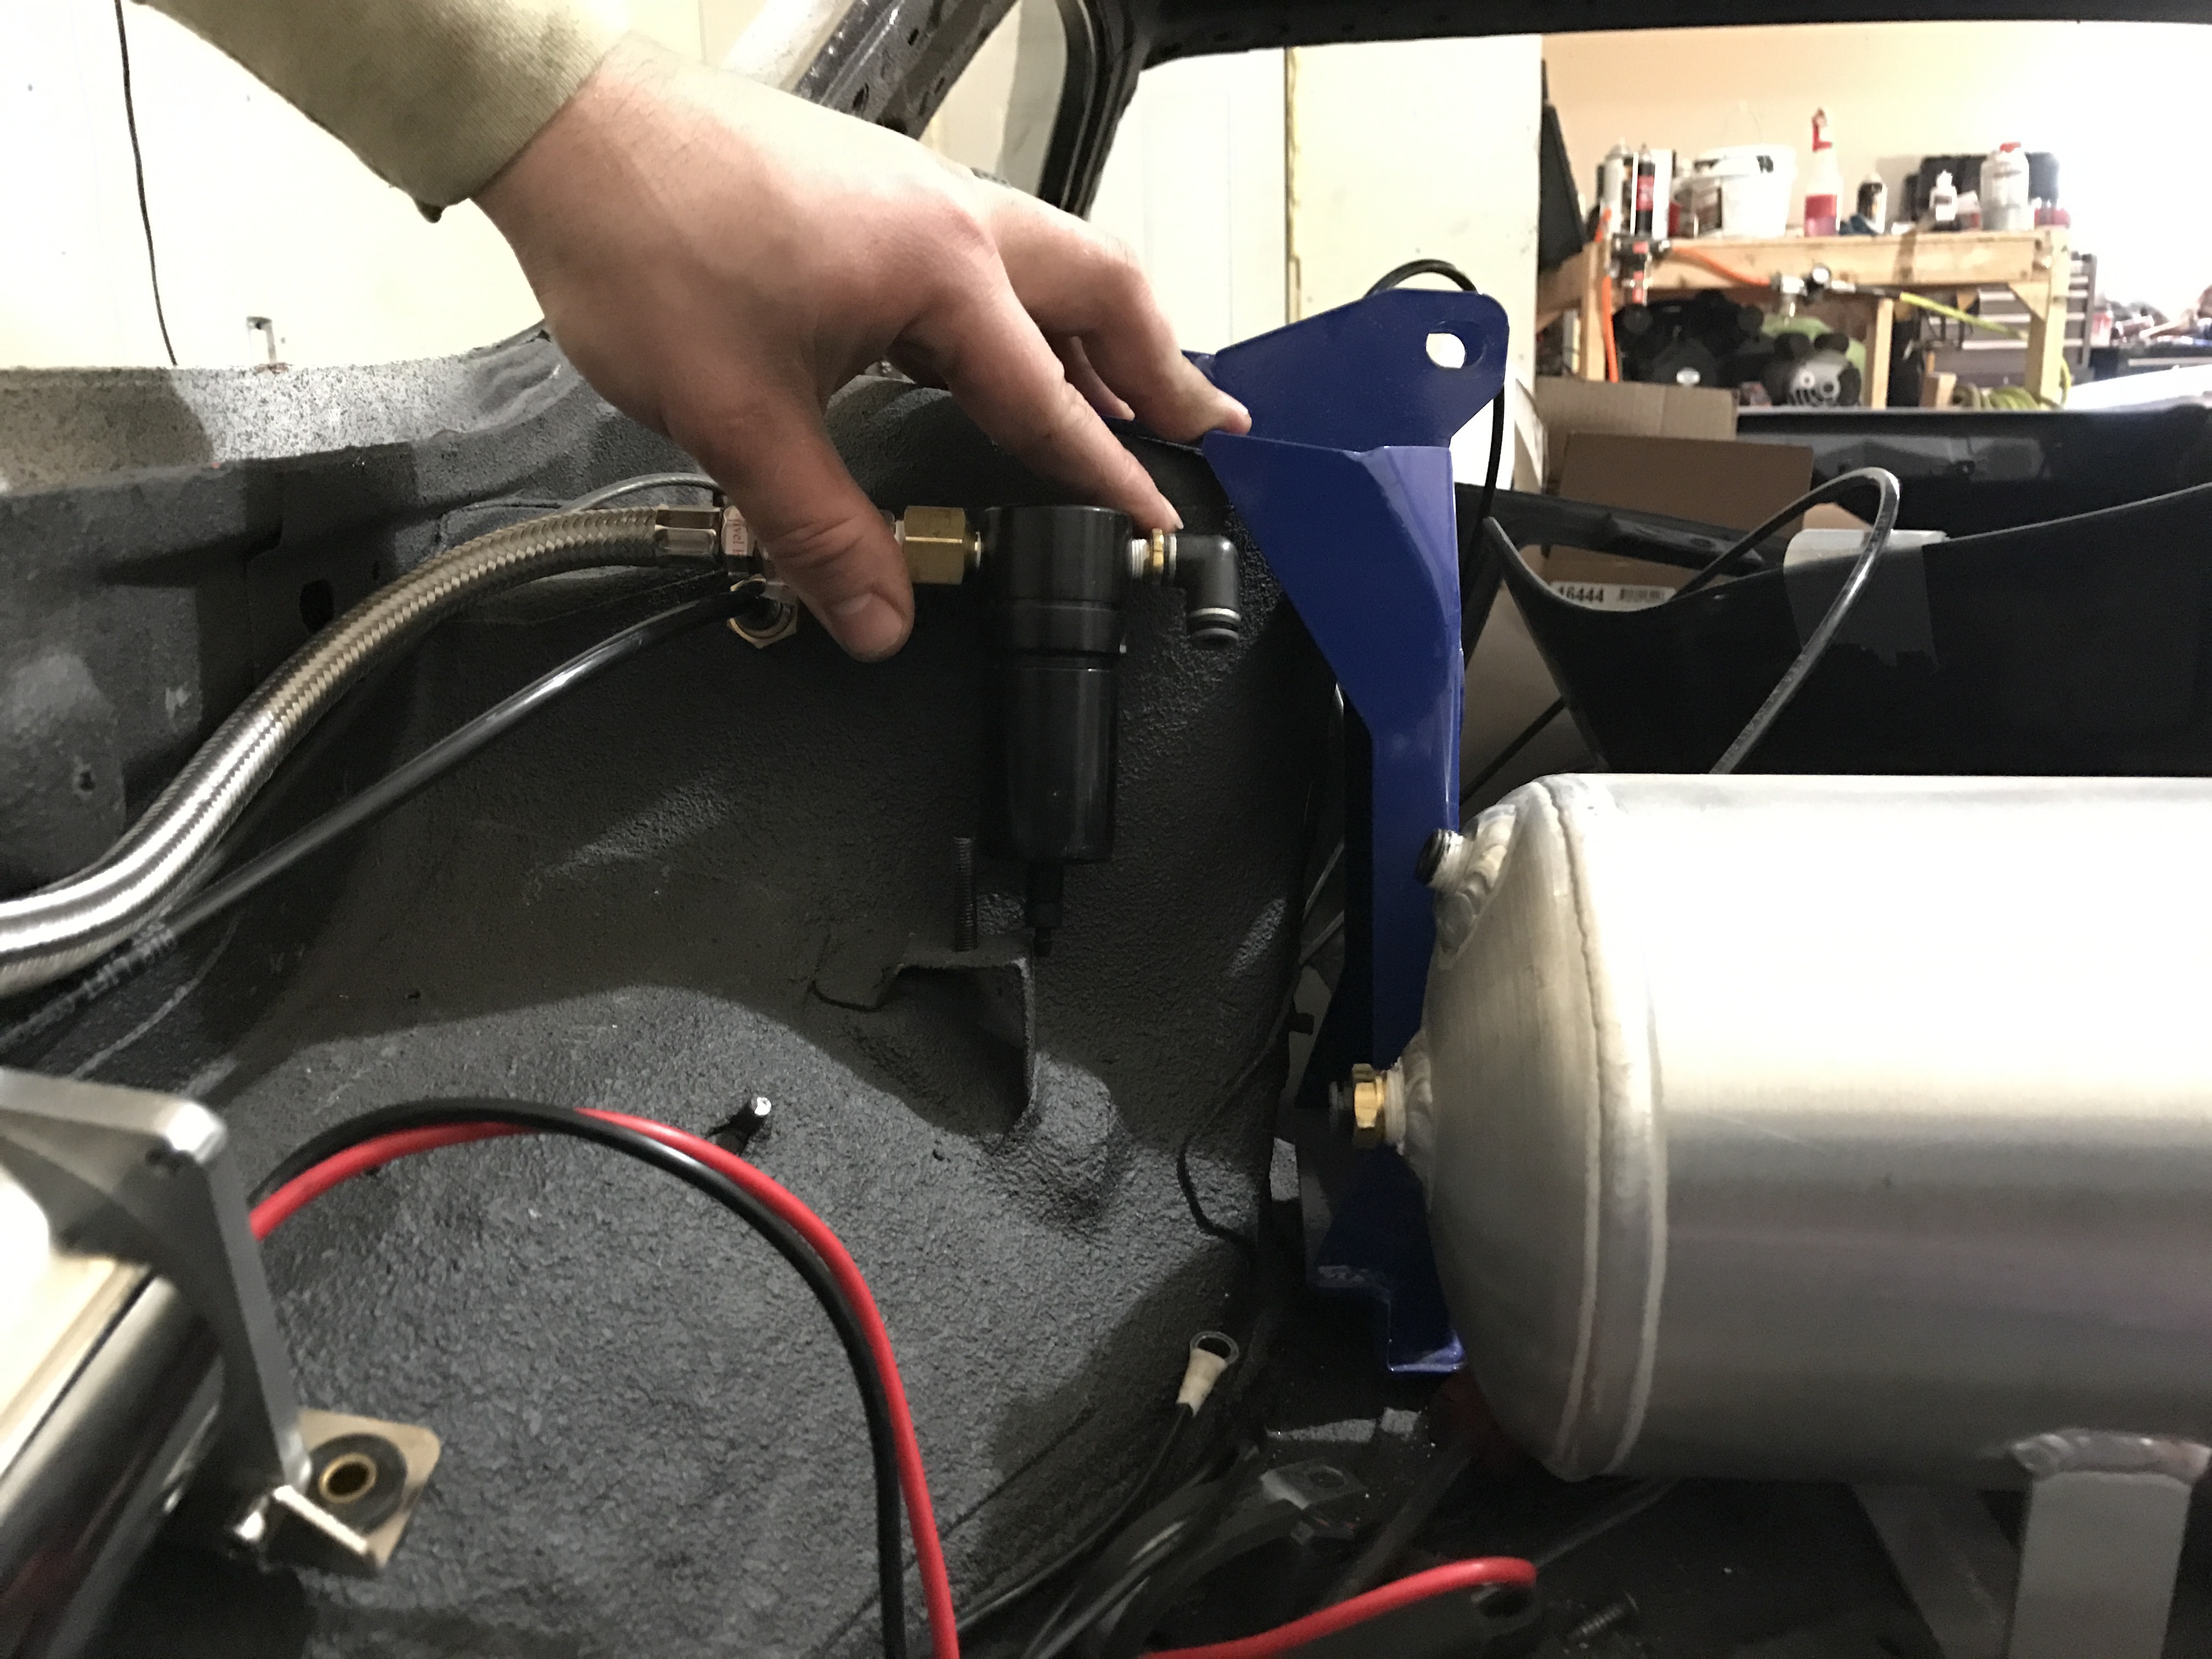
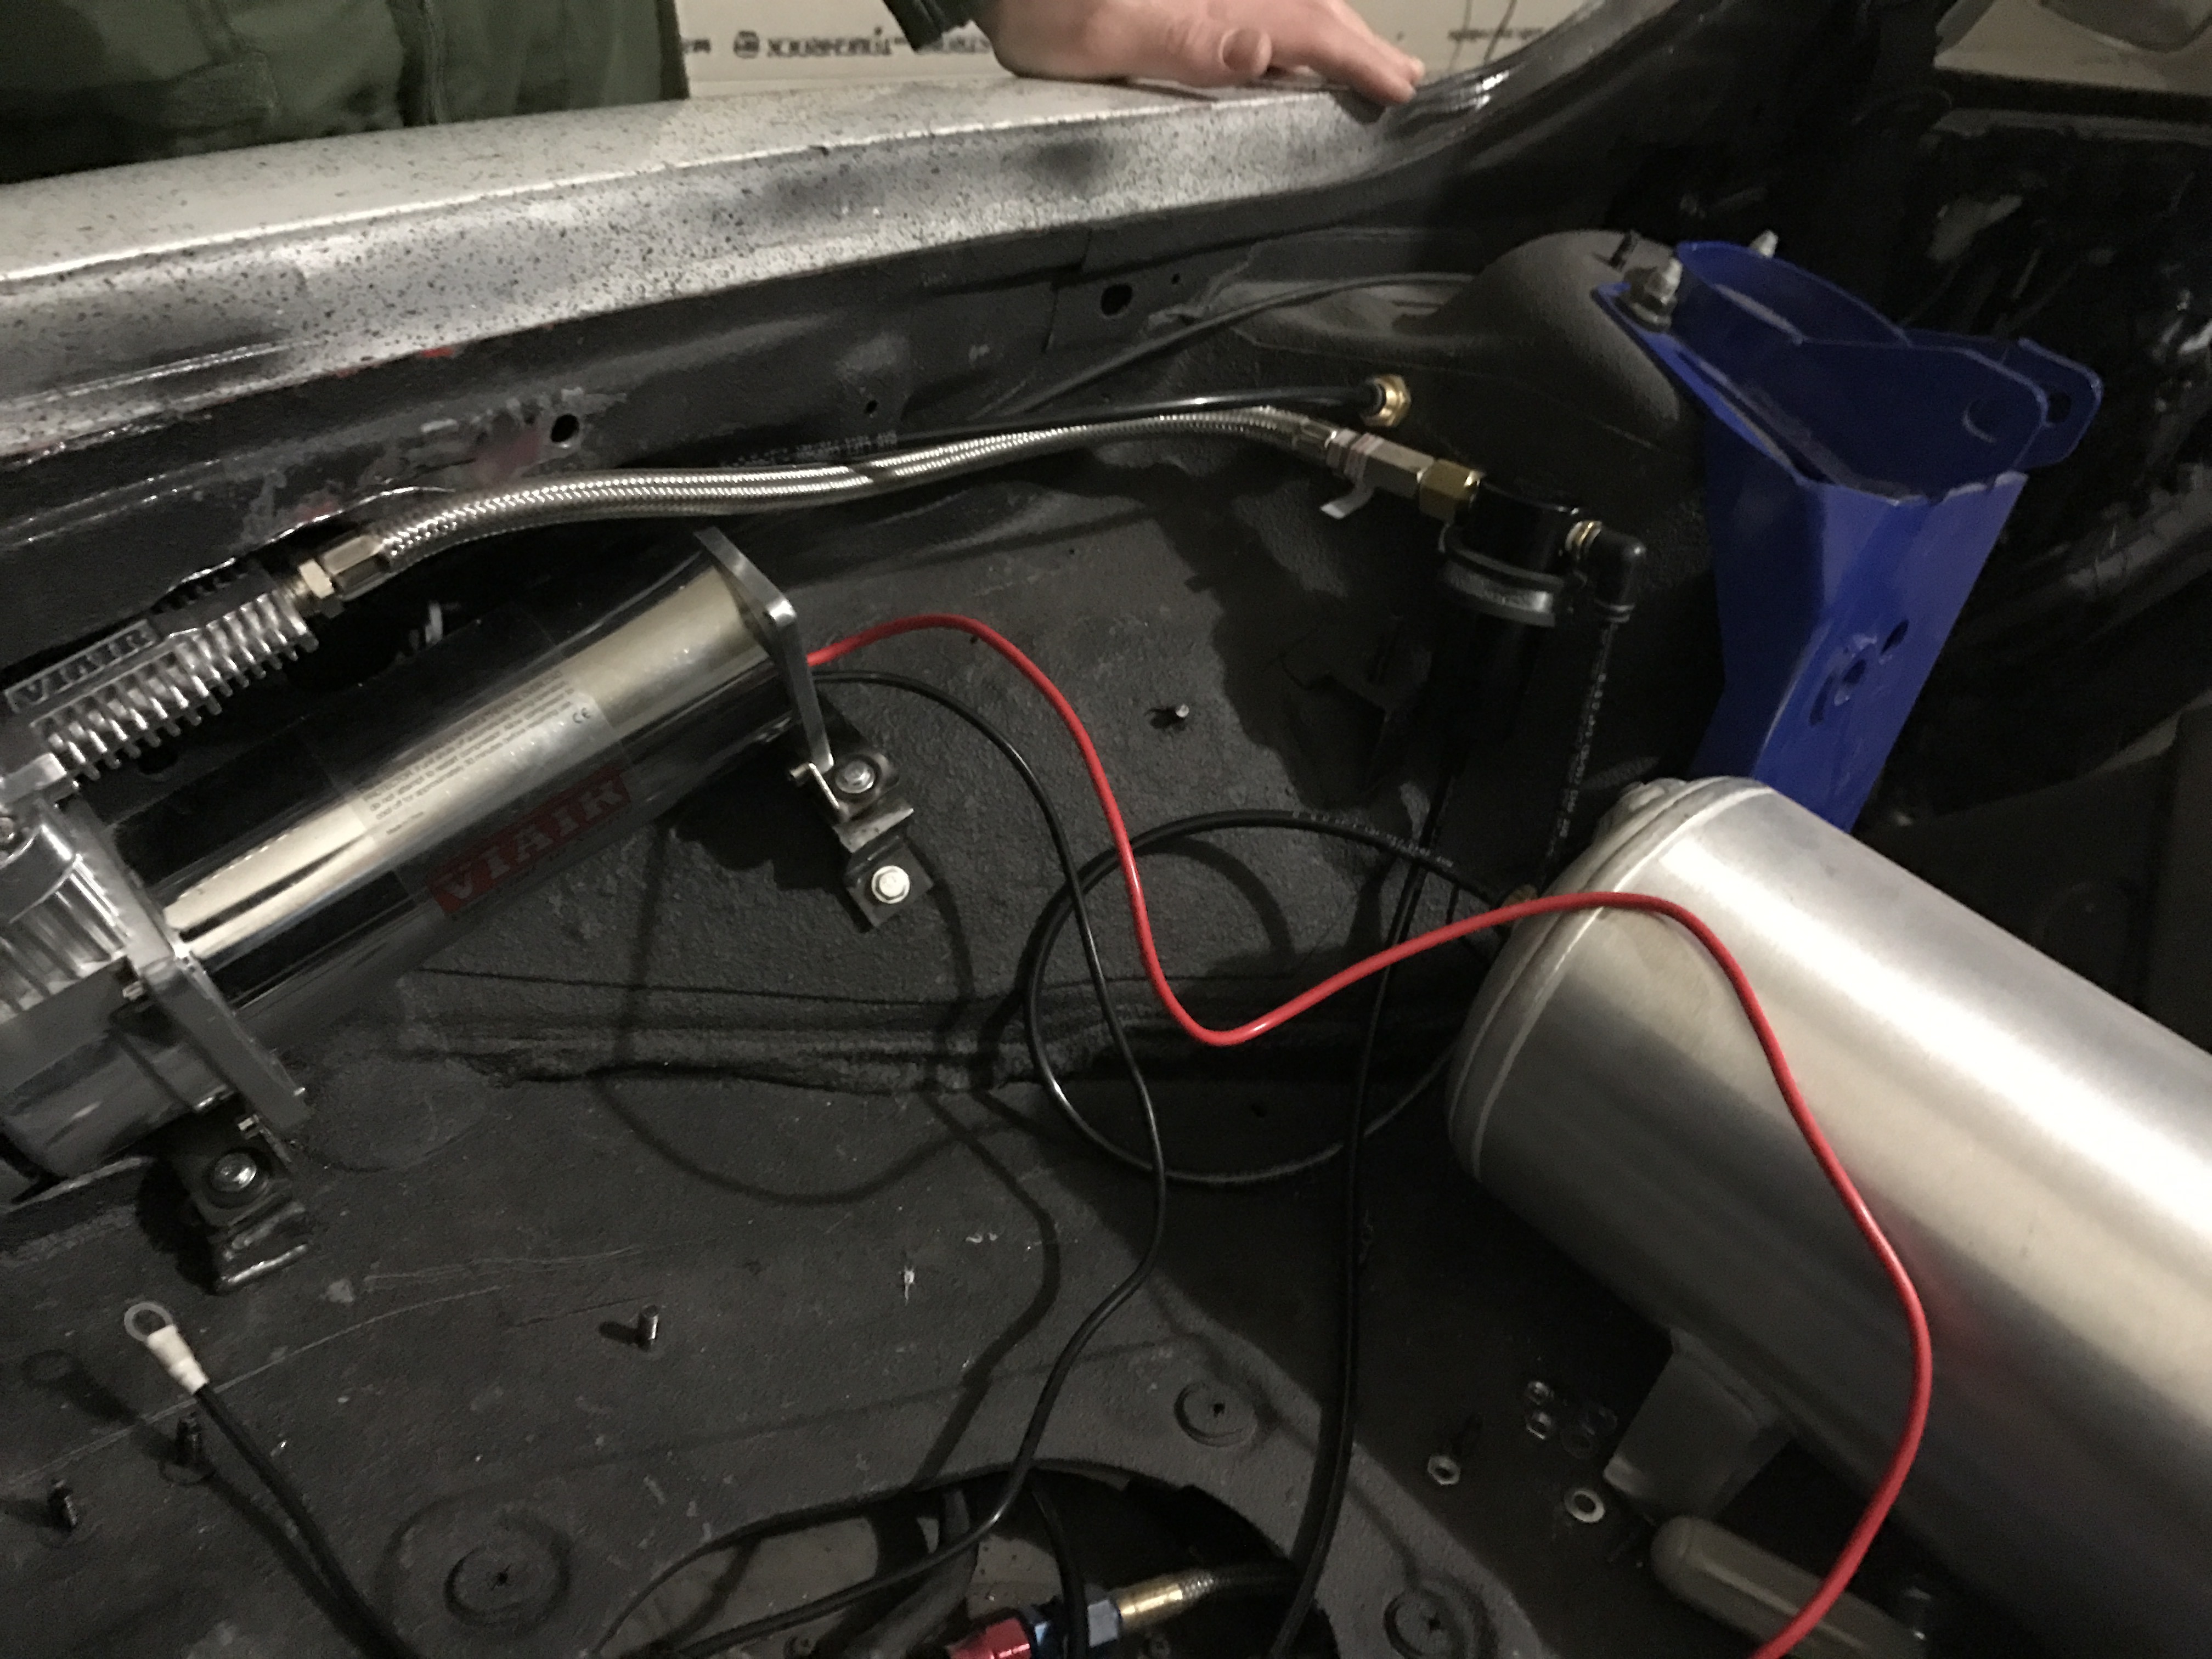
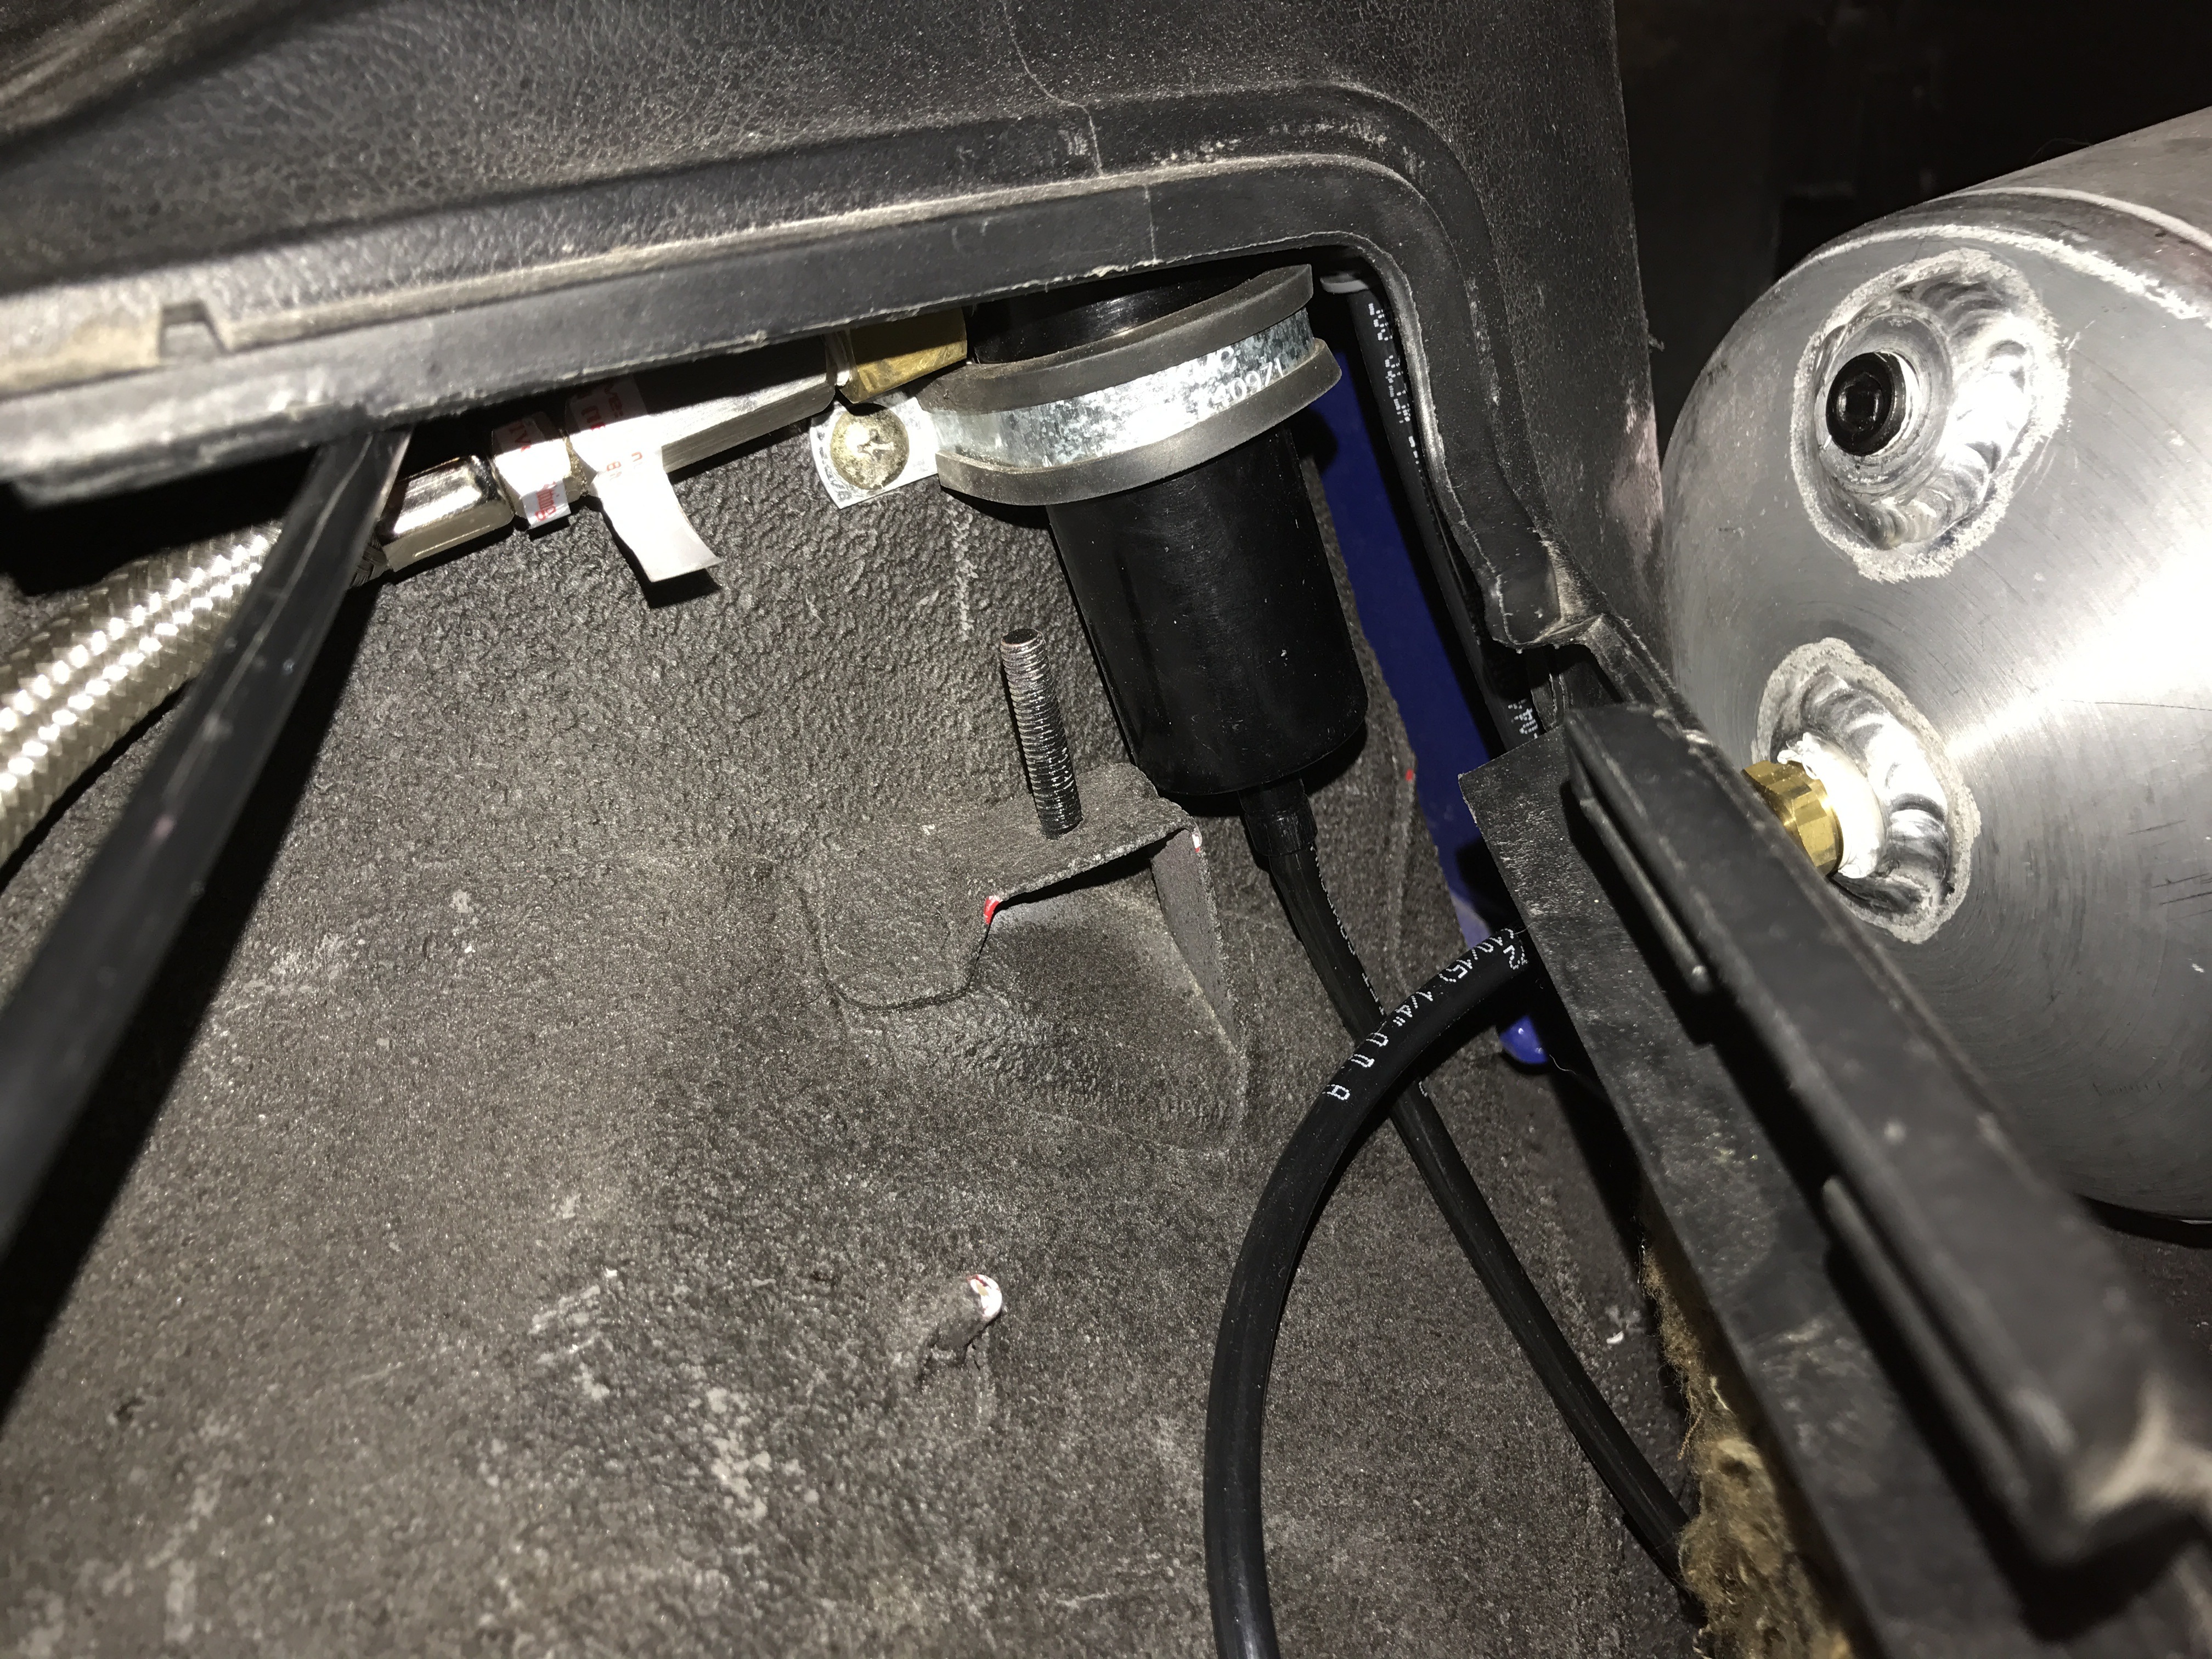
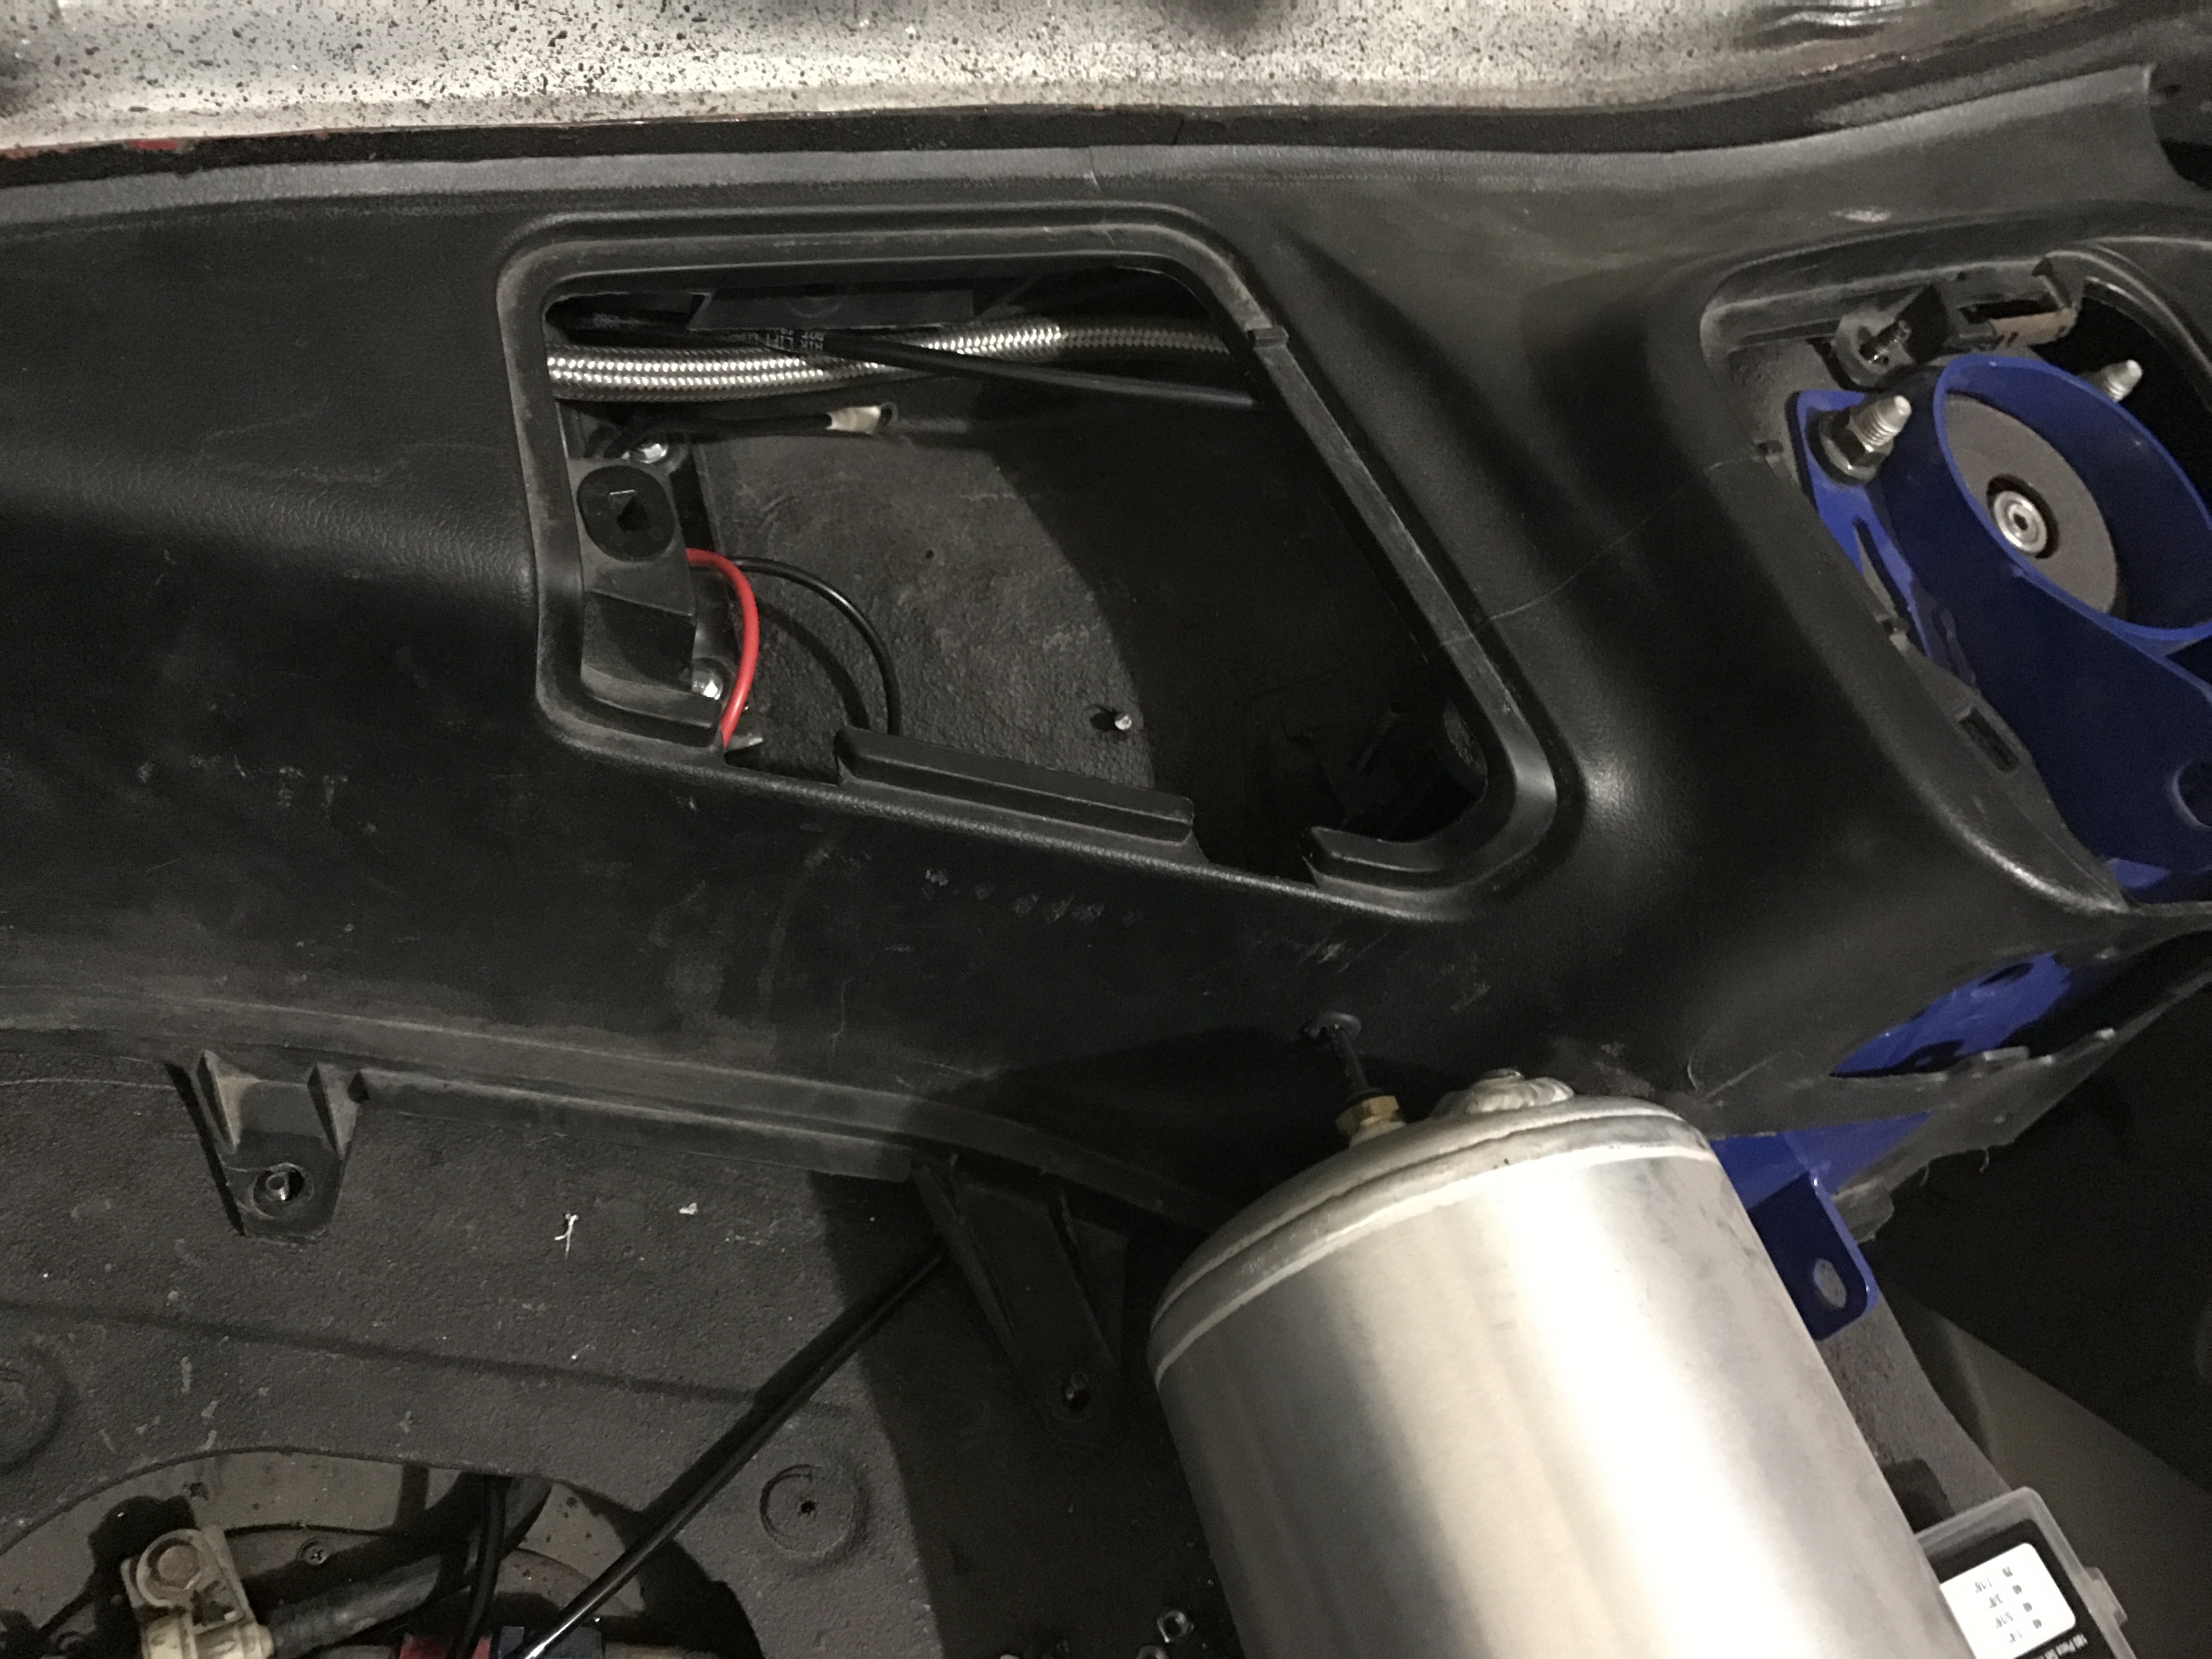
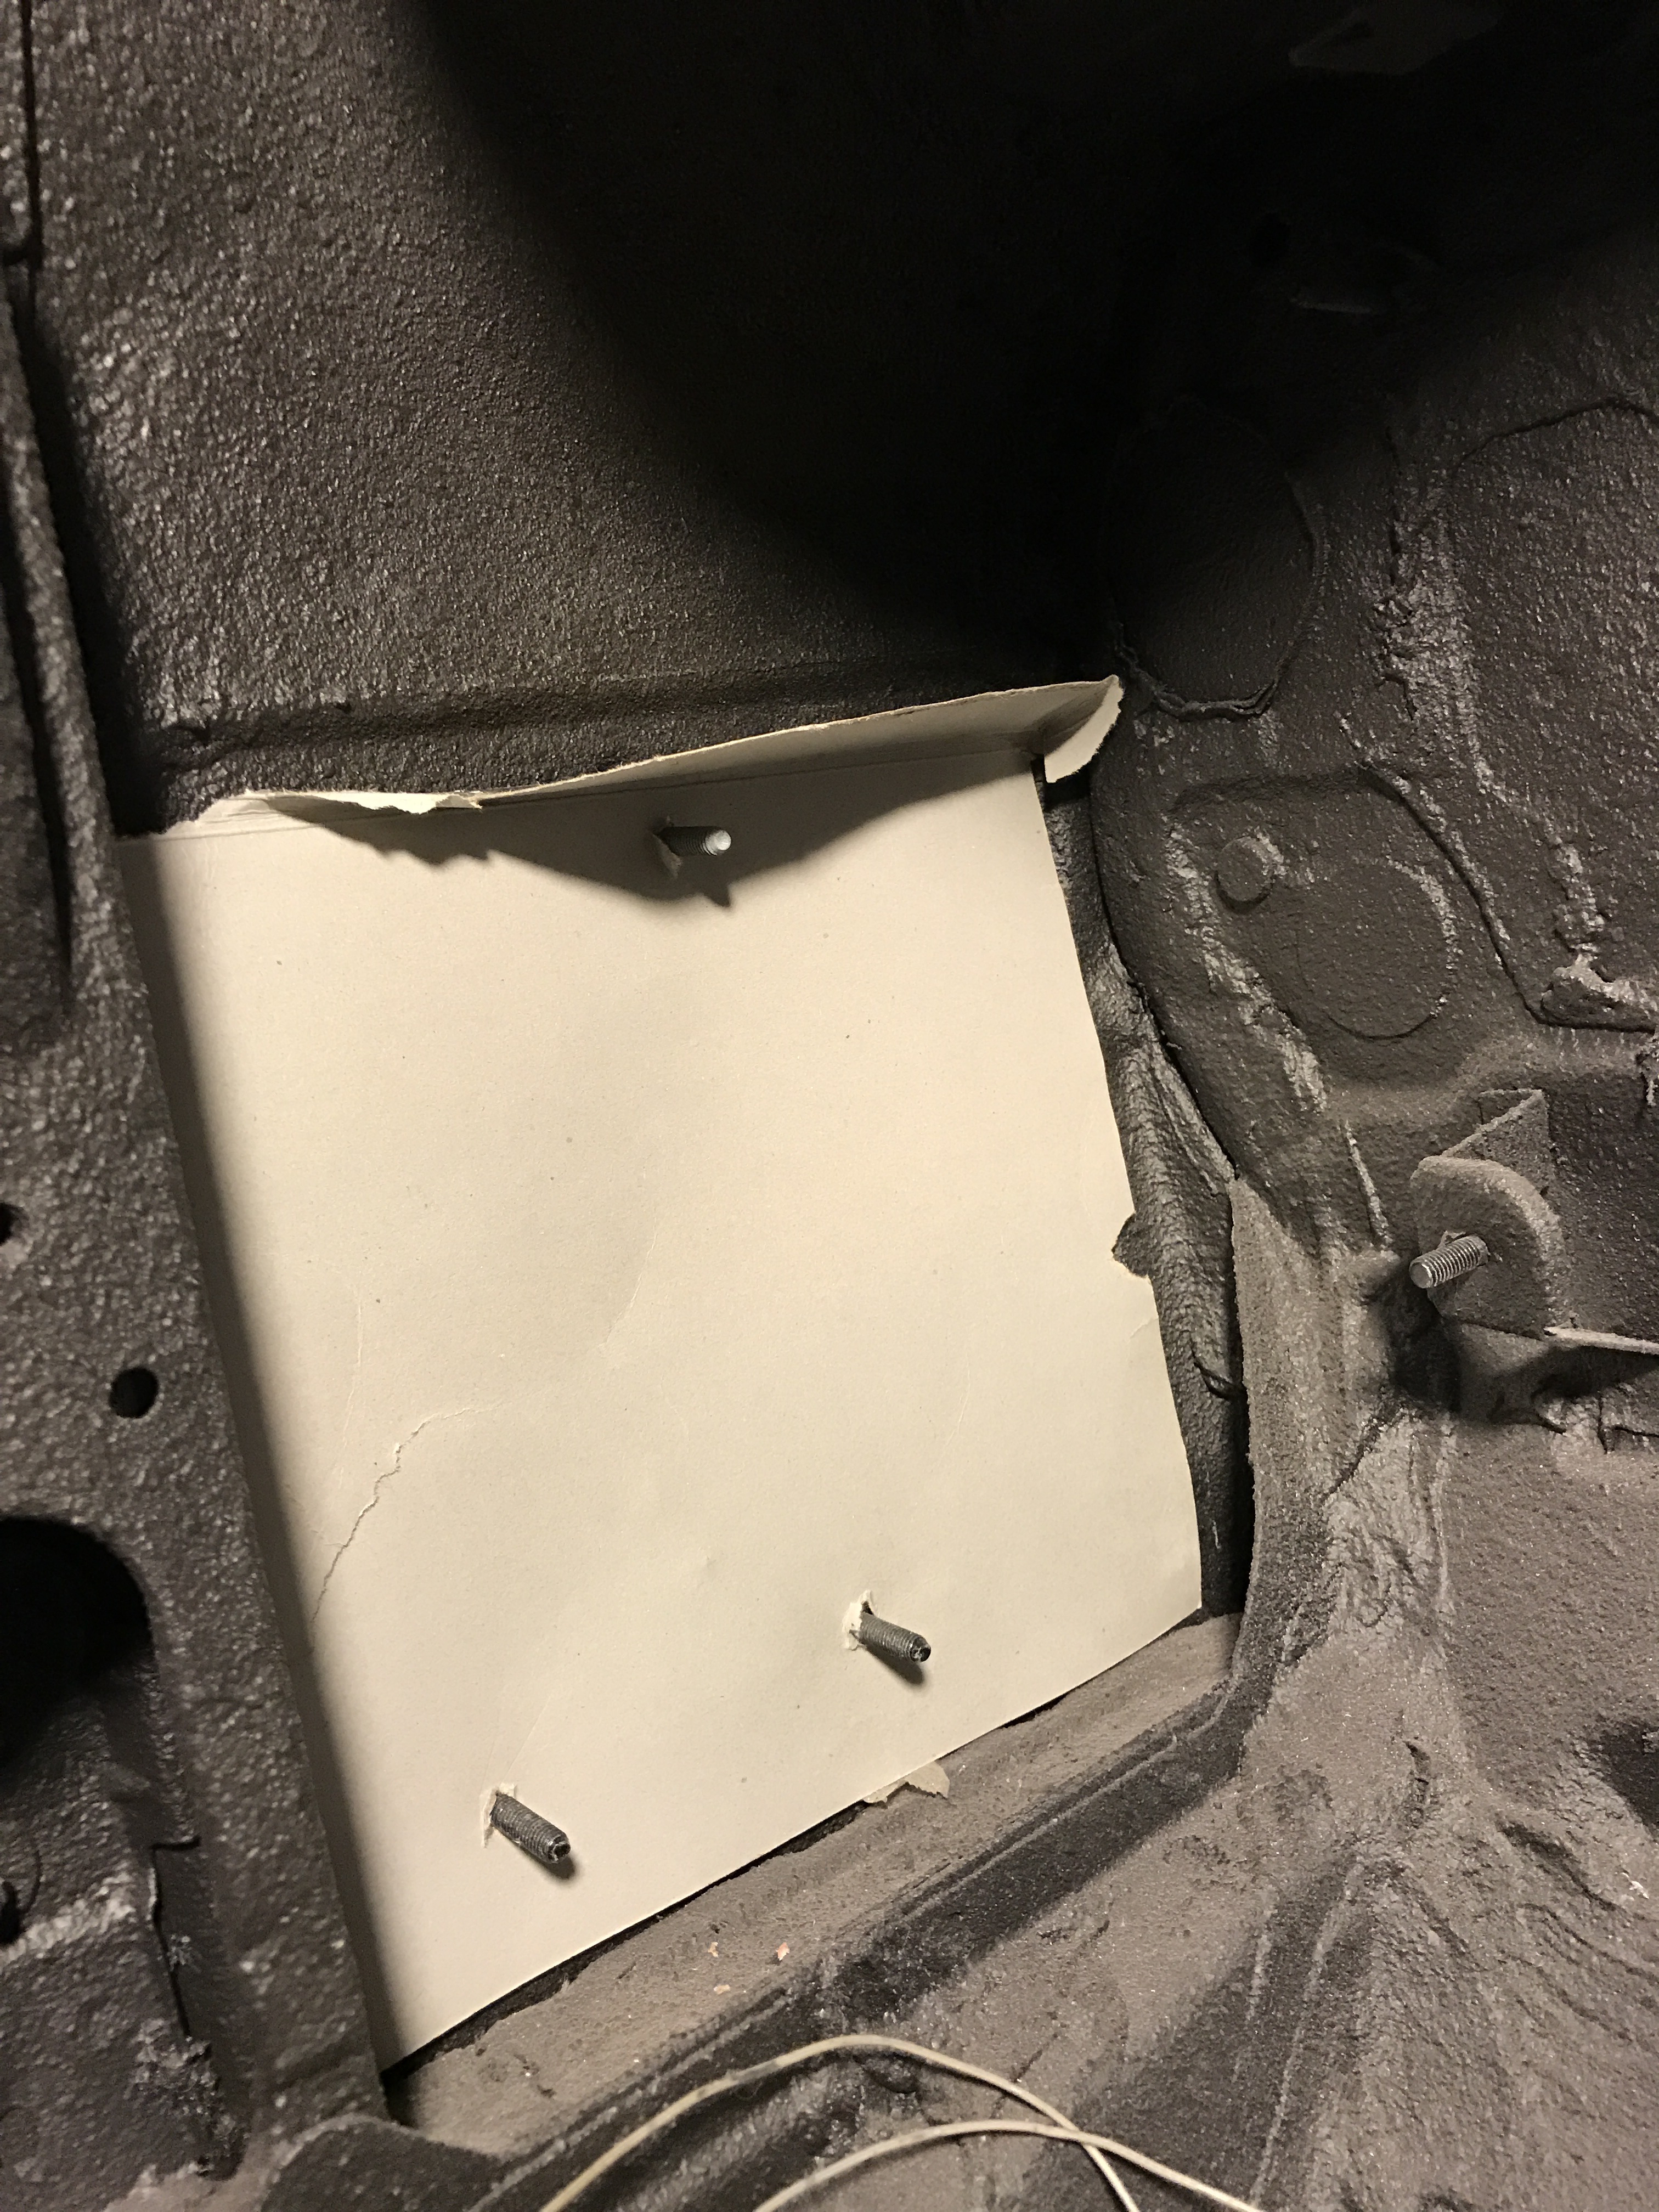
Here are some pictures of the mounting and the panel in place, hopefully this helps. Everything slides in smoothly. There was a bracket where the hose connects that I cut off of the car and I also had to create some clerance there (aka cut and hammer, I need to repaint that spot as seen)
[URL=http://s267.photobucket.com/user/Dyesuperman/media/Rx7%20Build/960D2CB8-456D-47D9-9E93-887B40B96E51_zpssdjh7mvb.jpg.html%5D%5BIMG%5Dhttp://i267.photobucket.com/albums/ii301/Dyesuperman/Rx7%20Build/960D2CB8-456D-47D9-9E93-887B40B96E51_zpssdjh7mvb.jpg%5B/IMG%5D%5B/URL]
[URL=http://s267.photobucket.com/user/Dyesuperman/media/Rx7%20Build/89D4749A-0D98-4E8D-BF63-F13BF318301C_zpsq1azje7s.jpg.html%5D%5BIMG%5Dhttp://i267.photobucket.com/albums/ii301/Dyesuperman/Rx7%20Build/89D4749A-0D98-4E8D-BF63-F13BF318301C_zpsq1azje7s.jpg%5B/IMG%5D%5B/URL]
[URL=http://s267.photobucket.com/user/Dyesuperman/media/Rx7%20Build/F676CA7D-72C9-4087-82FE-473DD6F837CE_zps95hbtd77.jpg.html%5D%5BIMG%5Dhttp://i267.photobucket.com/albums/ii301/Dyesuperman/Rx7%20Build/F676CA7D-72C9-4087-82FE-473DD6F837CE_zps95hbtd77.jpg%5B/IMG%5D%5B/URL]
[URL=http://s267.photobucket.com/user/Dyesuperman/media/Rx7%20Build/0A236BBD-AF9E-4E0D-82B0-337AEA1ADF07_zpssk9pd4lv.jpg.html%5D%5BIMG%5Dhttp://i267.photobucket.com/albums/ii301/Dyesuperman/Rx7%20Build/0A236BBD-AF9E-4E0D-82B0-337AEA1ADF07_zpssk9pd4lv.jpg%5B/IMG%5D%5B/URL]
[URL=http://s267.photobucket.com/user/Dyesuperman/media/Rx7%20Build/1DA64122-1247-4C4D-91C7-8482290B49A6_zpsg4mcwxnl.jpg.html%5D%5BIMG%5Dhttp://i267.photobucket.com/albums/ii301/Dyesuperman/Rx7%20Build/1DA64122-1247-4C4D-91C7-8482290B49A6_zpsg4mcwxnl.jpg%5B/IMG%5D%5B/URL]
[URL=http://s267.photobucket.com/user/Dyesuperman/media/Rx7%20Build/36B71B7E-4DD7-4E35-BA3B-B748F2EBF260_zpslrcakml7.jpg.html%5D%5BIMG%5Dhttp://i267.photobucket.com/albums/ii301/Dyesuperman/Rx7%20Build/36B71B7E-4DD7-4E35-BA3B-B748F2EBF260_zpslrcakml7.jpg%5B/IMG%5D%5B/URL]
Last edited by Dyesuperman; 02-14-17 at 07:08 AM.
03-20-17, 09:06 PM
#110
Full Member
Thread Starter
Update time! I think I already said this, but I tend to post more frequently on my Facebook build page (
), although without much description on there.
I got all of the air setup mounted and good to go, just need to run a few drain lines and tidy things up a bit, but's it works! As you will see soon

Got my heep in! Been taking care of some maintenance items on it lately, almost have it in tip top shape
Rear air line ran all tidy like
Freaking looooooovvee this fitment
We had this marvelous weather last week...a blizzard...in March...gotta love North Dakota
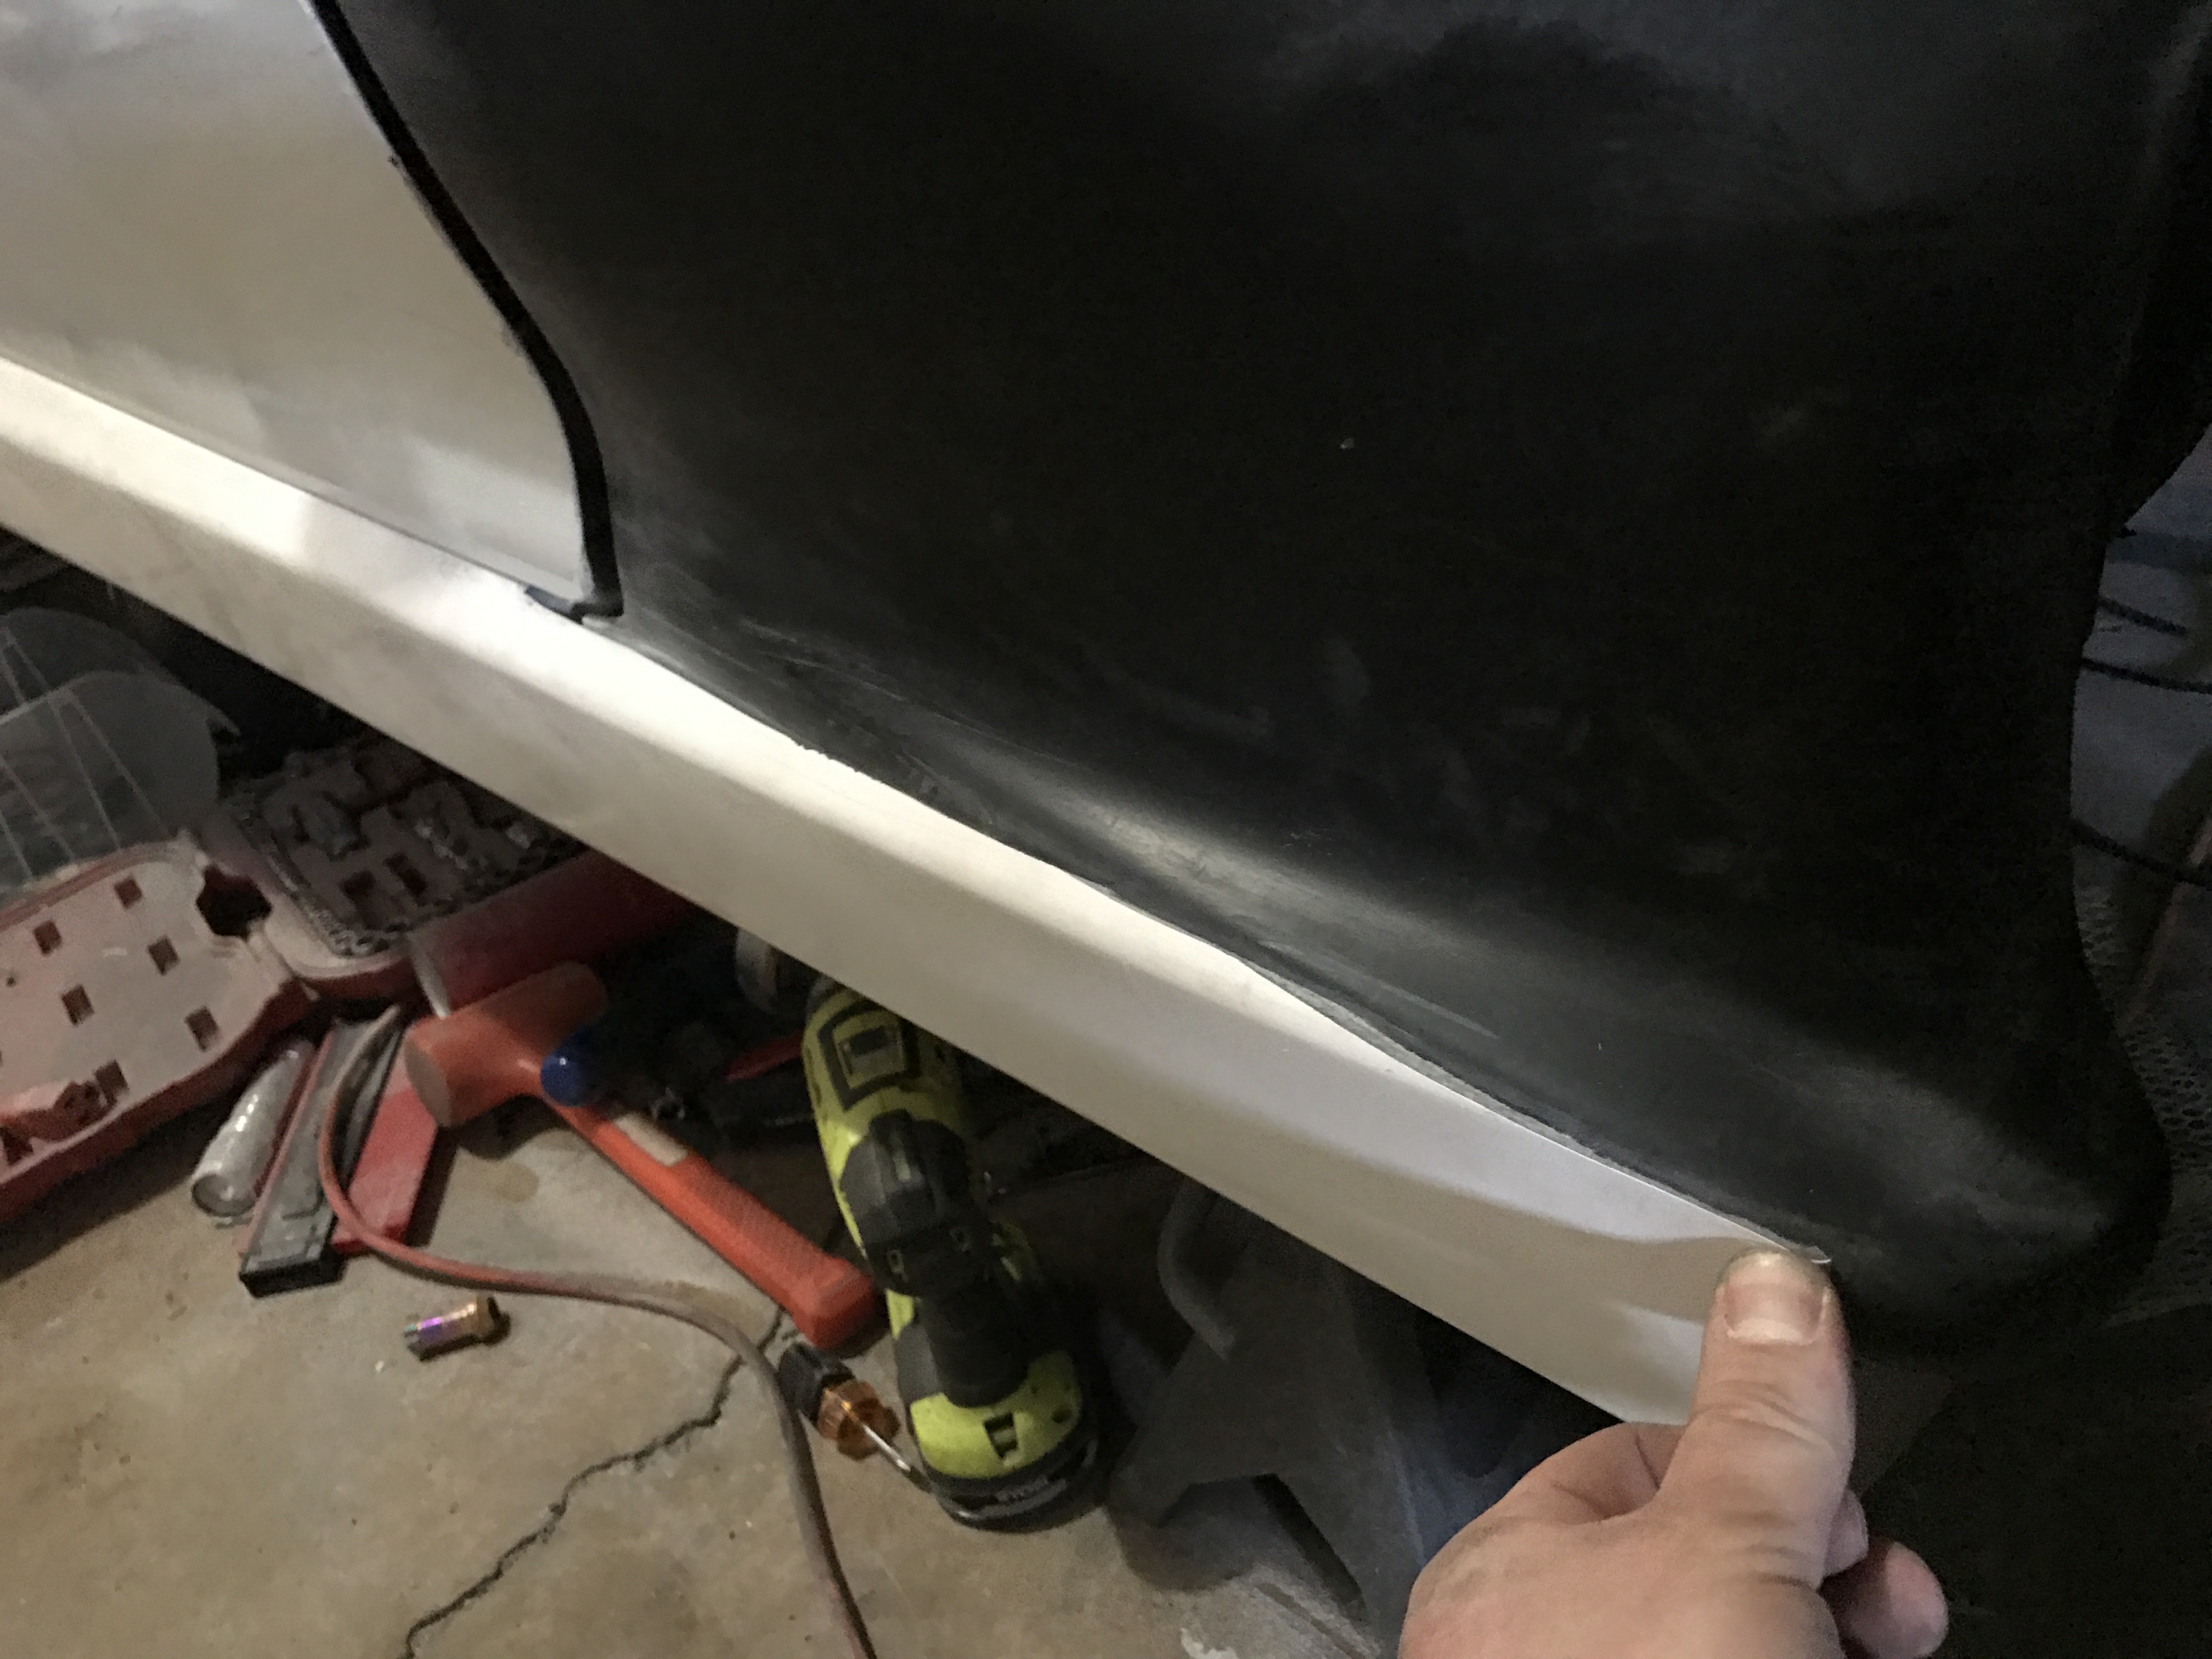
I'm all over the place here lol. Cut my sideskirts to get them to fit. Doesn't seem like it will be too bad and will require just a little fiberglass work to blend in and flow nicely
Facebook Post
I got all of the air setup mounted and good to go, just need to run a few drain lines and tidy things up a bit, but's it works! As you will see soon


Got my heep in! Been taking care of some maintenance items on it lately, almost have it in tip top shape

Rear air line ran all tidy like

Freaking looooooovvee this fitment


We had this marvelous weather last week...a blizzard...in March...gotta love North Dakota

I'm all over the place here lol. Cut my sideskirts to get them to fit. Doesn't seem like it will be too bad and will require just a little fiberglass work to blend in and flow nicely
 03-27-17, 08:27 AM
#111
Full Member
Thread Starter
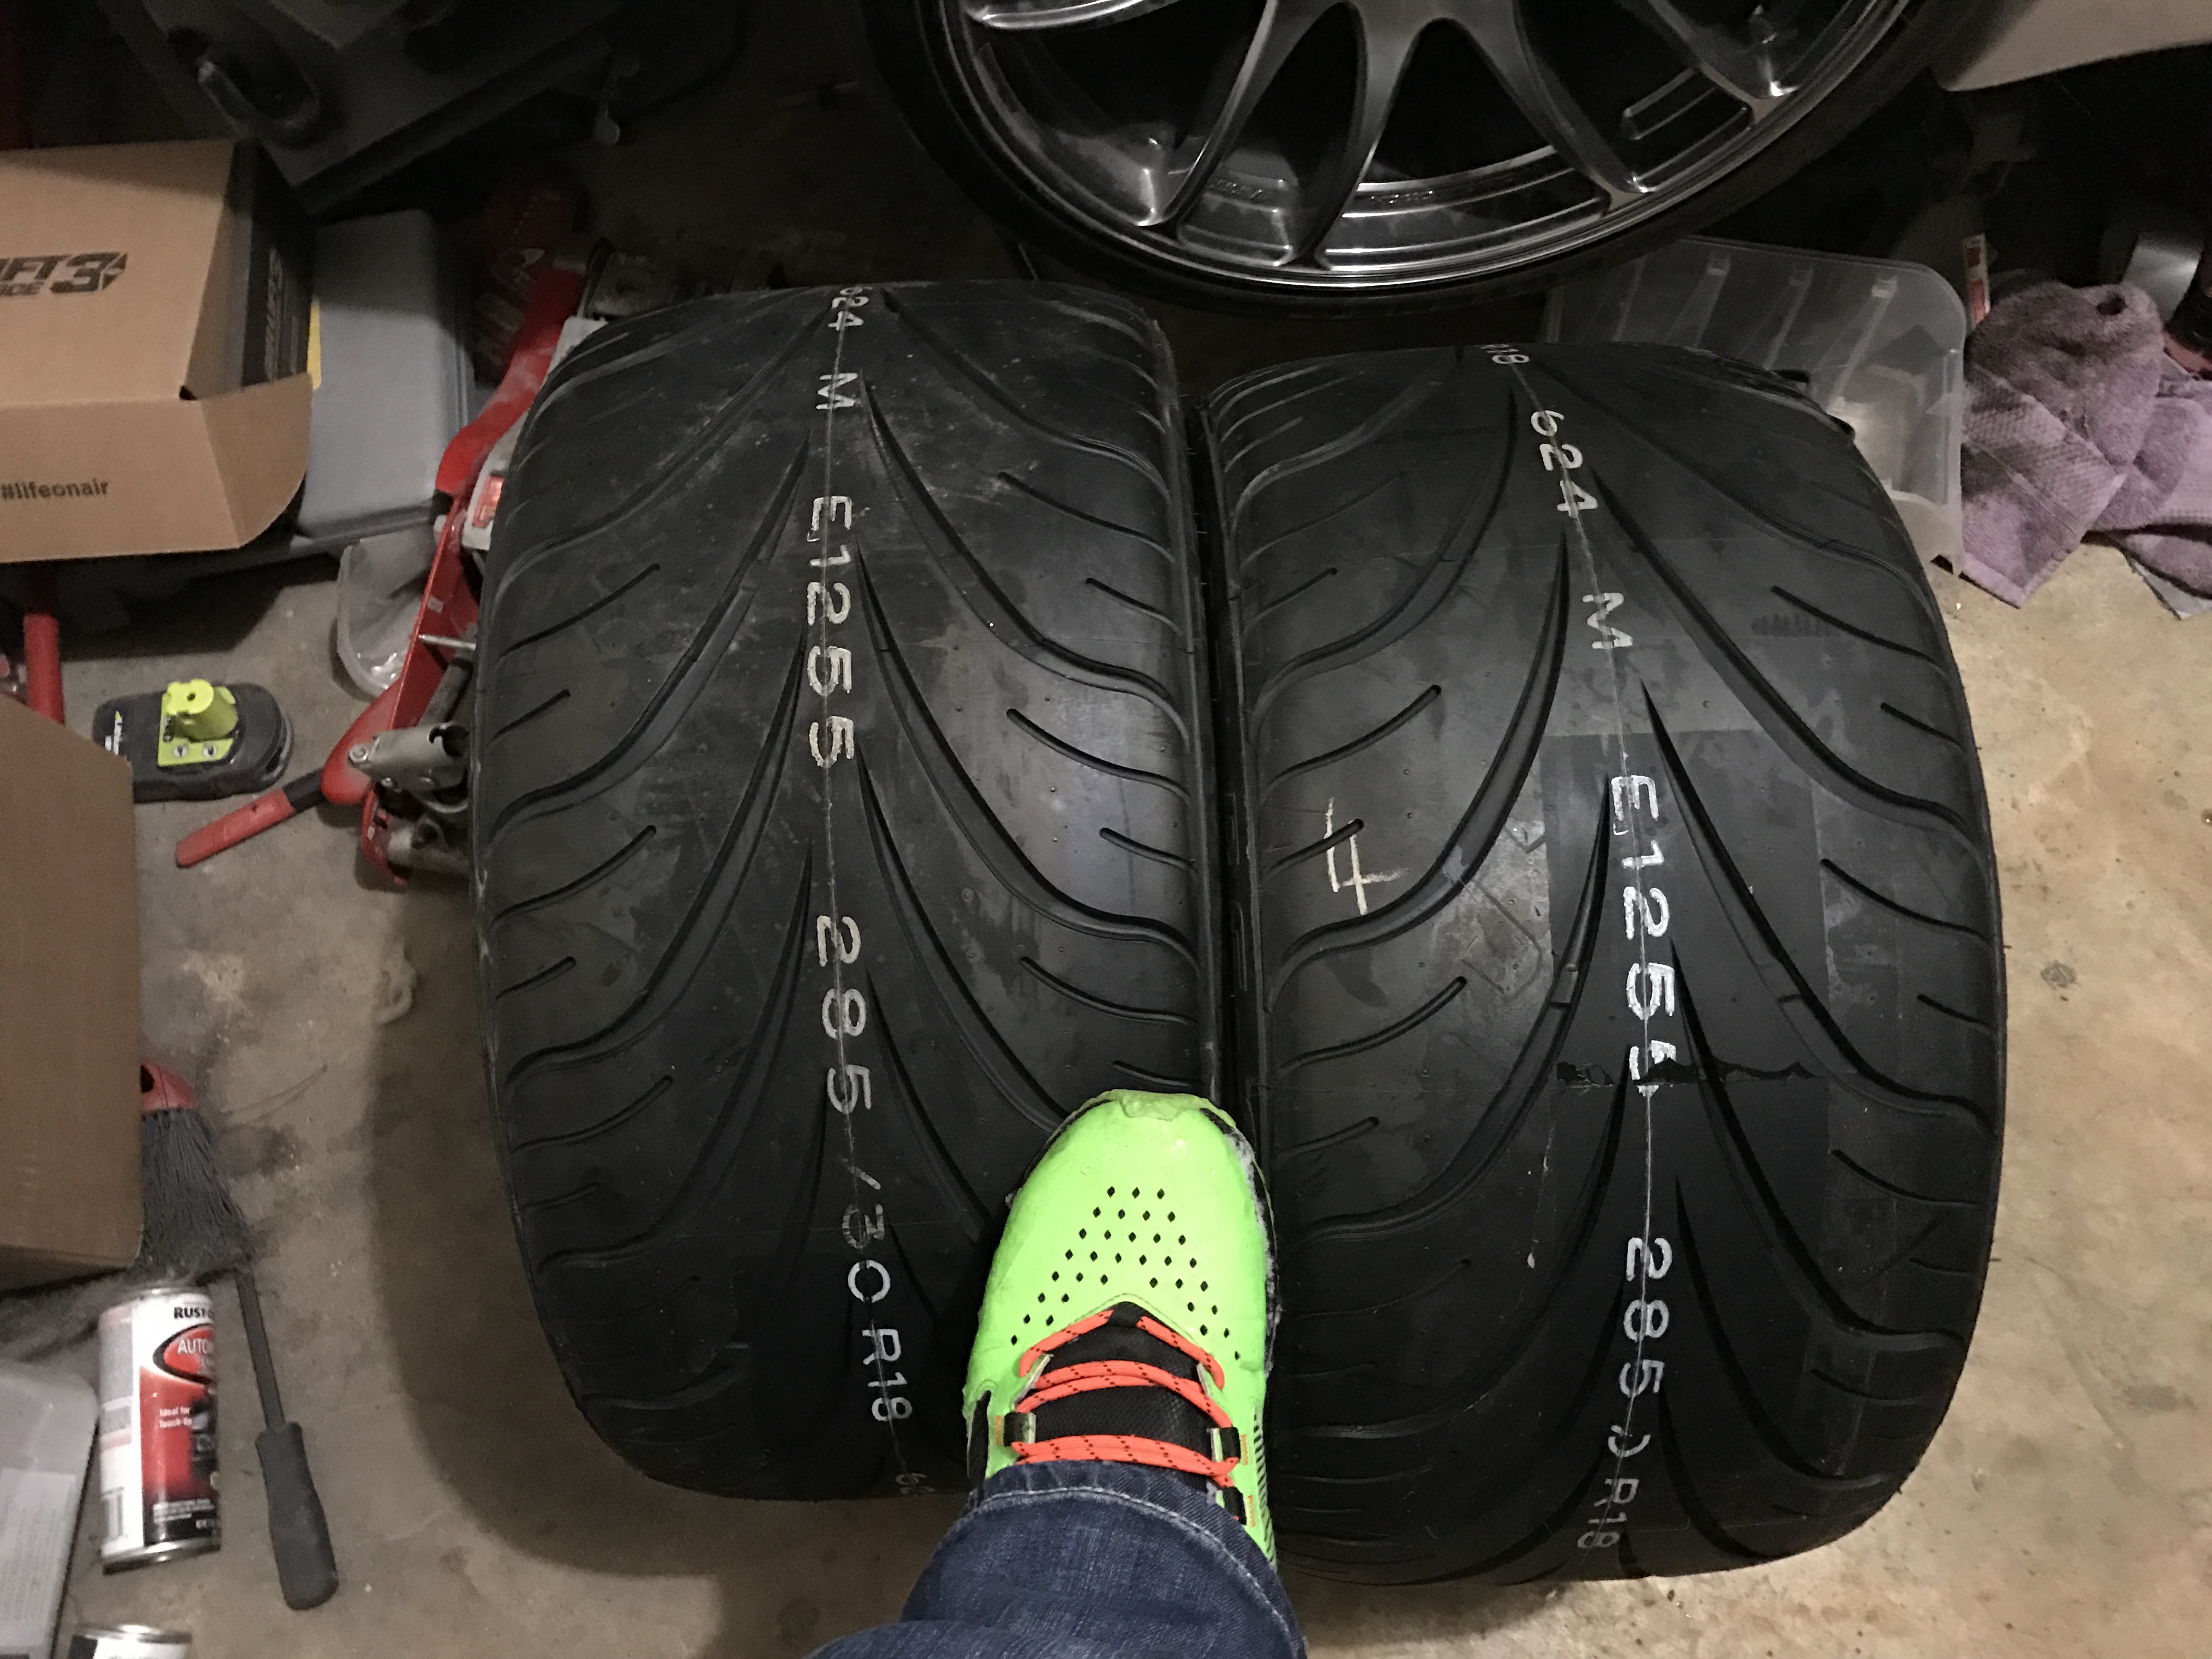
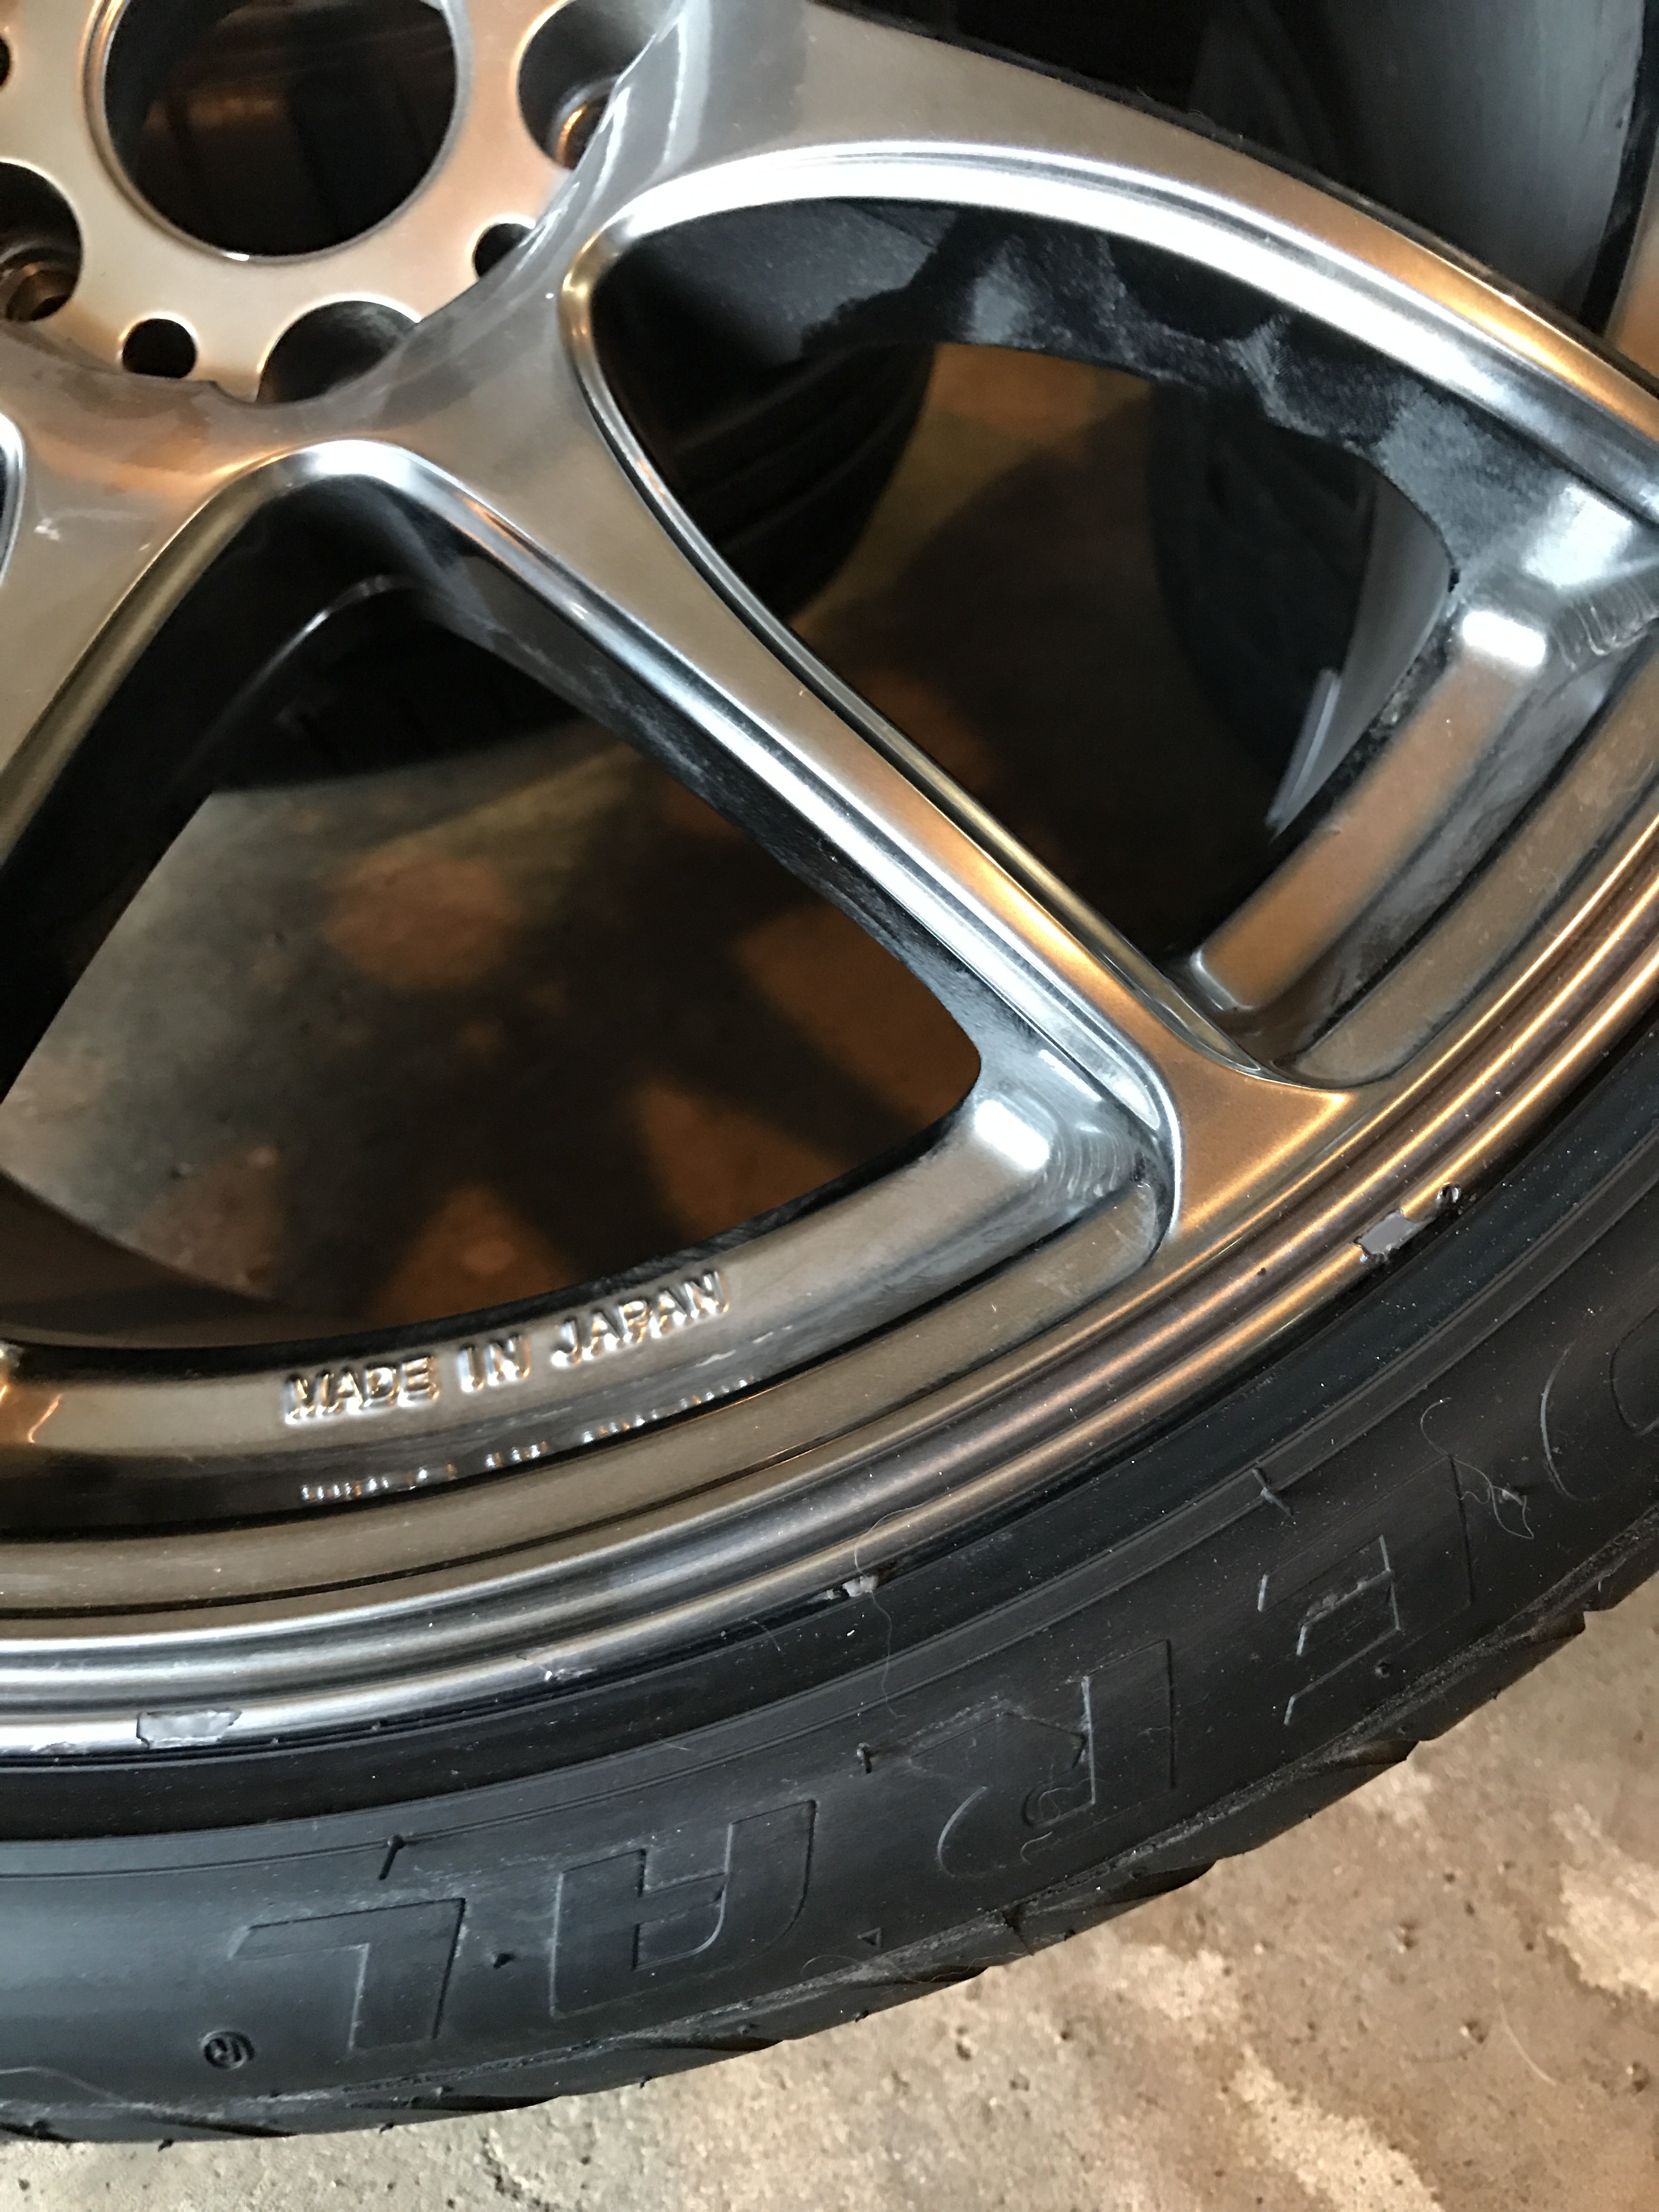
Ordered 2 285/30s so I can run 285s all around. Looked around town extensively to find a place with a good reputation that wouldn't mess up the wheels mounting the tires...found somewhere with a touchless machine so it would be impossible to mess them up right?? WRONG! ******* done with this place and the shitty tire techs that can't take their time and do things correctly.
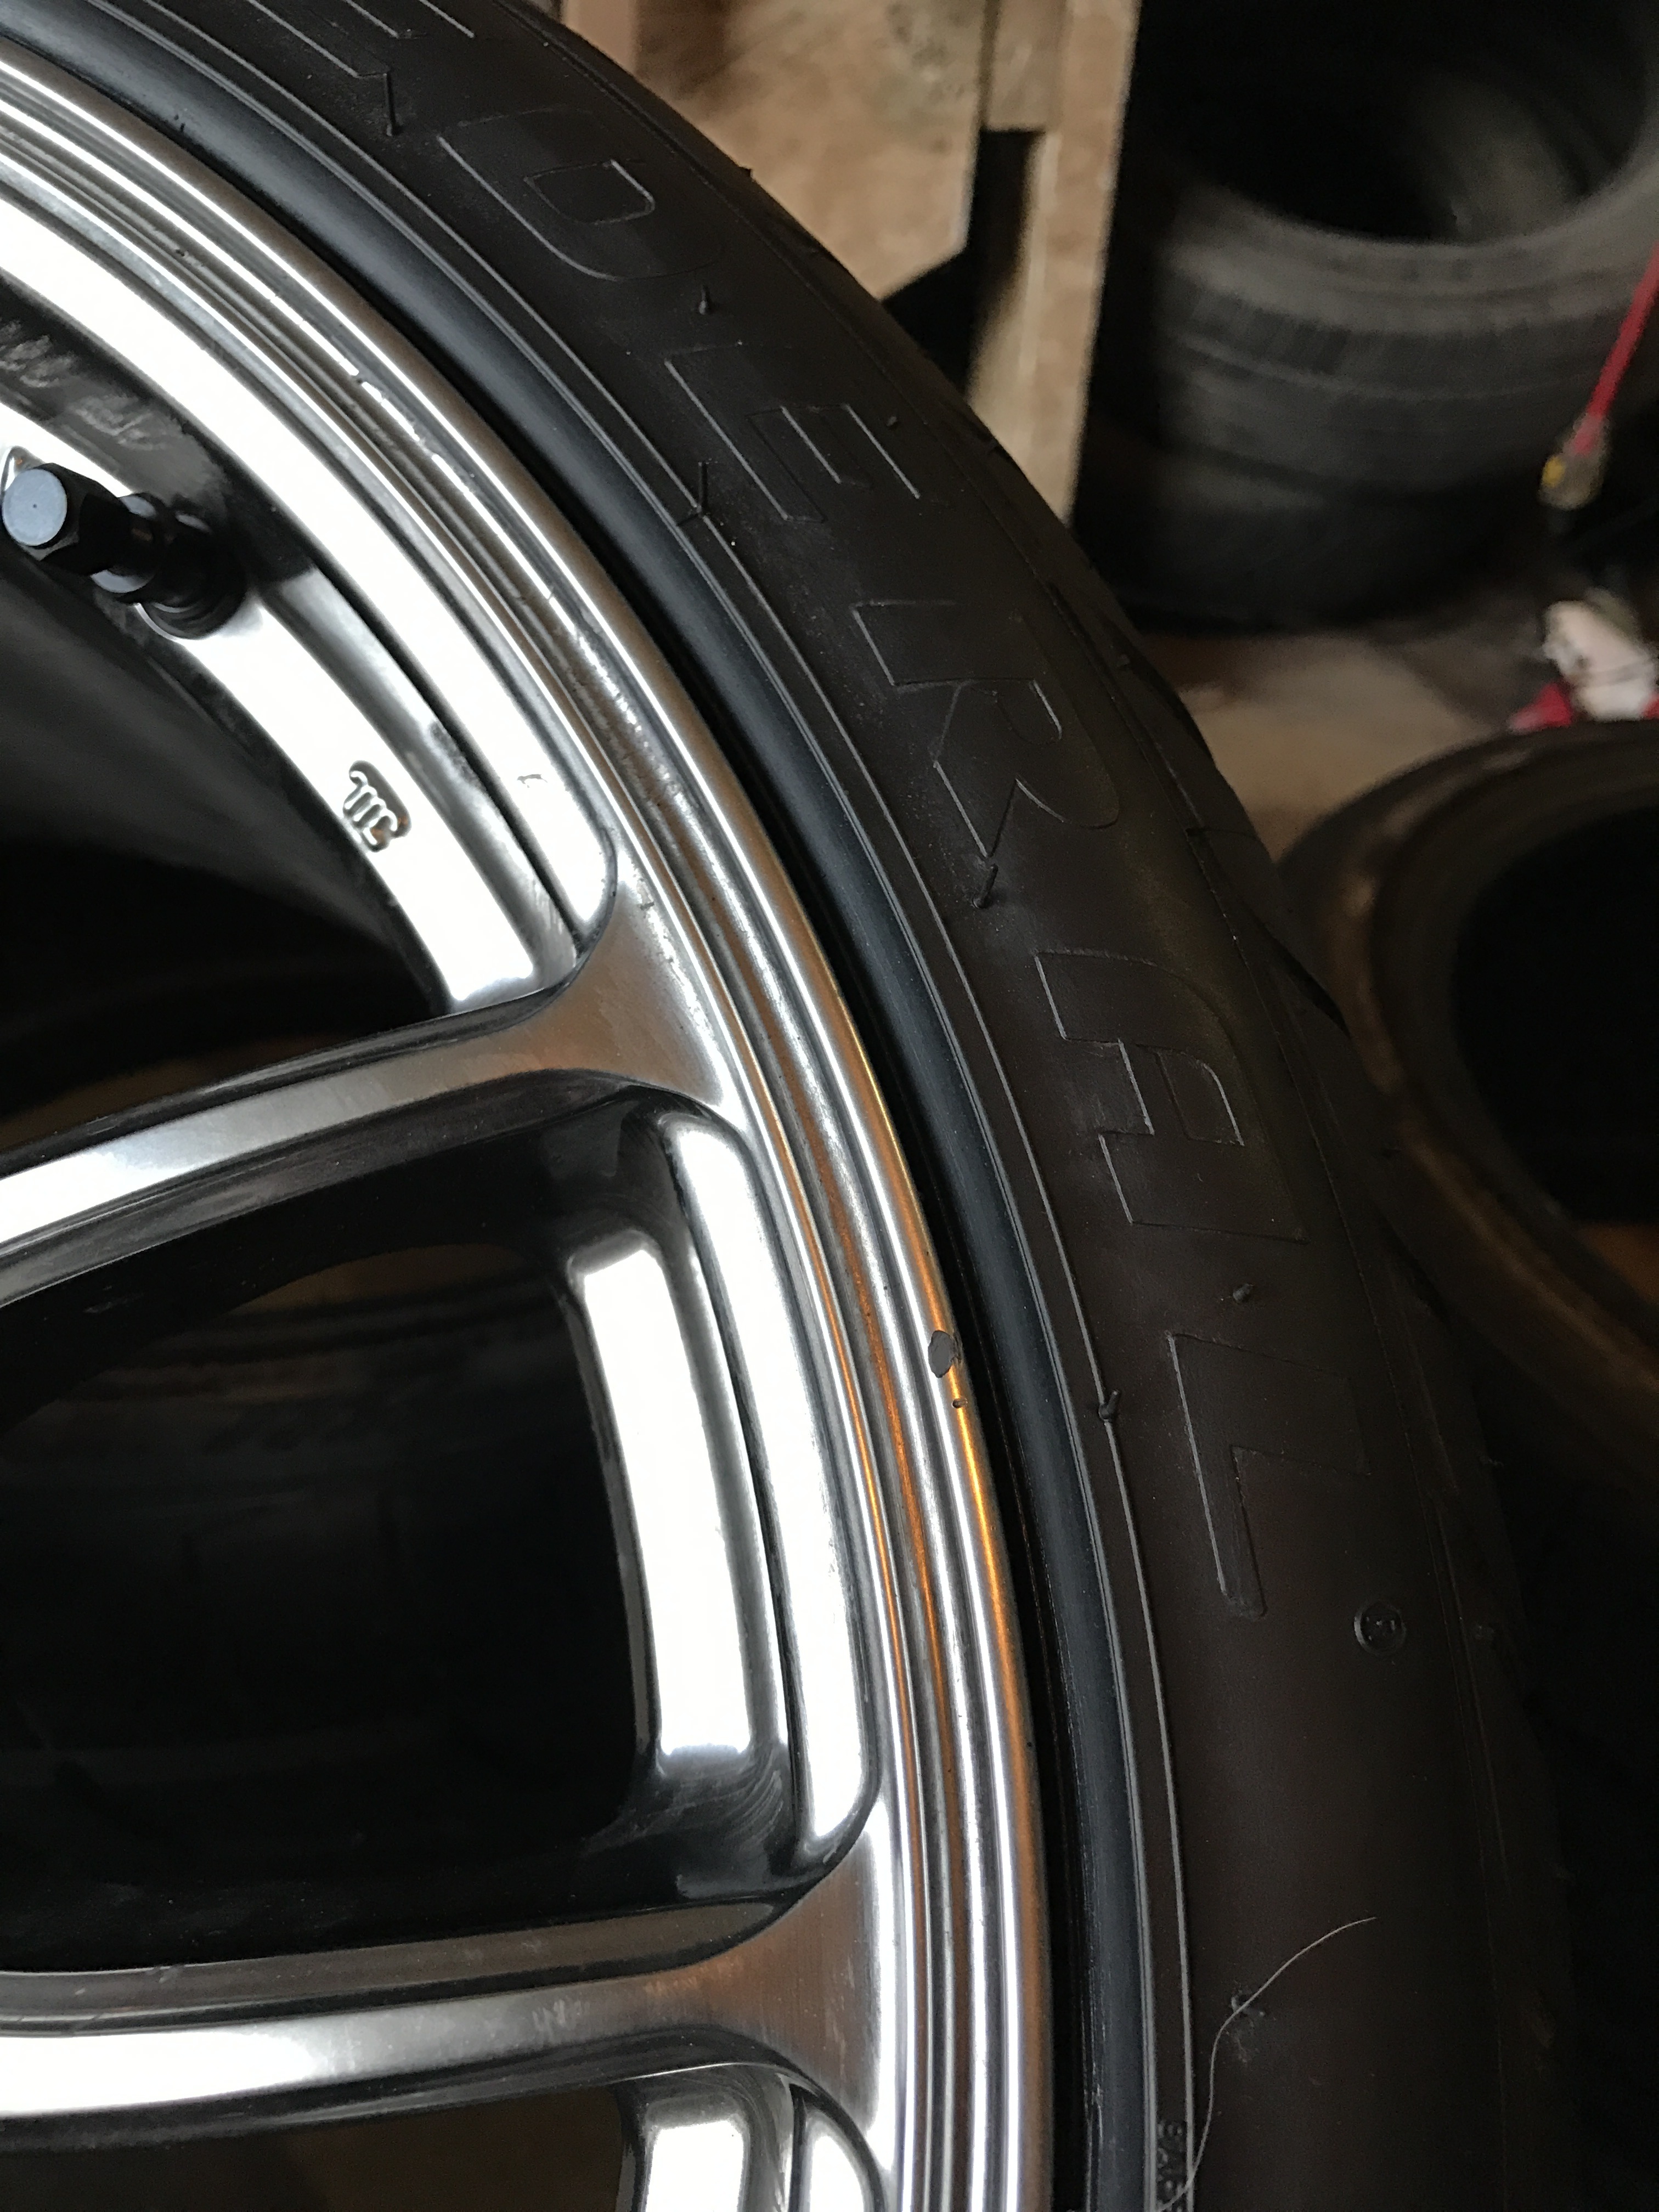
Chipped the paint on both wheels
Whatever, I've had terrible luck with every shop I have gone to here and am ready for a change. I'll be headed to Great Falls, Montana in August though! Not the base we wanted (only had two choices, but this was the one we wanted less), but we are looking forward to the move. We plan to buy a house there so my mod money has decreased quite a bit to prepare for that.
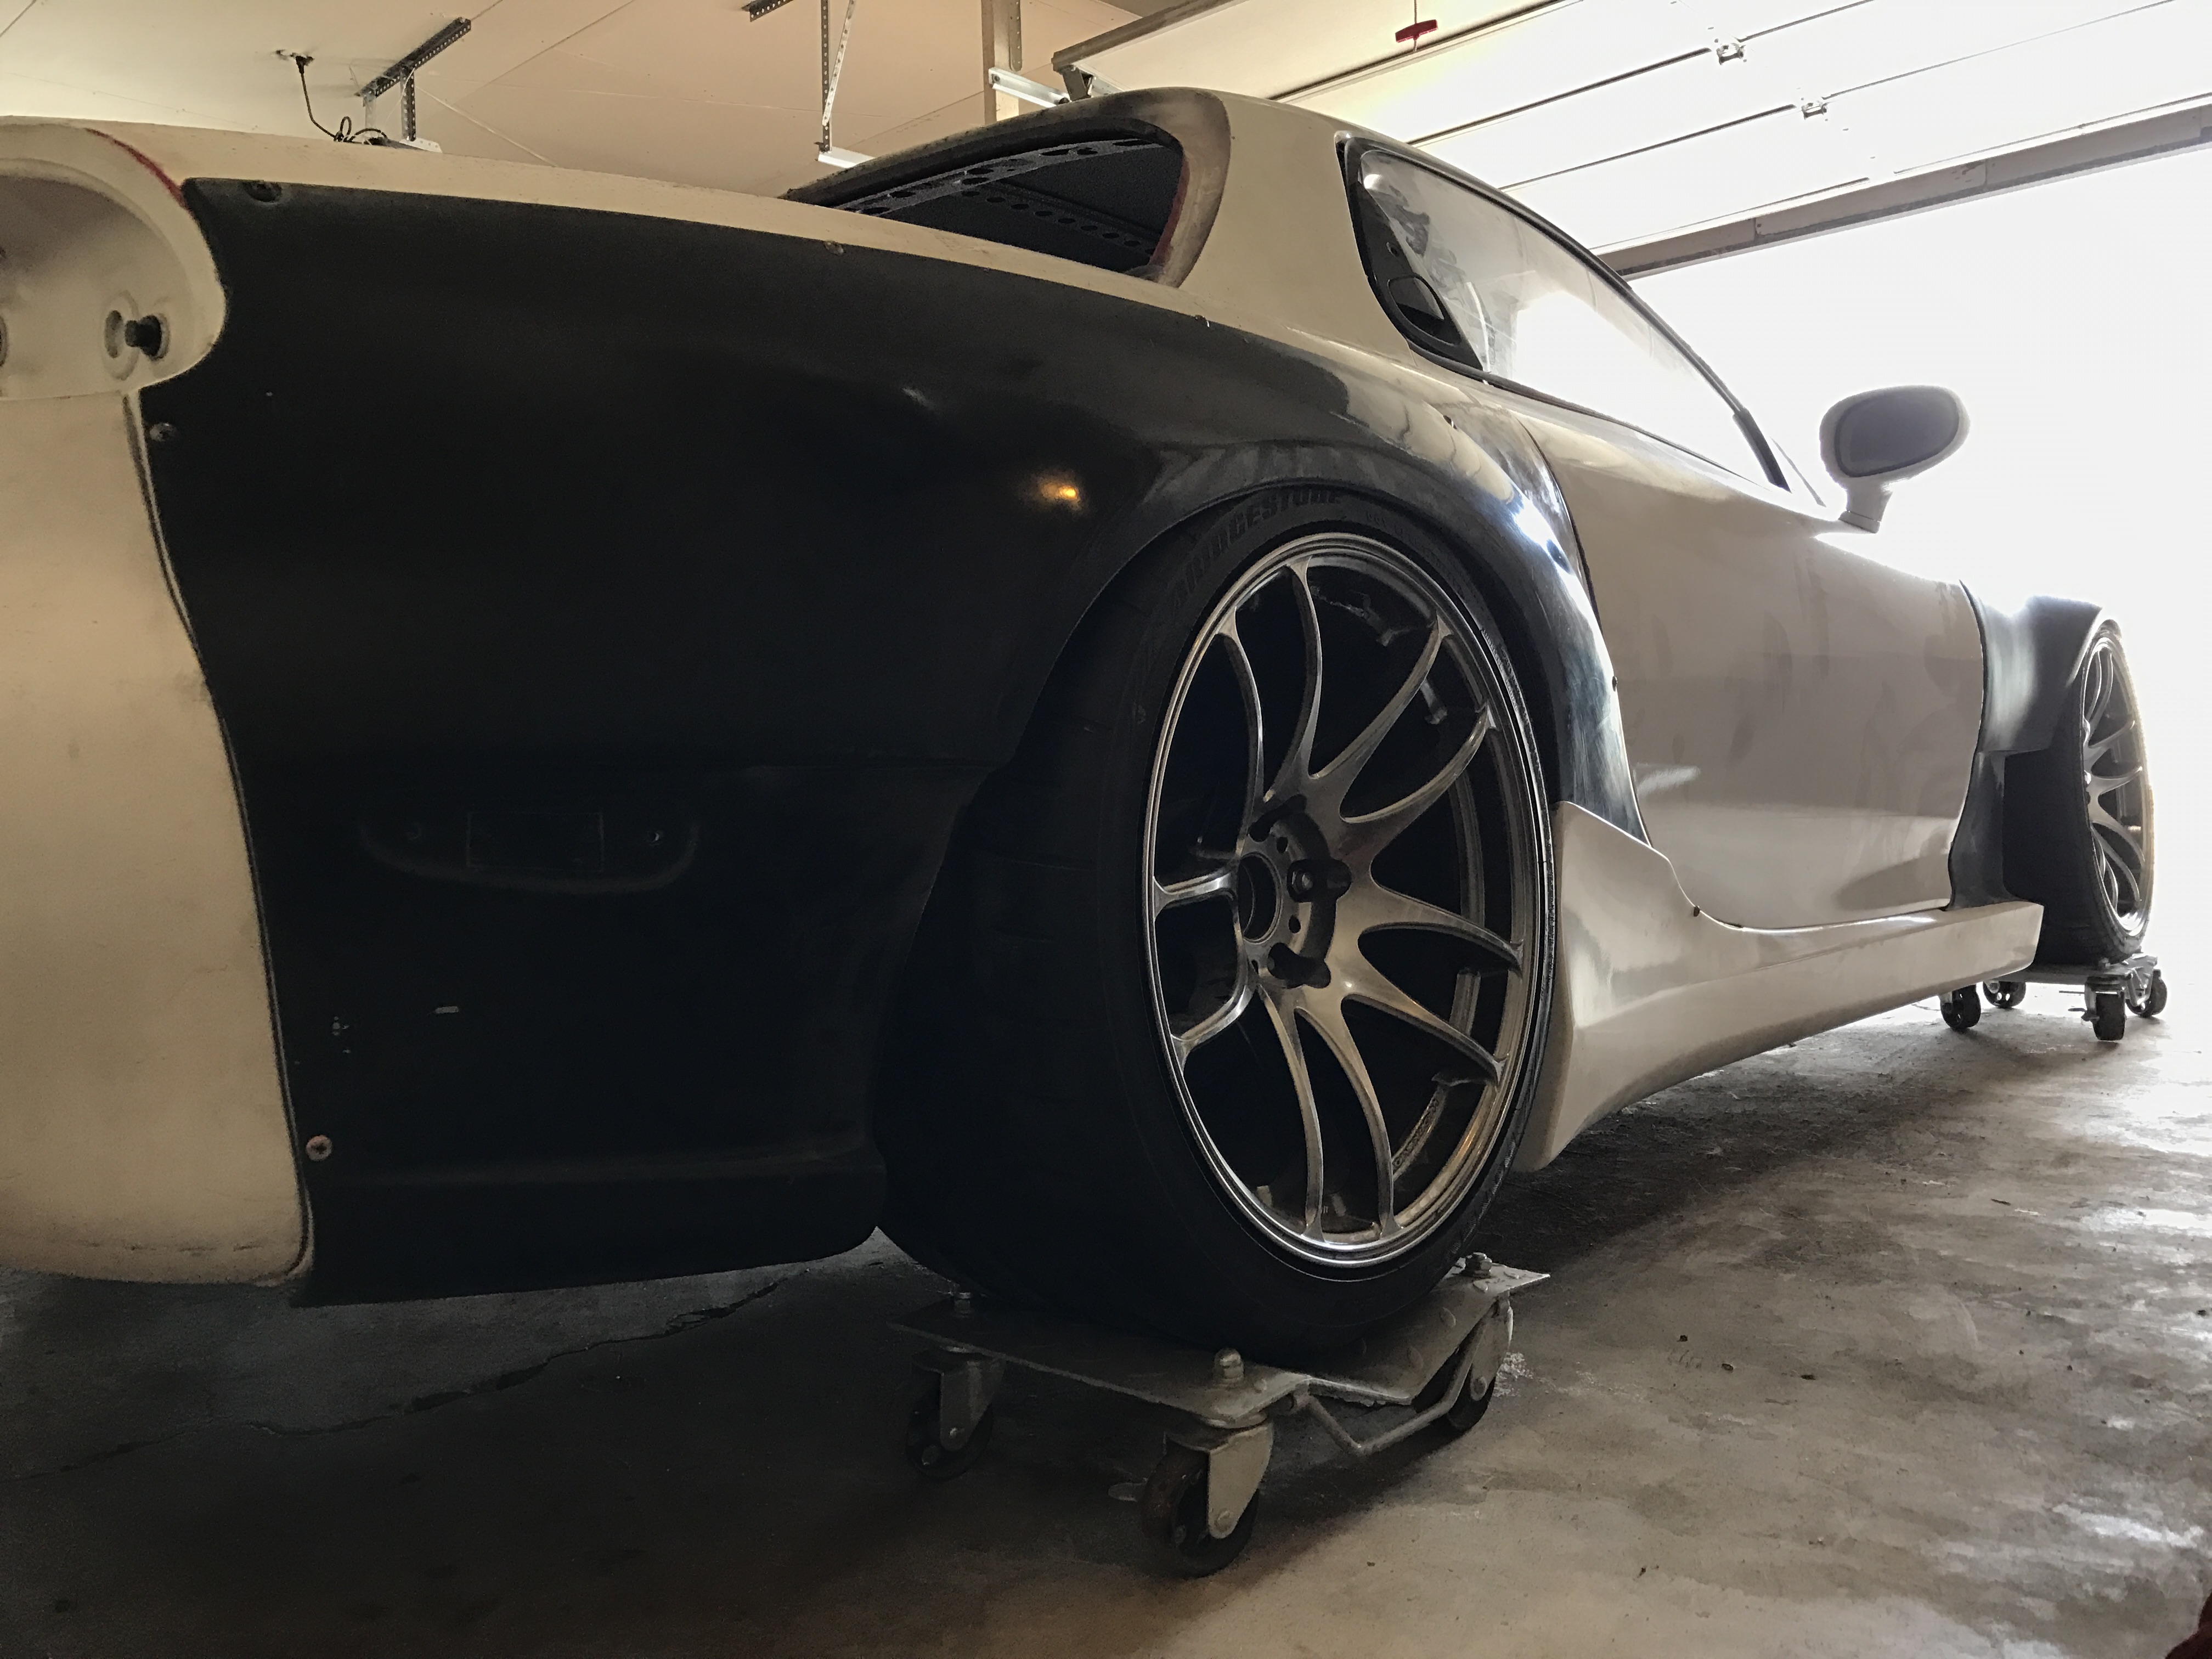
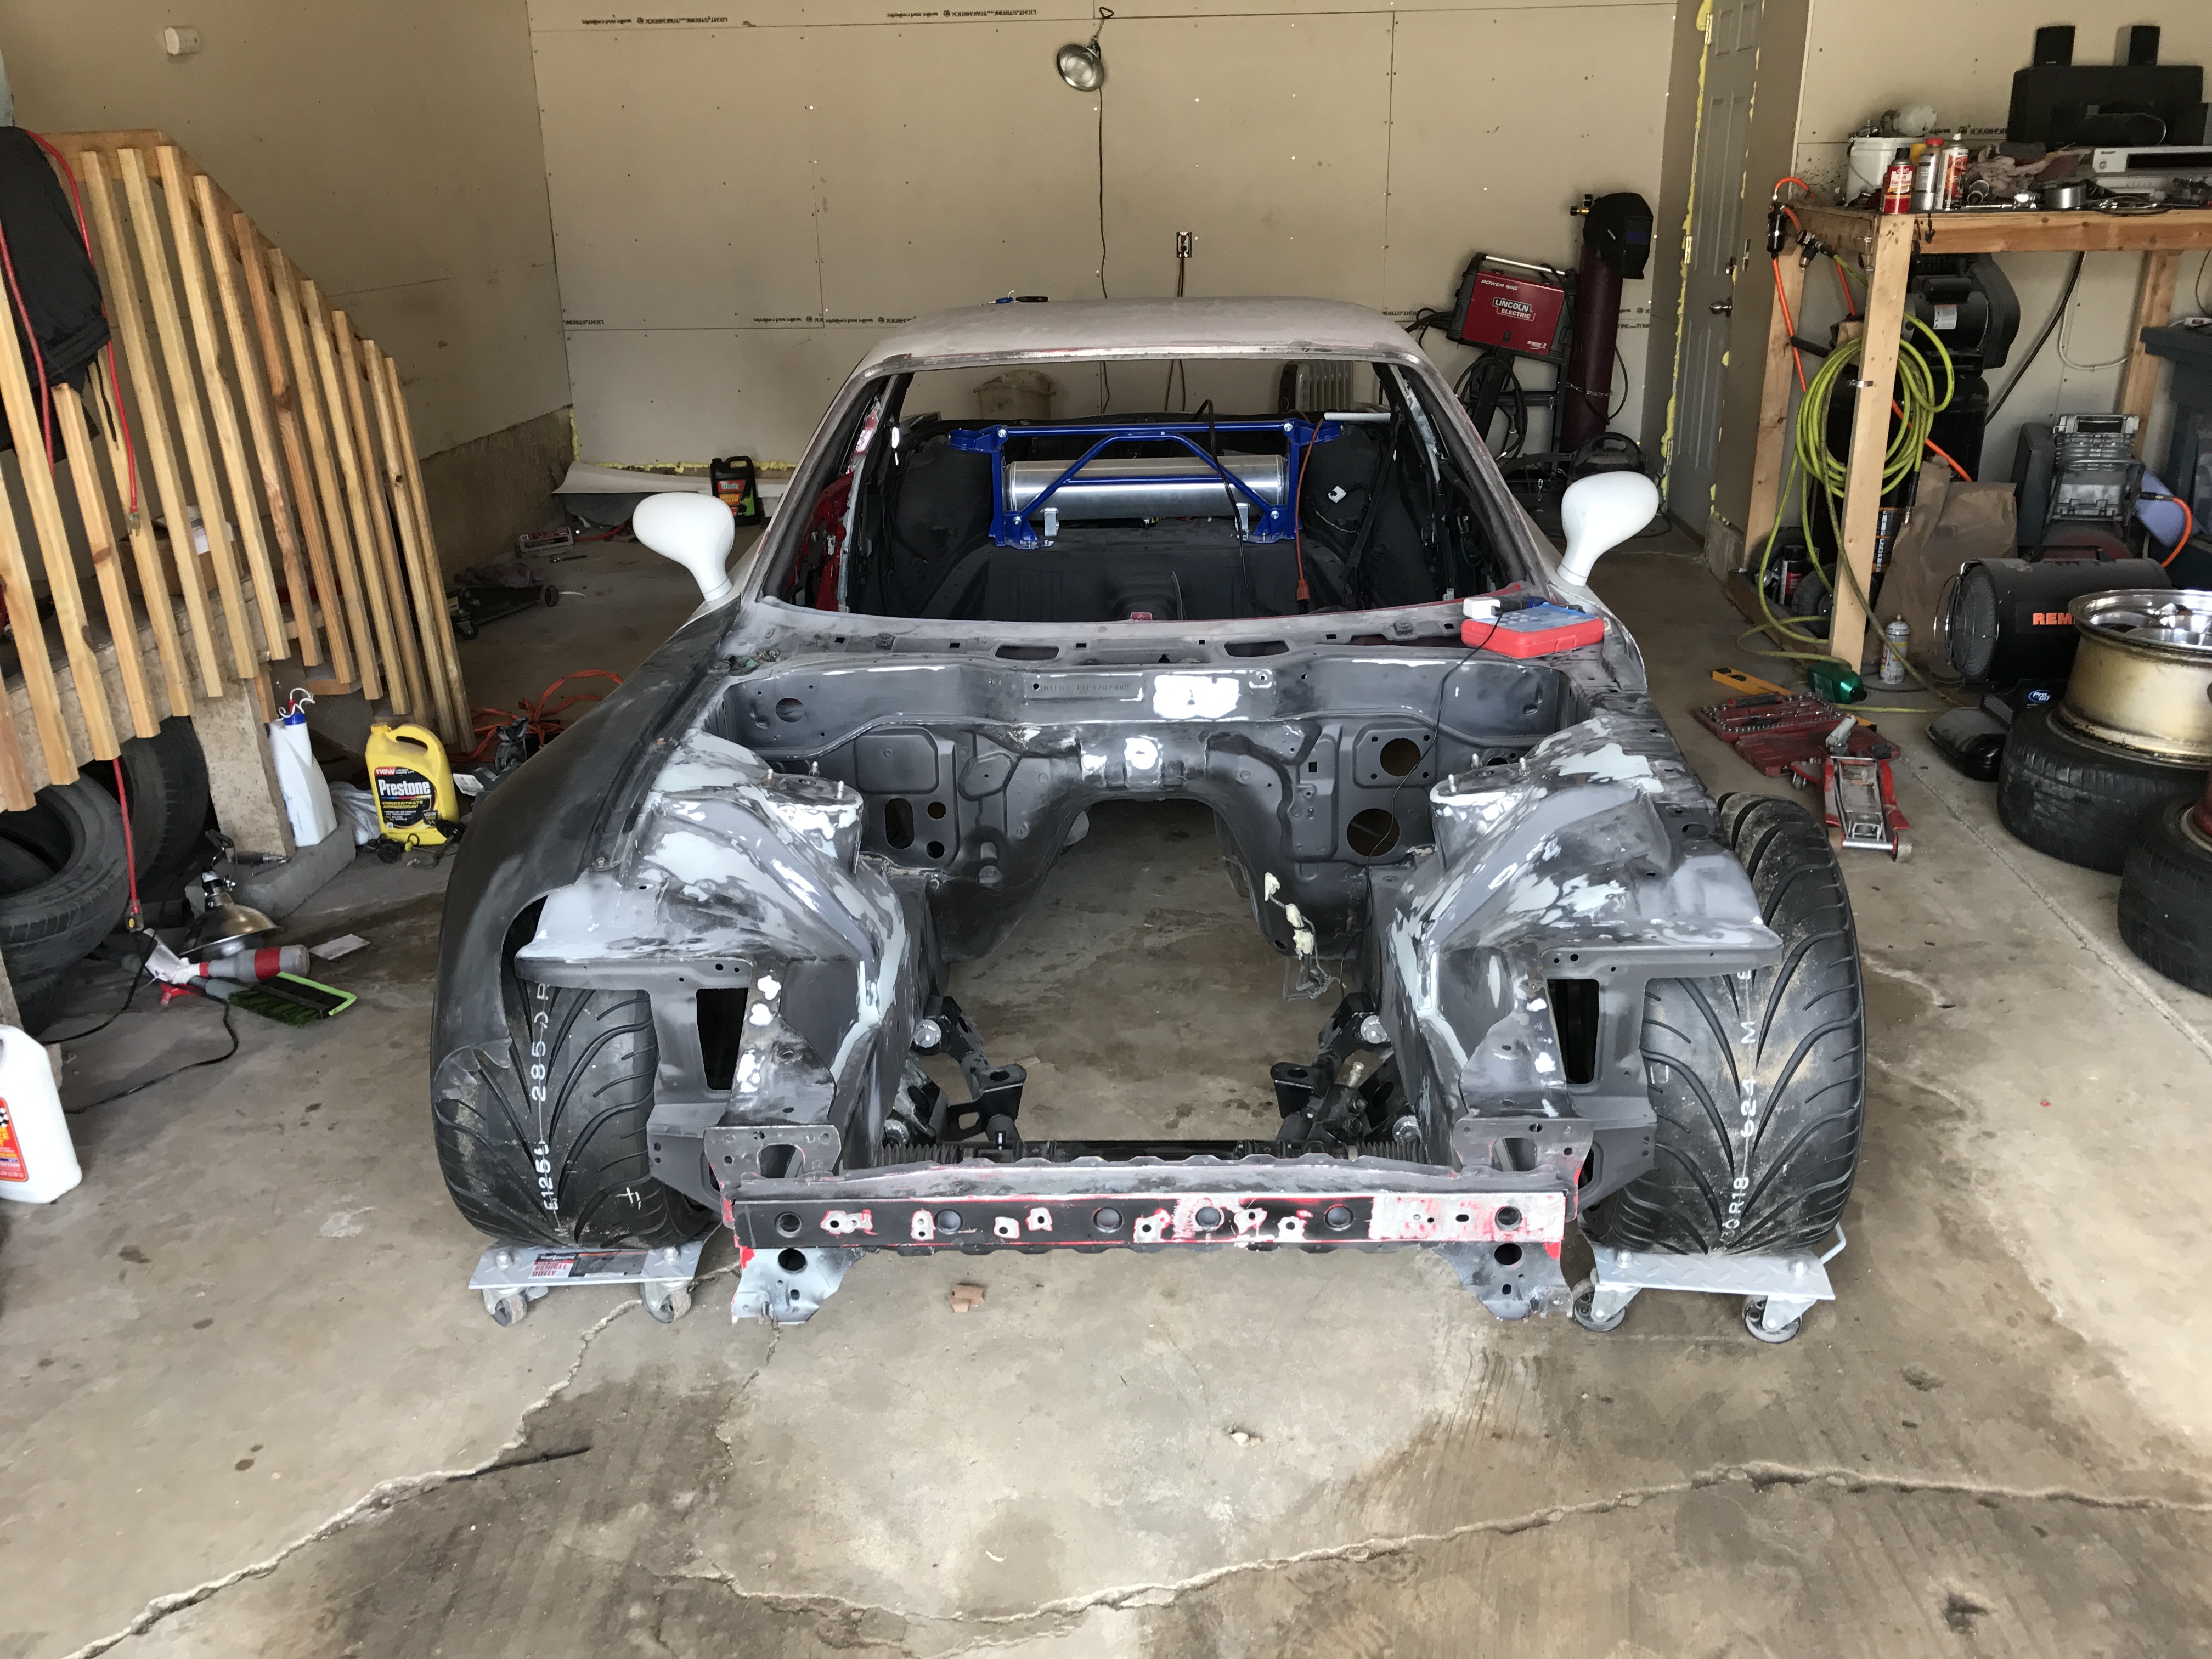
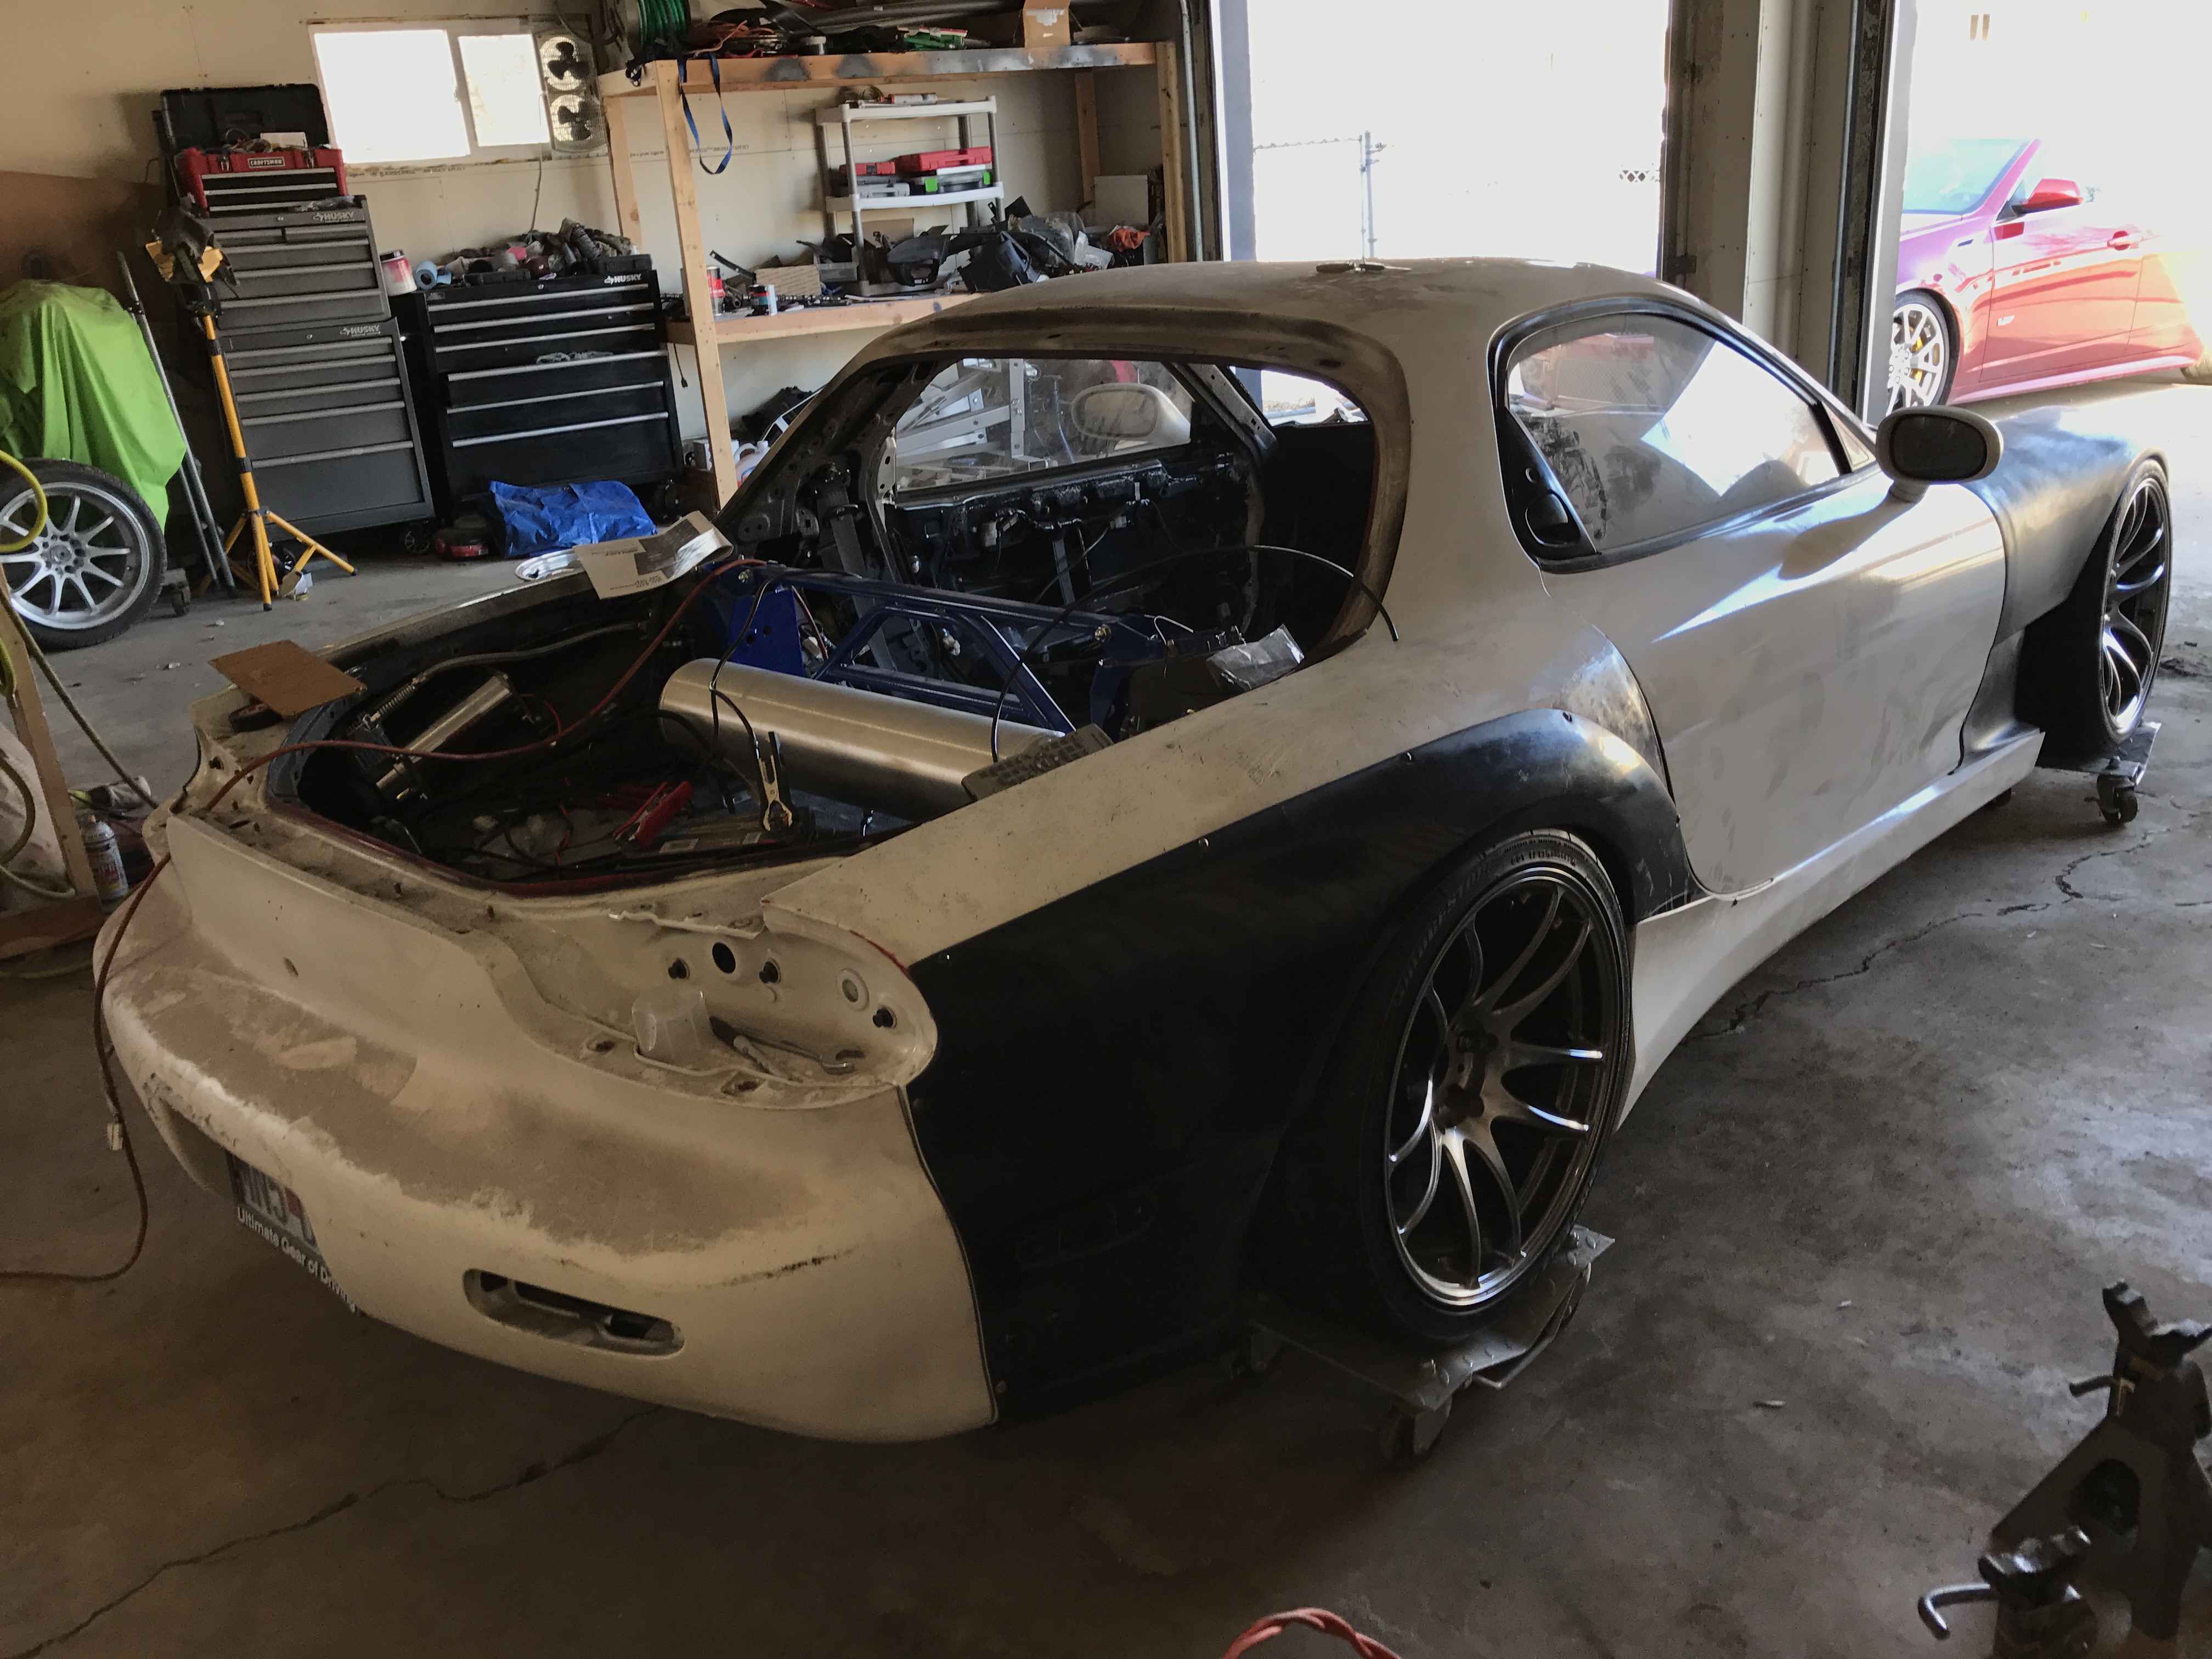
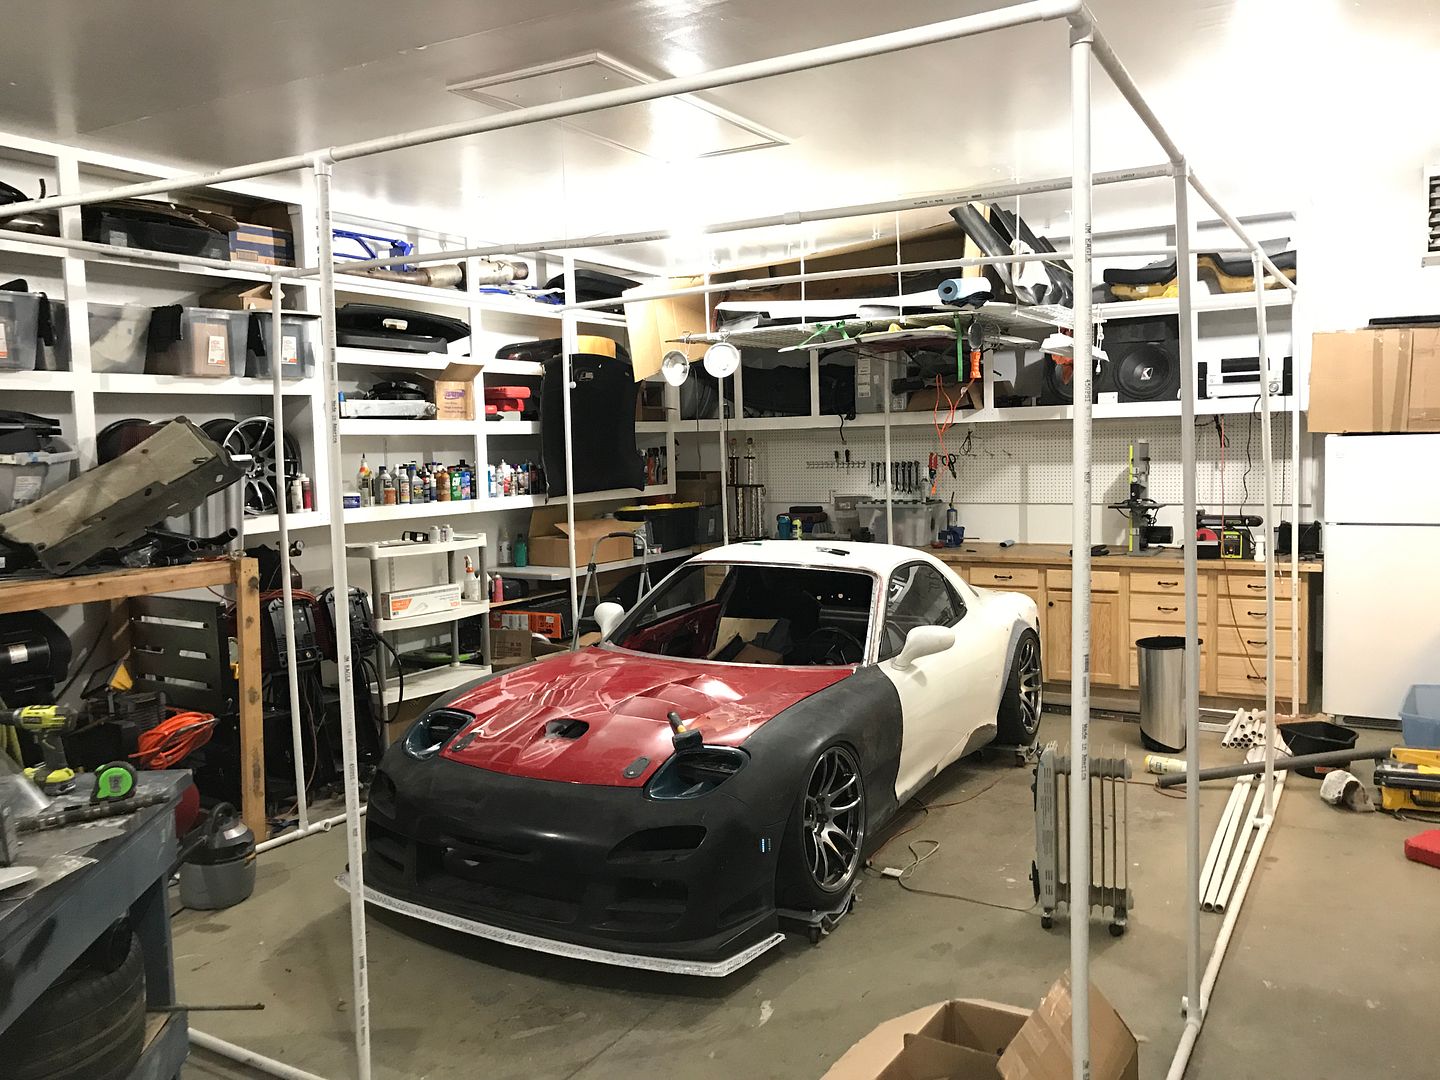
In other news though, more FD stuff! The weather is warming up a bit here and I convinced the wife to let me use all of the garage! That means the FD gets to come out of the corner for the first time in over a year
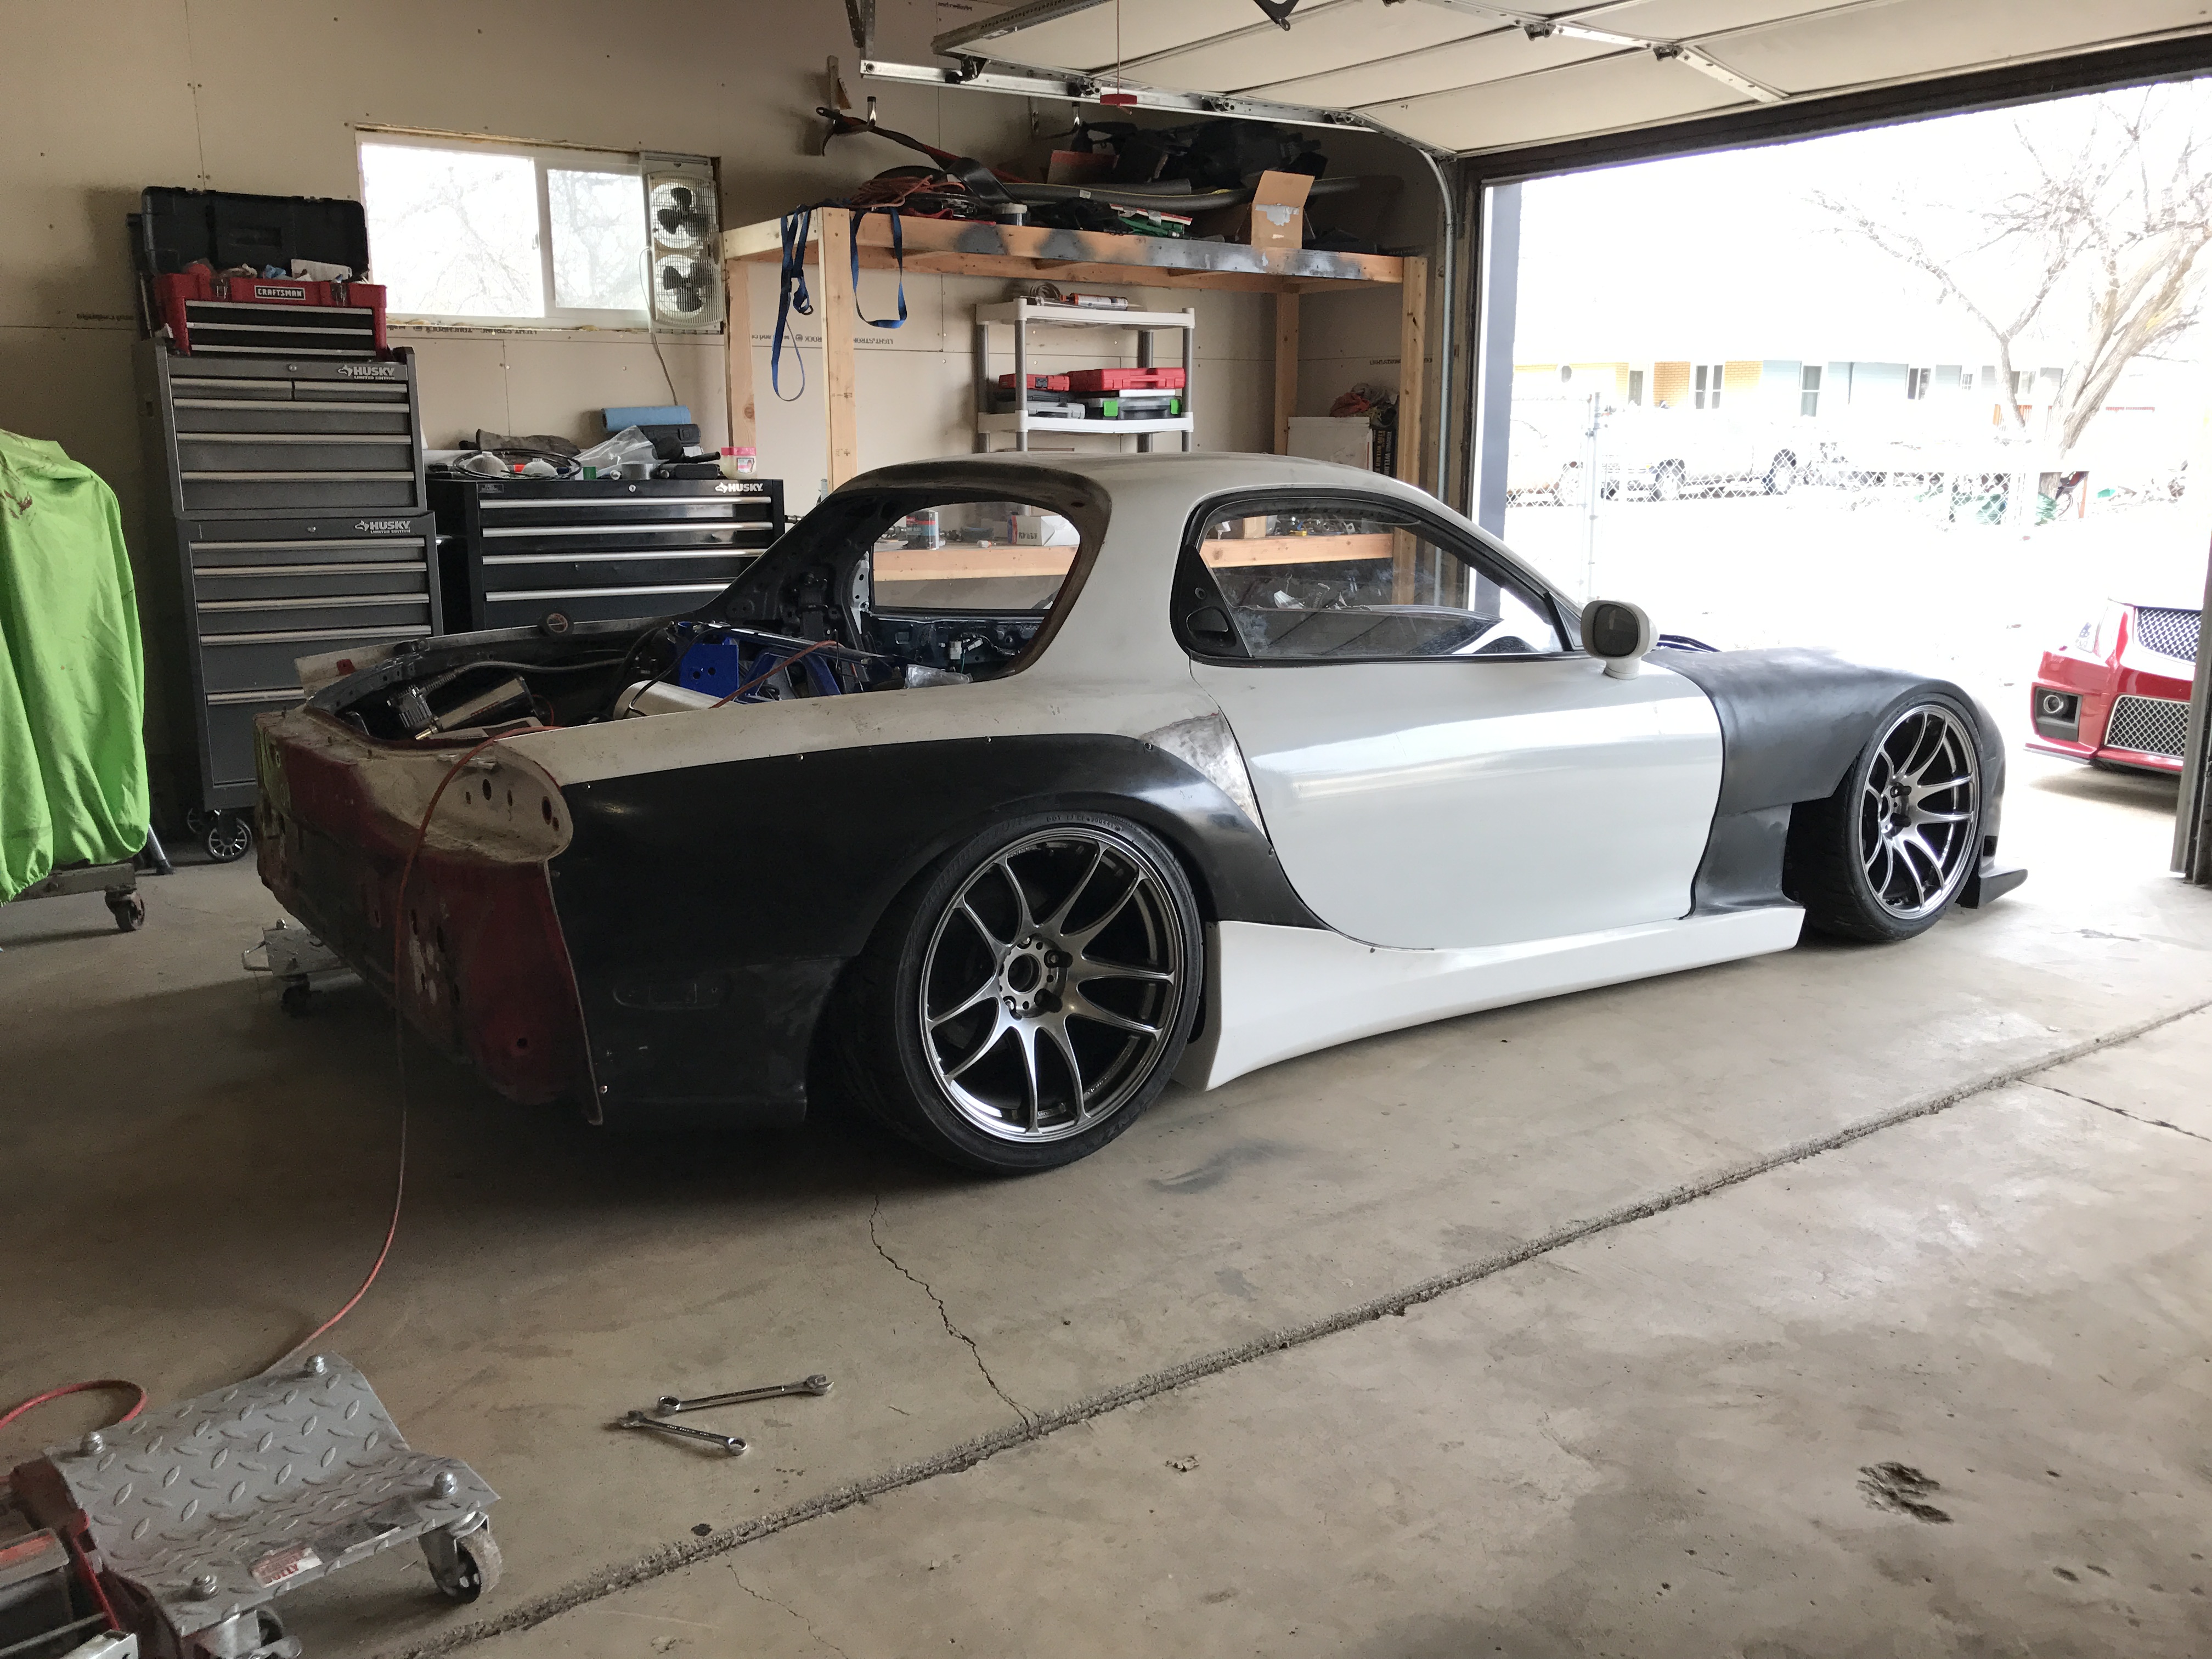
And its on the ground...er, dollies. That also means the air setup is working

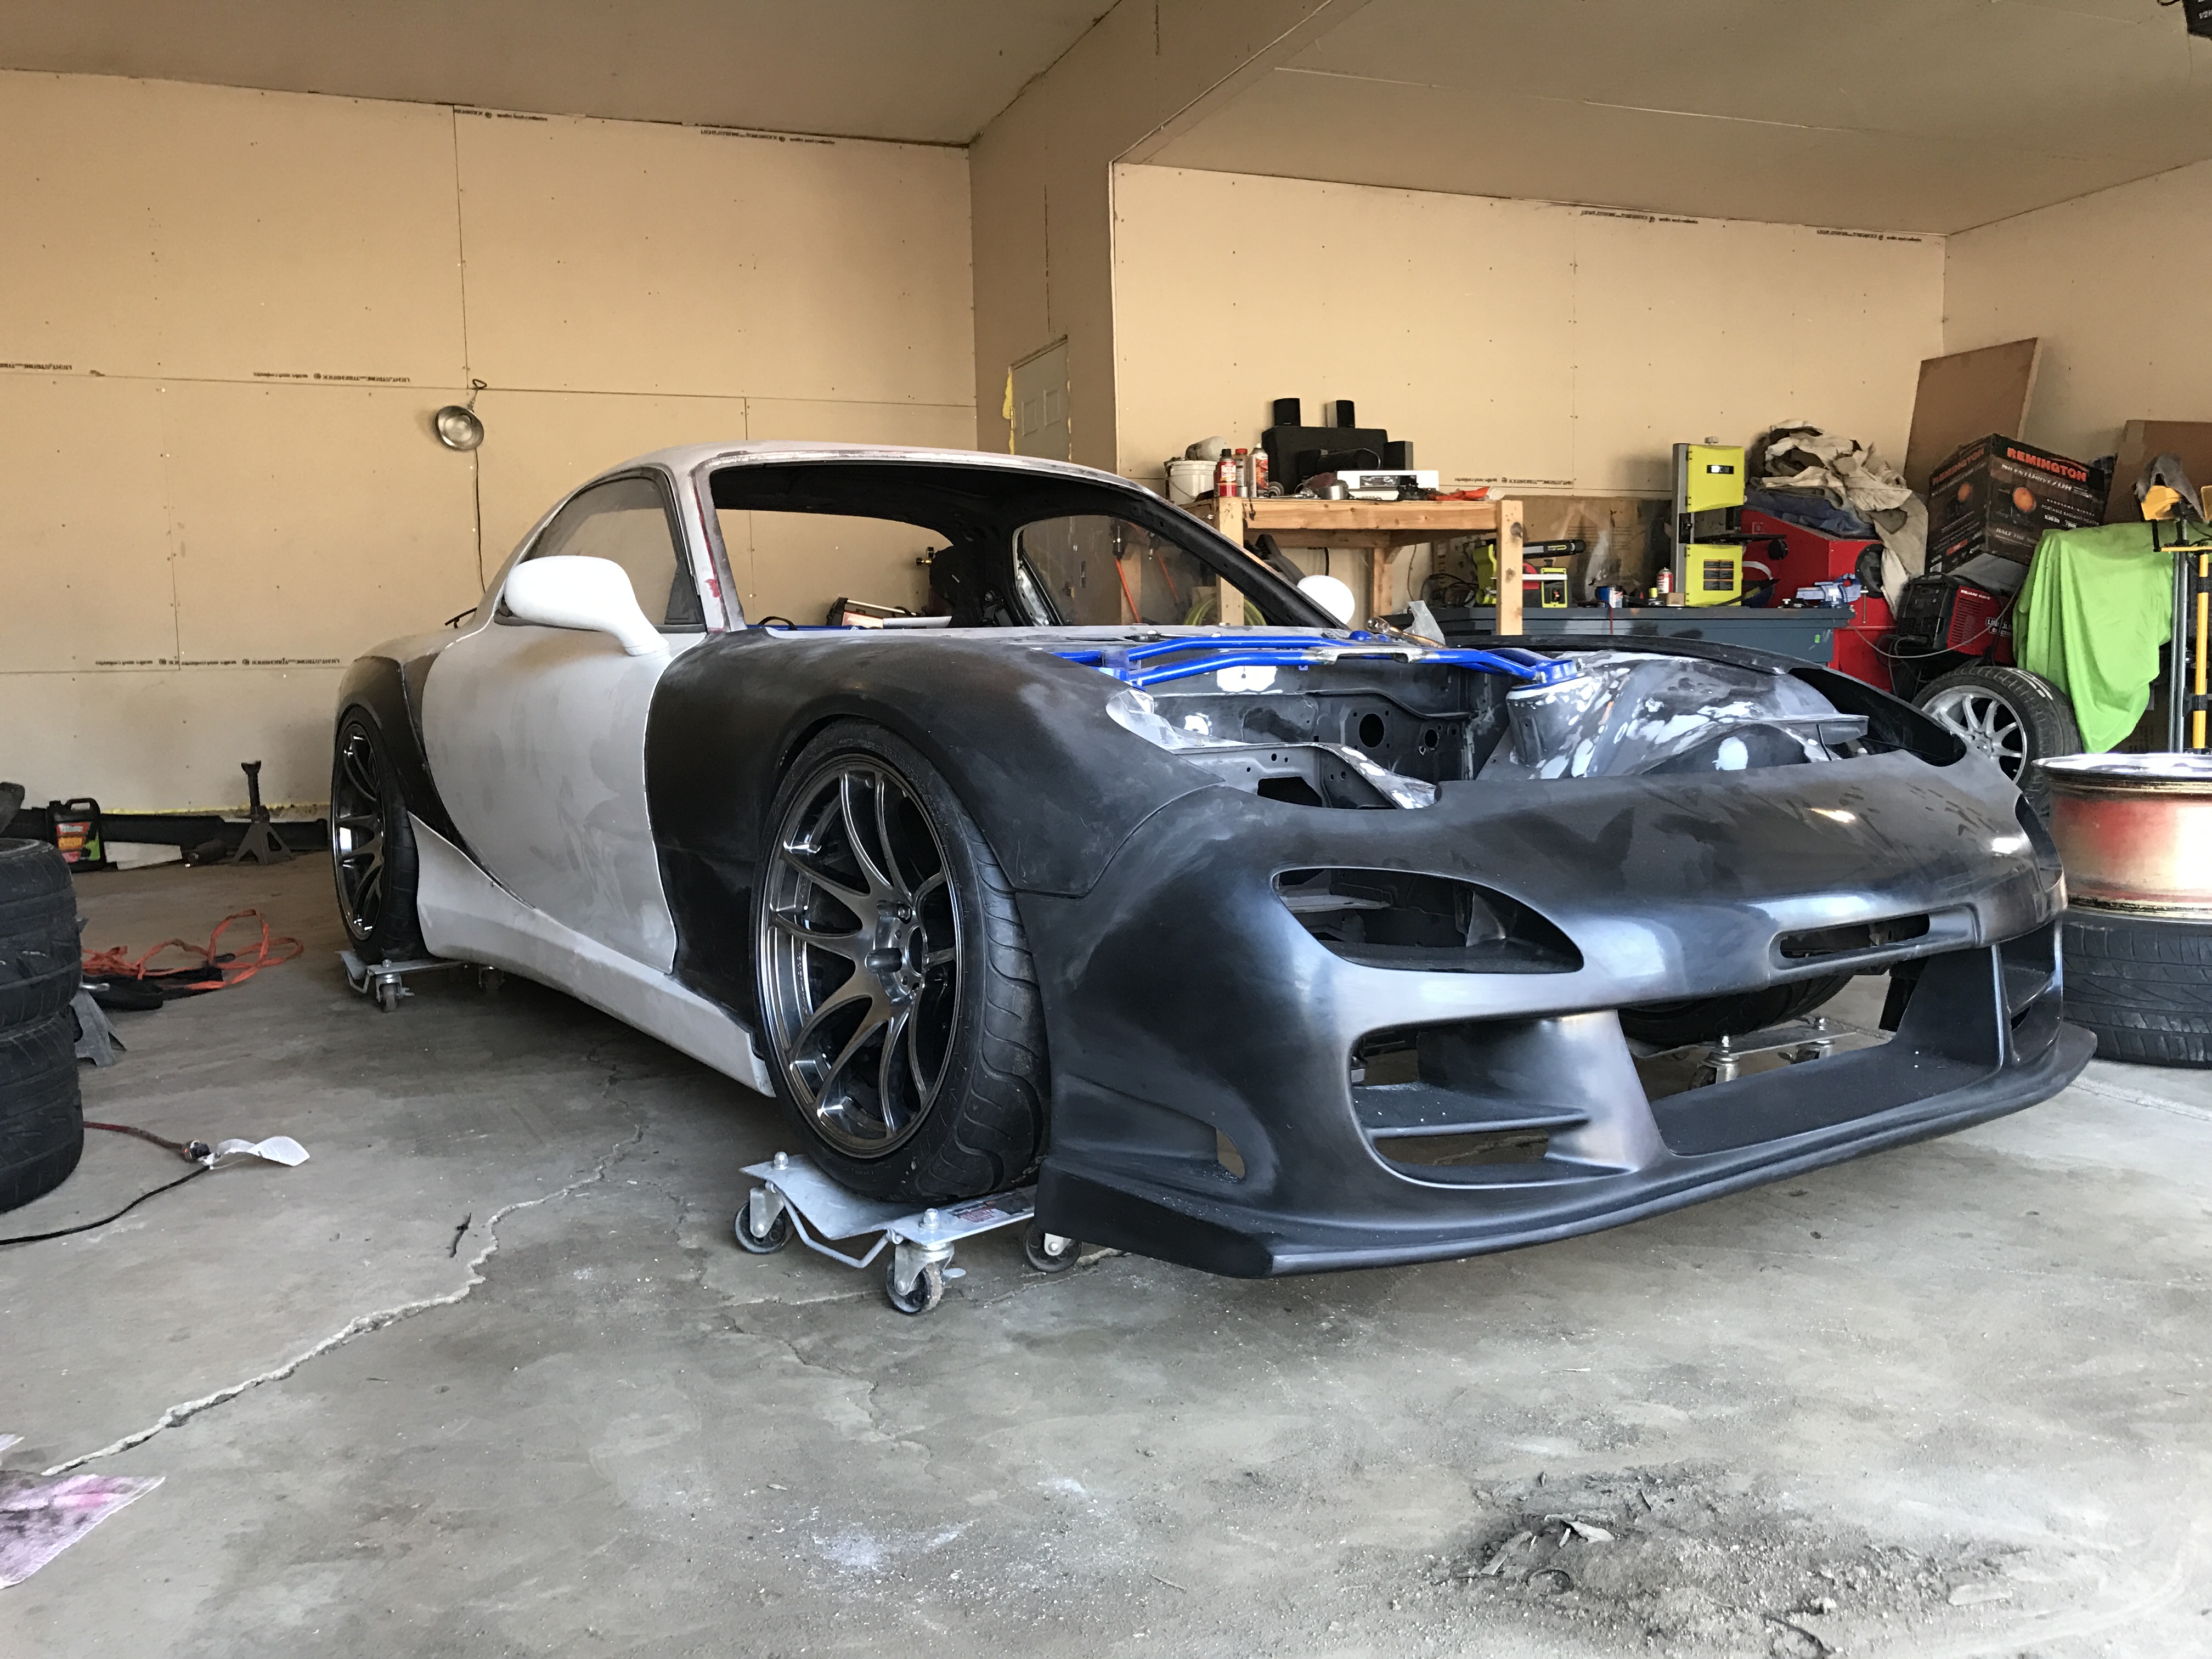
Mounted the front bumper to get more of a visual of the finished product, loving it!

Chipped the paint on both wheels


Whatever, I've had terrible luck with every shop I have gone to here and am ready for a change. I'll be headed to Great Falls, Montana in August though! Not the base we wanted (only had two choices, but this was the one we wanted less), but we are looking forward to the move. We plan to buy a house there so my mod money has decreased quite a bit to prepare for that.
In other news though, more FD stuff! The weather is warming up a bit here and I convinced the wife to let me use all of the garage! That means the FD gets to come out of the corner for the first time in over a year
And its on the ground...er, dollies. That also means the air setup is working


Mounted the front bumper to get more of a visual of the finished product, loving it!

 04-08-17, 10:13 PM
#112
Full Member
Thread Starter
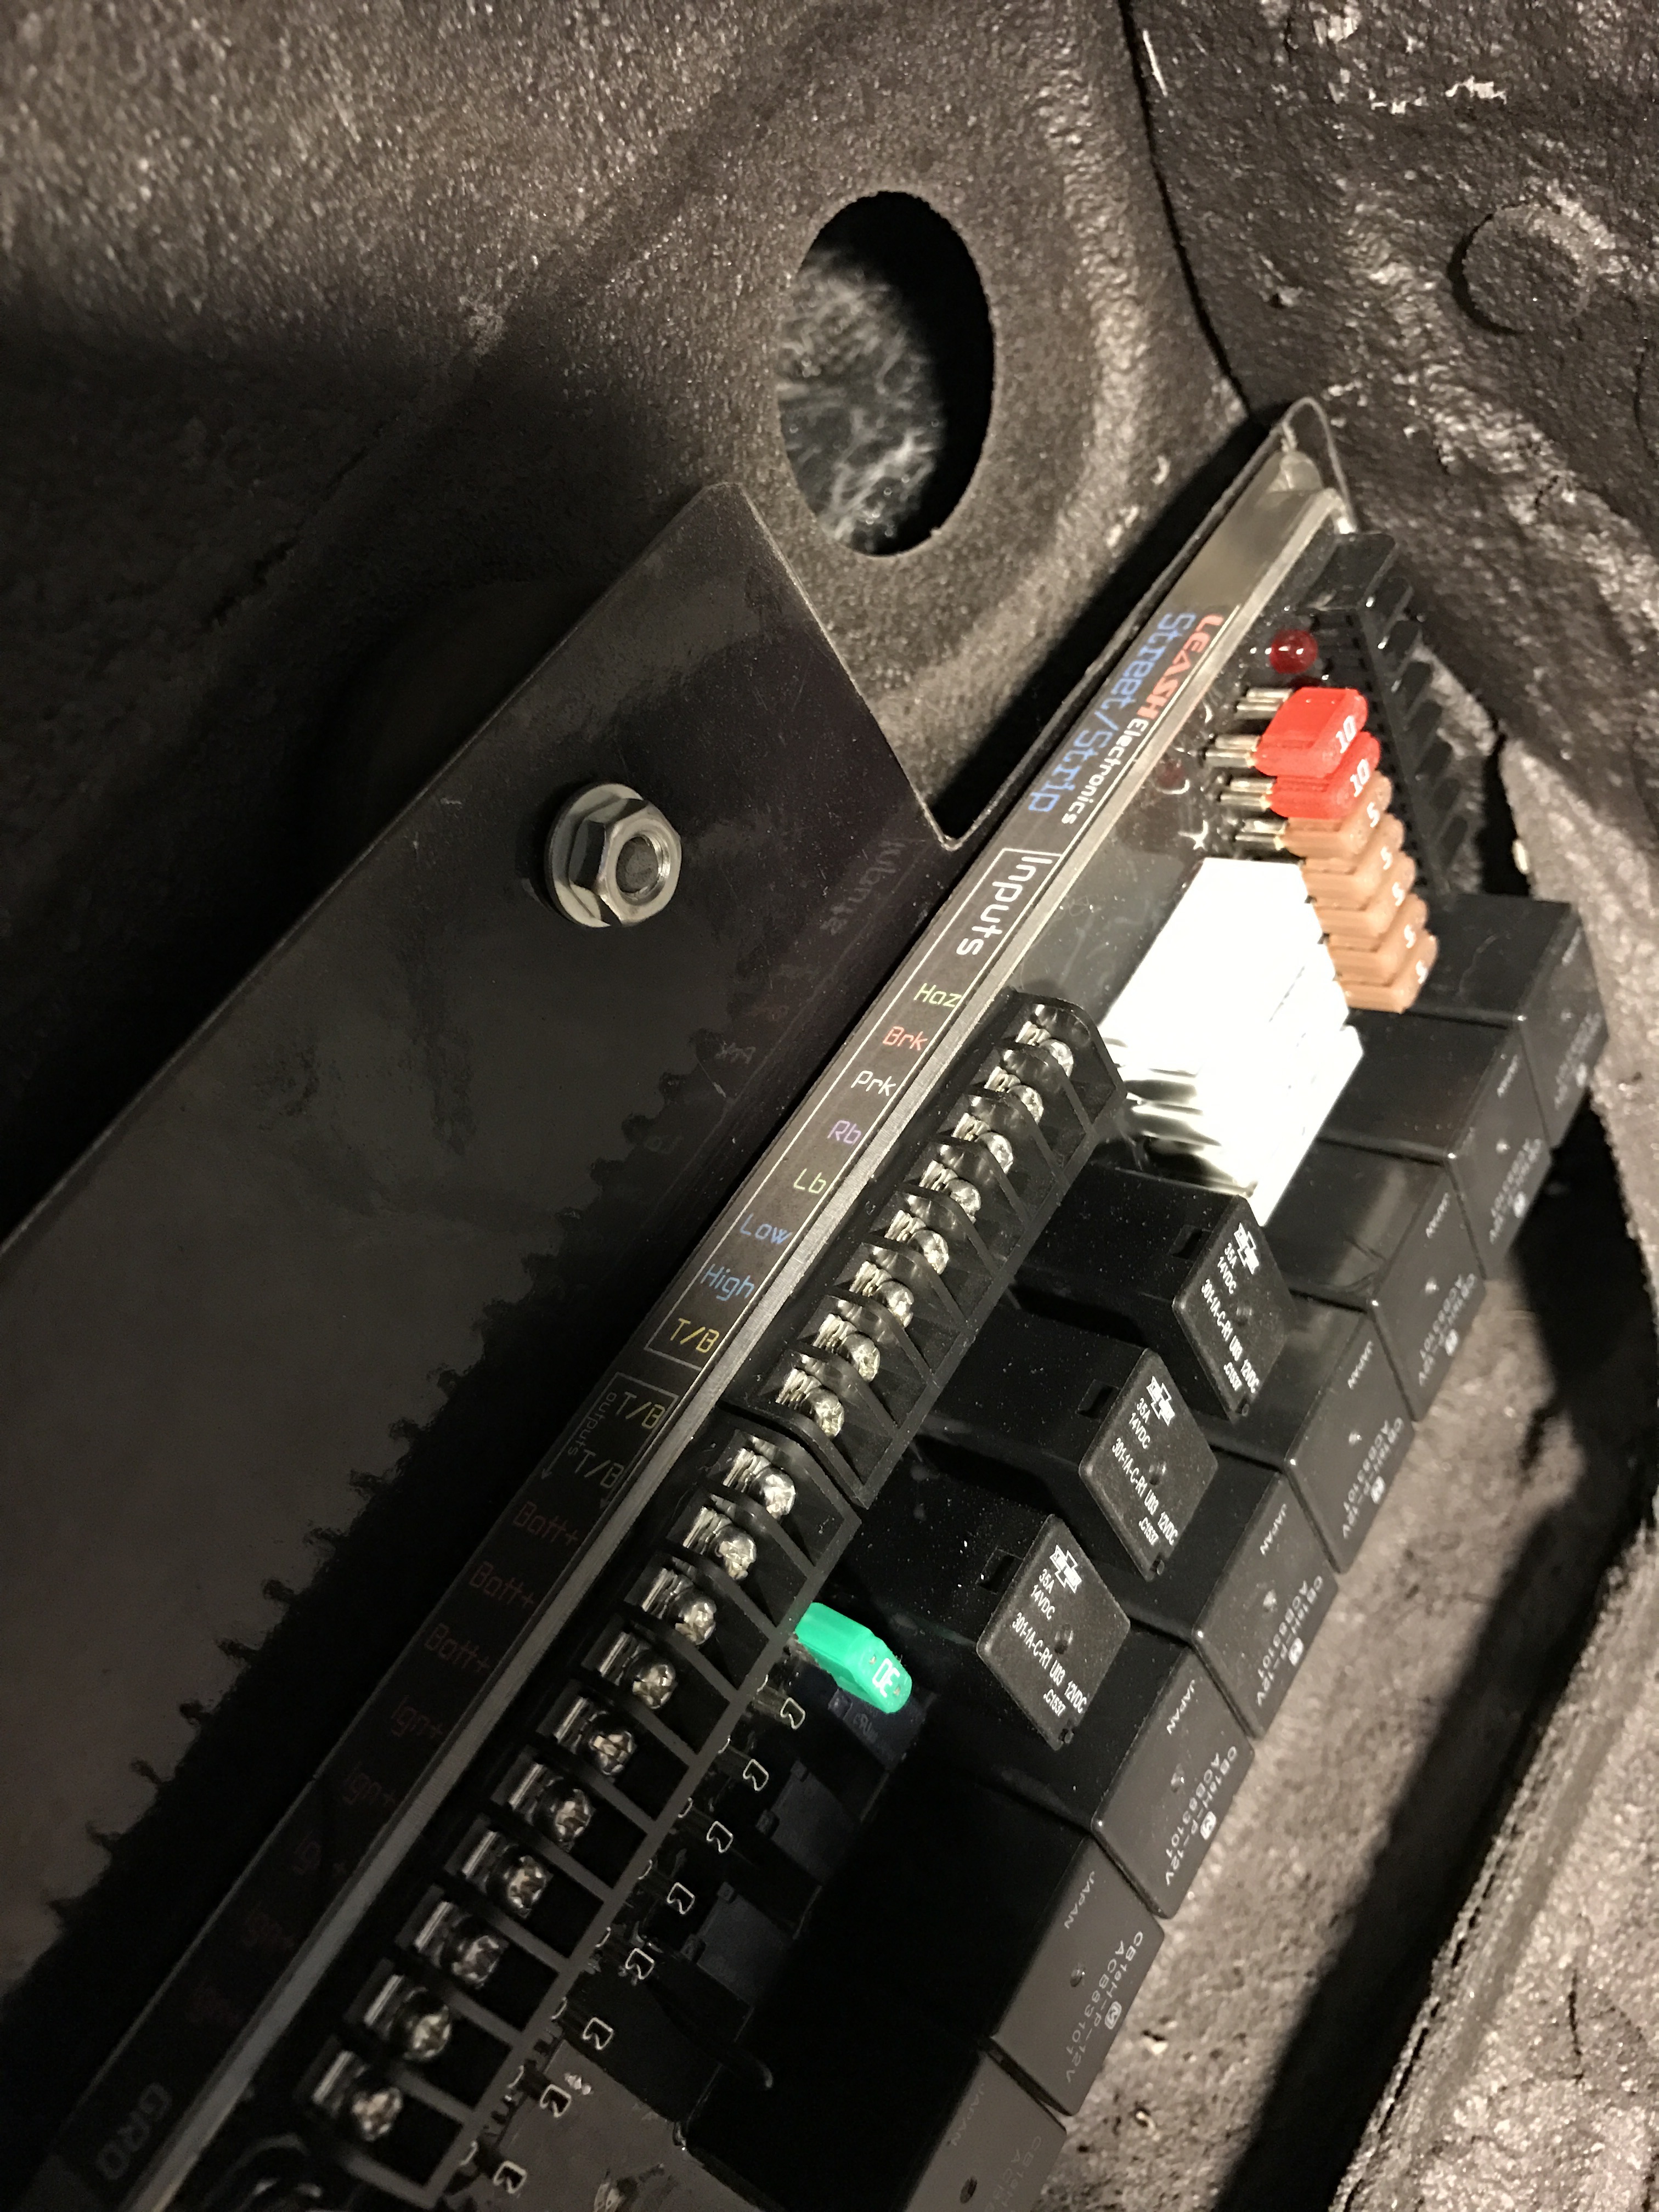
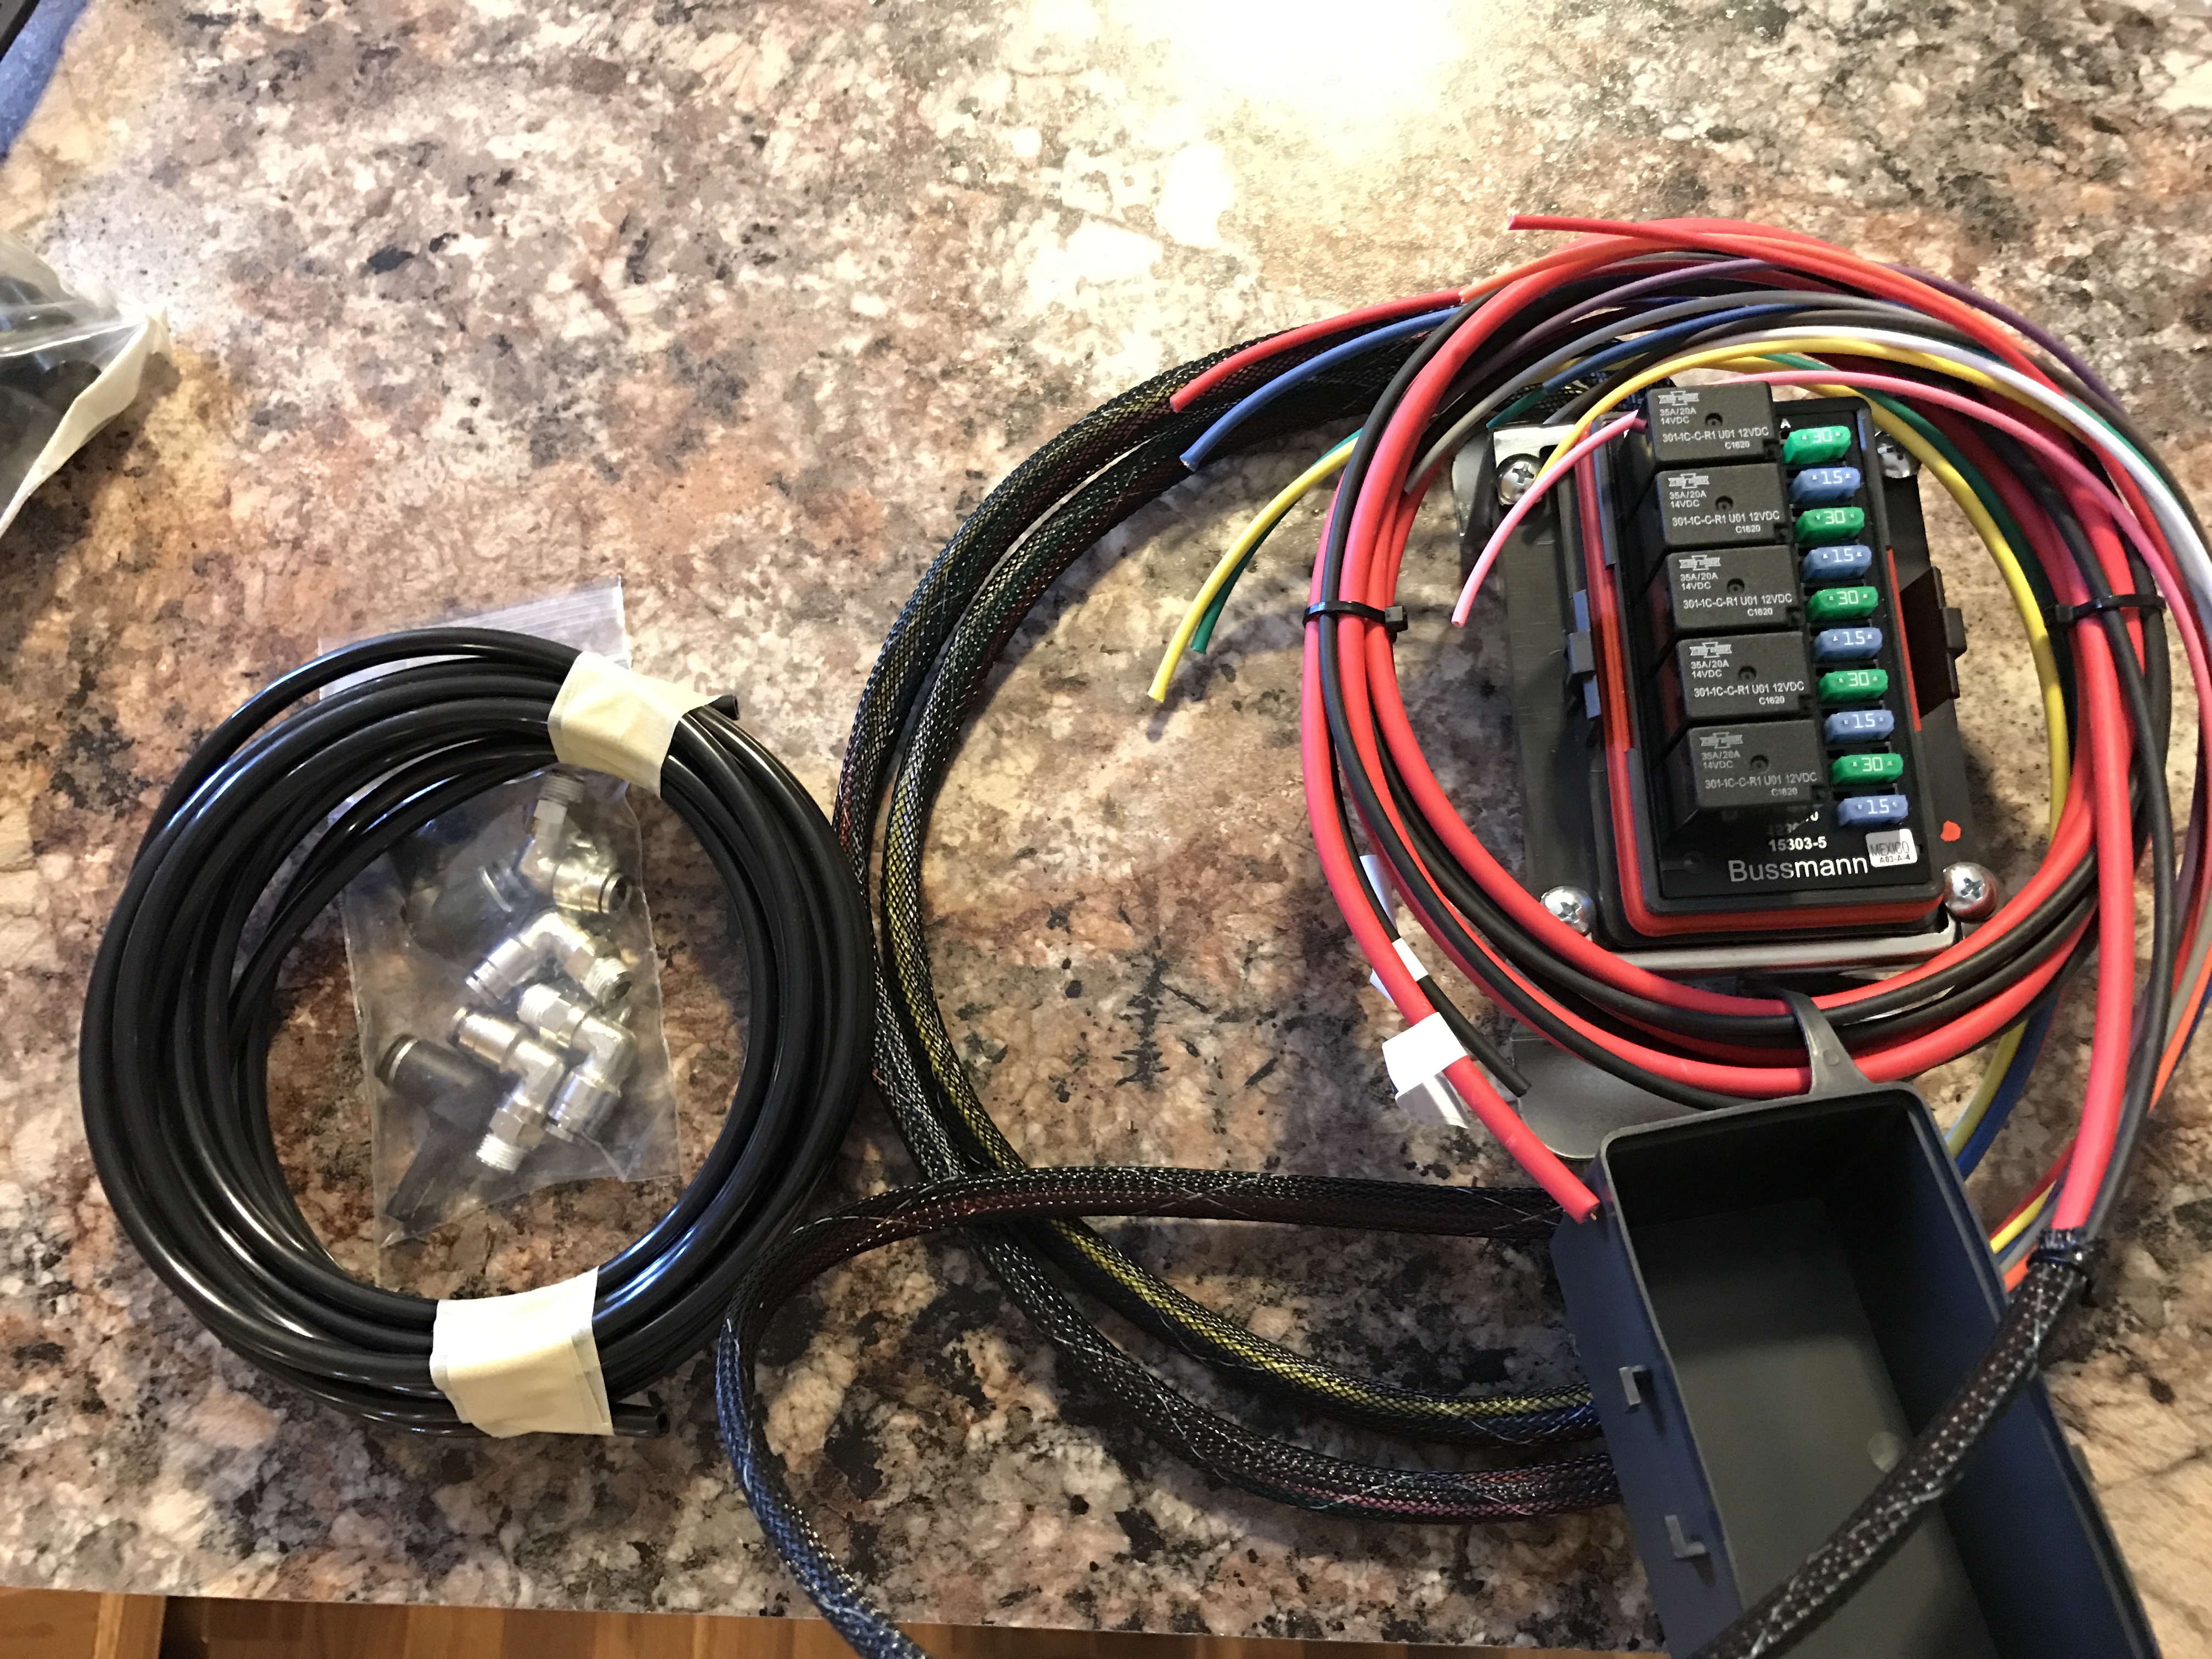
Got my body fuse box mounted (Leash Electronics Street/Strip Board) in the driver footwell and am going to start working on planning the wiring and tracing wires soon. I also ordered the ecu/drivetrain fuse box and am currently working out where to mount that one. I am pretty impressed with the quality of it though! EBay special there.
I ordered a new soldering iron this time around. I want all of the solders to be perfect so I figured a brand new quality unit would be best to use. My other soldering irons were cheap ones and didnt work the greatest.
I've been wanting to get the rear bumper off forever now and finally got around to doing it. The studs for the factory crash bar all snapped off so Ill need to weld on some new ones or something if I want to fab up a bash bar for the car.
Moving on to some more air related items. I didn't account for the lines moving up and down on the front struts so they got kinked and bent pretty bad. I ordered new swivel fittings from bagriders and they worked like a freaking charm. Much much happier with the line routing up front now.


I ordered a new soldering iron this time around. I want all of the solders to be perfect so I figured a brand new quality unit would be best to use. My other soldering irons were cheap ones and didnt work the greatest.

I've been wanting to get the rear bumper off forever now and finally got around to doing it. The studs for the factory crash bar all snapped off so Ill need to weld on some new ones or something if I want to fab up a bash bar for the car.

Moving on to some more air related items. I didn't account for the lines moving up and down on the front struts so they got kinked and bent pretty bad. I ordered new swivel fittings from bagriders and they worked like a freaking charm. Much much happier with the line routing up front now.

 04-08-17, 10:13 PM
#113
Full Member
Thread Starter
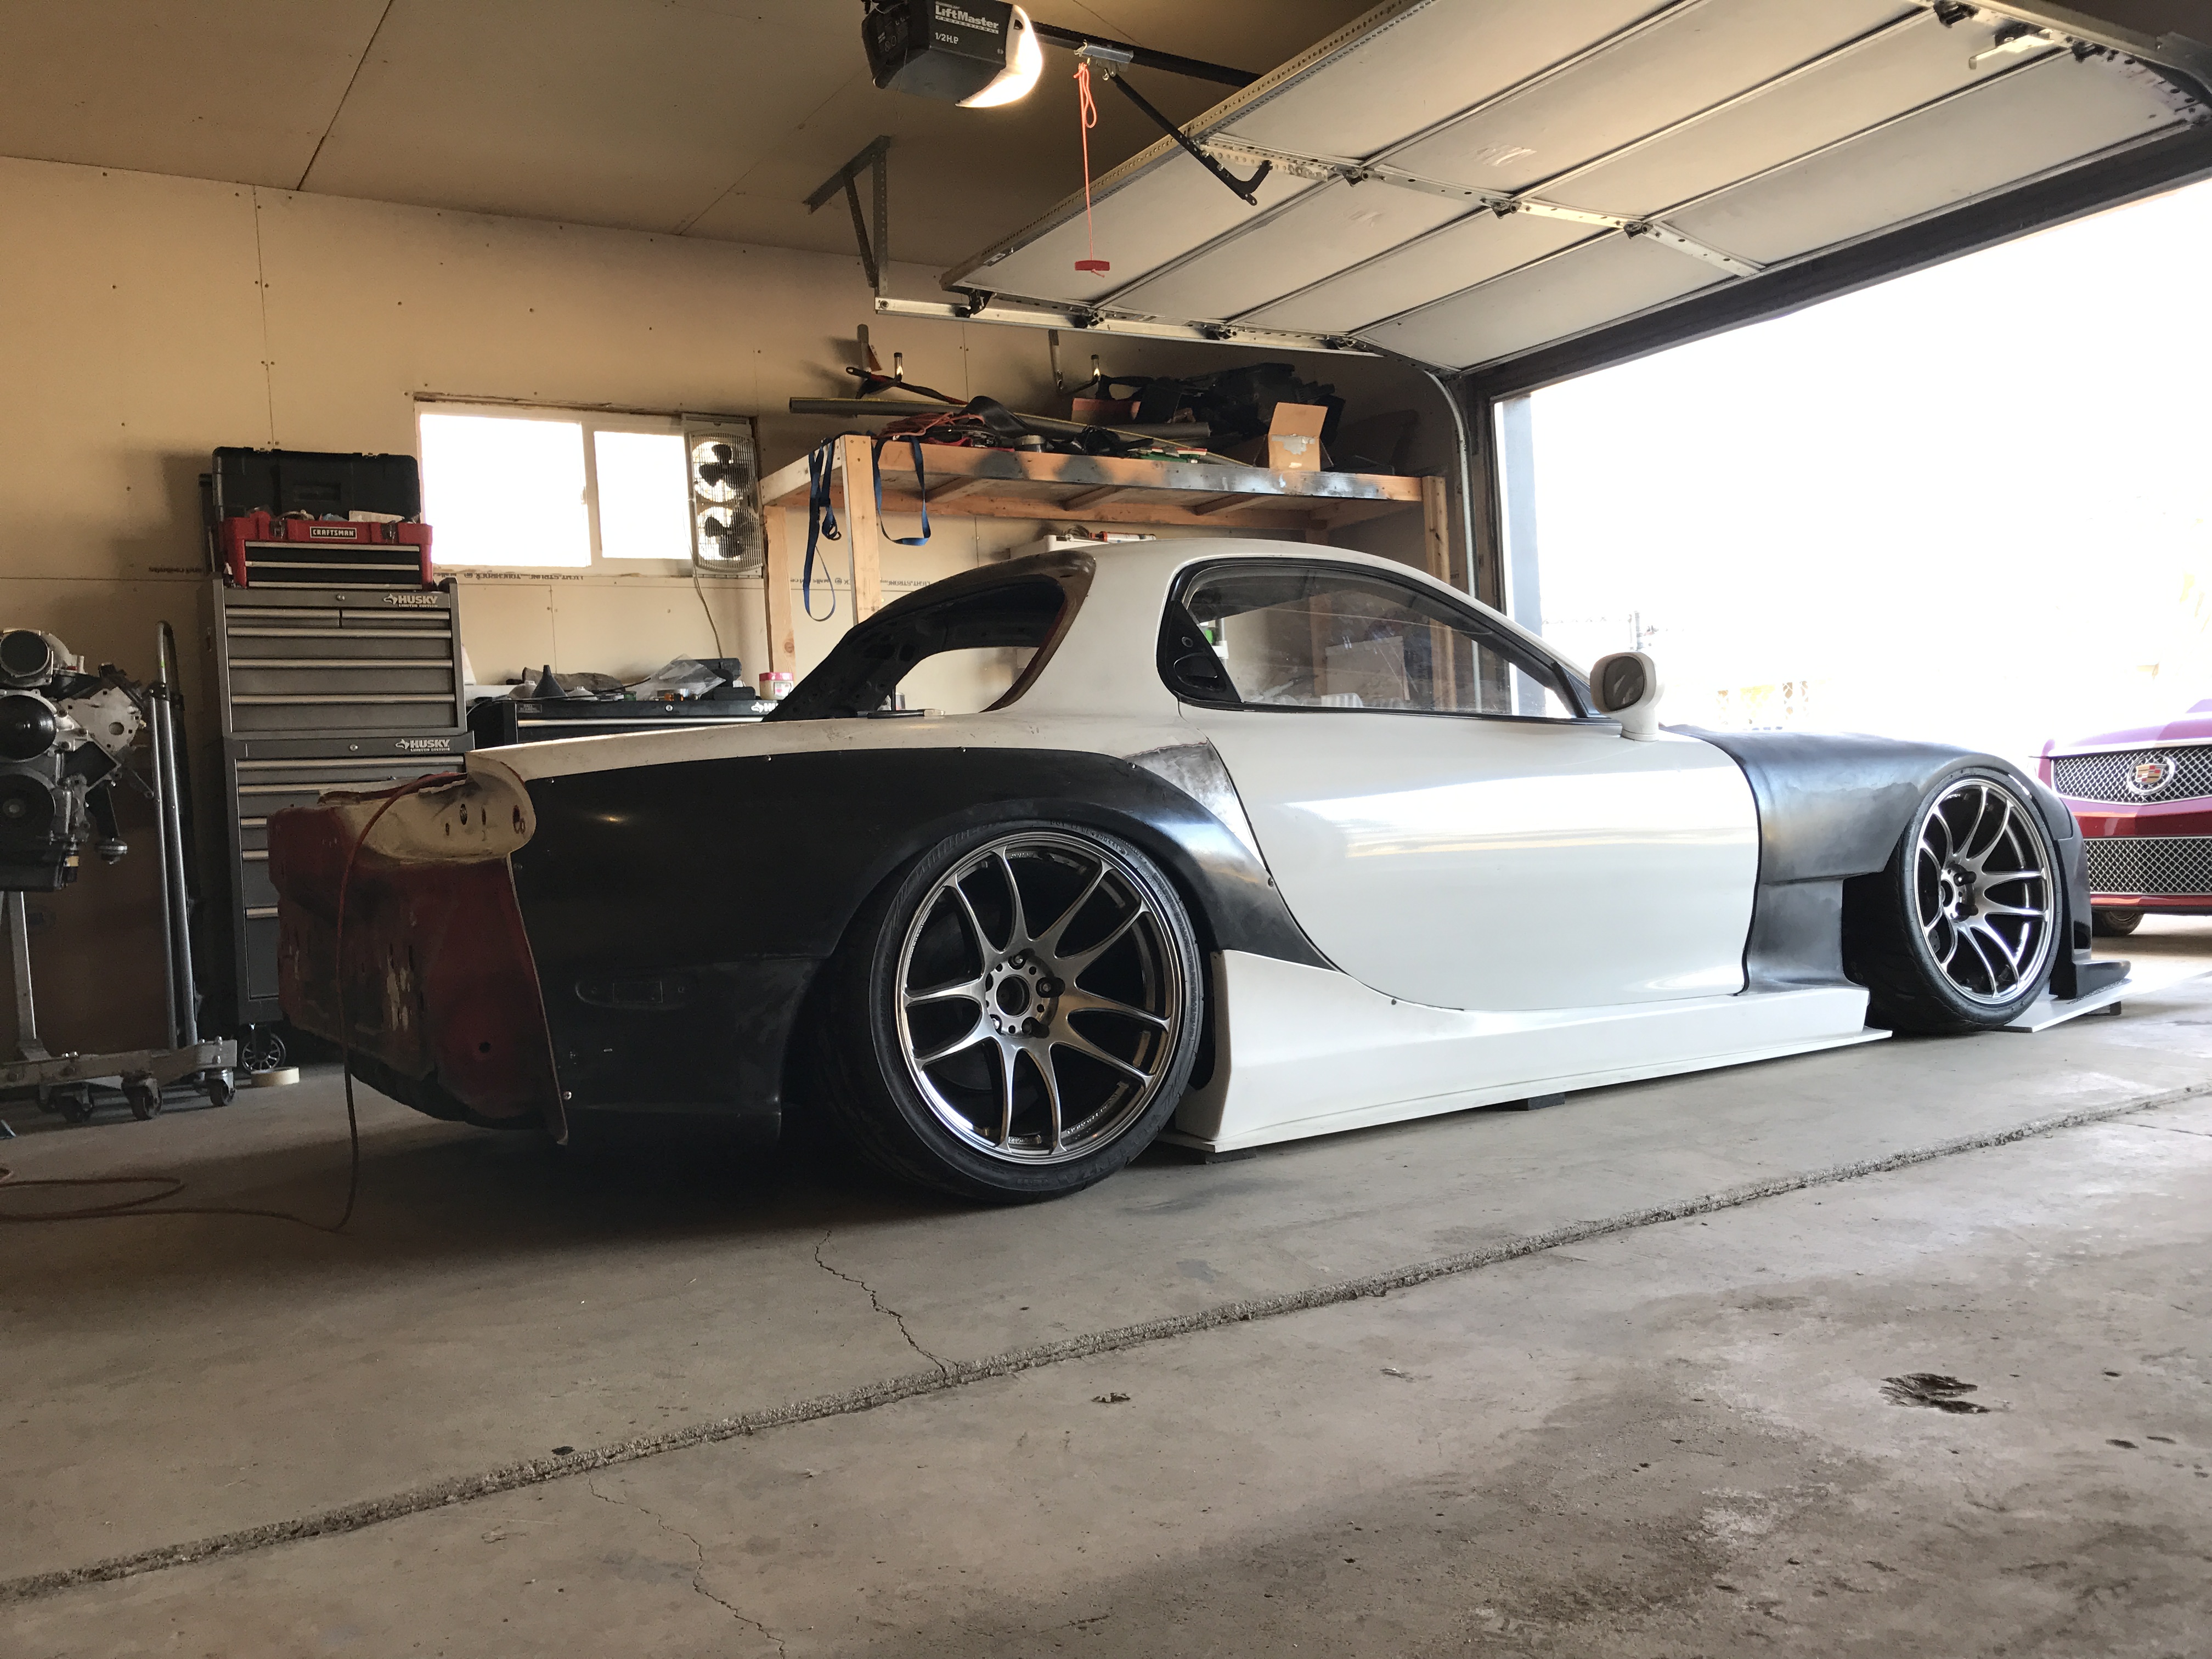
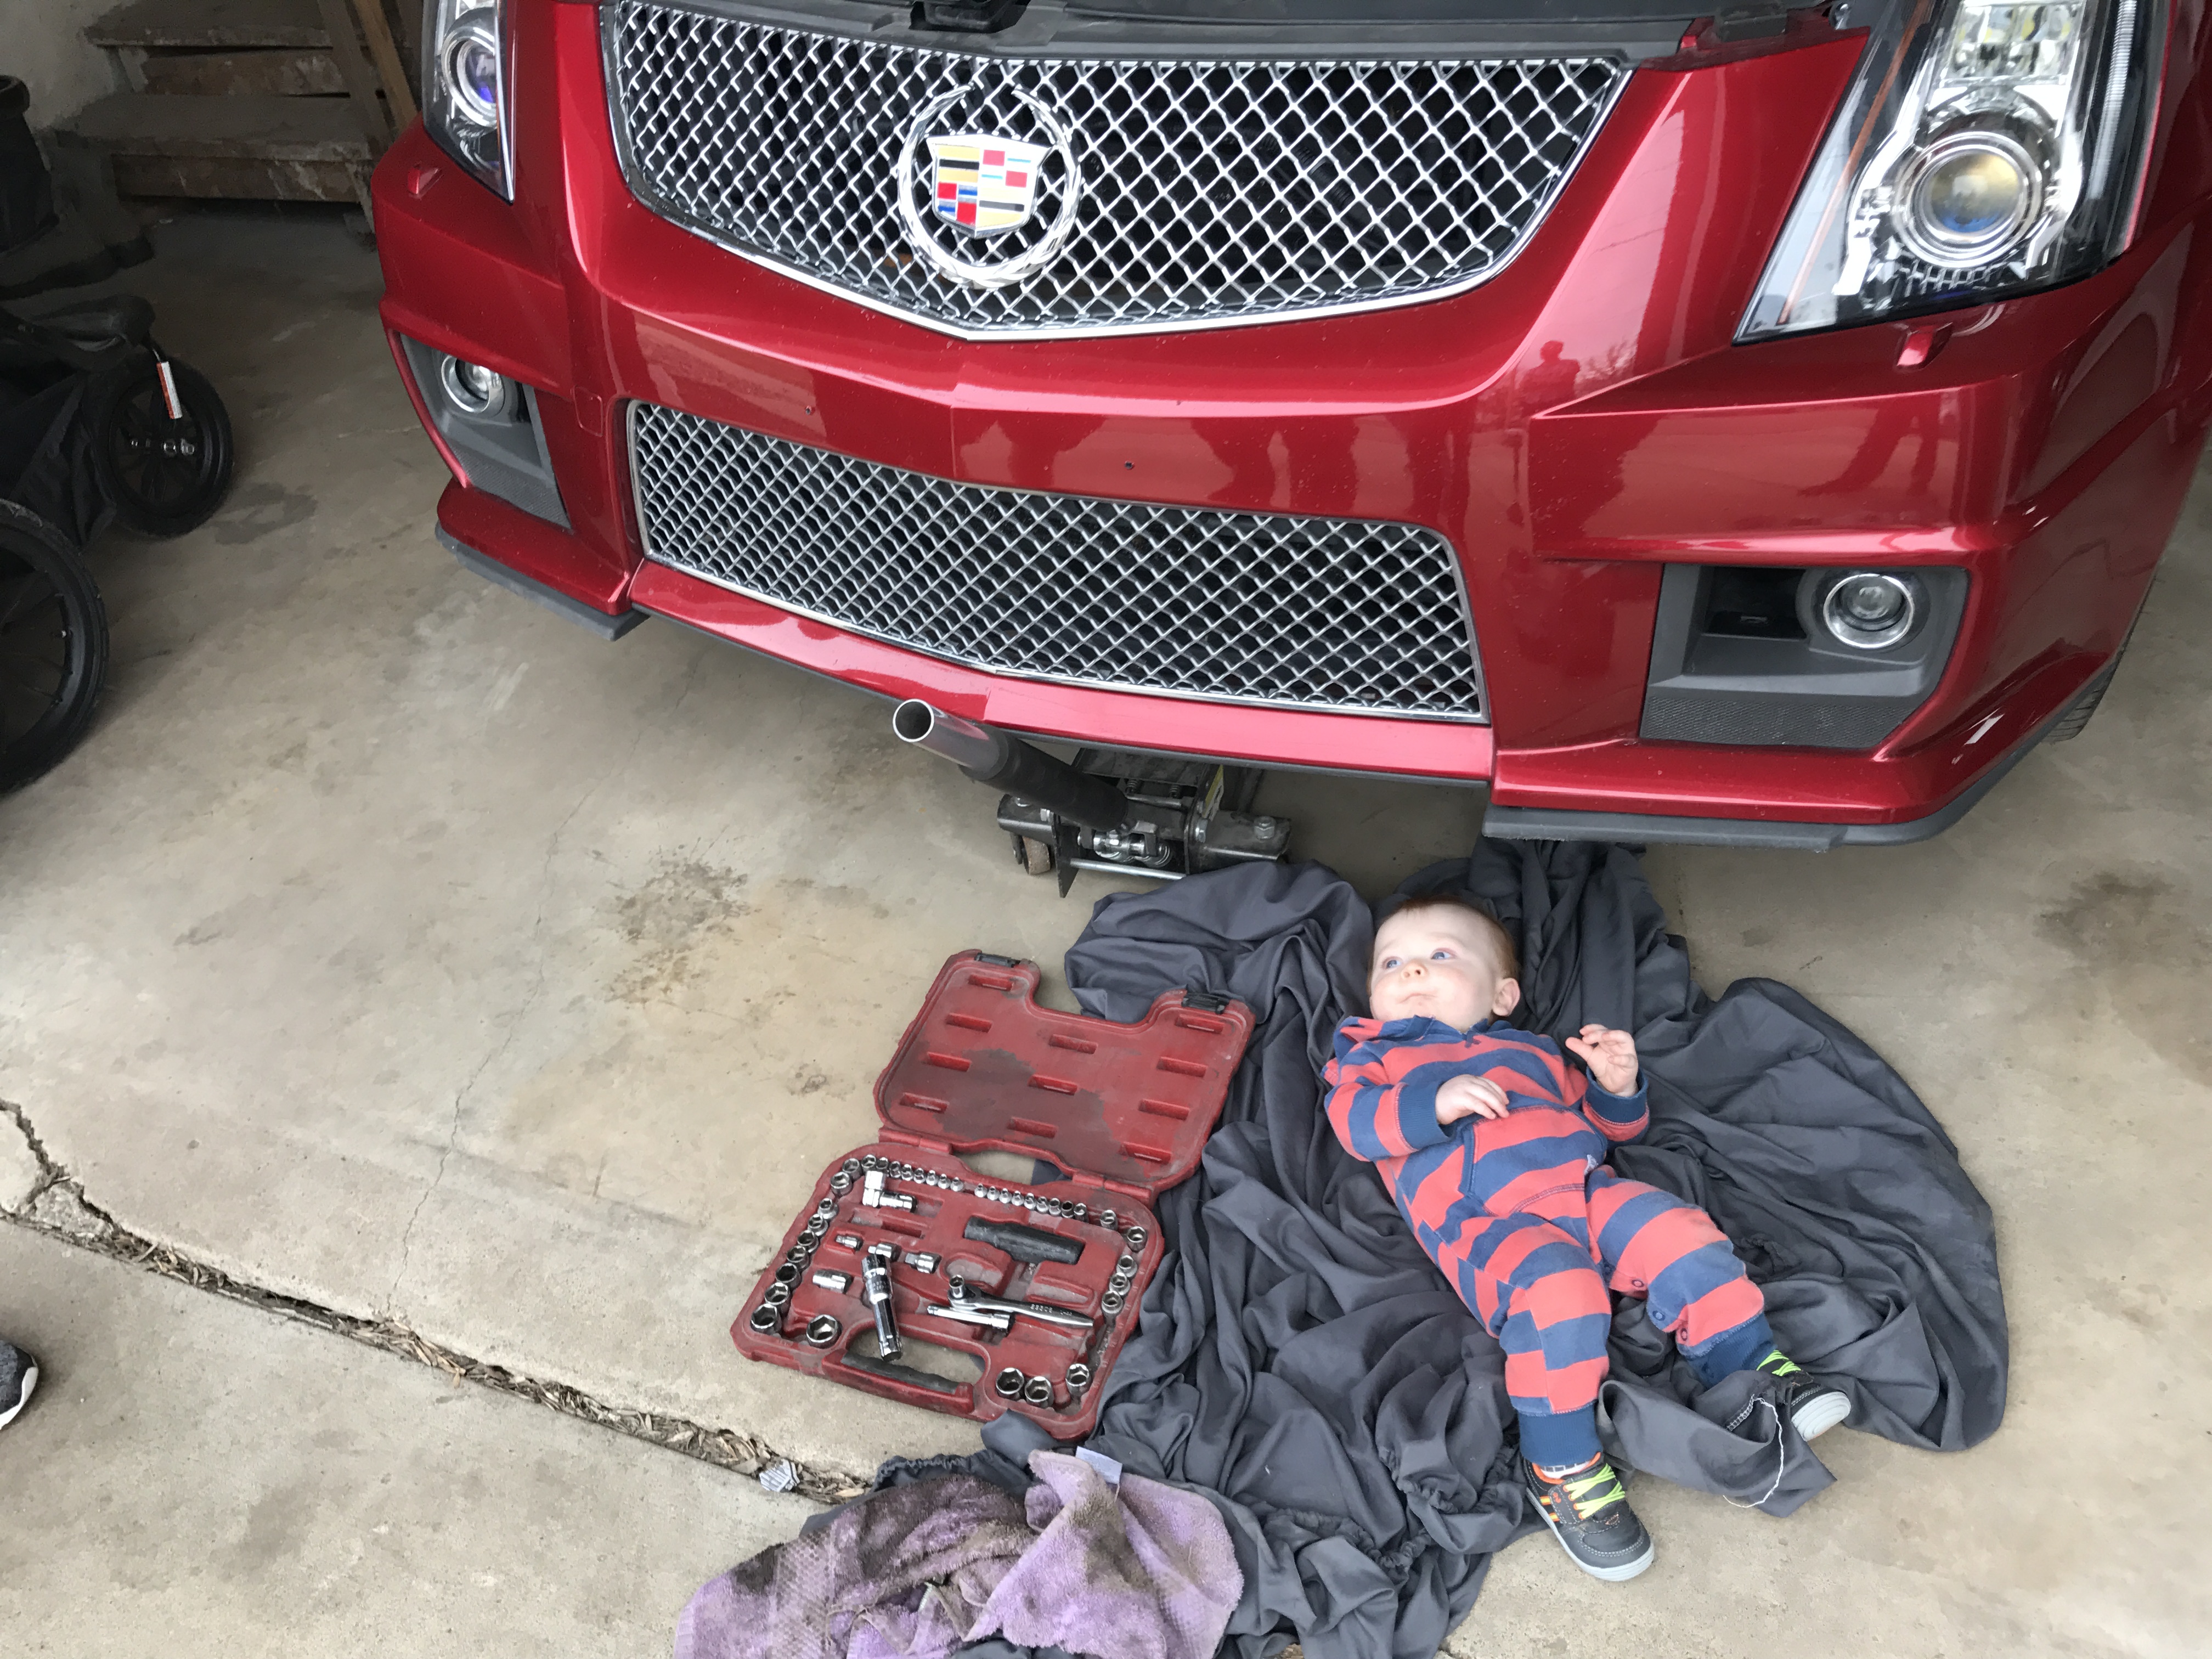
Surprise! Car is on the ground...like fully on the ground, no rollers! All of the ground clearance hahaha

In unrelated news, had my son help me change the oil on my V :p
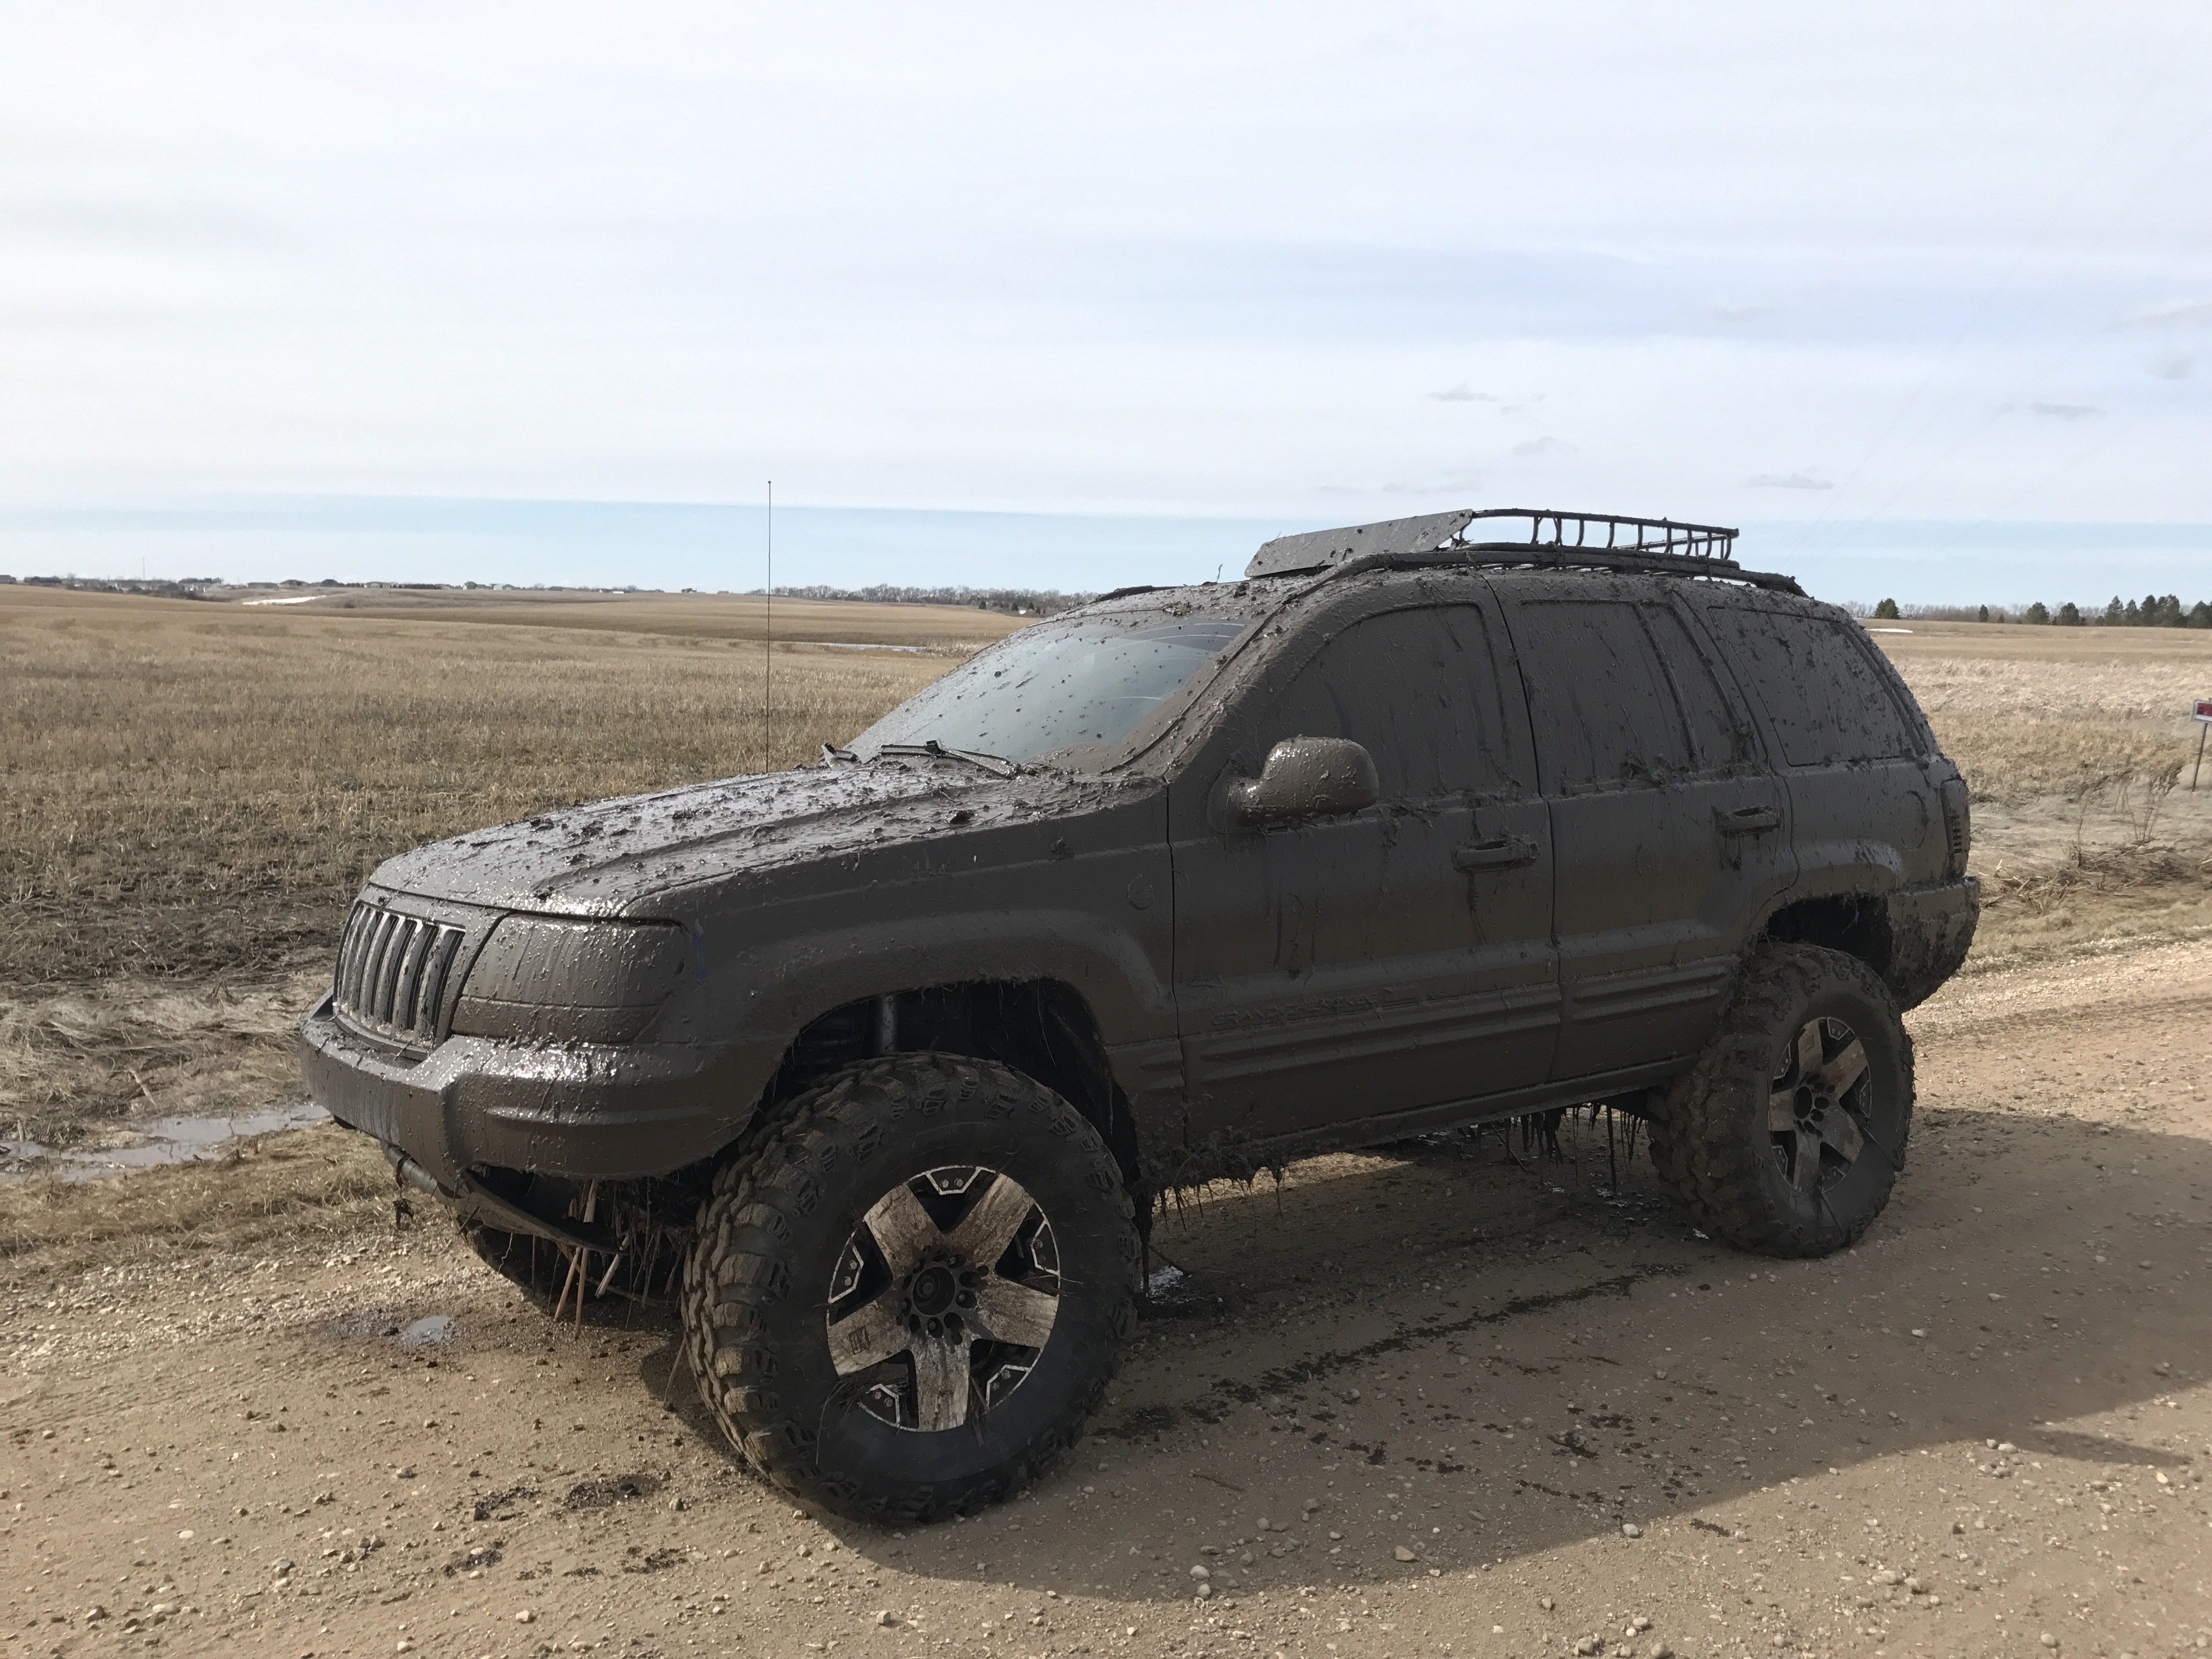
And I accidentally dive bombed into a small pond in the jeep while adventuring hahaha. I thought it was going to be pretty shallow...nope! Made it out without a tow though


In unrelated news, had my son help me change the oil on my V :p

And I accidentally dive bombed into a small pond in the jeep while adventuring hahaha. I thought it was going to be pretty shallow...nope! Made it out without a tow though
 12-03-17, 11:16 AM
#116
Full Member
Thread Starter
Unfortunately updating the build thread just takes a lot of time nowadays that I could be using elsewhere, so it has been put off for a while now. I mainly update via Facebook, Instagram, and Youtube since those avenues are a bit quicker for me. So, if you would like to stay current on the car, feel free to follow one or all of my pages to keep up to date. I would like to get my build threads completely caught up, but I don't see it happening at the moment :/
Instagram: Dyesuperman
Facebook: www.facebook.com/tr8rfd/
Youtube: www.youtube.com/user/TheDyesuperman
Current state of things
Instagram: Dyesuperman
Facebook: www.facebook.com/tr8rfd/
Youtube: www.youtube.com/user/TheDyesuperman
Current state of things


Thread
Thread Starter
Forum
Replies
Last Post