


And so it begins....


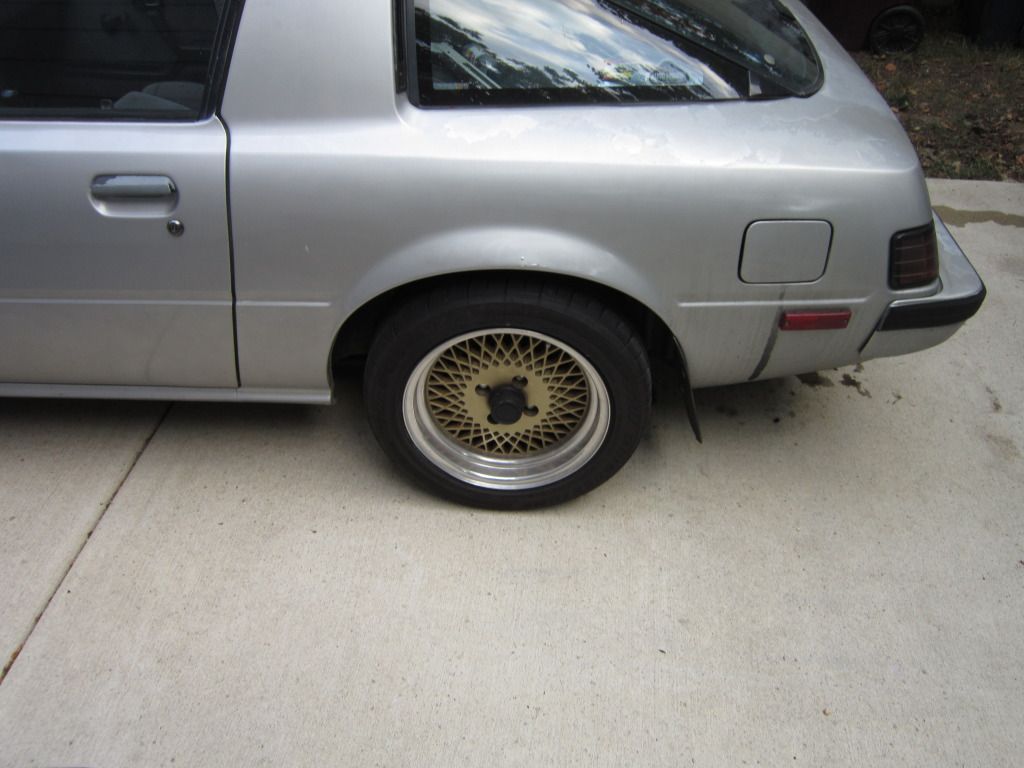
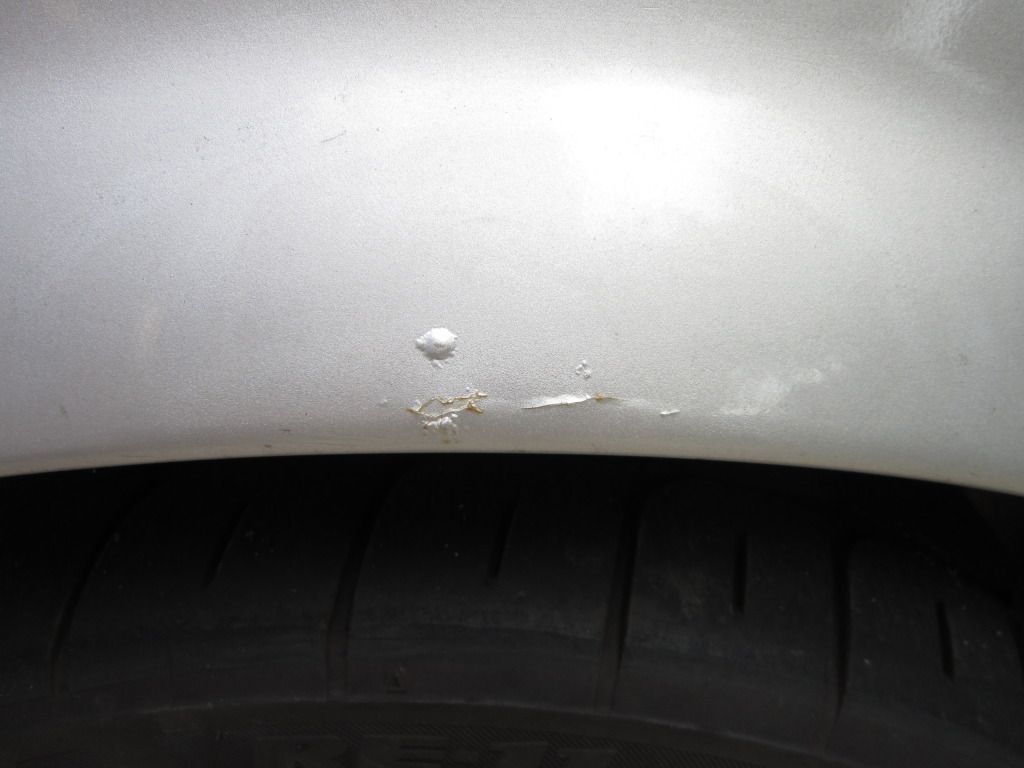
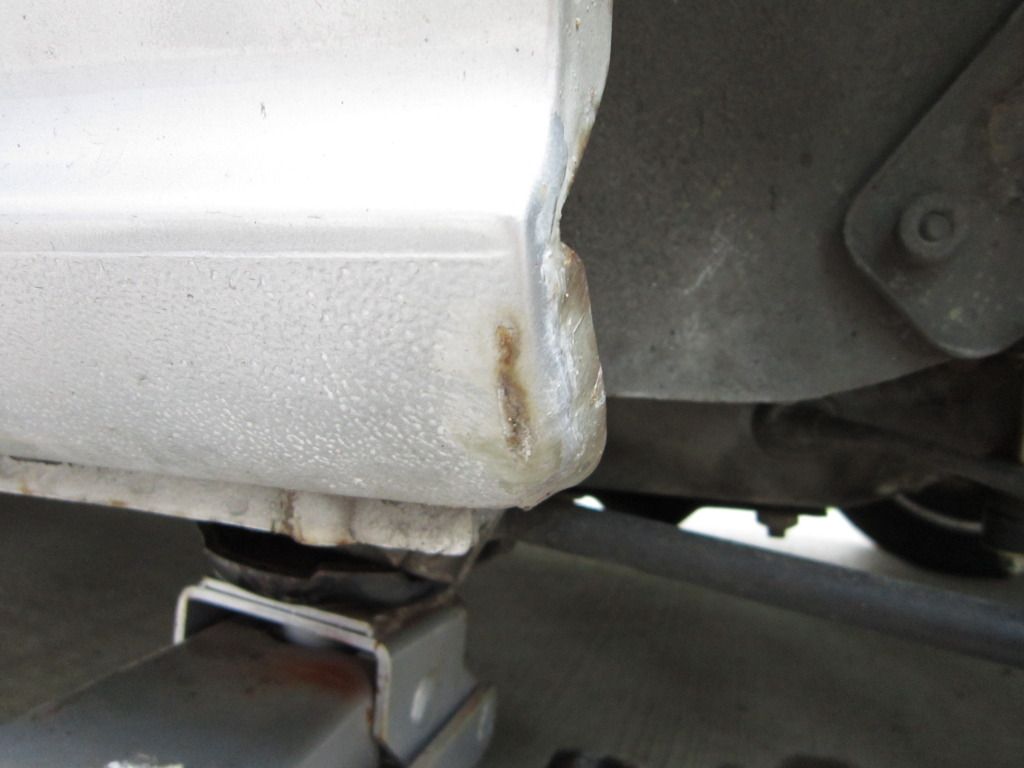
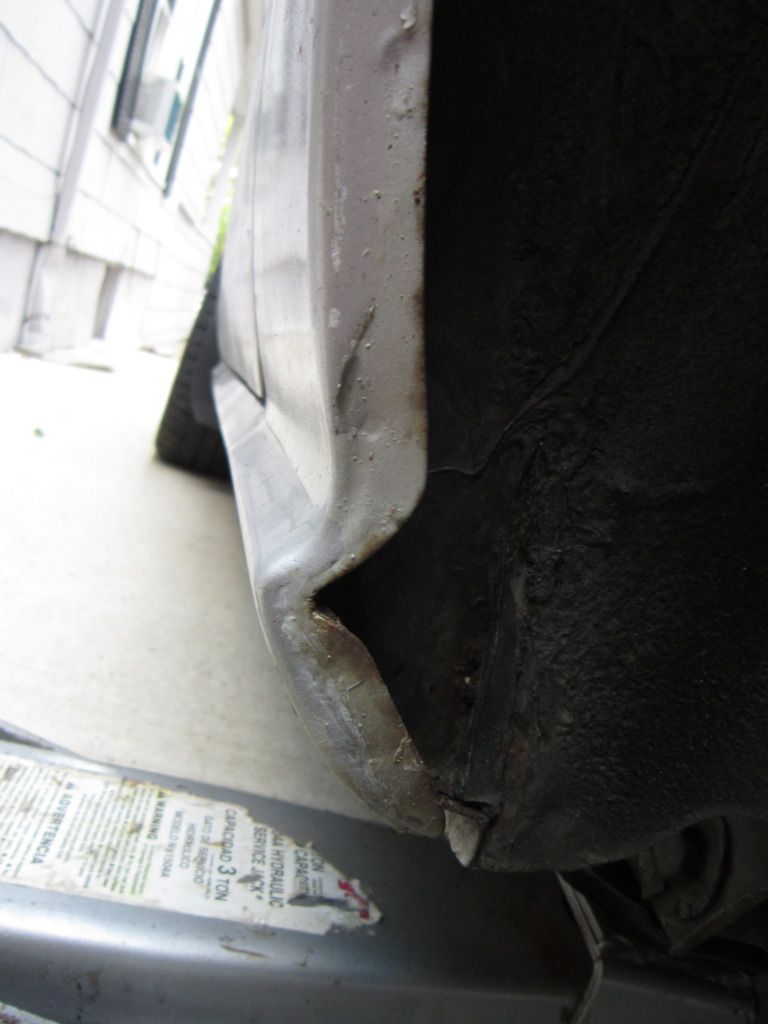
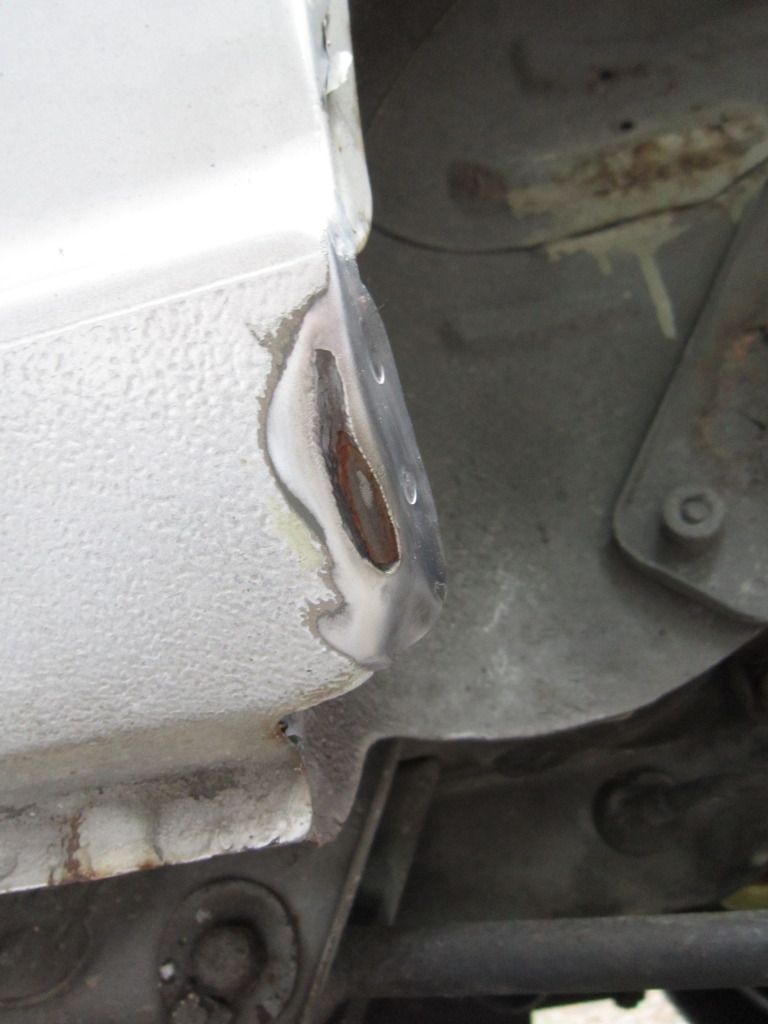
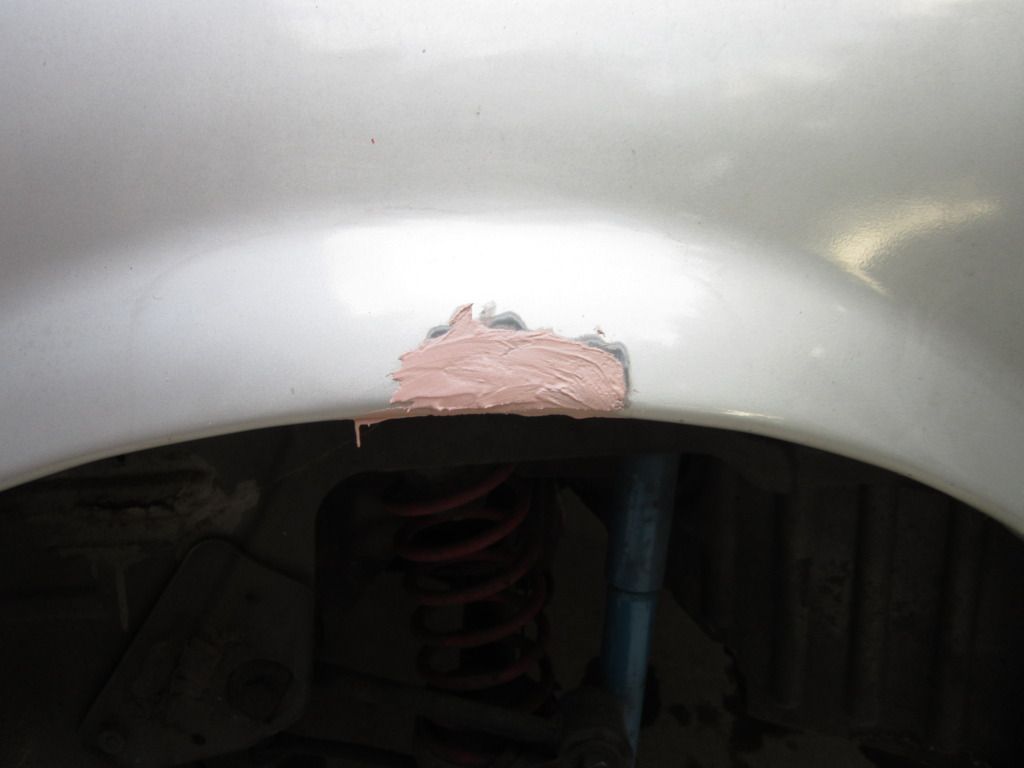
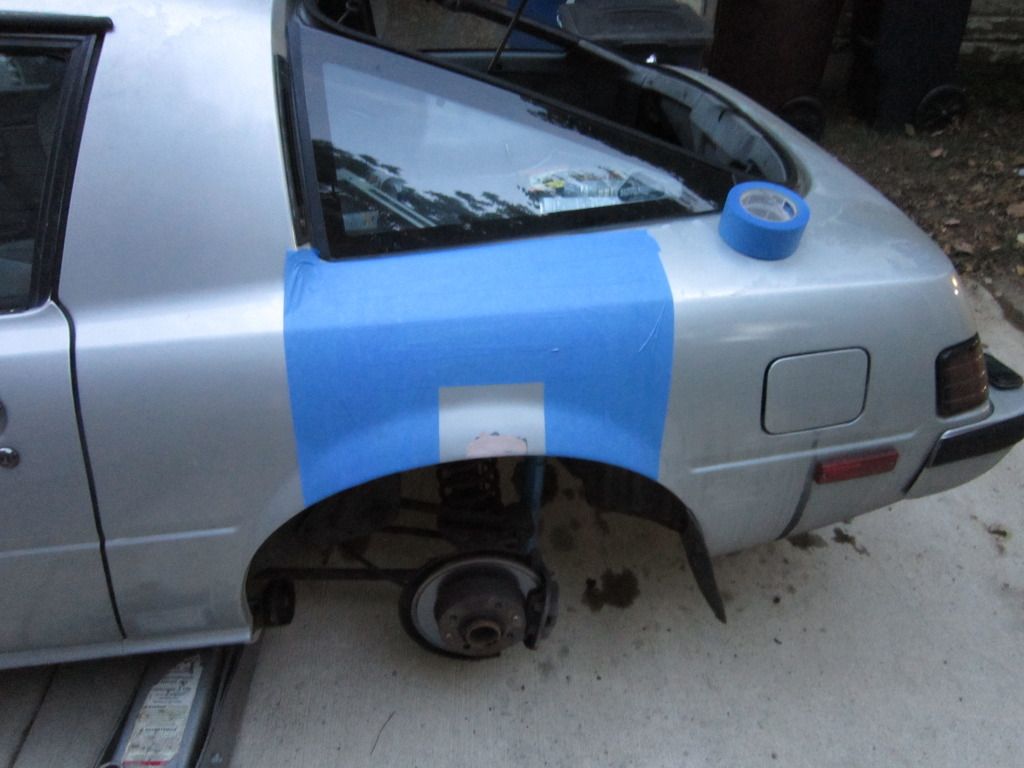
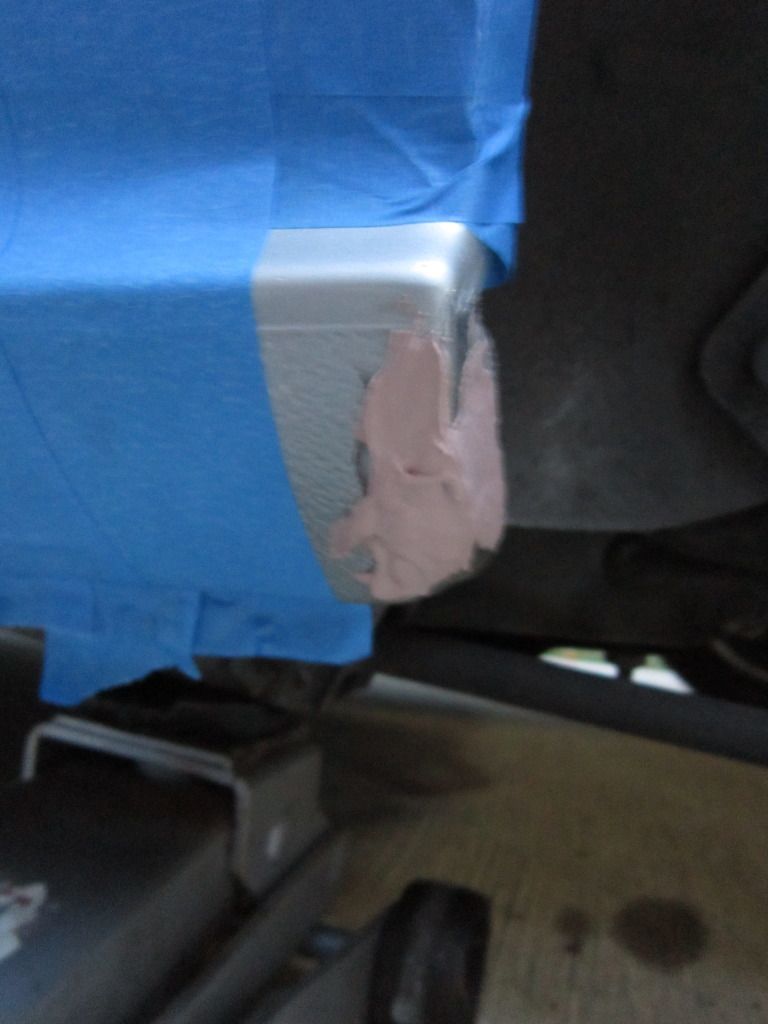
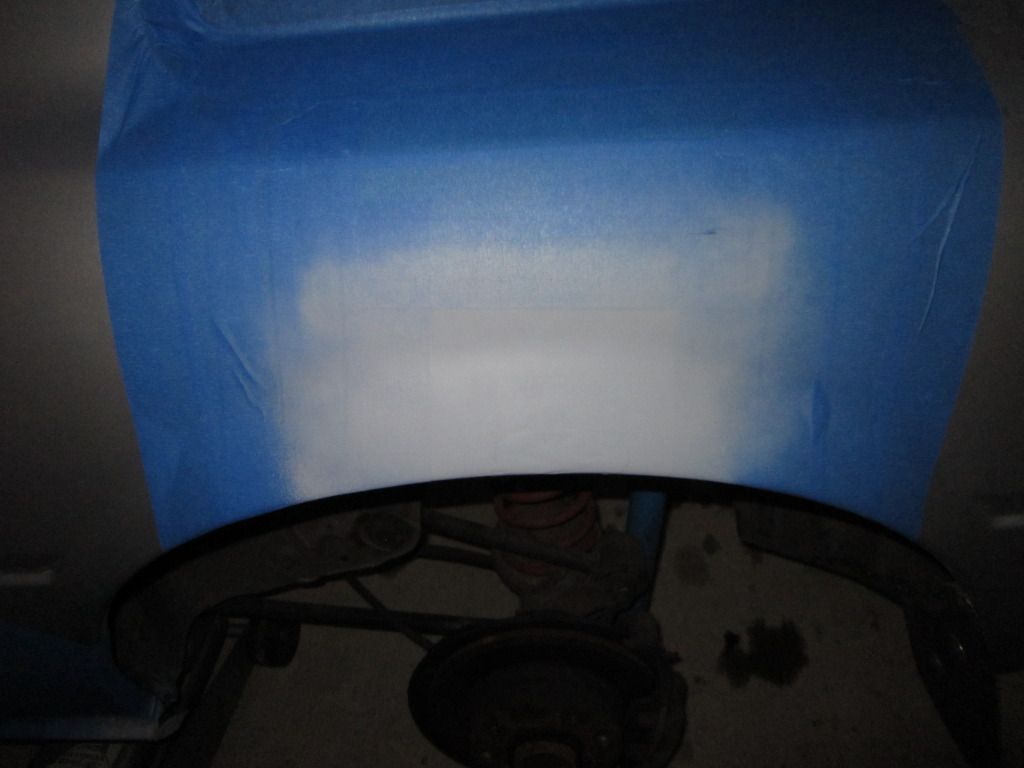
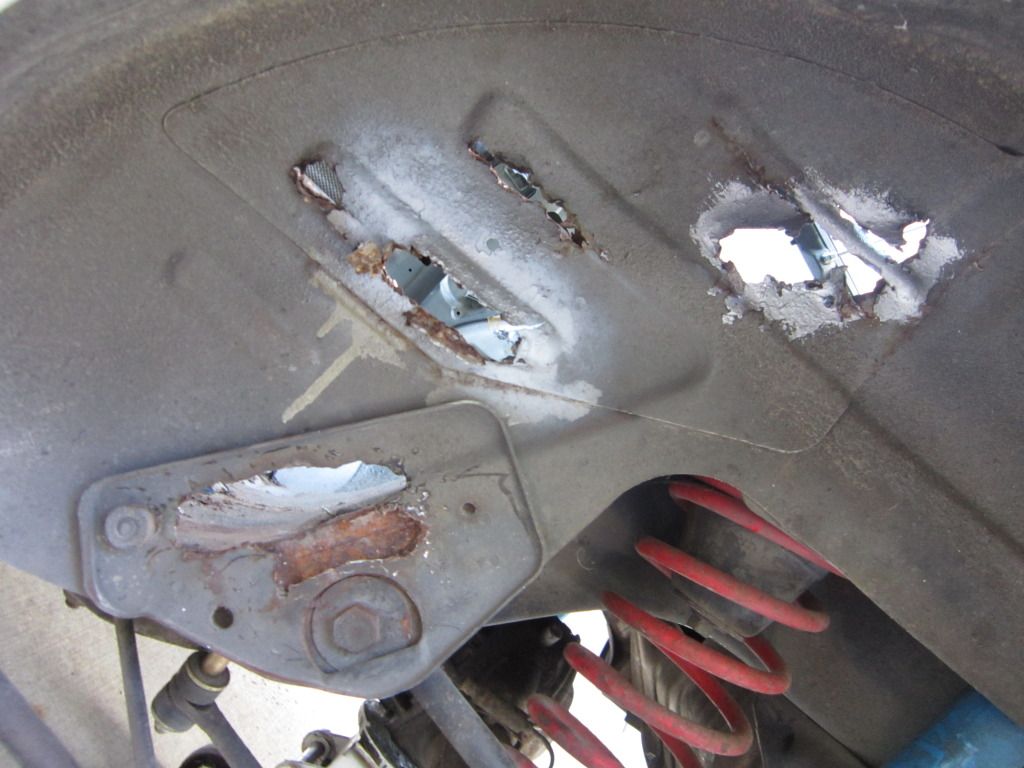
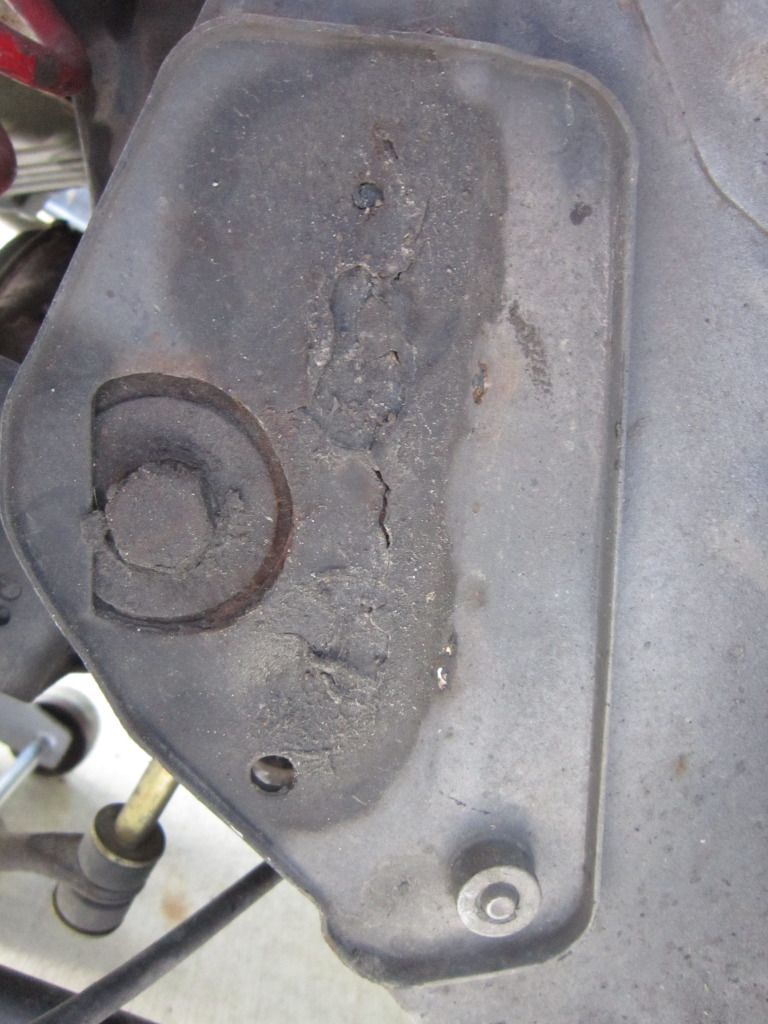
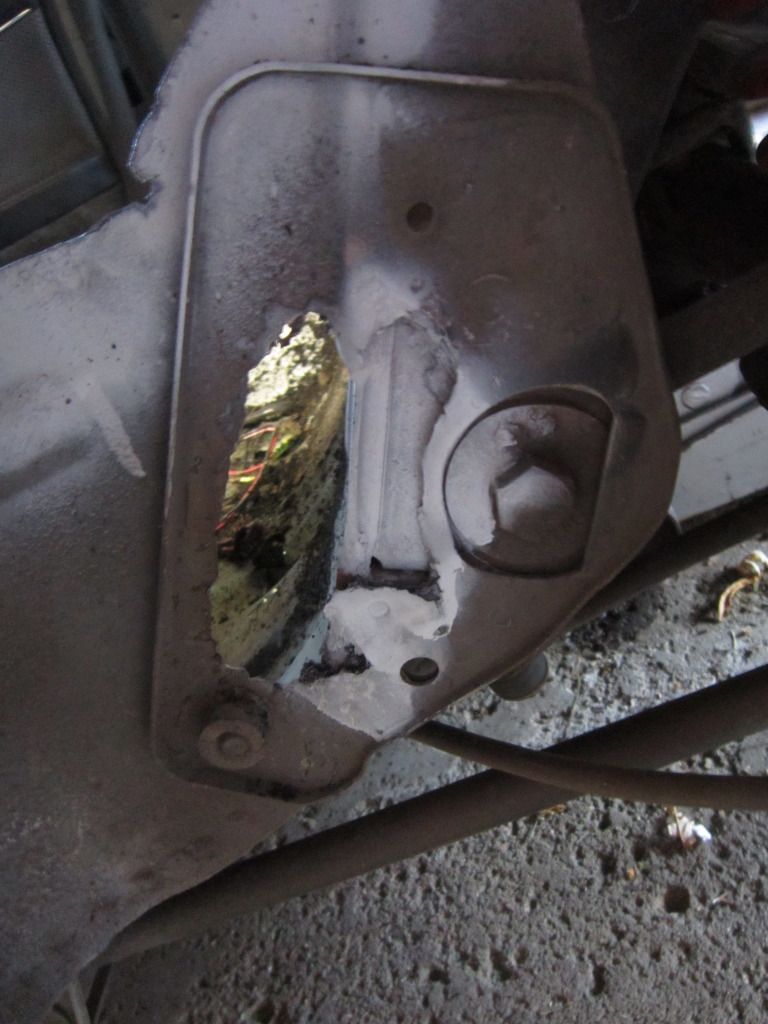
Do you see what I see?
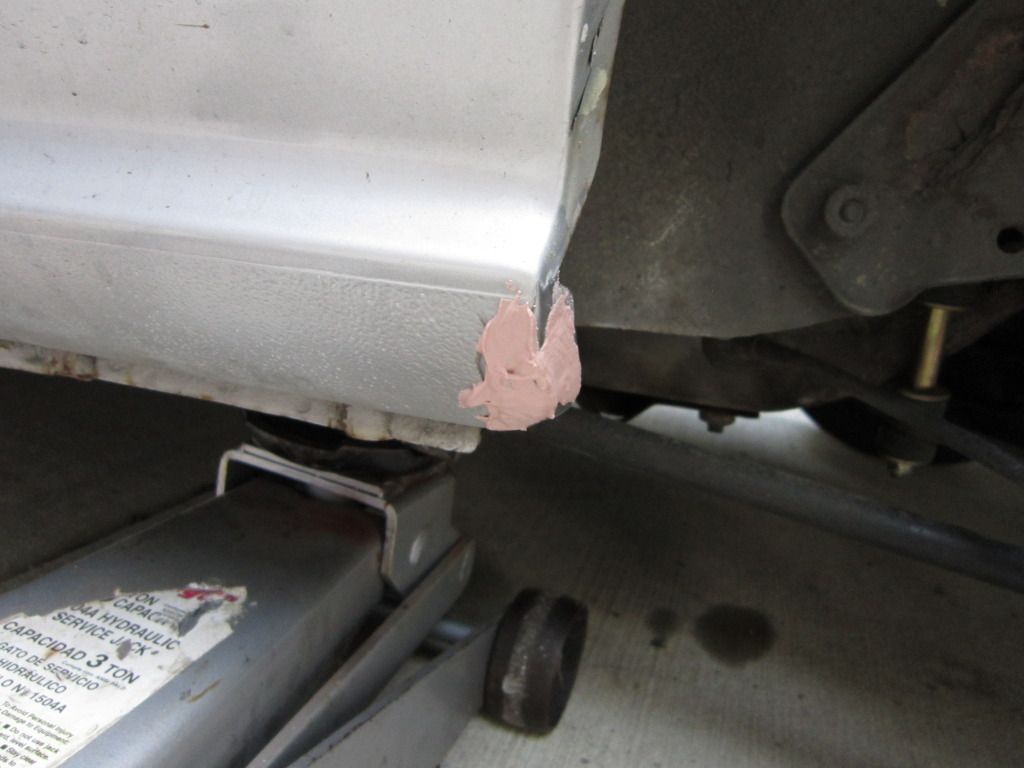
After 5 minutes with a body pick hammer from the inside...
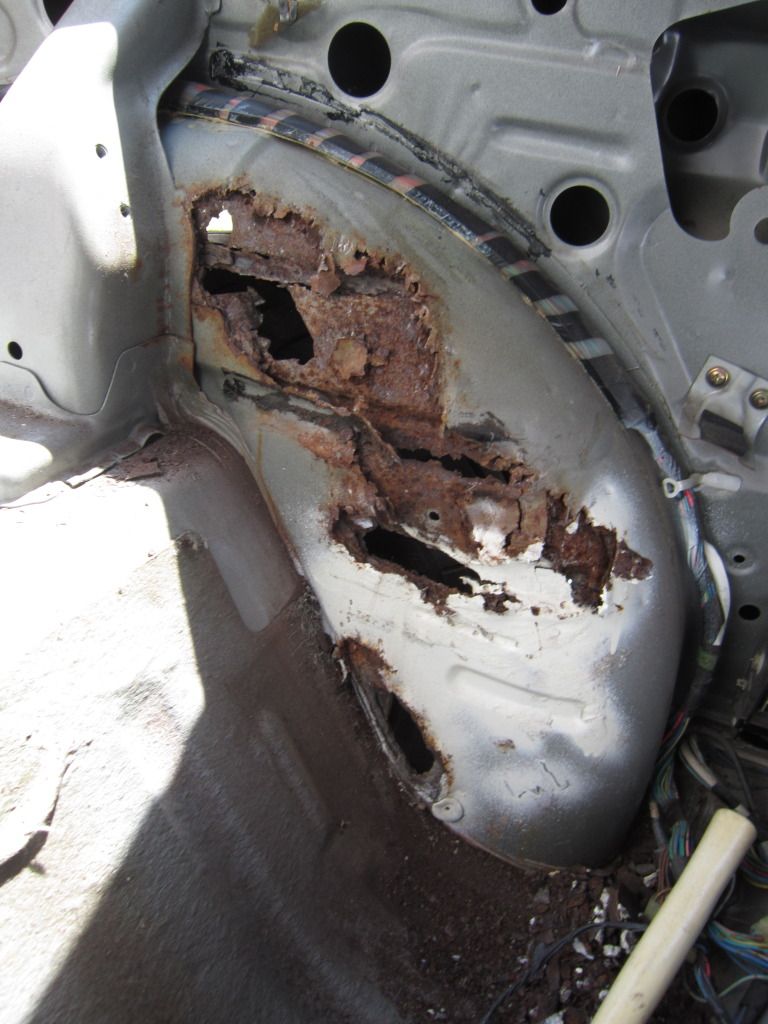
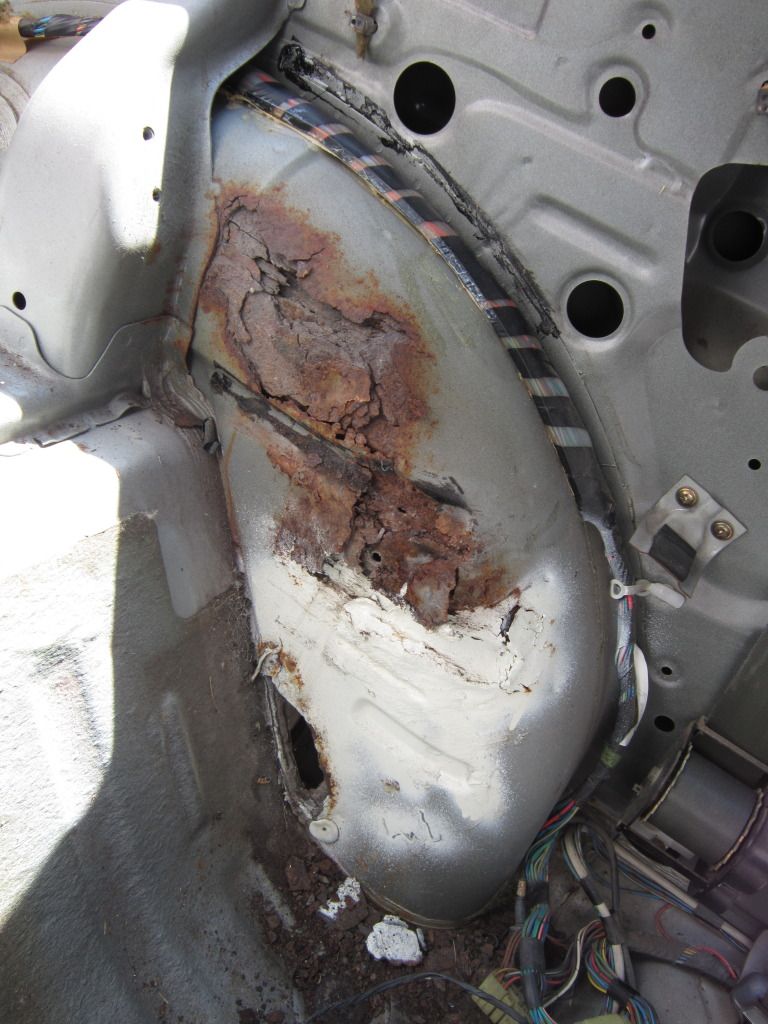
From the wheel well...
Cleaned up with a wire cup brush...
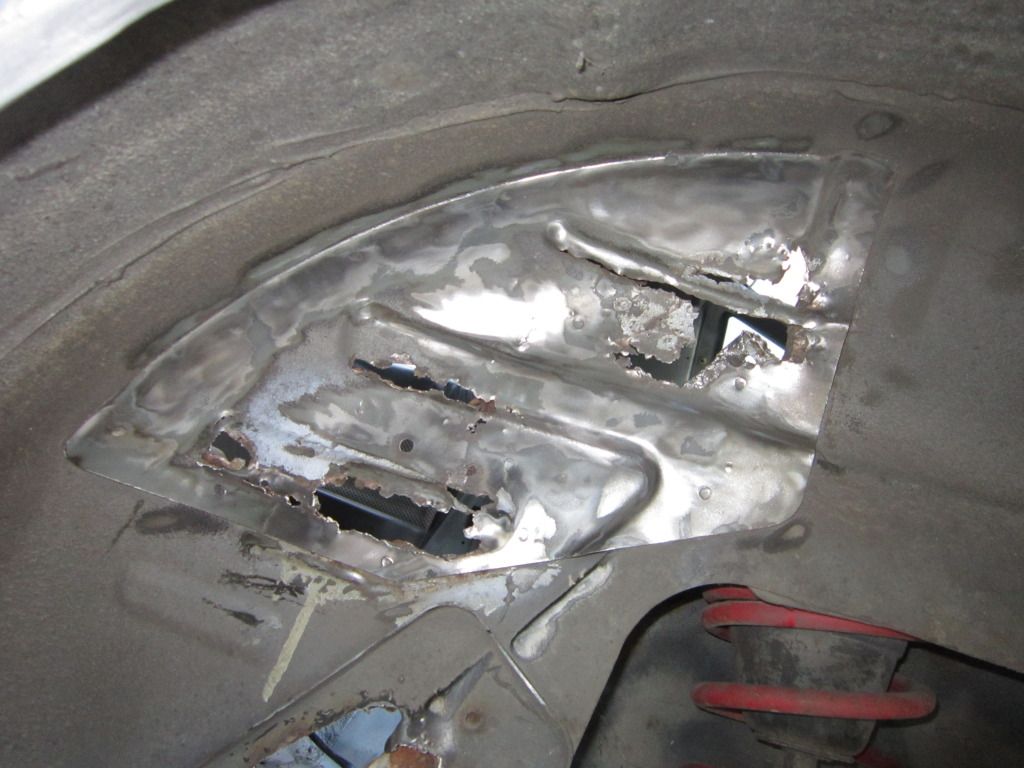
Going after spot welds...
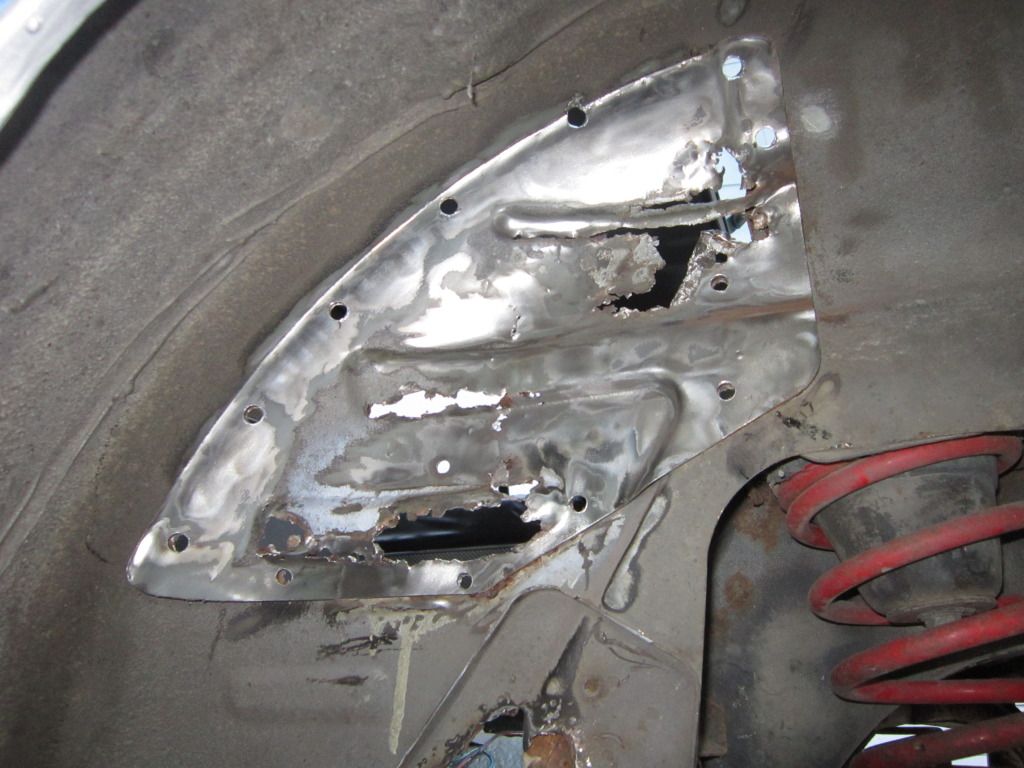
It's out...
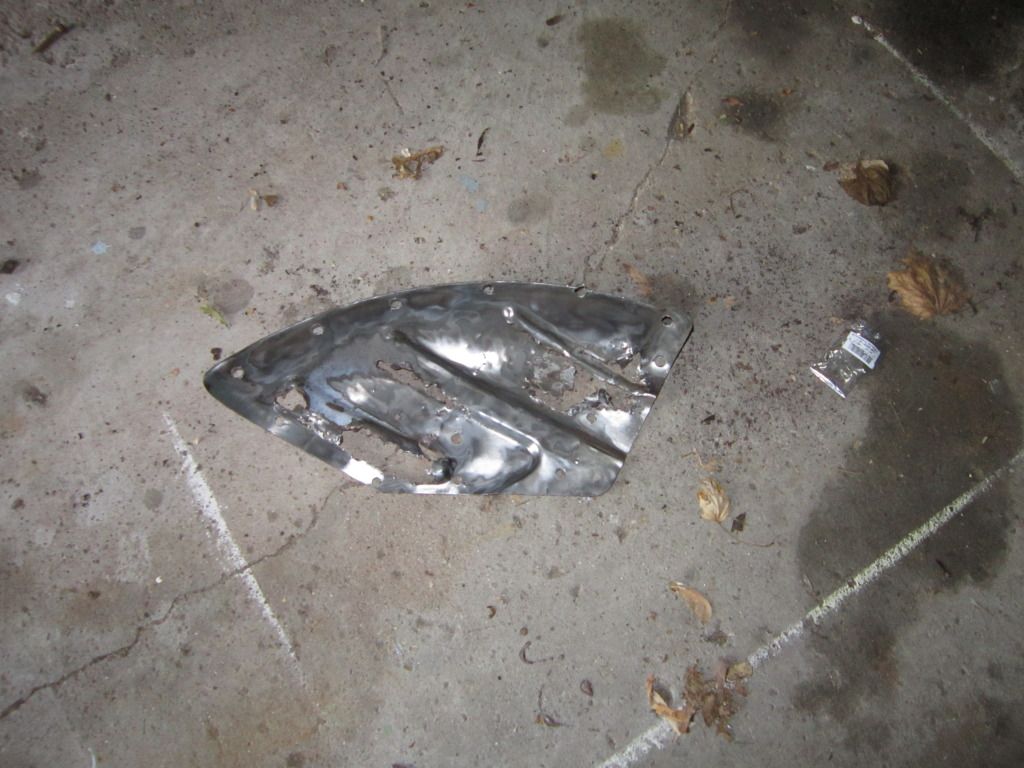
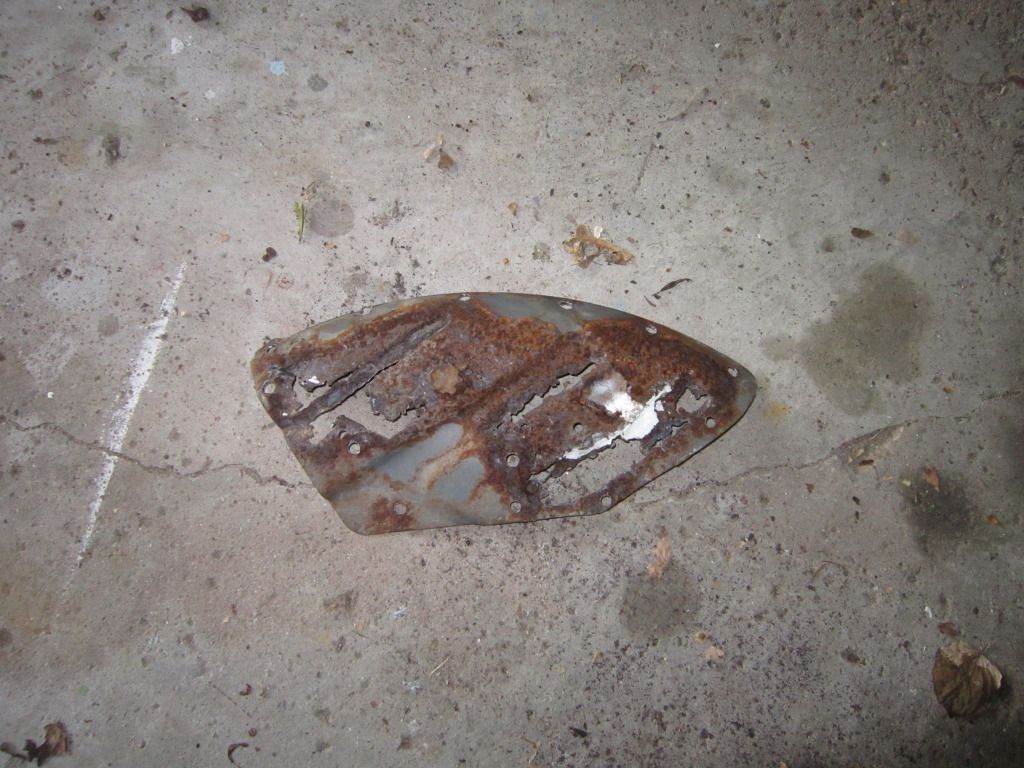
Bad News Bears:
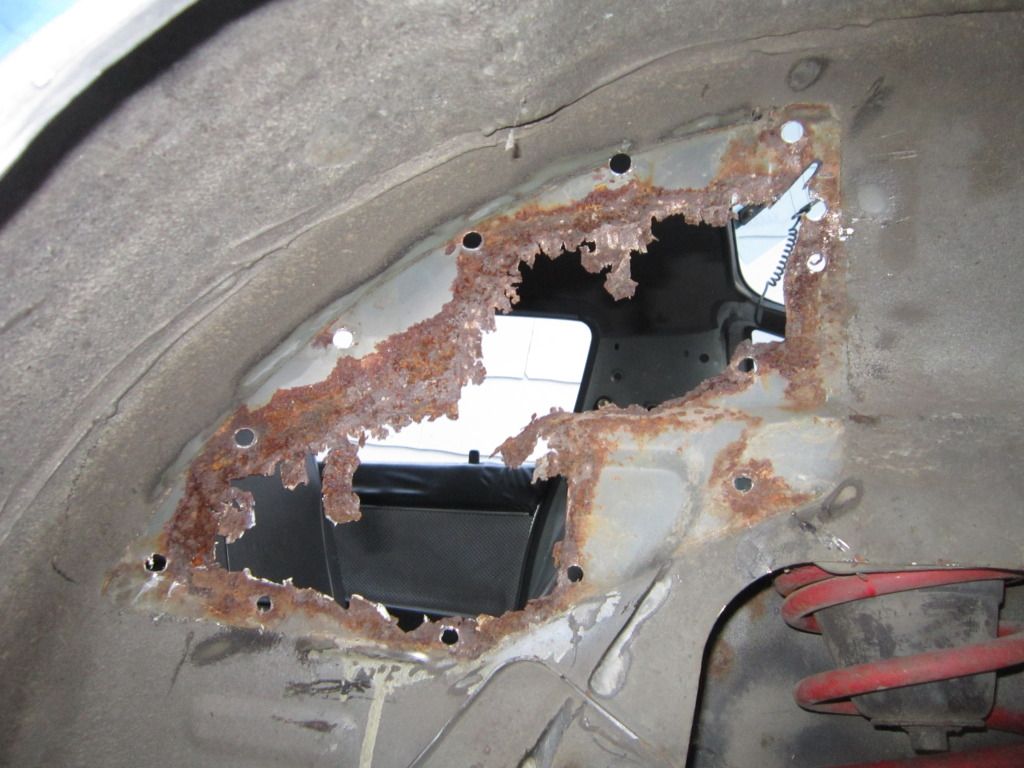
Cut out:
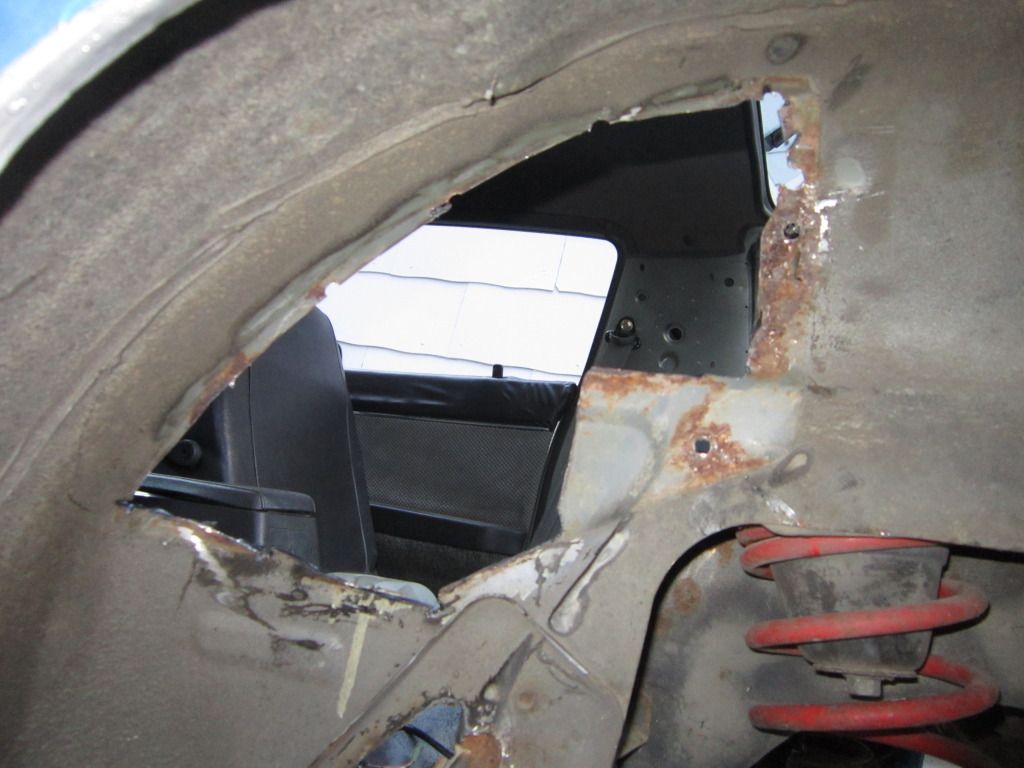
After 5 minutes with a body pick hammer from the inside...
From the wheel well...
Cleaned up with a wire cup brush...
Going after spot welds...
It's out...
Bad News Bears:
Cut out:
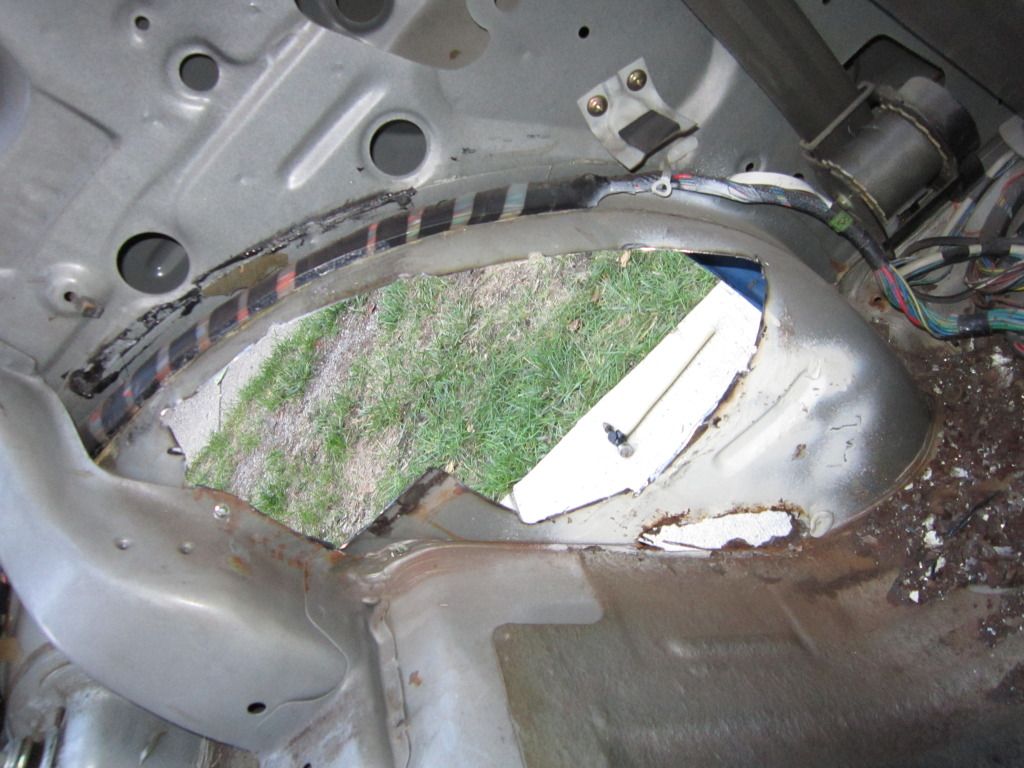
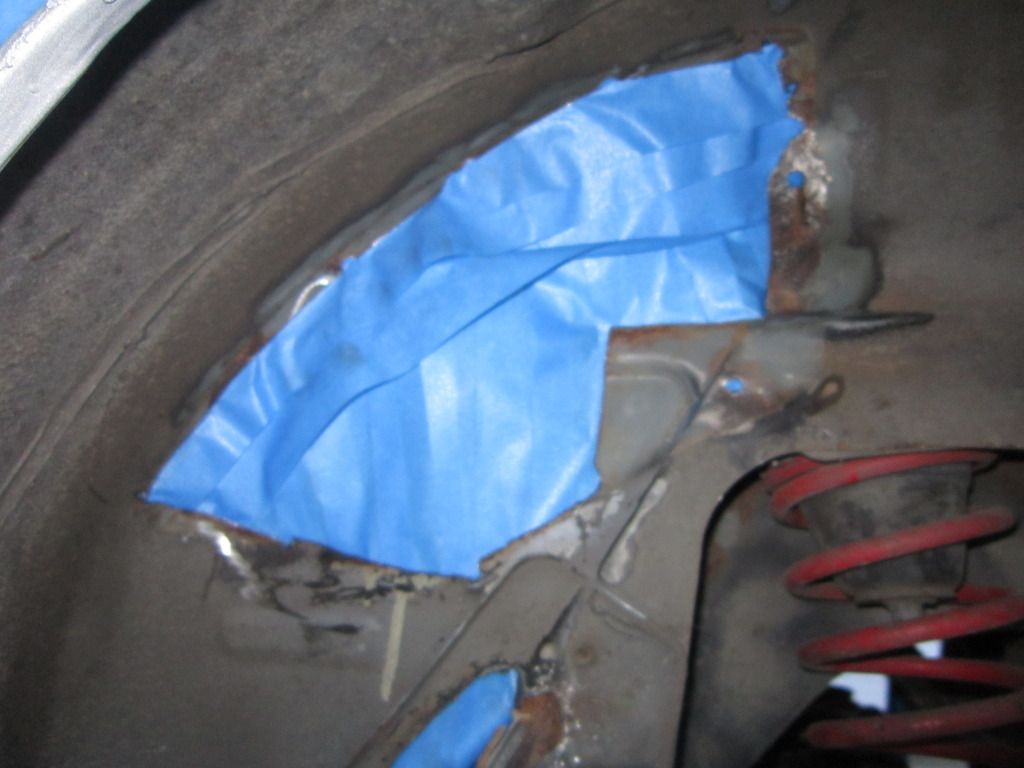
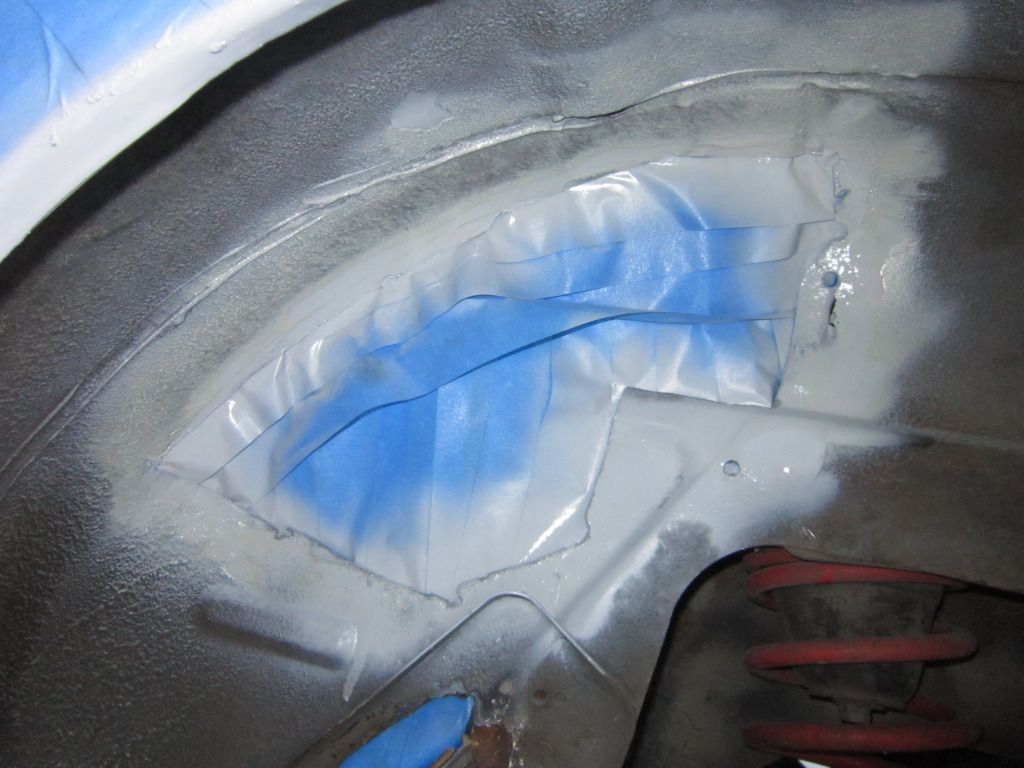
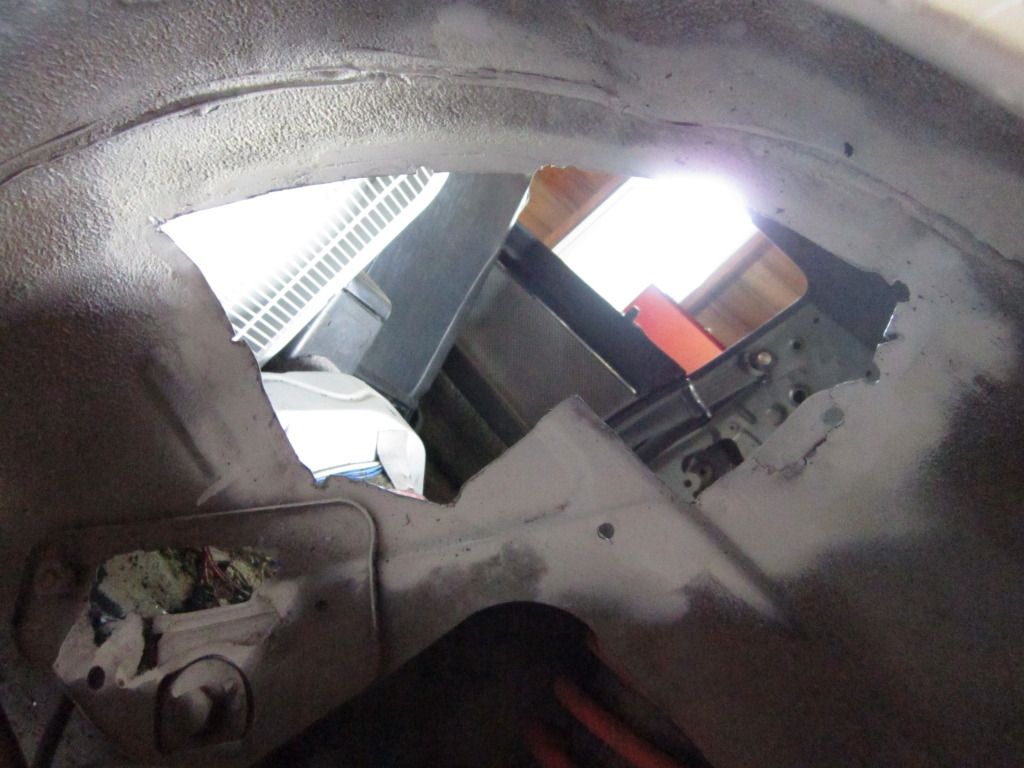
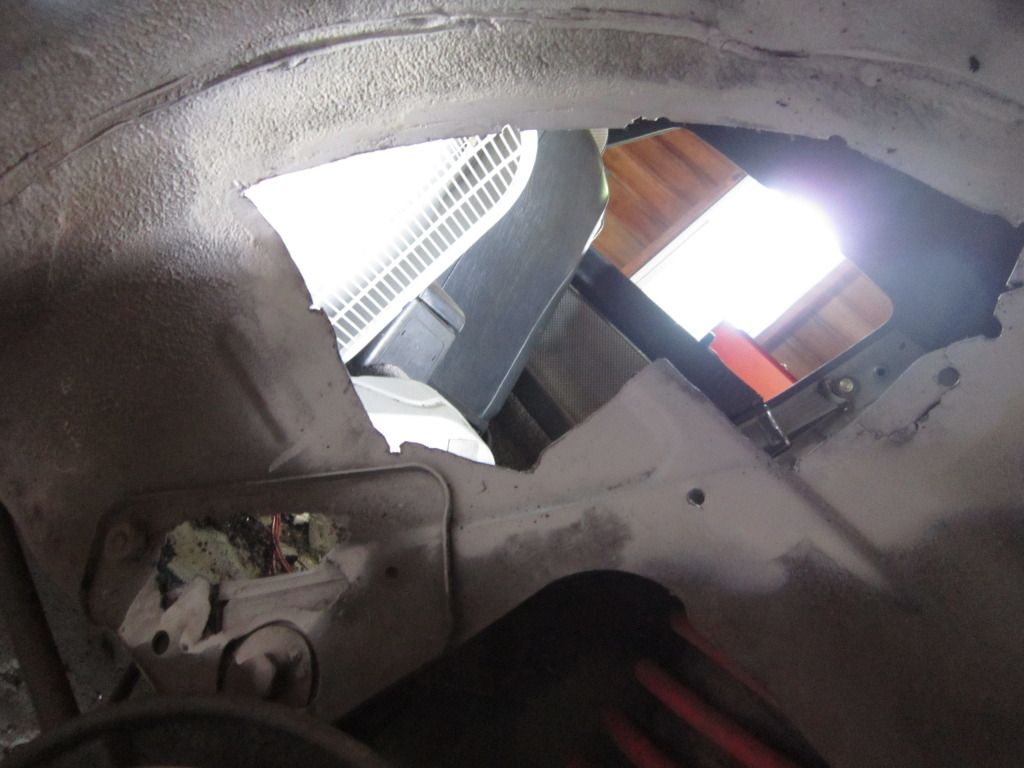
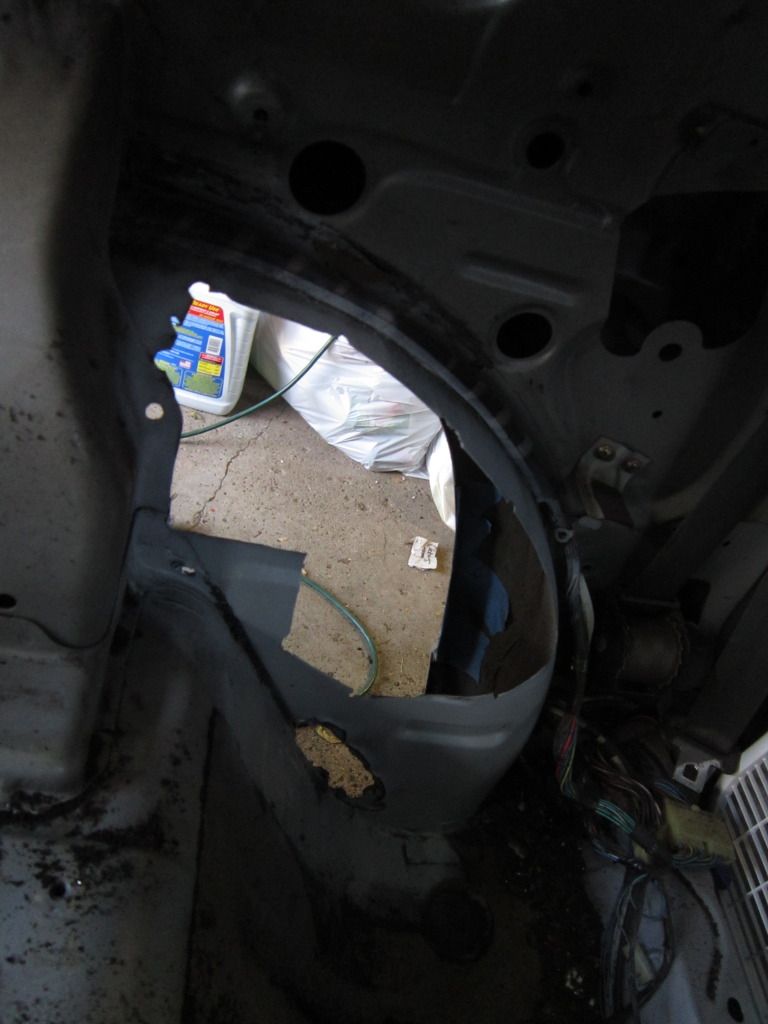
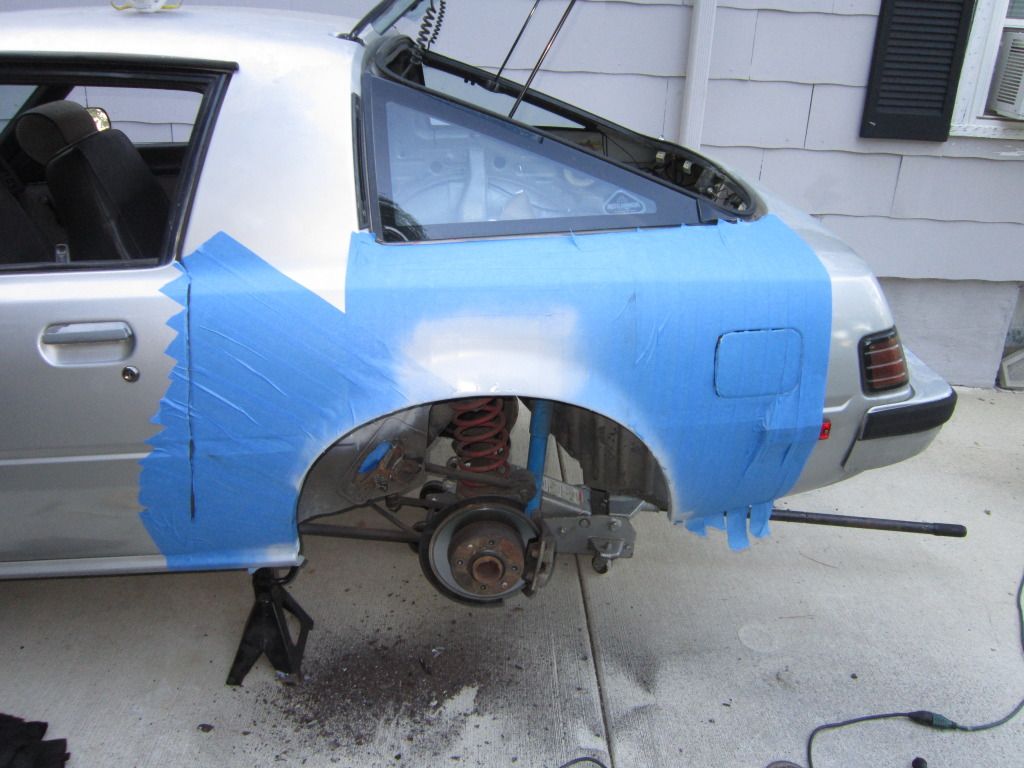
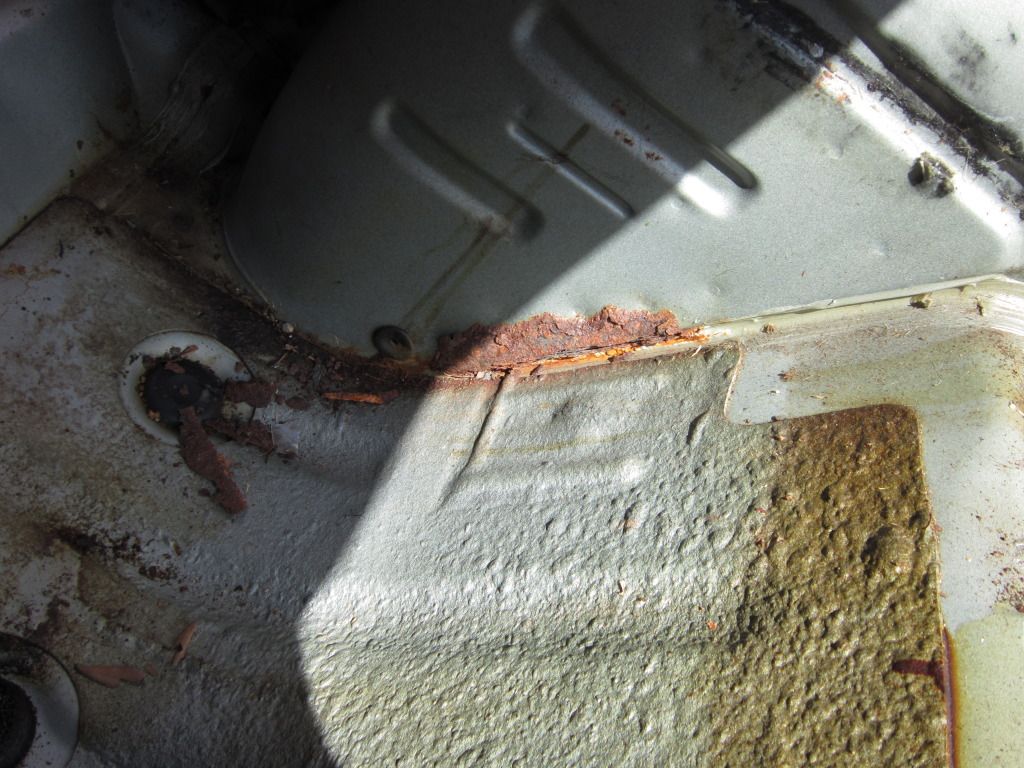
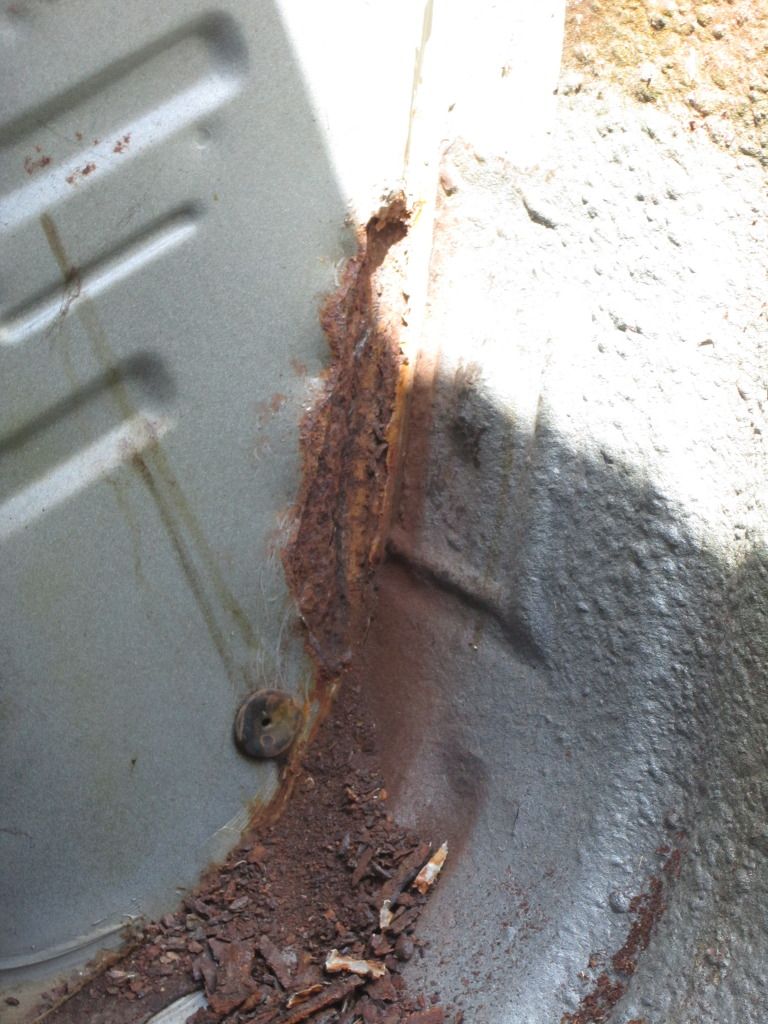
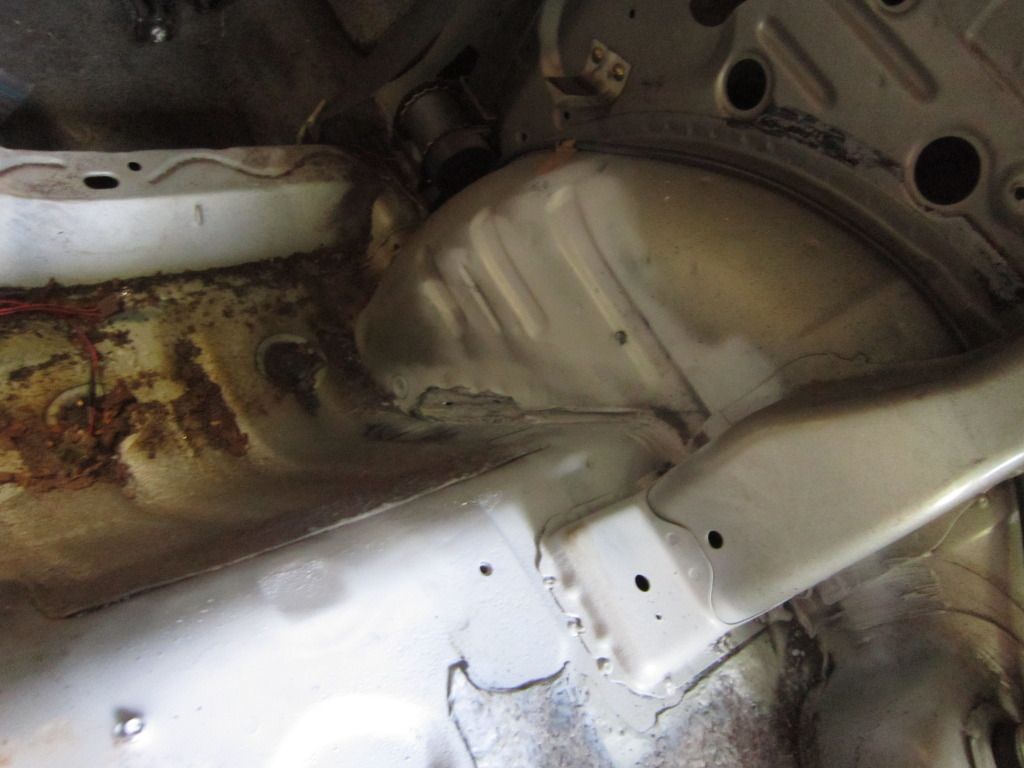
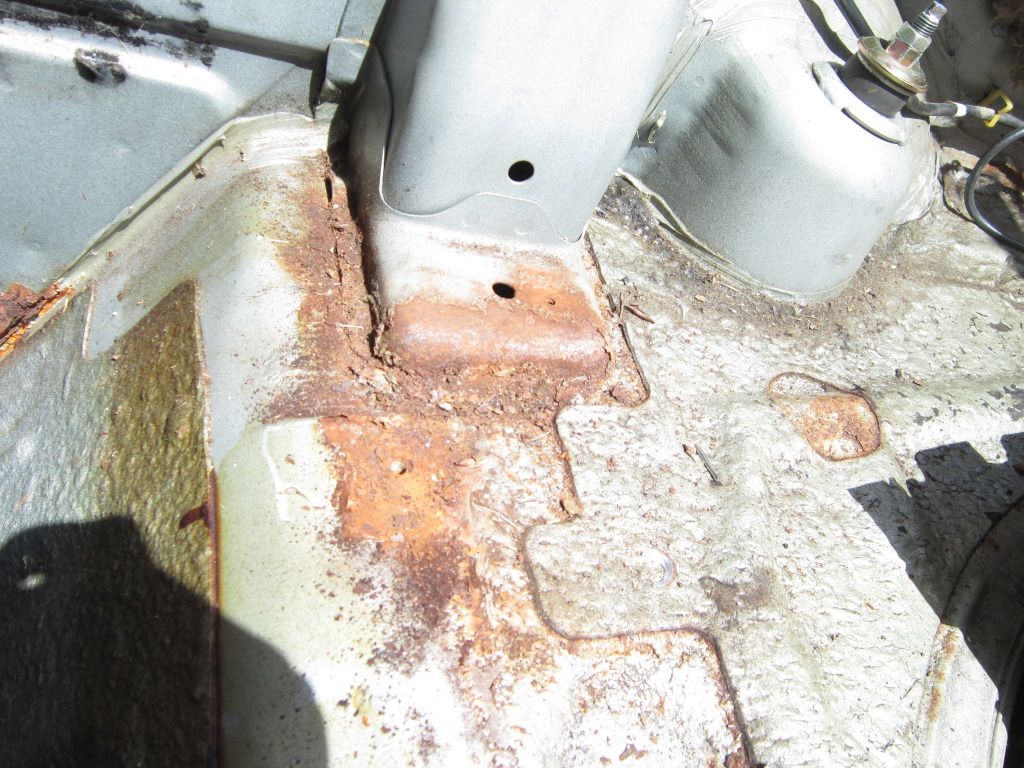
So there it is. I've found some pretty bad cancer. I have a 12" x 12" 1/8" plate that I'm going to be making reinforcement pieces out of for the two suspension pick up points. I have two 24" x 24" 16ga sheets to make an inner and an outer wheel well for the drivers side. I'm about $65 into materials. I am paying a welder $75/hour to weld everything into place this coming Saturday. I'll keep this updated with the progress of my cleaning, fabricating, and the final results from the repairs.


damn, crazy theres that much rust hiding away in there based on the outside appearence...looks clean on the outside. My front and rear of the rear wheel wells as well as a touch of upper 4 link mount rot has been discovered ( similar to you passenger side 4 link mount on both sides) yet i havent seen any fender/quarter panel rot show up  good luck, i hope you post lots of pics , as i will be tackling some of the similar issues soon
good luck, i hope you post lots of pics , as i will be tackling some of the similar issues soon
damn, crazy theres that much rust hiding away in there based on the outside appearence...looks clean on the outside. My front and rear of the rear wheel wells as well as a touch of upper 4 link mount rot has been discovered ( similar to you passenger side 4 link mount on both sides) yet i havent seen any fender/quarter panel rot show up good luck, i hope you post lots of pics , as i will be tackling some of the similar issues soon
good luck, i hope you post lots of pics , as i will be tackling some of the similar issues soonBut where there is a MIG there is a way.

Trending Topics


I'm going to be working on my wheel well tonight and tomorrow night, and then the reinforcement plates for the suspension parts the following days. I have until Saturday at 9am to get everything fabricated, and then it's off to Belleville, MI to pgfwelding.com to have everything put in place.
-Jim
So I got a later start on work last night than I wanted to, and since I live quite close to downtown Ann Arbor, had to stop with the grinder at 8pm (self-imposed) to not **** off the neighbors (one of which called the fire department on me and my 7 earlier this year...).
I cleaned with my new knotted wire brushes (cup and wheel), and started making templates and transferring them to my steel.
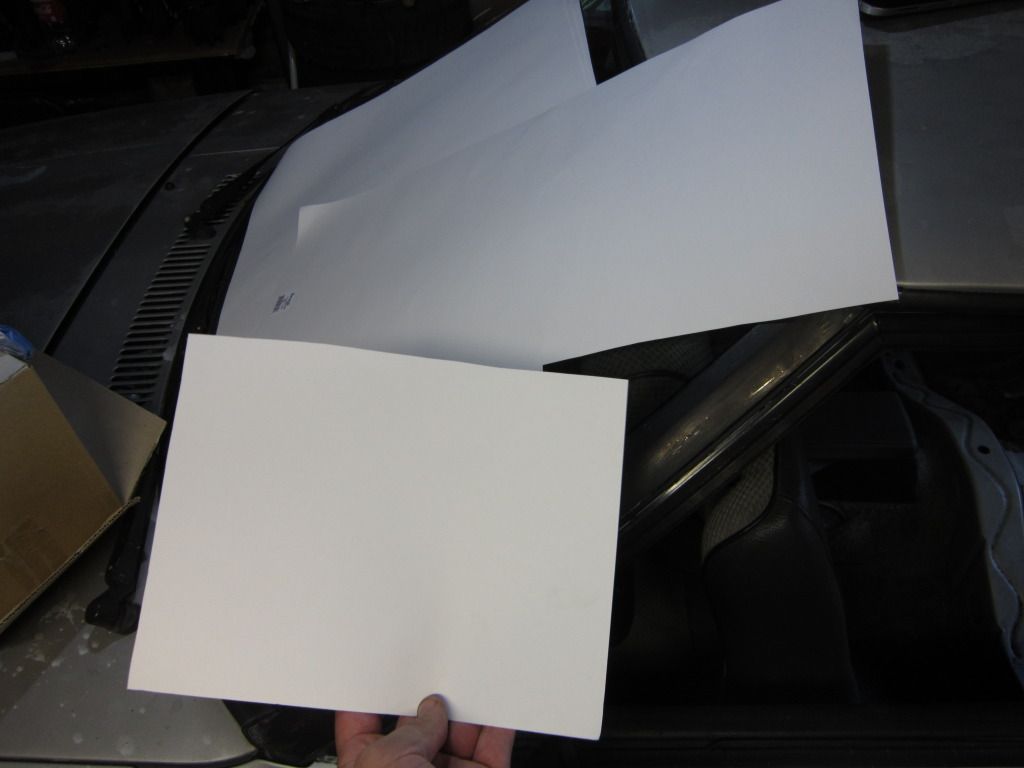
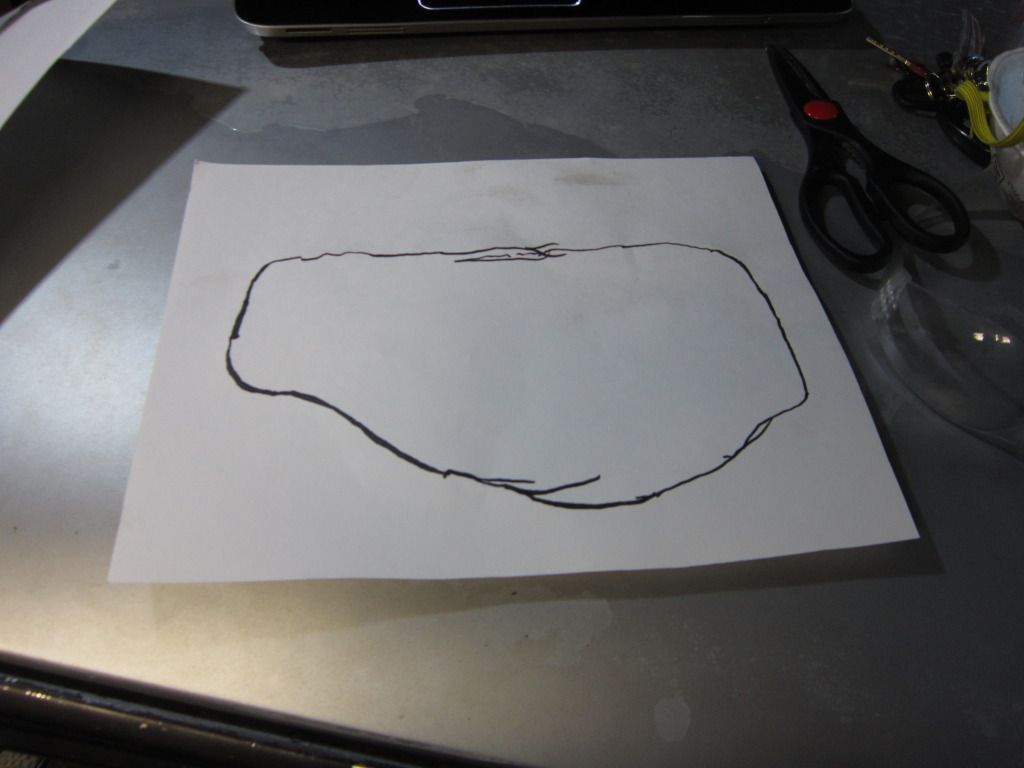
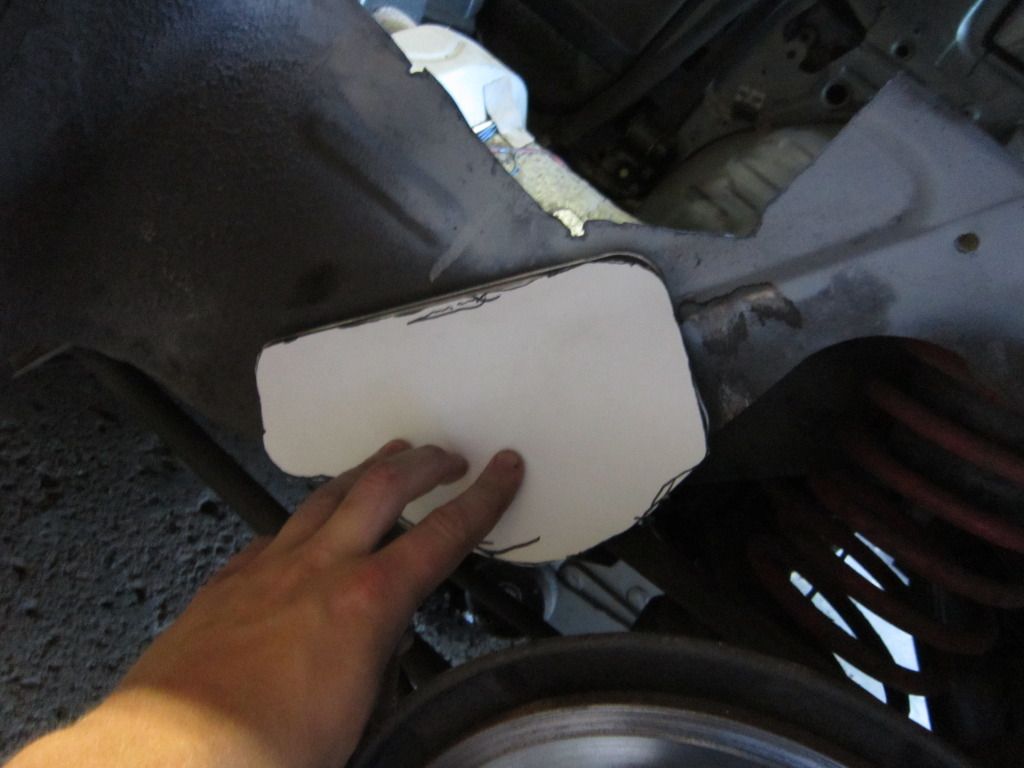
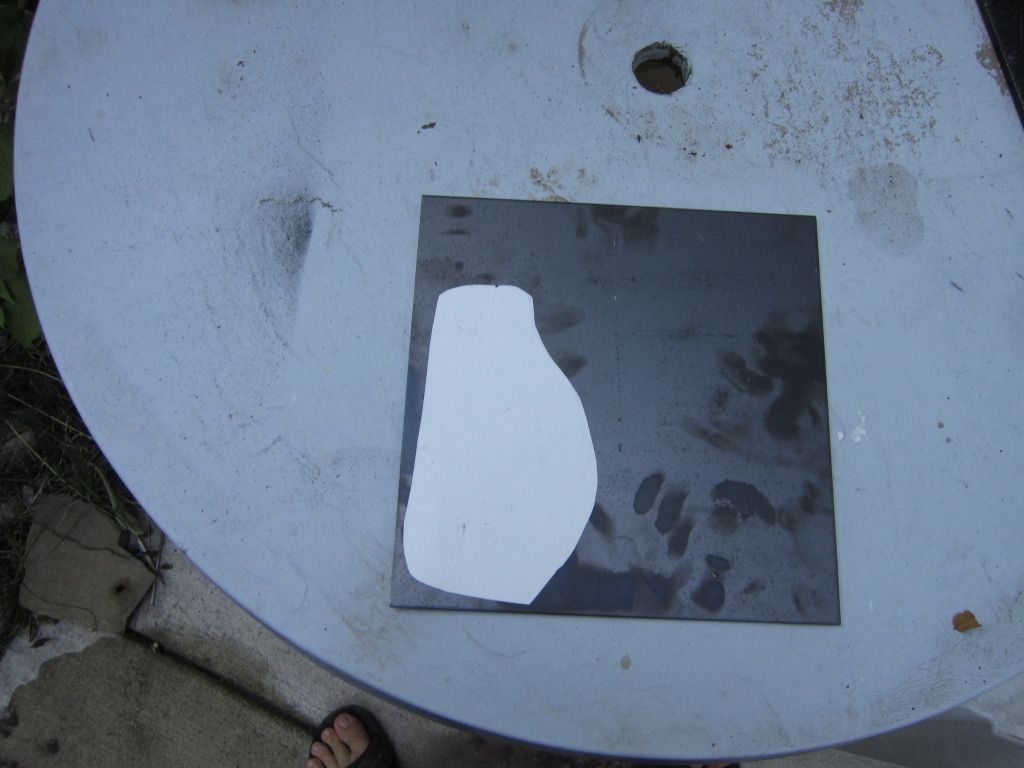
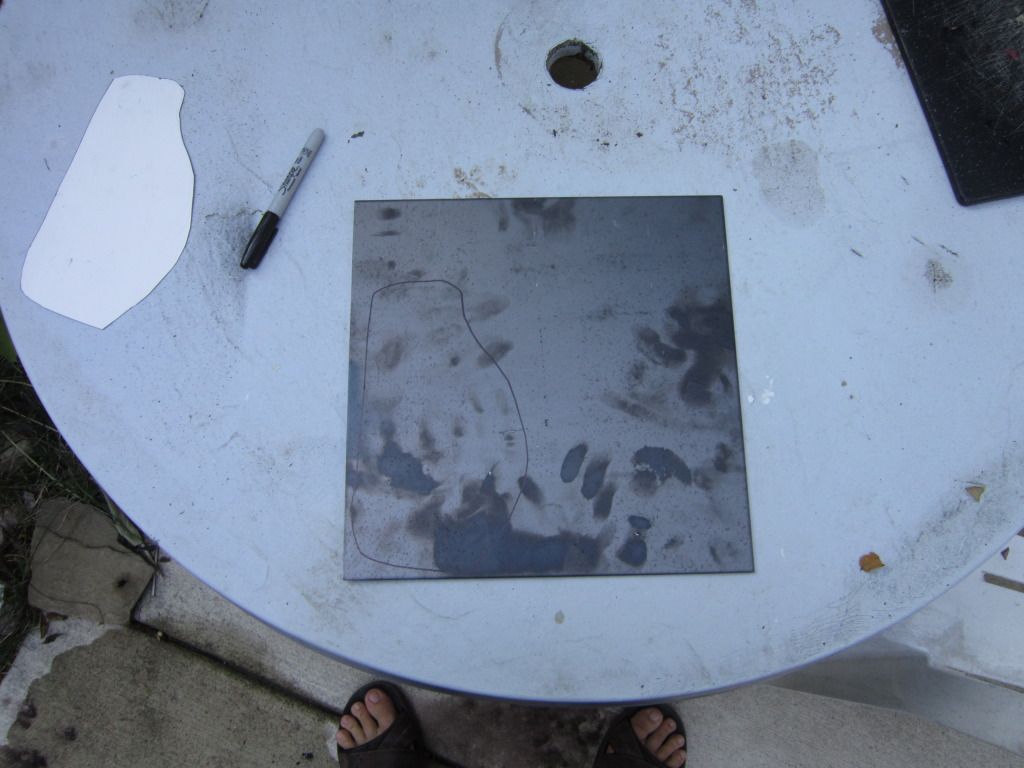
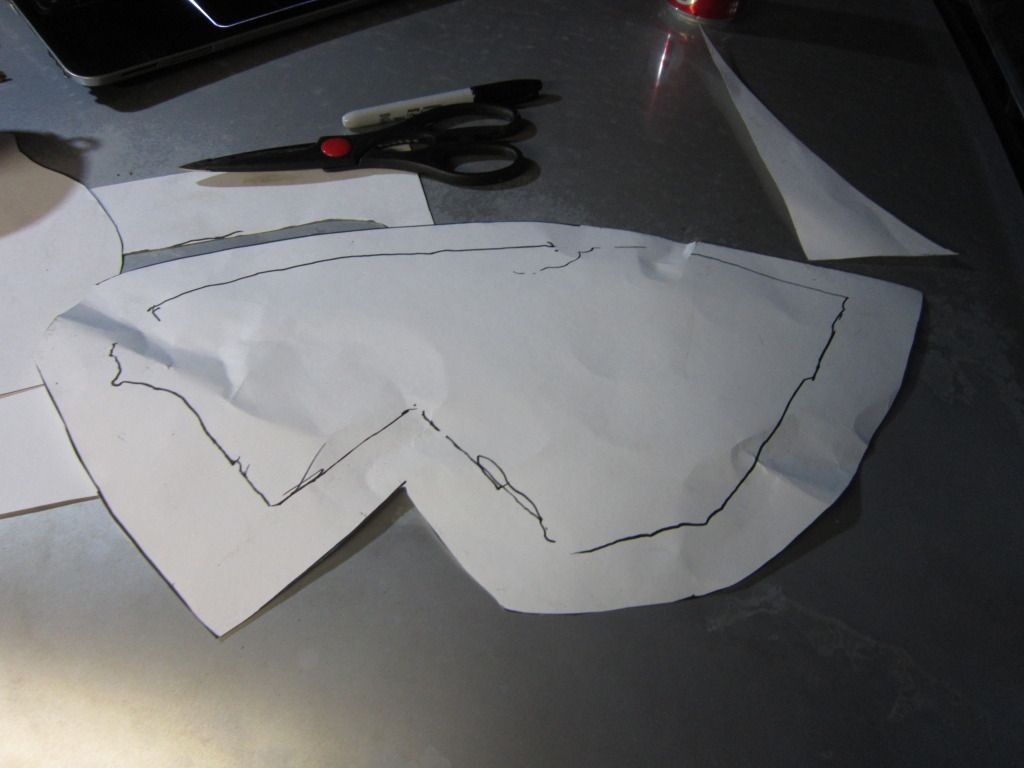
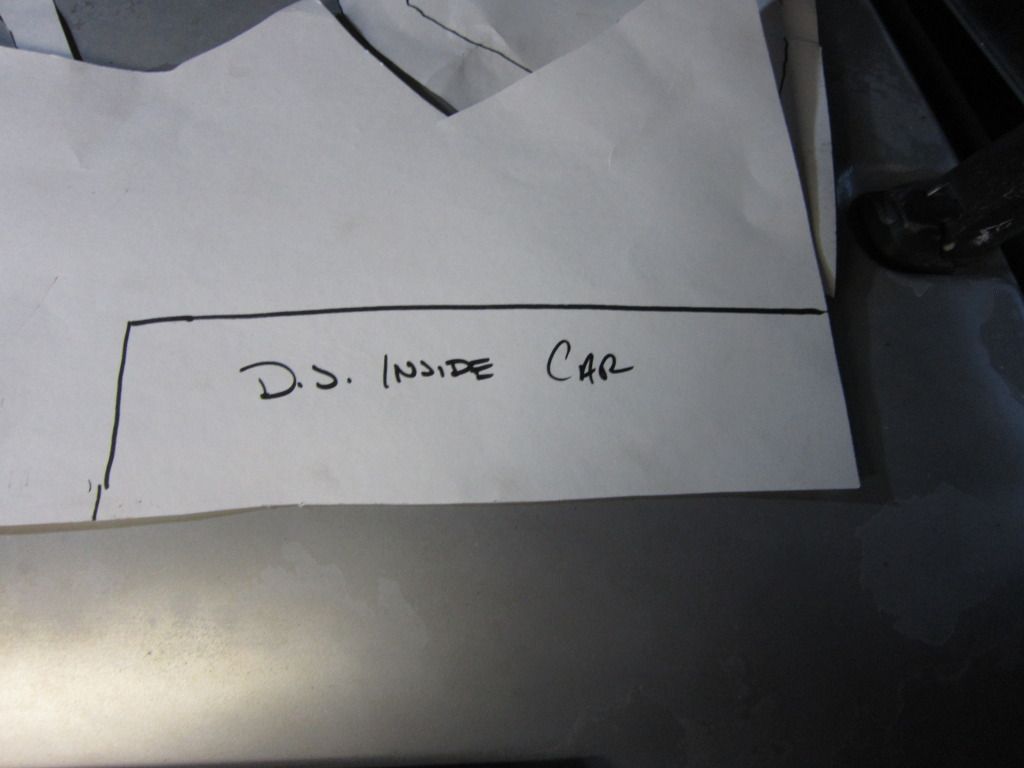
I cleaned with my new knotted wire brushes (cup and wheel), and started making templates and transferring them to my steel.
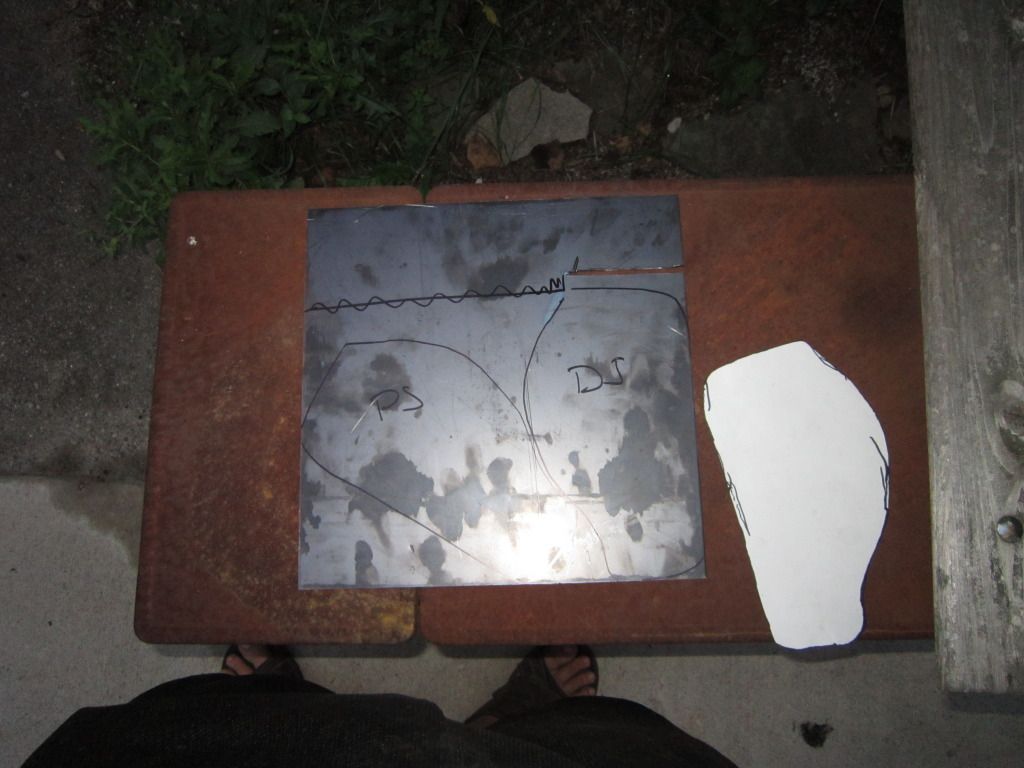
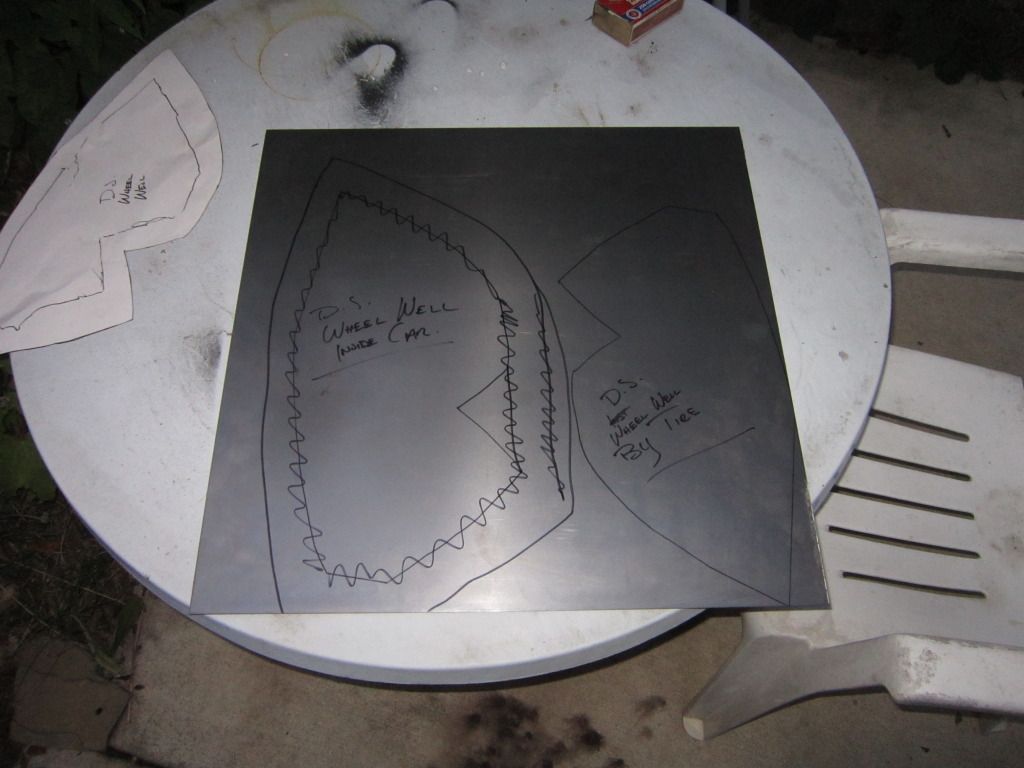
After 1.5 hours with the grinder and 4 wheels:
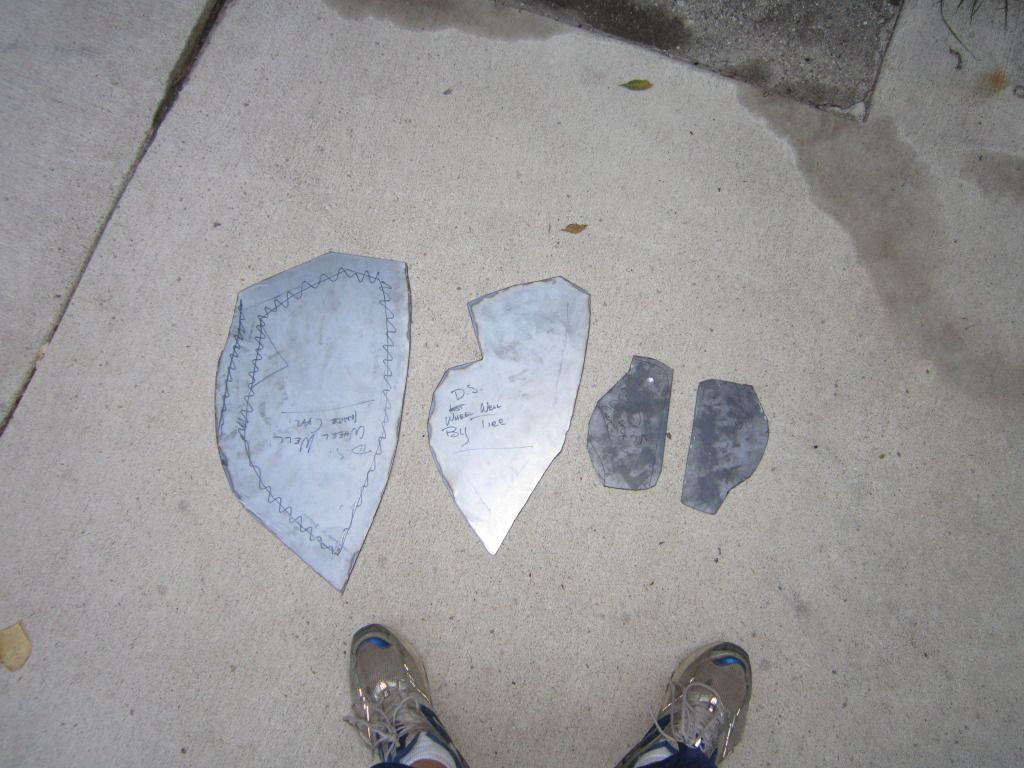
Since I don't have the skills to hand-form the steel (nor the time to learn before 10am Saturday), here is my process of making a wheel well that fits well:
1: Mark every 1/2" along the edge of the steel (1/2" from the edge) and center punch with a ***** punch:
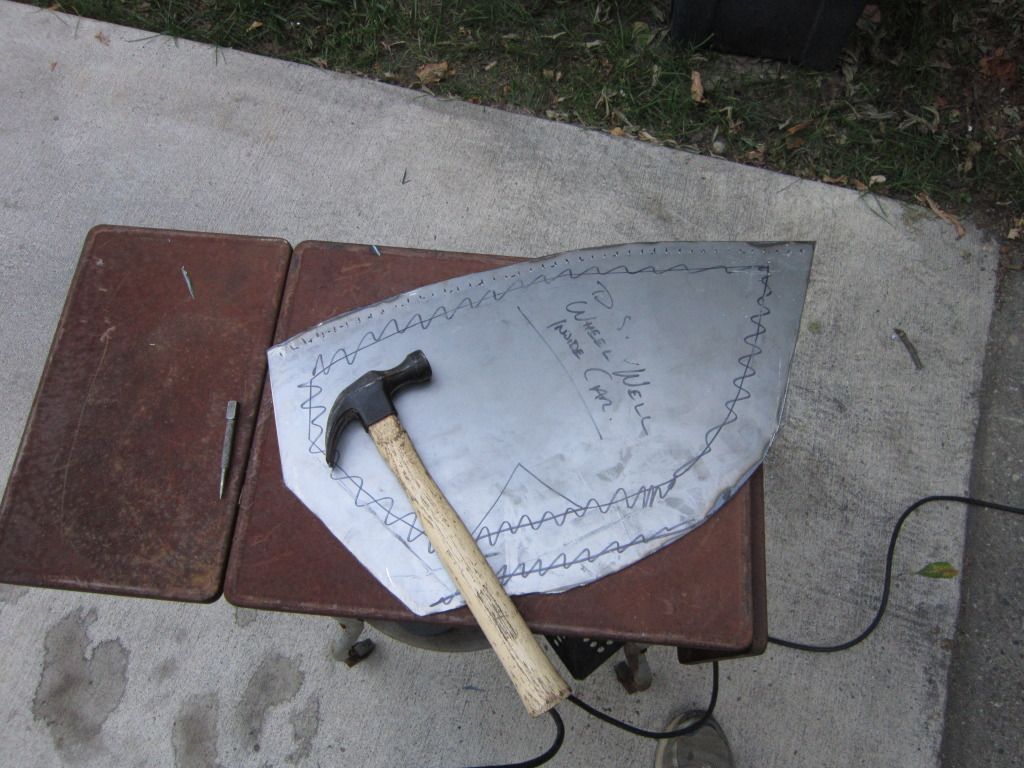
Tools:
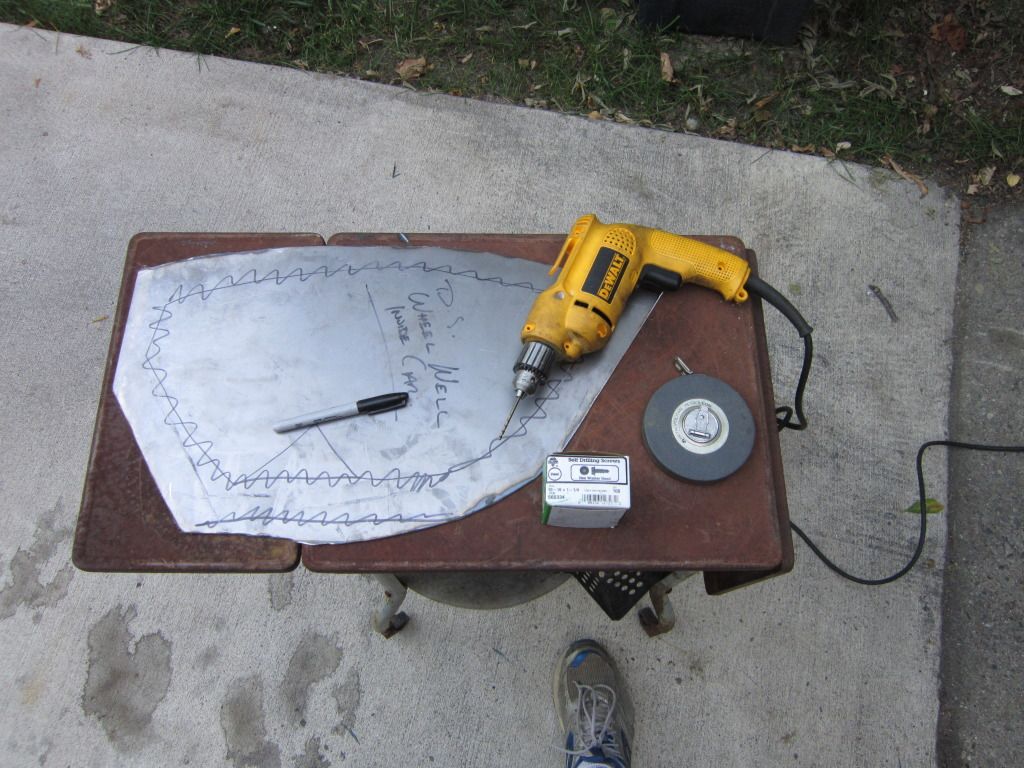
Drill a 1/8" hole at each punch location:
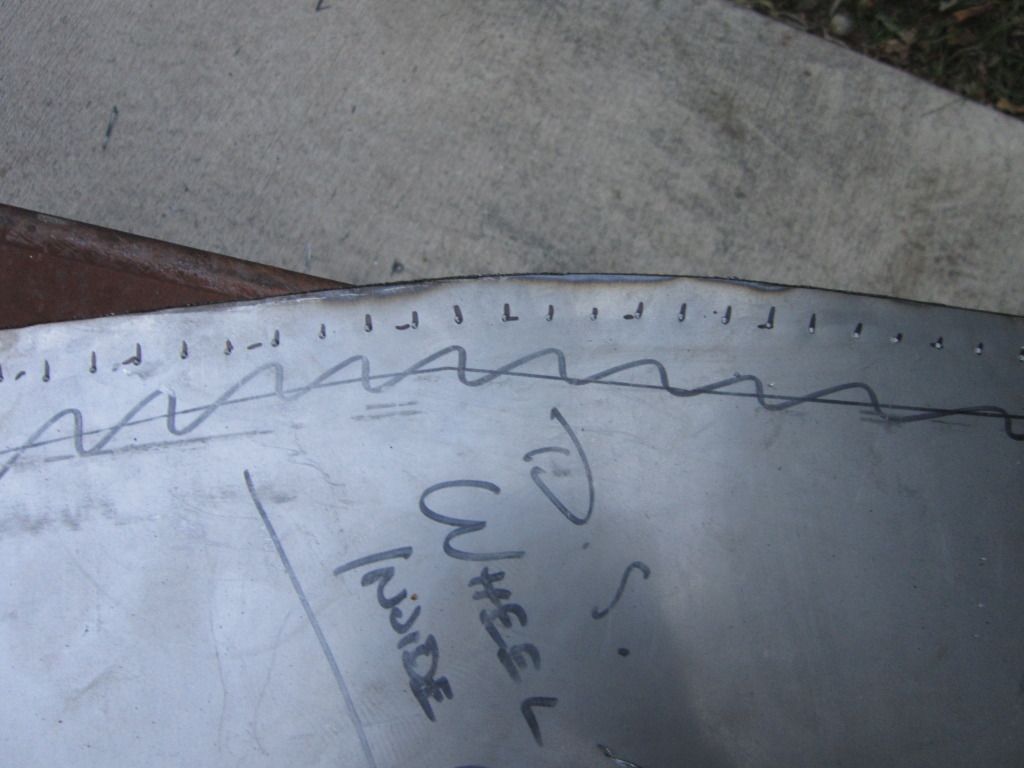
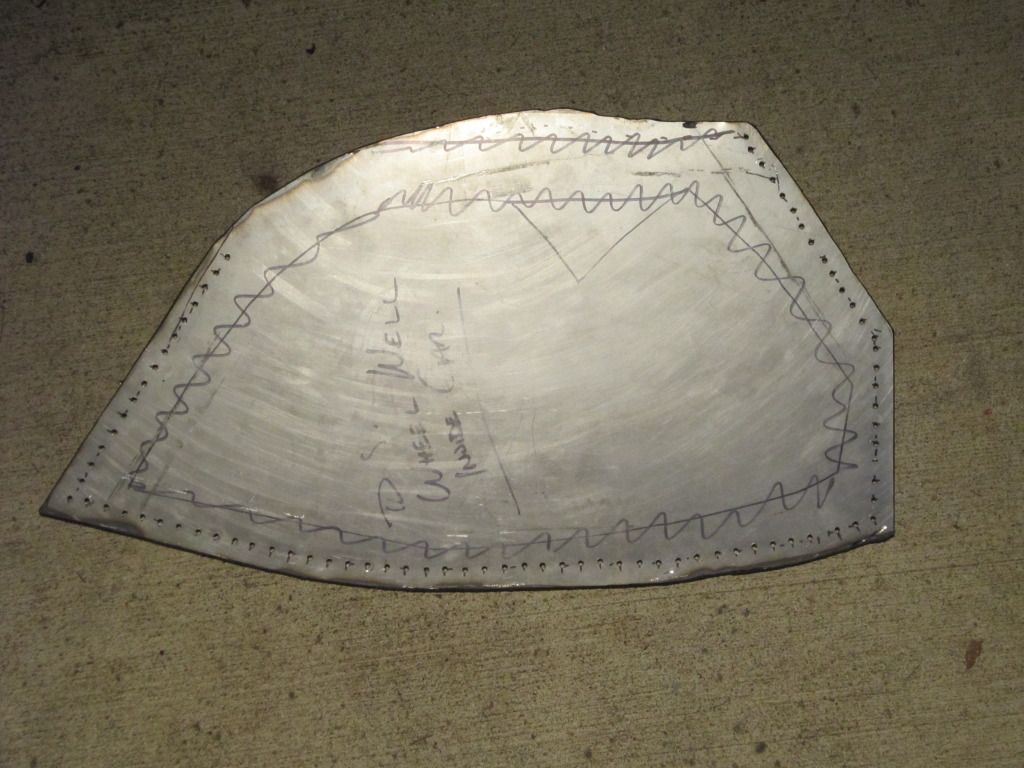
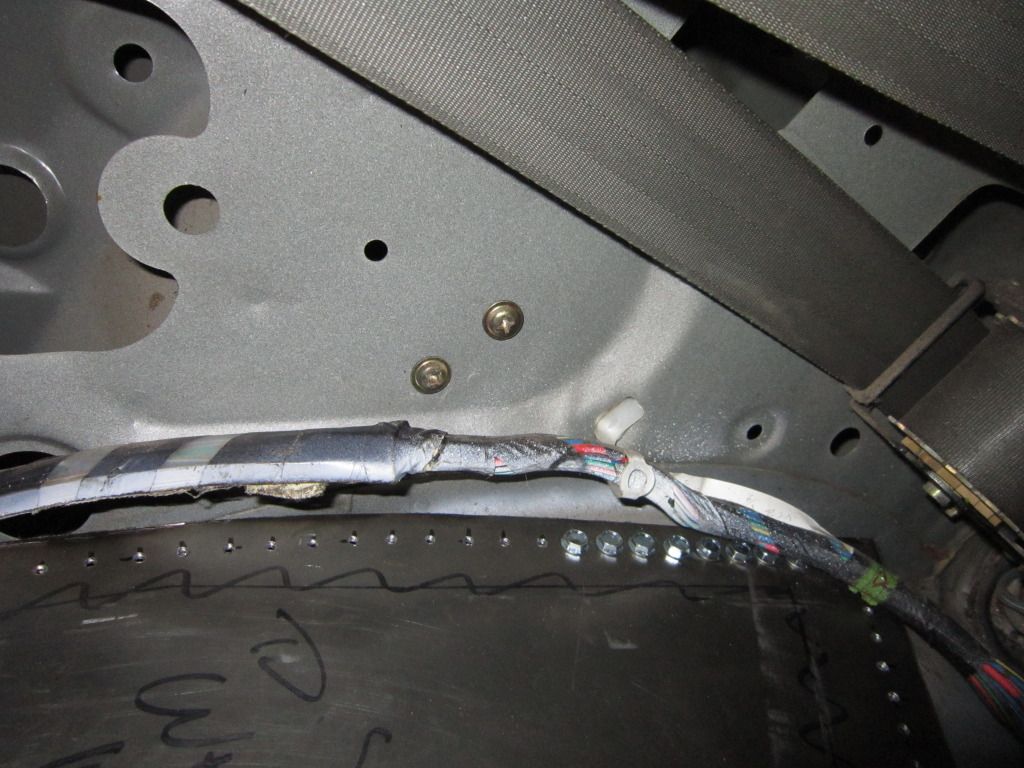
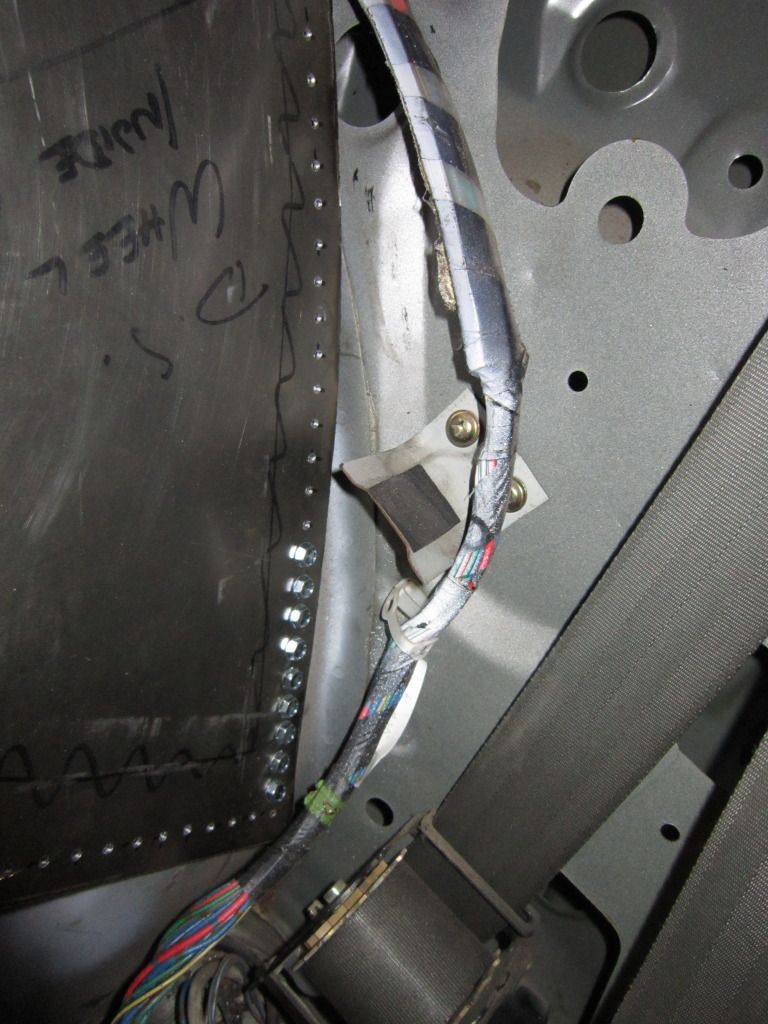
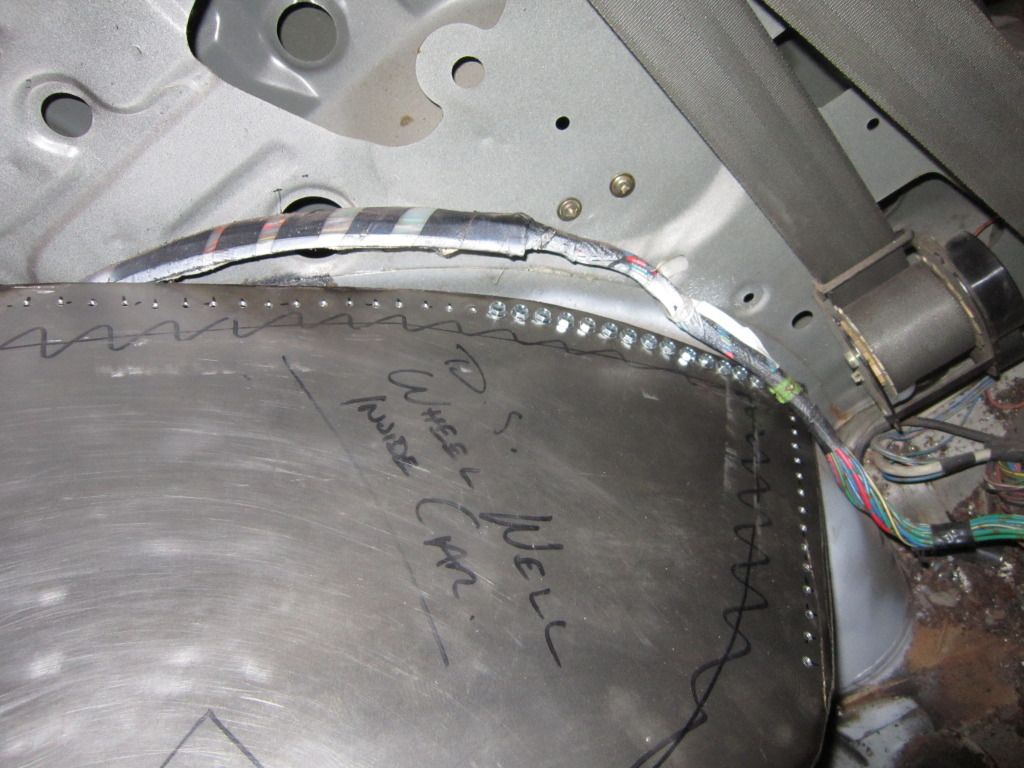
To get the shape that I'm looking for, I'm using a box of #10 x 1.25" and my 12V Hitachi Impact gun (760 inch-pound of torque).
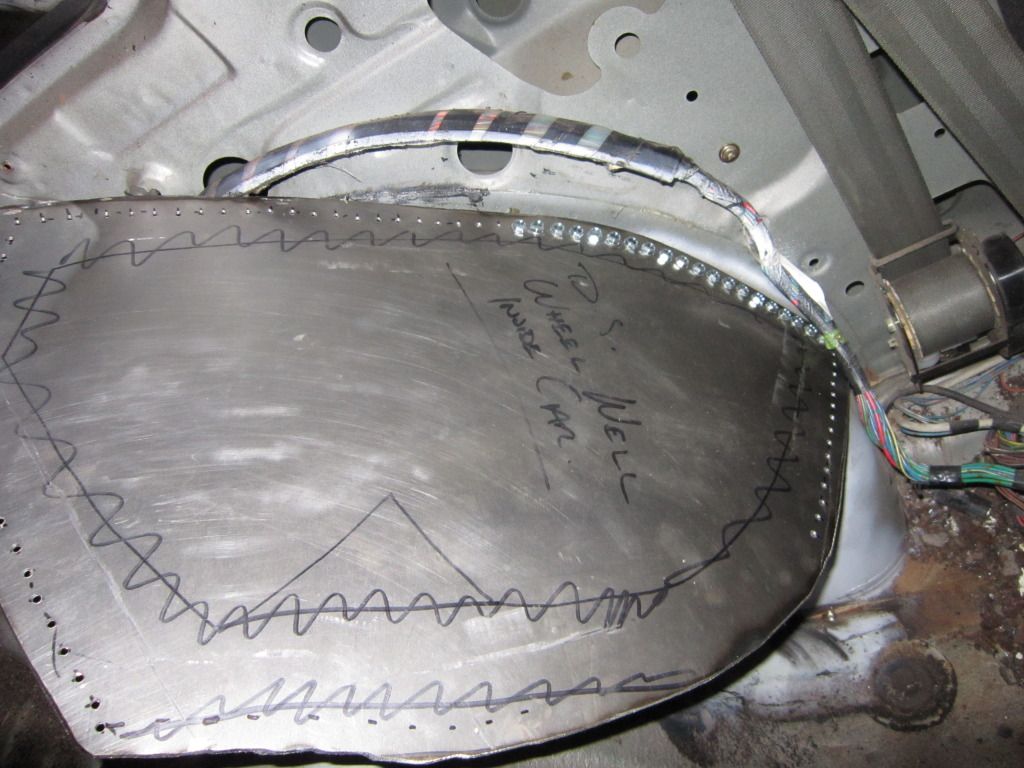
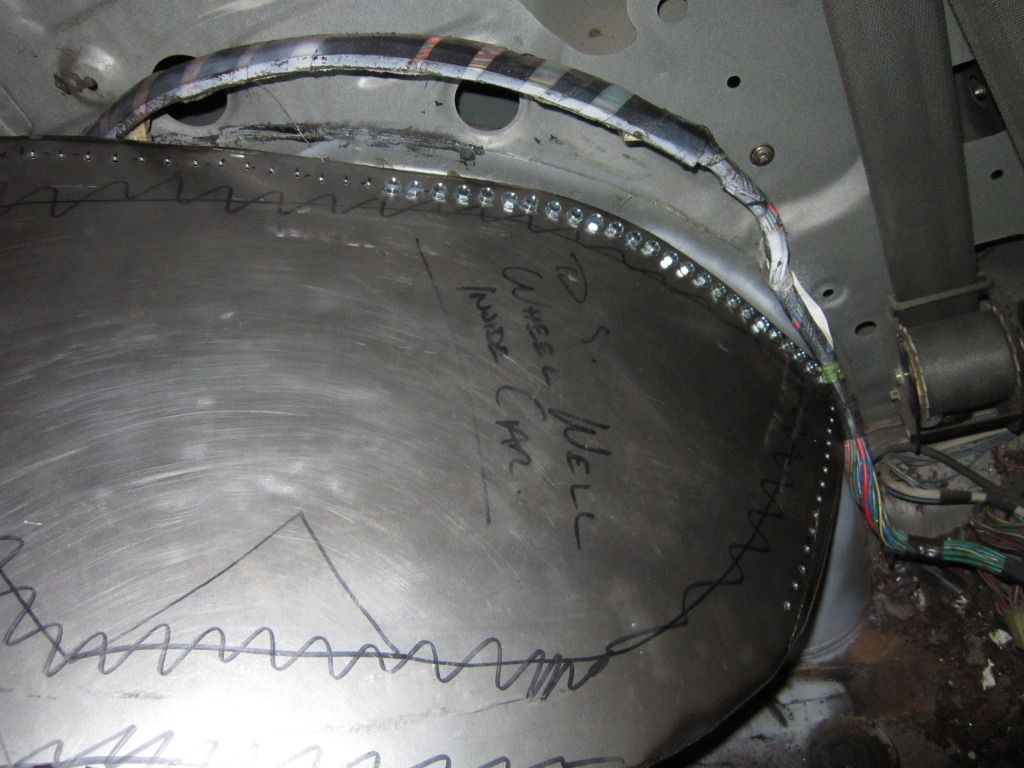
Since I don't have the skills to hand-form the steel (nor the time to learn before 10am Saturday), here is my process of making a wheel well that fits well:
1: Mark every 1/2" along the edge of the steel (1/2" from the edge) and center punch with a ***** punch:
Tools:
Drill a 1/8" hole at each punch location:
To get the shape that I'm looking for, I'm using a box of #10 x 1.25" and my 12V Hitachi Impact gun (760 inch-pound of torque).
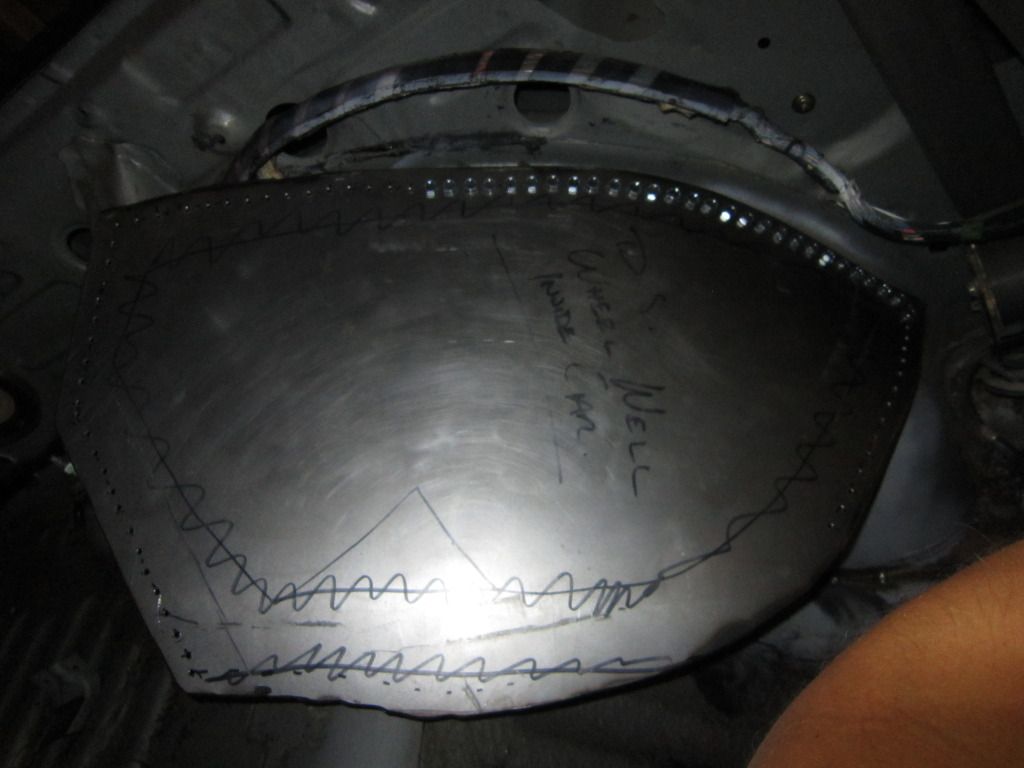
I'm starting to get the curvature that I need. It was about 9:30 when I got done last night, and I am at a point where I need to trim a bit by the rear shock mount, so I called it a night. Tonight I'm going to *hopefully* finish up my Drivers side wheel well, and then it's on to final grinding on my suspension reinforcement parts.

Wow, that's a hundreds of screws! Or bolts, rather. Looks like something I might have done back before I had access to a cheap welder.
Something seems a bit off about this, or just kinda odd, you know? Like a way to cheat - to get the curvature you're looking for without having an english wheel or a simple hammer and soft backing pad. Heck even your leg or a bunch of towels works to hammer against. But I understand how each successive screw can pull a little more on the sheet to get it to the right shape so you eventually end up where you want to be by the time you're done. But all those screws? That's a lot of work. Good thing they're self tapping...
I hope the structure isn't weakened futher by all those screws, you know? Meh, maybe I'm way off here. It's kinda early still. Good luck.
Something seems a bit off about this, or just kinda odd, you know? Like a way to cheat - to get the curvature you're looking for without having an english wheel or a simple hammer and soft backing pad. Heck even your leg or a bunch of towels works to hammer against. But I understand how each successive screw can pull a little more on the sheet to get it to the right shape so you eventually end up where you want to be by the time you're done. But all those screws? That's a lot of work. Good thing they're self tapping...
I hope the structure isn't weakened futher by all those screws, you know? Meh, maybe I'm way off here. It's kinda early still. Good luck.
Wow, that's a hundreds of screws! Or bolts, rather. Looks like something I might have done back before I had access to a cheap welder.
Something seems a bit off about this, or just kinda odd, you know? Like a way to cheat - to get the curvature you're looking for without having an english wheel or a simple hammer and soft backing pad. Heck even your leg or a bunch of towels works to hammer against. But I understand how each successive screw can pull a little more on the sheet to get it to the right shape so you eventually end up where you want to be by the time you're done. But all those screws? That's a lot of work. Good thing they're self tapping...
I hope the structure isn't weakened futher by all those screws, you know? Meh, maybe I'm way off here. It's kinda early still. Good luck.
Something seems a bit off about this, or just kinda odd, you know? Like a way to cheat - to get the curvature you're looking for without having an english wheel or a simple hammer and soft backing pad. Heck even your leg or a bunch of towels works to hammer against. But I understand how each successive screw can pull a little more on the sheet to get it to the right shape so you eventually end up where you want to be by the time you're done. But all those screws? That's a lot of work. Good thing they're self tapping...
I hope the structure isn't weakened futher by all those screws, you know? Meh, maybe I'm way off here. It's kinda early still. Good luck.
Yes, it's a bit of time to do everything (I'm pre-drilling a 1/8" hole through the 16 gauge), however it'll look smoother and more "factory" when all is said and done, rather than me farting around with a hammer and dolly. I'll play around with my other sheet of 16 gauge after I get everything fabbed up and see if I can't pound out a decent fender.

Keep up the good work. Can't wait to see pictures of her all back together in one piece! I remember that sinking feeling about 17 years ago when I was poking around a rust "bubble" on the wheel well of my '79 and I just kept hearing cracking noises and my finger kept pushing through the paint that was holding the back half of the car together. I'm still "recovering" from that.
If its any consolation, I would rather fix "underbody" rust any day...she'll be better than new soon!
If its any consolation, I would rather fix "underbody" rust any day...she'll be better than new soon!
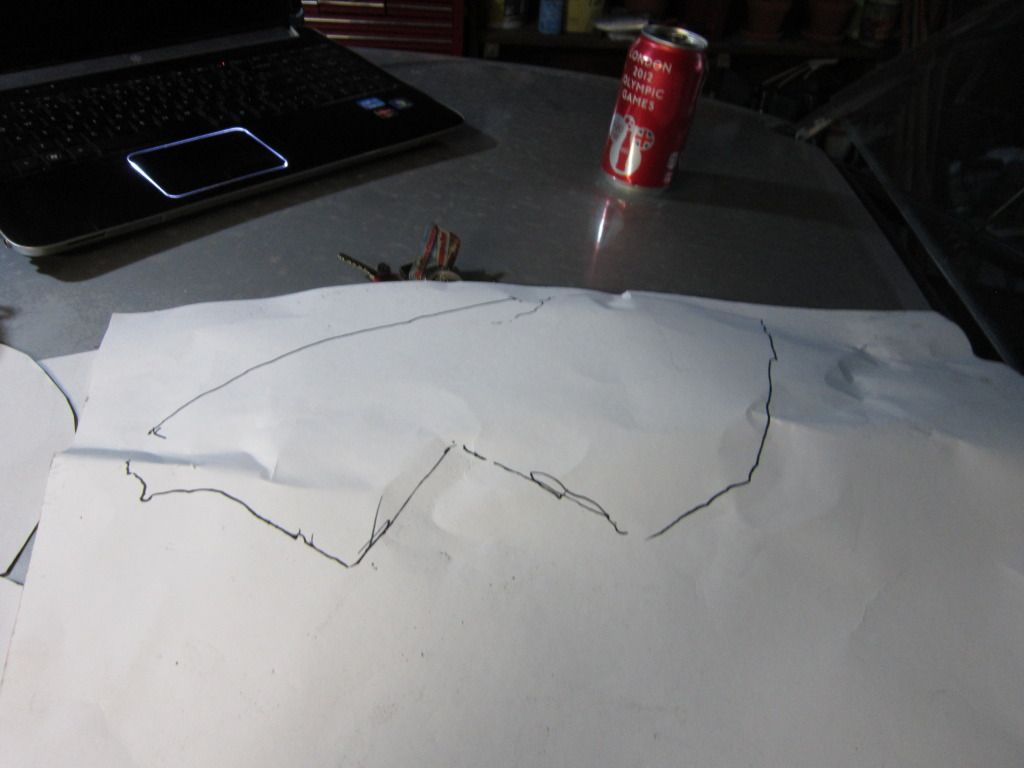
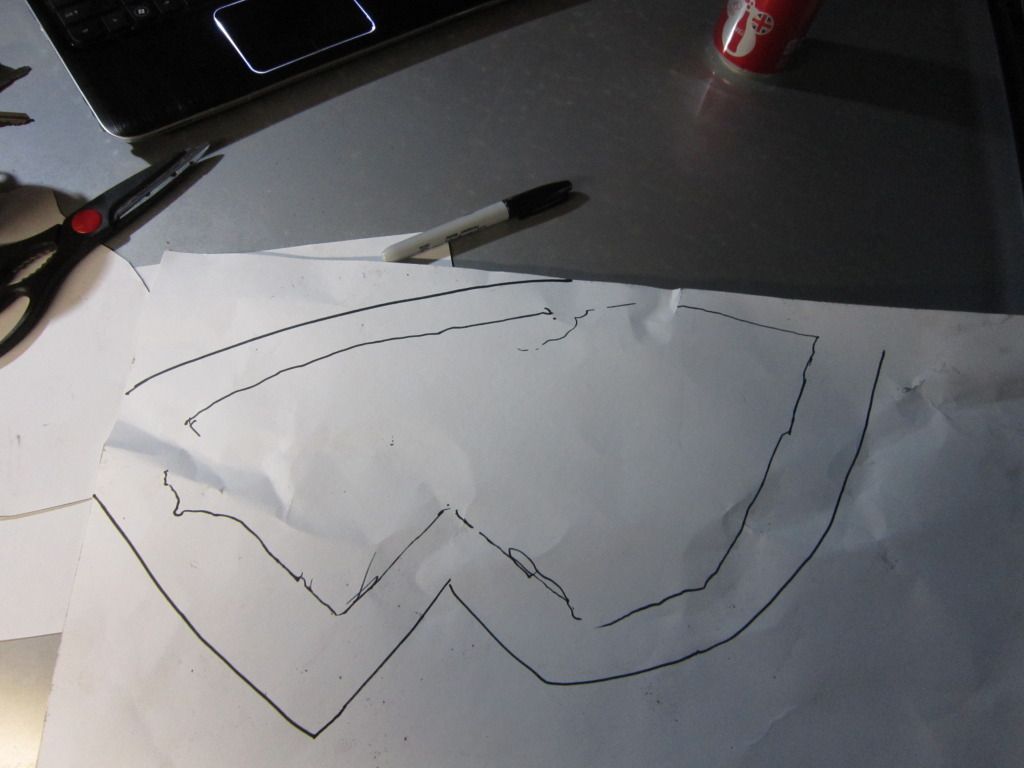
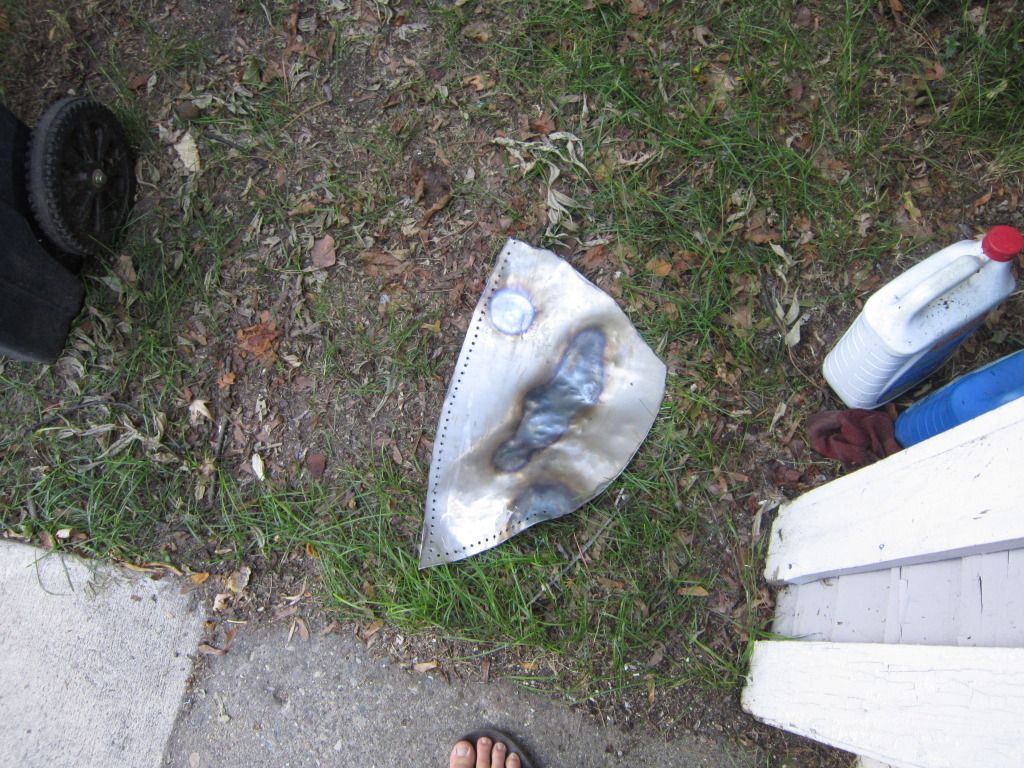
So I realized last night that I was trying to work 14 gauge, not 16 gauge steel. I realized this while heating and hammering the fender I was trying to shape. I broke some ribs 3.5 weeks ago, and this upset them, so I gave in for the night. I'm going to spend some time with poster board tonight and hopefully come up with a nice blank that I can take to the welder and have him bend into place as he runs a bead.
I finished my drivers side reinforcement plate (save for the hole saw that I still need to buy), and am almost done with finish grinding on my passenger side reinforcement plate (again, no hole saw yet...).
I finished my drivers side reinforcement plate (save for the hole saw that I still need to buy), and am almost done with finish grinding on my passenger side reinforcement plate (again, no hole saw yet...).

Welding happened this weekend. What a long week of work. Sore, tired, and feeling accomplished.
My plan with the screws backfired.
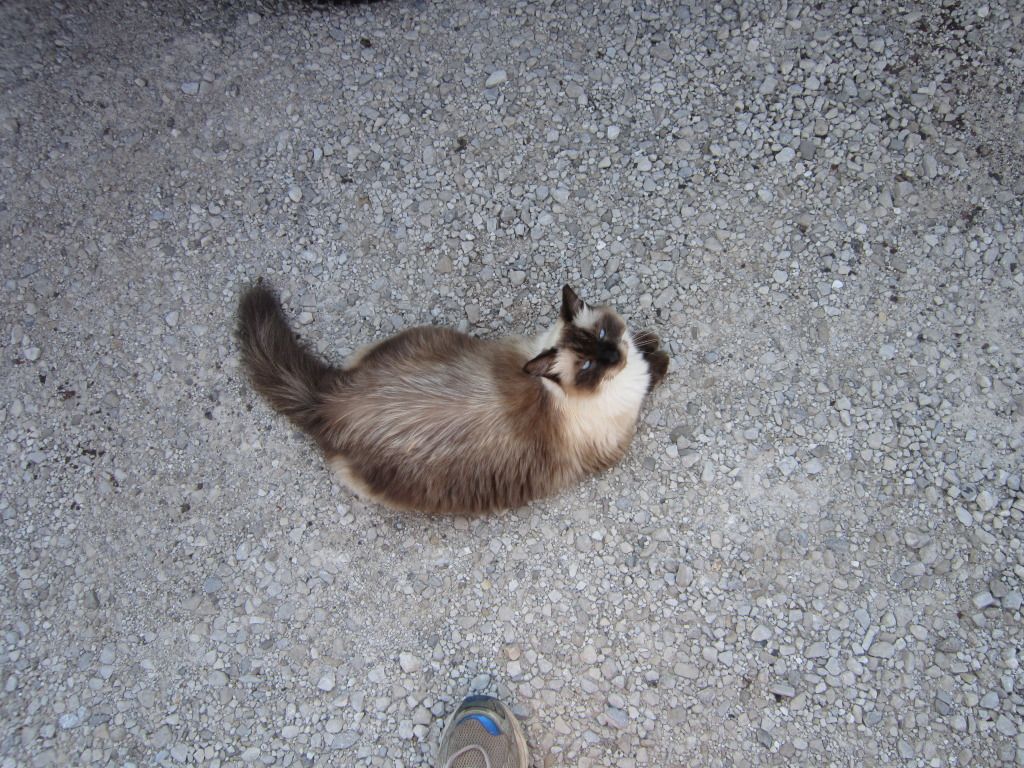
HELPER KITTY!
I was helping shape metal while the welder tacked everything into place, so I didn't get any shots during the process.
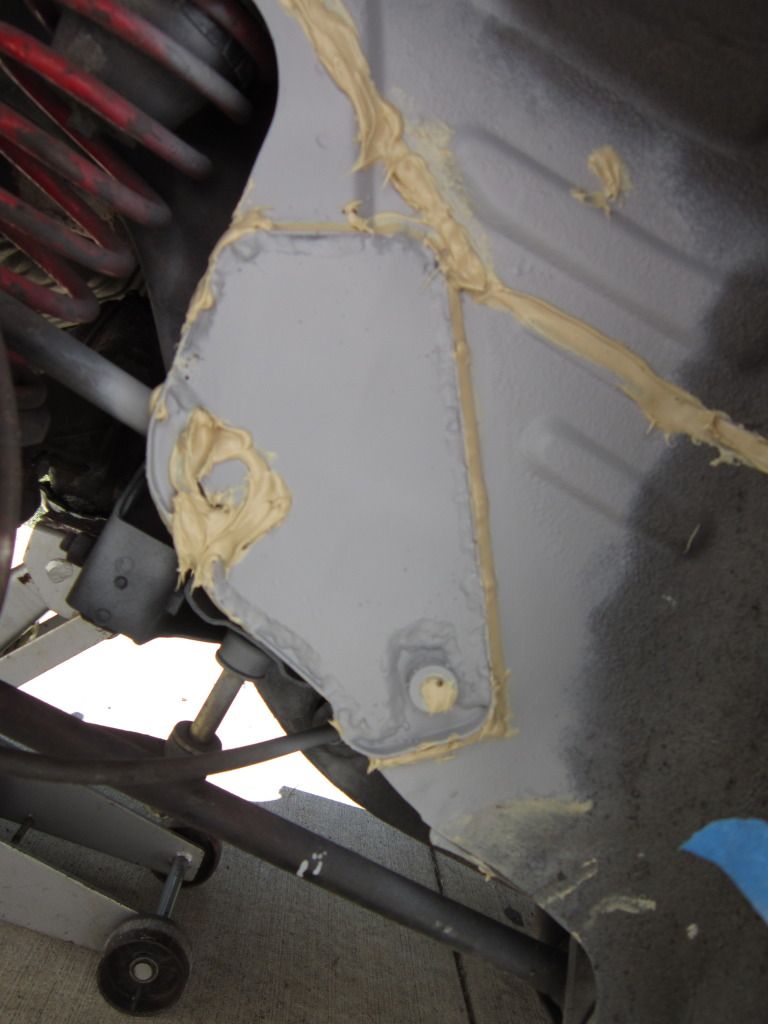
Here it is primed and seam-sealed:
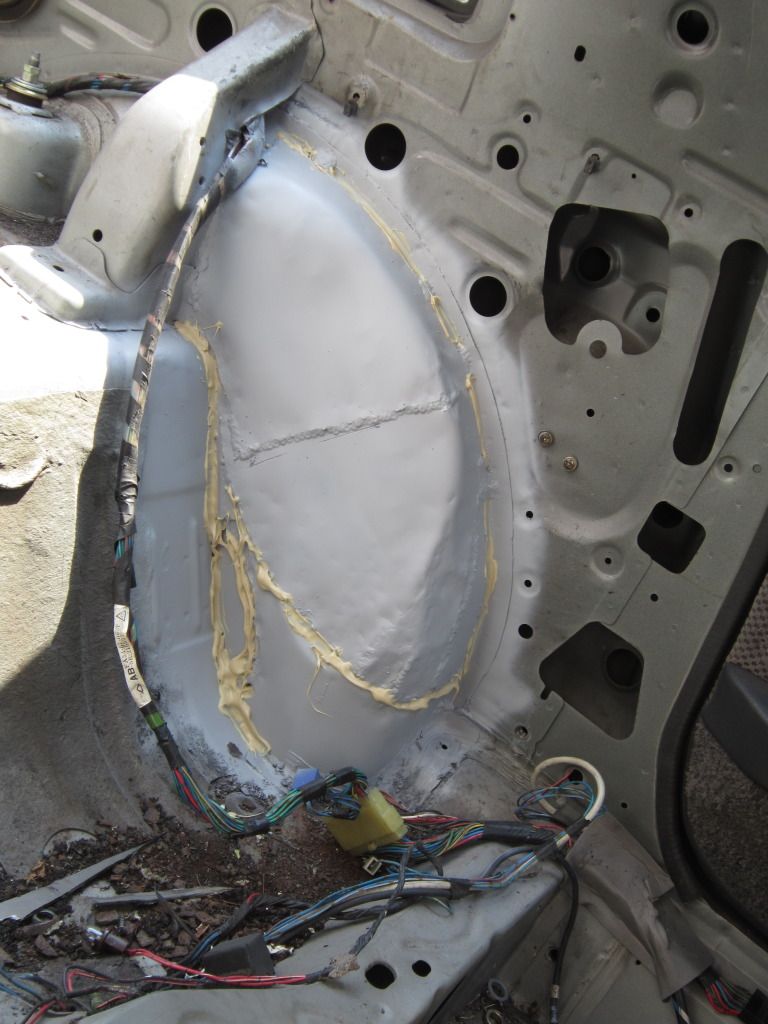
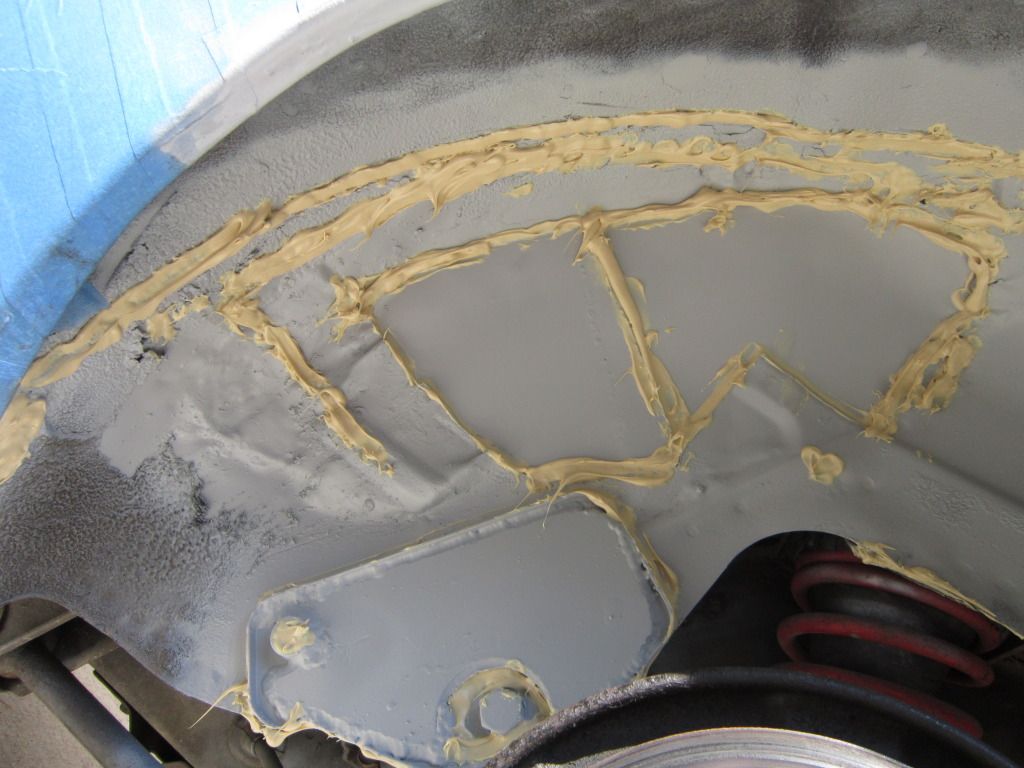
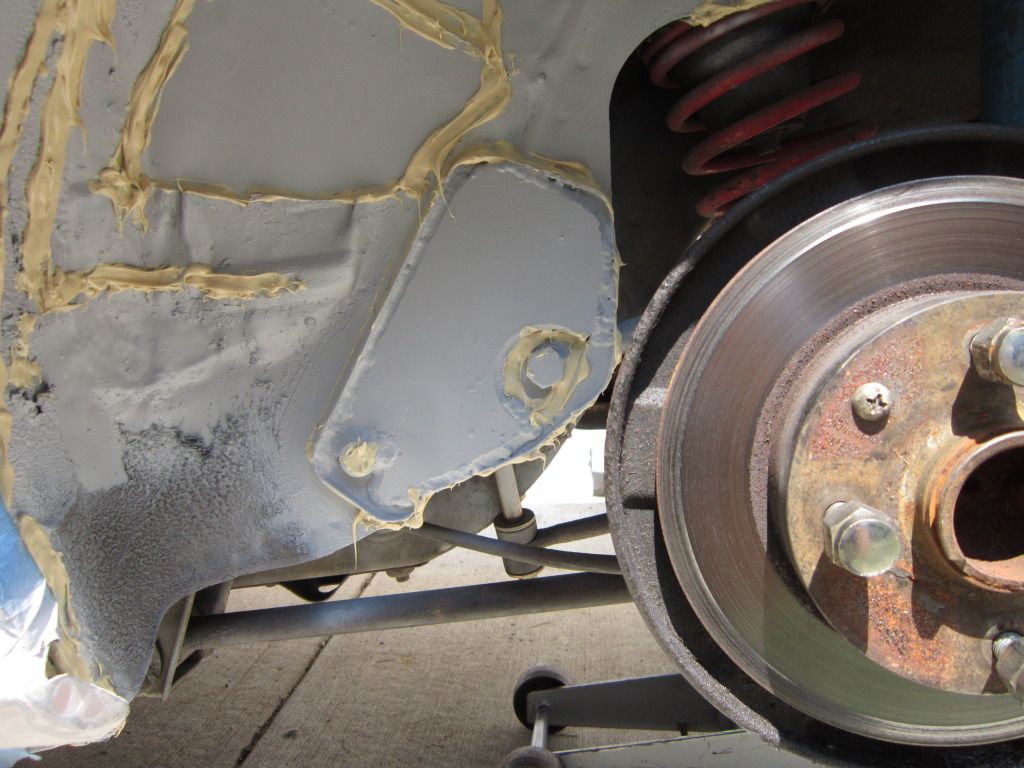
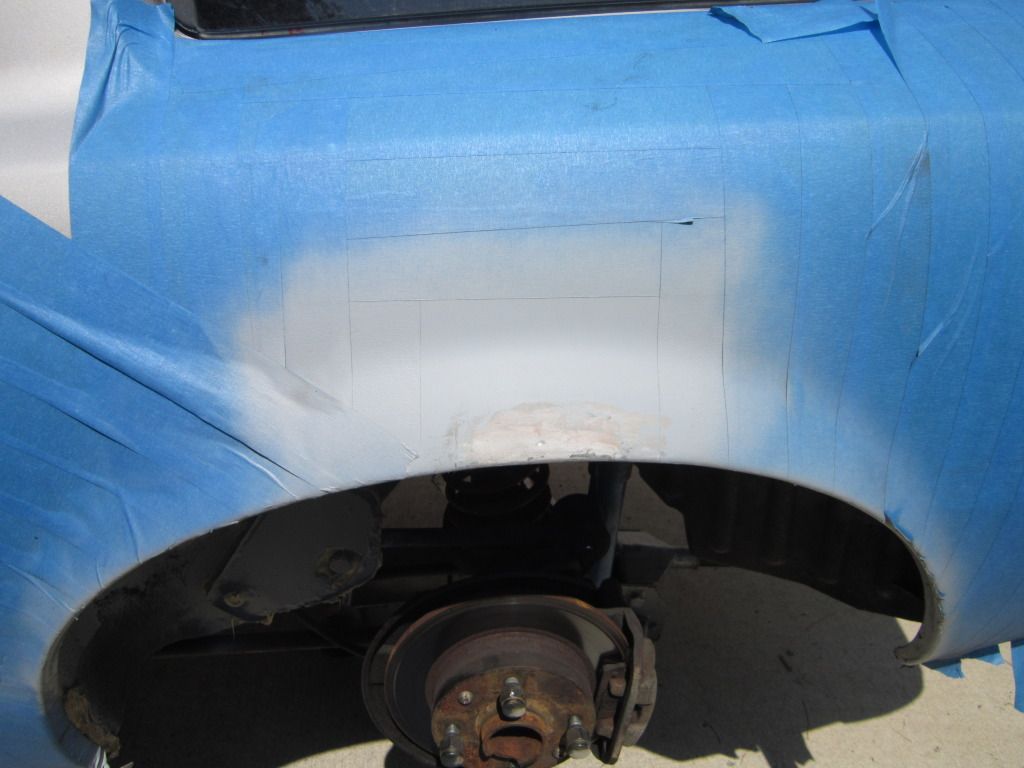
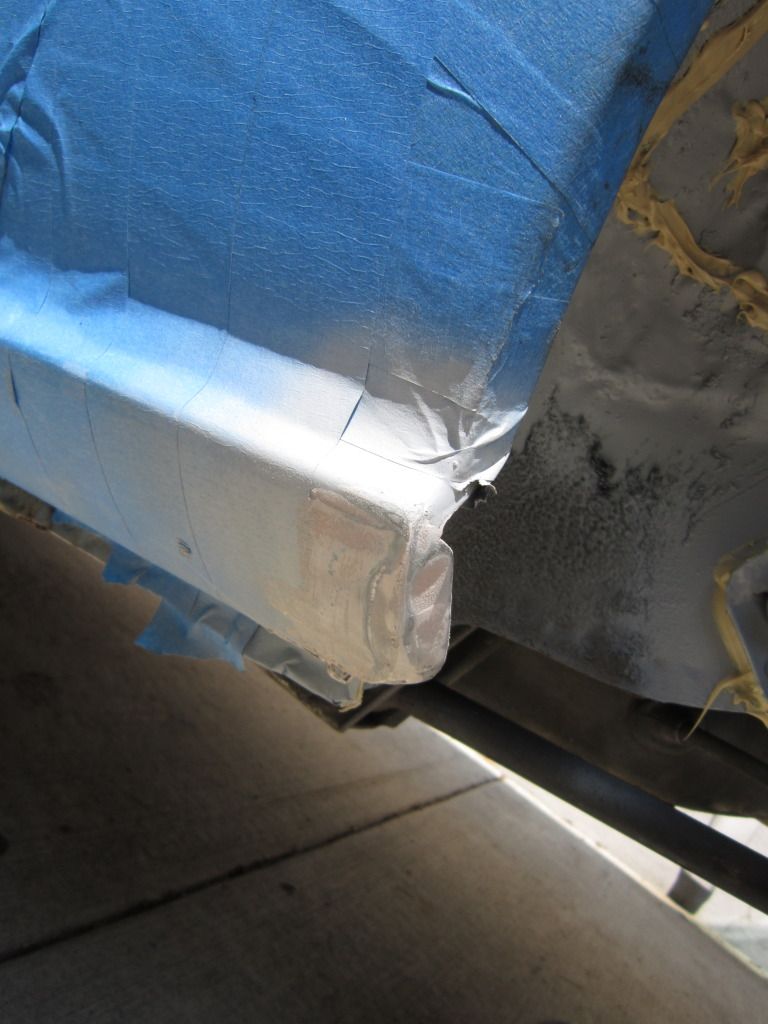
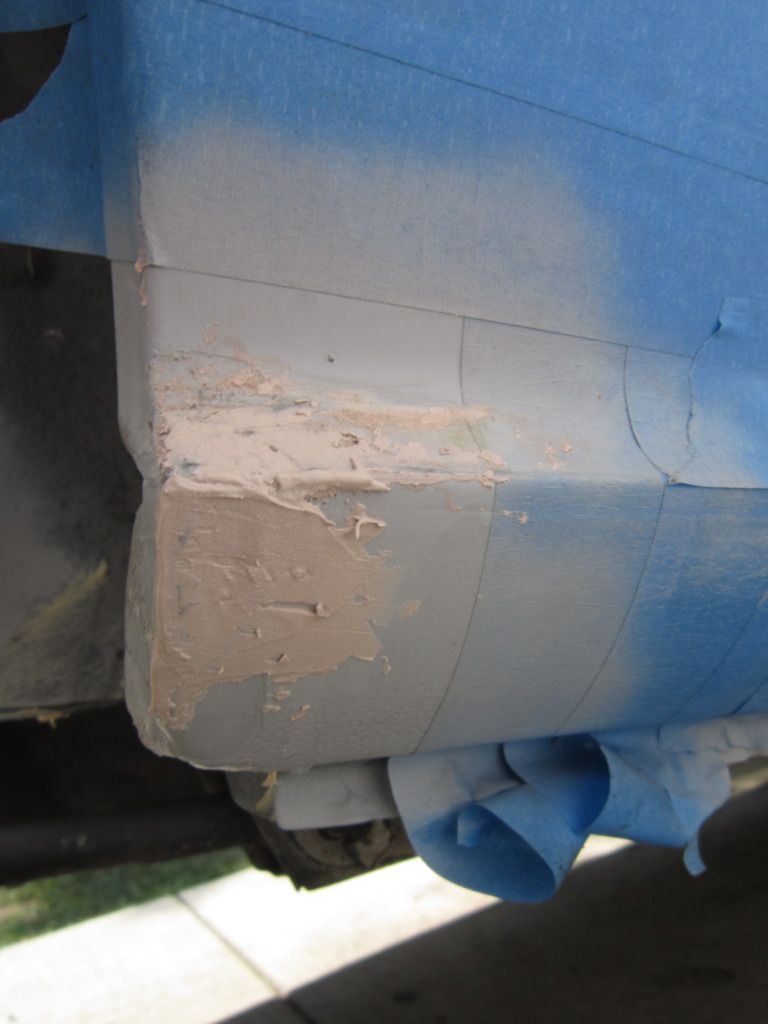
Body rust repair:
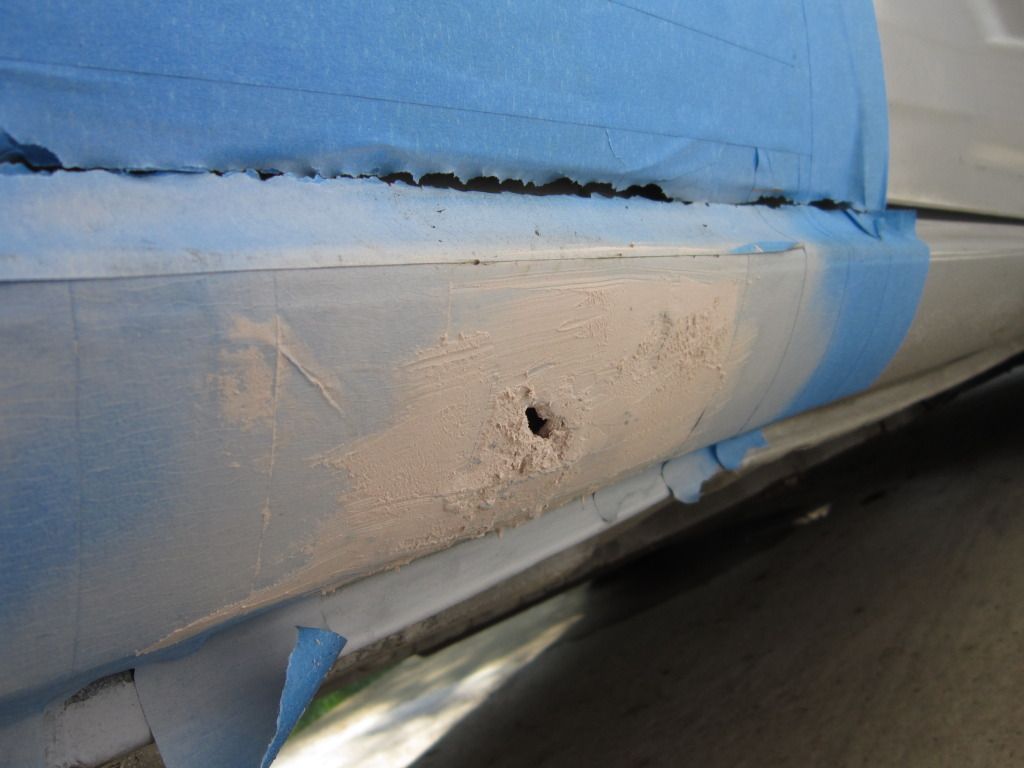
My plan with the screws backfired.
HELPER KITTY!
I was helping shape metal while the welder tacked everything into place, so I didn't get any shots during the process.
Here it is primed and seam-sealed:
Body rust repair:
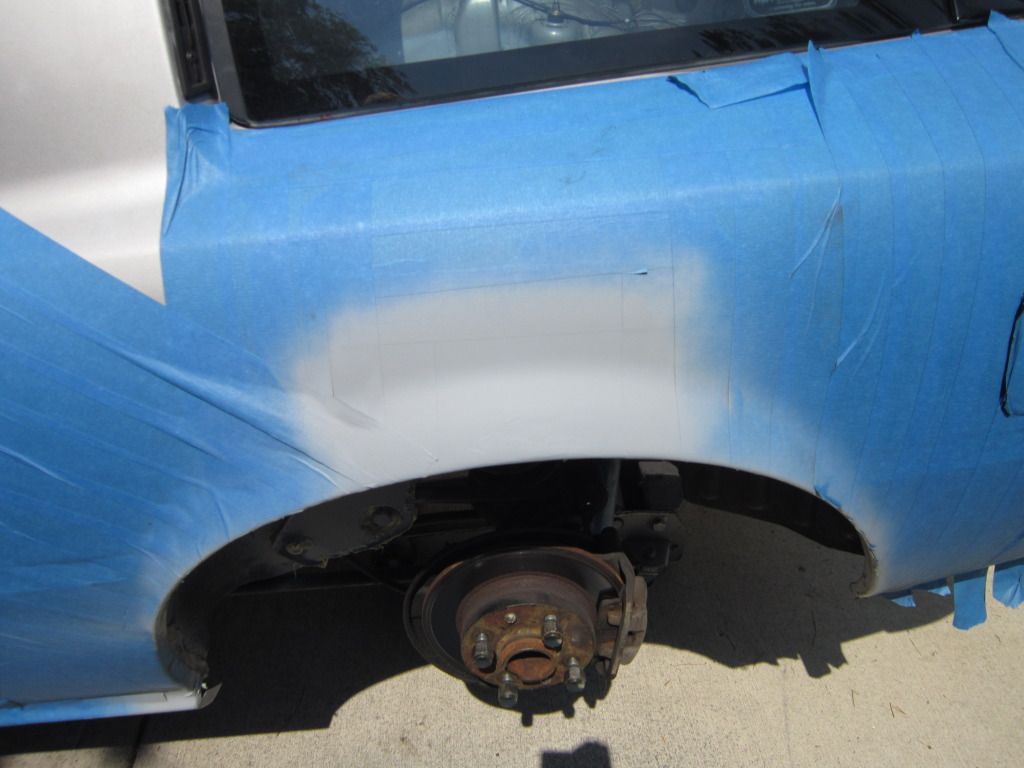
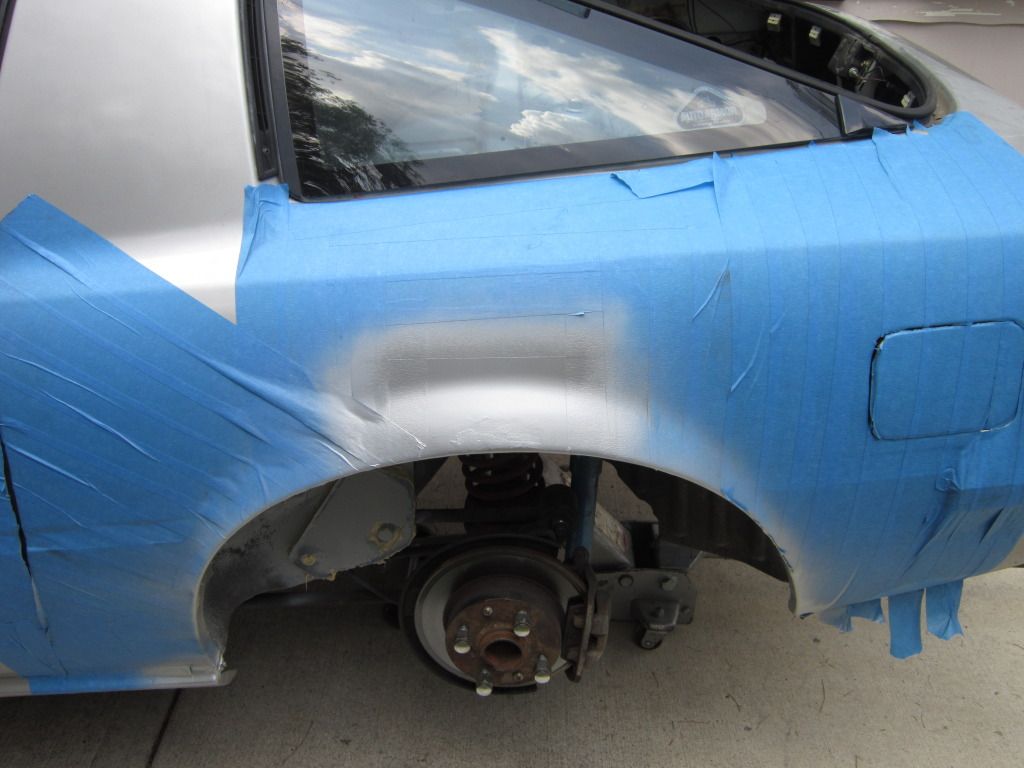
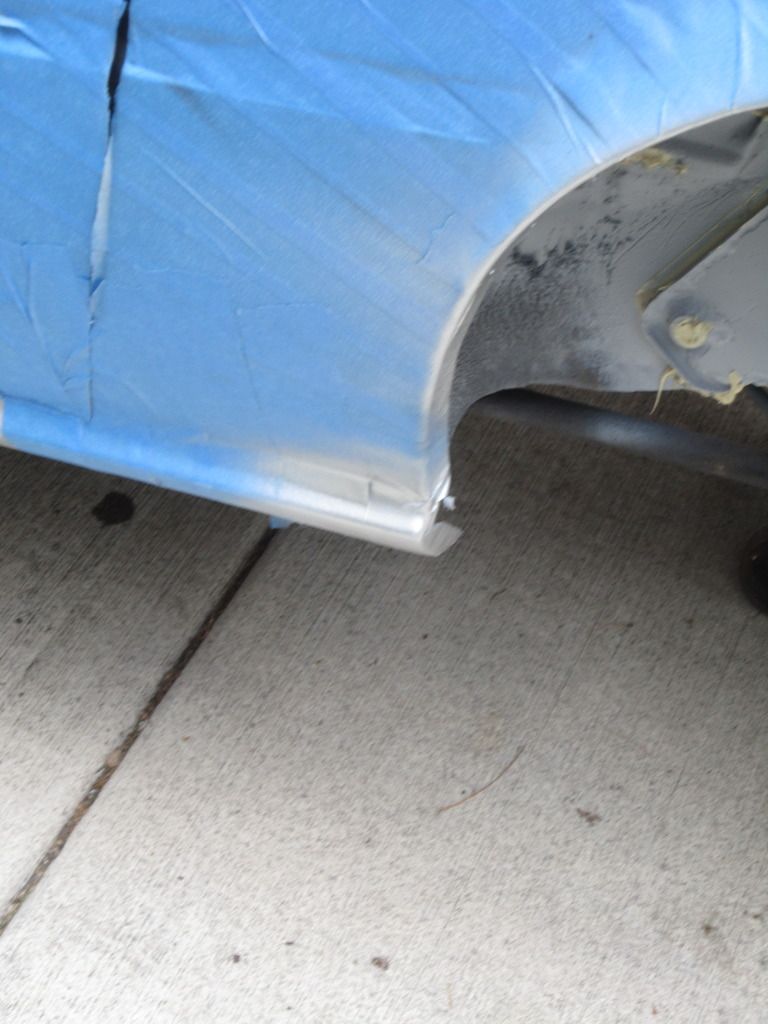
So there it is. $225 in welding, $65 in materials, plus 3-5 hours a night this past week, all day last Saturday, all day yesterday and today to get to this point. i'm going to work this week to paint everything, undercoat everything, and get everything reassembled. Once that is done, it's racing with Furrin group next weekend, then possibly putting her up for sale.